
I am still building at my house despite moving in mid December. the house was finished enough for the bank to convert my construction loan to a 30 years indentured servitude.
the to do list:
build the built in couch, which is in progress. hardwood plywood and solid stock milled and on hand. cushion foam and fabric are in the shop.the biggest hold up is paint or oil on the hardwood. I think black. design is kinda like this:

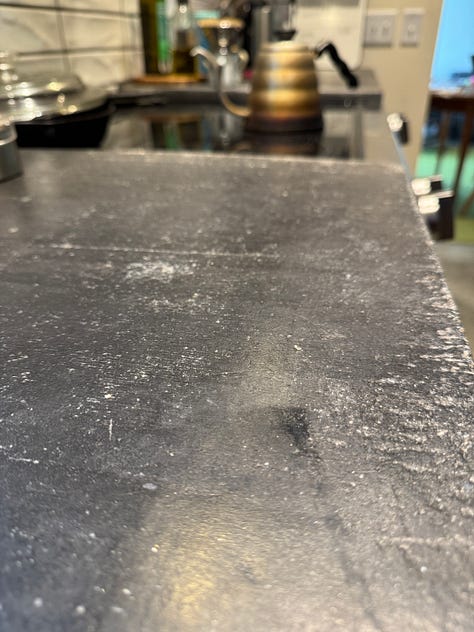
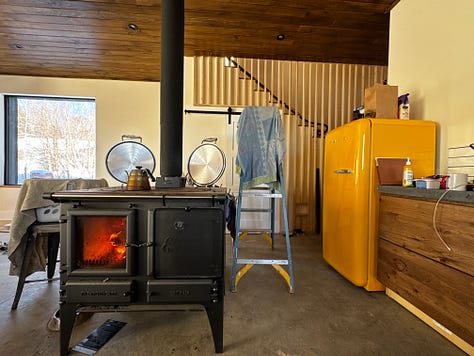
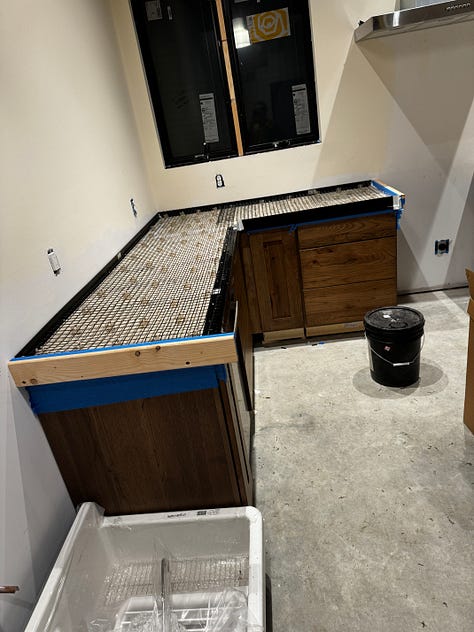
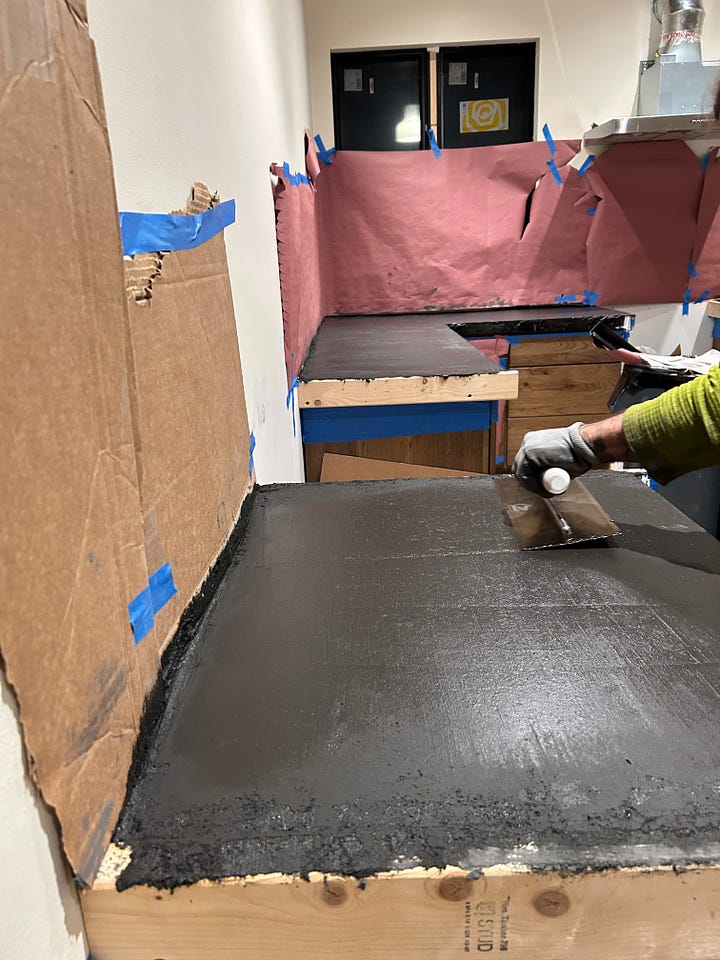
i have to build a concrete island/wood storage for the kitchen, and rotate the wood stove 90 degrees to face the above mentioned couch. this will match the concrete countertops i poured in place. fucken 18 hour nightmare of a job. but after 6 months i really like them. they are treated with a mix of beeswax and walnut oil. they were inexpensive to build.
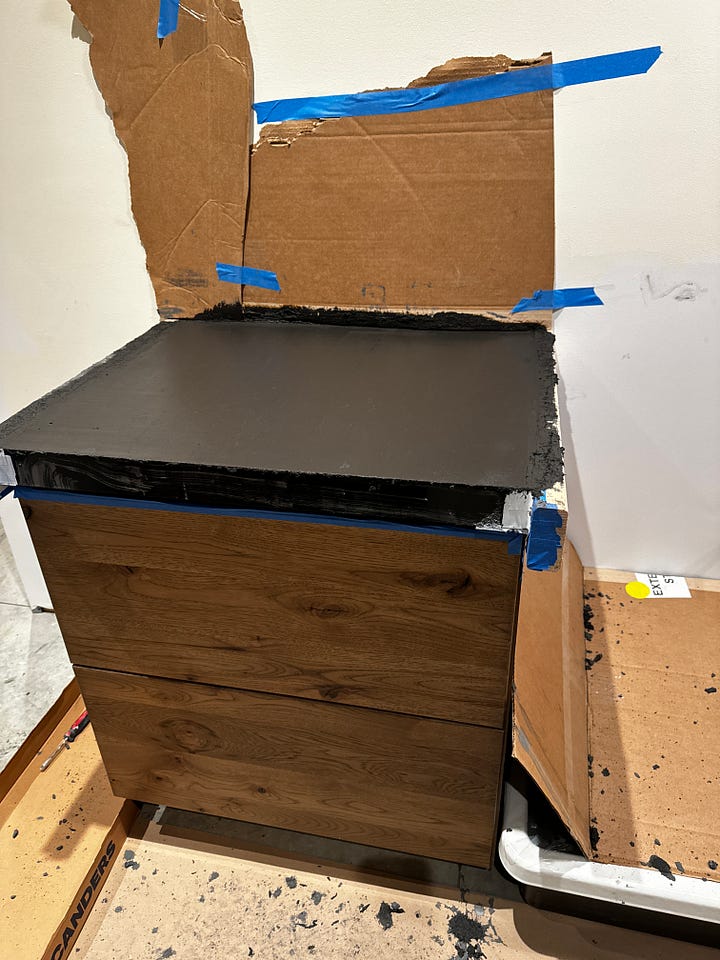
.
cast two bathroom counter tops in the same dark grey concrete.
build the bench and storage in the mud room/entry. it is still a huge pile of cardboard boxes. i should draw plans first.
install the screen/storm door on the porch

we are currently finishing up the new shop. we painted the second floor today. finished stairs and oak flooring next week. maybe ceiling trim too. below it’s just primed. that was this morning.
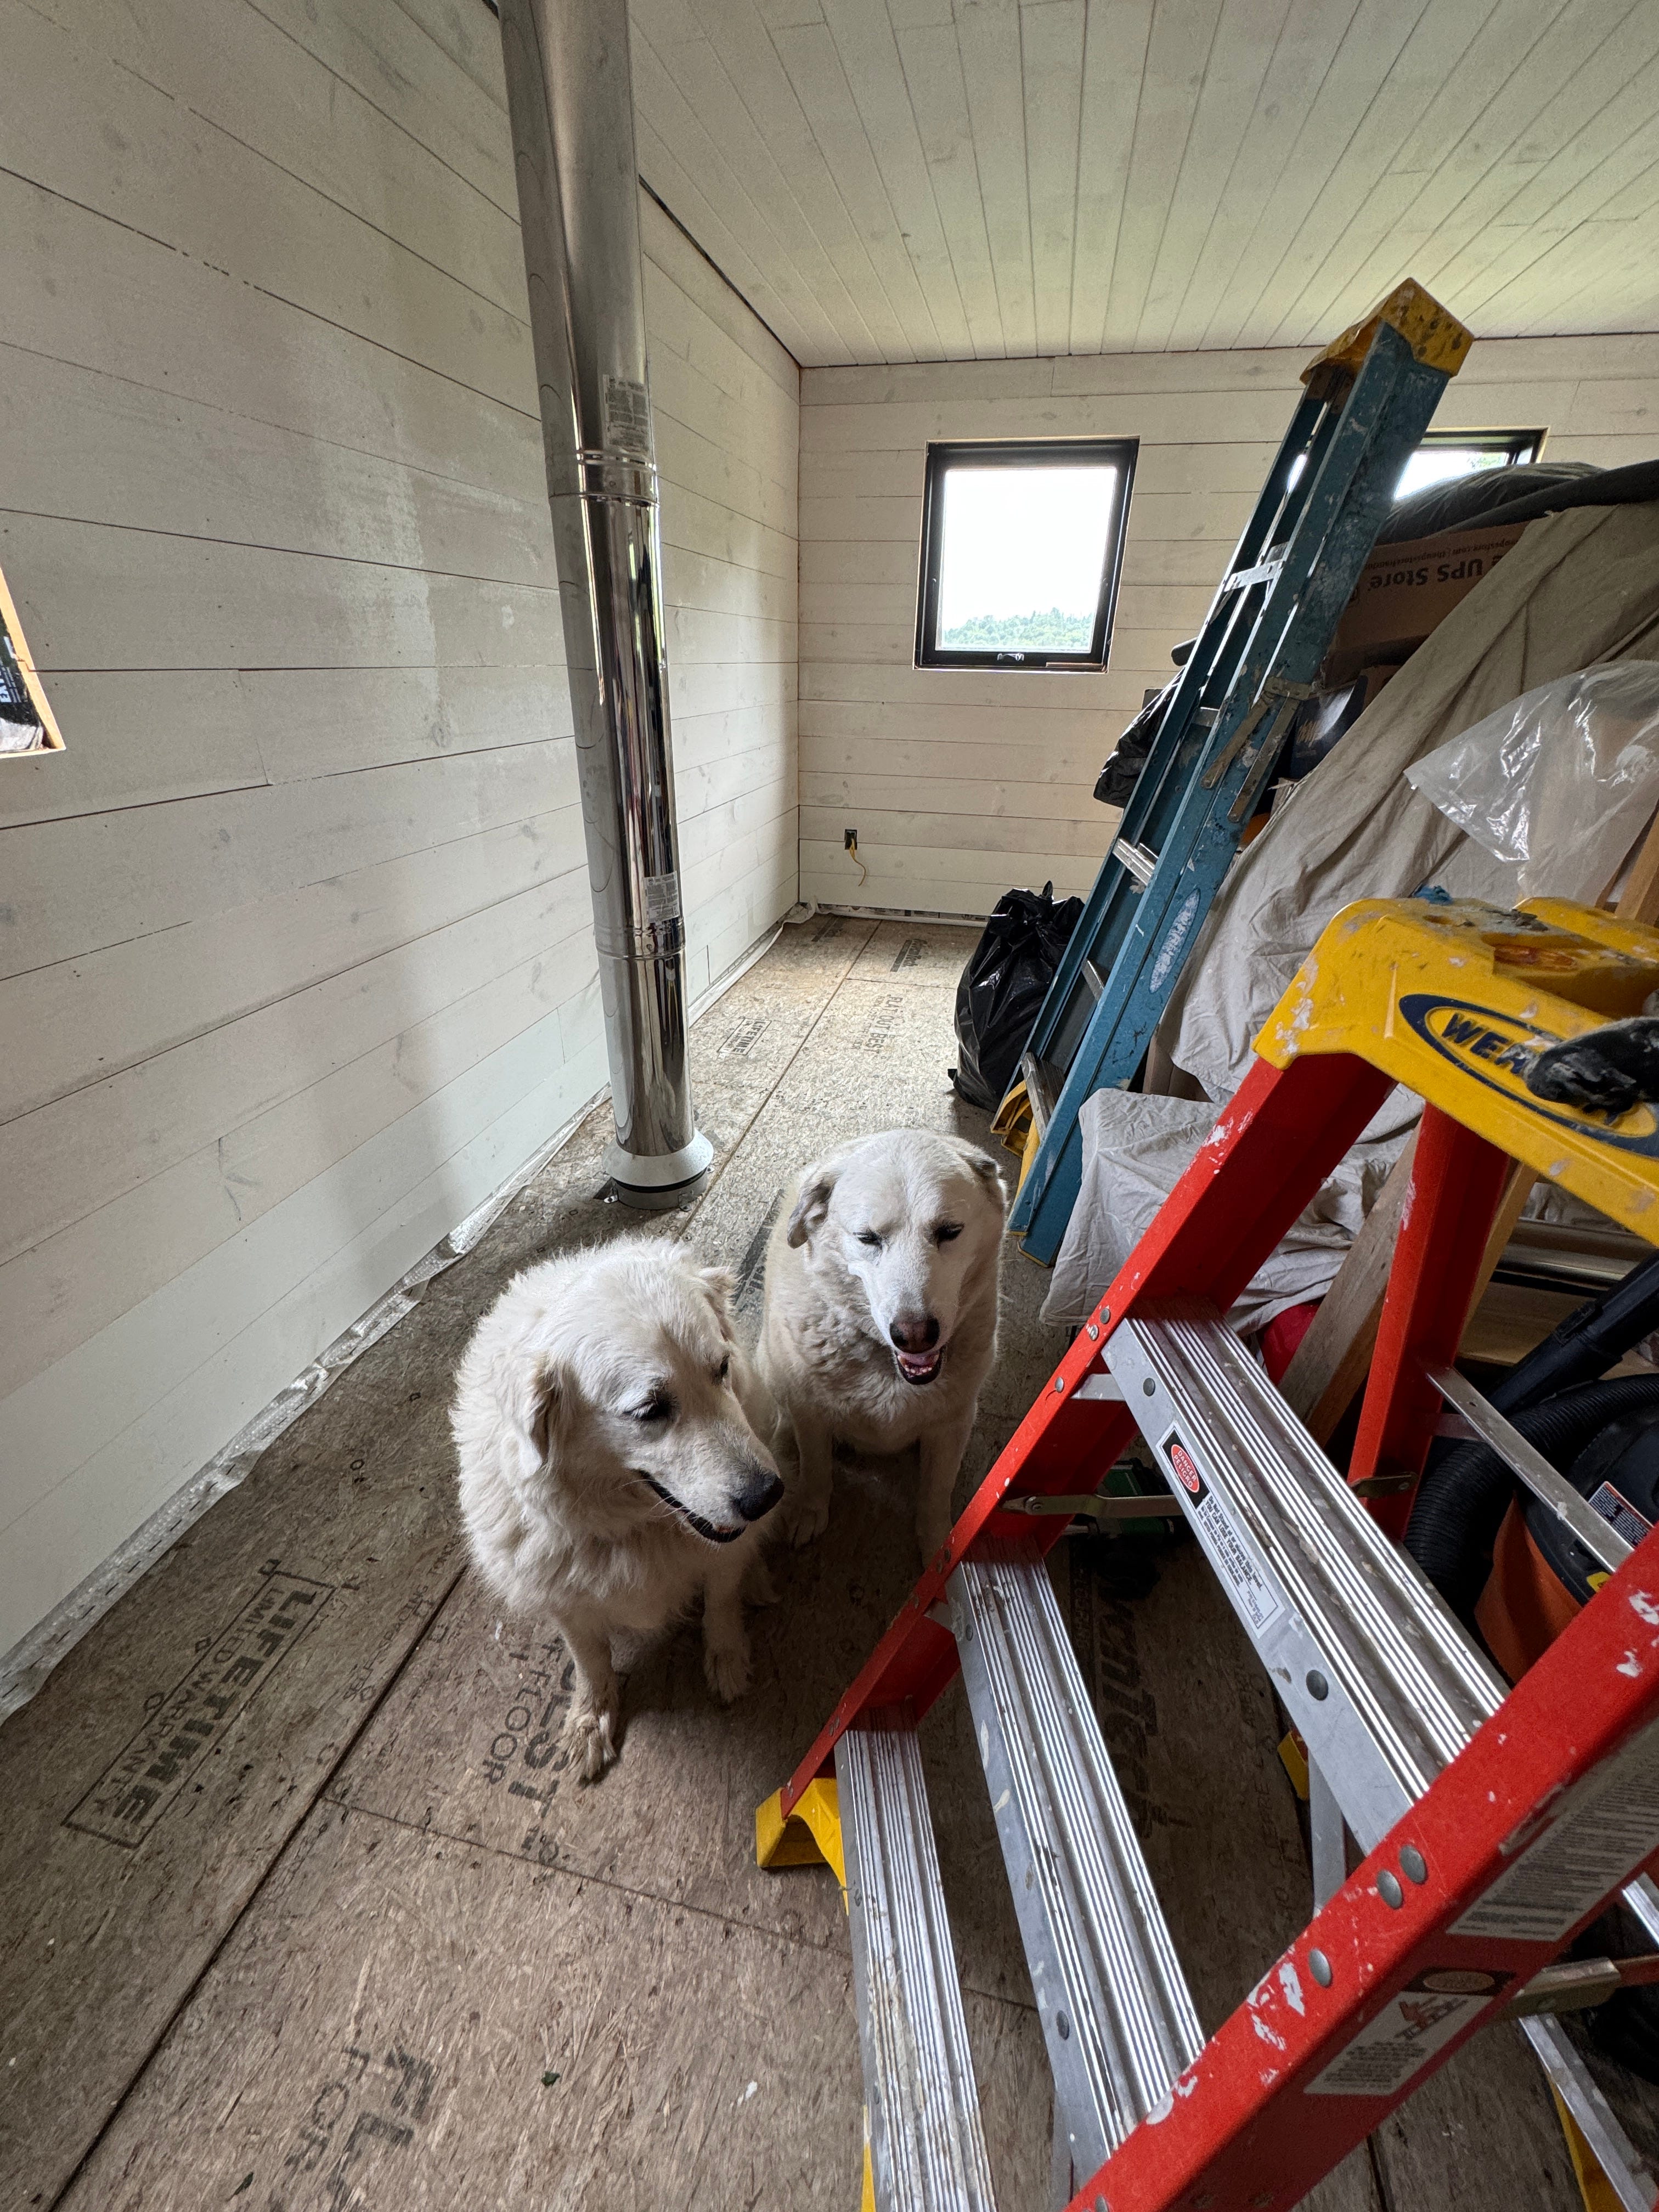
so, here are my wall framing details. here i’ll cover how i framed the house, materials used. I will cover floors, roof ect in another post.
a few things to note: i used no pressure treated lumber or foam sill seal. Both are the bottom grade of good building. yes, they meet code, but both materials lack the ability to last for 100 years. i have replaced fully rotten pressure treated sill plates that were 20 years old. yes, oldschool pressure treated was a longer lasting but much more toxic lumber.
the place you see most house fail over time is wood in contact with concrete. concrete loves to hold moisture. the thin foam roll sill seal most everyone in the US uses breaks down, and/or doesn’t totally fill the gap between the foundation and the sill plate.
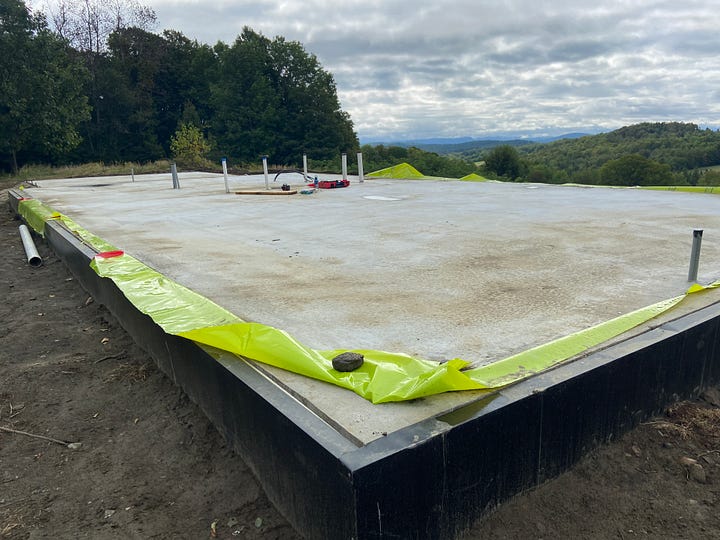
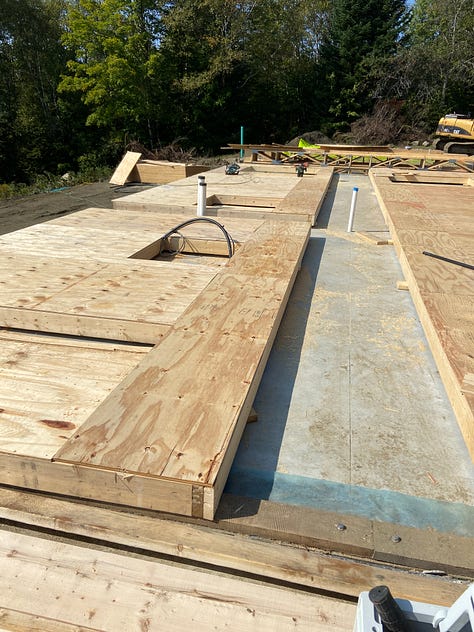
i spent a lot of time sorting out this detail as it’s the foundation the rest of the house sits on. here is what I used from the concrete up:
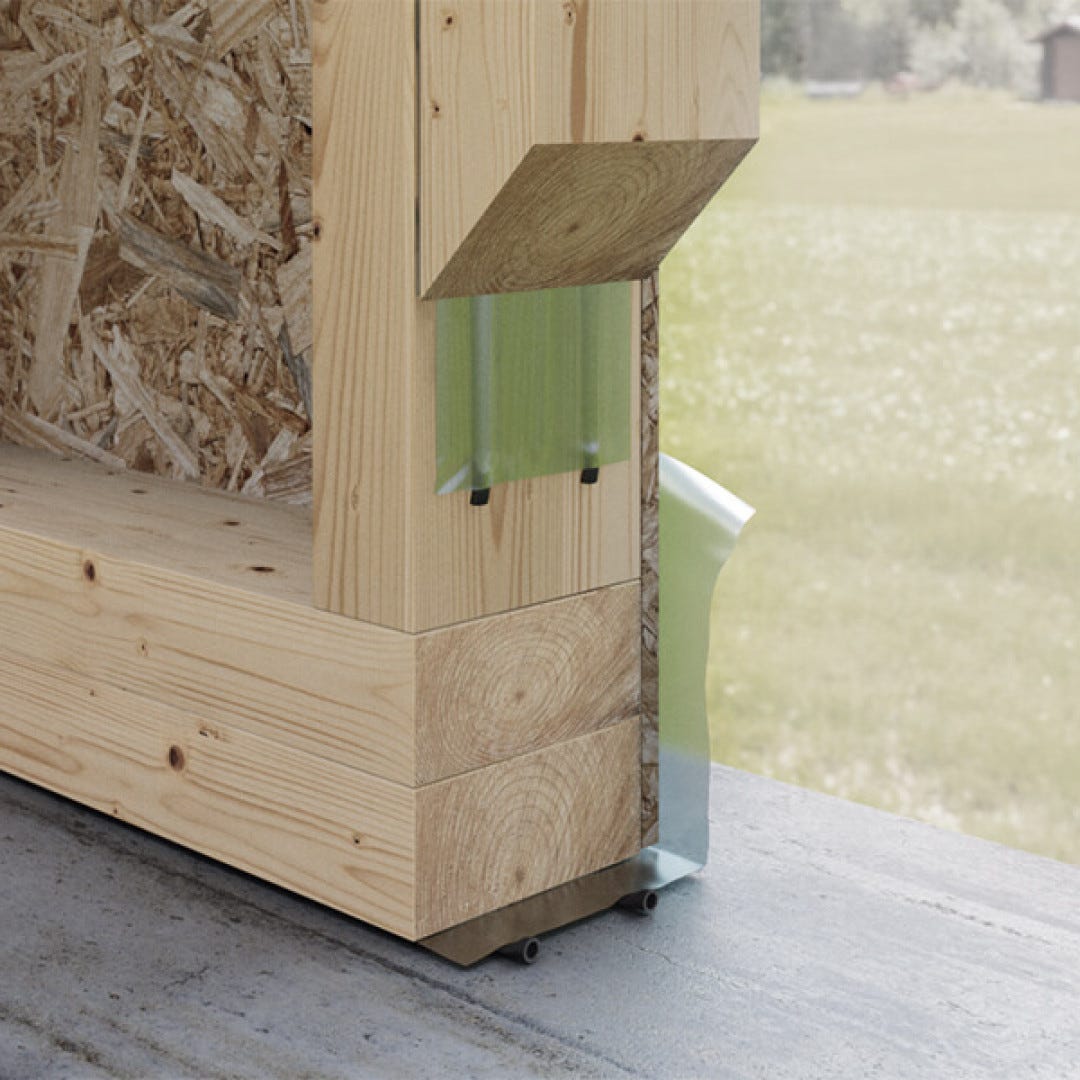
Proclima contega sealant on the house, Siga meltel on the shop, directly on the concrete and in between the sill plate and the gasket.
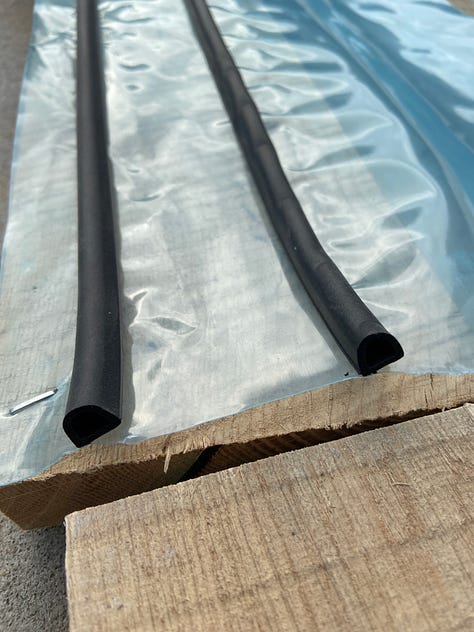
rothoblaas level band. a sill gasket with 2 EPDM rubber seals to mitigate uneven concrete. sealant on all sill gasket joints. company image but show it in use better than any photos i took.
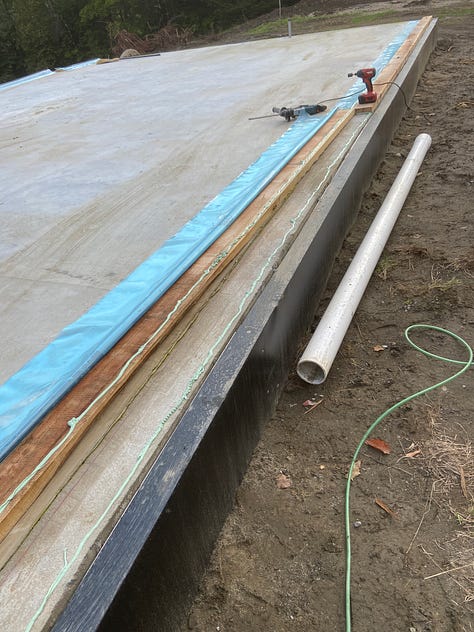
Sill plates were locally sawn white oak. naturally rot resistant with no treatment. they used white oak to build boats as it never rots even living in water. it was locally sawn but i still had to clean it up with the table saw and my planer.
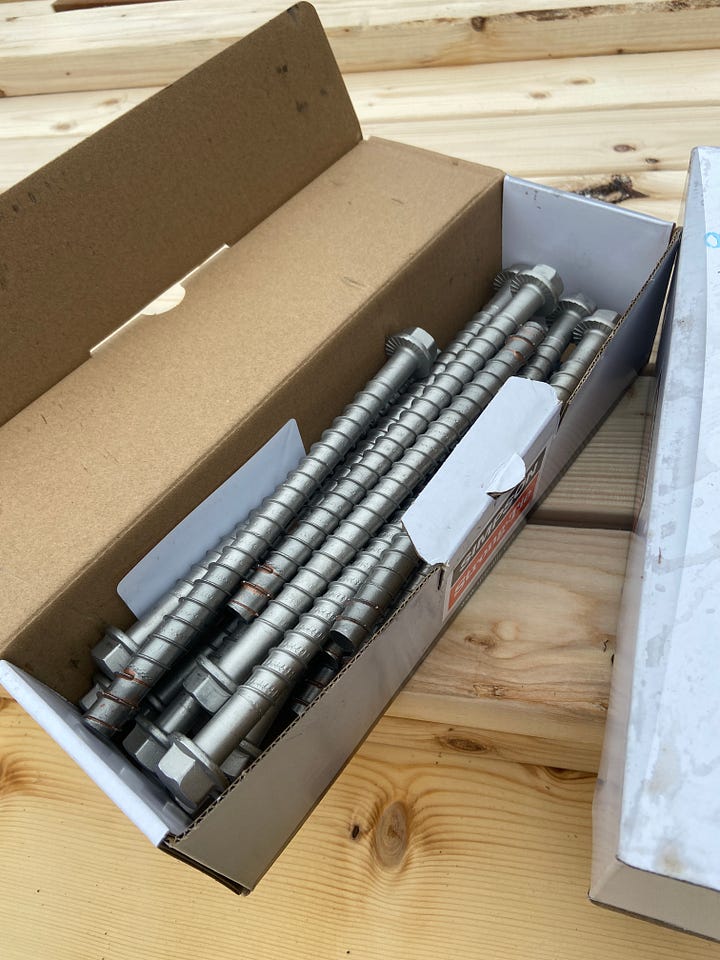
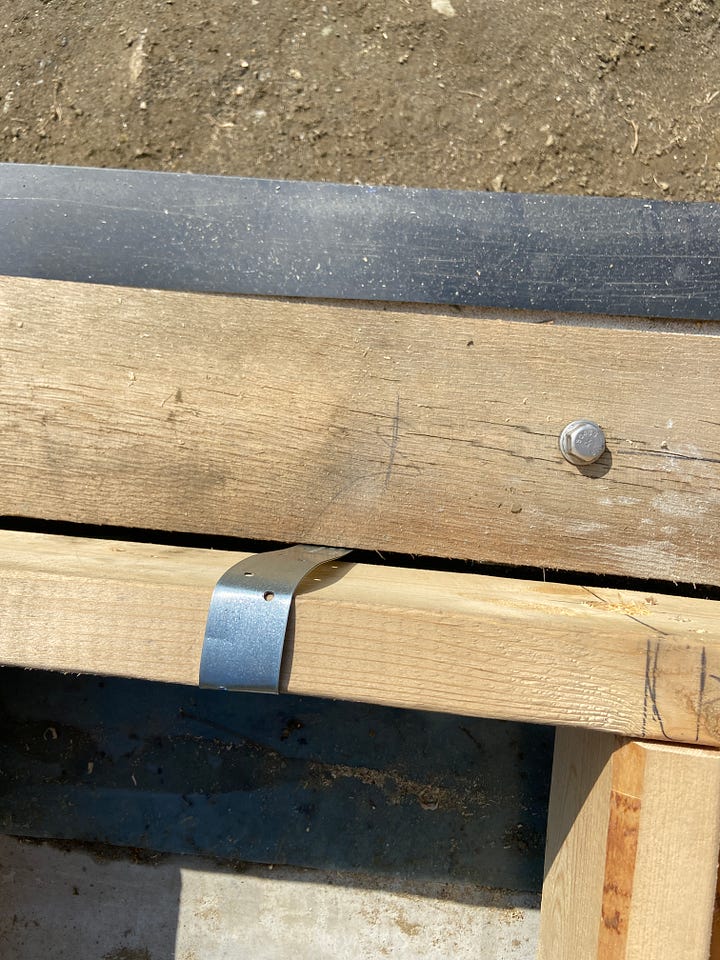
I fastened the sill plate with simpson strong tie stainless steel titen bolts, 5/8” diameter. this way assured proper layout with doors, windows wall panels. I needed to use either stainless steel or galvanized because the tannins in white oak corrodes steel.
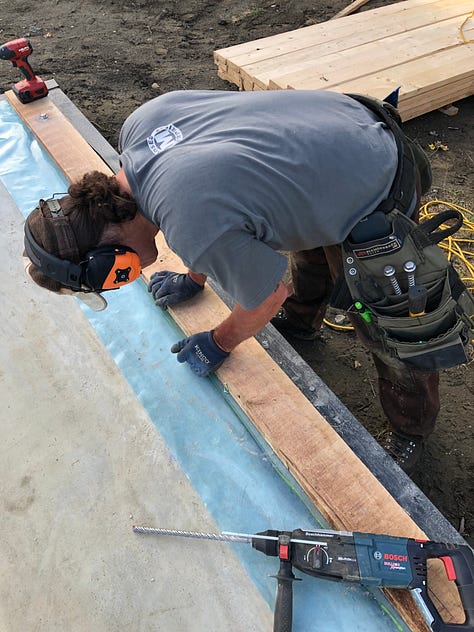
i framed the walls on the deck. 2x6 framing is fairly standard. i sheathed the walls in 1/2 plywood, not osb or zip panels. I would have used 1” boards at 45 degrees if they were available but my local mill had a big fire and the mill in east montpelier took 6 months to get me the siding. my house gets a lot of wind. i nailed the sheathing for high wind, 3” spacing around the edges of each panel, window or door opening, 6” on the studs. same nailing spec for seismic loads in california.
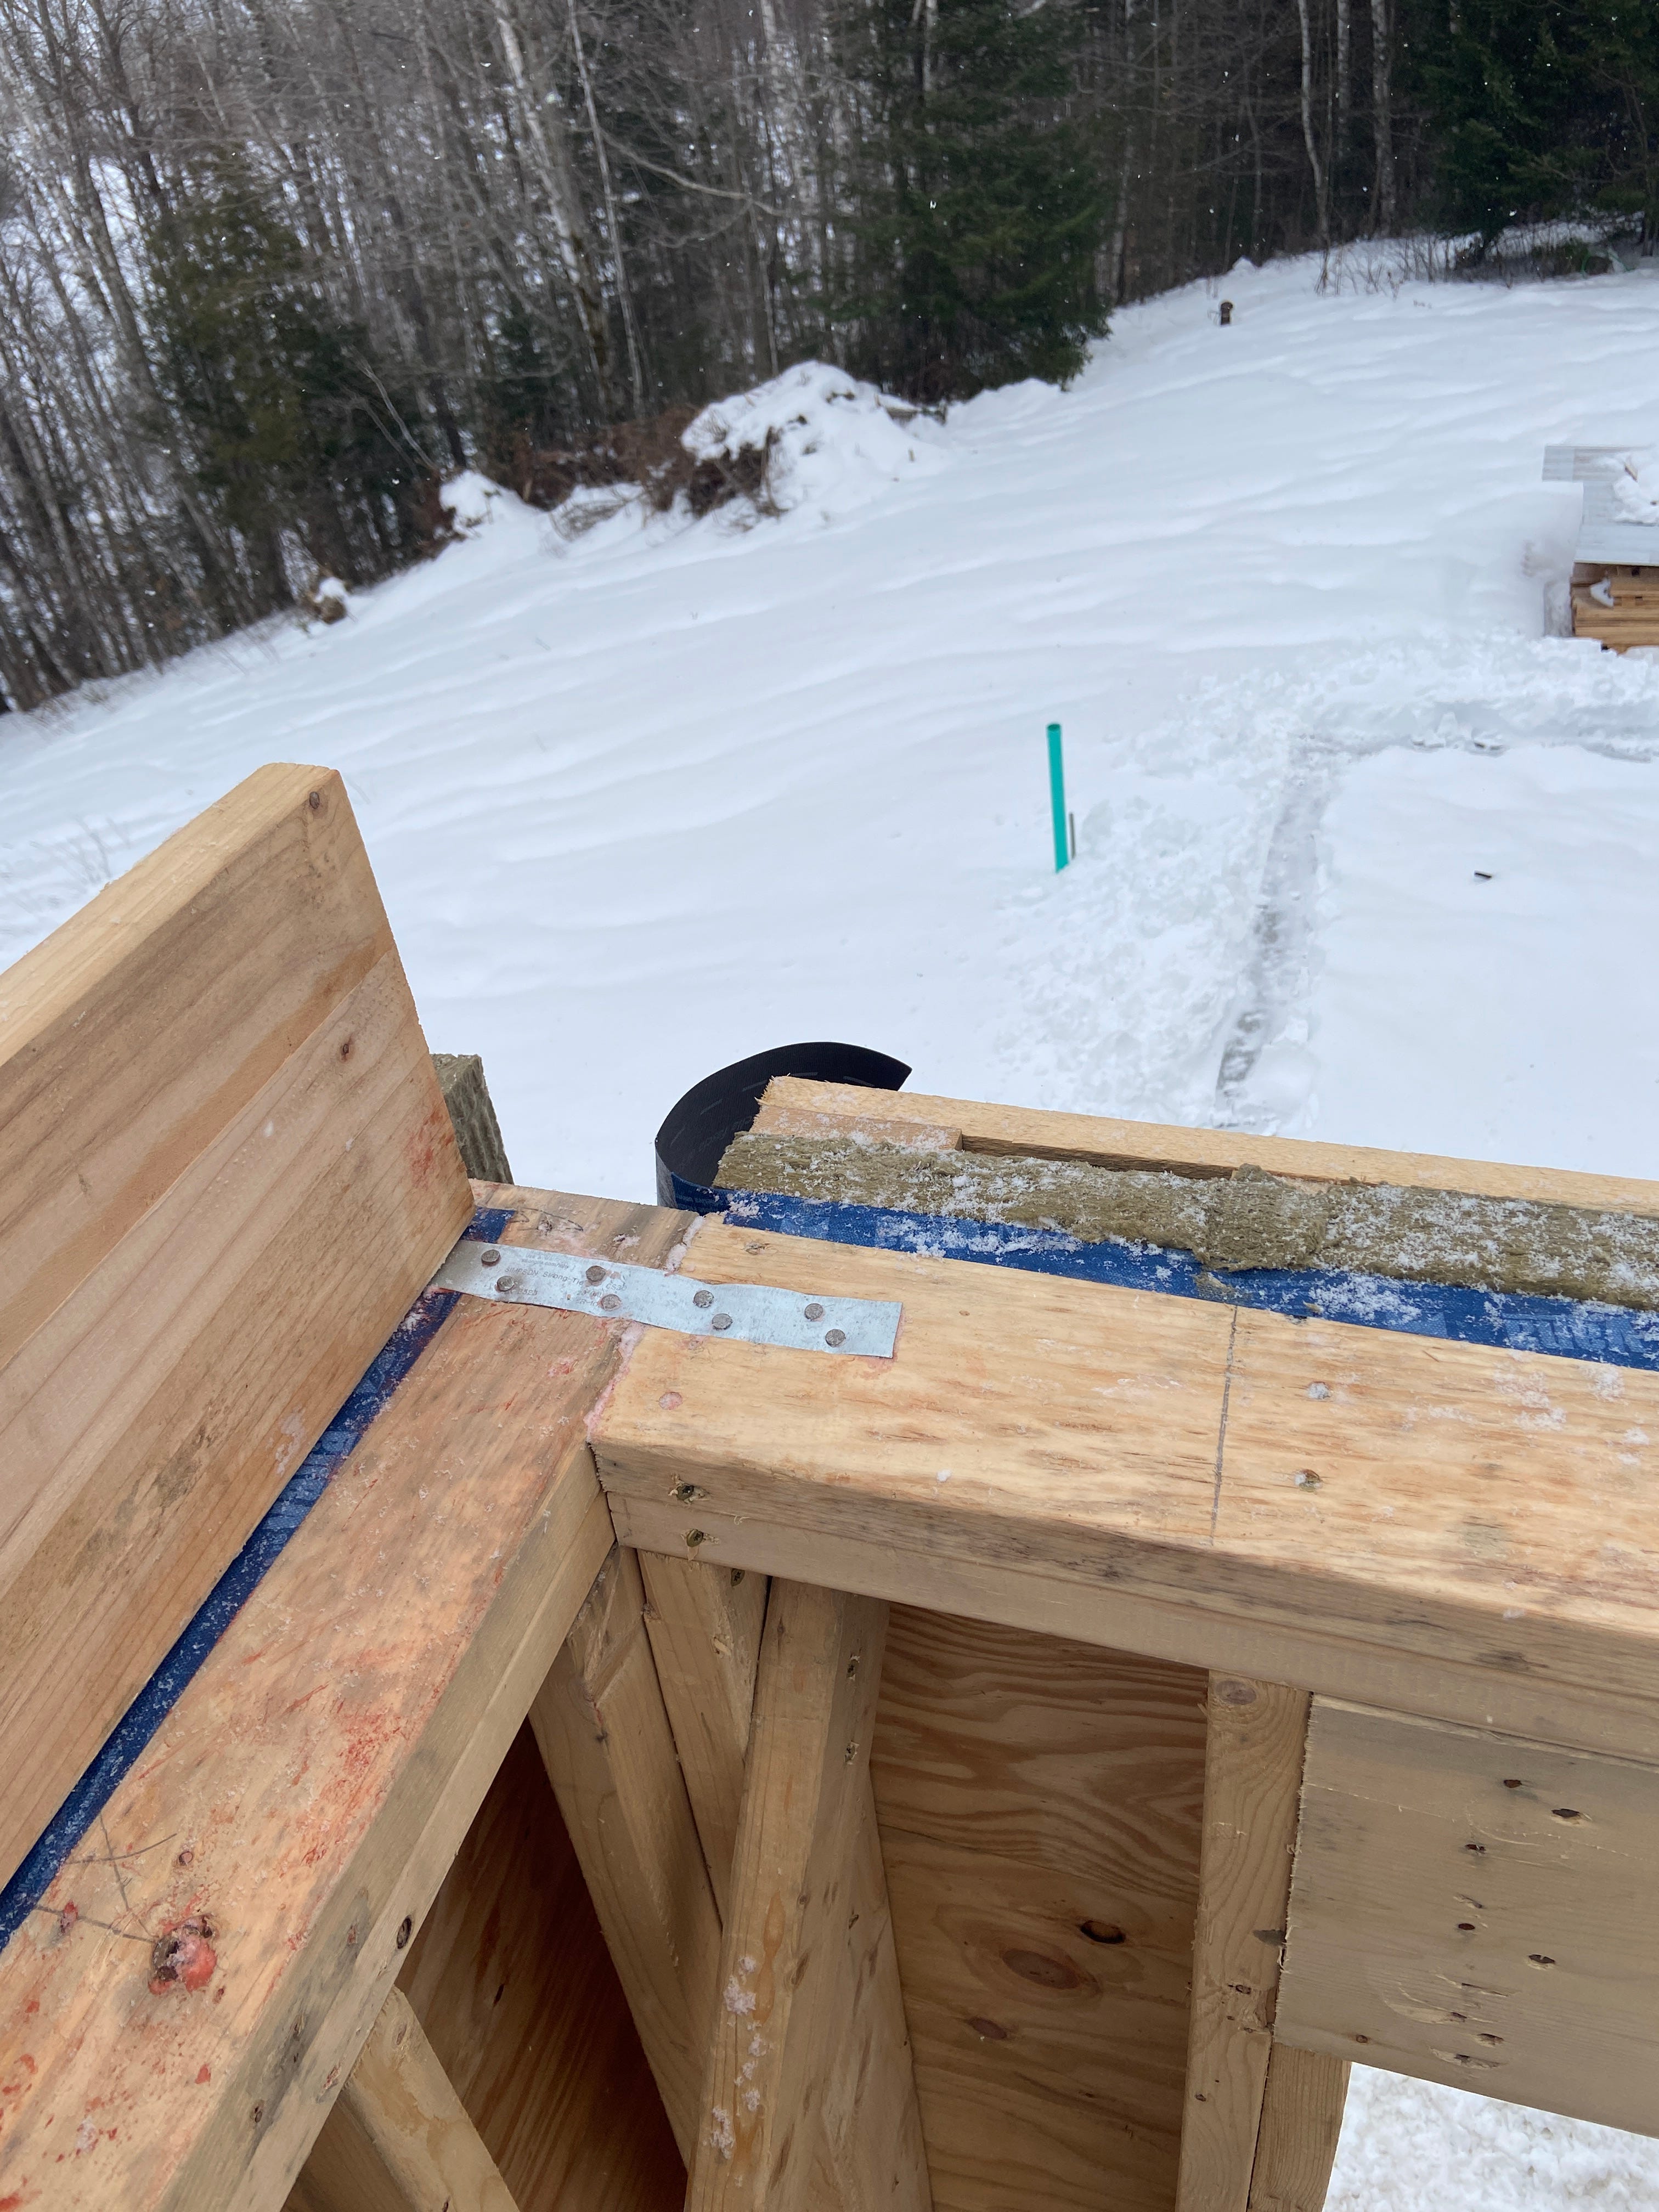
I used steel strapping to tie the walls to the sill plate so they wouldn’t move when lifted into place.
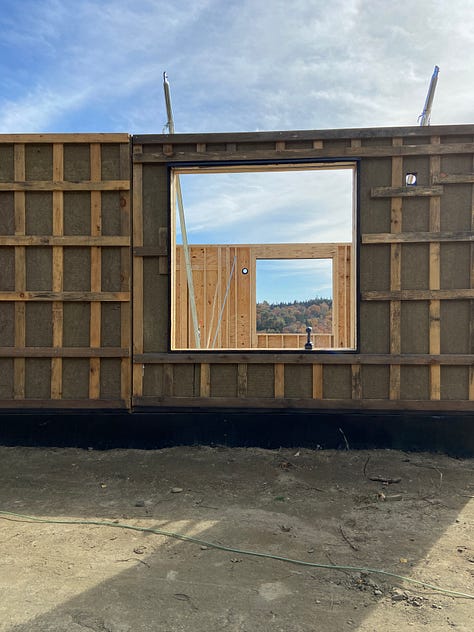
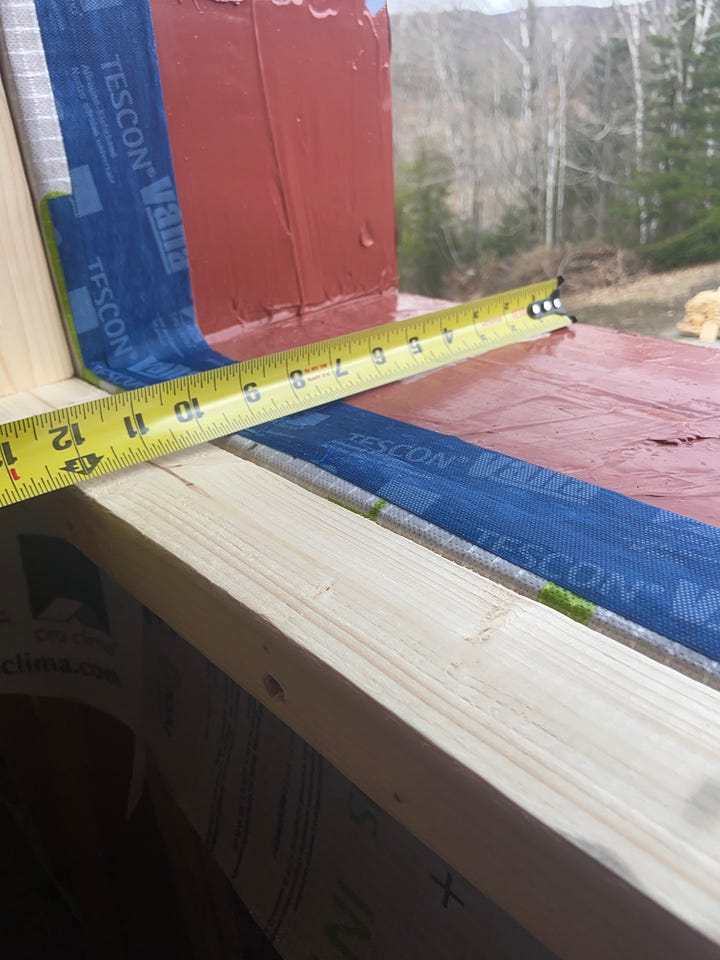
on top of the sheathing i rolled out Pro Clima Mento 3000 . It is a “3-layer air tight, vapor-permeable house wrap that is an robust weather resistive barrier (WRB). It has an actively vapor open, monolithic layer of TEEE film that is extremely waterproof – and outperforms perforated/micro-porous WRBs, both, in outward drying potential, as well as airtightness.” i used the 10’ wide rolls, the first floor has 10’ ceilings. it was taped with Pro Clima Tescon vanna air sealing tape around the entire perimeter, window and door openings.
I then built 4” tall window and door bucks around the openings. the bottom sill and top were beveled 5 degrees for moisture to roll off. all joints were sealed with Contega sealant. there was metal flashing installed above each window/door that was sealed with tescon vanna tape. once the windows were installed, aluminum flashing pans were installed over the lower sill of the buck.
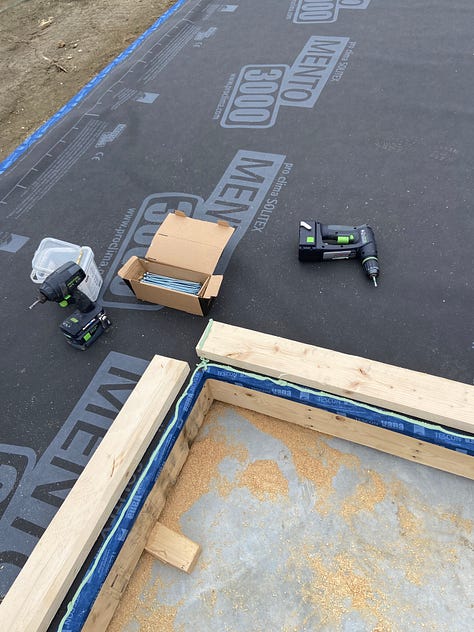
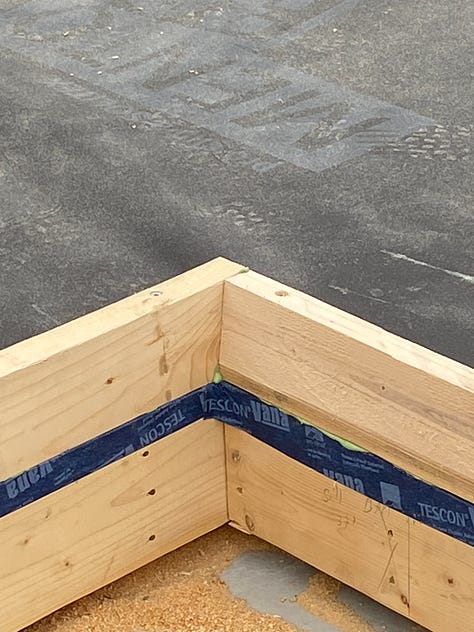
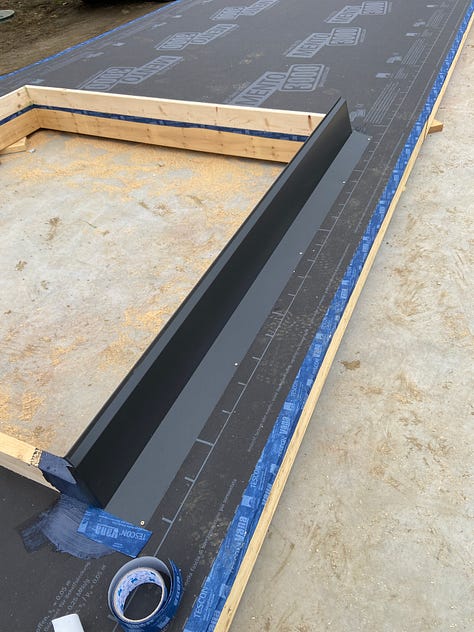
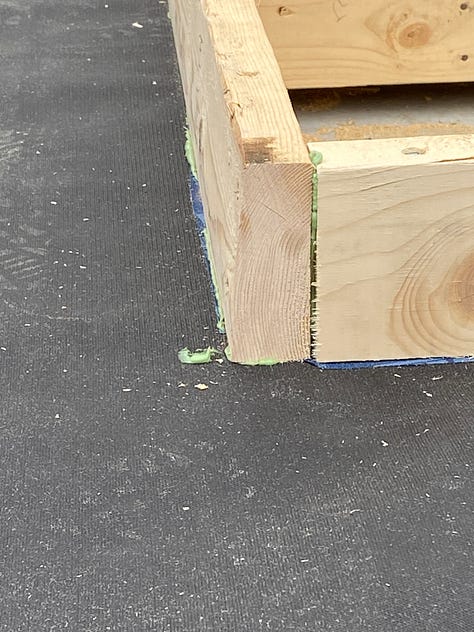
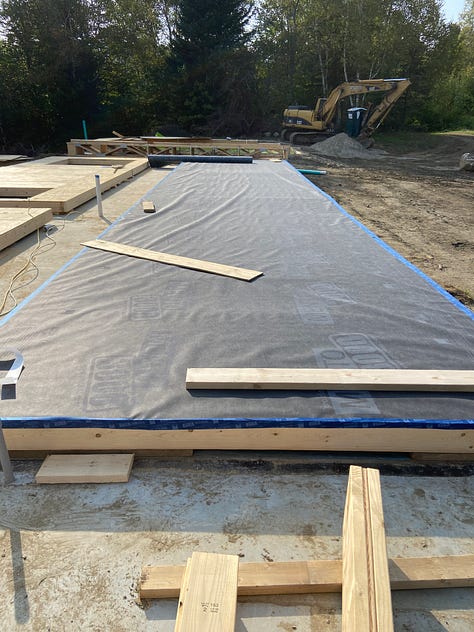
over this went a layer of exterior insulation. i decided to use rock wool r-80 board, 2” thick with an R value of 8. this was laid down on the wall. then vertical 1x3 pine strapping was lined up over each stud. then horizontal strapping was laid on top of this and screwed into the studs, through the rock wool with 7’’ Rothoblaas structural wood screws. in the end i think rock wool was the right choice, being fully vapor open and tough. i am glad i didn’t use wood fiber board as it would have been exposed to the elements for too long while building in the winter.
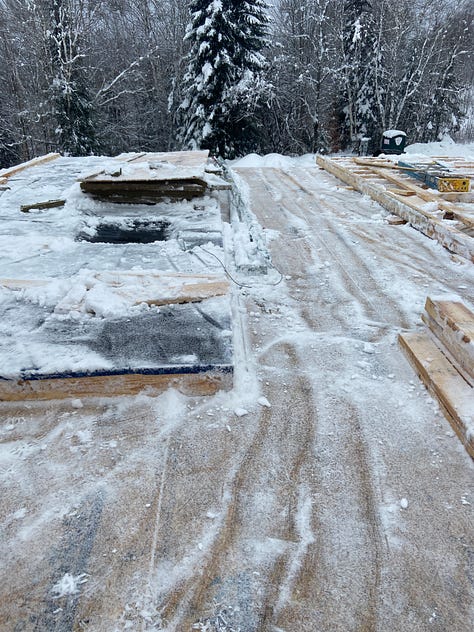
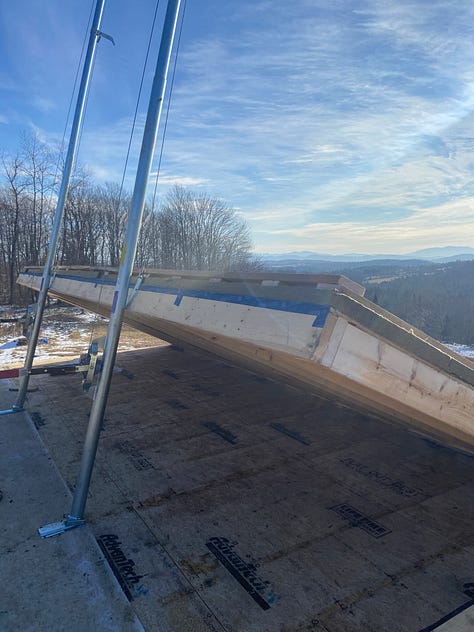
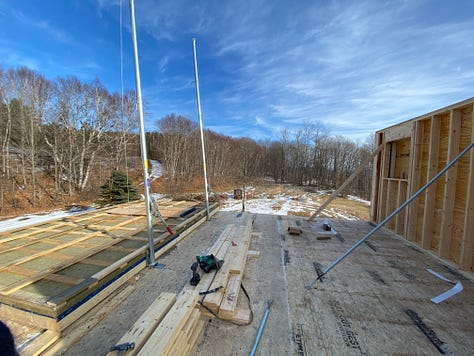
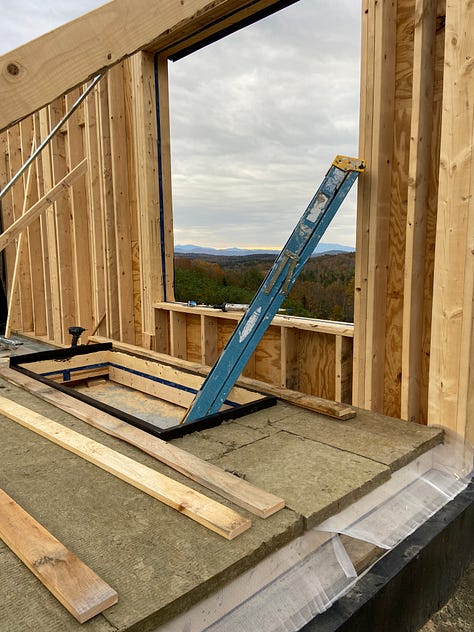

I lifted the walls ,usually alone, with a pair of Proctor wall jacks. my late climbing partner in Bozeman, Scott Robinson, was a solo builder and turned me onto these. in hindsight it would have been less work for me, faster building, and full length wall panels if i had just bought 2 or 3 sets of jacks and then sold them once the house was up. instead i did the wall panels in sections, which added a lot of time and worse, showed the unevenness of the stem wall when sections didn’t line up at the tops of the panel joints. building alone was slow. building walls this complex alone was even slower.
i used simpson strong tie SDWC 6” truss screw for creating continuous load path studs to plates, plates to floor truss, top plates to rafters .i used 1000 of these tying the house and barn together. on the bottom plates i used stainless steel screws as they went from the studs through the plate into the white oak sill plate. i used simpson SDWS structural timber screws for joining walls, 5” and 6”, headers to posts, floor trusses to plates/LVL rim joists. my house never moves in 60 mph winds.
I used adjustable steel wall supports to easily plumb the walls alone. i also used them to pull walls in, blocked up on the deck to bottom plates. i wish i had bought a dozen. worth every penny.
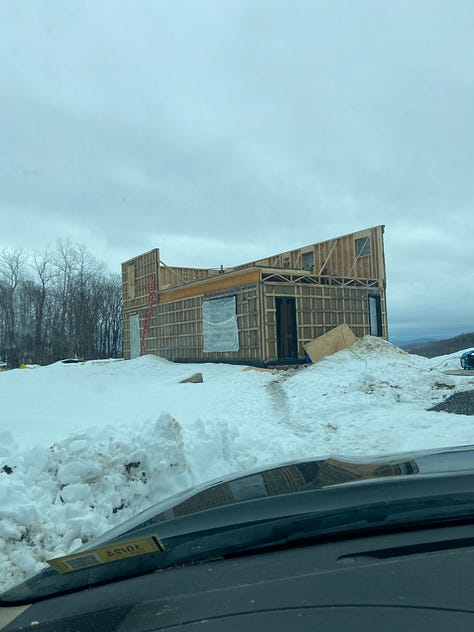
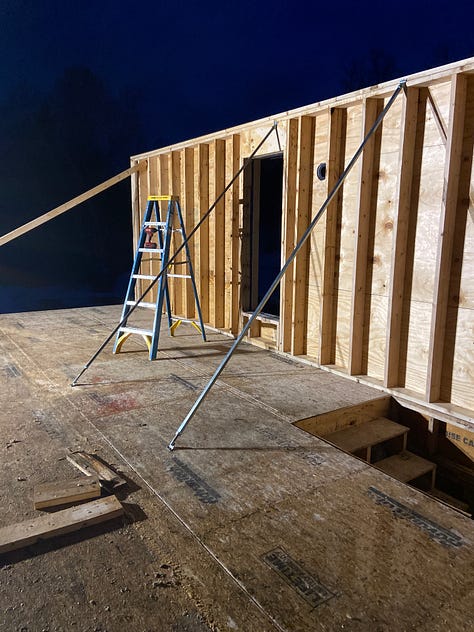
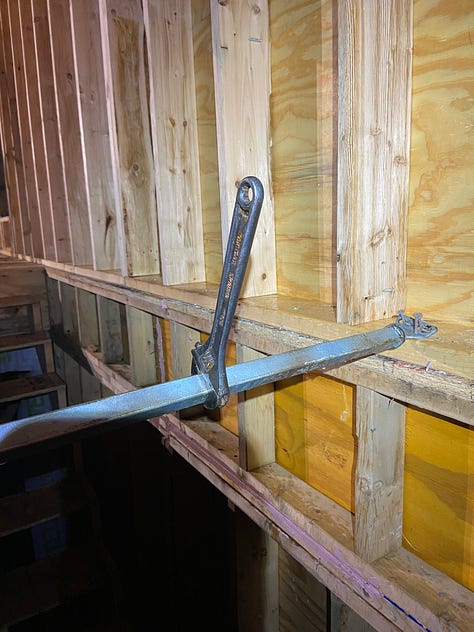
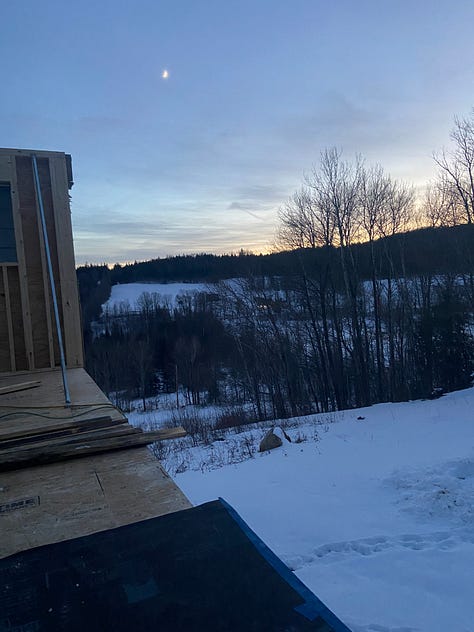
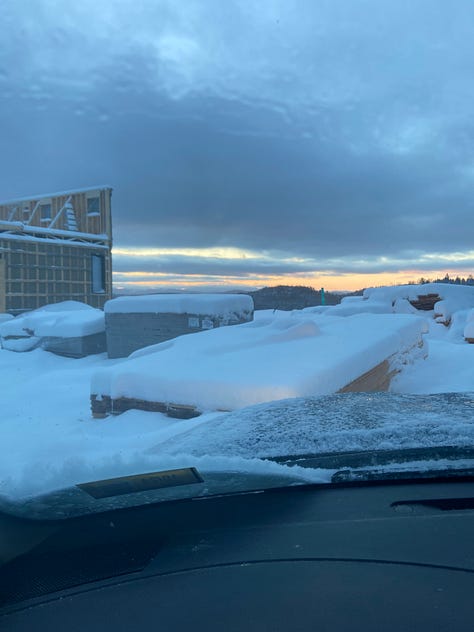
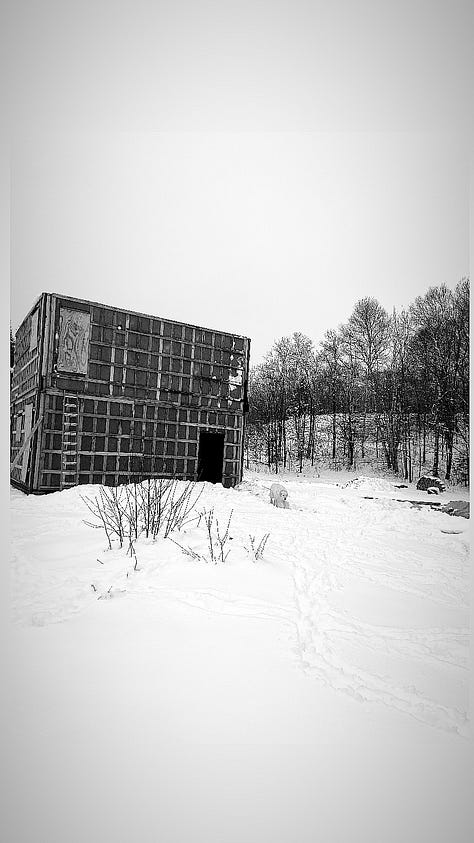
interior framing was just 2x4 walls, except for the “wet wall”. i designed the house so all the plumbing was stacked between floors and used a 2x8 wall on both floors for plenty of room for plumbing. there is no plumbing in any exterior wall, or plumbing penetrations, like a hose bib.
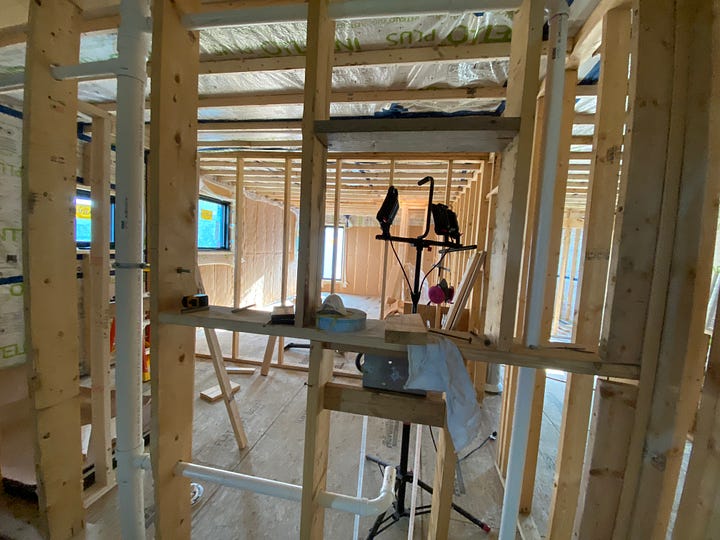
what else… i did not overlap my top plates. i used simpson steel strapping
more later.
jc
No posts
Comments
Nothing yet. Say the first thing.
Sign in to join the conversation.