
Yes, you read that right.
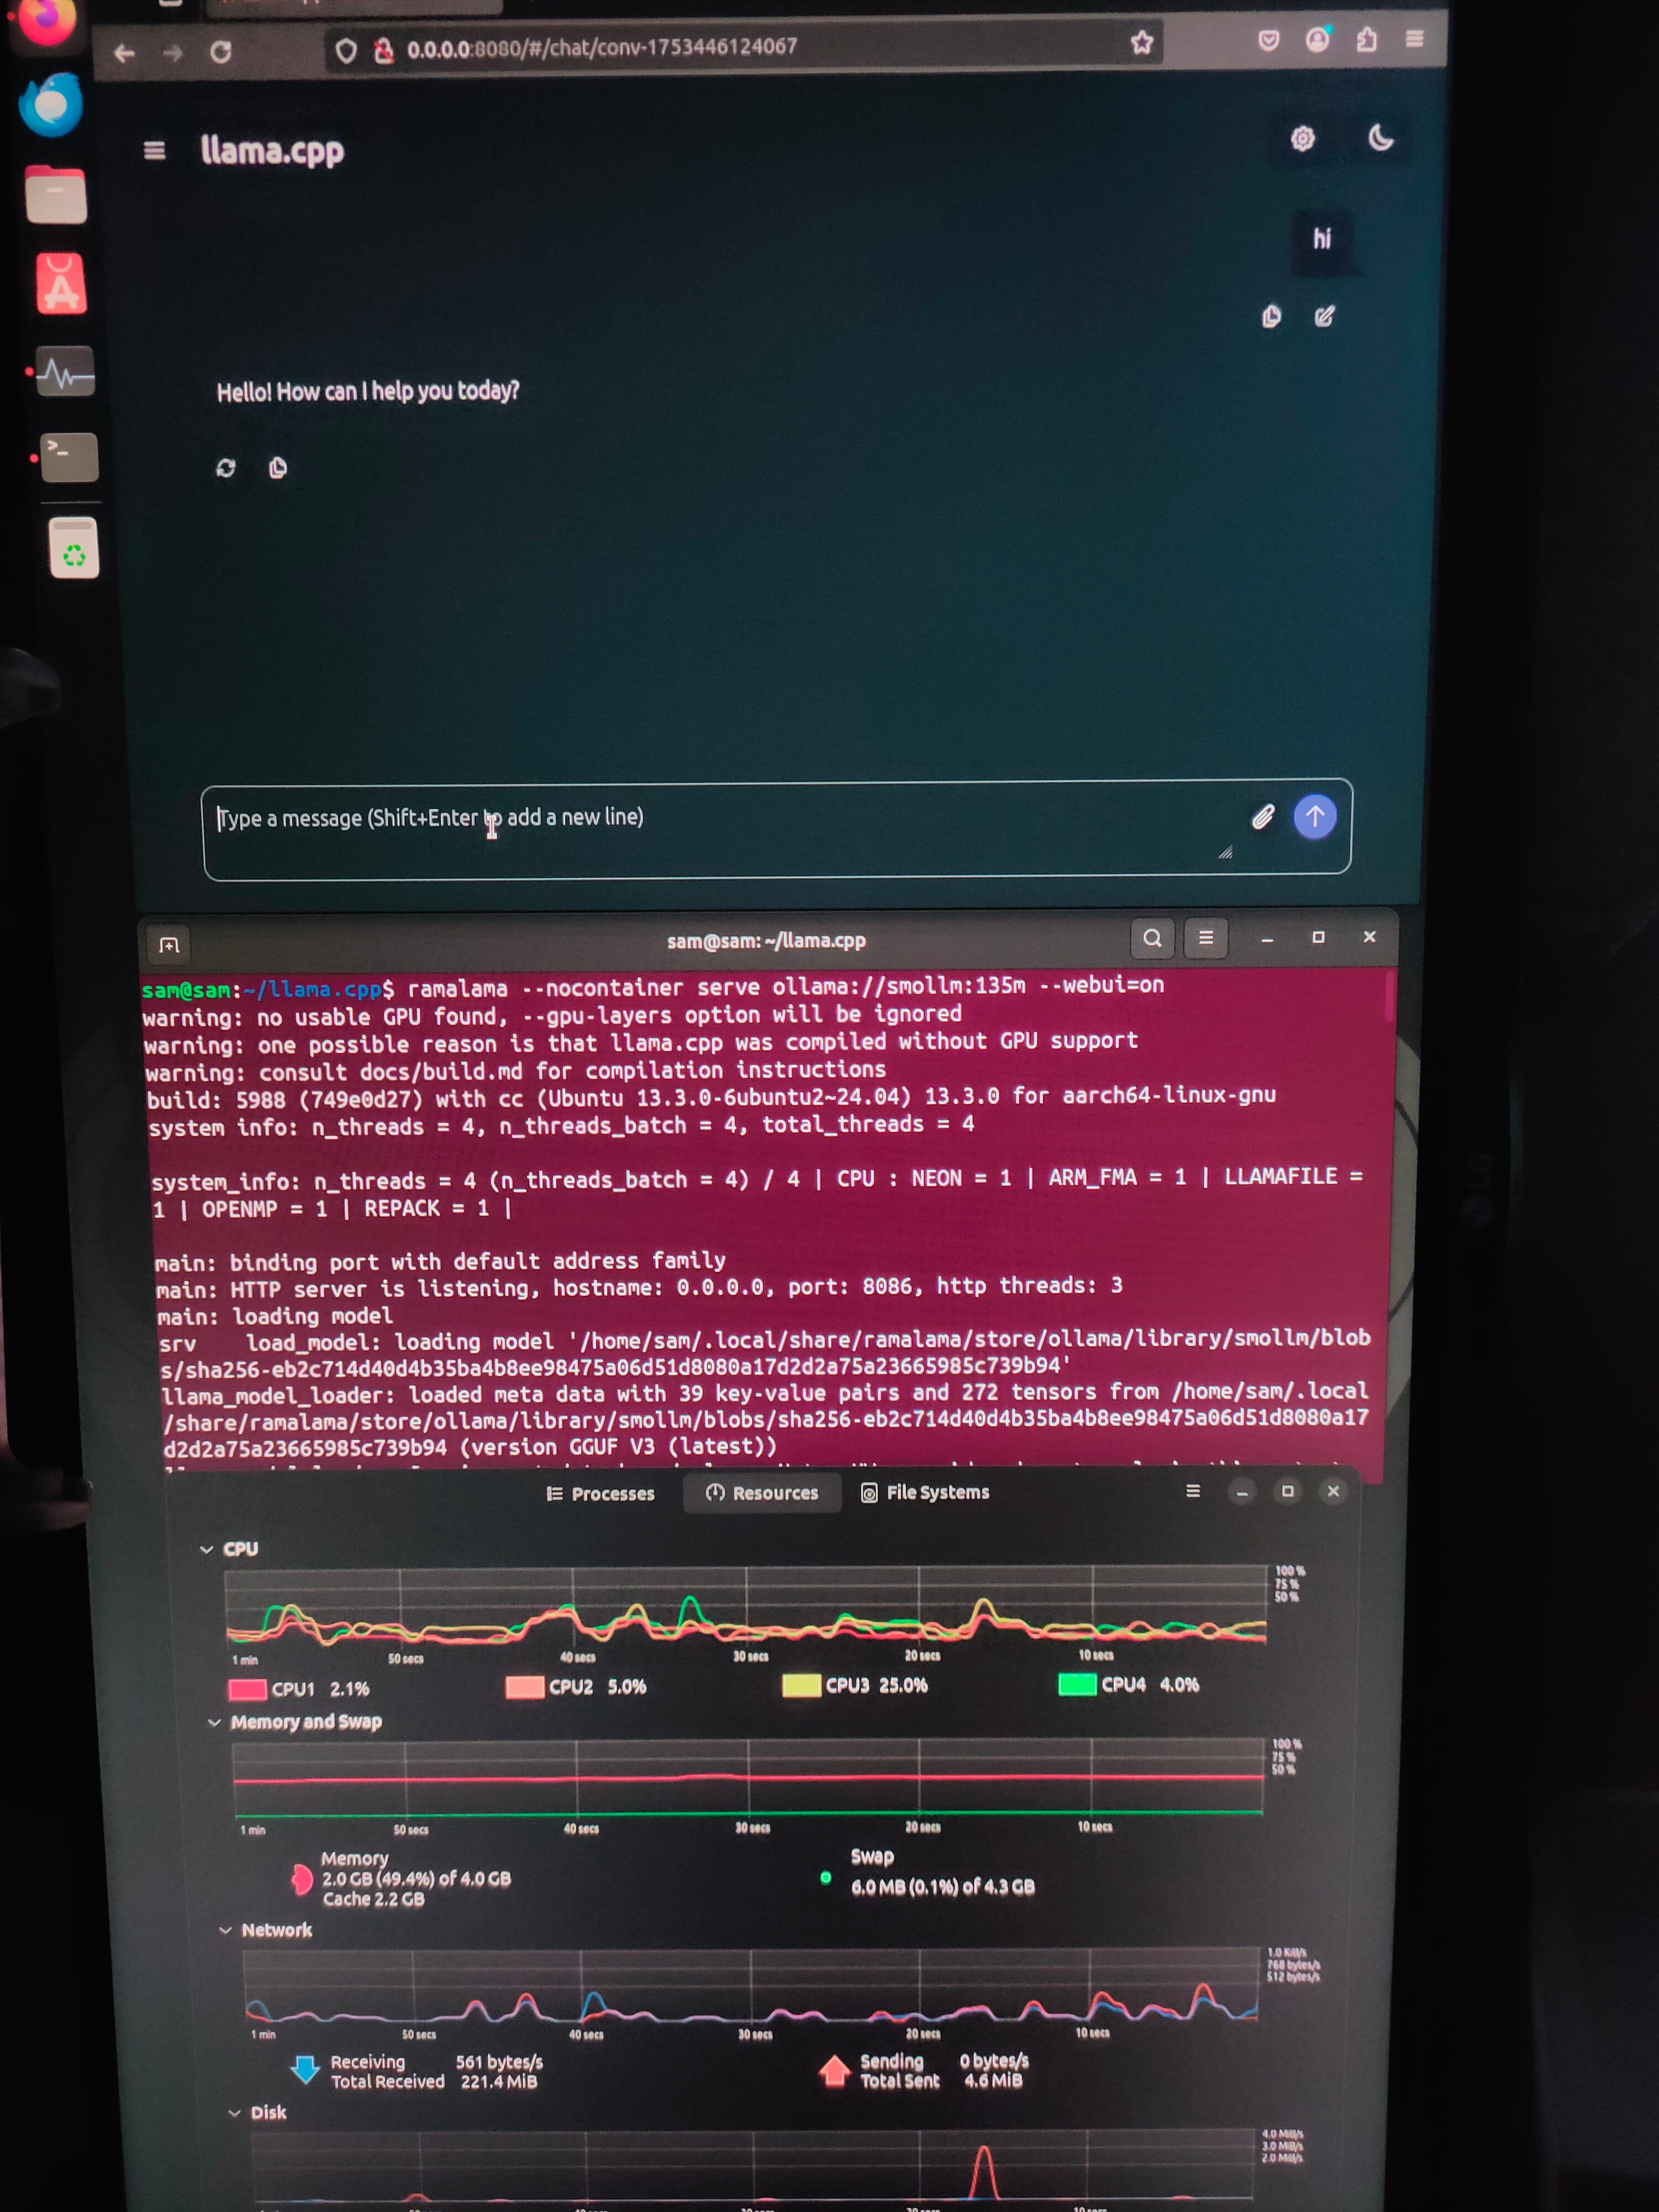
I successfully ran an AI model using RamaLama on a Raspberry Pi with Ubuntu 24.04.
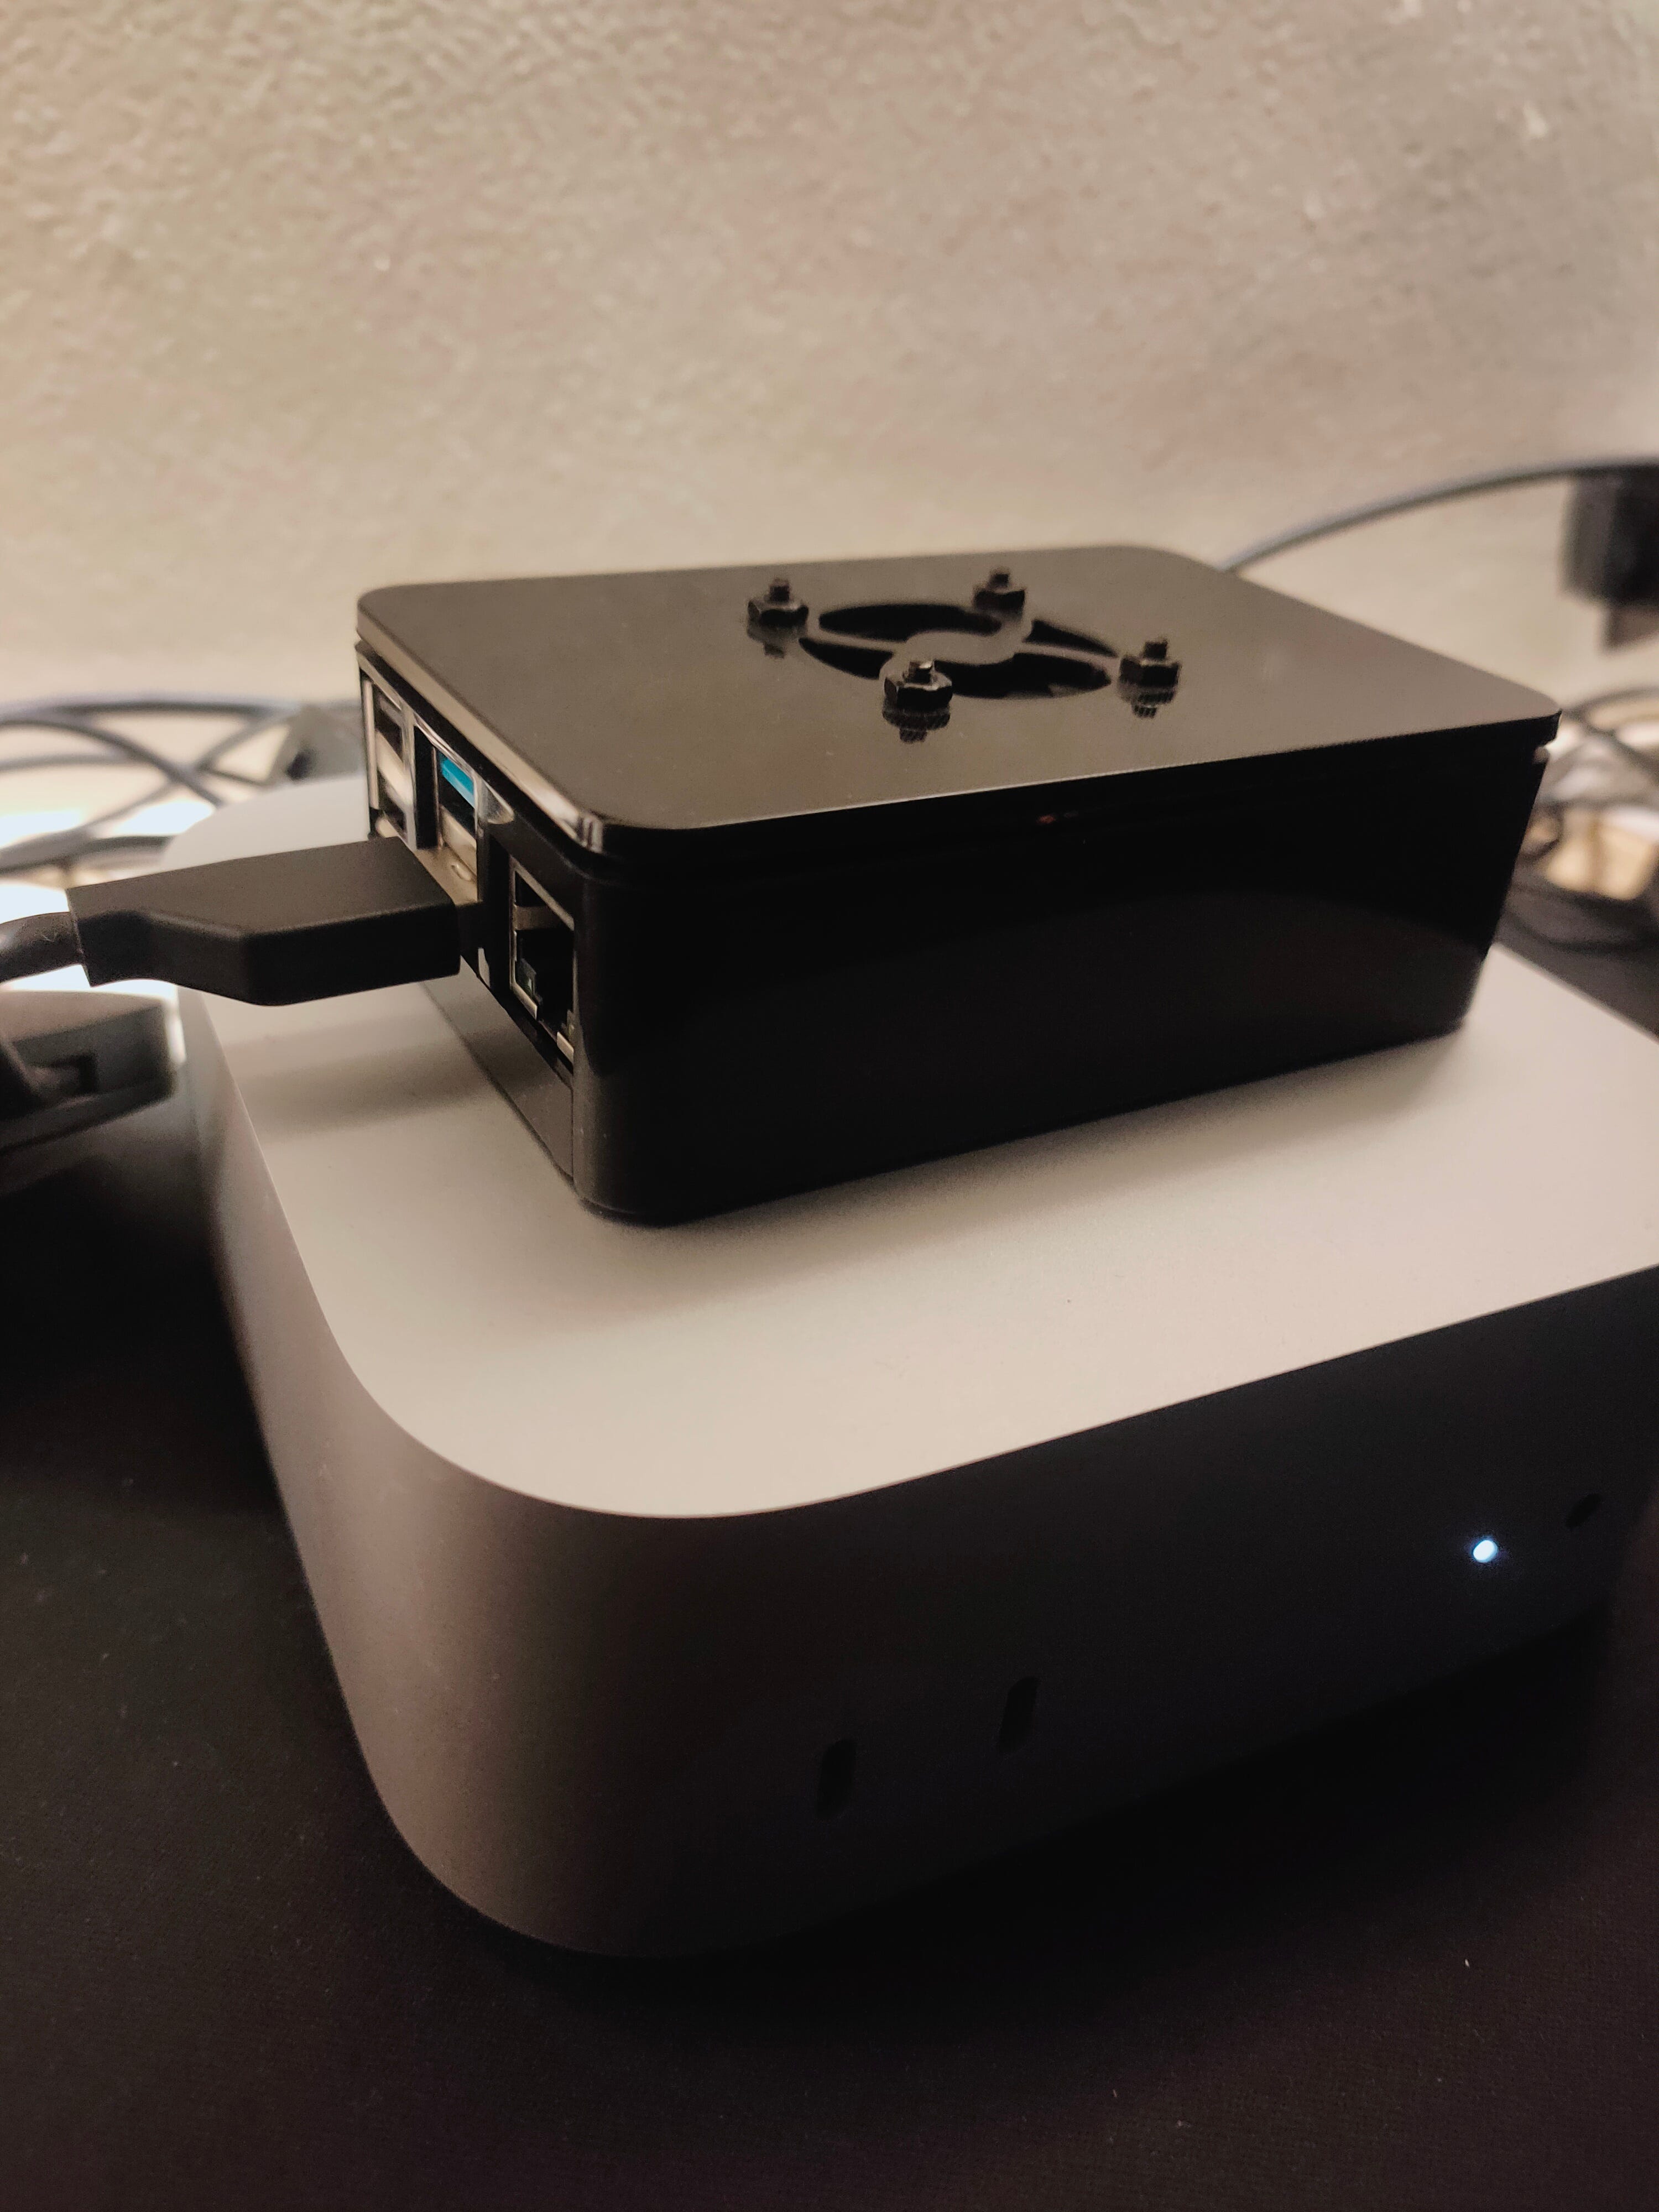
It took a few hours, but everything worked well with some setup.
If you’ve got a Raspberry Pi 4 (or better), you can try this too.
In this guide, I’ll walk you through:
Installing the required tools
Setting up llama-server
Running RamaLama without using containers
Increasing swap space
Let’s get started!
Prepare Your Raspberry Pi
First, make sure your Raspberry Pi is updated and ready.
I’m using a Raspberry Pi 4 with 4 GB RAM and a 32 GB SD card, which is why I need to increase the swap space to make sure LLM runs efficiently. (See the last section on how.)
Open your terminal and run:
sudo apt update
sudo apt upgrade -y
This updates all your installed software and packages.
Install Podman
You’ll need Podman (a tool like Docker)
sudo apt install -y podmanInstall RamaLama
Now let’s install the tools that help run LLMs.
curl -LsSf https://astral.sh/uv/install.sh | sh
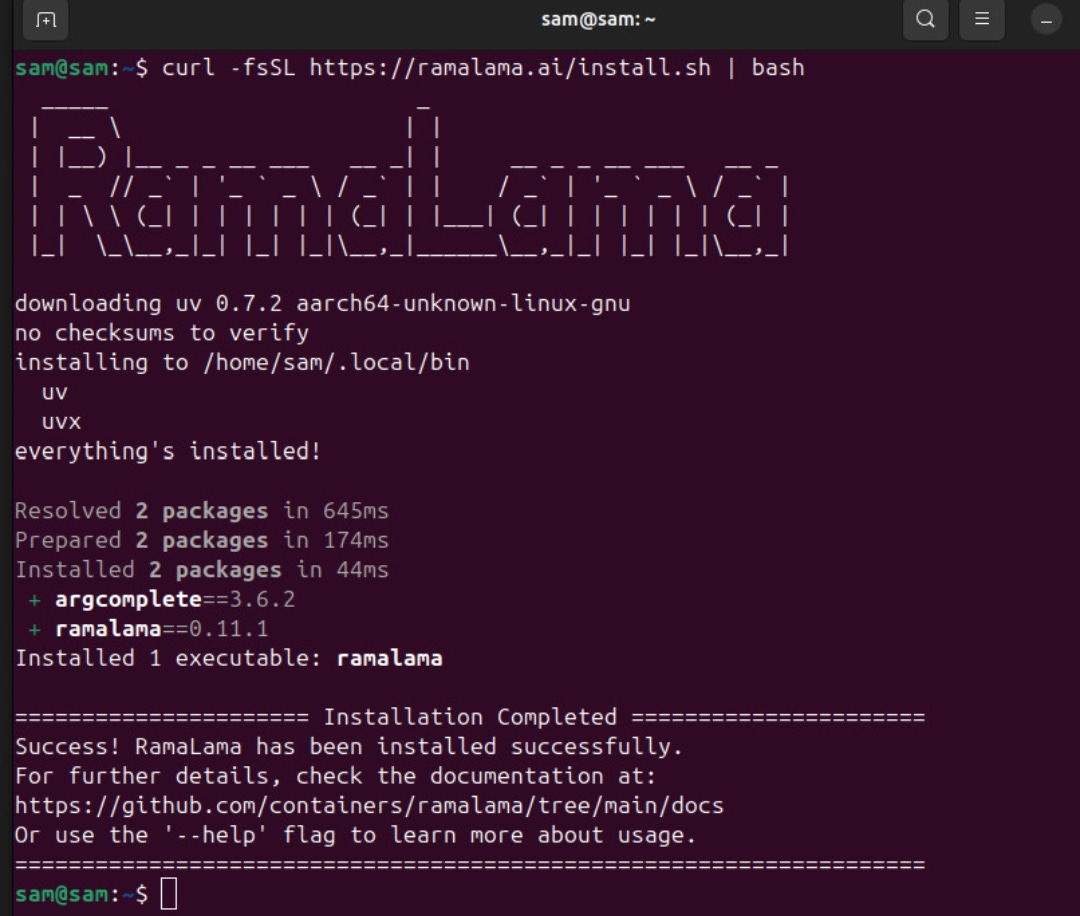
curl -fsSL https://ramalama.ai/install.sh | bashuvis a Python environment manager (faster than pip).RamaLamais an AI model runner for LLaMA and similar models.
Install llama-server Without a Container
Normally, RamaLama runs models inside a container. But on a RaspberryPi, containers use more memory.
Running without containers is useful when:
Your Pi has low RAM and containers are too heavy.
You want faster performance.
You’re debugging or testing models.
You need more control over how things run.
So let’s run it natively (directly on the system).
Install Required Tools
You need a few tools to build llama-server from source.
sudo apt install -y build-essential cmake git curlDownload llama.cpp Code
This code lets us build the llama-server.
git clone https://github.com/ggml-org/llama.cpp
cd llama.cpp
Build the Server from Source
We now compile the code to create a working llama-server.
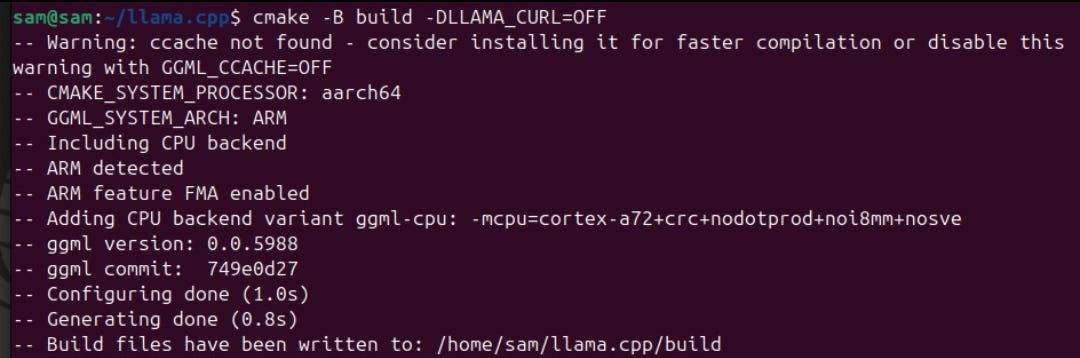
cmake -B build -DLLAMA_CURL=OFF
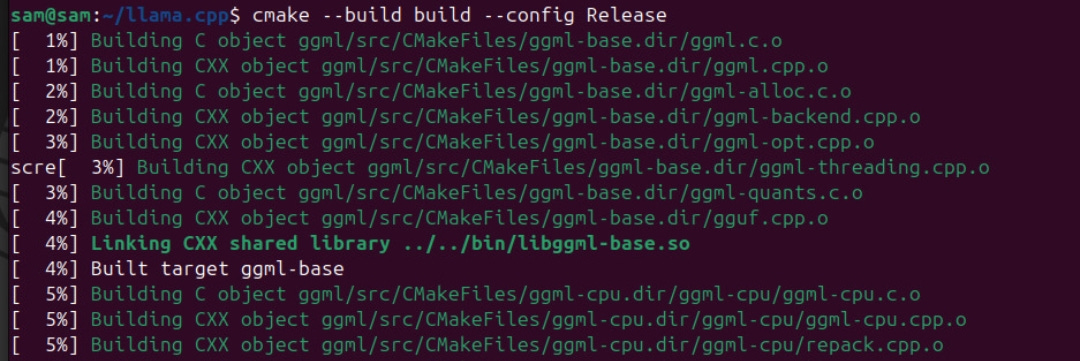
cmake --build build --config Release
This creates a file called llama-server inside the build/bin folder.
Make the Server Accessible from Anywhere
We’ll create a shortcut so you can run llama-server from anywhere.
sudo ln -s $(pwd)/build/bin/llama-server /usr/local/bin/llama-serverThis ensures that RamaLama can find llama-server binary while running. LLM.
Run RamaLama Without a Container
Once llama-server is set up, you can run your model using RamaLama like this:
ramalama --nocontainer serve ollama://smollm:135m --webui=onThis command tells RamaLama to:
Download
smollm:135mmodelRun without a container (
--nocontainer)Serve the
smollm:135mmodelTurn on a web UI for interaction (
--webui=on)
Increase Swap Space to 4GB (Highly Recommended)
LLMs need more memory than what a Raspberry Pi has; mine had 4 GB RAM.
Swap is like emergency memory on your SD card.
Turn Off and Delete Old Swap
sudo swapoff -a
sudo rm /swapfile
Create New 4GB Swap File
sudo fallocate -l 4G /swapfileSet Correct Permissions
sudo chmod 600 /swapfileEnable New Swap
sudo mkswap /swapfile
sudo swapon /swapfile
Make Swap permanent so it can persist across restarts.
sudo nano /etc/fstabAdd this line:
/swapfile none swap sw 0 0Save and exit.
Check That It Worked
free -hYou should now see 4GB under "Swap."
Final Thoughts
Running AI models on a Raspberry Pi used to sound like science fiction. But now, with tools like RamaLama and llama-server, it’s totally possible, even fun.
With the right setup:
You can serve small LLMs like
smollm:135mRun everything without containers
Save memory by increasing swap and shared memory
Give it a try and let me know how it goes!
Comments
Nothing yet. Say the first thing.
Sign in to join the conversation.