
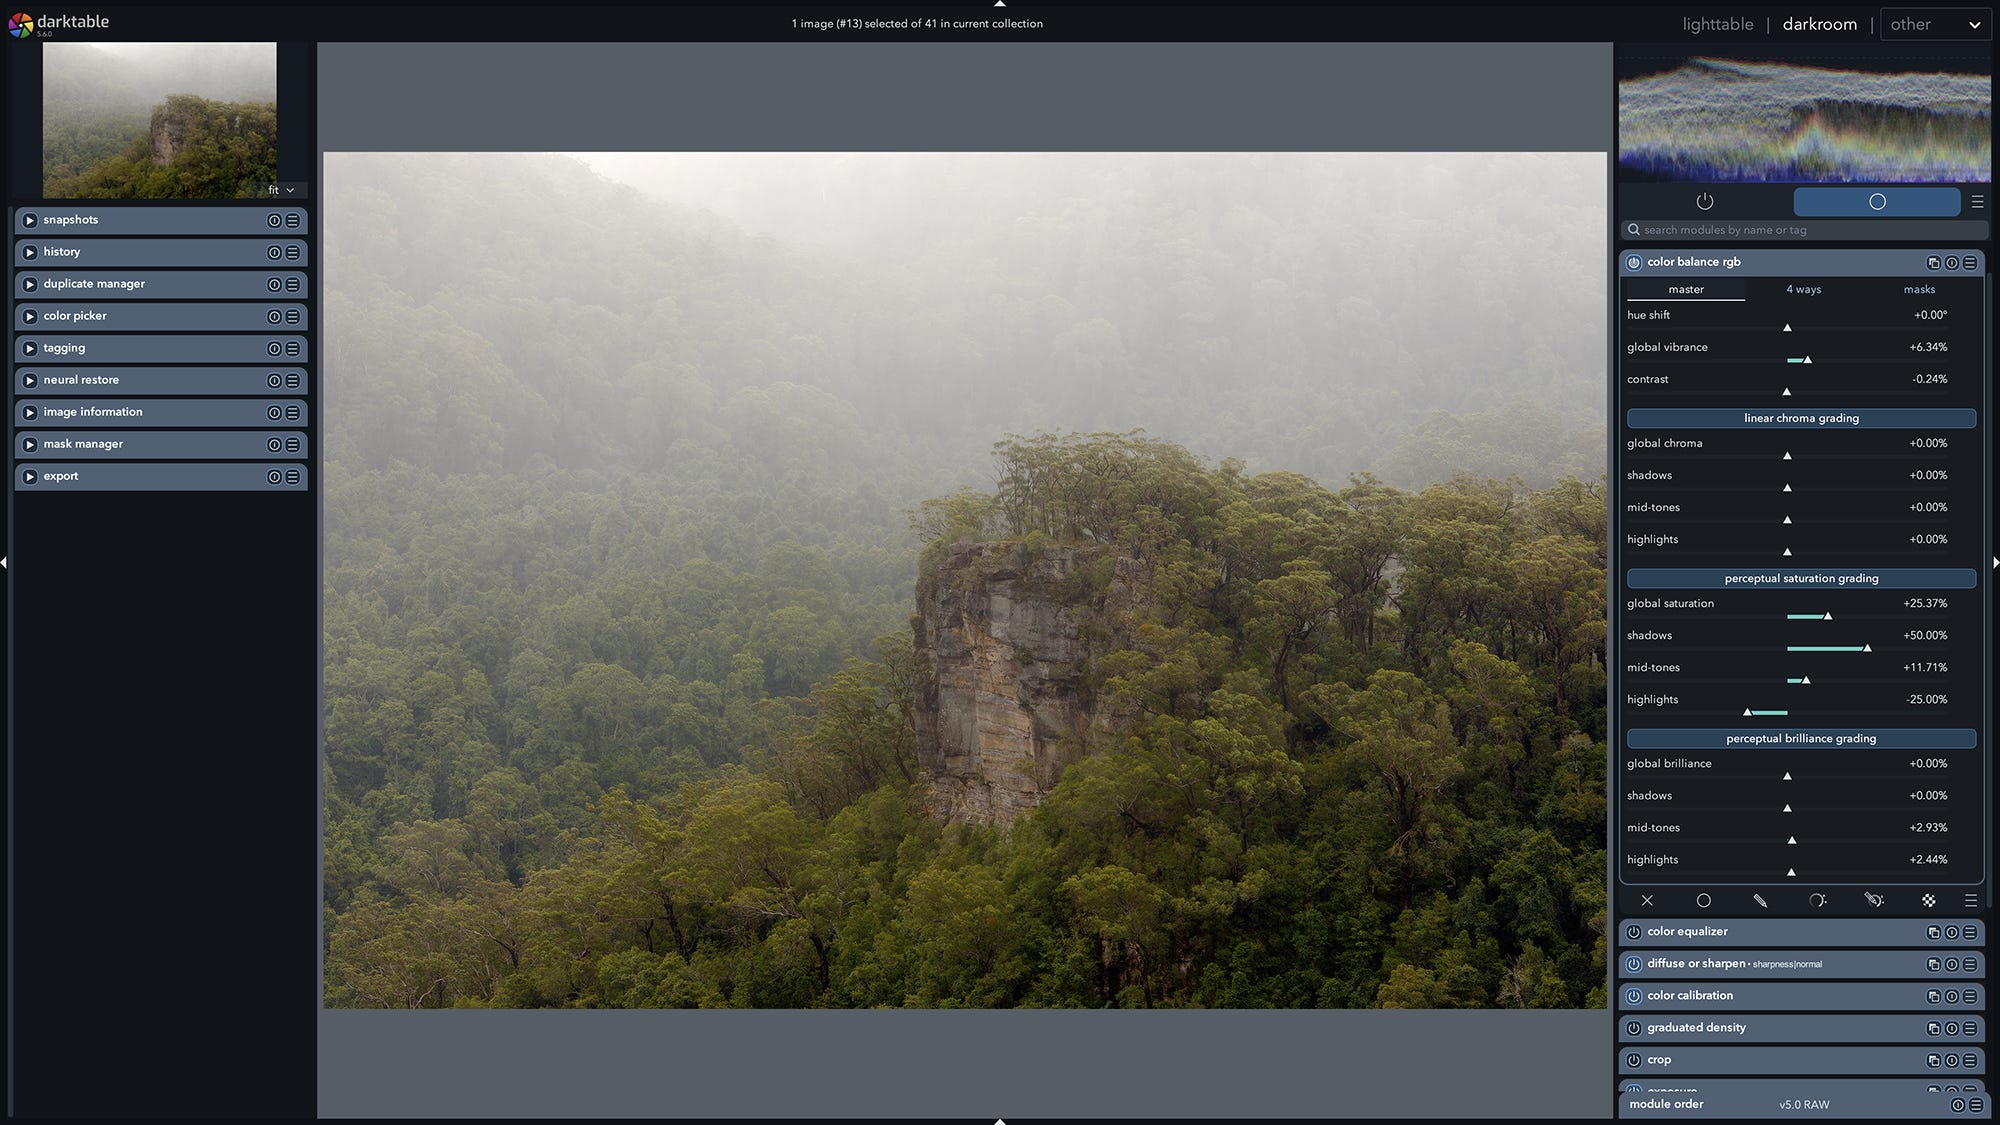
This is the series for the everyman: the poor bastard who just wanted to fix a photo and instead found four kinds of saturation, a tool called wavelet decomposition by frequency band, and a white balance slider hidden in a module called Colour Calibration because darktable believes surprise should be part of the workflow.
In the first two parts of this series we waded through a module system that runs bottom-to-top on purpose, and a scene-referred editing system that tries to convince you that flat, lifeless images are somehow a feature. And in this one I’m going to walk you through a workflow so simple you could do it hungover, half asleep, and quietly furious, which, let’s be honest, is the standard darktable operating condition.
Why ‘Beginner’ Workflows on Darktable are so Common
If you’ve ever tried to learn darktable, then the odds are you’ve watched a few beginner workflow videos on YouTube, brought to you by the weird and wonderful creators championing this belligerent photo editing app. And like me, you may have discovered that every single one of those workflows was different, and that having watched three or four of them you’ve come away more confused than ever, and gone running back to Adobe with your pants down and your wallet open.
The reason for the near-total lack of consensus is that there are, typically speaking, about 42 different ways of accomplishing everything in darktable. And the choices you make early on, like which display transform you pick, ripple outwards: they decide which other modules you’ll enable, and how you work inside them.
But I have been putting in the hours and yes, reading the (actually pretty good) manual, and I reckon I’ve landed on a decent entry point into this app for any photographer, no matter what niche they favour.
Comments
Nothing yet. Say the first thing.
Sign in to join the conversation.