
Photography’s supposed to be fun, but sometimes, faced with that wall of un-edited thumbnails, it feels about as enjoyable as being told that your favourite app’s subscription has ‘evolved’.
I’m all about photography in the real world and I’m here to offer you real advice. So if you’ve ever left the RAWs on the card for 18 months because the edit fills you with dread, here are ten epic tips for doing the least possible while still technically calling yourself a photographer.
To be brutally honest with you, the militant ‘get it right in camera’ crowd have always struck me as a load of puffed-up bell-ends, the same sort of smug chin-strokers that refuse to crop because Cartier-Bresson wouldn’t.
I’m all in favour of getting it right in camera as a general principle, but I don’t feel the need to say so, any time someone asks me what app I use to edit my photos, because unlike them I don’t treat it like they’ve insulted my mother.
All of that not-with-standing, you do always have the option of not editing your photographs at all. You can accept the decisions you made at the time of exposure, leave all thoughts of ‘fixes’ on a back-burner and simply import and immediately export.
And if this sort of anti-workflow appeals to you, then might I propose you take a look at DXO PureRAW, which will import your photos from your SD-card, demosaic, sharpen, denoise and de-dust, then output your photos in any format you like, while you catch up on the Little House on the Prairie reboot.
Believe it or not, back in the 1990s and 2000s I was a club DJ working in nightclubs in the UK, initially mixing with vinyl, but later CDs and then finally MP3s. And the dirty little secret of DJing, once it went all-digital, was the auto-sync button, which miraculously beat-matched the tempos of two tracks, enabling ‘DJs’ to disguise their complete lack of skills, as they pointlessly dabbed the trim knobs.
And while the auto-enhance button found in most photo editors is not nearly as cringeworthy as that, it is nevertheless the photographers dirty little secret. Often-times hitting that button is literally all you need to do to a photo, but at worst it will give you a starting point for an edit.
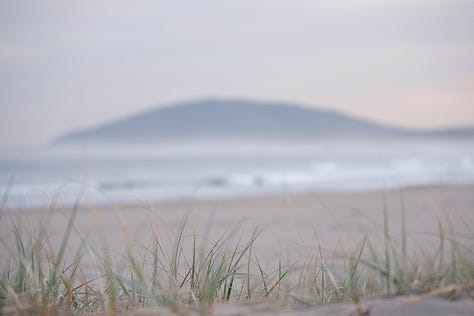
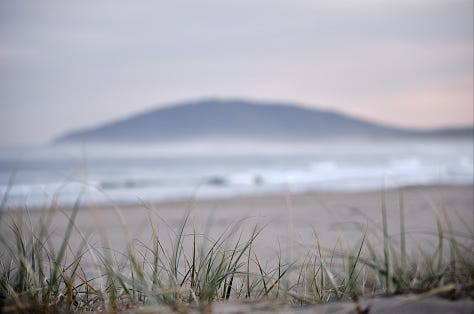
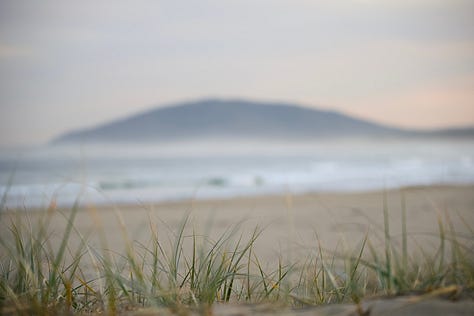
The quality of output you get from the old ‘auto’ button varies enormously from app to app and of course some of them don’t have an auto mode. Lightroom (both versions), Capture One, Photomator, On1 PhotoRAW, Luminar Neo, Zoner Studio and Nitro all have auto modes, but I just did a quick test and I reckon Capture One and Photomator were the best.
Meanwhile an auto mode is far too gauche, darling, for Photolab. Instead DXO applies a number of corrections automatically (Smart Lighting, Clearview Plus, Contrast, Vignetting, Lens Sharpness etc) with no user-intervention required at all.
When faced with a new edit, a lot of us suffer from analysis paralysis. We kind of know where we want to take the edit, but we’re not sure how to start. And under those circumstances, there’s a lot to be said for a preset.

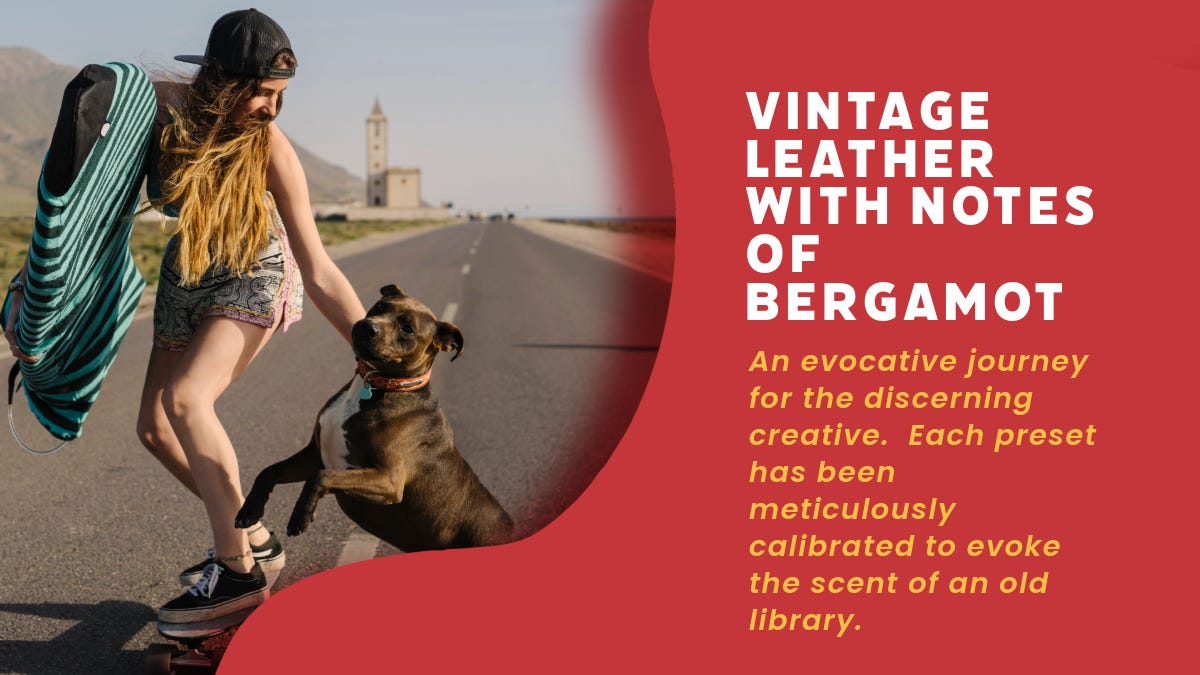
Now when I say ‘preset’, I’m not referring to the sort of recycled, repackaged shite you find many photography YouTubers shilling in their videos. You know, the ones with names like ‘Faded Bohemian Wanderlust’ or ‘Vintage Leather with Notes of Bergamot’ or some other hugely pretentious bullshit that disguises the fact that they’re all just slightly modified versions of someone else’s third-rate preset.
No, I’m talking about the presets that you find at the top of the list in the panel with unassuming names like ‘Landscape Base’. Adobe supply a bunch of excellent baseline adaptive presets for niches like astro, portrait and landscape, along with a bunch of simple one-click fixes such as ‘strong s-curve’. If you don’t know where to start, then choosing one of those simple baseline presets might well get you over the finish line without having to touch a single slider.
In amongst the photographer’s bag of tricks is an old chestnut that we’ve all deployed at one time or another, the black and white conversion to ‘save’ a flawed or uninteresting photo.
Sometimes, simply converting your image from colour to black and white is all the edit needed. Sometimes it looks every bit as shit, just in black and white now.
But you won’t know until you try and everyone will believe you when your caption says that you’d pre-visualised the scene in black and white when you composed it in the viewfinder.
If you are going to use this option, remember that it’s not as simple as hitting the old ‘black and white’ button in Lightroom and you will need to tweak it afterwards.
No doubt you’ve heard of the ‘kiss’ principle, ‘keep it simple stupid’, it’s a powerful acknowledgement of the fact that we humans can always find a way to over-complicate things.
So if you can’t be fucked to do the sort of edit that involves 15 parametric masks, targeted HSL adjustments and a prolonged session of dodge and burning, try my ‘Beans on Toast’ edit.
There are just four steps. Exposure. Whites. Blacks. Vibrance. If it still looks shit after you’ve nudged all four, it probably wasn’t worth the edit in the first place. Stick a ‘rainy day’ tag on it and move on with your life.
Yes, edits can be overwhelming, but as you sit there, in that knackered office chair with its coffee-stained seat and rattling armrests, try this to overcome your inertia.
Here’s a trick from the ADHD handbook: when you’re overwhelmed by a task, break it down into smaller elements and begin by just tackling one task at a time. Simply ask yourself what the one bad thing is about your image. And if there are lots of things wrong, which of them is the worst. Then, just fix that one bad thing.
Perhaps a crop is what it needs, or those power lines getting cloned out or maybe the colour balance is up the shitter and a click of the old eye-dropper instantly solves an acid trip palette.
The odds are that your archive of photographs is quite ‘samey’. It’s not a criticism, I’ve got approximately 32,000 artsy wide-open ground-level sunrise/sunset dune shots with achingly beautiful bokeh. We all have our ’thing’ and that means that the odds are you’ve already done all the editing you need, on another photo.
And the beauty of modern photo editing software is that it’s super easy to copy all of your edits from one shot to another.
So scroll up through your archive until you find a similar looking shot, copy the edits from it, scroll back to your new shot, paste the edits in and then tweak accordingly. Voila, bob’s the live-in lodger.
If that wall of thumbnails is proving so distracting that you’re giving serious thought to rearranging your sock drawer, then perhaps it’s time to leverage the power of the ‘sync’.
Now admittedly this won’t work if you’ve got a folder full of street photography images, all with completely different lighting conditions, but if you’ve just shot 300 near-identical frames of the same cormorant, you’re in business.
All you have to do is edit one of those shots well, doesn’t have to be some complicated multi-mask beast of an edit either, just enough for you to see the wood for the trees, or you know, the cormorants for the lake. Get your photo looking okay and then just sync those edits over all of the other shots. They may need a few gentle tweaks, but you’d be surprised how much common ground there usually is between photos taken during a single shoot.
The smartphones that many of us carry around with us every day are stupidly powerful, and often the only way they get to show that is when we fire up Candy Crush. But the truth is that, unless you’re still rocking a Nokia 3310, your phone is undoubtedly capable of running the same editor you’ve got on your Mac or PC.
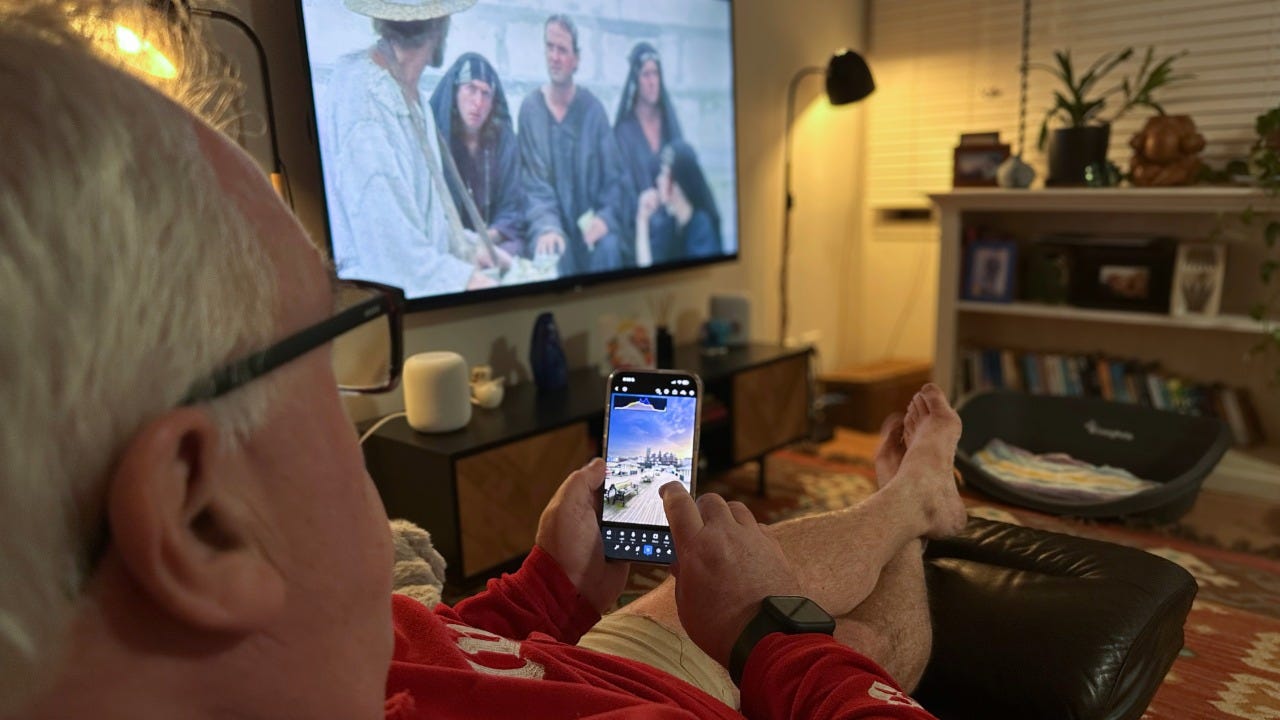
And so, if you hate the thought of a long editing session, do yourself a favour: transfer your shots to your phone, power down the computer, close the door to the back bedroom, grab a beer, plonk your arse on the sofa and edit mobile.
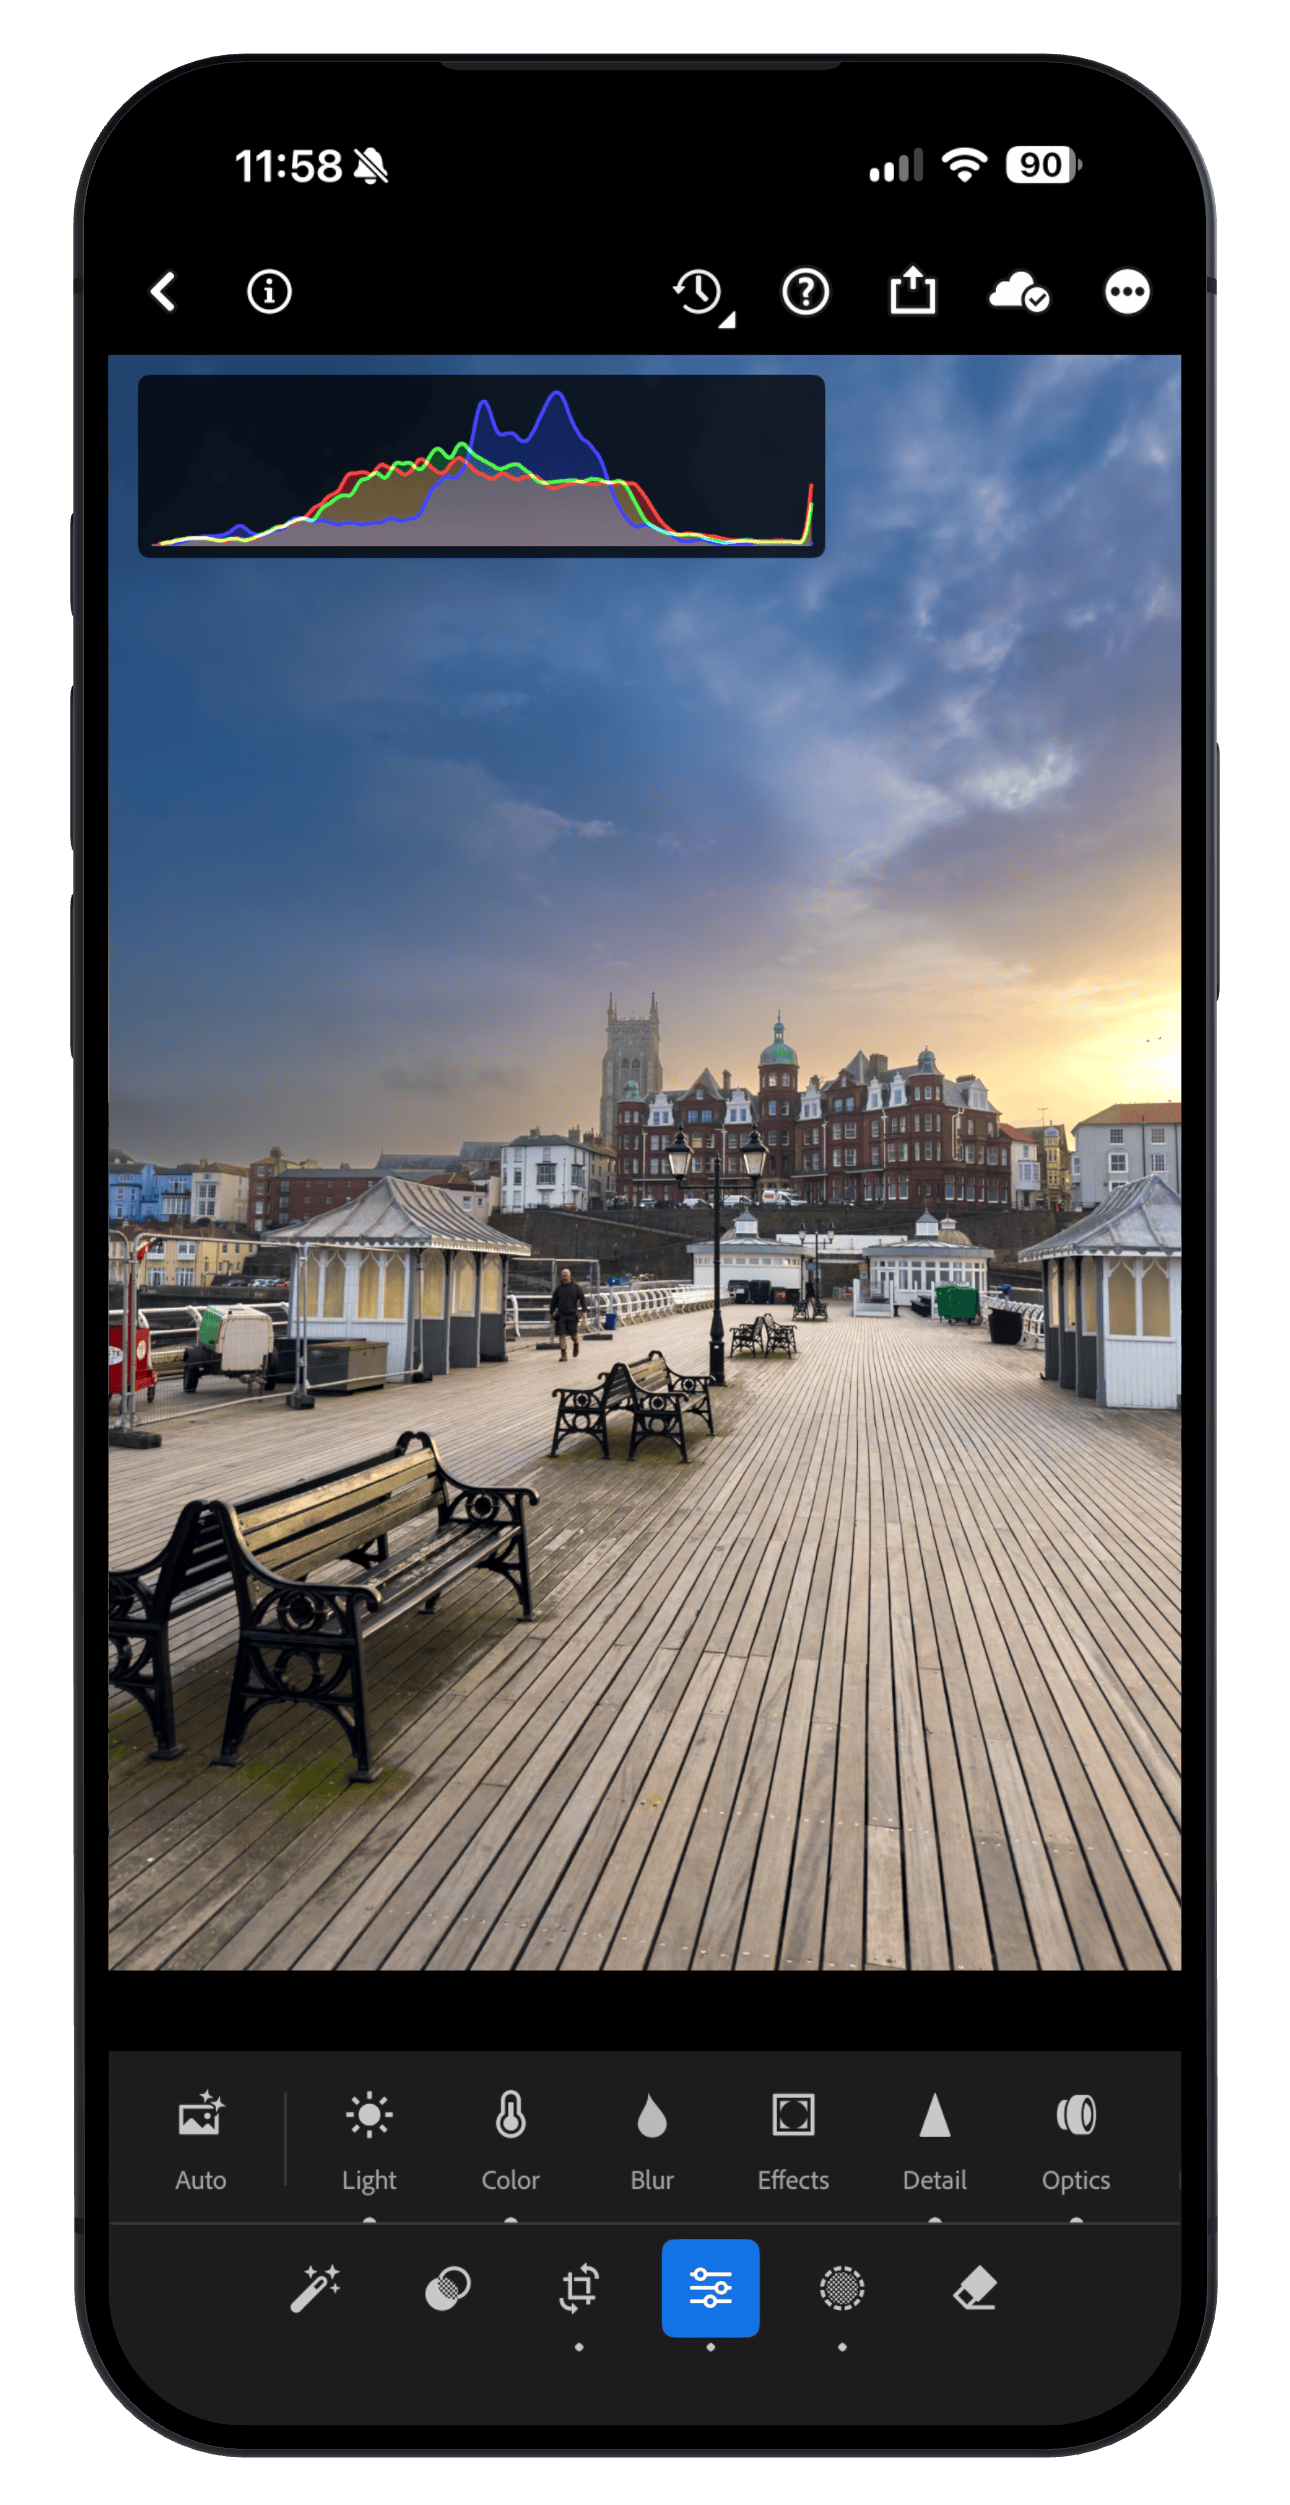
Lightroom Mobile is probably the best known photo editor and, believe it or not, it has near feature-parity with the desktop version. Bonus, if you’re a Windows user, it’ll also be a fuck sight more stable on a smartphone.
But there are heaps of superb editing apps for mobile devices including Snapseed, Photomator, Darkroom and ProShot.
Editing on a small smartphone screen takes a little bit of adjustment but you’d be surprised at just how easy it is to edit photos on that small screen because, apart from anything else, you’ve got a touch display now and drawing masks and brushing is way more natural when you’re actually pointing at the thing you want to change. And it goes without saying that if you’ve got a tablet, iPad or Android, then you’re laughing.
We all have our off-days when it comes to photography, occasions when we head out in high spirits, ready to snag a brace of keepers, only to return home dejectedly with an SD-card full to the brim with mediocre snapshots.
Try to remember however that those RAW files sat on your SD-card are but a small part of the reason we all love photography. And the odds are that, even if your photos are a load of old shit, you had a great old time taking them.
So, as the song goes, perhaps you just need to let it go. And if you just can’t bring yourself to edit your photograph, then there’s always the nuclear option. Hit that delete key and I’m willing to bet things turn out better next time you go out. Cutting out the dead wood is just editing with extreme prejudice.

No posts
Comments
Nothing yet. Say the first thing.
Sign in to join the conversation.