
One of the biggest misconceptions about USD files (Universal Scene Description) is that their main value is being a universal format, something that moves cleanly between applications without breaking. That part is true.
The bigger story is what USD can hold. You can pack an absurd amount of variation into a single file. For a character, that might mean a dozen heights, a dozen hairstyles, a full wardrobe, and a color library, all living inside one file, all switchable, all combinable into more versions of that character than anyone will actually use.
Almost nobody outside VFX, animation, and gaming takes advantage of that. The technical complexity of building a file is just too much for most industries. It’s just too steep a climb to bother with.
Except one. One industry took this feature and ran further with it than anyone else outside entertainment.
I’ll give you a hint…it’s in the title of the article…give up?
It’s the Automotive Industry!!!!

So when I first heard about a file that intentionally contains more car than any car that will ever exist, my brain lit up. Not a car. Every possible version of a car, living inside one file, waiting to be told which parts to keep.
Automotive calls this a Super USD or “150 percent file,” and outside of entertainment it’s the clearest example I’ve seen of an industry actually using USD’s variant system the way it was designed to be used. Last time I wrote about this concept I kept it conceptual.
This time I want to actually show you how to build one, because the tooling gap that used to make this an engineer-only job has gotten a lot smaller.
A 150% file is a single USD asset where every trim, color, and material option lives as a switchable variant instead of as forty separate files. Design pulls trims from it, the configurator pulls colors from it, marketing pulls hero angles from it, and everyone is guaranteed to be looking at the same source of truth.
The name comes from the old manufacturing concept of a 150 percent bill of materials: one master parts list holding every possible component, from which any single buildable, “100 percent,” product gets derived. USD just gives that concept a 3D home.
Ok…cool…but how do you make them?
Before any scripting, write down the actual axes of variation you’re building. Real automotive files typically split into a handful of independent variant sets, not one giant list of combinations:
Paint (exterior color and finish)
Wheels
Interior trim or material
Regional spec (headlights, badges, bumpers, steering wheel position)
Keep these independent of each other. A file with a paint variant set and a wheels variant set gives you every combination for free. A file where “red with chrome wheels” and “red with black wheels” are two separate hardcoded variants does not, and you’ll be rebuilding it every time someone asks for one more combination.
Before any of this is a scripting problem, it’s a modeling and lookdev problem, and that part happens exactly where you’d expect. Every wheel option gets imported or modeled in Maya or Blender like any other asset. Every paint finish gets built as a real material, metallic flake and clearcoat and all, in whatever shading workflow you already use. Every interior trim gets its own material pass.
USD isn’t replacing that work. It just organizes it. A variant set can only switch between things that already exist as finished geometry and materials. If you don’t have three separate wheel models sitting in your scene, there’s nothing for a “wheels” variant set to switch between.
So before you touch a line of Python, build and export each option. In practice that means exporting each variant as its own referenceable piece, either as a separate USD file per option (wheel_chrome.usda, wheel_black.usda, wheel_matte.usda) or as separate prims inside one file, using whatever USD export path your DCC supports. Both Maya and Blender can write USD natively at this point, and that export is what the variant script in the next step actually points at. The script isn’t creating your car. It’s telling USD which already-finished car parts to show at the same time.
This is the part that’s traditionally required a pipeline engineer, because it’s done through the OpenUSD Python API, not a menu. Because, as far as I know, no one has created a USD building with a simple GUI for simpletons like myself.

Here’s the actual shape of it, condensed from Pixar’s own tutorial, picking up right after your wheel and paint assets are exported out of Maya or Blender:
python
from pxr import Usd, UsdGeom
stage = Usd.Stage.Open('car.usda')
carPrim = stage.GetPrimAtPath('/Car')
# Create the variant set
paintVariant = carPrim.GetVariantSets().AddVariantSet('paint')
# Add the options
for color in ['Red', 'Blue', 'Silver']:
    paintVariant.AddVariant(color)
# Author what each variant actually changes
for color, rgb in [('Red', (1,0,0)), ('Blue', (0,0,1)), ('Silver', (0.7,0.7,0.7))]:
    paintVariant.SetVariantSelection(color)
    with paintVariant.GetVariantEditContext():
        bodyMat = stage.GetPrimAtPath('/Car/Body').GetAttribute('primvars:displayColor')
        bodyMat.Set([rgb])
stage.GetRootLayer().Export('car_with_paint_variants.usda')
That’s one variant set with three options, in this case just swapping a display color for simplicity. In a real file, a variant like wheels would swap in one of those separate USD files you exported in step 2 as a reference, rather than just setting an attribute. Repeat the pattern for wheels, for interior, for whatever axes you wrote down in step 1, and you have a working 150% file. The part that matters most is GetVariantEditContext(). It scopes every edit inside the block to that specific variant, so switching to “Red” doesn’t leak into “Blue.”
Here’s where the gap is starting to close. You don’t need to be fluent in the OpenUSD API to get this built anymore, you need to know what the variant structure should contain, and describe it.
Below is similar to what I’ve seen used successfully:
“I have a USD file at car.usda with a body prim at /Car/Body, and three separate wheel files already exported from Maya at wheel_chrome.usda, wheel_black.usda, and wheel_matte.usda. Write a Python script using the OpenUSD API that creates a variant set called ‘paint’ on /Car with variants for Red, Blue, and Silver, each setting the displayColor primvar on /Car/Body. Then create a second variant set called ‘wheels’ on /Car/Wheels that references in the correct wheel file for each of the three variants. Run the script and export the result.”
Claude Code will write the script, run it against your actual file, and iterate if something errors out, the same loop a pipeline engineer would run manually. You still need to know the vocabulary: what a variant set is, what a variant edit context does, what should live inside each variant. That knowledge is the part that doesn’t get automated. But the part that used to require months of USD experience to type correctly, you can now describe in plain language and get built.
Check the output. Open the exported file in a viewer (described in Step 5) and click through every variant combination before you call it done. A variant set that looks right in the script and breaks in the viewer is still broken.
A 150% file sitting on your hard drive proves nothing. Get it in front of someone.
The fastest path is Needle’s USD viewer, a free browser tool built for exactly this. Drag your exported .usda or .usdz file directly onto the page and it loads locally, no upload required. Use this first pass to sanity check that your variants actually authored correctly.
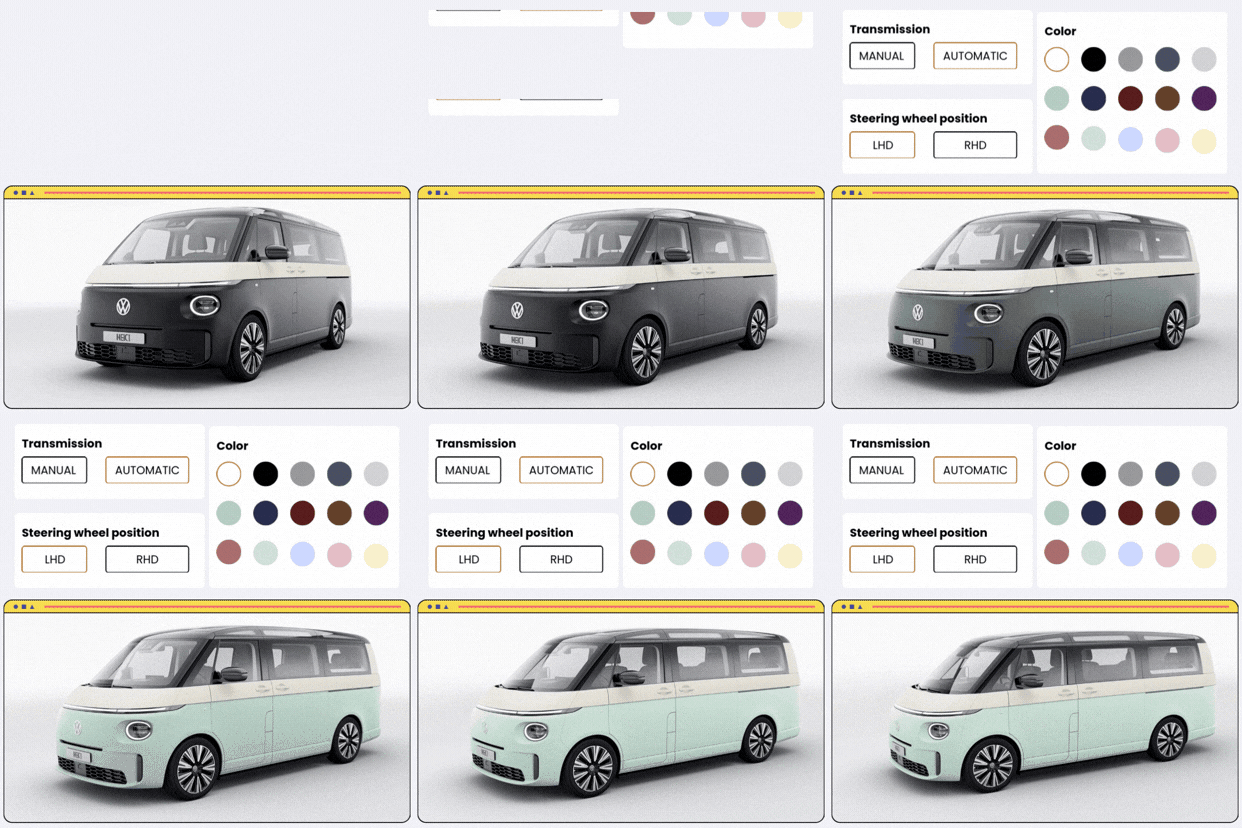
For something you can actually send someone as a link, with interactive variant switching built into the viewer itself, push it to Needle Cloud for a hosted, shareable viewer with embed support. That’s the version you put in a portfolio: a link where someone else clicks through your paint and wheel options themselves, off the same file your variant sets built, not off six separately rendered images stitched together to look like one system.
If you want the full real-time engine experience instead of a lightweight web viewer, NVIDIA’s Omniverse has an embeddable web viewer built for pixel-streamed configurator demos, closer to what an actual automotive configurator runs on. That’s a heavier lift to set up, but it’s the more accurate demo of the production pipeline if you’re specifically trying to show automotive-relevant skills.
Here’s the actual sequence: decide your variant axes before you open any code, build the actual assets and materials in Maya or Blender like you normally would, author the variant structure with the OpenUSD API or have Claude Code author it for you, verify every combination in a viewer, then get a shareable link in front of someone.
None of those five steps required a pipeline engineer’s job title. Step 2 is work you already know how to do. Steps 3 and 4 required knowing what a 150% file is supposed to hold and having the patience to check your own work, not a computer science degree. A year ago that combination wasn’t enough to actually produce one of these. Now it is, and almost nobody outside automotive is building portfolio pieces this way yet.
Join The 3D Artist Community on Skool
New 3D Artist swag is here!
We ran a design contest inside the community, and Randy Mills took it home with a CMYK sweatshirt design that’s honestly too good not to wear.
Grab yours today.
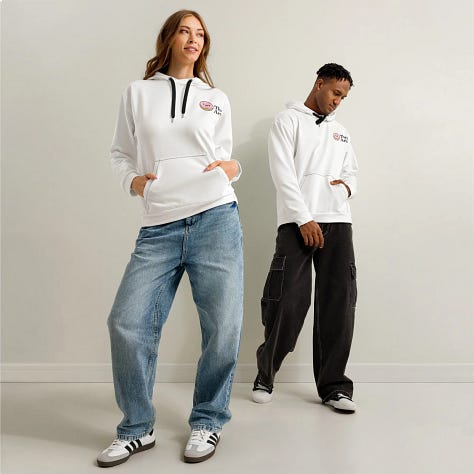
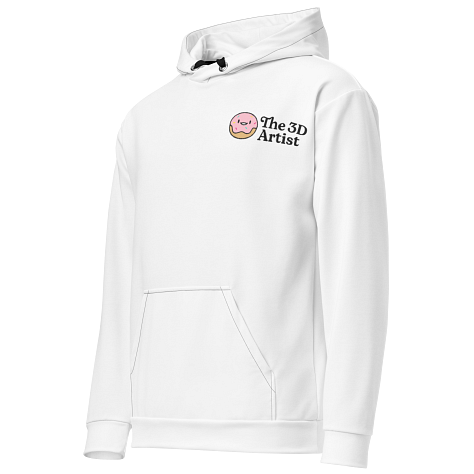
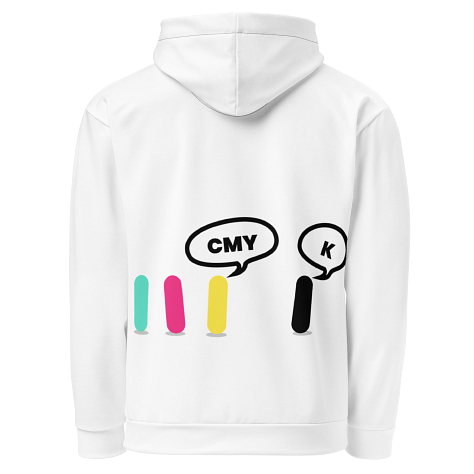
Get the Newest 3D Artist Swag!!
KitBash Acquires ArtStation and Sketchfab - ArtStation
Marmoset releases Toolbag 5.03 - CG Channel
AI Won't Replace VFX Artists. It's Replacing Who Can Afford Them. - HackerNoon
ILM and Pixar Named in Disney's AI Push as Cost Cuts Continue - Animation World Network
Godot Has Become the Most Popular Engine at GMTK Game Jam 2026 - WN Hub
Link to Google Doc With A TON of Jobs in Animation (not operated by me)
Hello! Michael Tanzillo here. I am the Head of Technical Artists with the Substance 3D team at Adobe. Previously, I was a Senior Artist on animated films at Blue Sky Studios/Disney with credits including three Ice Age movies, two Rios, Peanuts, Ferdinand, Spies in Disguise, and Epic.
In addition to his work as an artist, I am the Co-Author of the book Lighting for Animation: The Visual Art of Storytelling and the Co-Founder of The Academy of Animated Art, an online school that has helped hundreds of artists around the world begin careers in Animation, Visual Effects, and Digital Imaging. I also created The 3D Artist Community on Skool and this newsletter.
www.michaeltanzillo.com
Free 3D Tutorials on the Michael Tanzillo YouTube Channel
Start writing today. Use the button below to create your Substack and connect your publication with The 3D Artist
Thanks for reading The 3D Artist! Subscribe for free to receive new posts and support my work. All views and opinions are my own!
No posts
Comments
Nothing yet. Say the first thing.
Sign in to join the conversation.