
You know those moments when you hear a piece of information so impactful you can remember exactly where you were standing years later?
This was one of those times.
I remember exactly where I was standing in our kitchen when I heard this piece of information…
The vast majority of elderberry products consumed in the US come from Europe.
Seriously? Shipped 3,000 miles across the ocean?
This makes no sense.
You see, I’d experienced elderberries as one of the easiest crops to grow. Here on our heavy clay, wet soil farm, they grow with virtually zero assistance from us, even growing wild in our creek bed.
So why couldn’t Americans grow their own supply of this incredible superfood?
With fence rows increasingly being ripped out and sprayed and many farms growing larger, elderberries are much rarer than they were 60 years ago. But on our farm, our wild elderberries still give us many small berries on upright sturdy branches, and our improved varieties bear giant heads that drag the branches down.
The good news is, Americans are catching on, and local elderberry production is increasing. As more and more people realize the elderberry’s incredible health benefits, along with its ease of growing, more and more are adding it to their gardens.
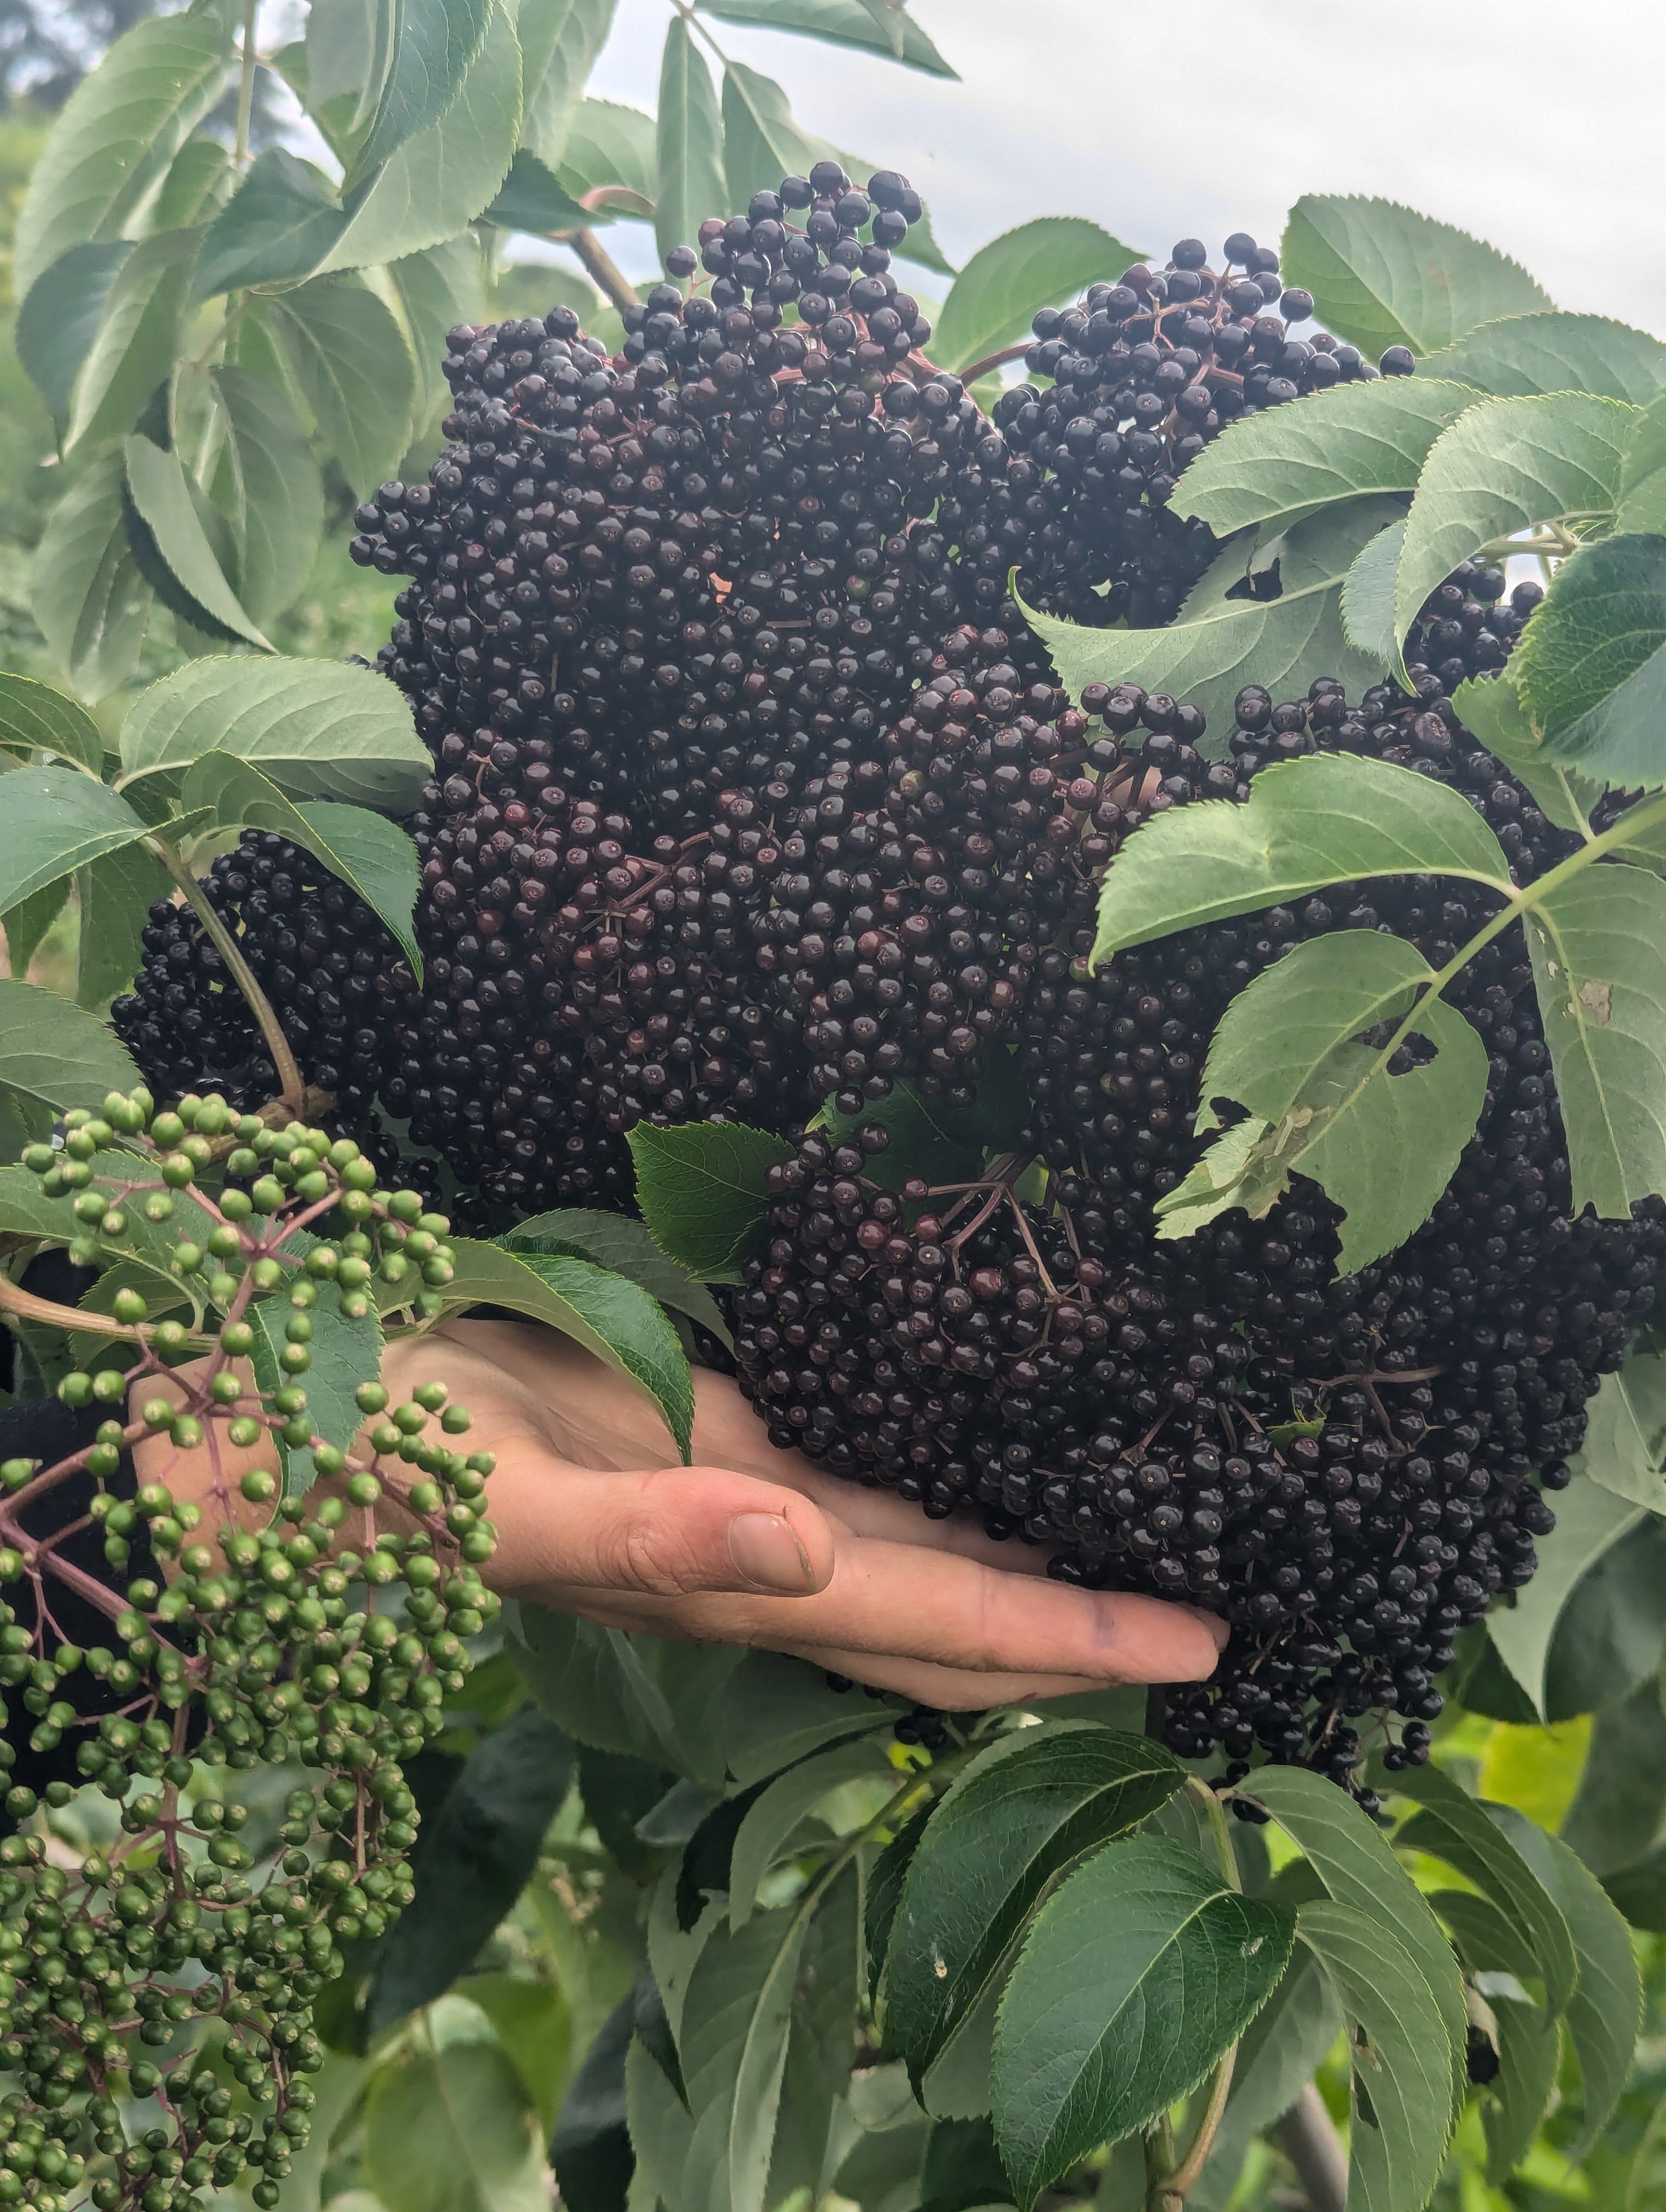
I didn’t grow up with elderberries, but my wife did. Elderberry juice for colds was a common winter tonic at her house.
I’ve since developed quite an affinity for these beautiful shrubs, and here’s why I think you should too:
Have you ever planted a stick? (I’m remembering those times my kids poked a random stick into the ground and showed me they planted a tree!)
But… elderberries are one of those plants! Simply cut a stick off a plant in the winter and poke it into the ground to clone that mother plant!
By year 2 or 3, they’ll be giving you fruit!
That’s what I call EASY.
Besides, they can tolerate slightly wet areas as well as shade!
Elderberries can also spread via suckers, giving you either new plants to dig out, or leading you to a battle to contain them. Nowhere nearly as aggressive as something like mint, however, they can definitely be contained along the edge of your garden.
However, if you don’t want the bother of digging out suckers, simply plant them where you can mow around them and they’ll be easily contained.
👉 Order elderberry cuttings on our farm website. We have several named varieties that bear enormous clusters of fruit (like the picture above).
*We ship all across the United States!
Be sure to plant 2 different varieties for best fruit production.
North American indigenous people used to use elderberries to treat fevers, rheumatism, gastrointestinal issues, and diarrhea. Today, many people use it to shorten colds and flu symptoms and to improve brain health, thanks to their high antioxidant levels. (https://journals.ashs.org/view/journals/hortsci/59/12/article-p1723.xml)
In fact, elderberries have now crossed over into mainstream as a health tonic, with elderberry syrup and gummies available at our local Aldi checkout!
By now, elderberries are well-known to support the immune system and knock out viruses.
But have you ever tasted a raw elderberry? They really don’t taste that great. And if you try very many you’ll quite possibly get a bellyache.
That’s ‘cause raw elderberry is mildly toxic.Ok then. How do you eat them?
Many people make an elderberry syrup as an immune booster to take during the winter months.
Simply steam or boil in a small amount of water on your stove top. Include spices like ginger, cloves, and cinnamon if you wish. Then mash and strain out the juice. Mix with honey to taste and you’ll have your own immune-boosting tonic to fend off those winter colds!
Here’s the recipe for elderberry-ginger syrup which we actually use for flavoring for kefir or yogurt or drinks. We use more of it when we think we’re getting sick and it’s one of the few herbal remedies that my kids actually like.
Elderberry Syrup
1/4 pound of berries
2 cups water
Bring to a boil and simmer for 10 minutes. Turn off heat and let set for 24 hours. Strain and wring out all the juice through a cloth.
2 cups of raw local honey
Vinegar to taste
Add and stir.
1/4-1/2 cup ginger root sliced
Place in a glass jar and cover with the syrup. Top with a plastic lid and either freeze or refrigerate.
If you’d prefer no sugar of any kind, you can make a tincture. If you’ve done this before, you know how easy it is to make WAY TOO MUCH tincture.
Ridiculously easy, that’s what.
Make your tincture by filling a small glass jar with dried elderberries and then covering it with glycerin (for a non-alcoholic tincture) or vodka. Shake it every day for a week, every week for a month and then store it in a dark place until you need it. Add it by the teaspoon to teas.
Here’s an exact recipe if you need it: https://practicalselfreliance.com/elderberry-tincture/
Thank you, Ashley Adamant for these recipes!
(She also has recipes for elderberry jelly and pie if you happen to have way too many elderberries!)
The simplest way to use elderberries is just to dry them in a dehydrator. We dry a quart every winter to add to teas throughout the winter. You can powder them in your blender or food processor and store them in a small glass jar to add to peppermint tea by the quarter teaspoon as soon as you feel a tickle developing.
If you prefer a cough syrup instead, remove the berries from the stems and barely cover them in water in a sauce pan. Simmer them for fifteen minutes and then mash them and strain them. Add slightly less buckwheat honey than the juice and stir to mix the the two. Add an equal amount of apple cider vinegar to make an oxymel (and for a preservative.) The vinegar will preserve it at room temperature, but it will change flavor after a while so you will want to keep it in the fridge. If you really do not like vinegar, don’t add it, and instead store in the freezer until flu season, then keep in the fridge for a quick response to flu symptoms.
*If you want to use elderberry for your child under a year old, (so honey is contraindicated) or if you just want a delicious blueberry-like-flavored syrup, follow the above recipe, but use organic sugar instead of honey and leave out the vinegar. Boil for fifteen minutes or until it is slightly thick and the sugar completely dissolved. This is nice in milk or with sparkling water or on pancakes. It is also helpful with coughs and colds. Win-win!
As with most things herbal, the best time to start any of these remedies is as soon as you start feeling sick, if not before, if that were only possible. After all, “it’s easier to steer a car away from the cliff than to put it back together after you’ve driven off the edge!” (Credit to JustFarmerJulie )
Elderberry jelly is quite possible the best jelly I’ve ever tasted. And it certainly helps to know it’s at least somewhat healthy!
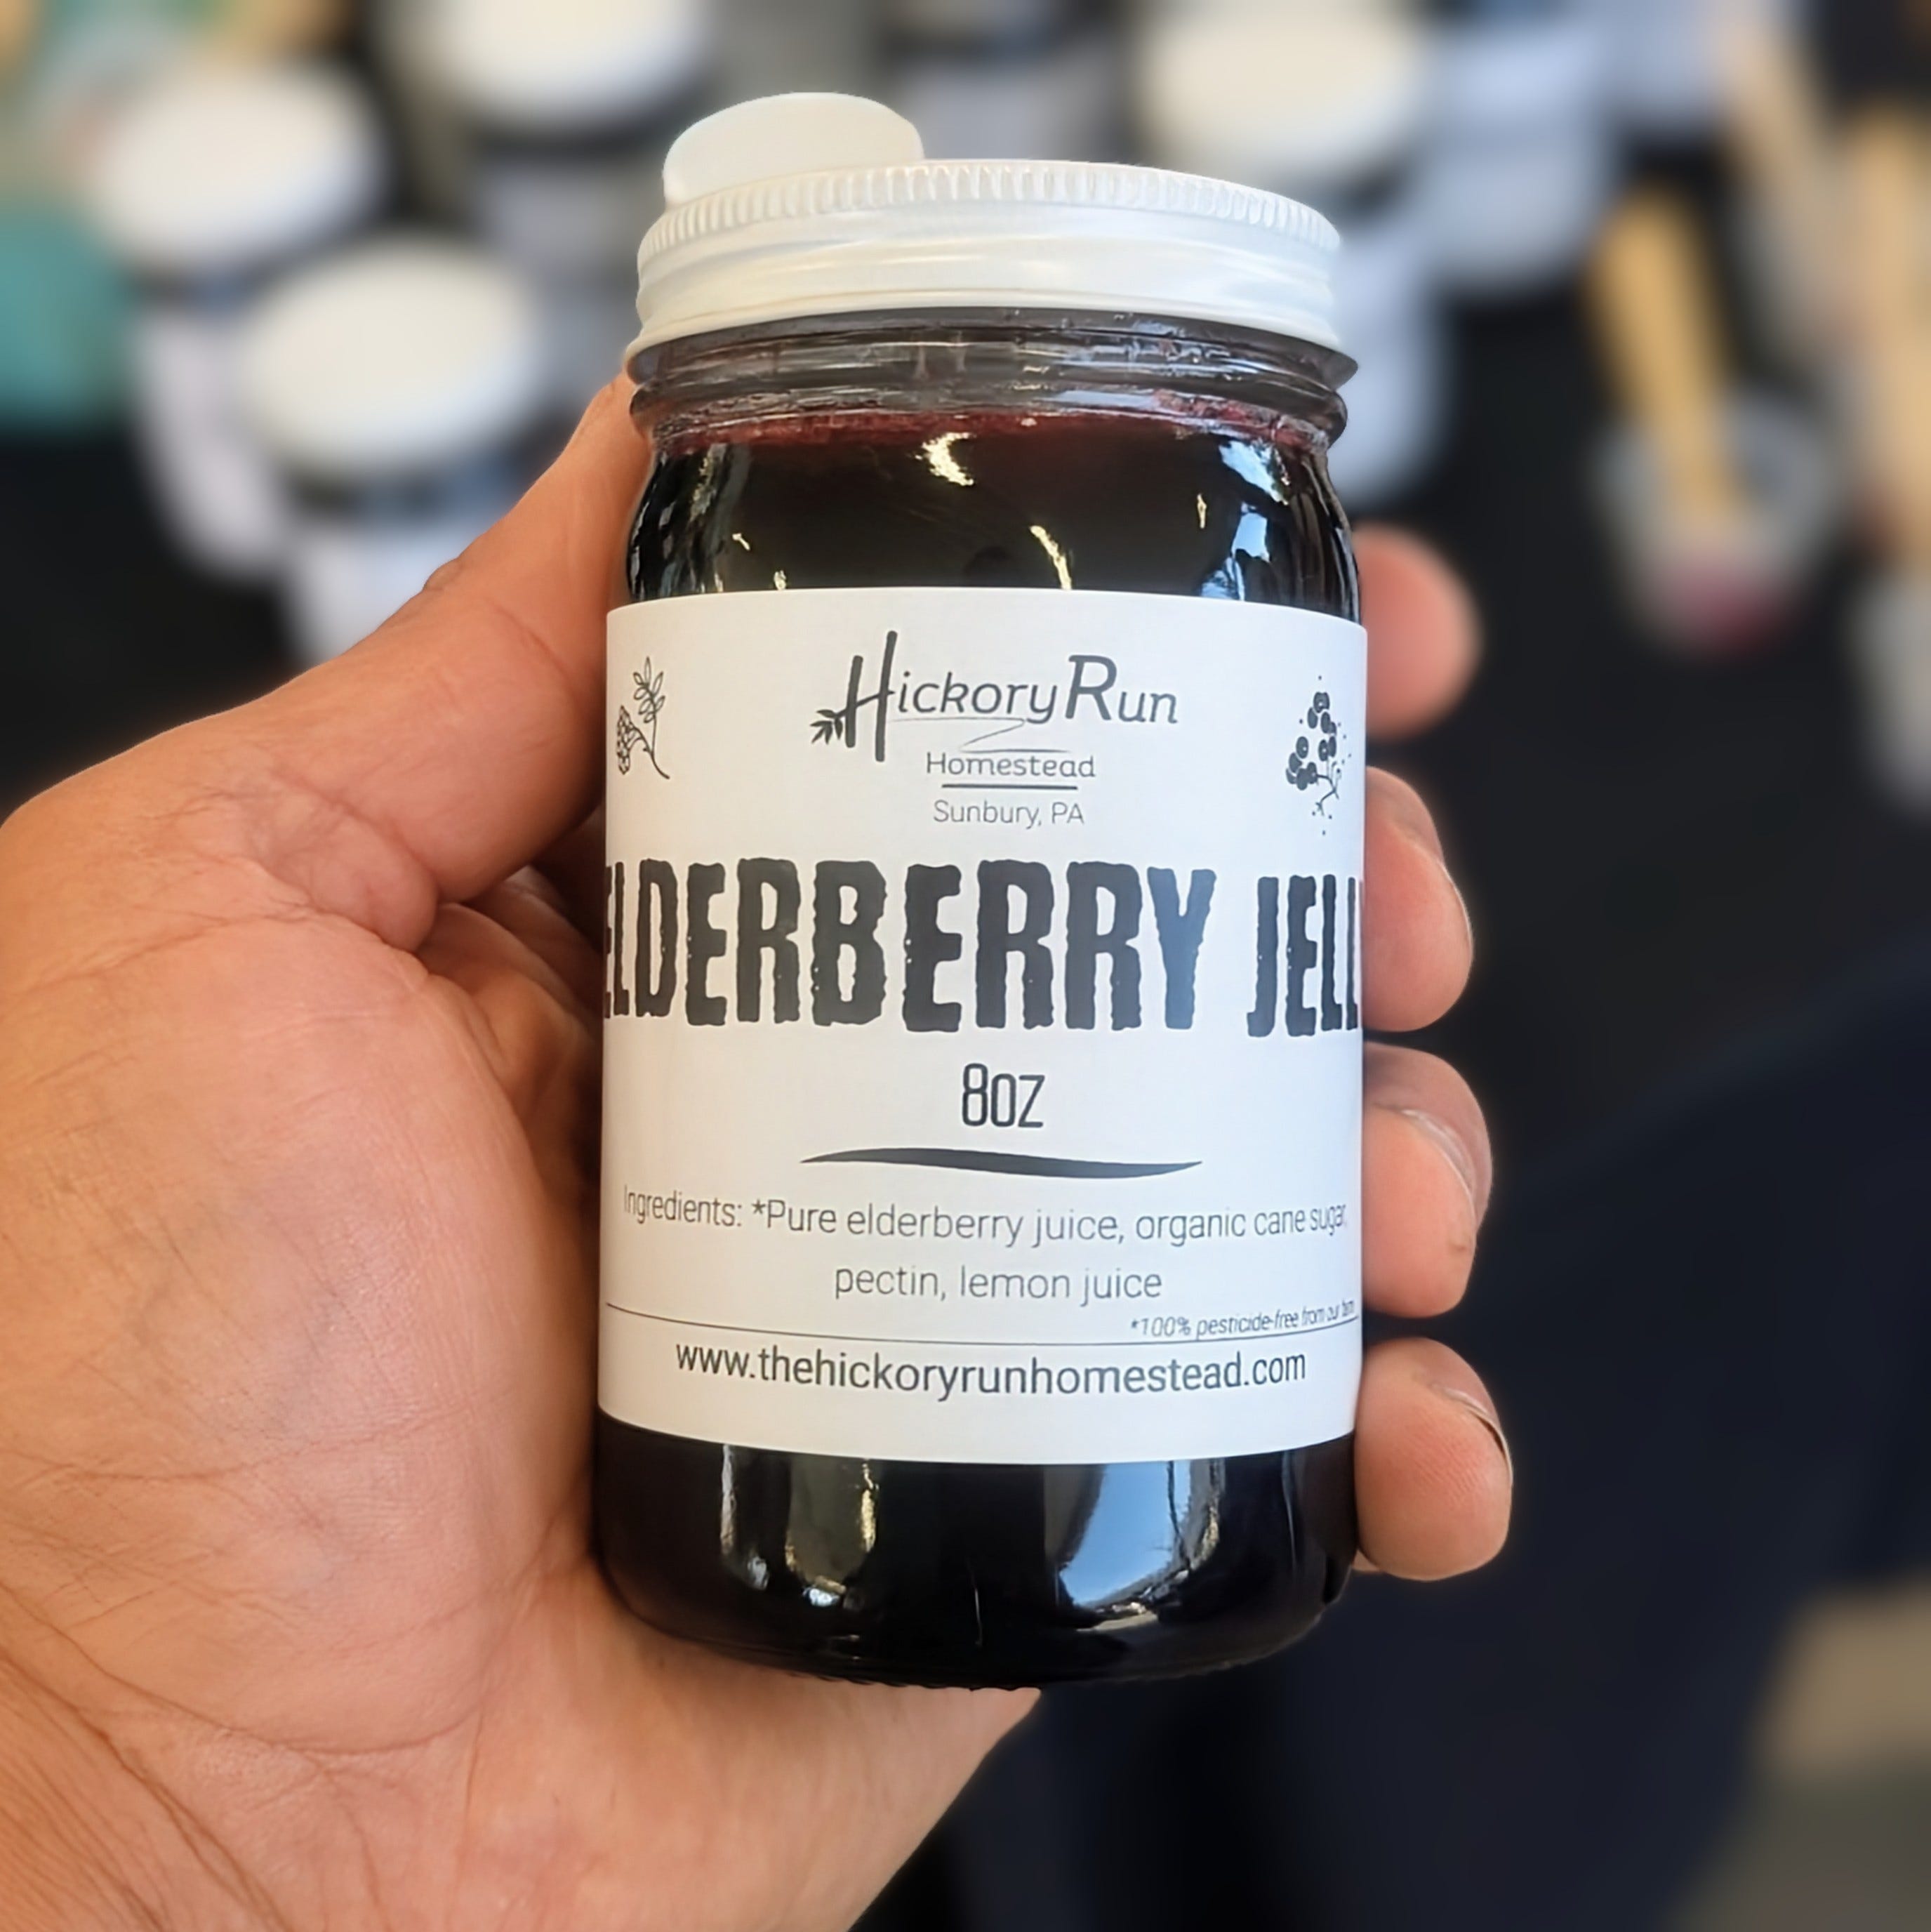
The quickest option to get elderberry jelly in your kitchen would of course be to hop over to our farm store and buy some to get shipped to your door! (Of course, I’m biased! 😀)
But if you want to make your own, here’s a recipe from the UK:
Again, quoting JustFarmerJulie “I find it fascinating that she doesn’t act like you have to follow a bunch of rules or you will fall over dead. She doesn’t even recommend water bath canning! ‘We don’t do that in the UK,’ she says, ‘and our preserves keep perfectly well without it.’ (Cue sound effects of brain exploding.) Anyway, here’s the recipe. https://larderlove.com/homemade-elderberry-jam/
You can even make elderberry pie. Here’s a link to a recipe: https://www.joyfulcakes.com/elderberry-pie/
Need I say more than show you this video?
If you’re ready to grow elderberries in your garden or on your homestead, get your starts right away on our online store. We have plants and cuttings available to ship anywhere in the US.
Happy growing!
-Laverne
In my 15+ years of organic gardening, I’ve learned to transform heavy clay soil that couldn’t even grow a simple cover crop into rich loose garden soil that produced over $100,000 of organic veggies on less than an acre!
I’ve finally distilled what I’ve learned into a simple, 1-hour course that’ll walk you through:
How to build a rich, healthy soil that gets better every year.
Why tilling is quietly ruining your soil
3 no-till methods I use to care for the soil in my garden
Practical solutions for weeds, clay soil, and compaction
It’s called The No-Till Garden System, and it’s the techniques I’ve learned over 15 years of gardening to turn hard, compacted soil into something dark, crumbly, and full of life!
If you’re ready for a garden that’s easier, more productive, and actually enjoyable again…
👉 Join the No-Till Garden System here
Your future self will thank you 🌿
👉 And if you’re interested, here are more ways I can help you in your garden this year:
This is the exact process I use for my 1-on-1 coaching clients. It will help you find the gardening methods that fit your context, and design a garden that fits your life so you can grow more food with less work.
If you want to grow more food with less work, perennials are your answer! I grow and ship a variety of edible and useful plants anywhere in the US, including elderberry, pawpaw, currants, and lots more to make your garden more resilient and more productive.
If you feel stuck designing your garden or edible landscape, or you want another set of eyes on your property to help you sort through the possibilities and ideas, I offer property visits as well as remote consultations. Click here to learn more.
A paid subscription gets you…
A monthly garden plan telling you exactly what to do each month to grow food year-round (specific to zone 6 but easily adaptable to zones 5-7 or beyond).
Access to my always growing library of garden resources, including growing calendars, pest solutions, and more.
15% off edible perennials in my online store, (I ship anywhere in the US).
Garden troubleshooting -the ability to directly ask me or the Garden Coach community all your gardening questions.
Comments
Nothing yet. Say the first thing.
Sign in to join the conversation.