
The first carrots on my new farm were not what most people think of when they say “carrot”.
Tiny, forked, crooked, funky orange vegetables. Far from the long, straight beauties you see in the store.
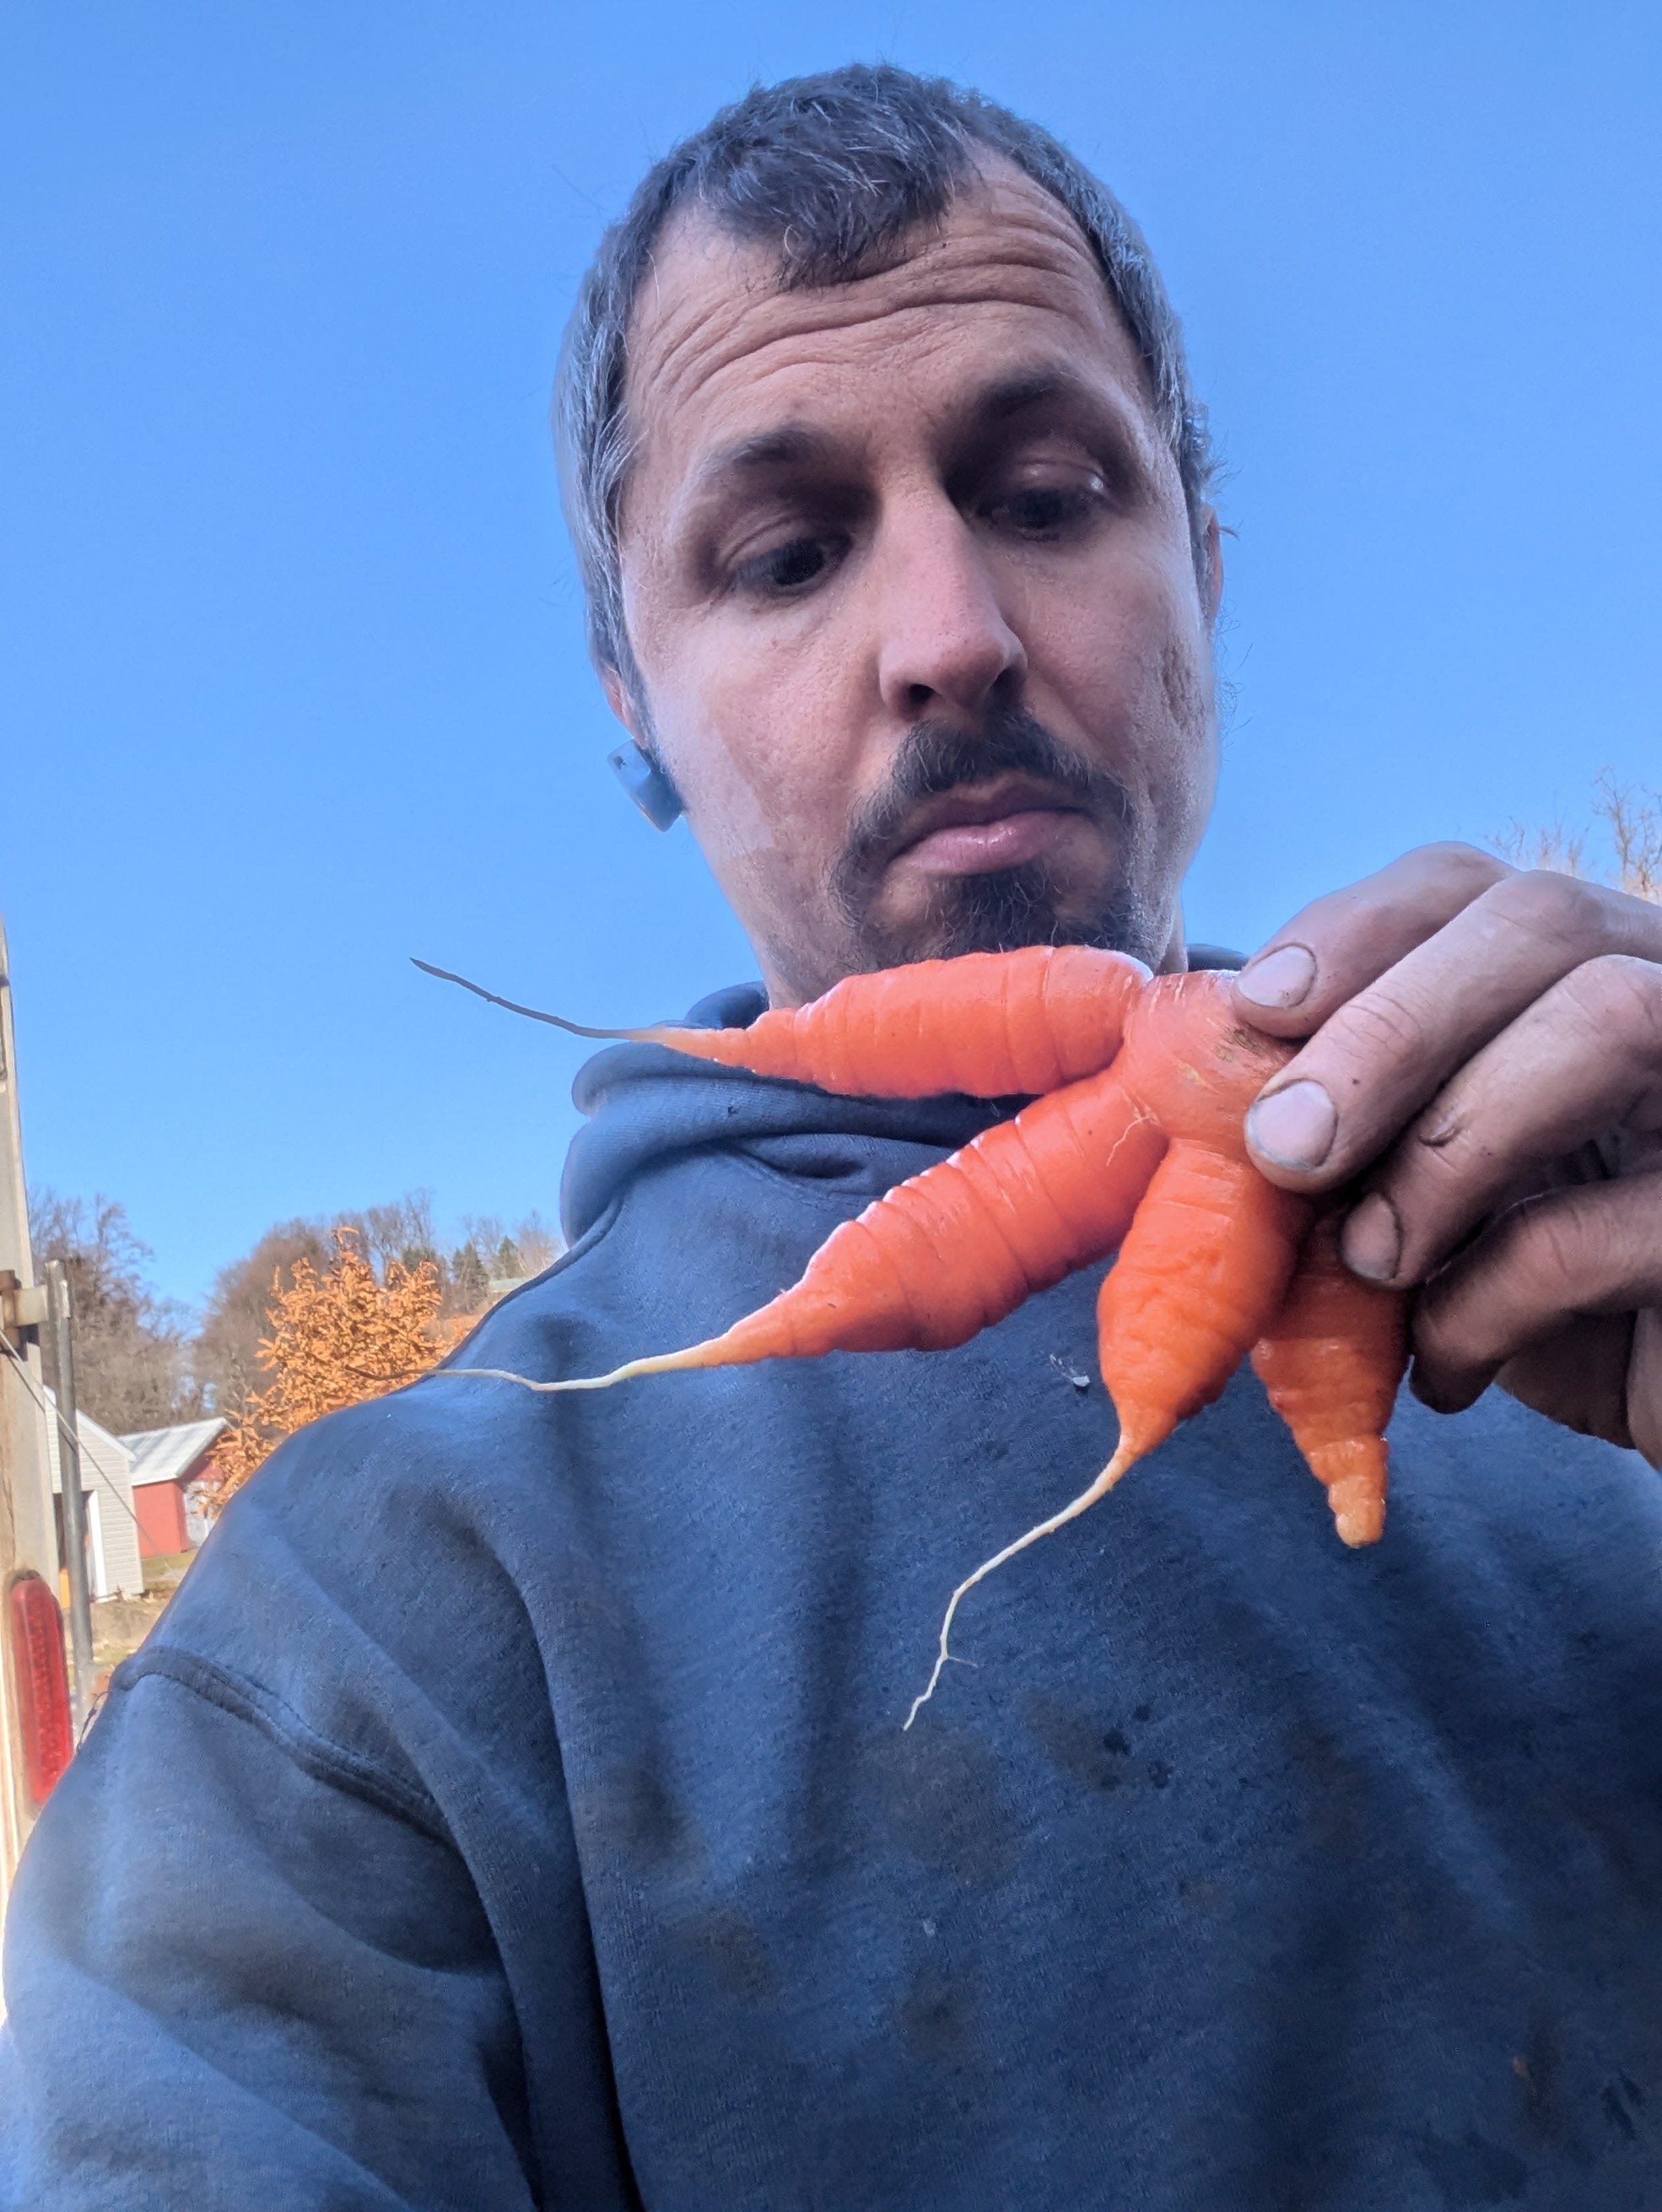
Now don’t get me wrong… Those long straight beauties might look perfect, but looks say nothing about the taste. The crooked, bent out of shape carrot from your garden will taste better than the grocery store carrot any day of the week.
And I have nothing against growing and eating imperfect looking carrots.
But…
I couldn’t sell them.
And…
I wanted a bigger harvest, and carrots that were easier to clean and work with.
In my 8 years in this heavy clay soil, I’ve finally learned to grow beautiful, straight (mostly), tasty carrots.
Here’s how I’ve done it…
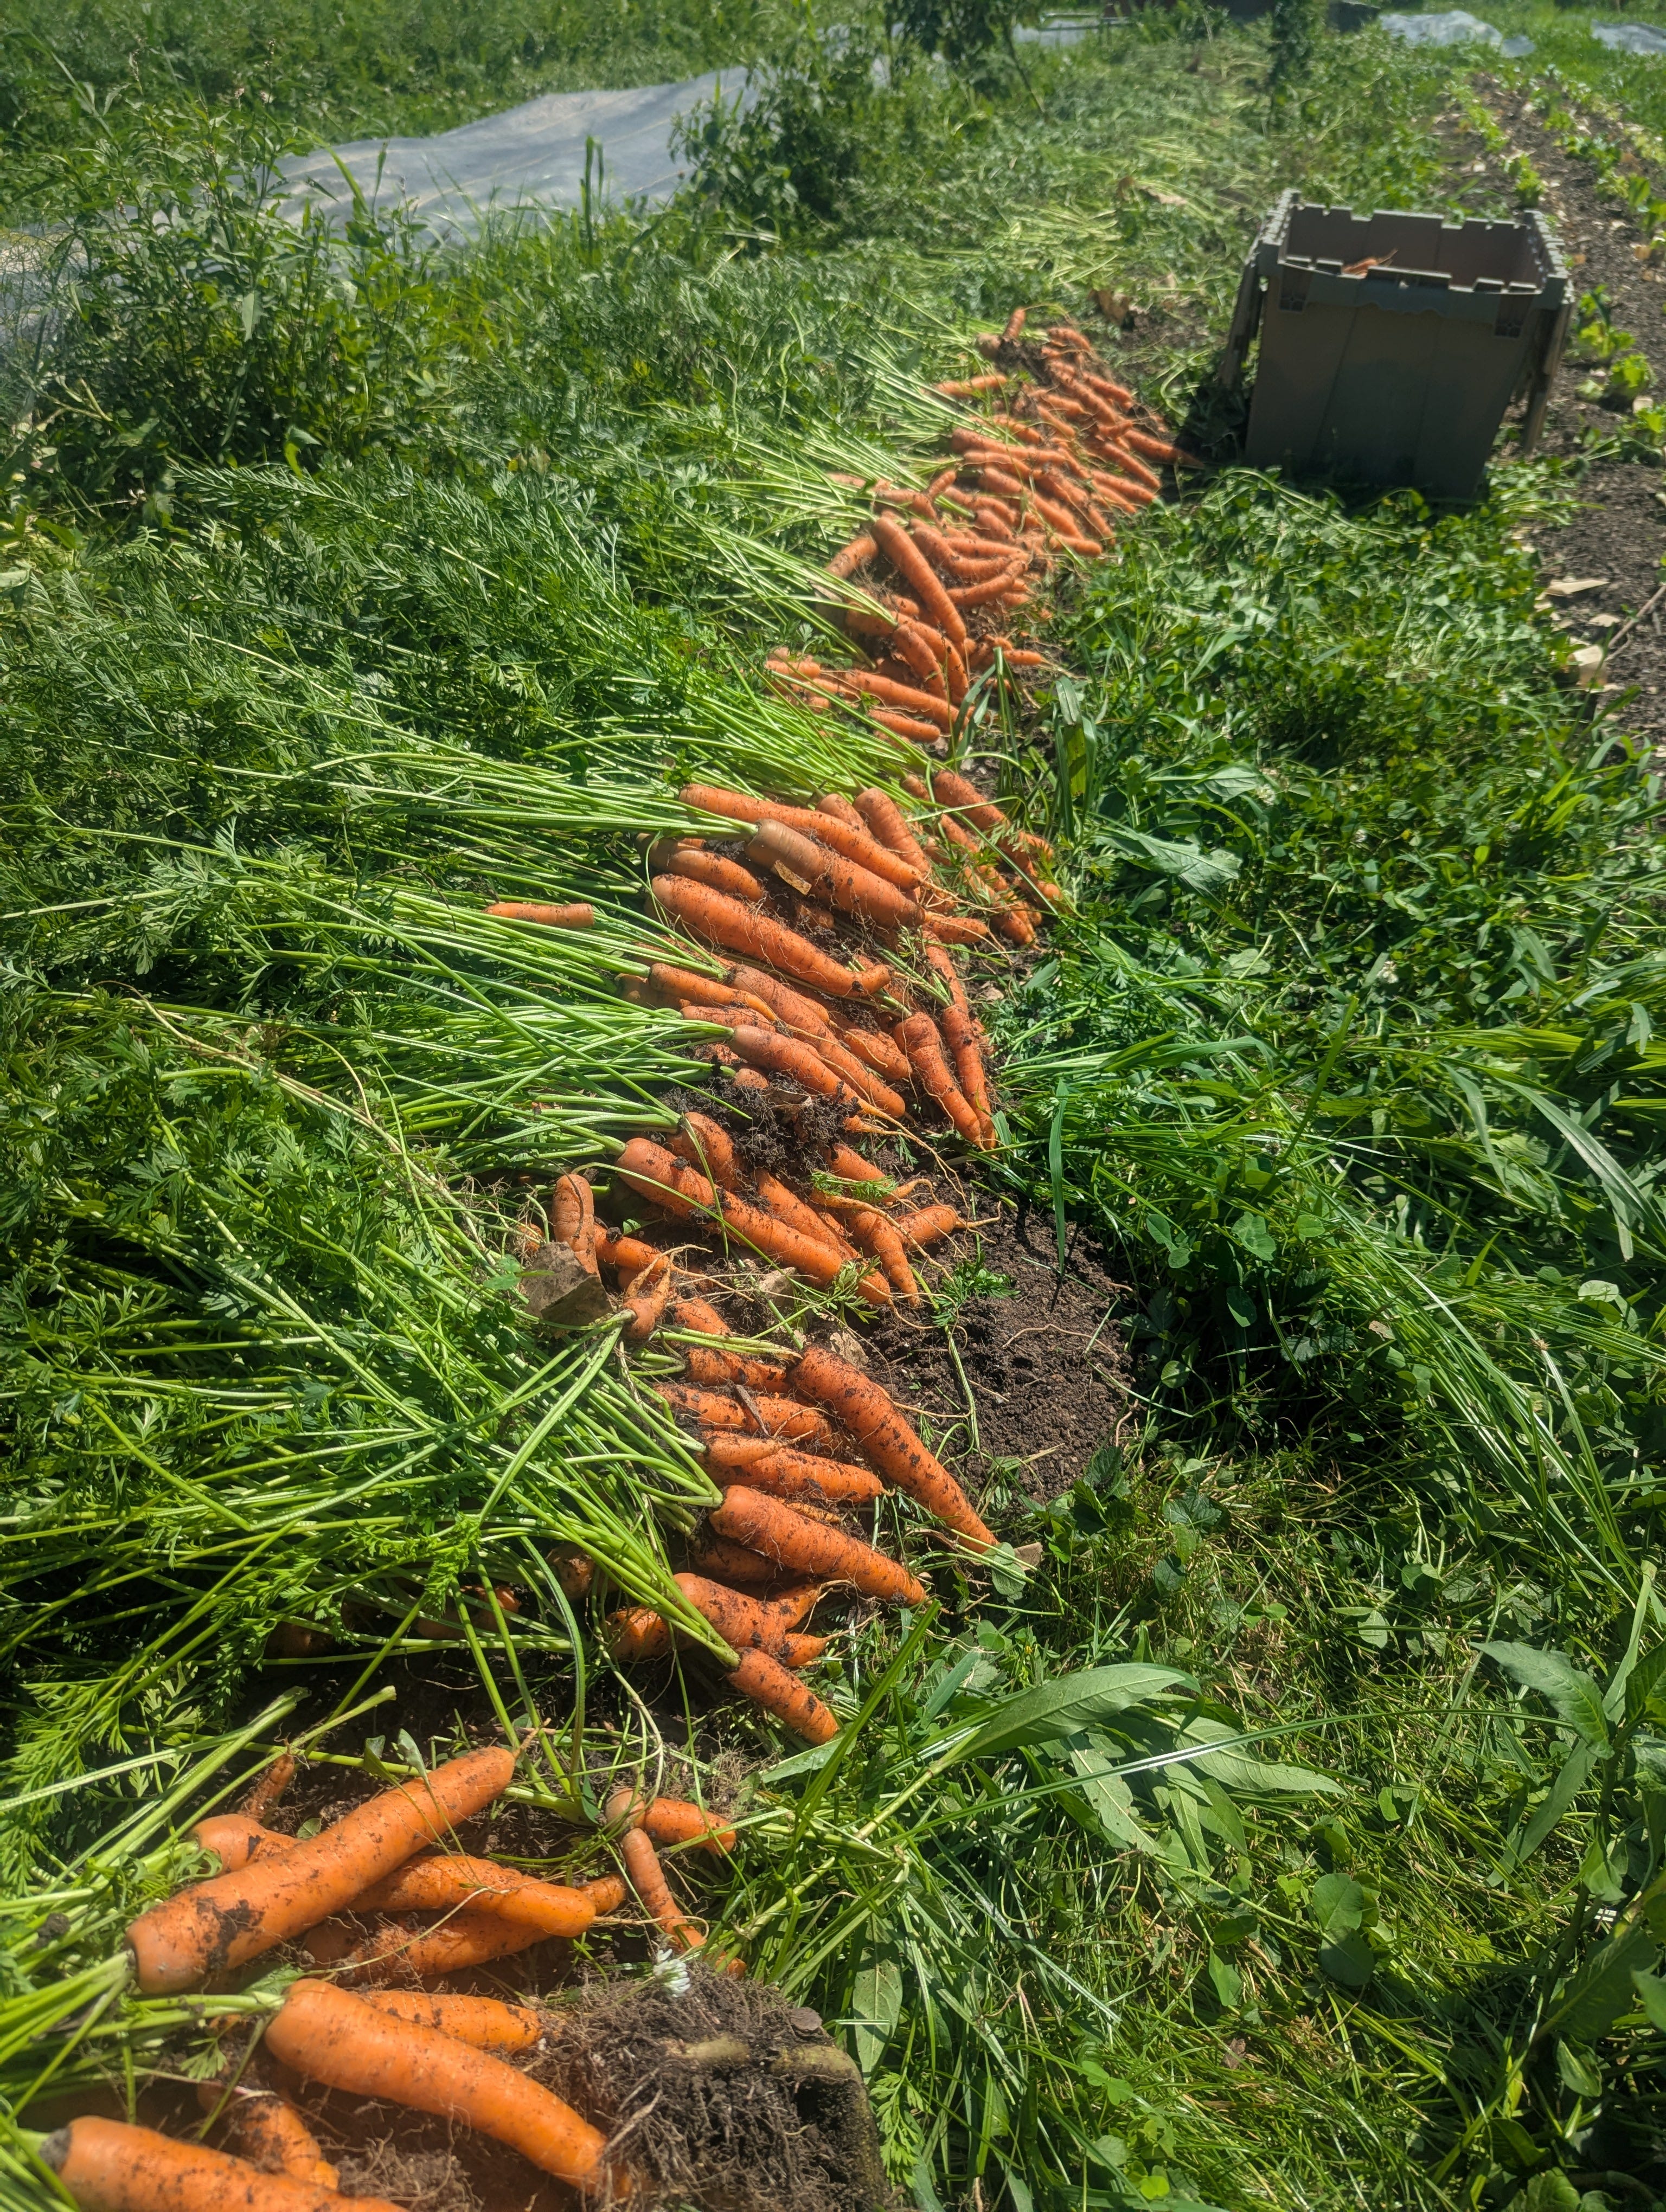
Everything in the garden starts and ends with the soil. It’s the ONE thing that will make everything else in your garden easier or unnecessary.
I’ve transformed my soil from dense clay that allowed my garden trowel to penetrate only a fraction of an inch, to rich deep loose chocolate cake that my entire trowel can penetrate with a simple push.
And when you think about it, a slender young carrot root needs that loose soil to find its way down and form a long root!
For me, soil transformation was a combination of strategic tillage with no-till practices, broadforking/subsoiling, and compost.
First, I layered my soil with compost and tilled deeply to incorporate this microbially rich organic matter and jumpstart my soil.
Then, I used no-till practices of keeping the soil covered as much as possible and disturbing as little as possible to protect that precious underground life, and it’s that microbial and earthworm life that continues to do the “tillage” and nutrient scavenging that my carrots need.
Additionally, every time before seeding carrots, I broadforked my bed, introducing oxygen and gently loosening the soil without significantly disturbing the network of underground fungi and other soil life. By now, I’ve quit broadforking every, but for the first few years this was critical.
Lastly, I add a layer of partially finished compost to the surface of my soil every year. This continues to feed the soil life and protect the soil with a cover that is also fine enough to plant directly into.
I can’t say this often enough if you’re struggling to grow a particular crop…
Don’t stop with the seed packet from your local garden store. I tried many different varieties of carrots until I found what worked for me, and even then, I continued to trial new varieties and make changes.
For now, I’ve settled on Narvik as my favorite spring carrot and Bolero as my favorite storage carrot. Narvik gives me healthier, stronger tops and a higher yield with better germination than any other variety I’ve tried as a summer carrot. And Bolero simply can’t be beat for it’s rugged disease resistance, high yield, and incredible storage life.
Some people like the short chantenay types for heavy soils, and while they certainly work, I’ve never been satisfied with their yield, even when compared to long carrots in a heavy soil.
Speaking of Bolero carrots… Did you know carrots are one of the best storage crops you can grow?
Next to potatoes, they’re my favorite storage crop! Delicious, easy to maintain in storage, and versatile in the kitchen, they’re the perfect addition if you want to begin eating year-round from your garden.
I’ve stored a good quality carrot for over 6 months in my cooler. And a good root cellar is suitable for carrot storage as well.
And those carrots are one of my family’s favorite winter snacks! Right up there along with apples. 🙂
Carrots are notoriously difficult germinators.
That starts with a fine soil, but keeping those tiny seeds moist during their entire time in the soil before sprouting is just as critical.
Here’s how I solve that problem…
For spring seeded carrots, I immediately water and cover with a black tarp or with 1-3 layers of row cover. This protects the soil from drying out, and also lightly heats it in the early cool spring.
Early spring germination can sometimes take 3 weeks, and it’s critical to keep peeking under the tarp to look for the first tiny sprouts and then immediately remove the tarp, but not expose them to immediate direct sunlight. I either remove the tarp late in the day or on a cloudy day.
In the summer when seeding carrots for winter storage, I’ll use a white tarp to reflect heat since carrots won’t germinate well in really warms soils. For my July planting of carrots, I can almost always count on 6 days until germination.
Carrots being the slow germinators they are, and weeds being the quick germinators they are, this quickly causes a problem!
One of the best ways to solve that problem is using the concept of a stale seed bed.
Water a bed thoroughly and give the weeds a week to germinate. Then use a flame weeder or shallow cultivation to kill those weeds without surfacing new weed seeds.
Alternatively, use a black tarp on the bed for several weeks after watering to encourage all the weeds to sprout and then die for lack of sunlight. Then remove the tarp and seed your carrots.
Early spring plantings also help beat the weeds, and that’s why I love planting my carrots in March or very early April.
But for summer carrots, I don’t often have the time for two weeks of stale seed bedding before seeding my carrots. So I’ll compromise by seeding and watering my carrots, covering with a white tarp, and then removing the tarp on day 5. I’ll immediately use a torch/flame weeder to kill any tiny weeds that have germinated, and then the next day the carrots will emerge into a weed free bed. They’ll typically still need some light hand weeding, but this gives those tiny carrots a head start on any weeds.
Carrots are notorious for their tiny seeds and need for thinning after growing.
I use the Jang Seeder to perfect my spacing, but that seeder doesn’t usually make economical sense for home gardeners.
You can learn to lightly rub the seeds between your thumb and forefinger to release them slowly. This won’t be perfect, but with practice, you can learn to distribute the tiney carrot seeds at a wider spacing.
Also, in a deep loose soil a little crowding won’t matter as much because the carrots will more easily push apart from each other as they grow, as long as your rows aren’t spaced too closely.
I seed my carrots 5 rows in a 30-36 inch wide bed, and I prefer a little thicker spacing within rows and then fewer rows instead of vice versa.
Some people use pelleted seed to make spacing simpler, and you could definitely try that. But I’ve found pelleted carrot seed to germinate more poorly than raw seed, and therefore don’t use it.
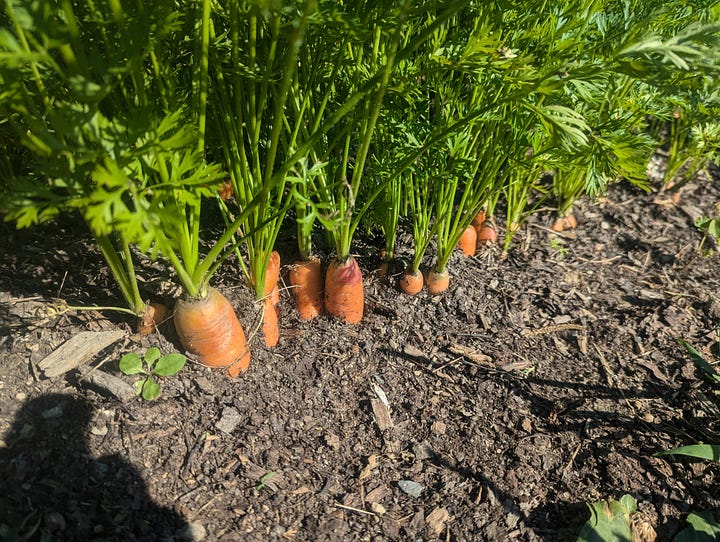
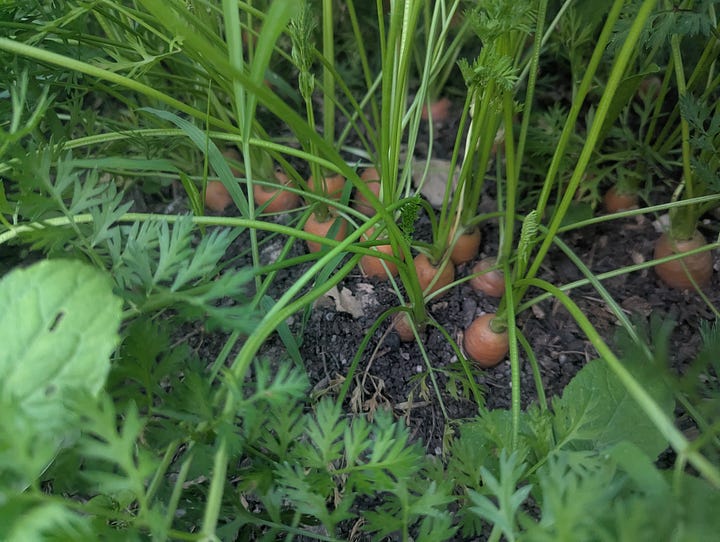
👉 What are your tips for growing carrots? What success stories do you have that others might benefit from?
Leave a comment and let the world know!
Happy gardening!
-Laverne
👉 P.S. If you’re tired of fighting your soil every single year… you’re not alone.
I learned to make gardening easier by focusing first on my soil, and I want to help you do the same.
I’ve distilled my methods for transforming heavy clay soil into rich garden soil into a simple, 1-hour course that’ll walk you through:
How to build a rich, healthy soil that gets better every year.
Why tilling is quietly ruining your soil
3 simple no-till methods I use in my own garden
Practical solutions for weeds, clay soil, and compaction
It’s called The No-Till Garden System.
This is the exact system I’ve used for over 15 years to turn hard, compacted soil into something dark, crumbly, and full of life!
If you’re ready for a garden that’s easier, more productive, and actually enjoyable again…
👉 Join the No-Till Garden System here
Your future soil will thank you 🌿
👉 If you’re interested, here are 4 more ways I can help you in your garden this year:
This is the exact process I use for my 1-on-1 coaching clients. It will help you find the gardening methods that fit your context, and design a garden that fits your life so you can grow more food with less work.
If you want to grow more food with less work, perennials are your answer! I grow and ship a variety of edible and useful plants anywhere in the US, including elderberry, pawpaw, currants, and lots more to make your garden more resilient and more productive.
If you feel stuck designing your garden or edible landscape, or you want another set of eyes on your property to help you sort through the possibilities and ideas, I offer property visits as well as remote consultations. Click here to learn more.
A paid subscription gets you…
A monthly garden plan telling you exactly what to do each month to grow food year-round (specific to zone 6 but easily adaptable to zones 5-7 or beyond).
Access to my always growing library of garden resources, including growing calendars, pest solutions, and more.
15% off edible perennials in my online store, (I ship anywhere in the US).
Garden troubleshooting -the ability to directly ask me or the Garden Coach community all your gardening questions.
Comments
Nothing yet. Say the first thing.
Sign in to join the conversation.