

Anurag is an experienced journalist and author who’s been covering tech for the past 5 years, with a focus on Windows, Android, and Apple. He’s written for sites like Android Police, Neowin, Dexerto, and MakeTechEasier. Anurag’s always pumped about tech and loves getting his hands on the latest gadgets. When he's not procrastinating, you’ll probably find him catching the newest movies in theaters or scrolling through Twitter from his bed.
I have spent years building my smart home around Home Assistant, and most of it still relies on devices that someone else has designed for a specific purpose. That makes setting everything up easier, although it also limits what you can automate. I keep coming across ESP32 boards whenever I look for more customized sensors, but every project involves pin diagrams, unfamiliar components, YAML configuration, and firmware errors that I have no idea how to troubleshoot.
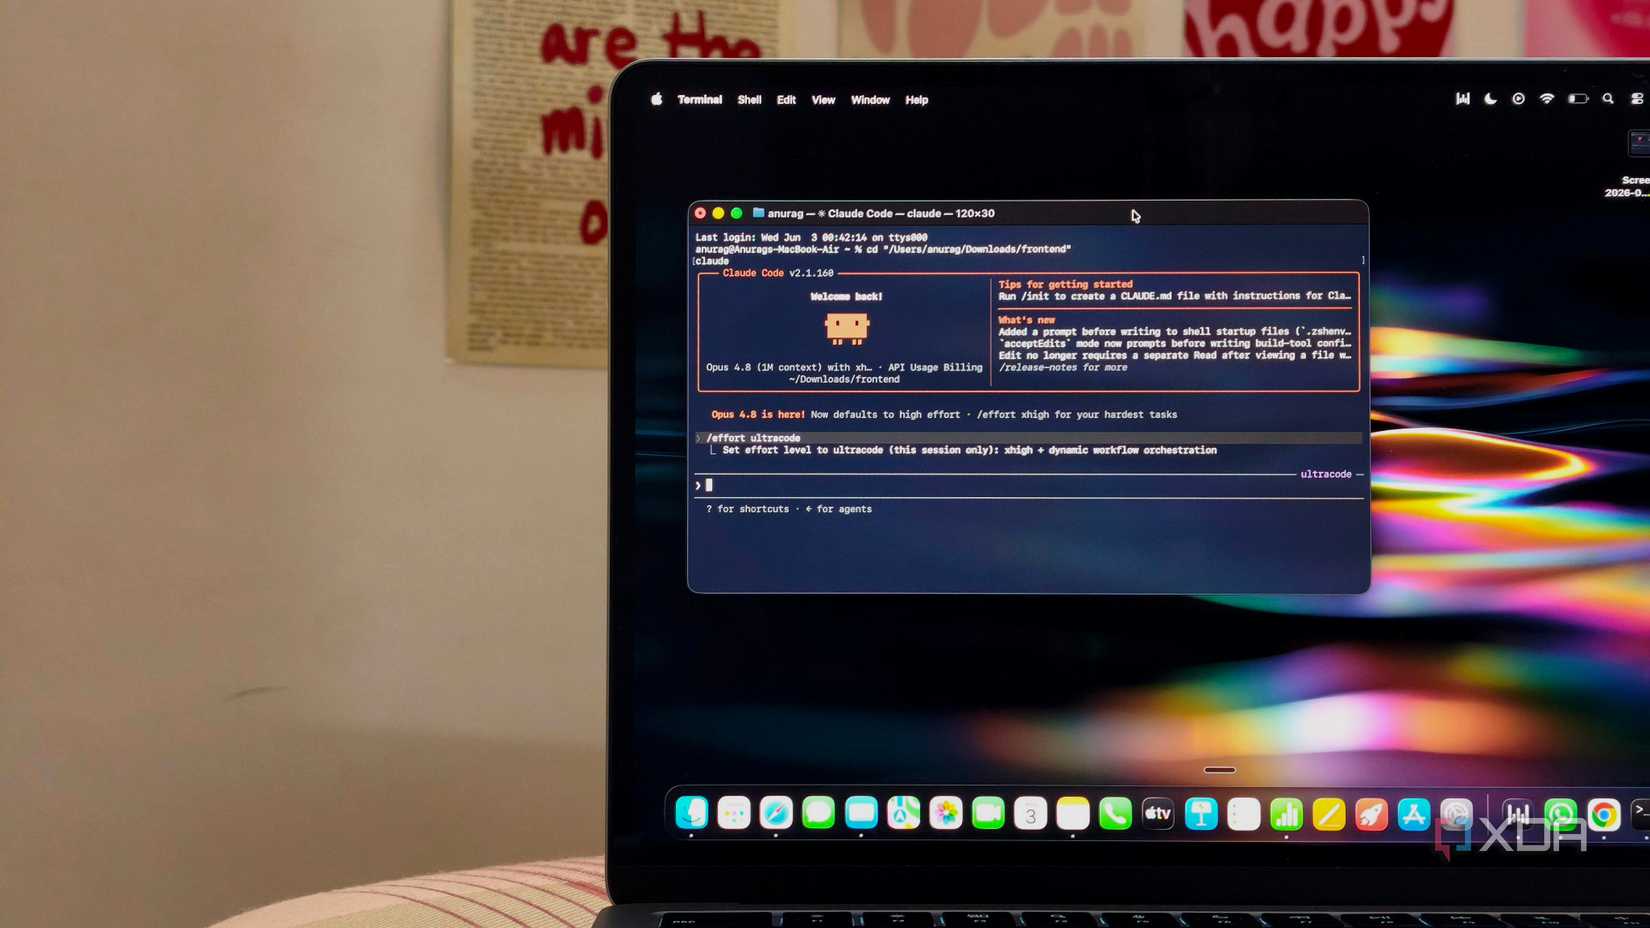
I eventually bought an ESP32 and asked Claude Code to teach me how to use it while helping me build something useful. I had it explain how the components worked, tell me where each wire went, write the ESPHome configuration, and help fix errors as I encountered them. That helped me work through my smart projects a lot faster.
I have always avoided ESP32 boards
Because I didn’t know where to begin
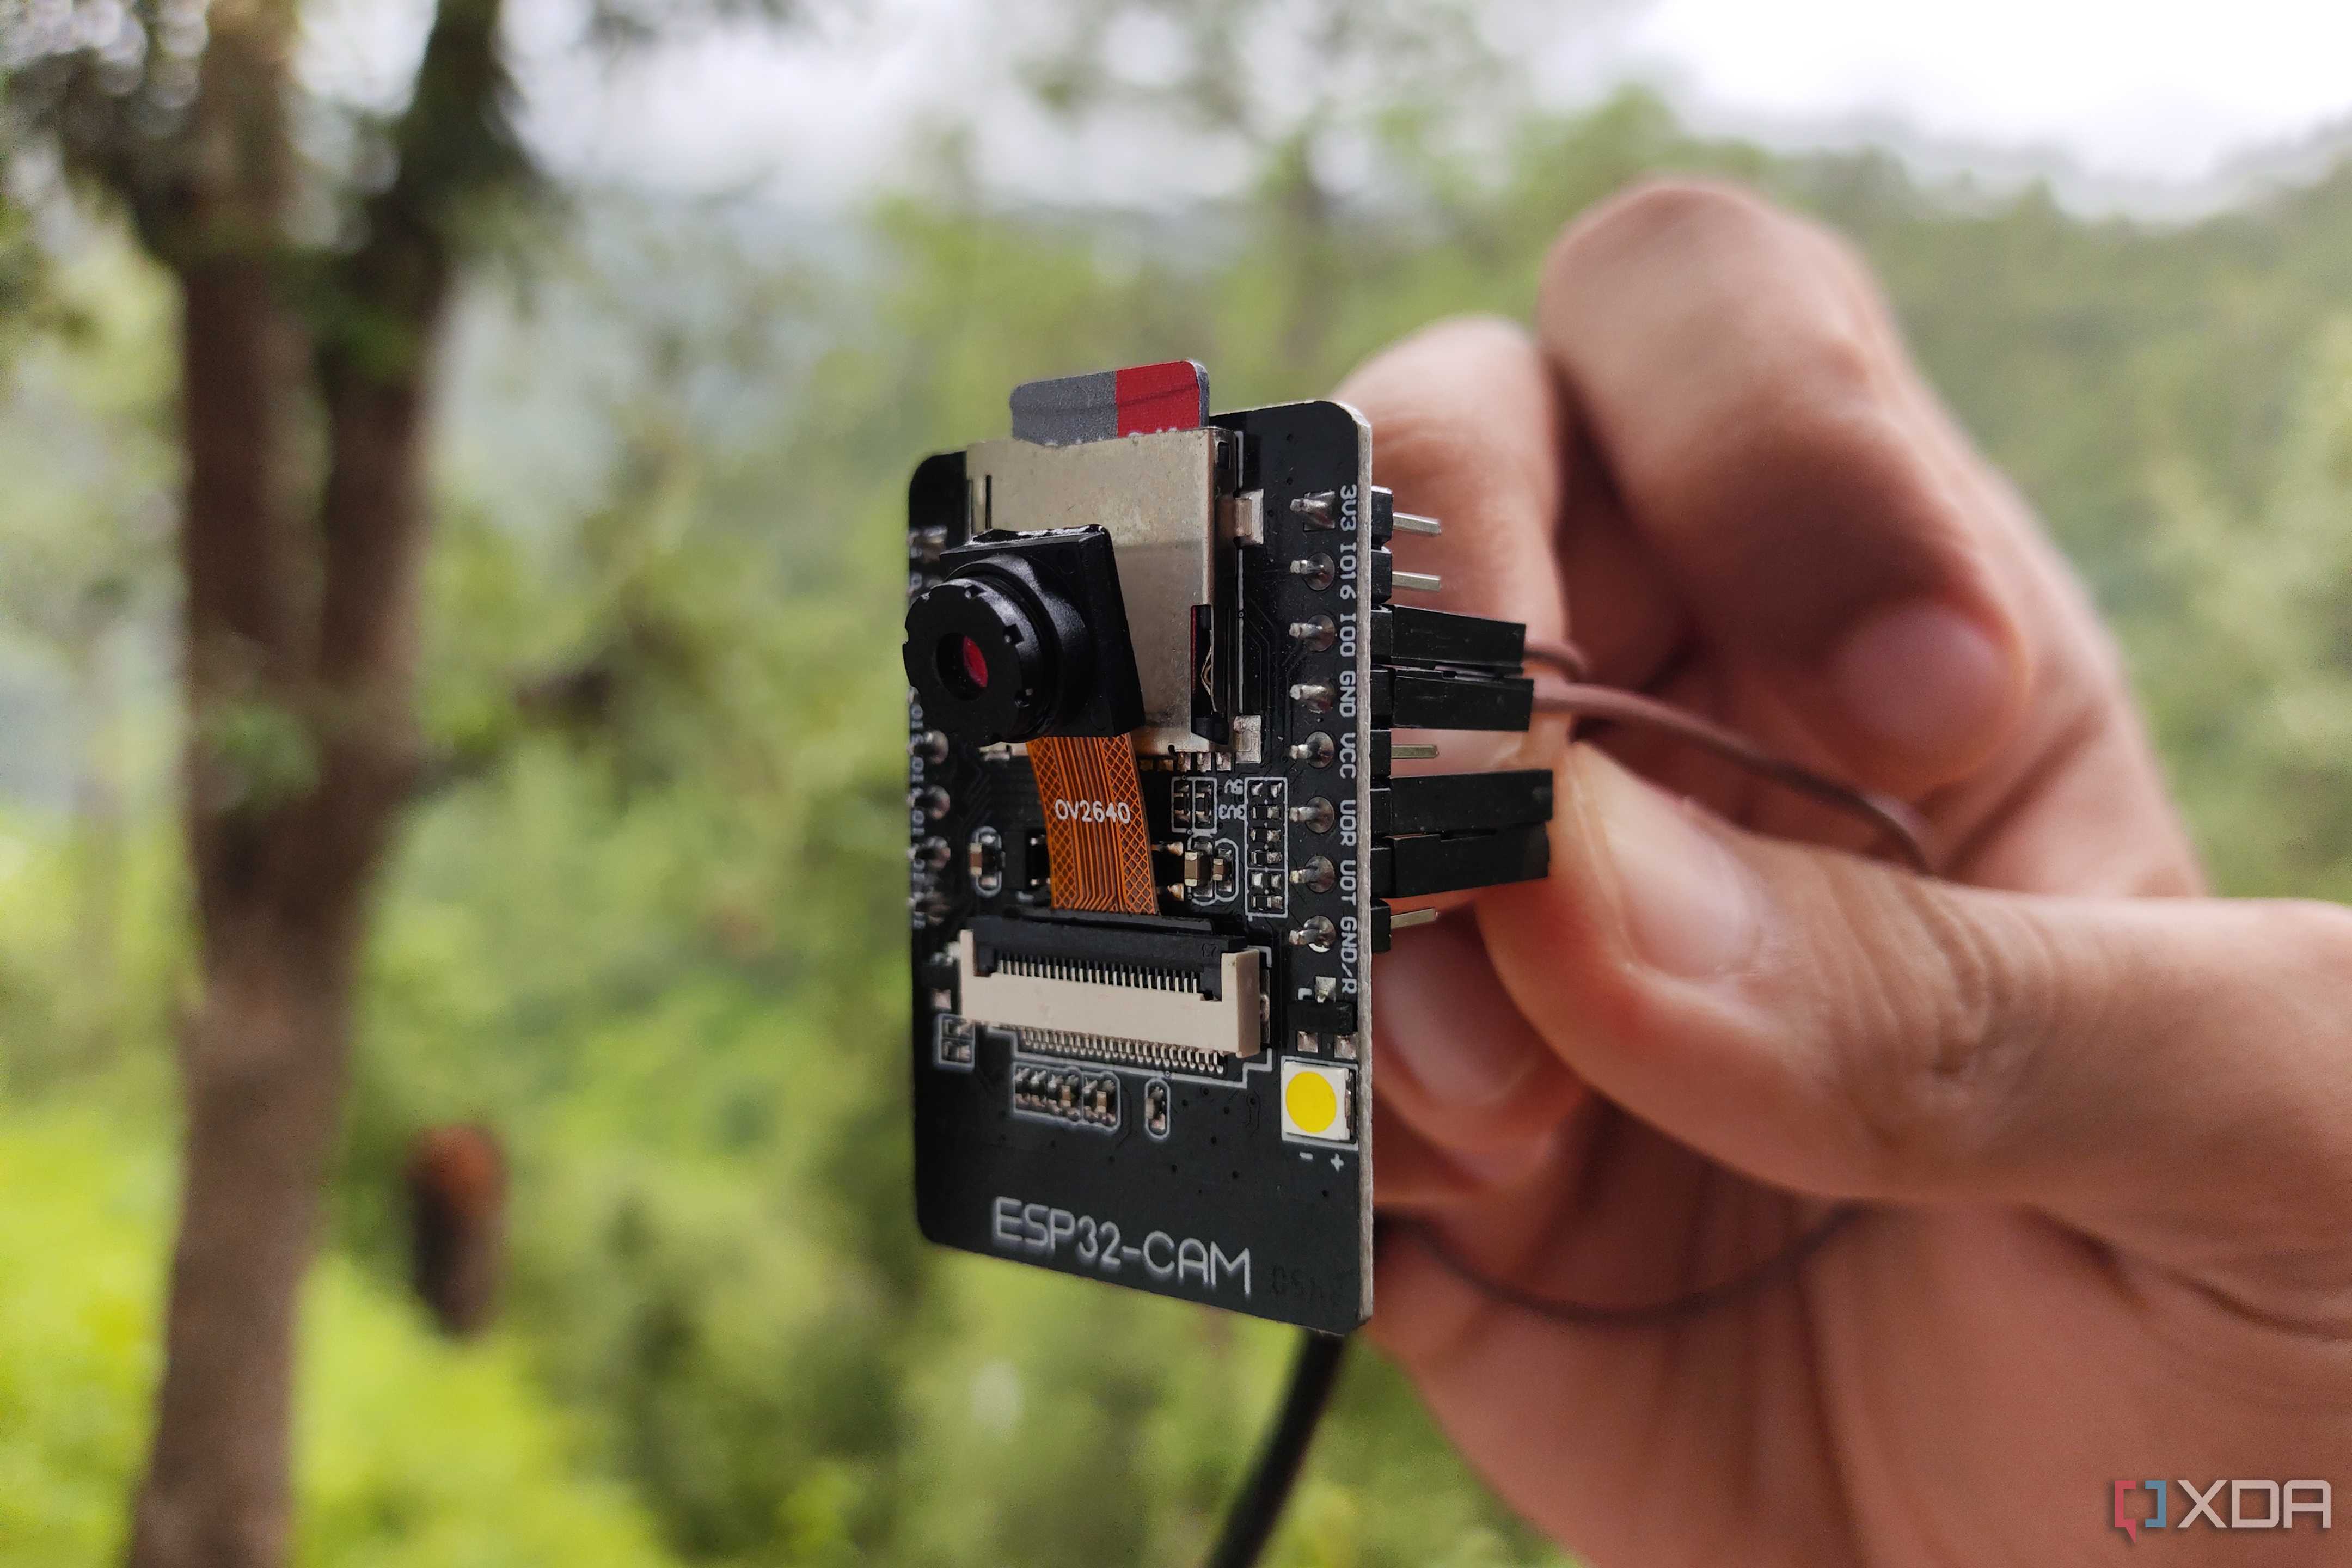
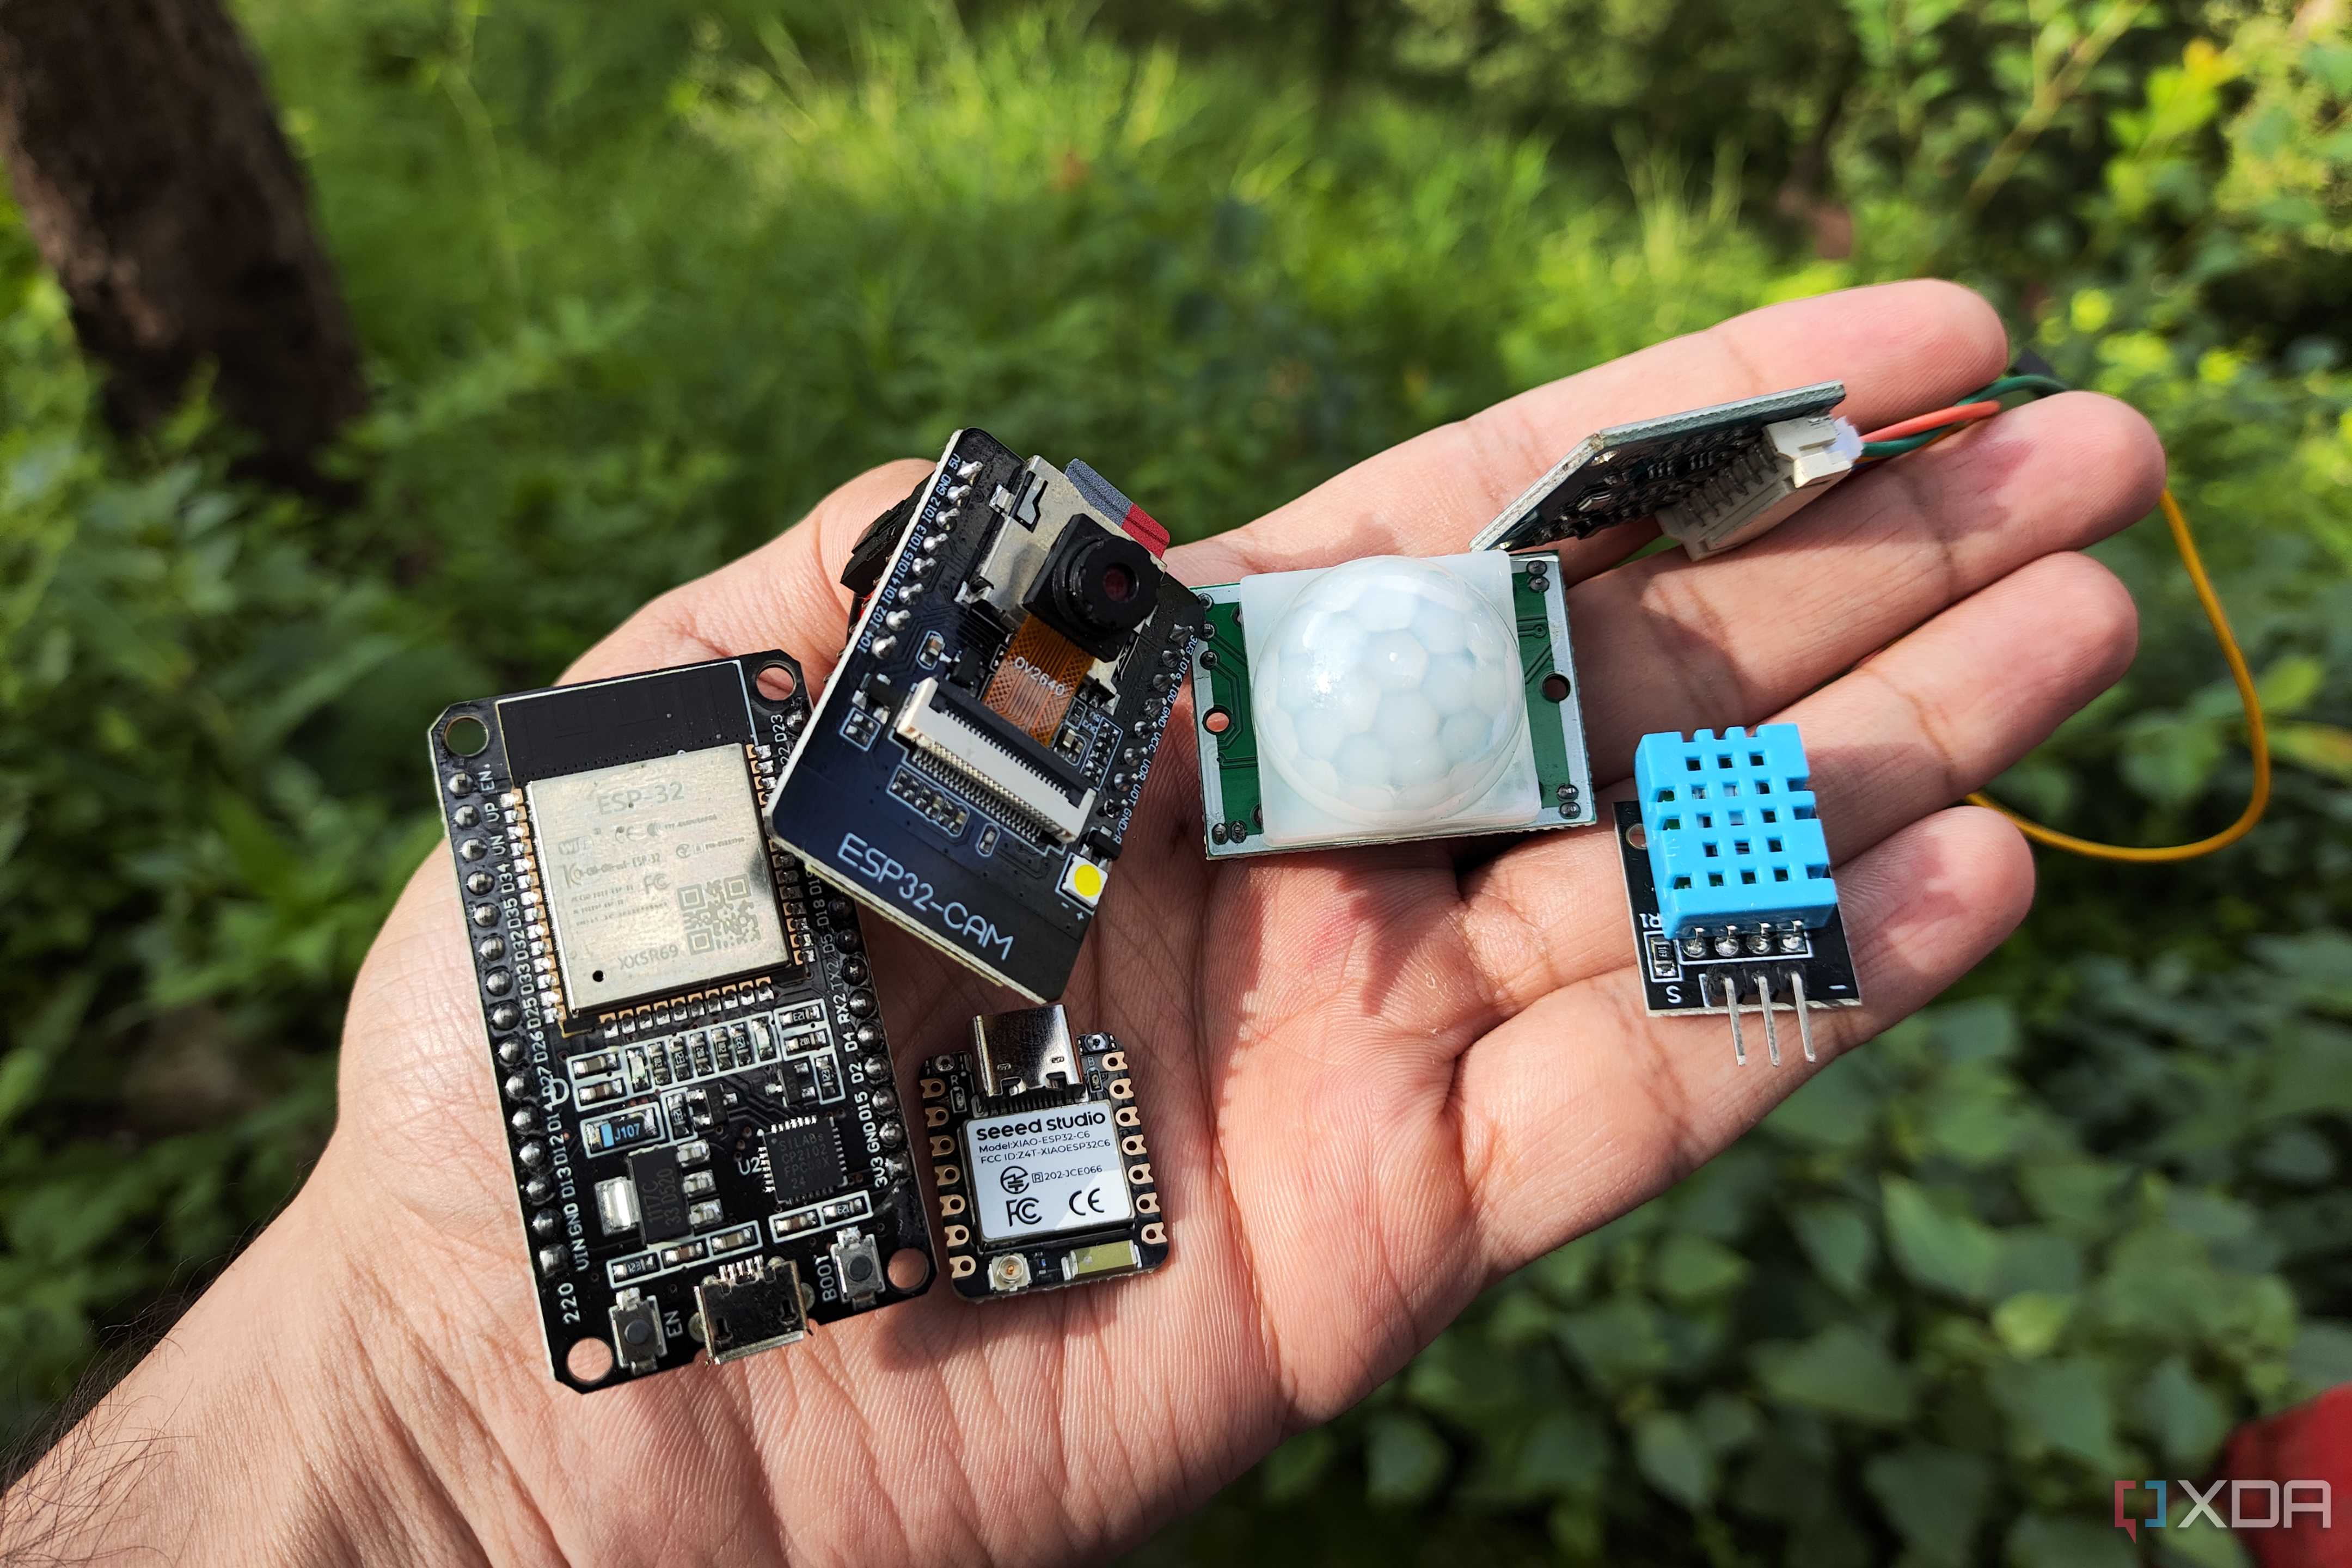


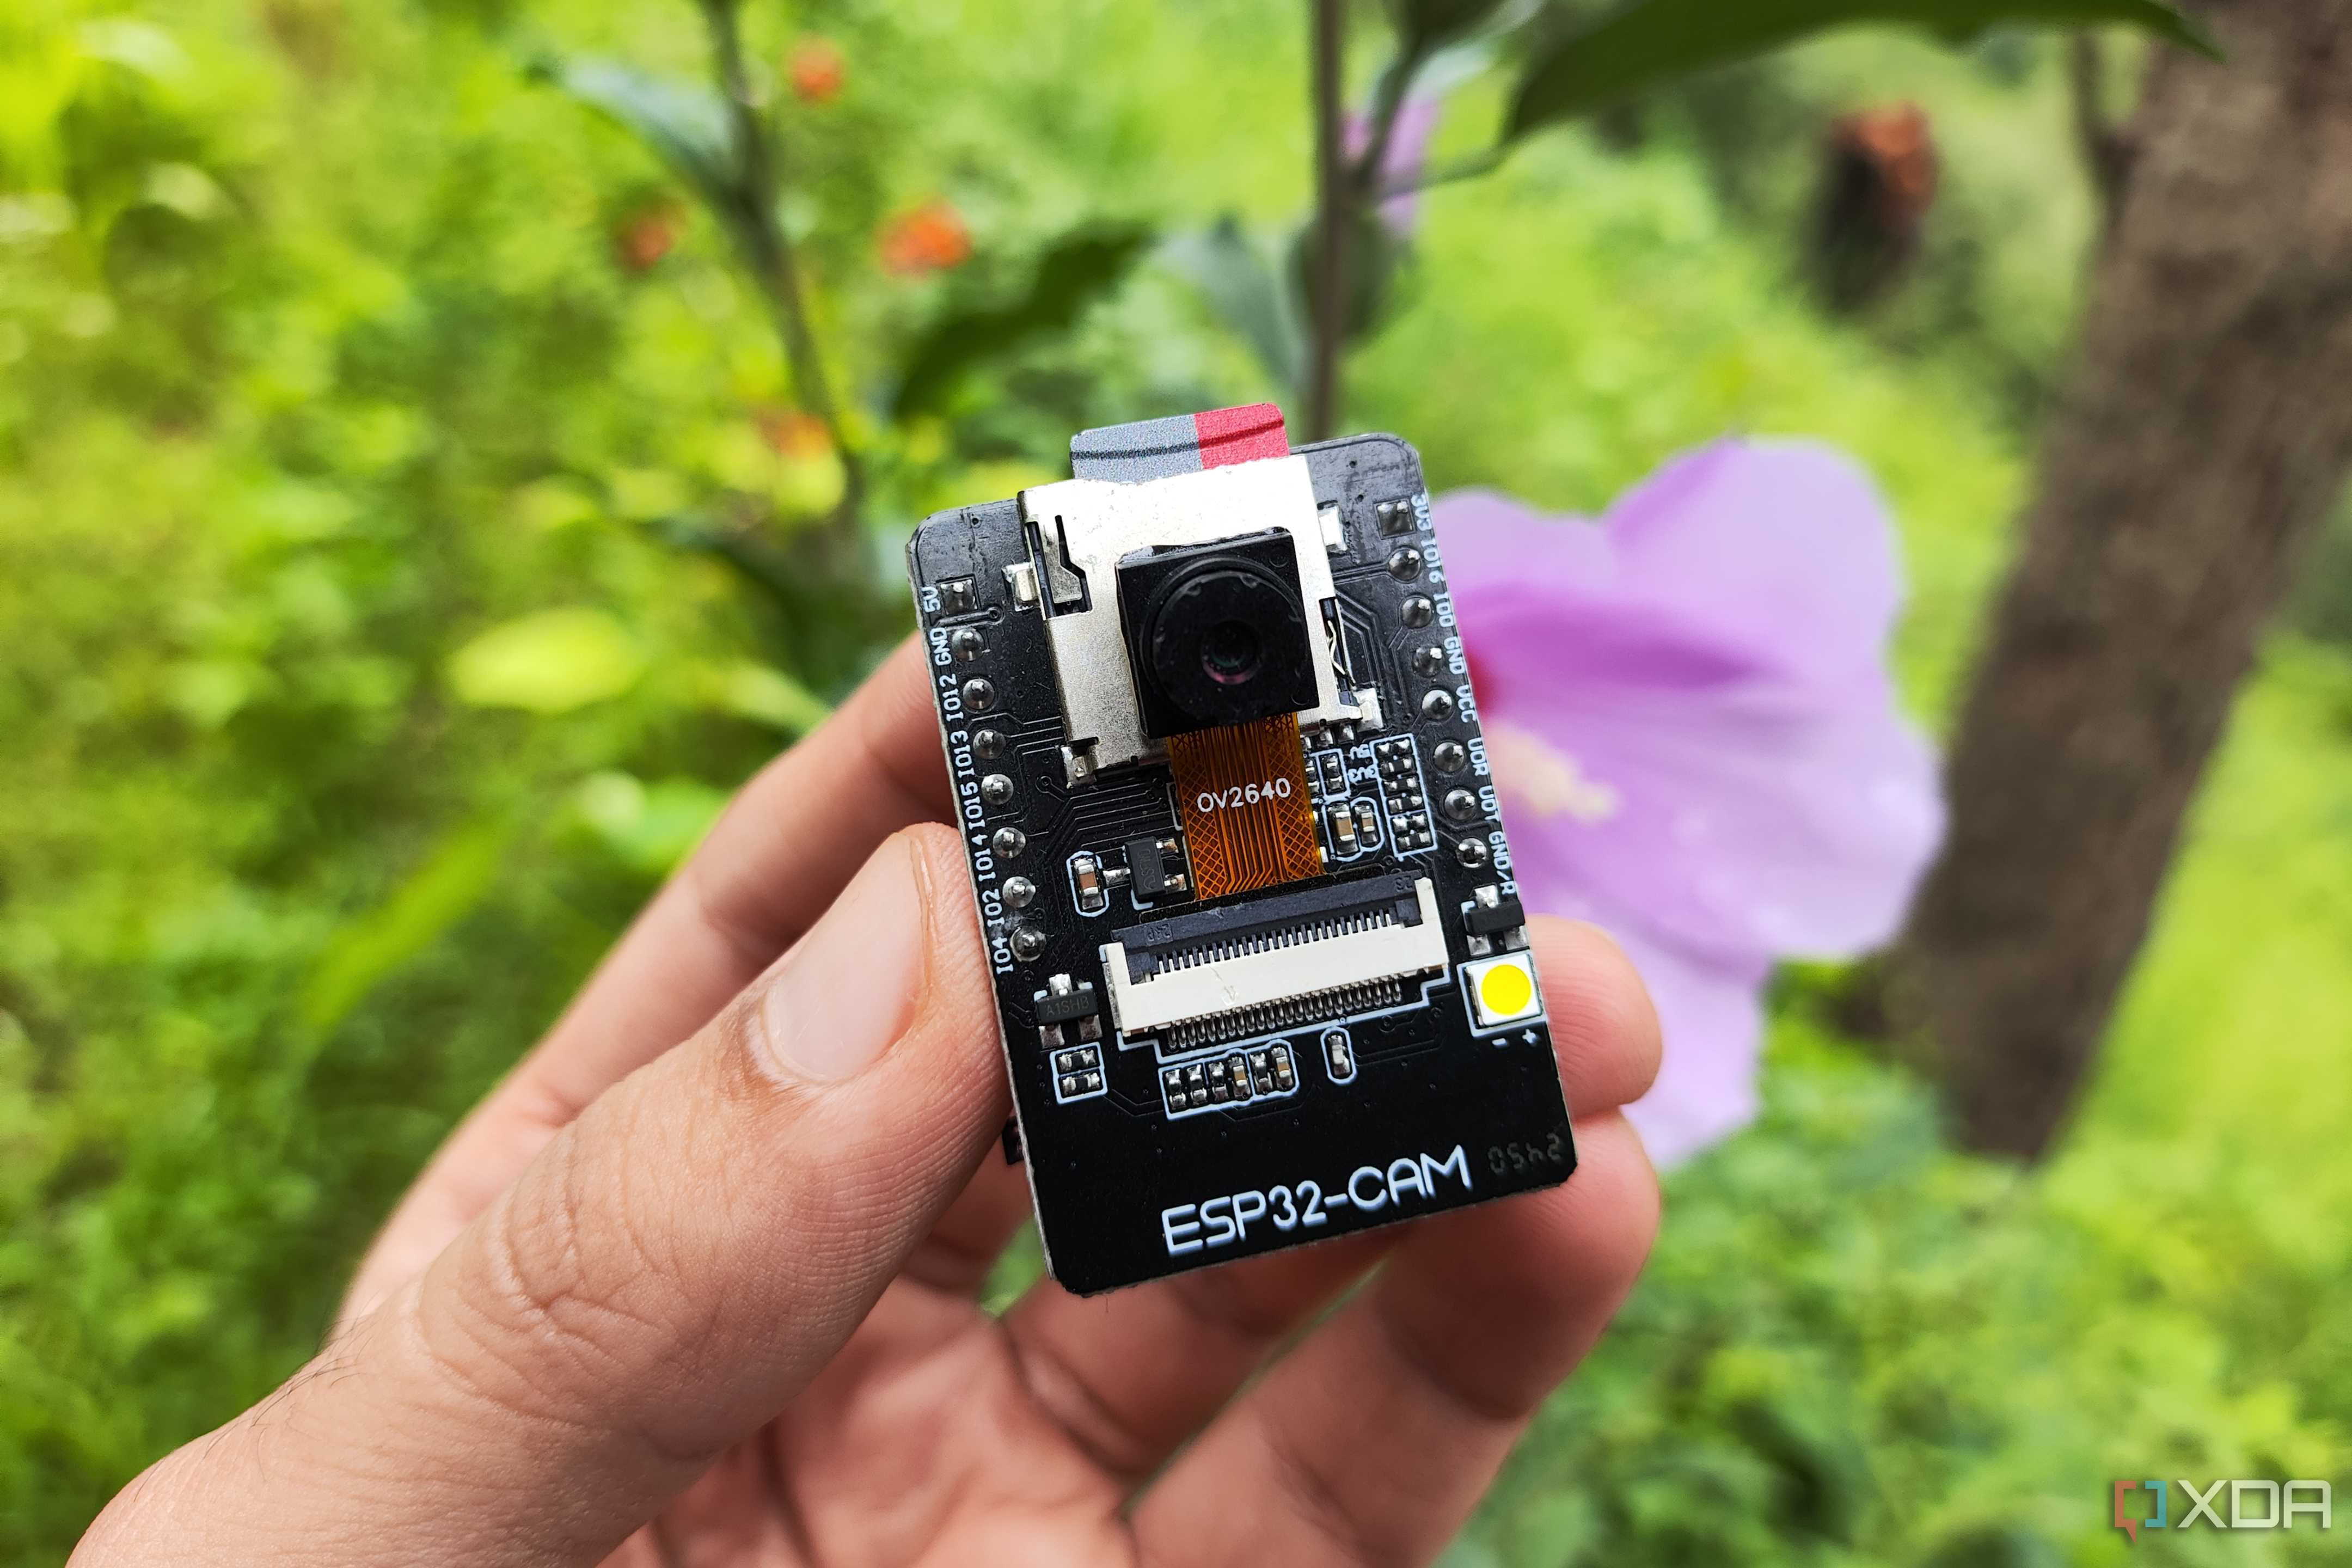
An ESP32 is a small microcontroller with built-in Wi-Fi and Bluetooth. You connect sensors, buttons, LEDs, relays, displays, or other components to its pins and install firmware that controls how everything works. It doesn’t run a regular operating system like a Raspberry Pi. The board starts up, runs the instructions written for it, and communicates the resulting data to something like Home Assistant.
This basic setup opens up a ridiculous number of possibilities. An ESP32 can become a temperature and humidity monitor, a Bluetooth proxy, or a presence sensor that knows someone is in the room even when they aren’t moving. You can also combine several components on the same board instead of buying a separate finished product for every job.
ESPHome makes these projects considerably more approachable. It lets you describe the board, connected components, and required behaviour inside a YAML configuration file. ESPHome then converts that configuration into firmware, installs it on the ESP32, and exposes its sensors and controls inside Home Assistant. Once you complete the initial installation over USB, later updates can usually be sent over Wi-Fi.
The part I struggled with was everything between choosing a project and getting it to work. ESP32 boards have different pin layouts, sensors operate at different voltages, and wiring diagrams often assume that you already understand terms such as GPIO, UART, RX, and TX. Even a relatively simple ESPHome configuration requires a lot of work.
Claude Code can handle the parts I don’t understand
And it does a good job at it
I used an ESP32-WROOM-32 DevKit V1 with a Hi-Link LD2410C mmWave presence sensor, a BME280 temperature and humidity sensor, and a BH1750 ambient light sensor. I wanted to build a device that could tell Home Assistant whether someone was in the room, what the temperature and humidity were, and whether it was dark enough to turn on the lights.
I opened an empty project folder in Claude Code and gave it the names of all four components. It suggested using GPIO16 and GPIO17 for the LD2410C’s UART connection, while the BME280 and BH1750 shared GPIO21 and GPIO22 over I²C. Claude also explained that the TX pin on the LD2410C had to connect to the ESP32’s RX pin and vice versa, which is exactly the kind of detail most tutorials mention once and assume you already understand.
The ESPHome configuration used esp32dev as the board type and included separate blocks for UART, I²C, the three sensors, Home Assistant’s native API, and over-the-air updates. These components already have official ESPHome integrations, so Claude Code didn’t need to write any custom drivers. It mainly had to use the correct component names, addresses, pins, and communication settings.
I kept the configuration locally and let Claude Code run esphome config to validate it, followed by esphome compile to build the firmware. I could ask why the BME280 and BH1750 shared the same two wires, change how frequently they reported readings, or remove values I didn’t want in Home Assistant.
I built the sensor my smart home was missing
One board could replace many smart sensors

Once the ESP32 appeared in Home Assistant, it gave me separate readings for presence, movement, temperature, humidity, and more. I didn’t find much use for the pressure reading, so I hid it from the dashboard. The remaining sensors work together far better than the basic motion sensor I have been using.
The LD2410C is by far my favorite. A regular PIR sensor detects movement, but LD2410C continues reporting stationary presence. I use that reading with the BH1750 to improve my lighting automation. Home Assistant can turn on the light when the room is occupied and the ambient light drops below 40 lux. It can switch the light off when the LD2410C stops detecting anyone. I don’t have to wave my hand around when a motion sensor decides the room is empty. The BME280 adds temperature and humidity to the same device.
ESPHome also exposes the LD2410C’s detection range and sensitivity controls inside Home Assistant. I can reduce its range when it starts detecting movement outside the room and adjust how sensitive it is to stationary targets.
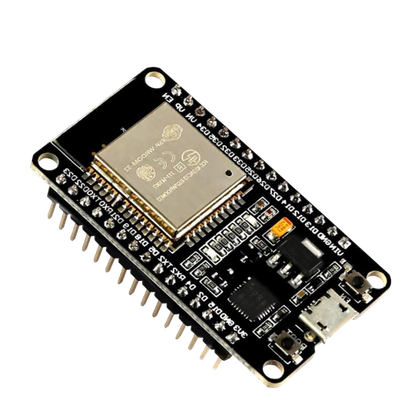
- Brand
- AITRIP
- Connectivity Features
- UART, USB
Comments
Nothing yet. Say the first thing.
Sign in to join the conversation.