
[ soundtrack : Charlie Parker - Jam Session (1952) ]
****
This post is too long for email — open in browser for full length.
****
I began my disreputable woodworking career just before the internet came of age; before you could simply order quality tools online, so I started out using handsaws off of the rack in the hardware store; dinky plastic handle, overly narrow and flexible blade, teeth hardened and shaped for the ‘combi-cut’ which neither rips nor crosscuts very well, but rather does both reluctantly, be it the carpenter’s disposable handsaw or the jobbing version of a backsaw.
That said, these cheap saws are perfectly suited for a building site, and I’ve done lots of decent work with them. A bit of practice and skill lets you make good use of a subpar tool. I keep a good selection of ‘hardware-store saws’ for certain kinds of work. As always: horses for courses … and tool-snobbery was never a virtue. You can buy the expensive tools but not the skills to use them well — woodworking is inherently meritocratic in that regard.
I’ve always wanted to be able to sharpen my owns saws. Over the years, I’ve accumulated a selection of ‘unhardened’ saws of all kinds, and saw-files … and tooth-setting pliers … and all manner of saw-sharpening paraphernalia. When I’ve ordered a new plane or some other ‘big’ purchase, I’ve often added a couple of saw-files or some other useful, small item … while I’m paying postage & packing anyways was always my rationalization.
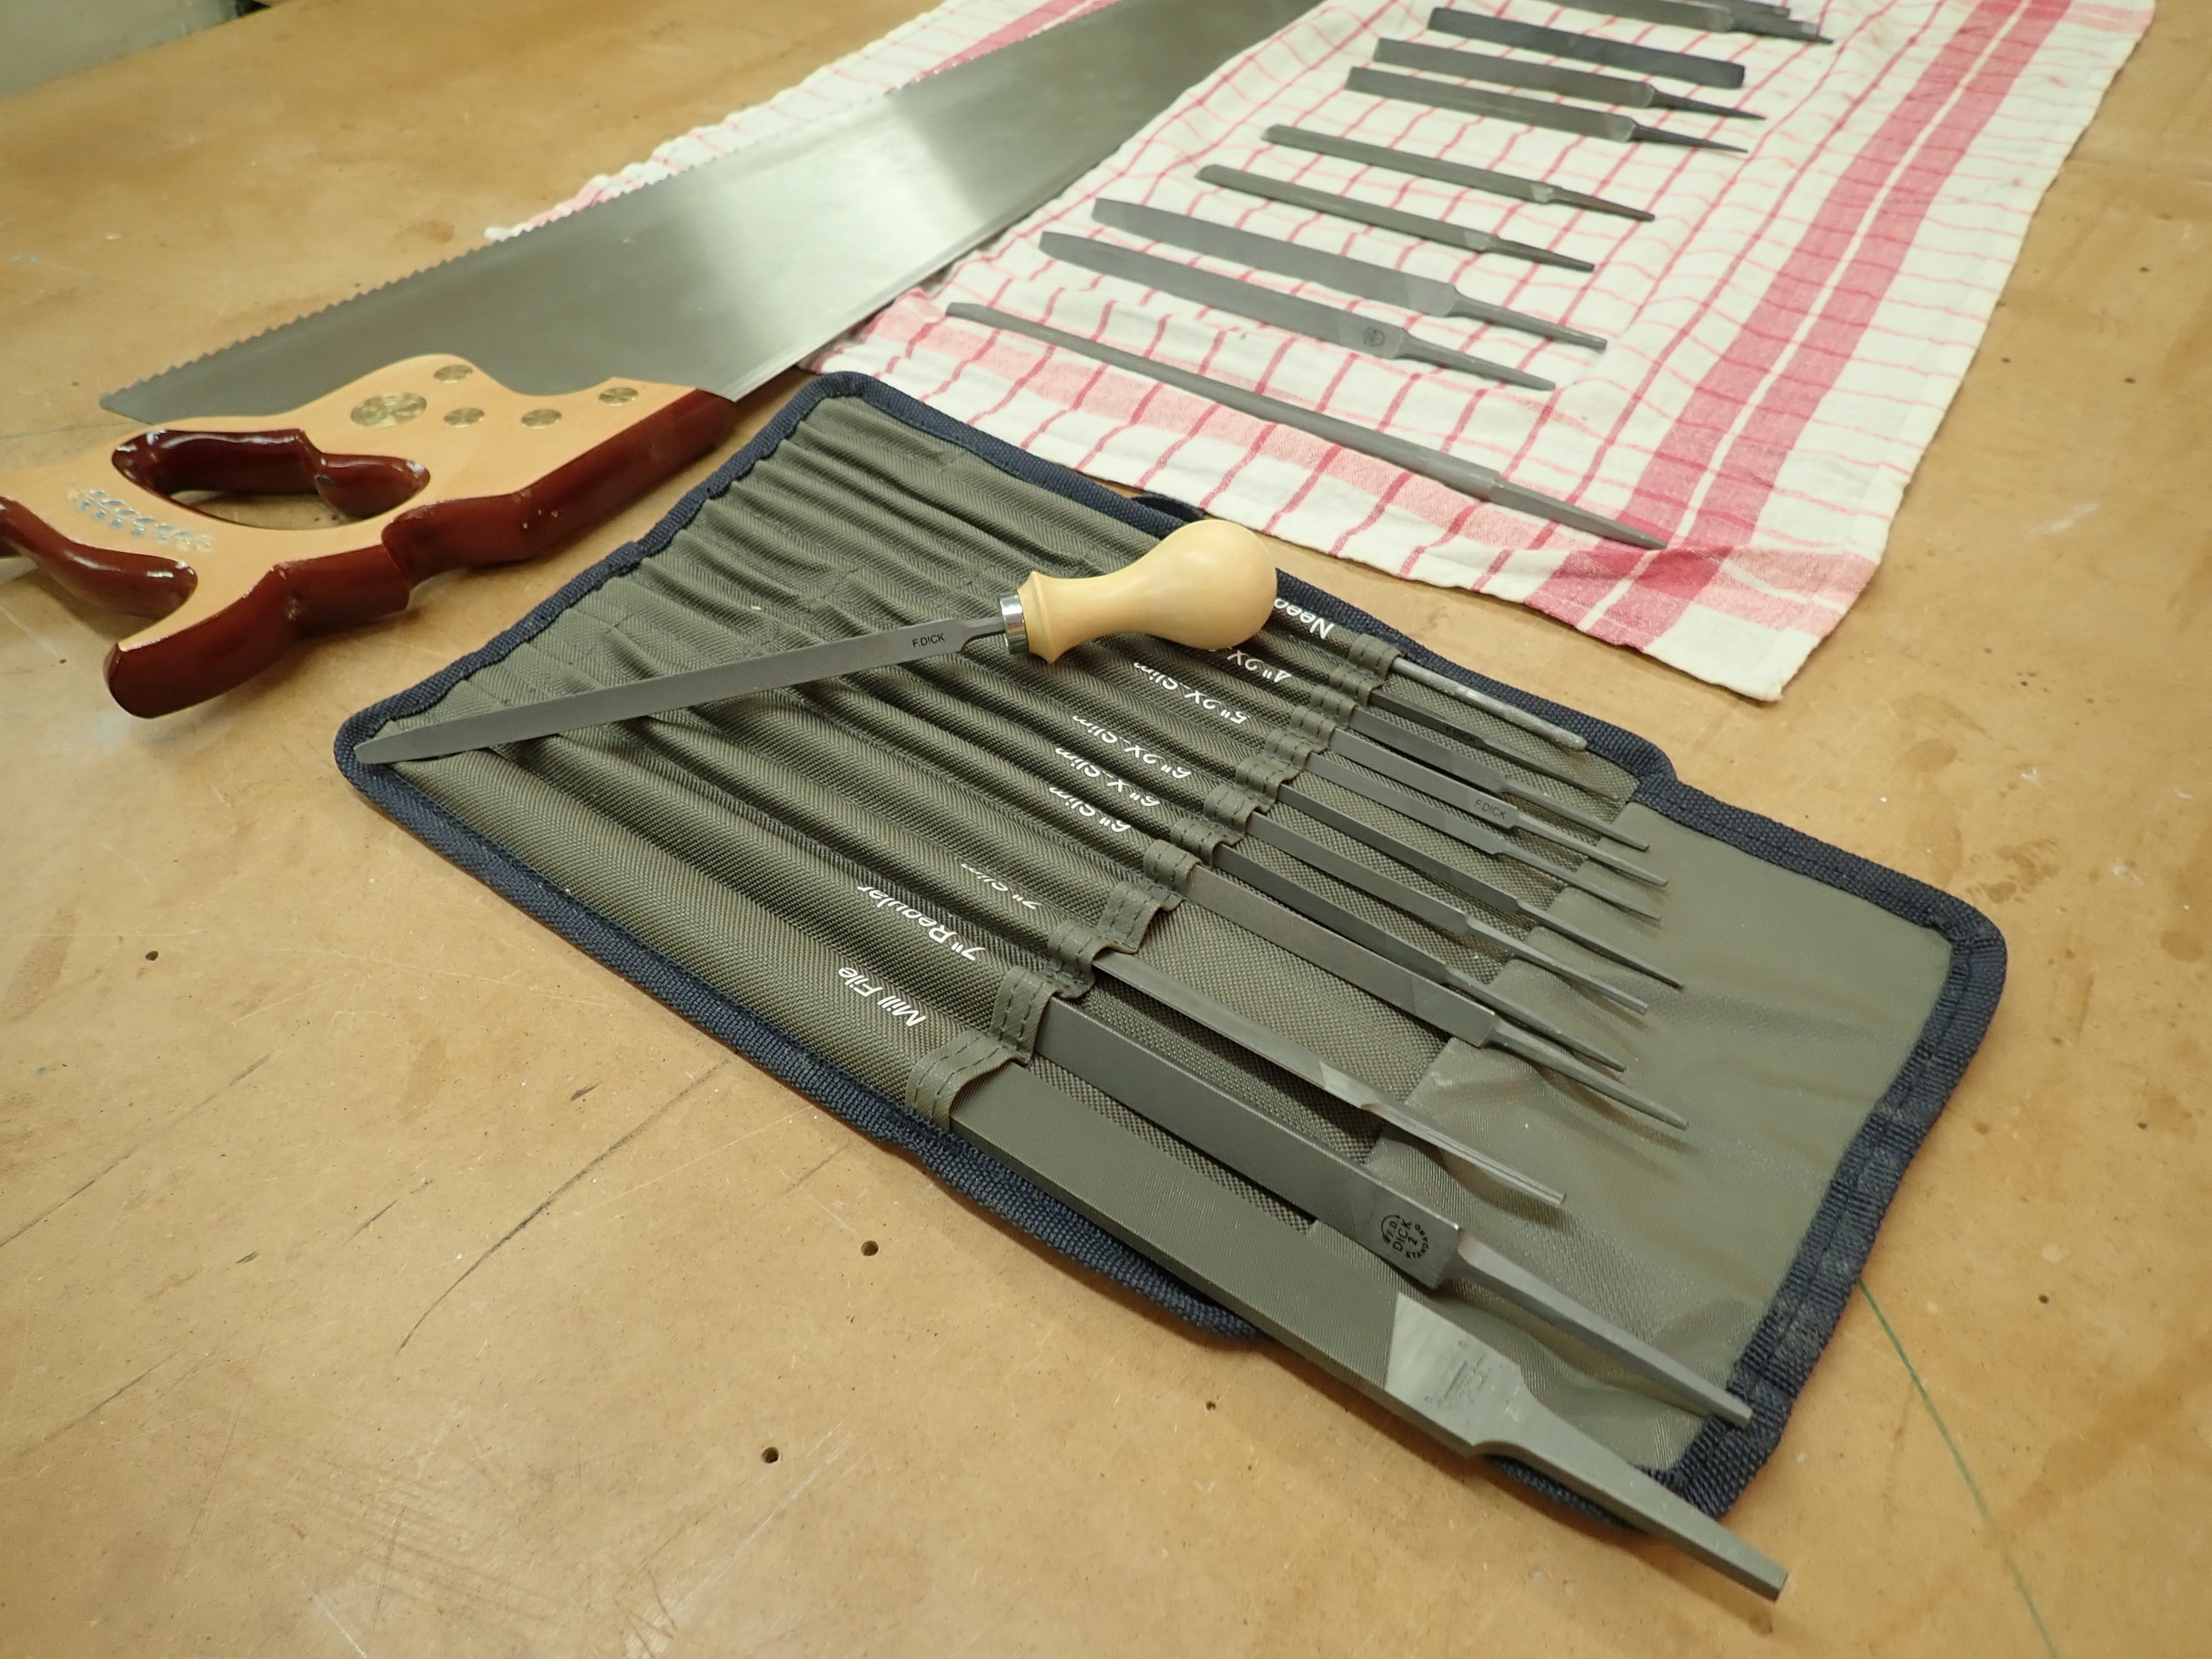
I know how to sharpen saws, but only in theory. It’s covered in several of my woodworking textbooks; I’ve seen videos and I’ve even done some crude experiments with clamping an old saw in my bench-vise between a pair of boards, but what I was missing was a proper saw-vise, or at least a workable one. This summer I decided to make one — a prototype.
There are two kinds of saw-vises: the ones that have their own clamping device (threaded rod or rotating clamping cam) and the ones that uses your bench-vise to generate the clamping force. I chose the latter solution to keep things simple.
You can, of course, buy one; made of steel or wood, but where’s the fun in that when you can make a much poorer version yourself? I reckoned I could make something vise-like using some bits of 22mm poplar ply, some thin strips of beech and a few patches of leather.
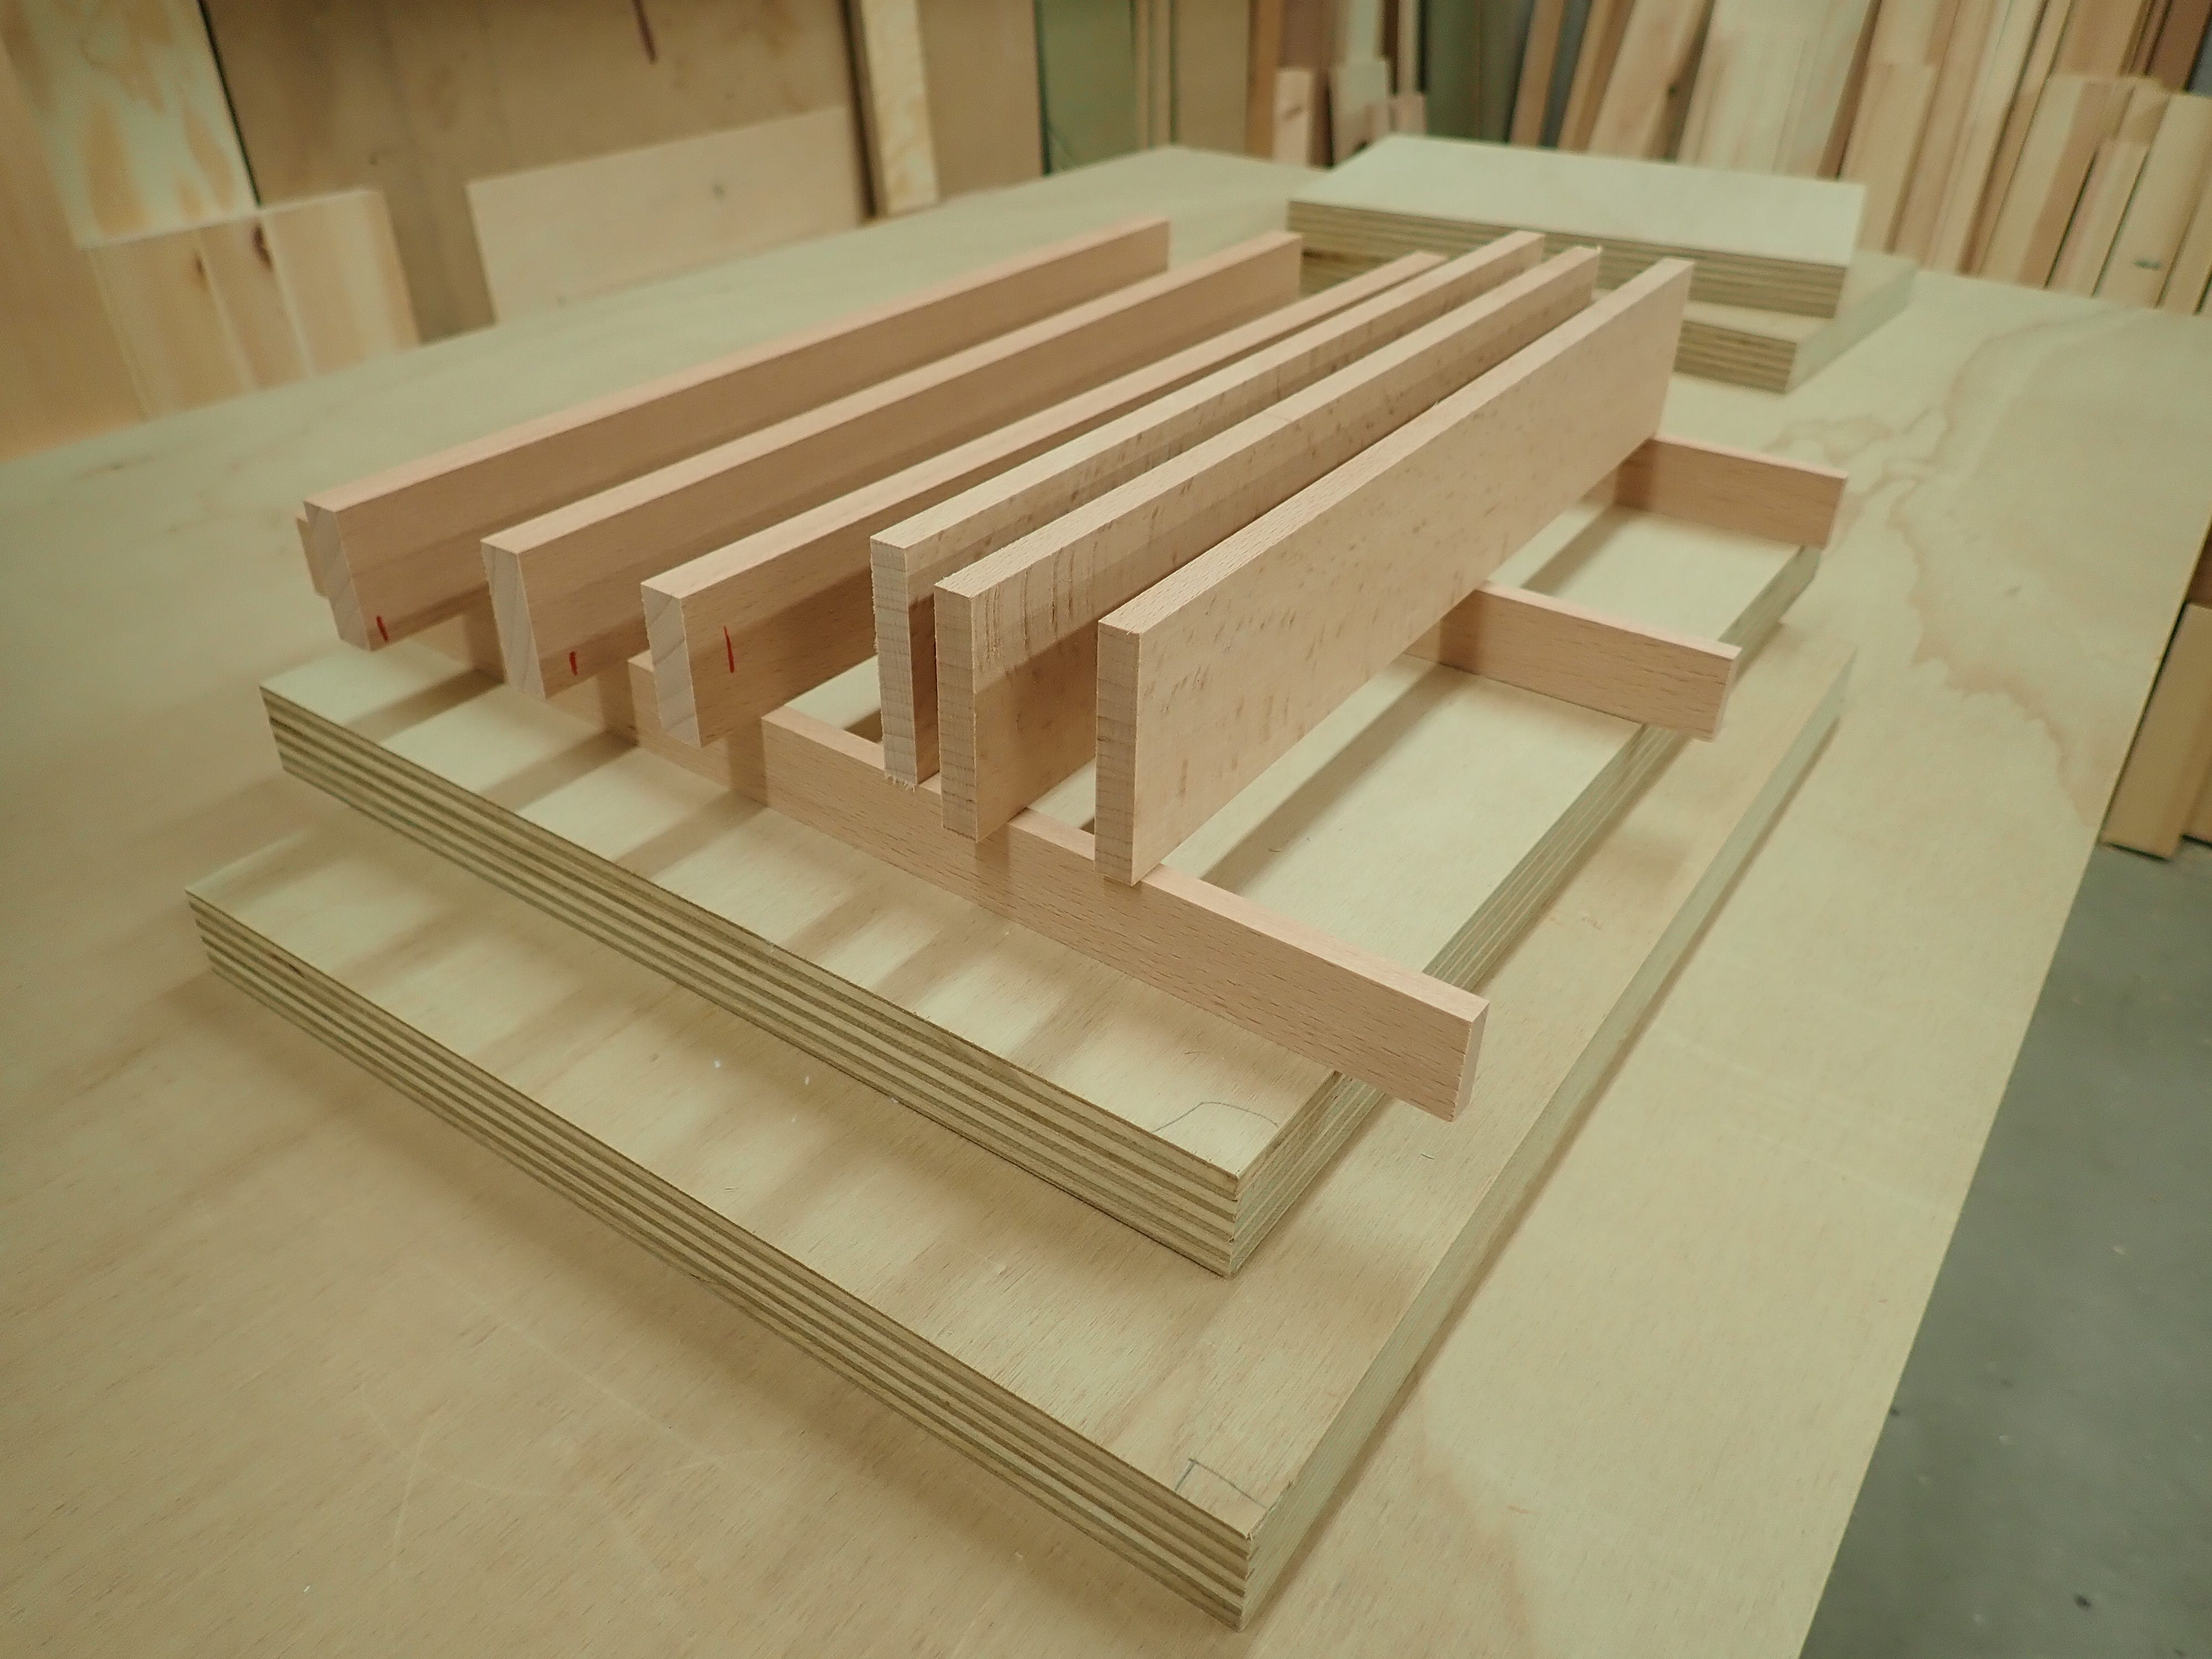
The poplar ply was sufficiently thick to be stiff enough, but the wood itself was soft and weak, so I decided to reinforce it where necessary ...
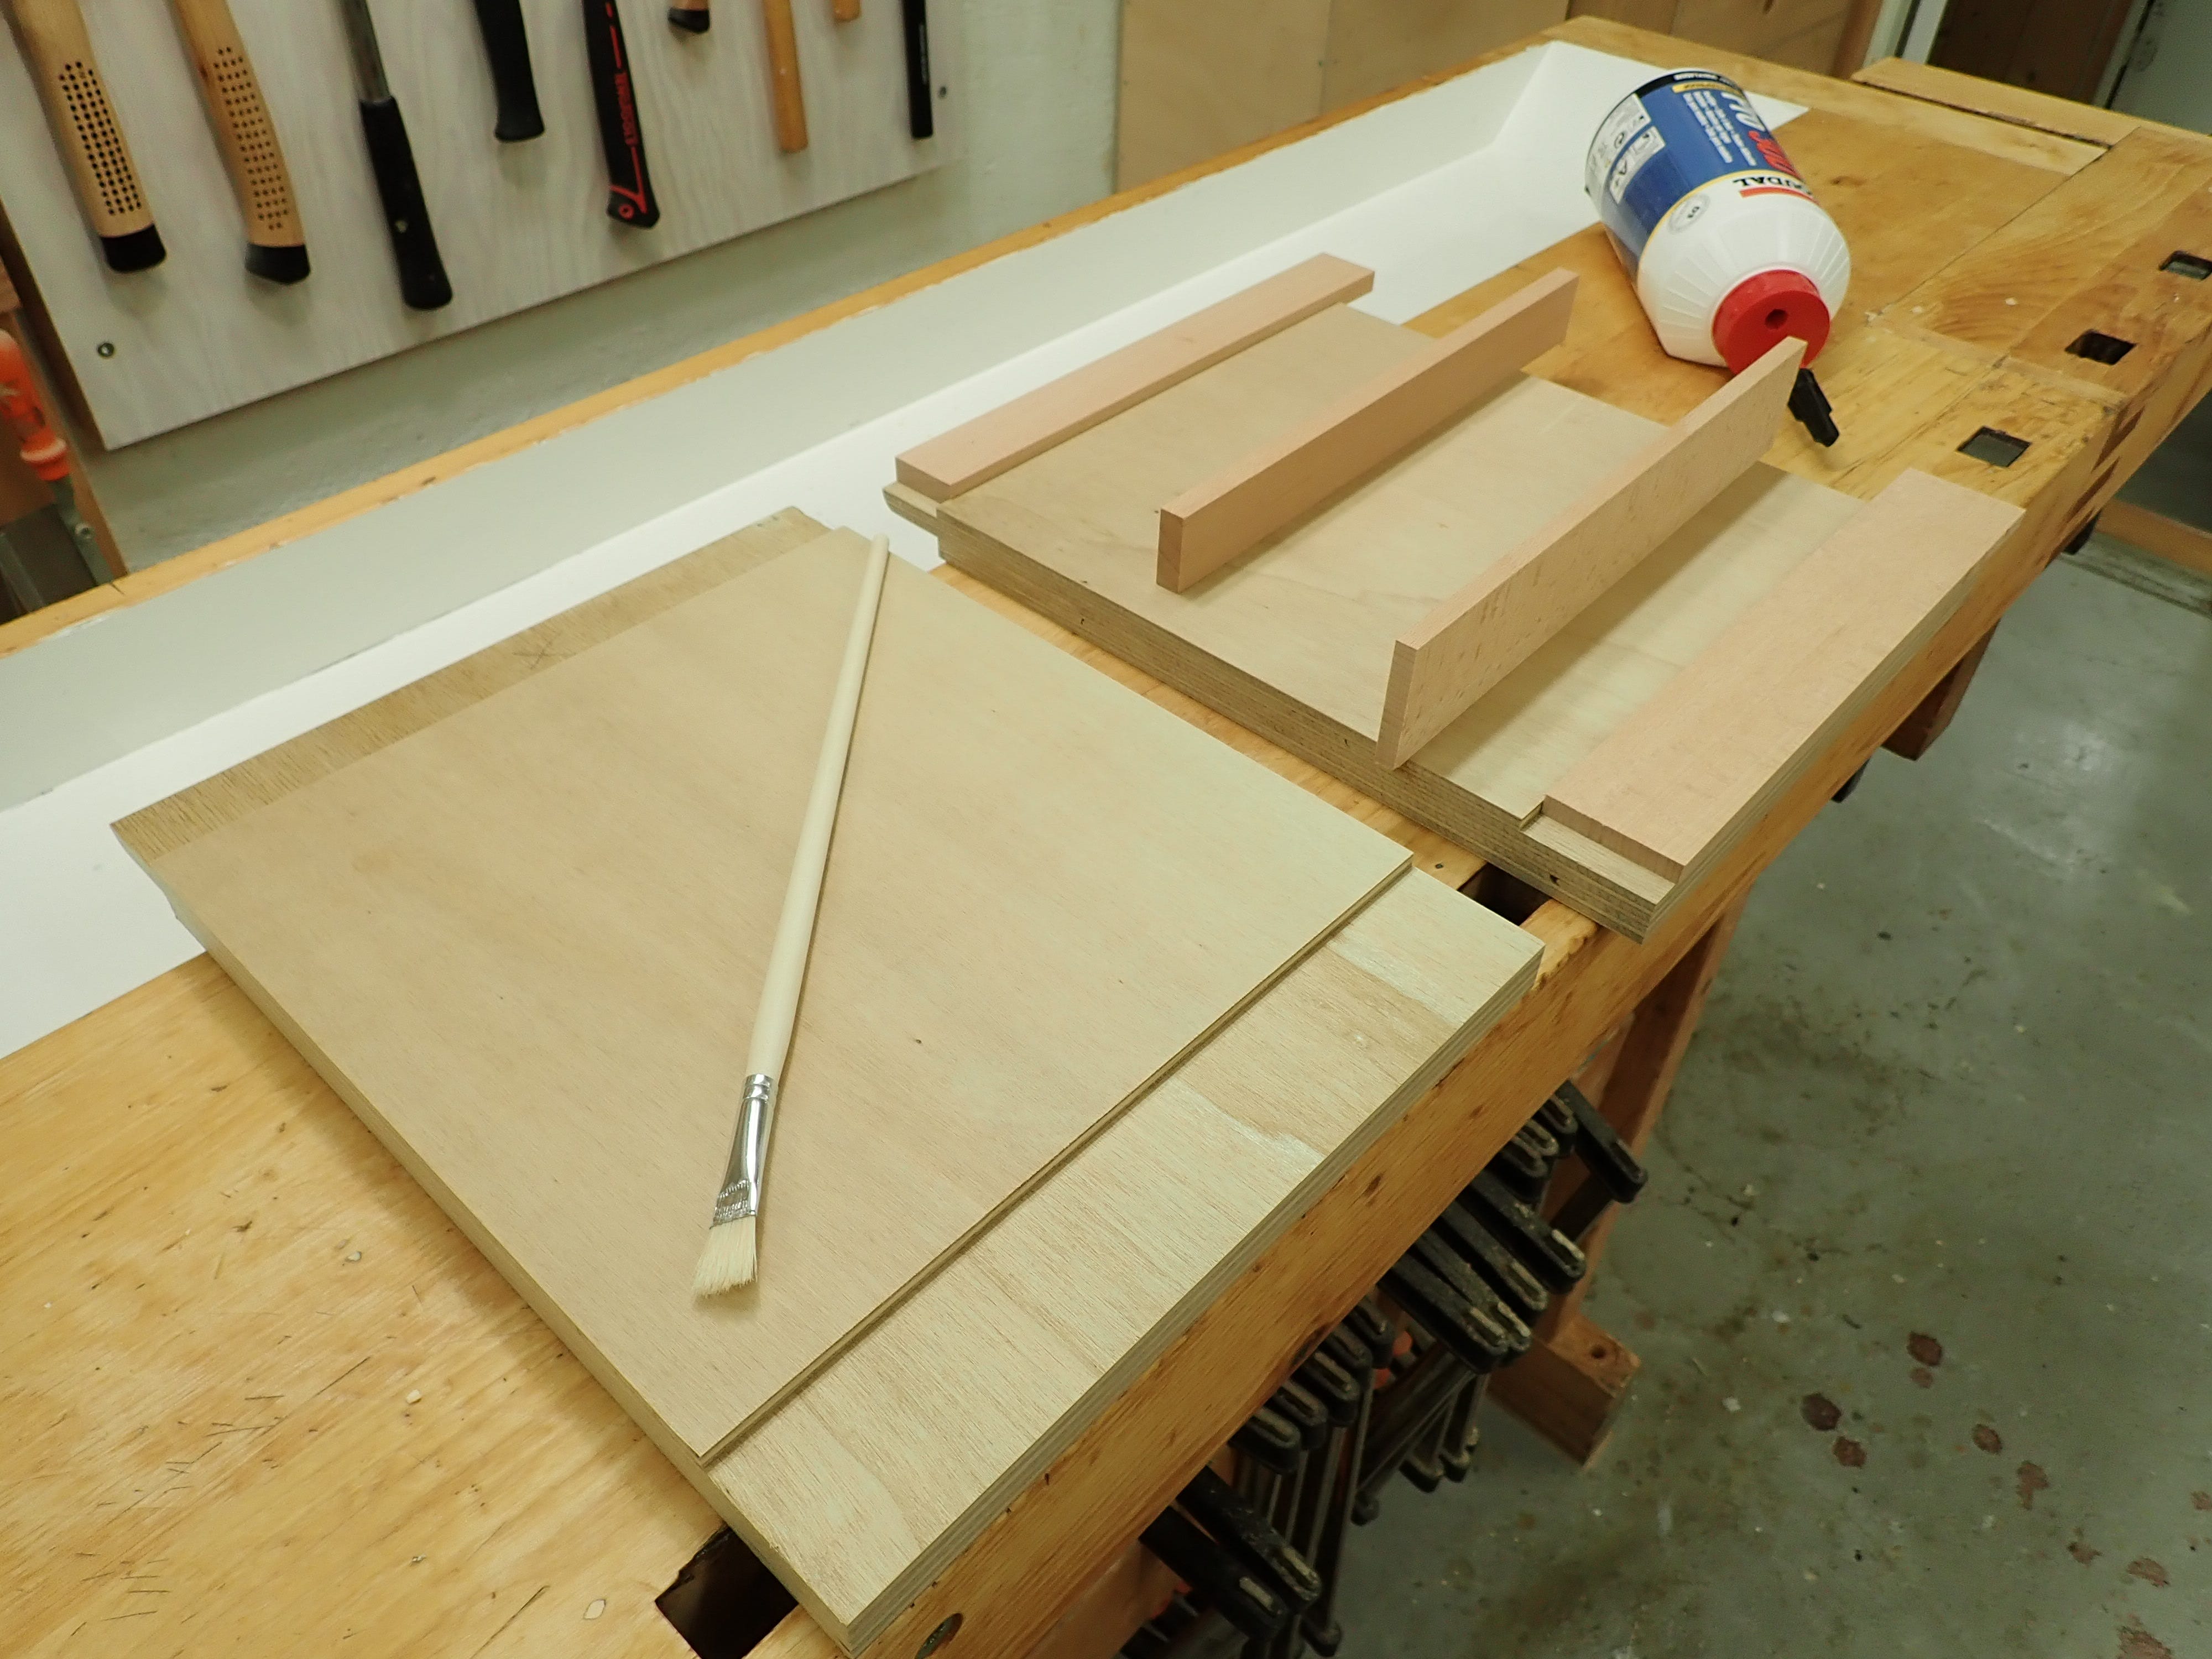
… by gluing some carefully sized strips of beech into some rebates.
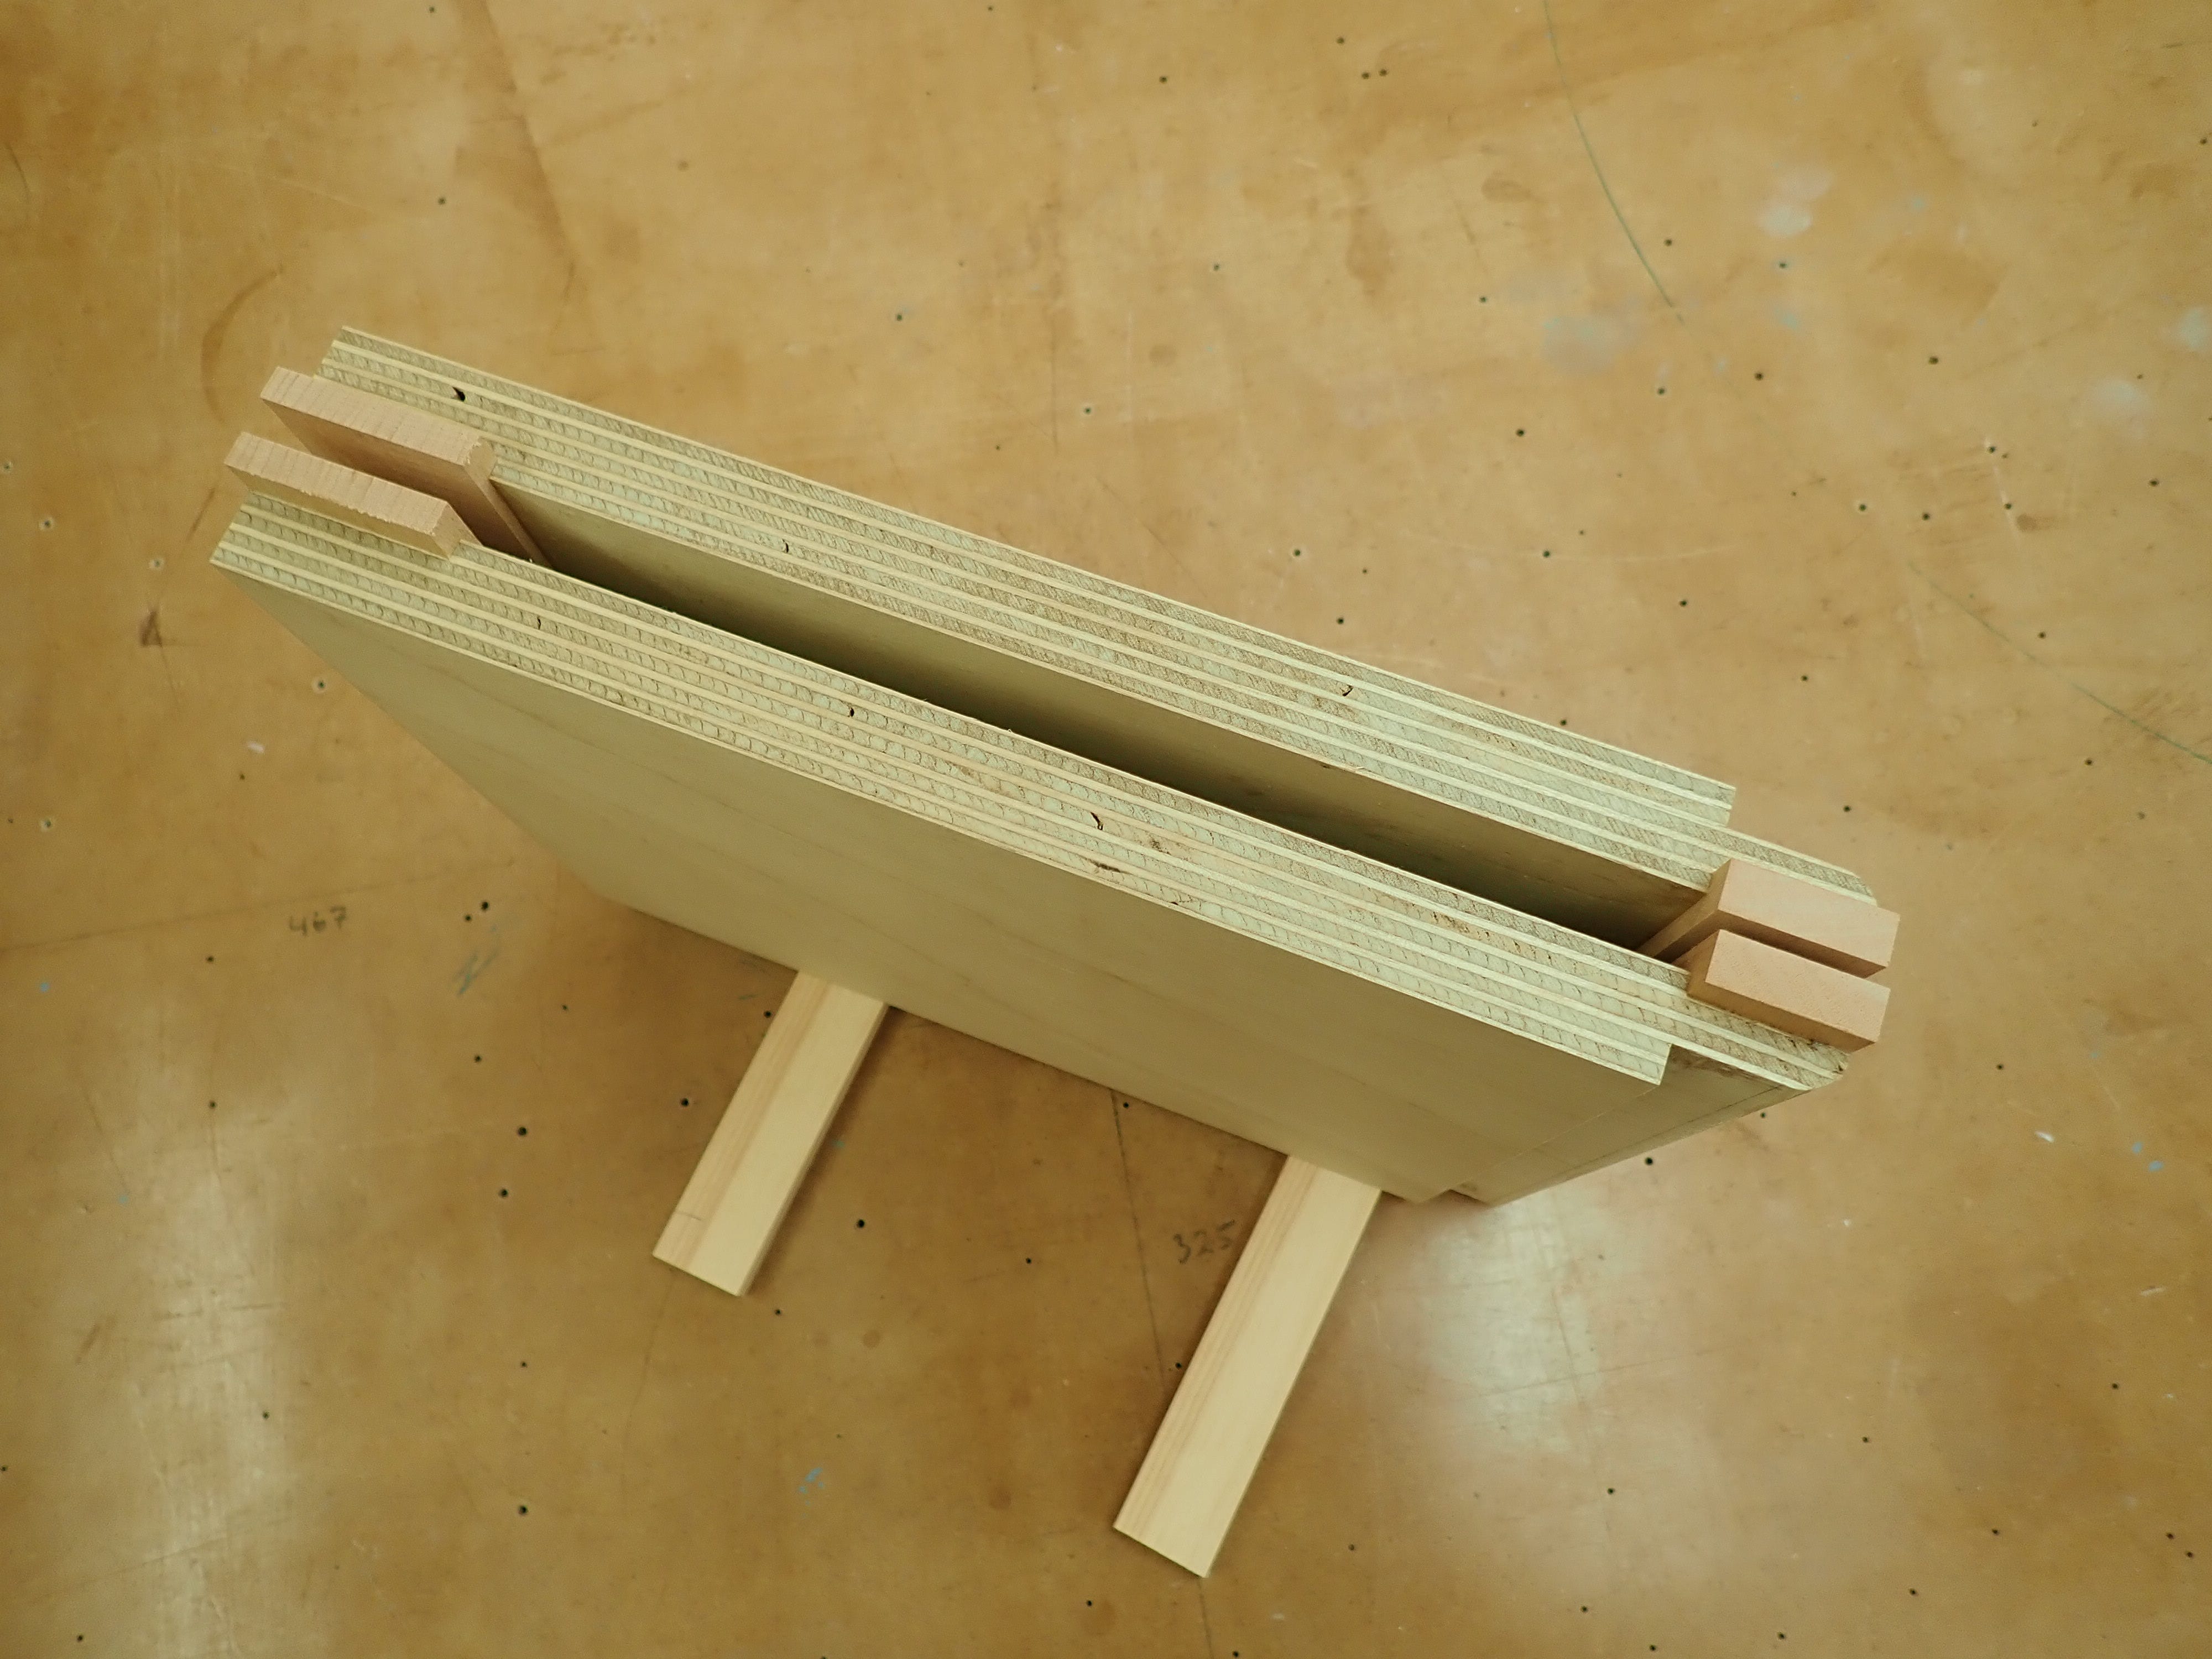
After a little clean-up …
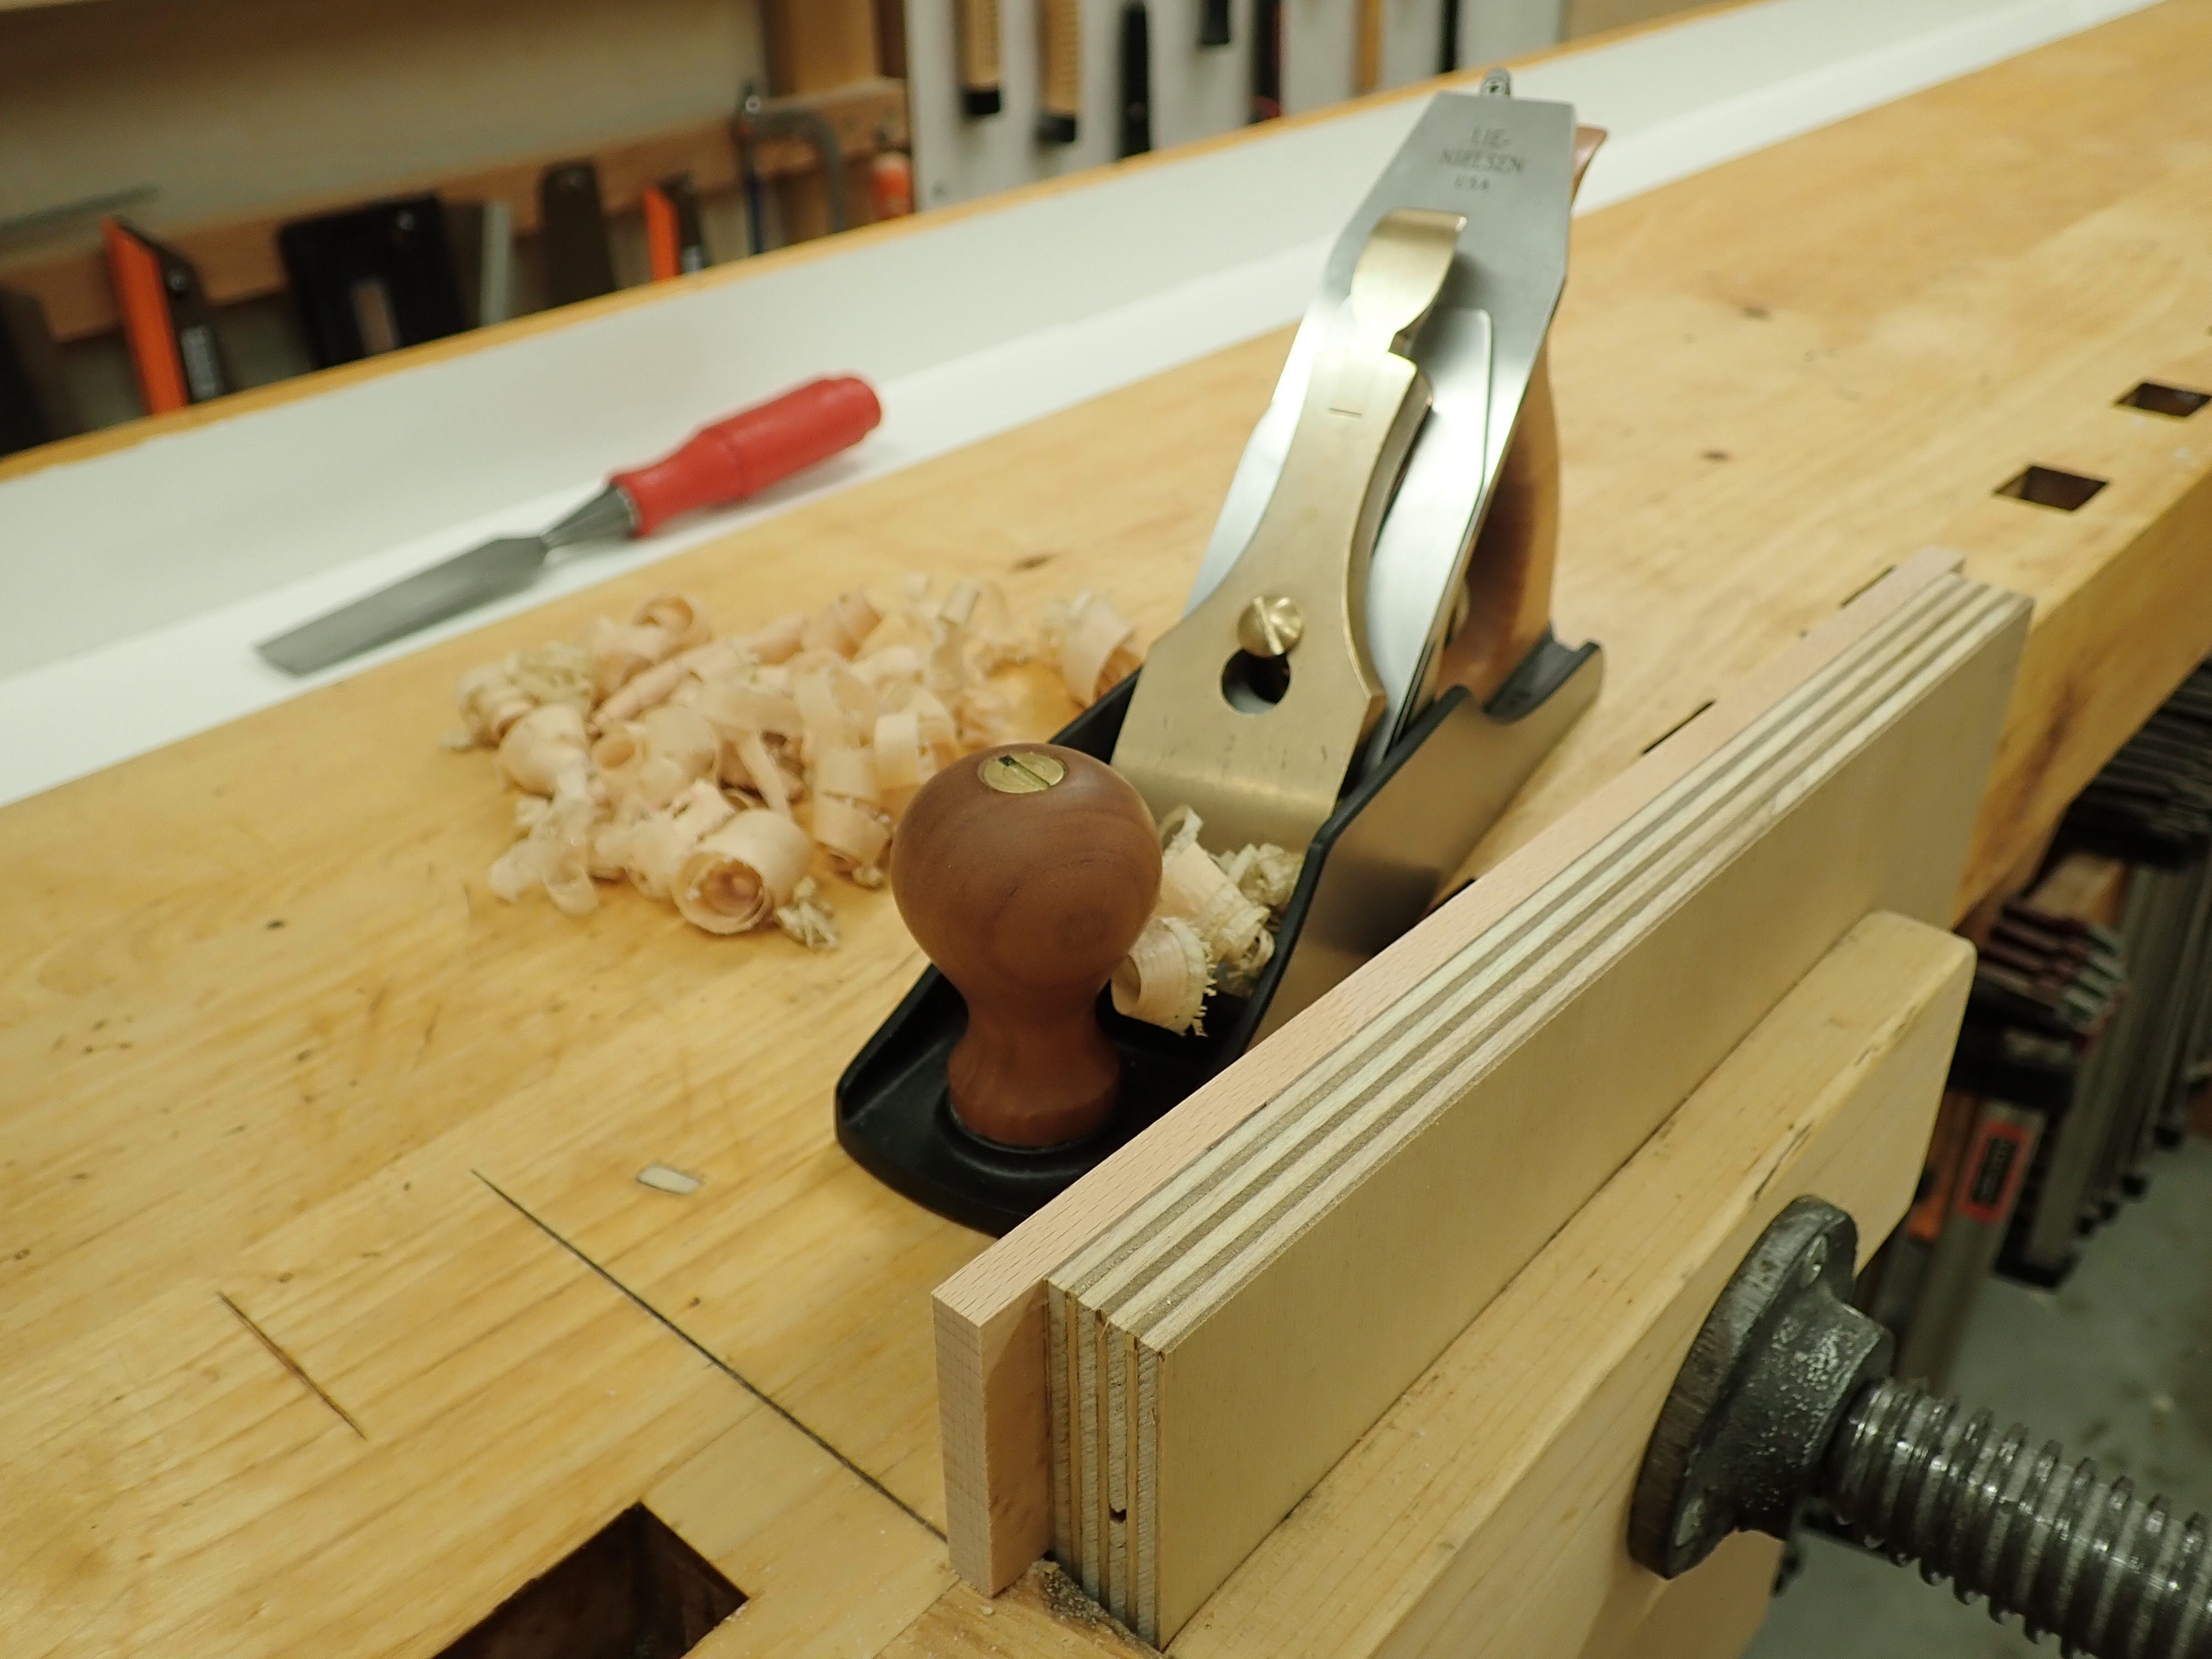
… I could begin planing a chamfer on the outside of the vise’s mouth — so as to make it easier and neater to use.
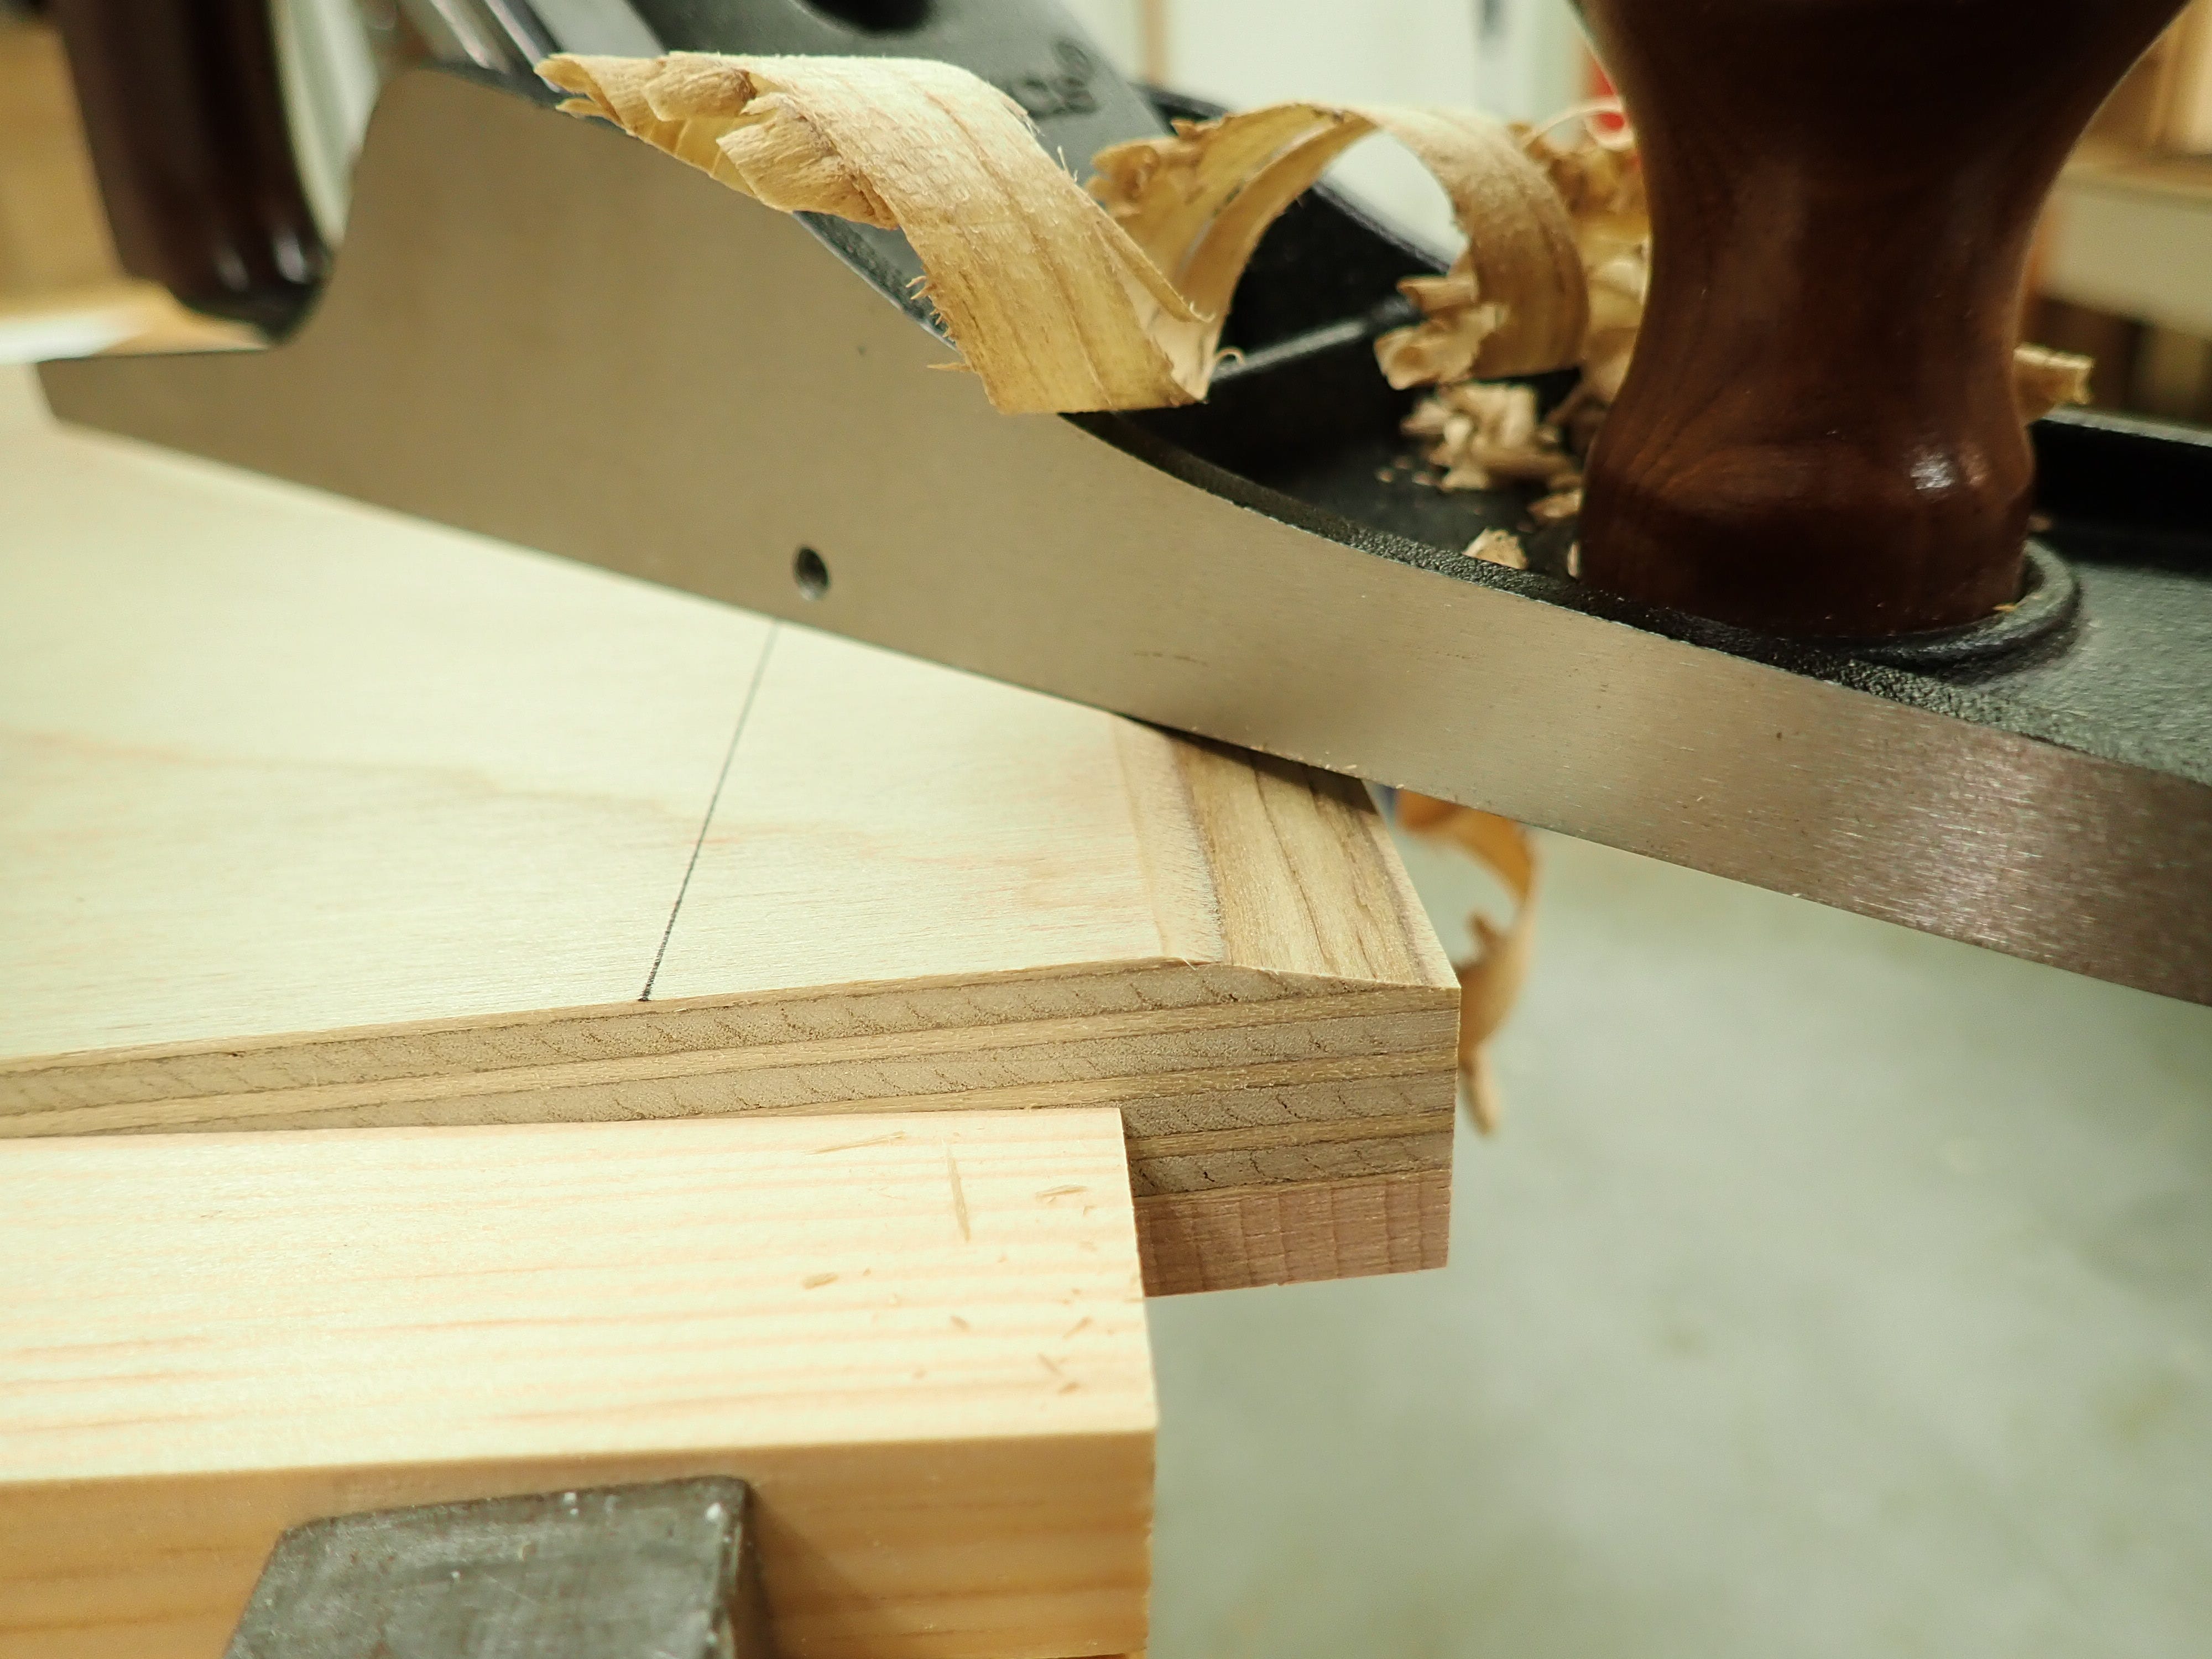
I used three planes for this: first a jack, then a try plane and lastly a smoother.
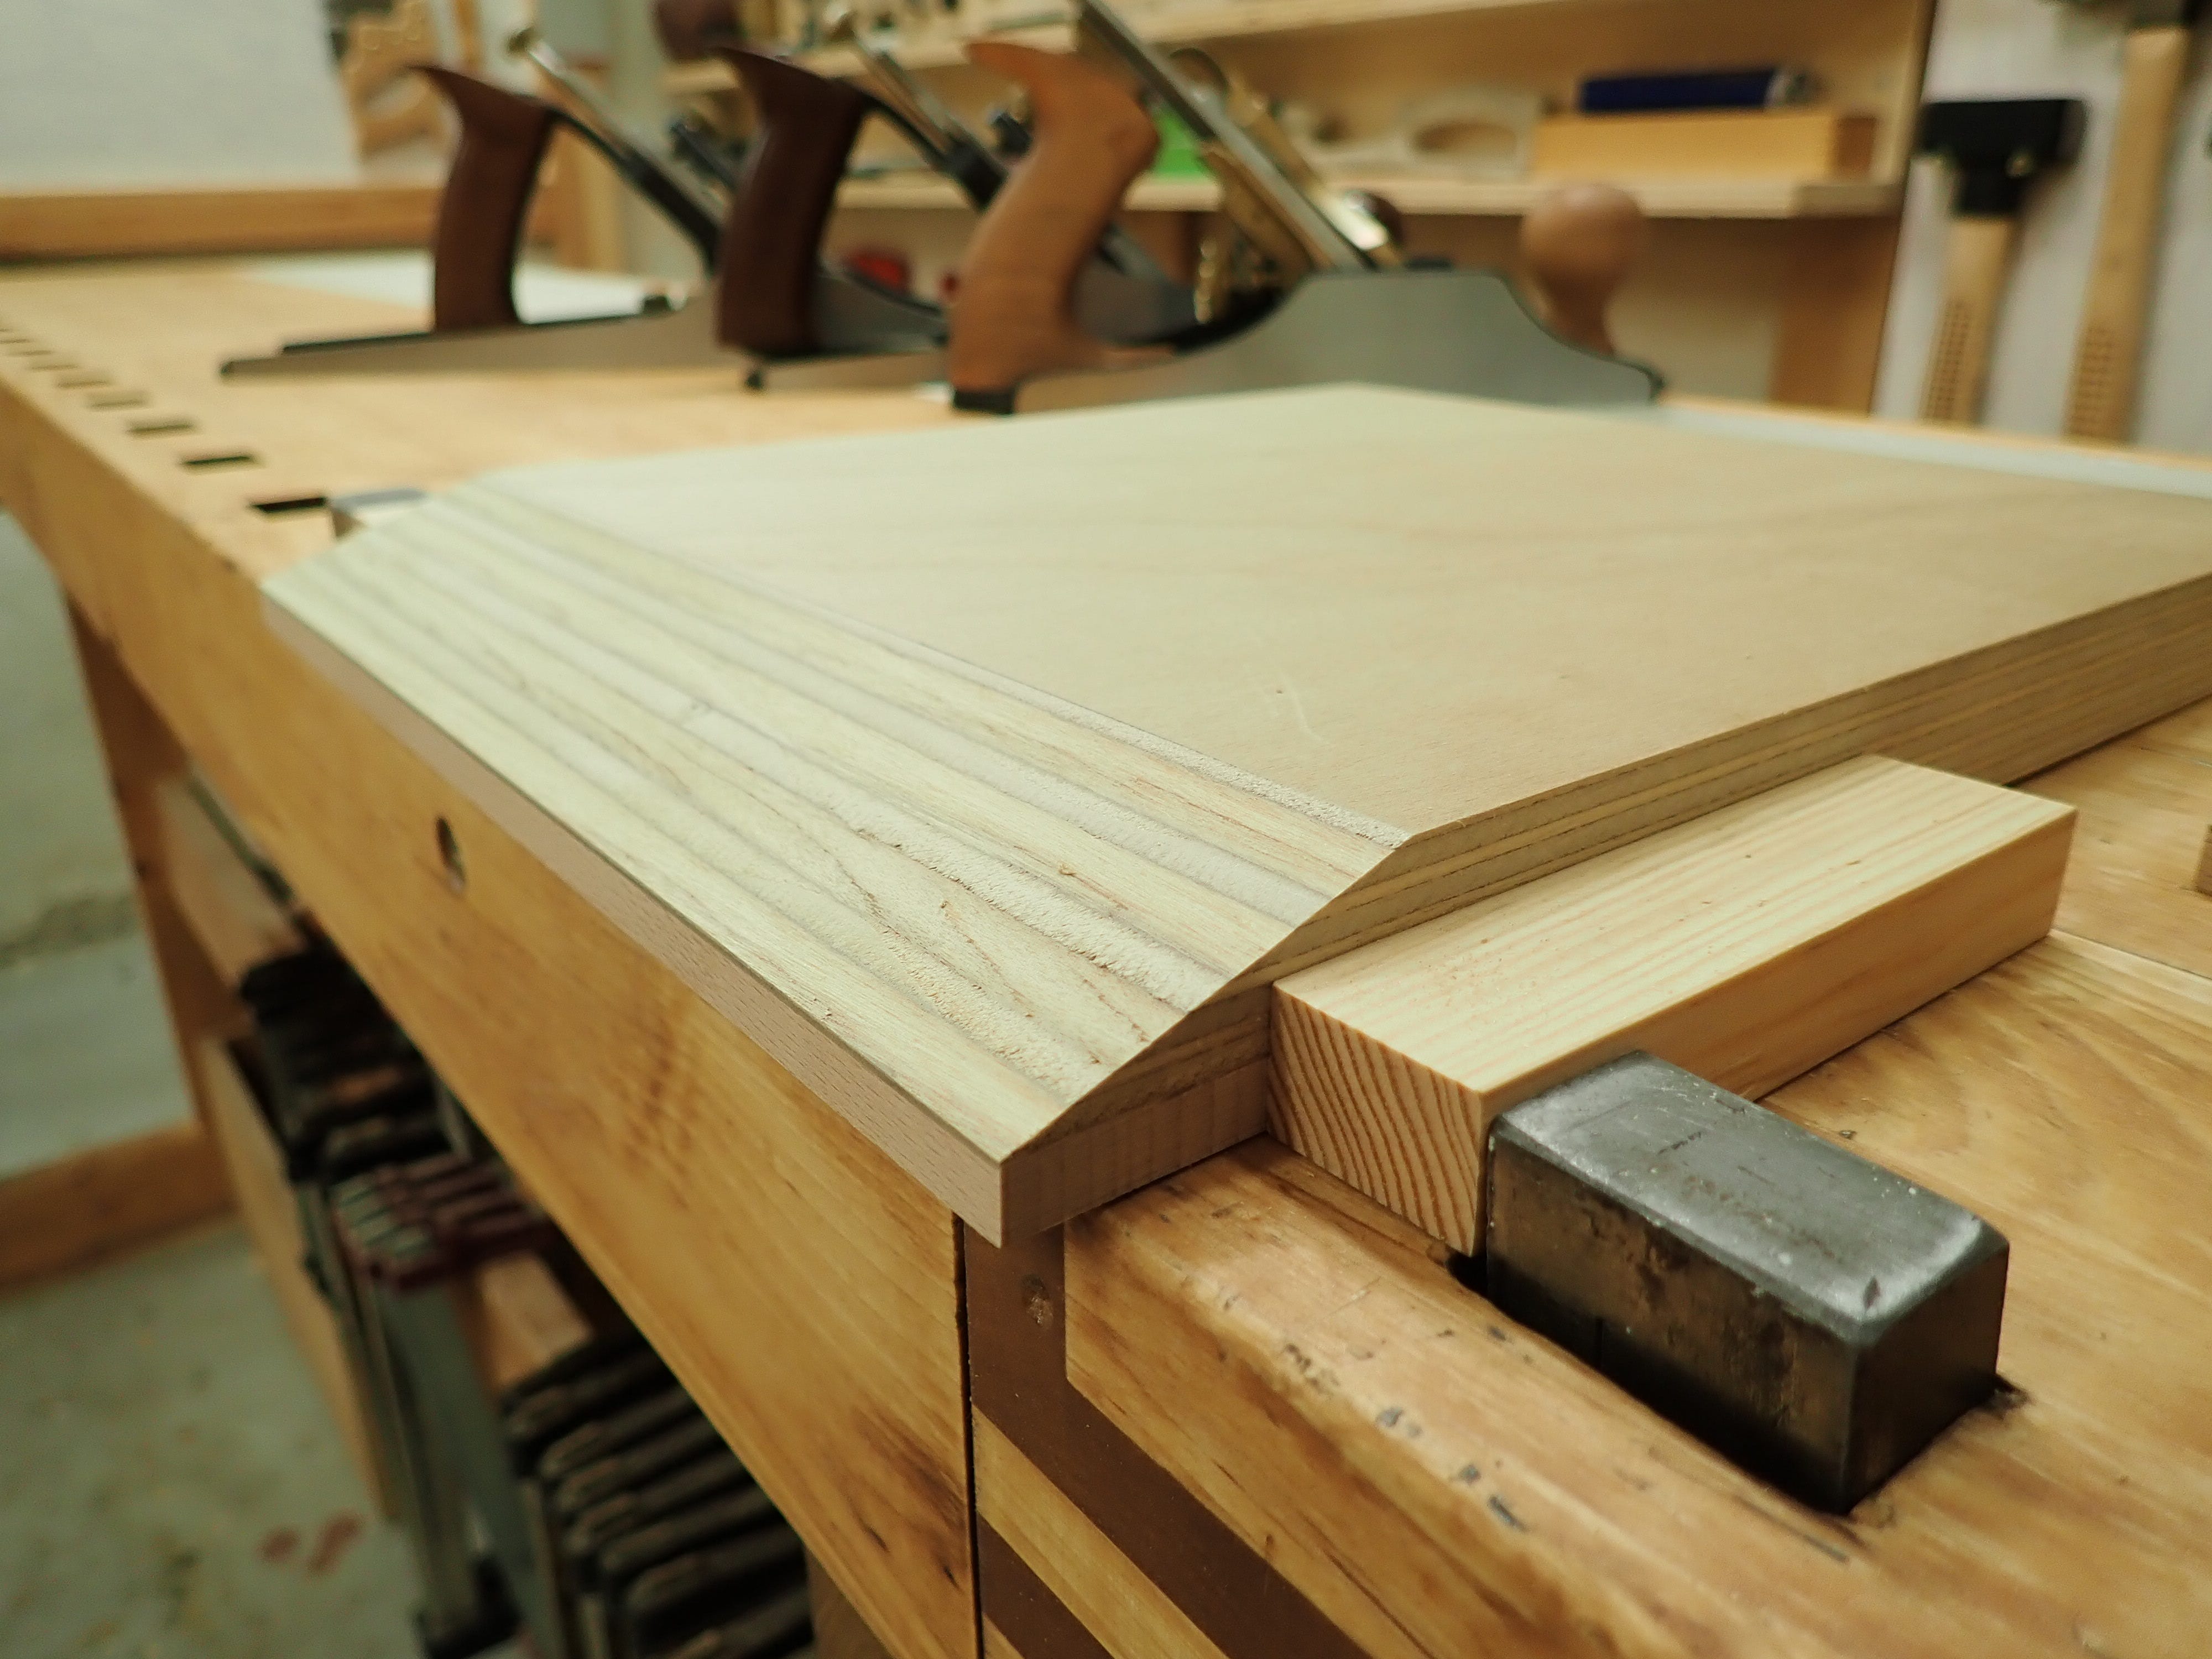
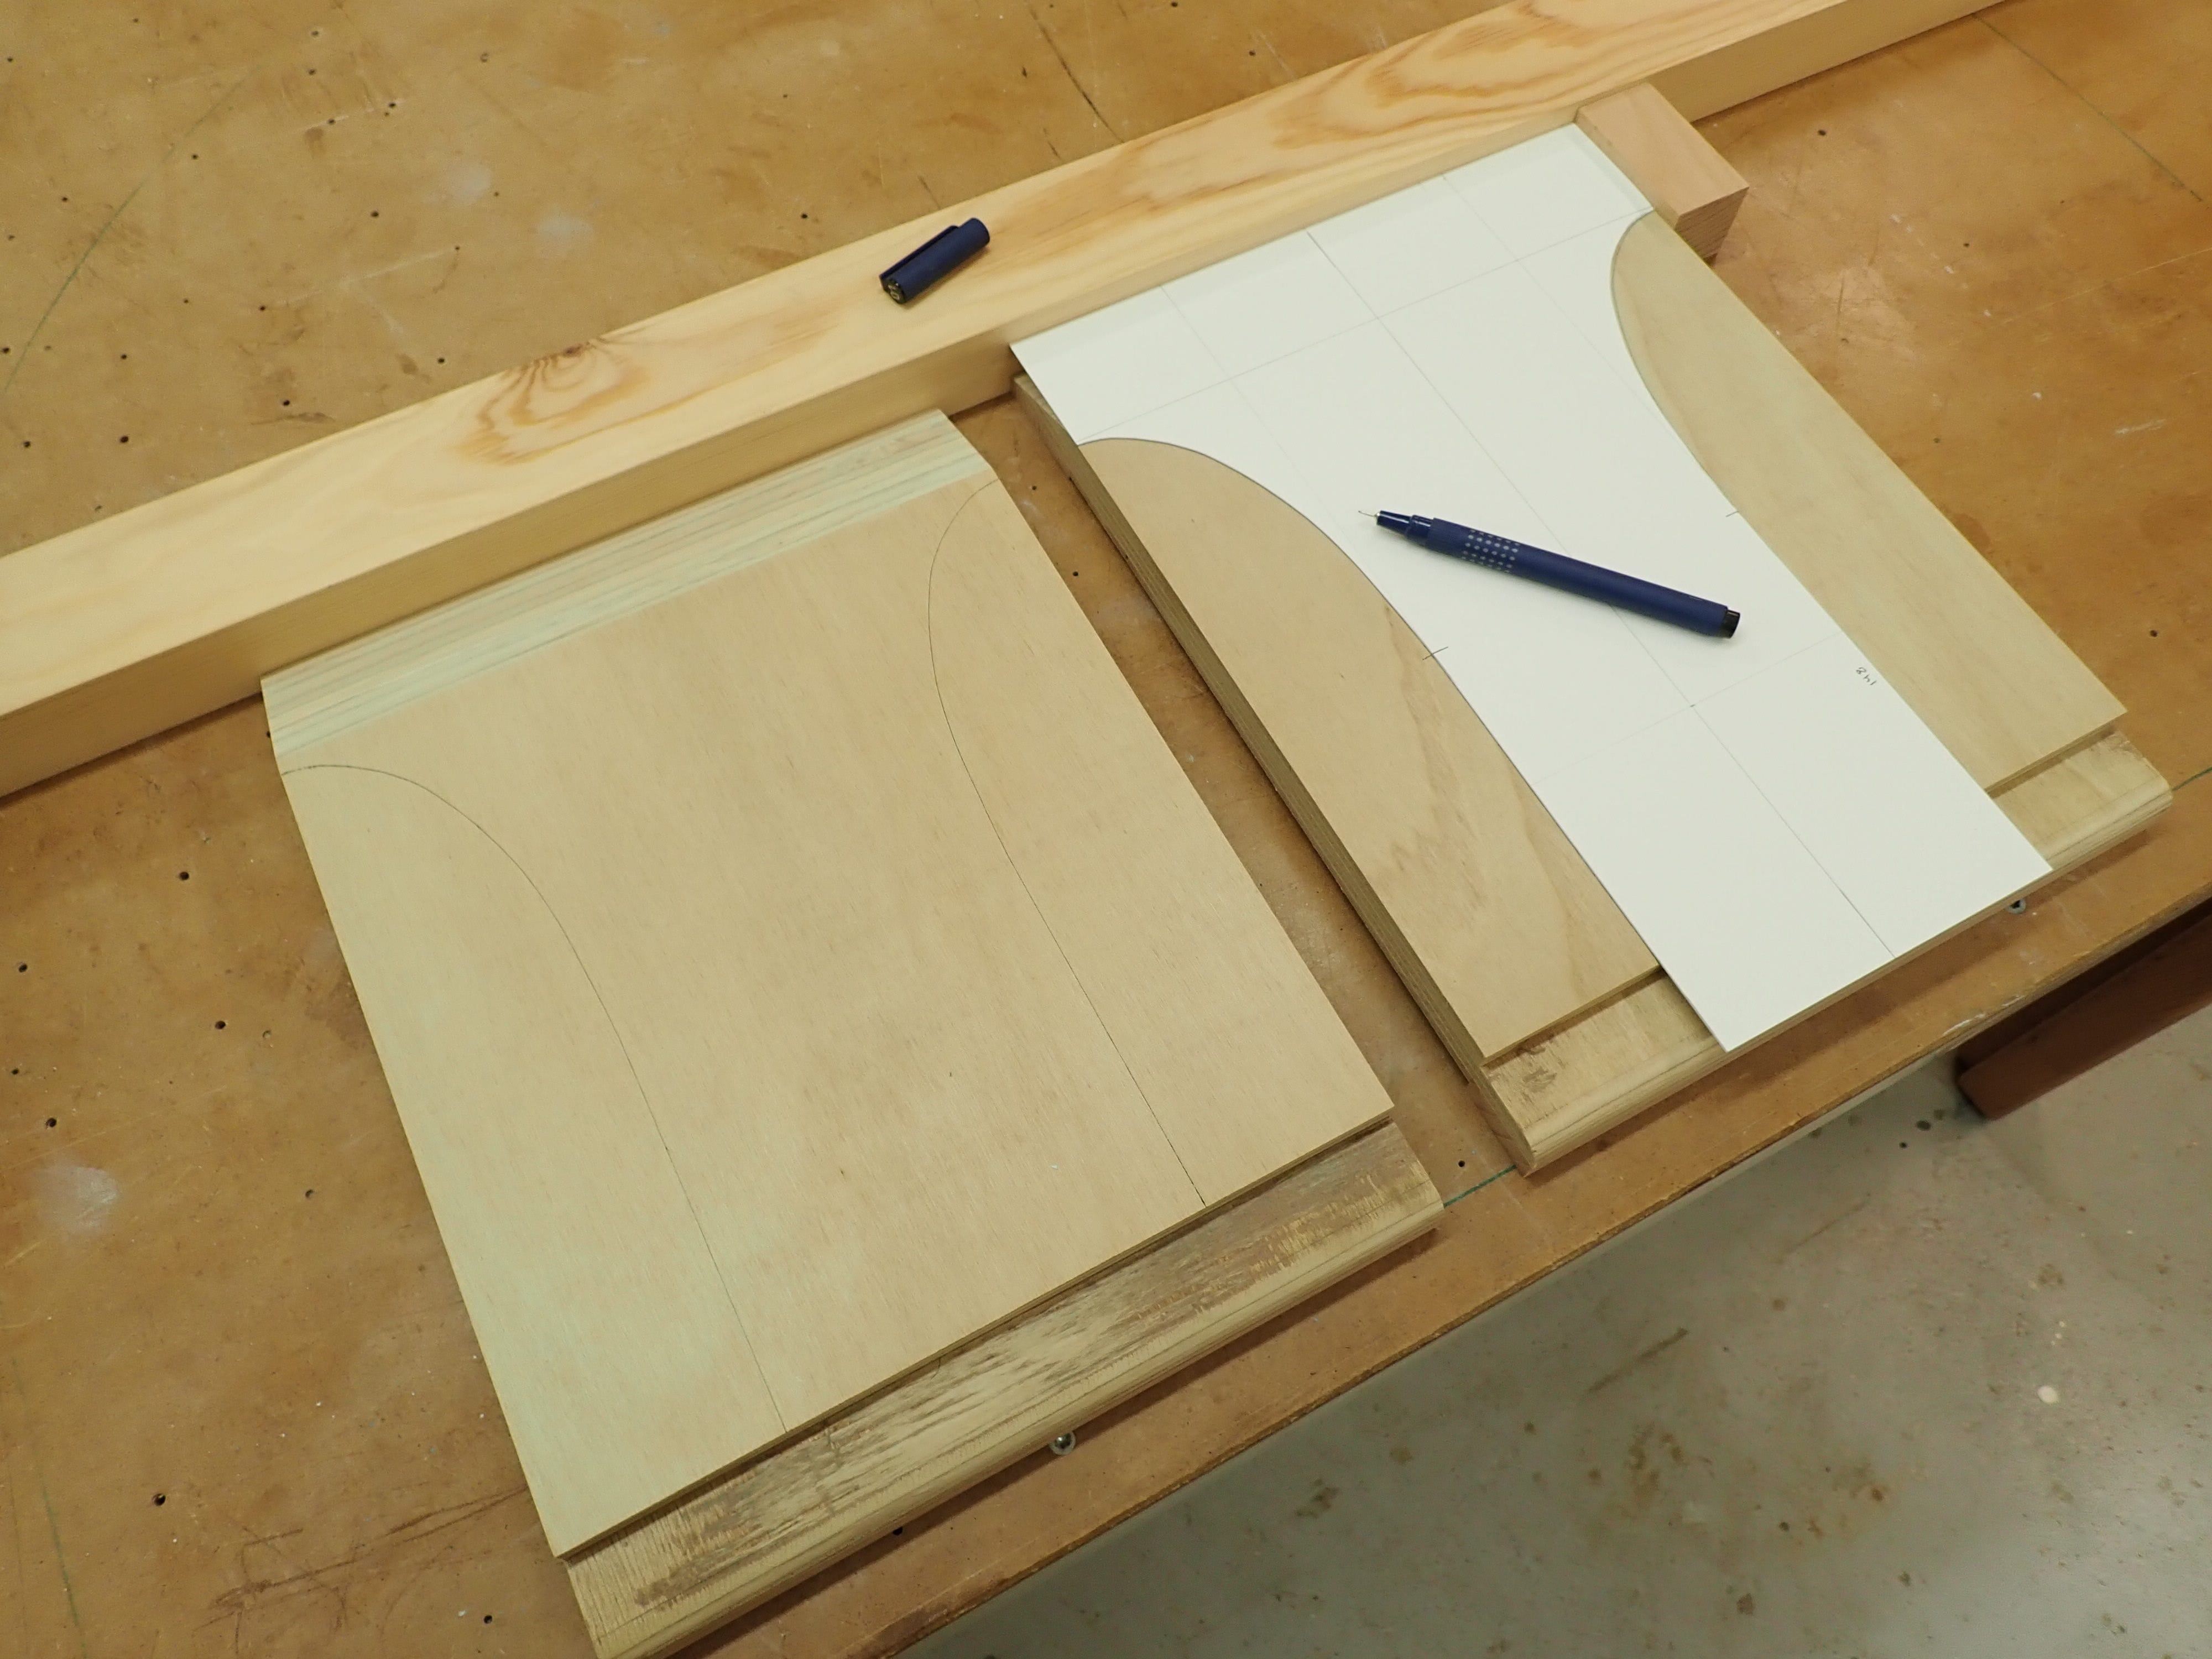
I wanted a shapely vise, so I made a template out of stiff paper …
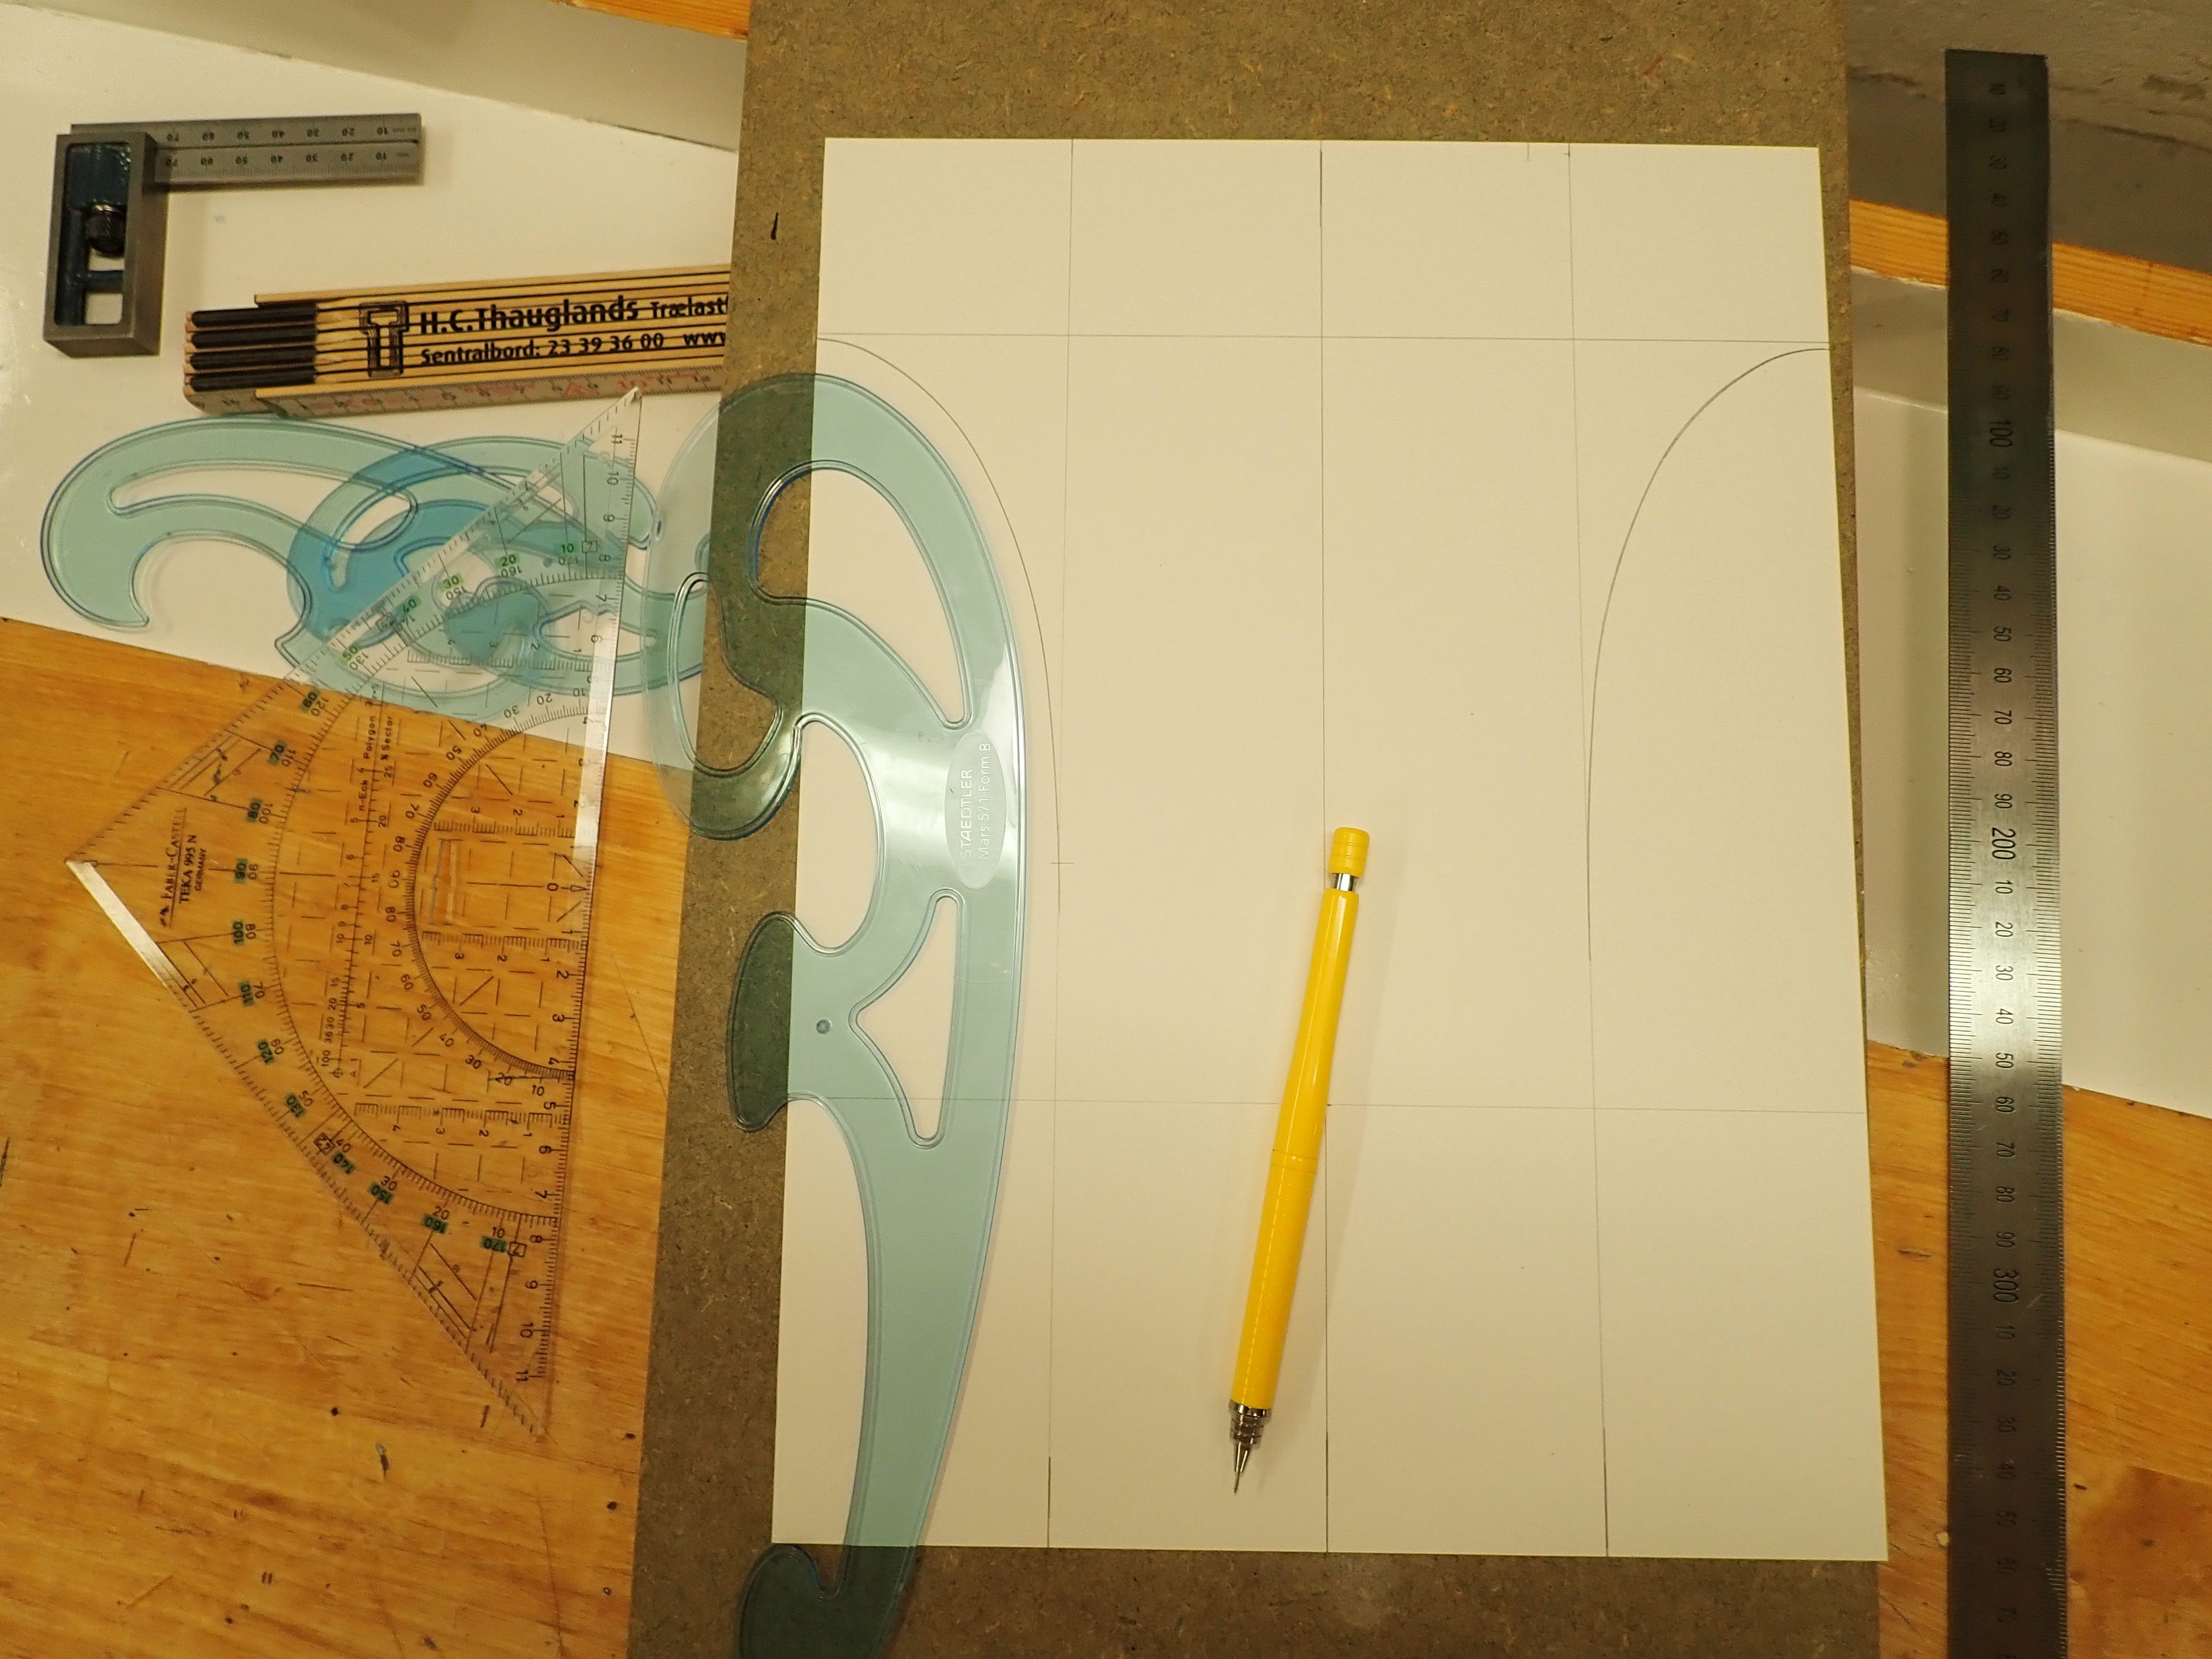
… and used that to transfer the contour onto the parts.
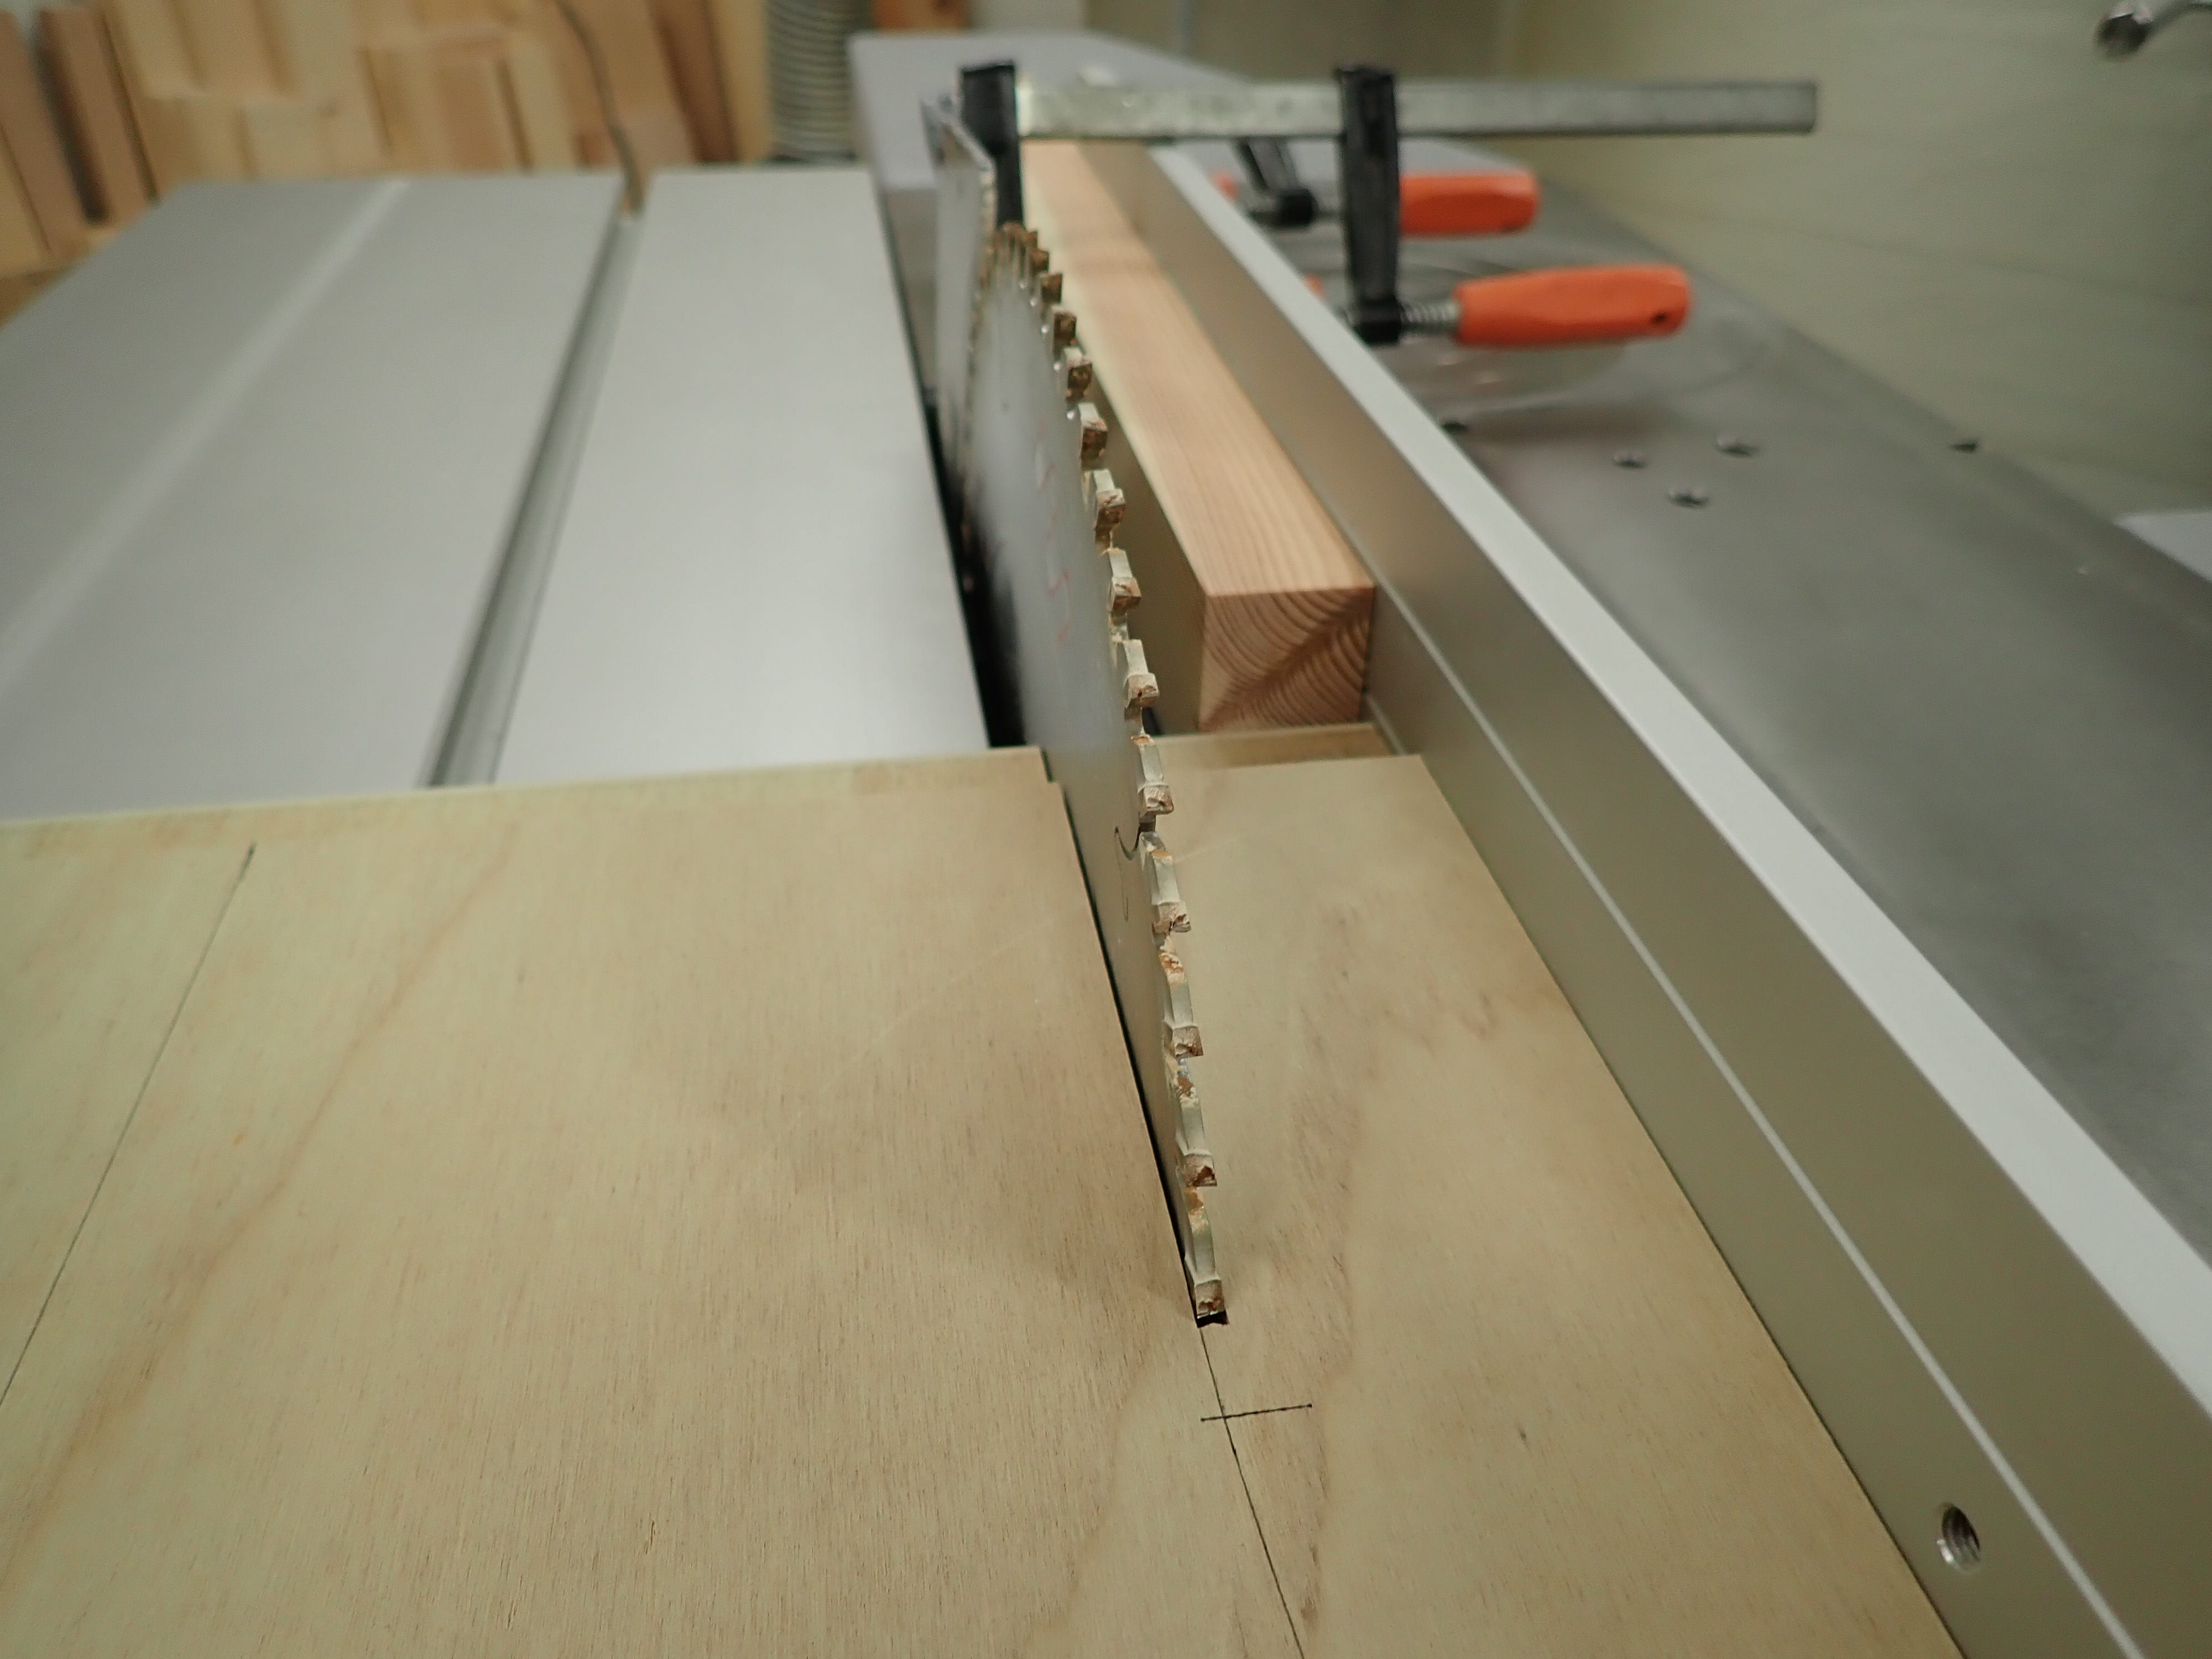
Then I cut out the shape: table saw (with stopper block) for the straight cuts …
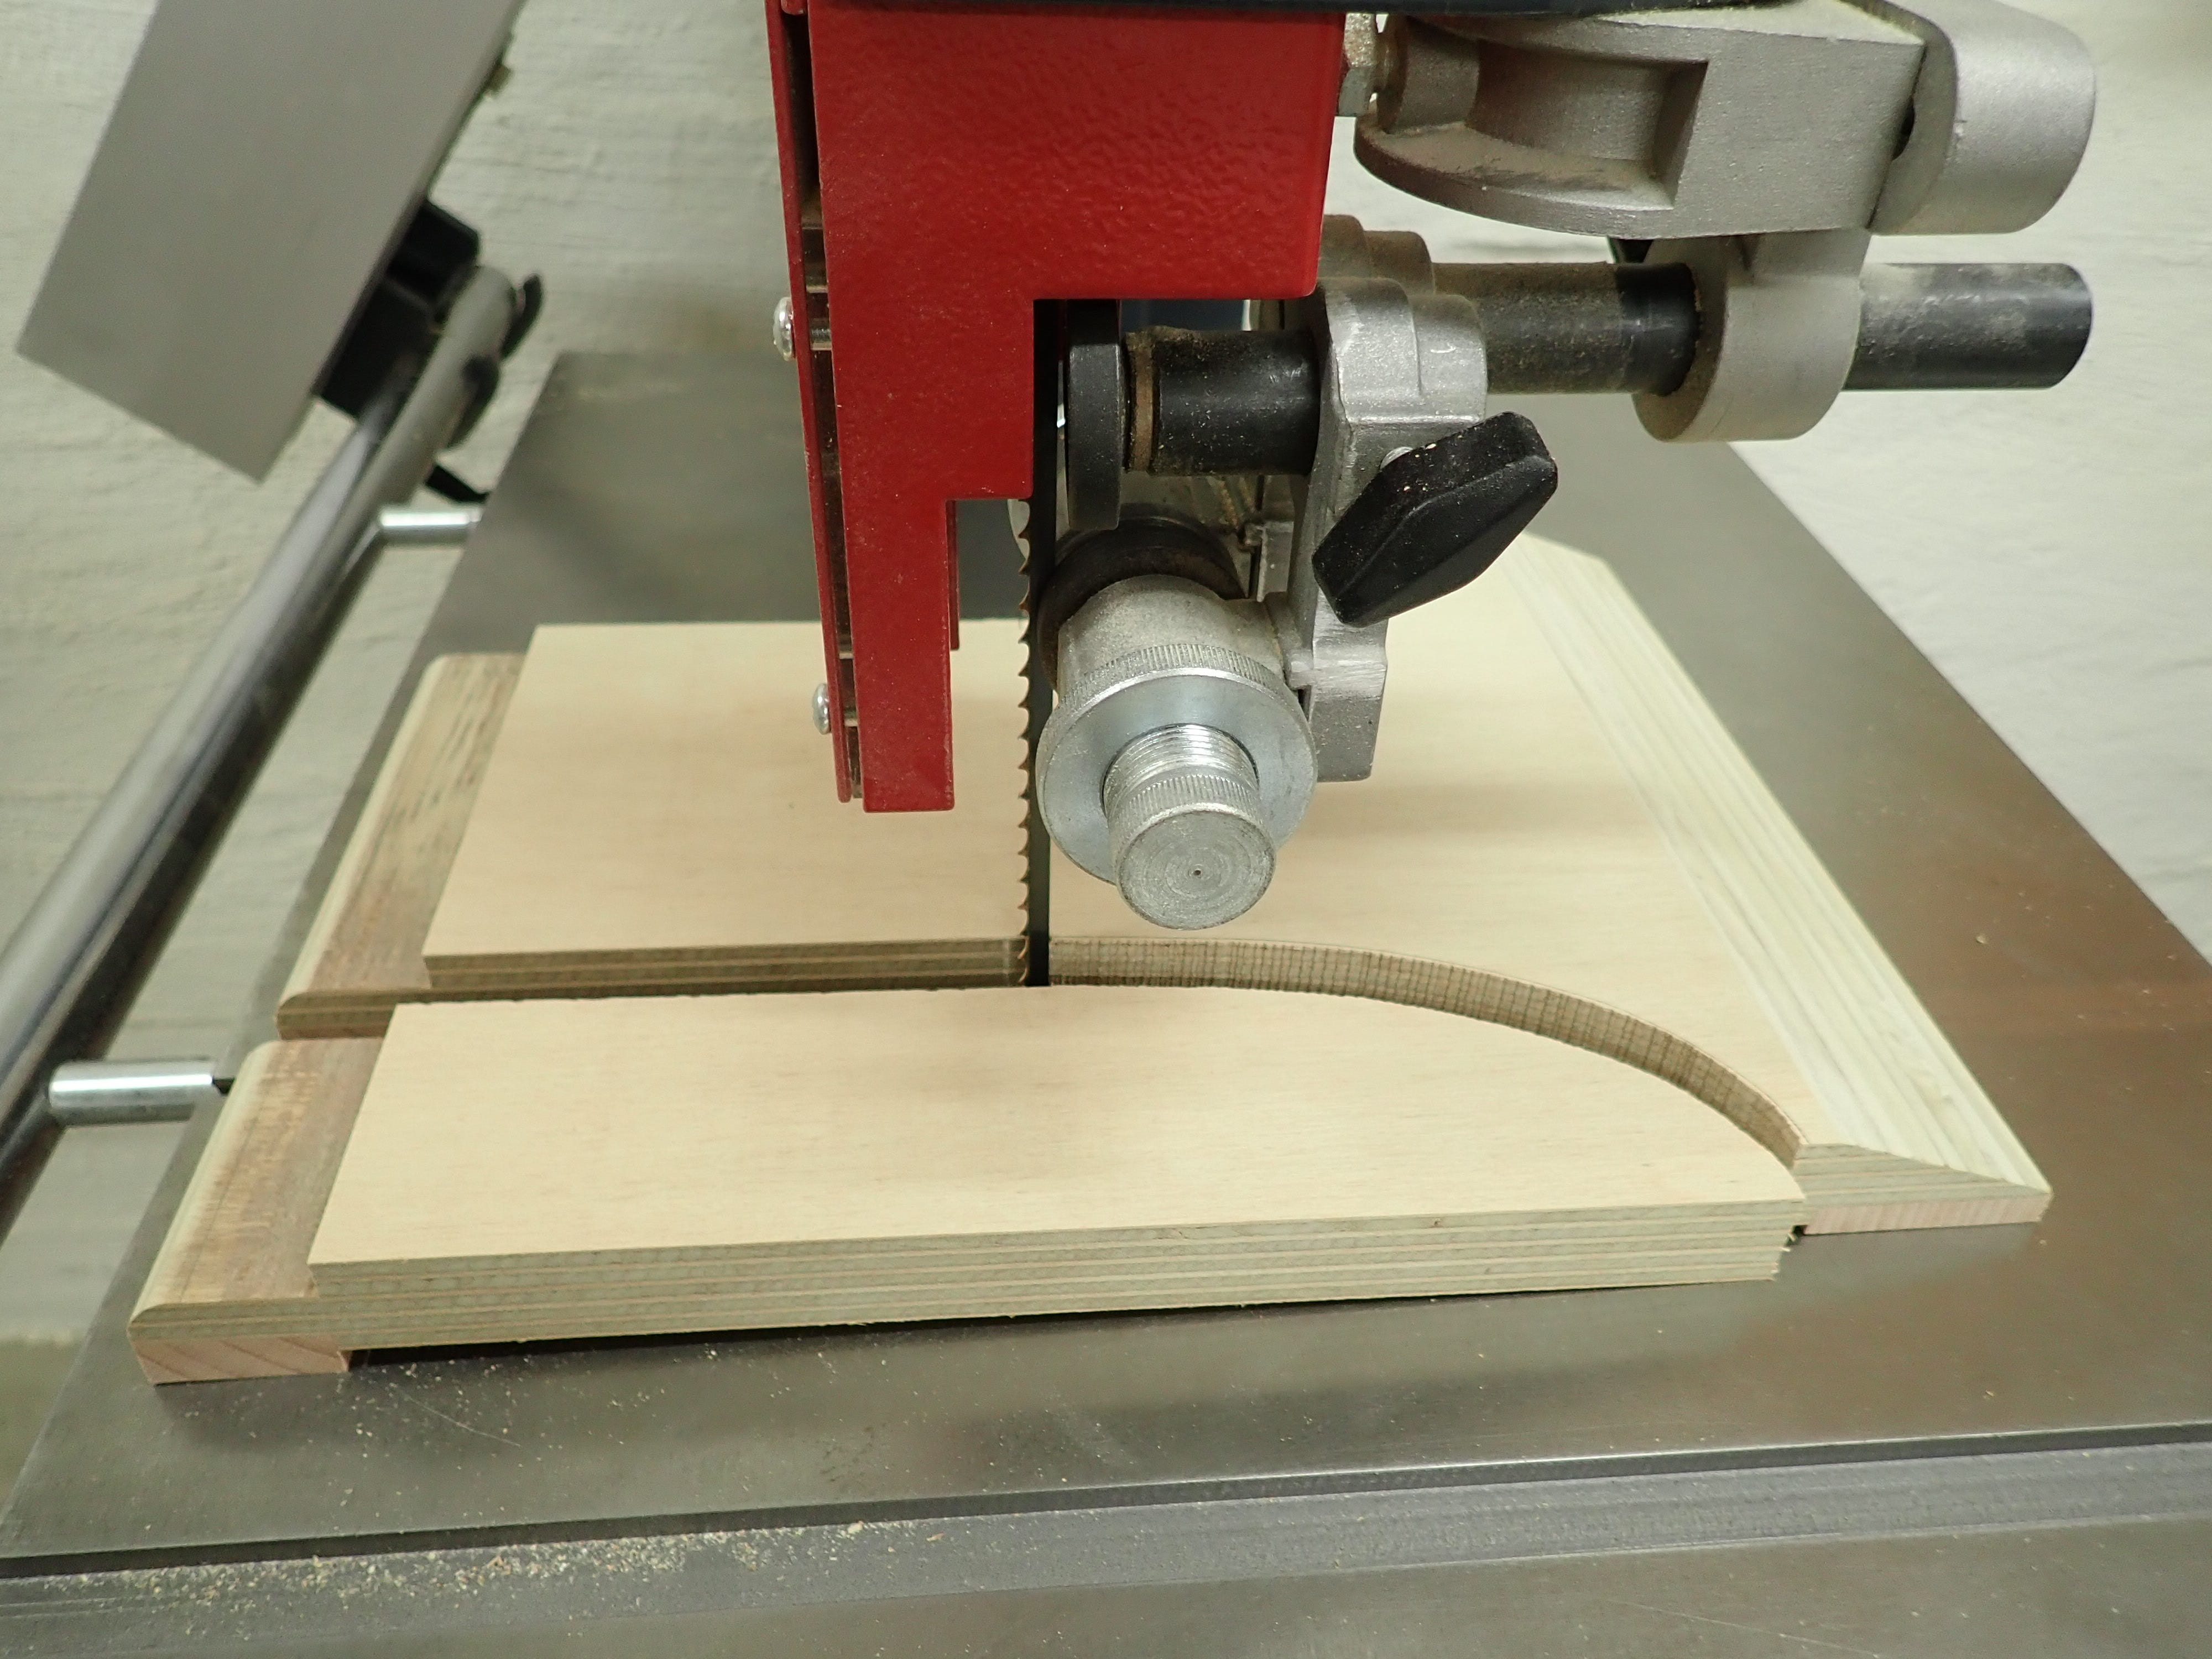
… and bandsaw (with my narrowest and wobbliest blade) for the curved cut.
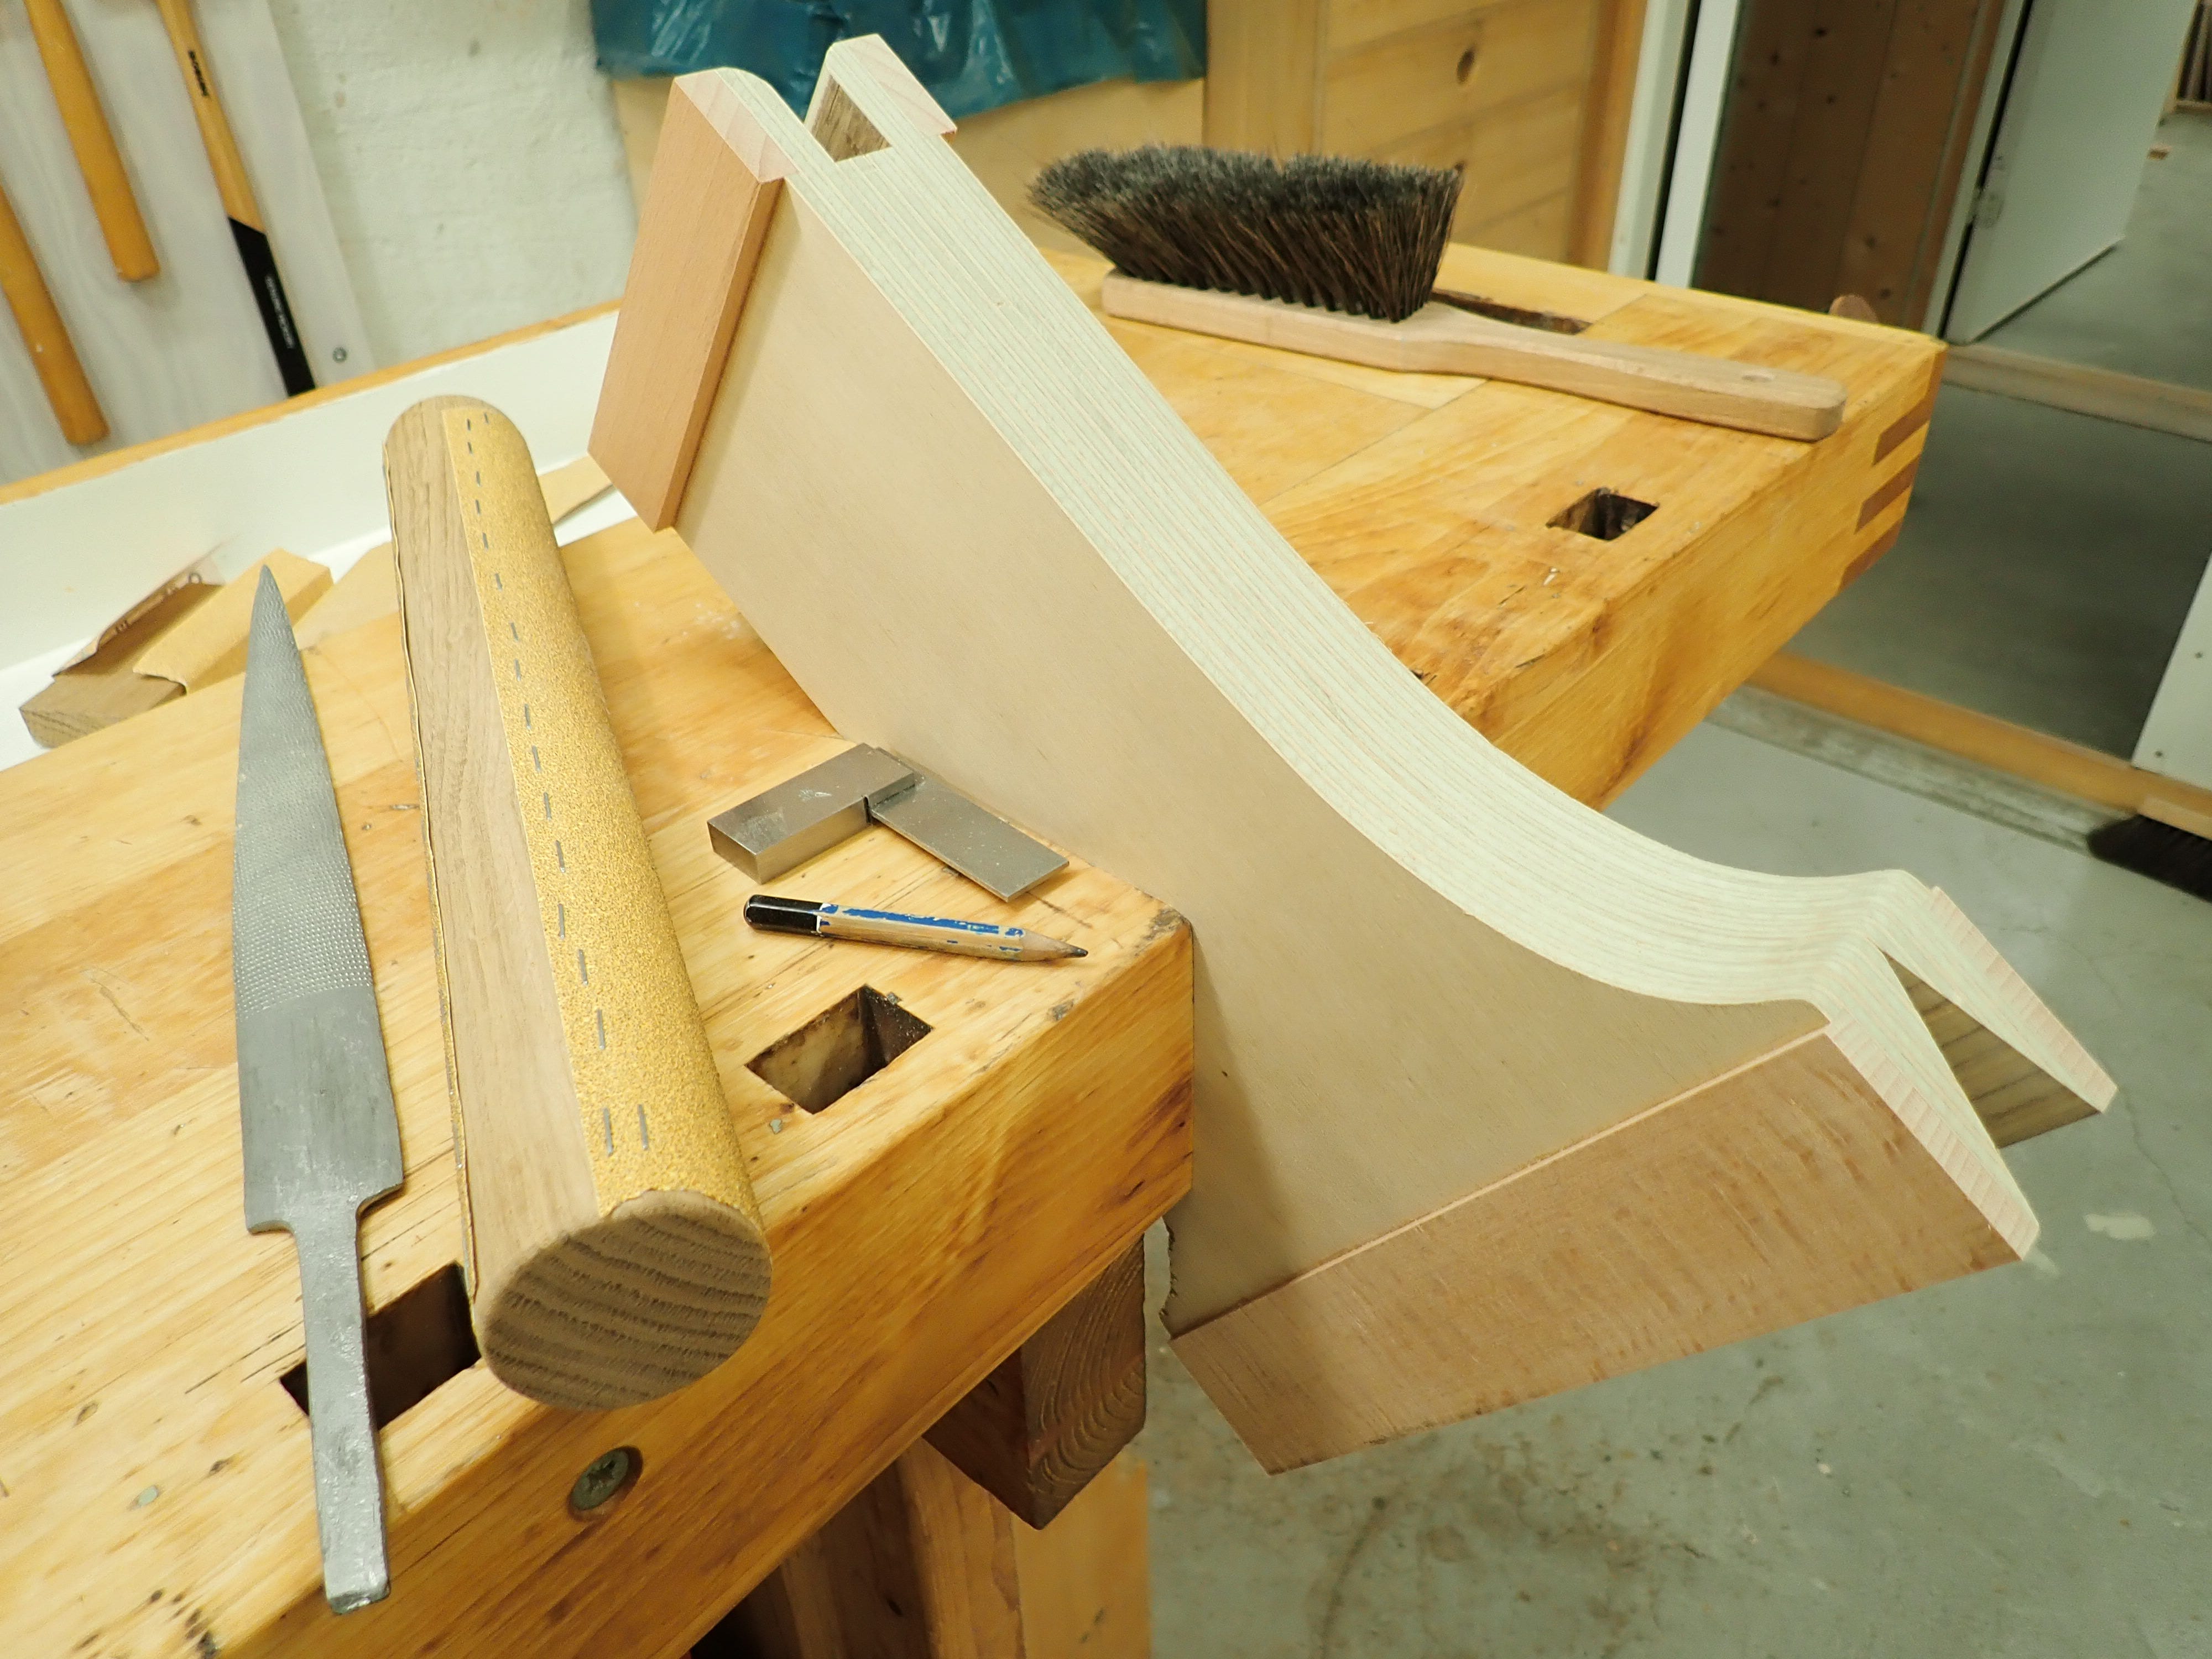
Refining the shape with a fine rasp and finessing it with a big sanding dowel.
When all was smooth and pretty enough, I gave it a soak of the old Shop Slop. This Zarephath’s jar started out as a tin of ‘Three Star Floor Lacquer’ several years ago, but I doubt there is anything left of the original ingredients at this point. I’ve replenished it with whatever slops and leftovers I’ve had — oil/urethan-based lacquer and boiled linseed oil only — thinnned with a splash of white spirit as needed; it’s good enough for workshop equipment. The trick is to be careful when opening the lid on the tin: tease it off gingerly using a suitable tool; don’t wrench it off brutally with a screwdriver! Be gentle, and that lid will do its job for years.
This time, the Shop Slop got fortified with some Yacht Varnish and high-quality Swedish BLO. Why, yes … we are certainly coming up in the world!
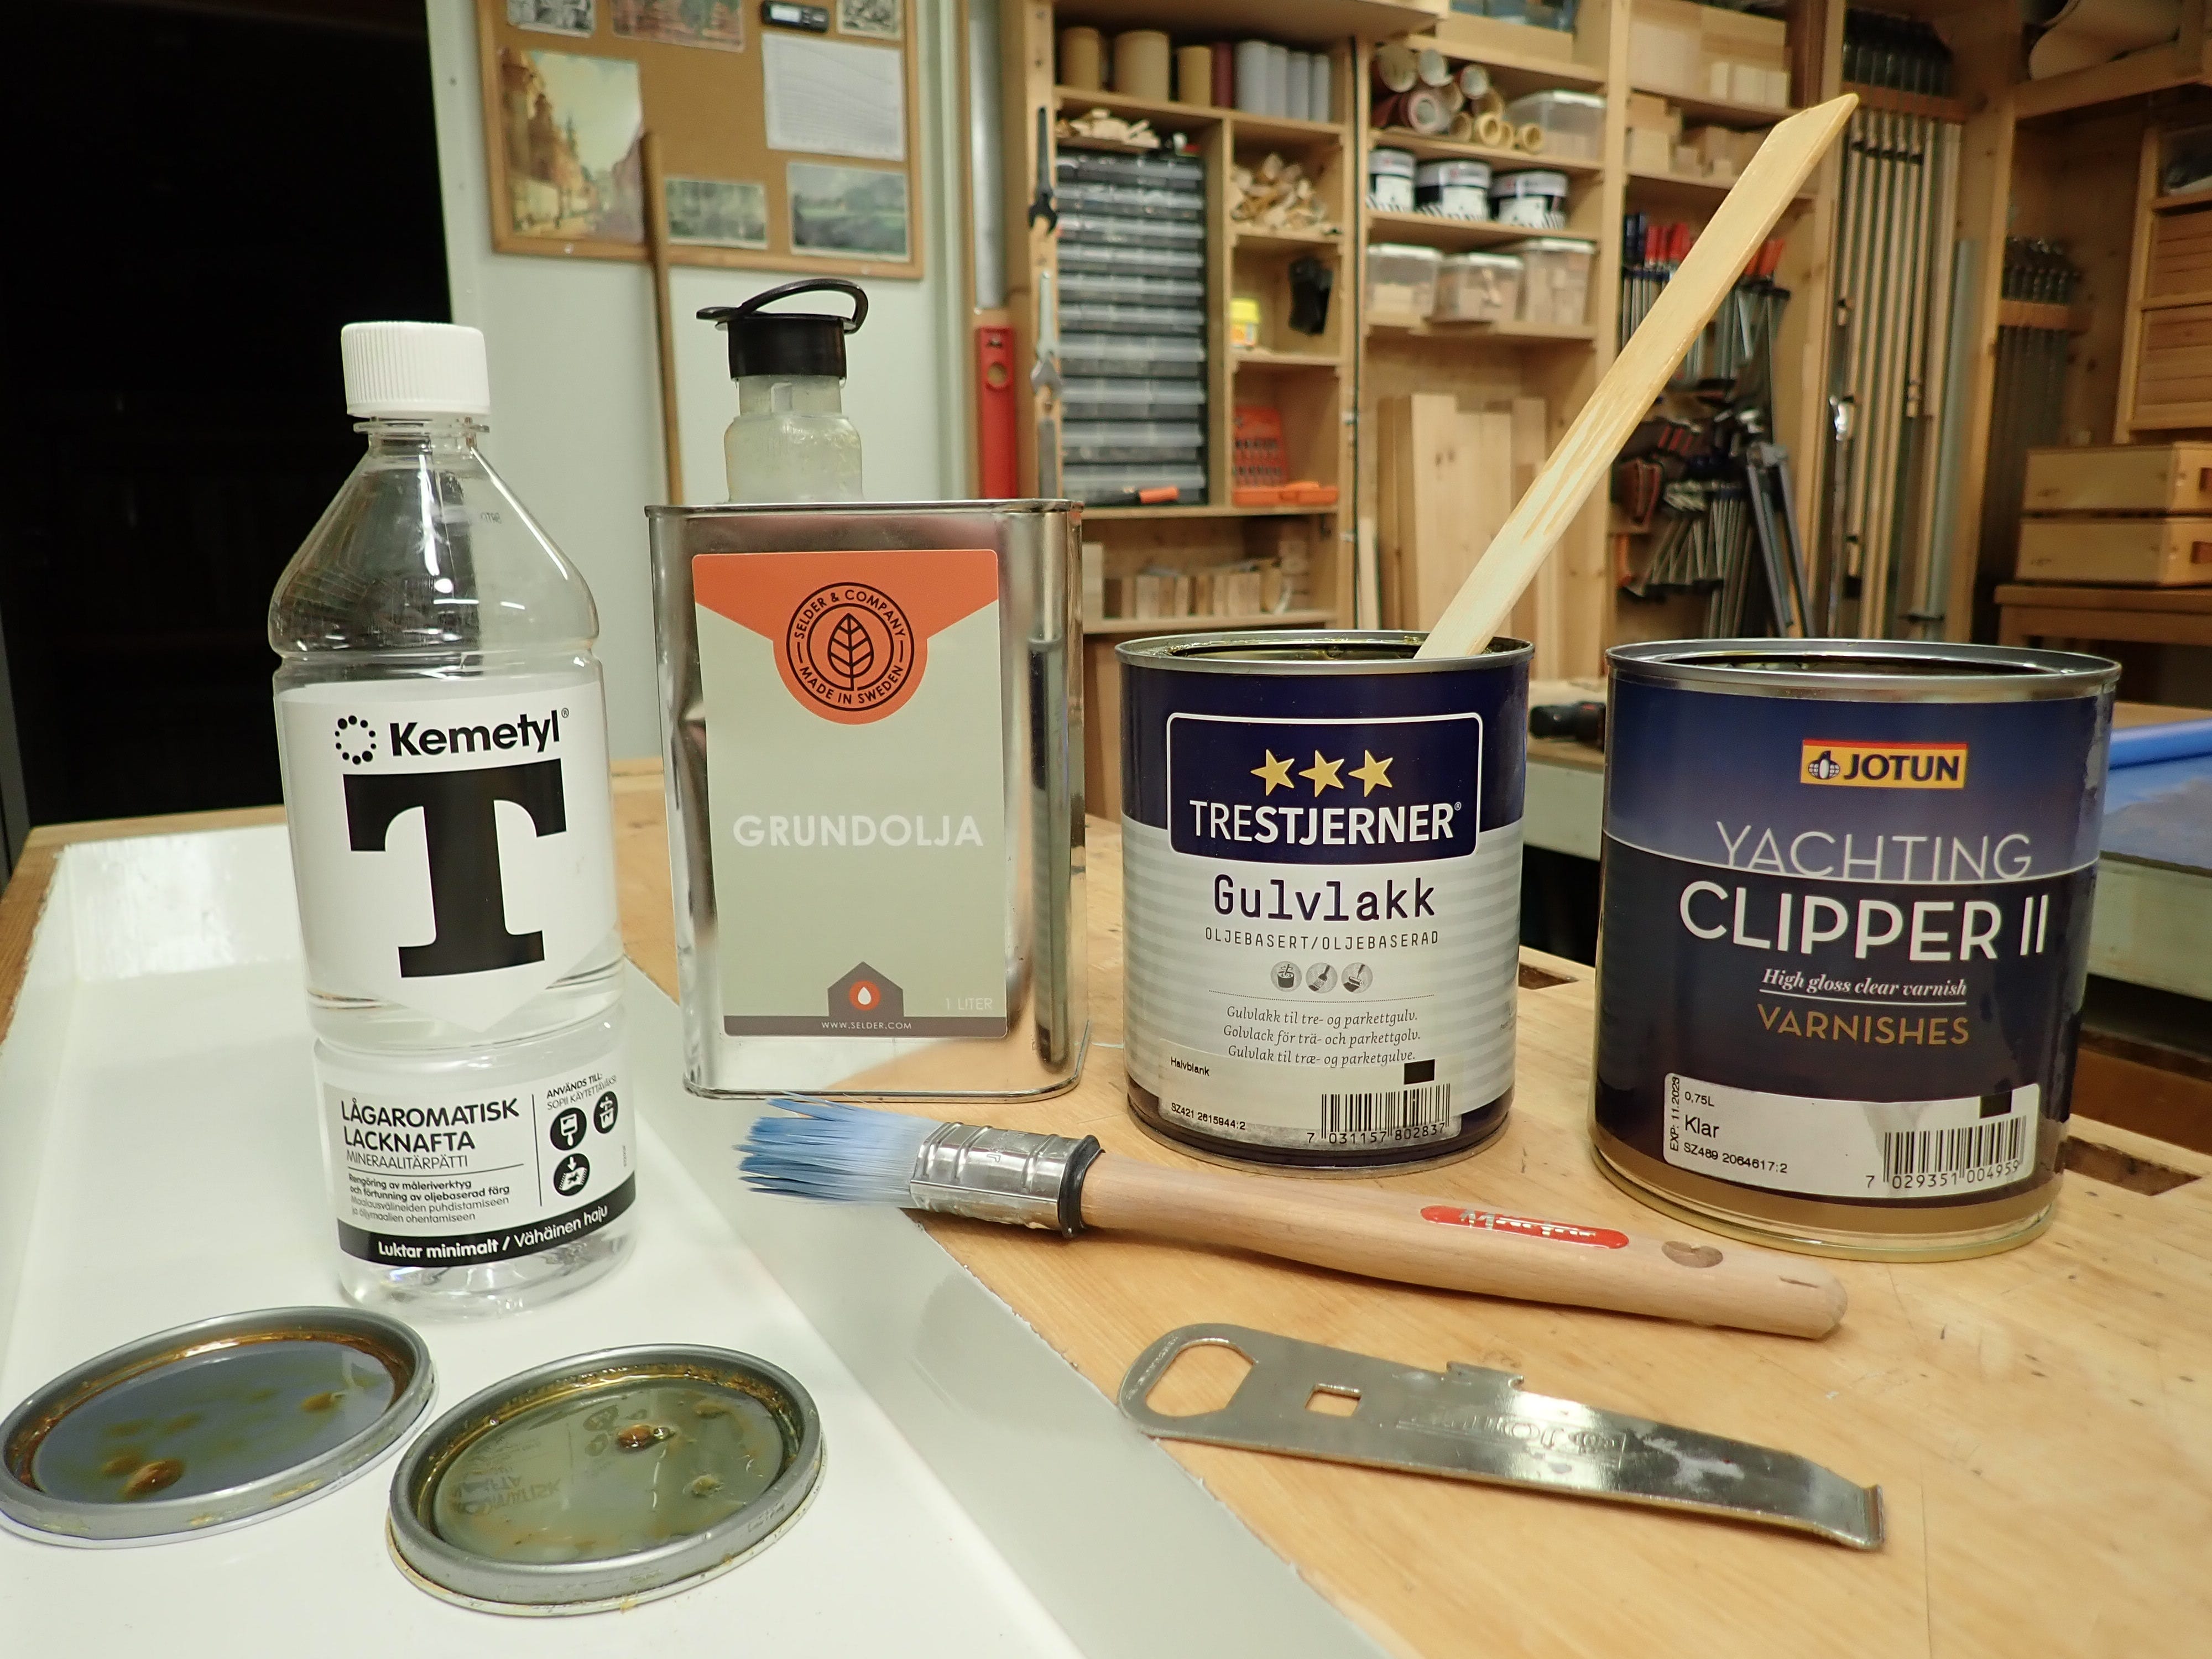
Slather on, let soak, dry off.
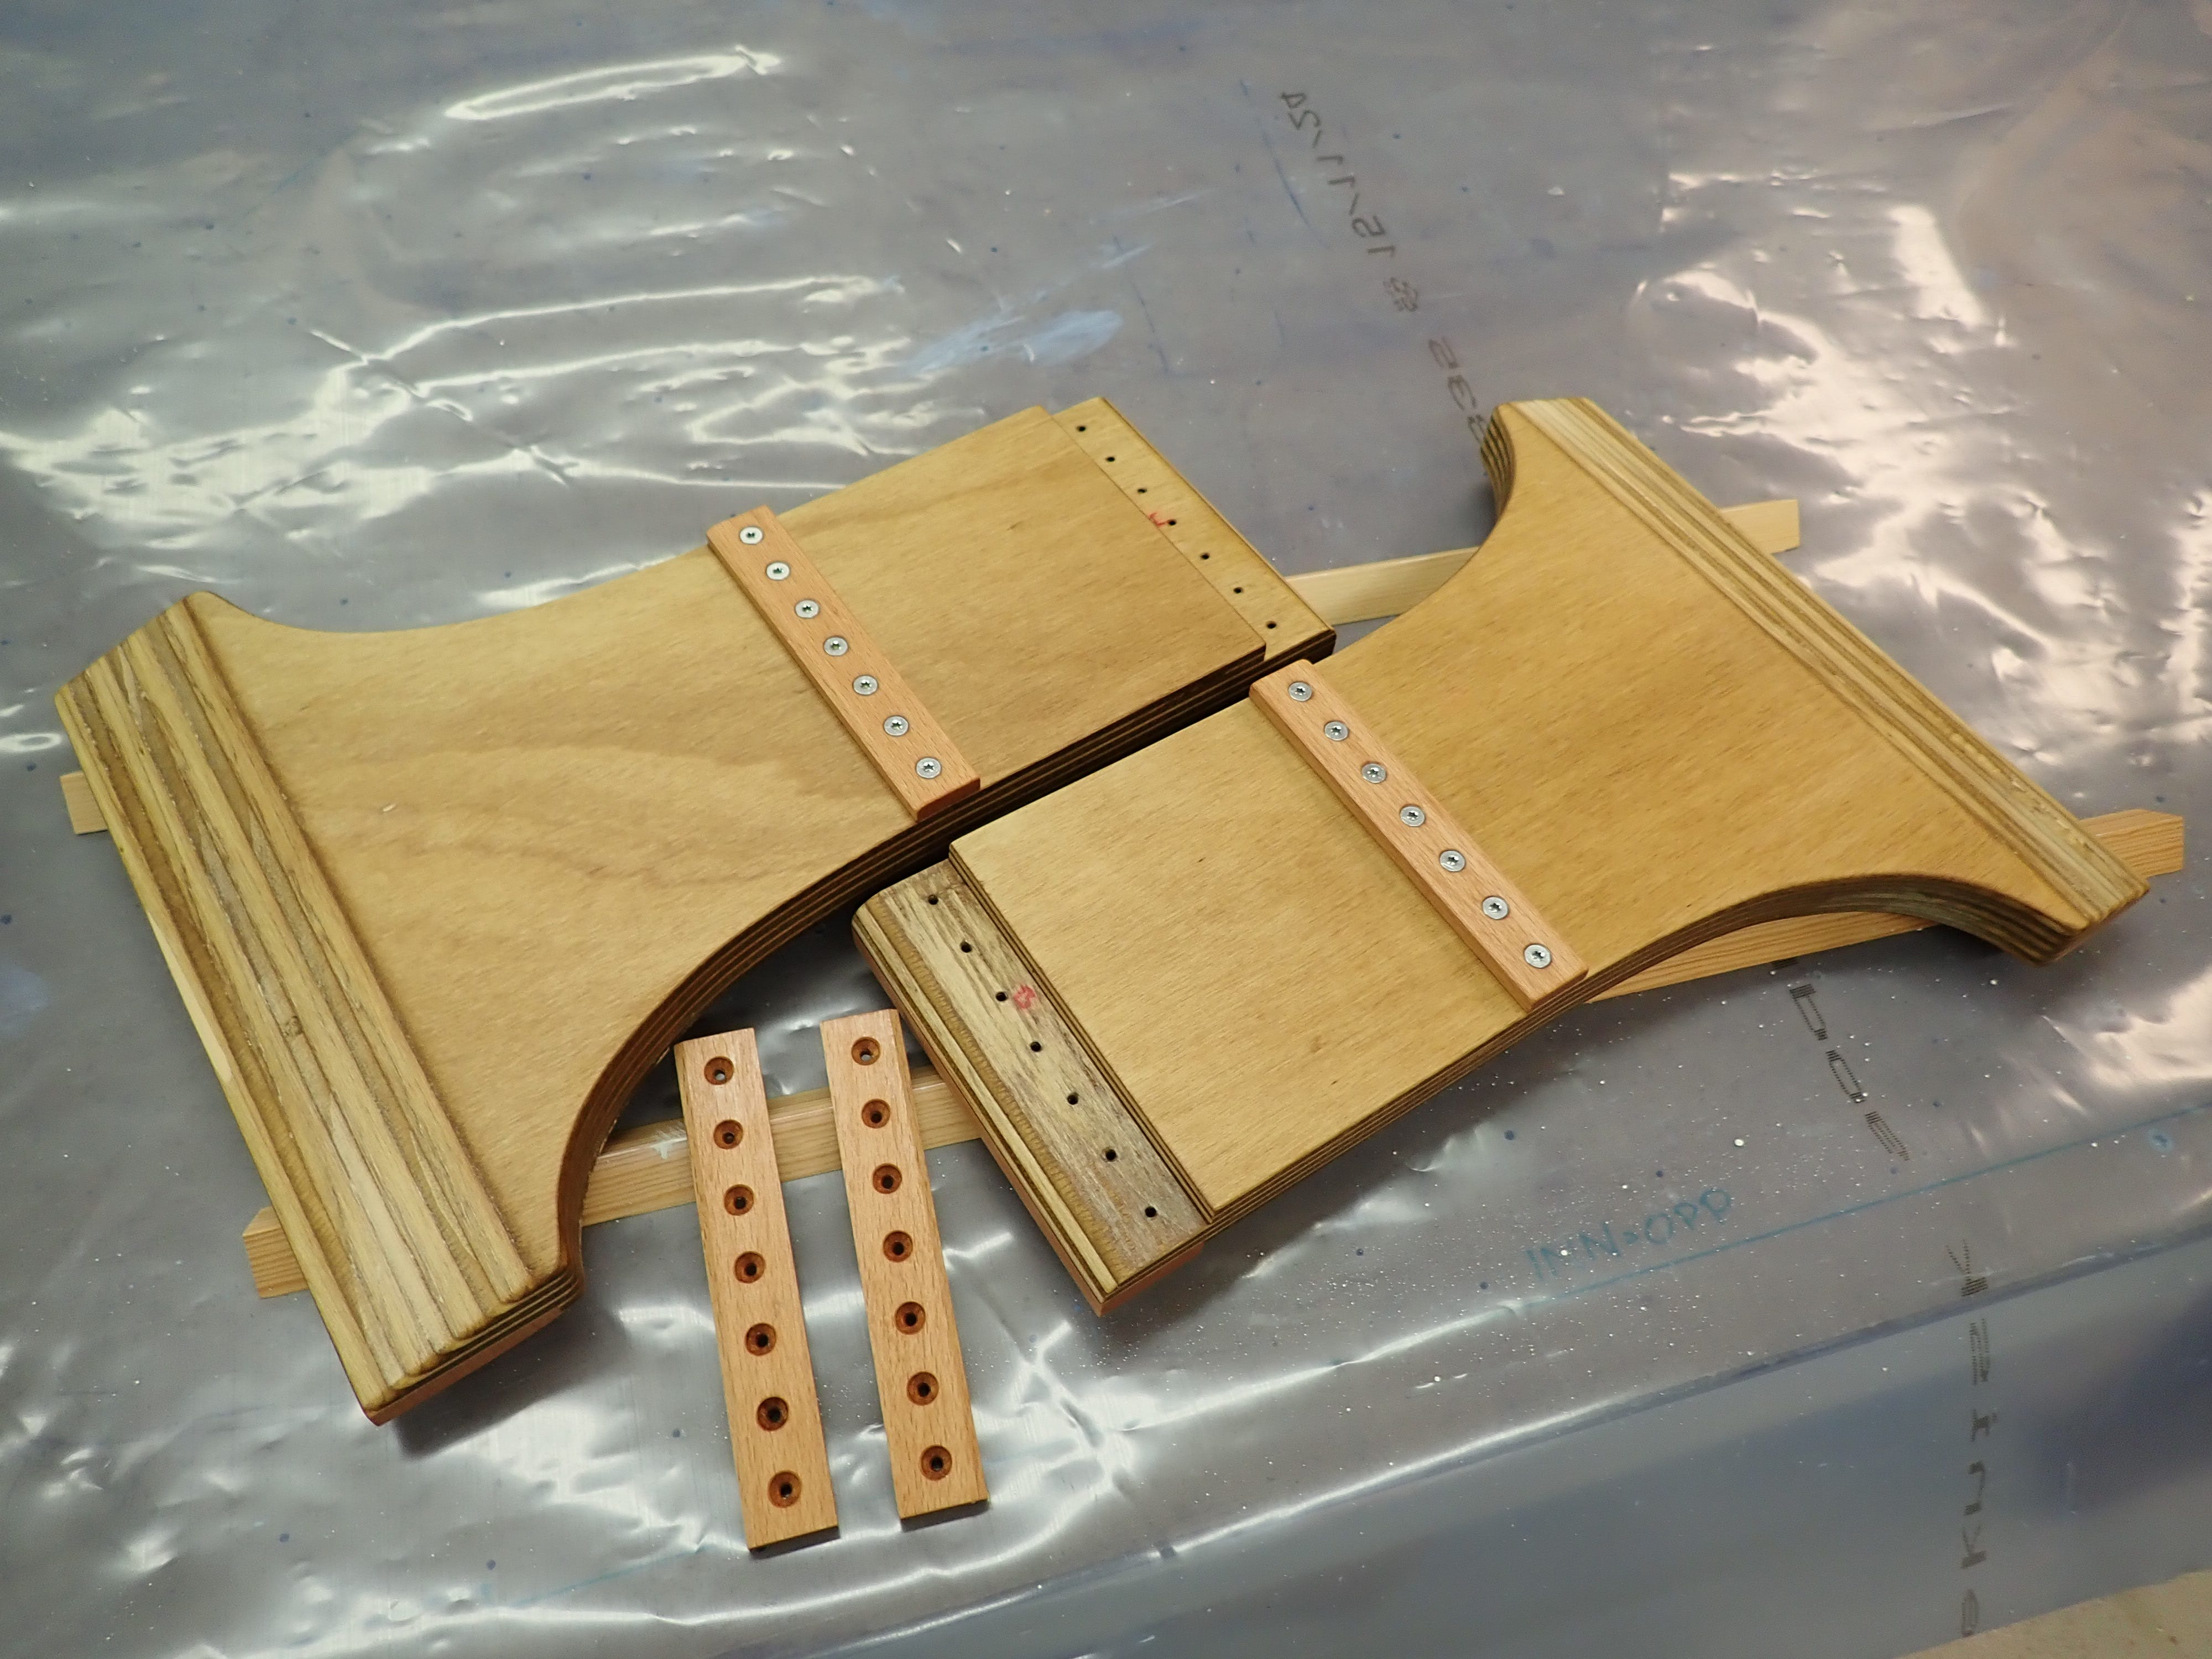
“What a lot of screws!“ (I hear you cry)
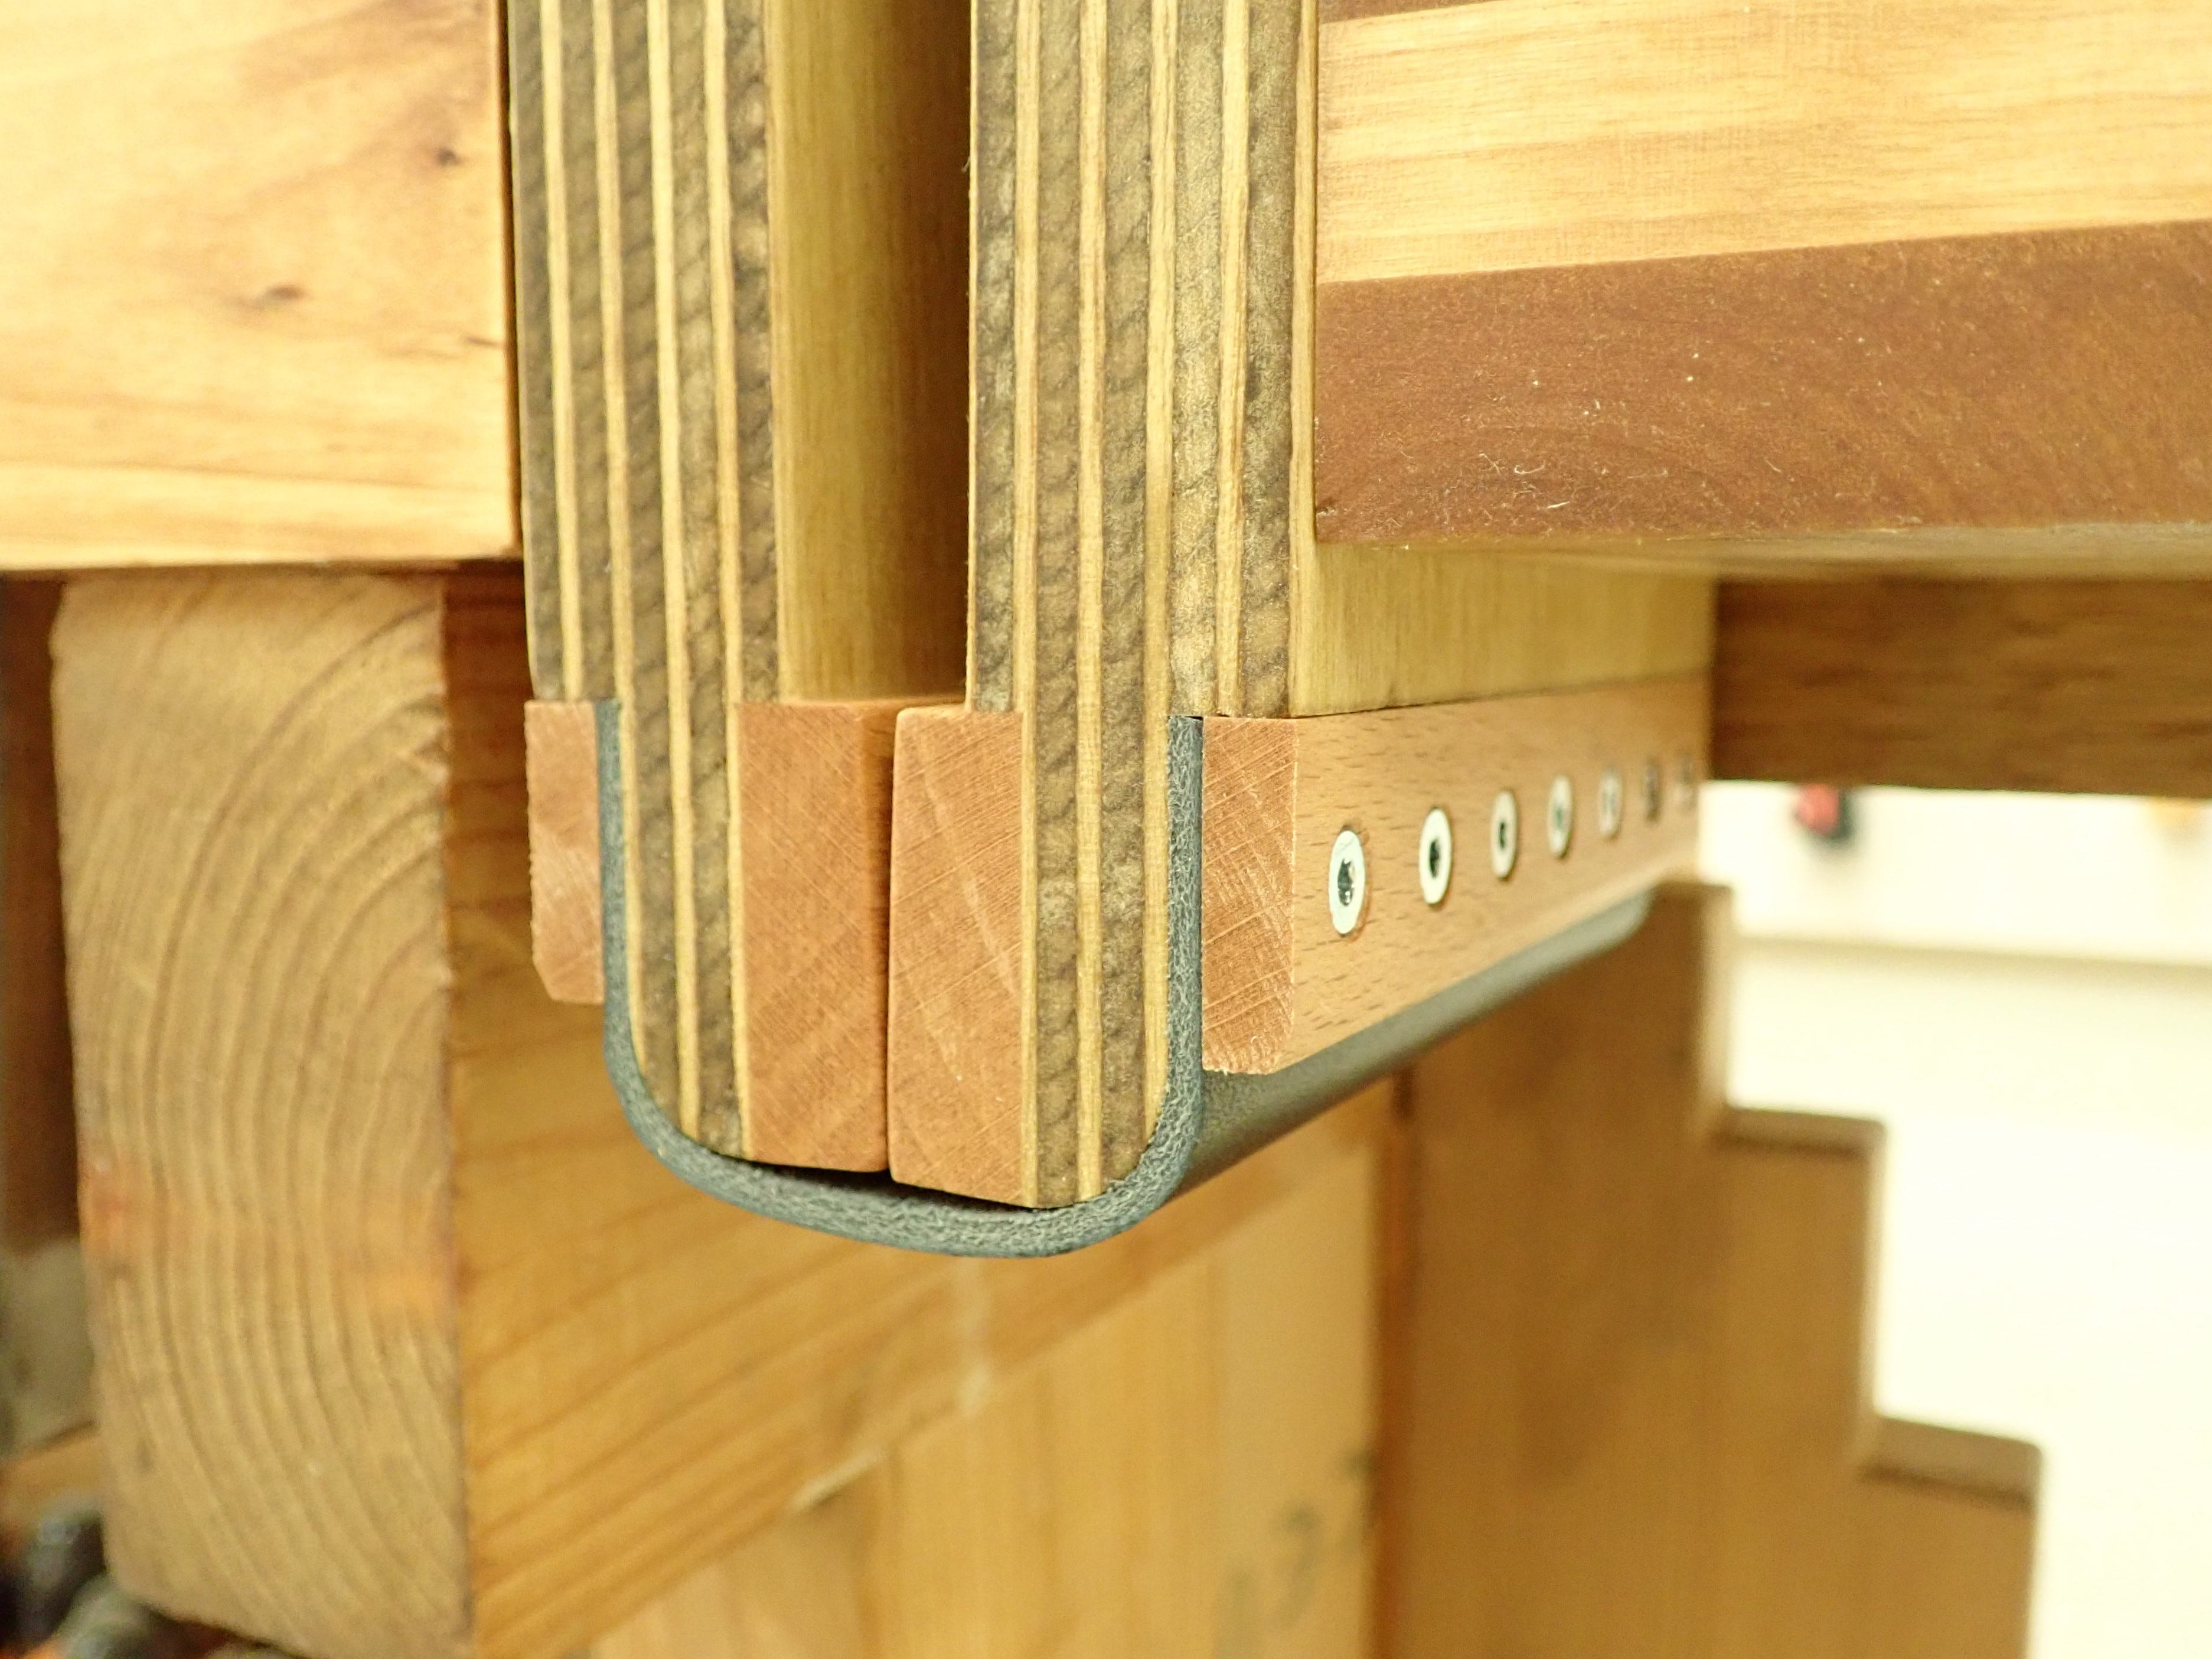
You see … I’m using a patch of leather as a hinge at the bottom of the clamp, and the best way to hold that firmly in place is to clamp it down with tightly spaced screws along a ‘clamping piece’ — friction, baby! Since I would need a pair of ‘shoulder pieces’ of similar length, I made 4 identical while I was at it.
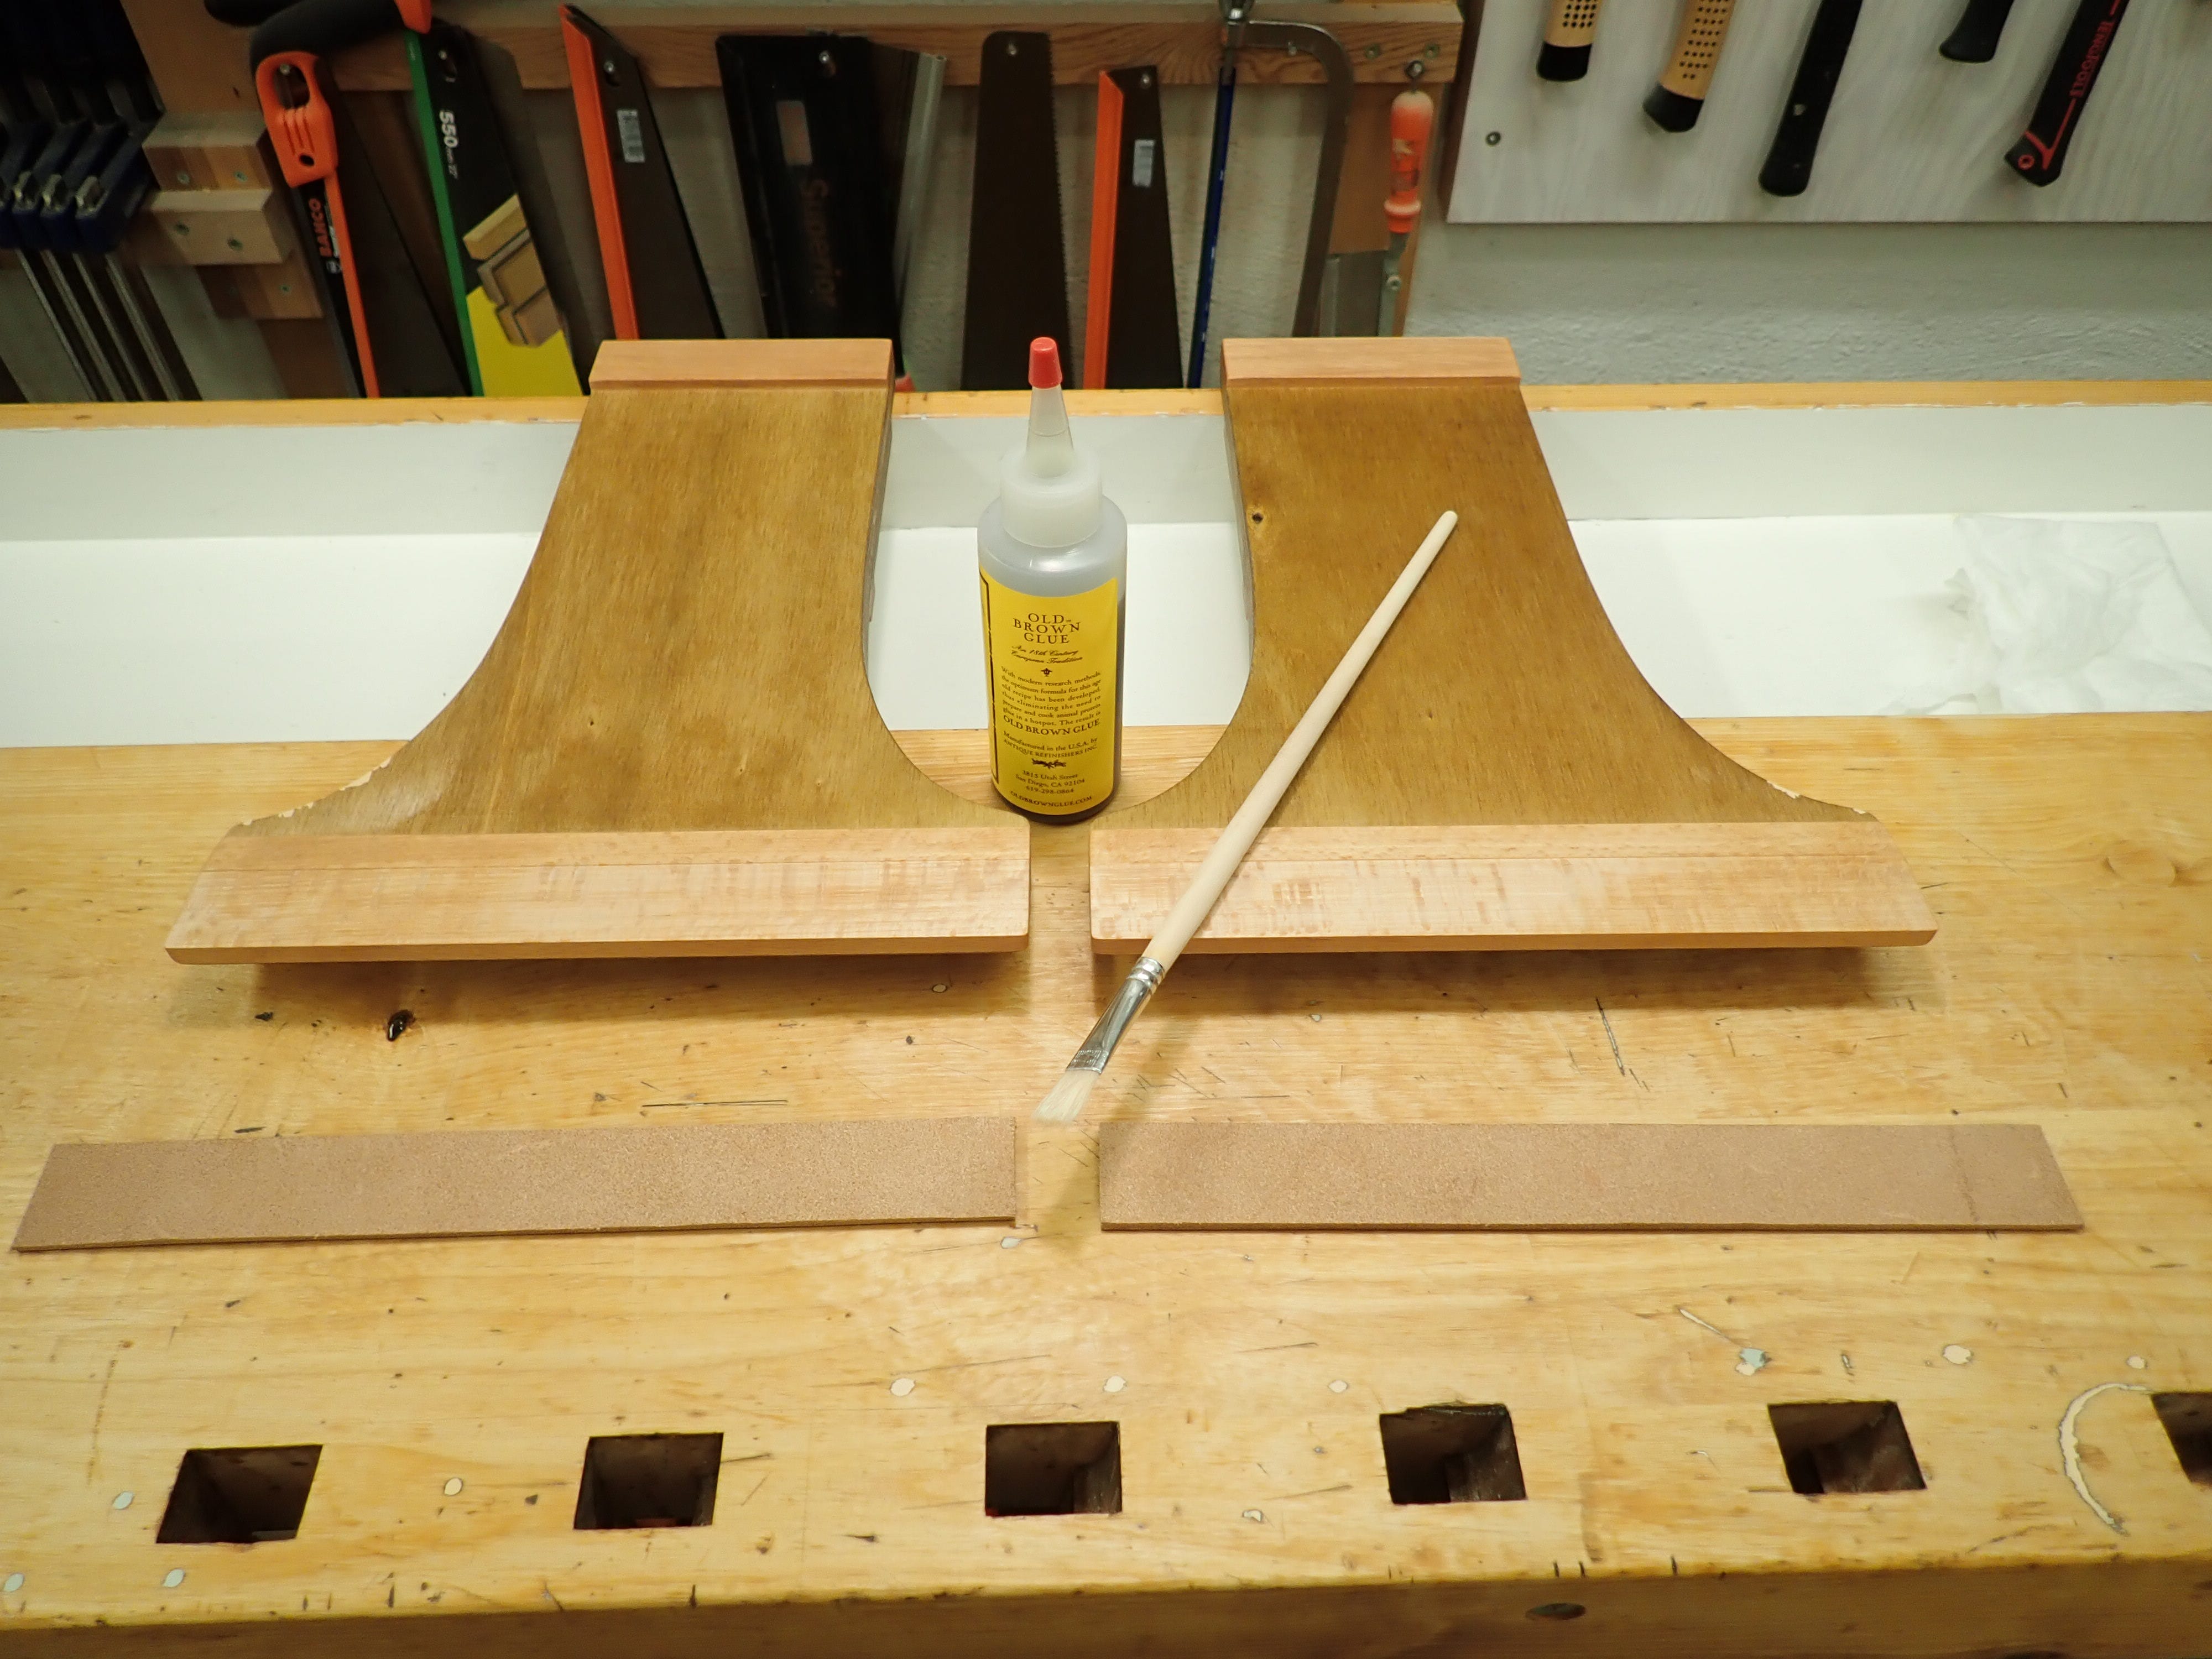
To clamp the sawblade firmly but also somewhat softly in place, I glued a pair of opposing strips of leather inside the vise’s mouth; Old Brown Glue heated - floating around - in a bucket of warm water. Hide glue for gluing hide — seems only right, but I don’t like this kind of glue; it goes thick and gooey as soon as it cools down … I can see why the old boys moved on to modern adhesives. I guess it’s useful for filling gaps in sloppy amateur-joinery, for reversible conservation work and hammer-veneering, but other than that …
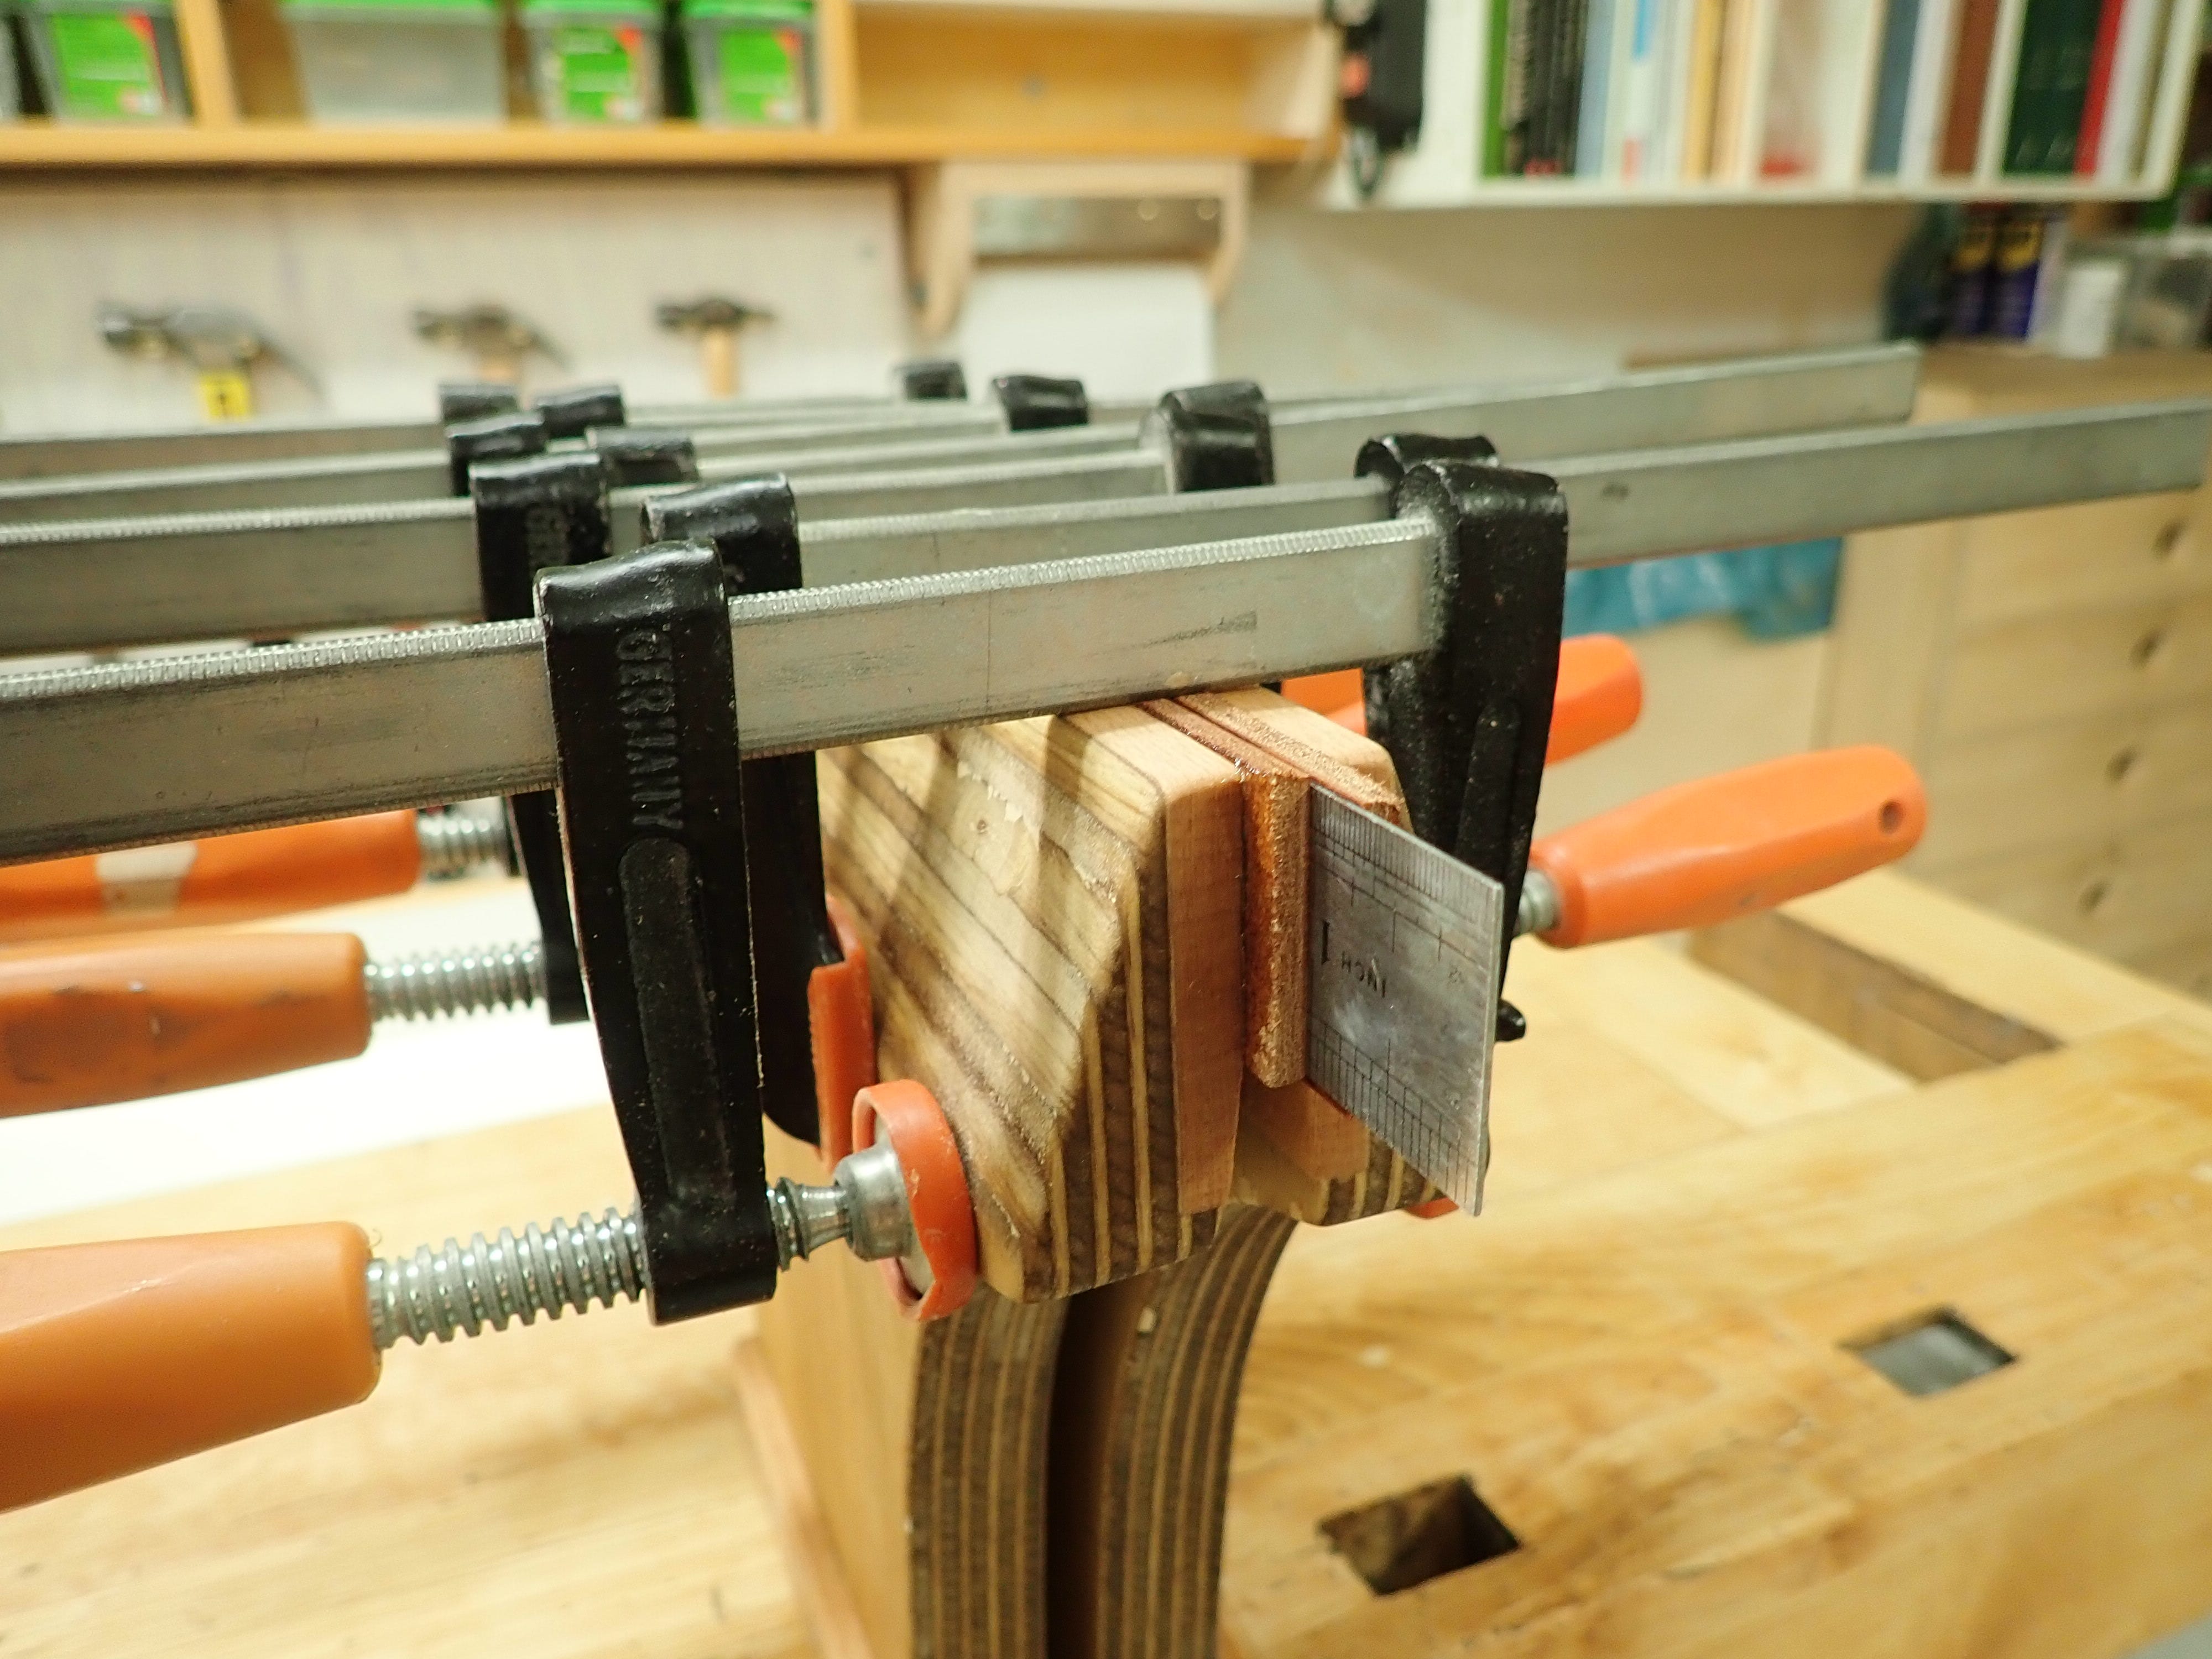
I clamped it up good and proper, with a steel ruler as a stand-in for a sawblade — that’s how fine-tuned the clamping geometry is … I only hope I’ve got it right :-)
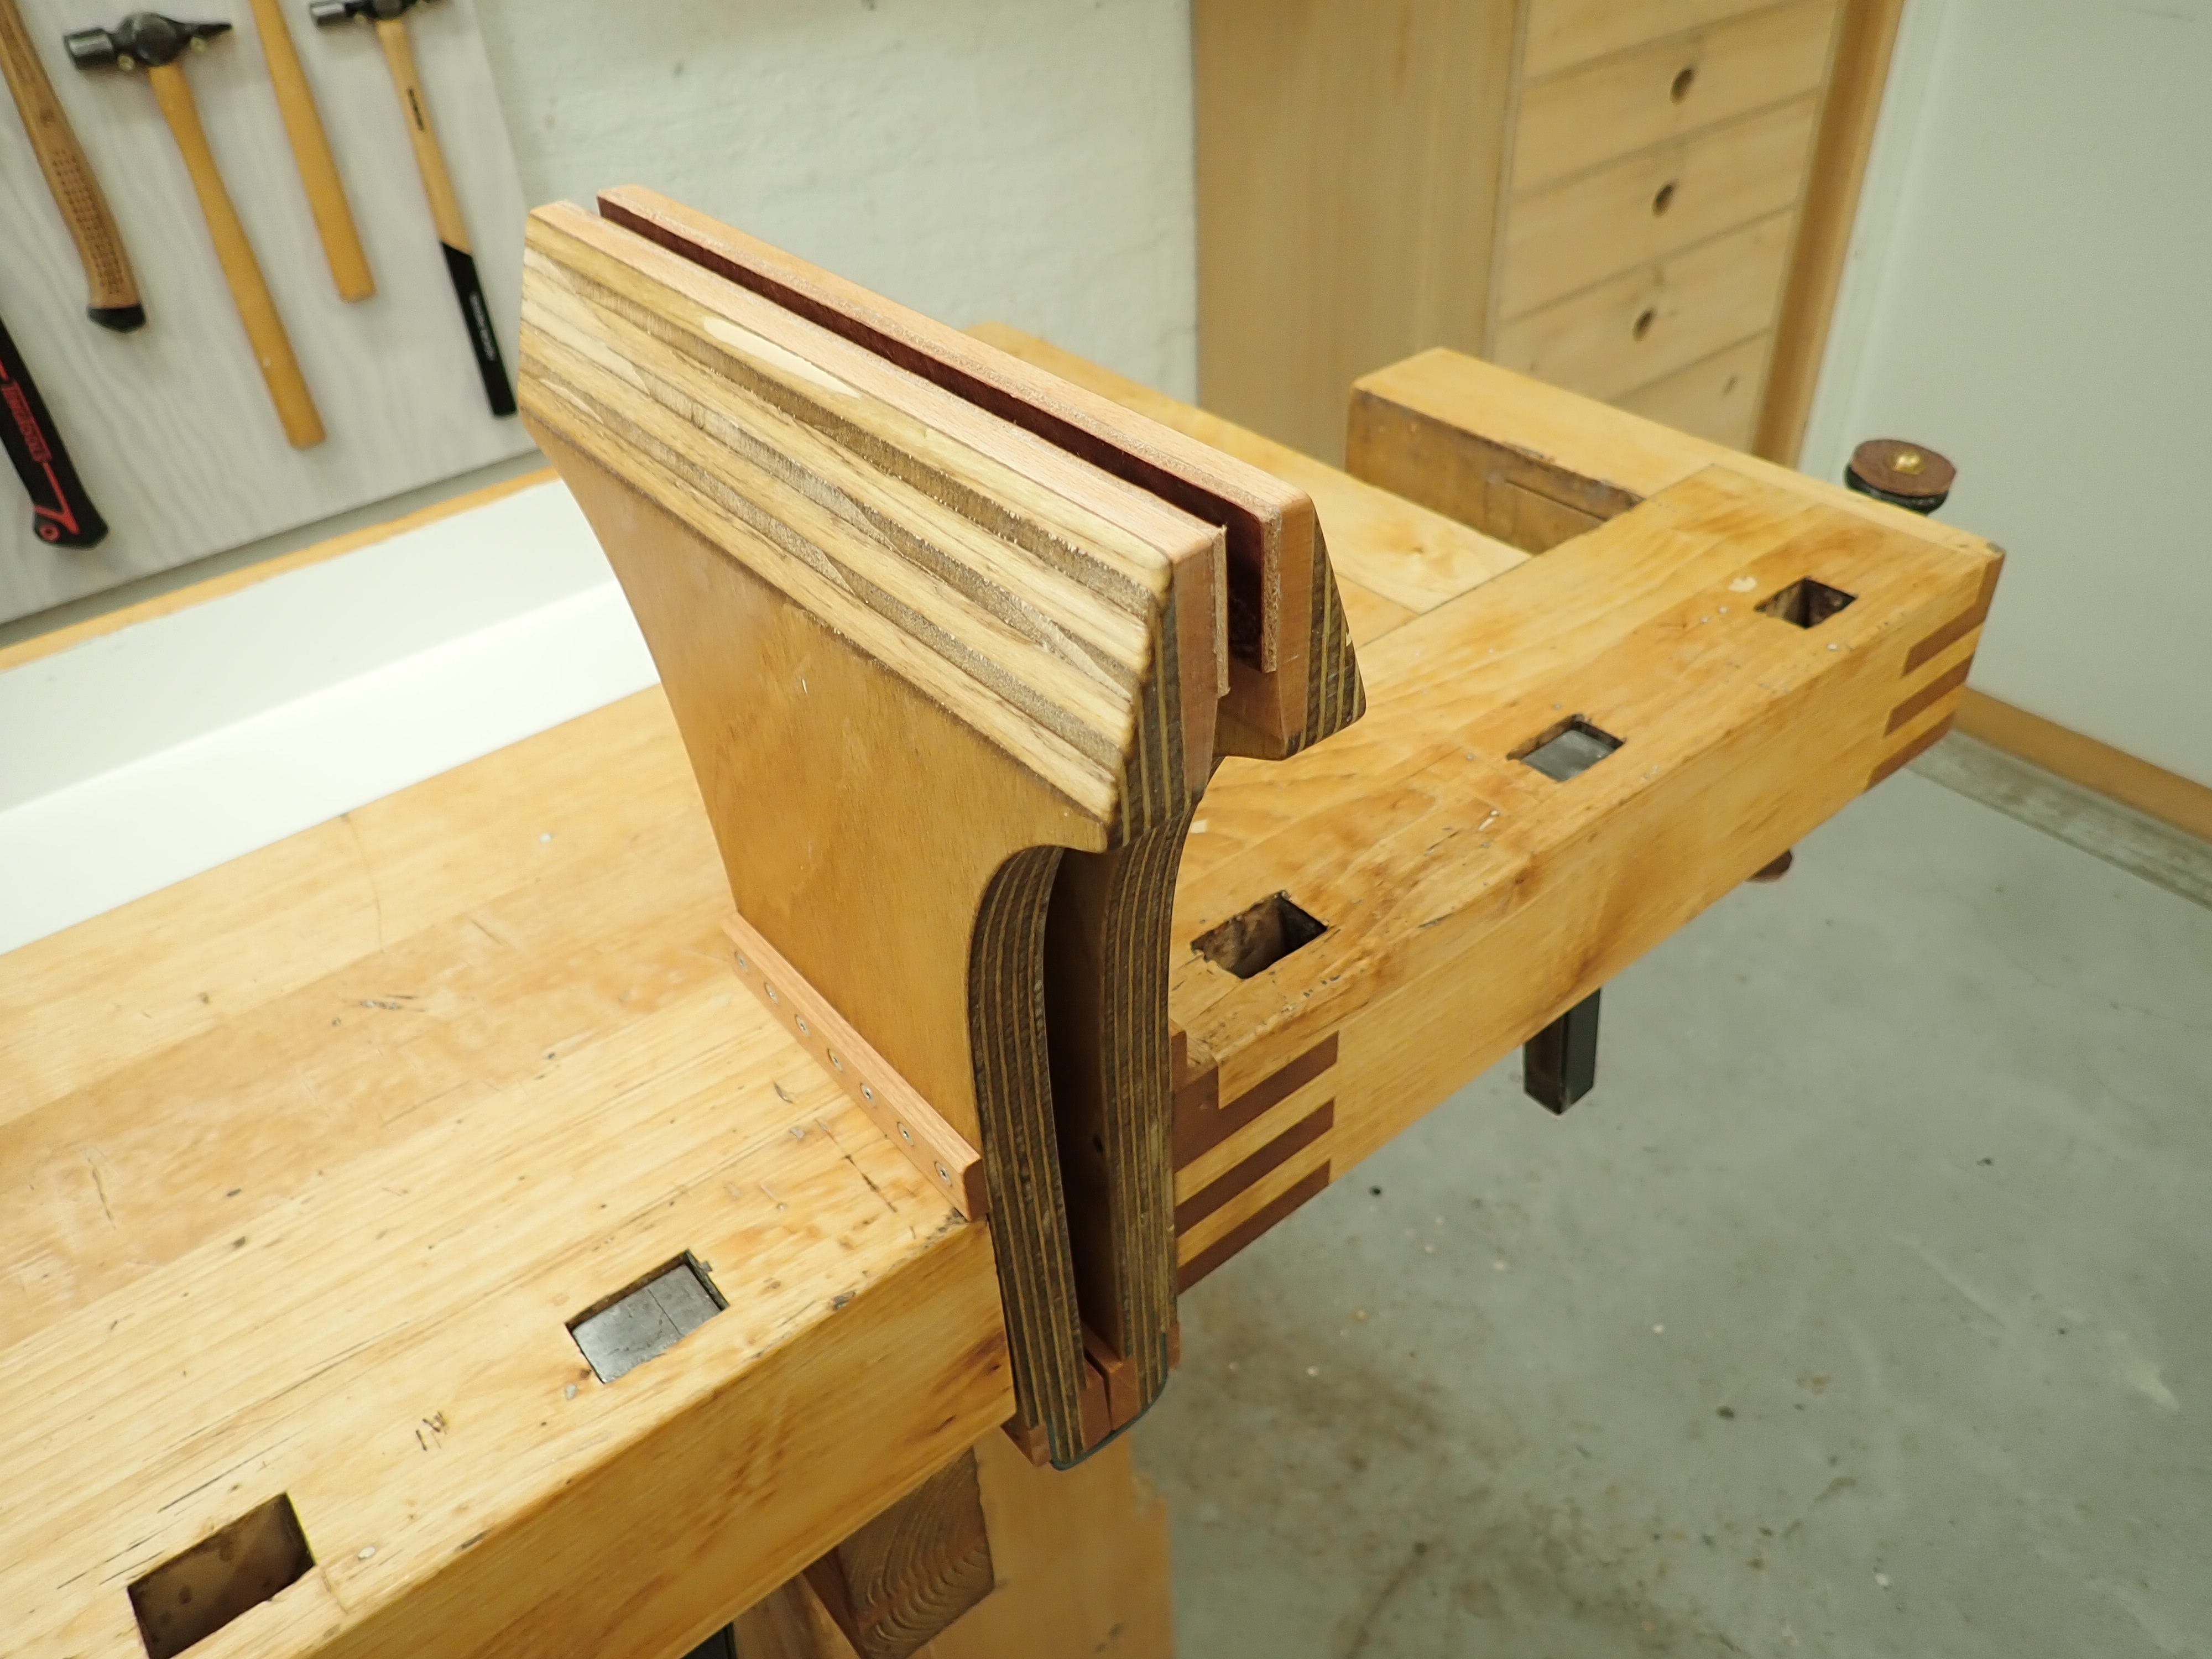
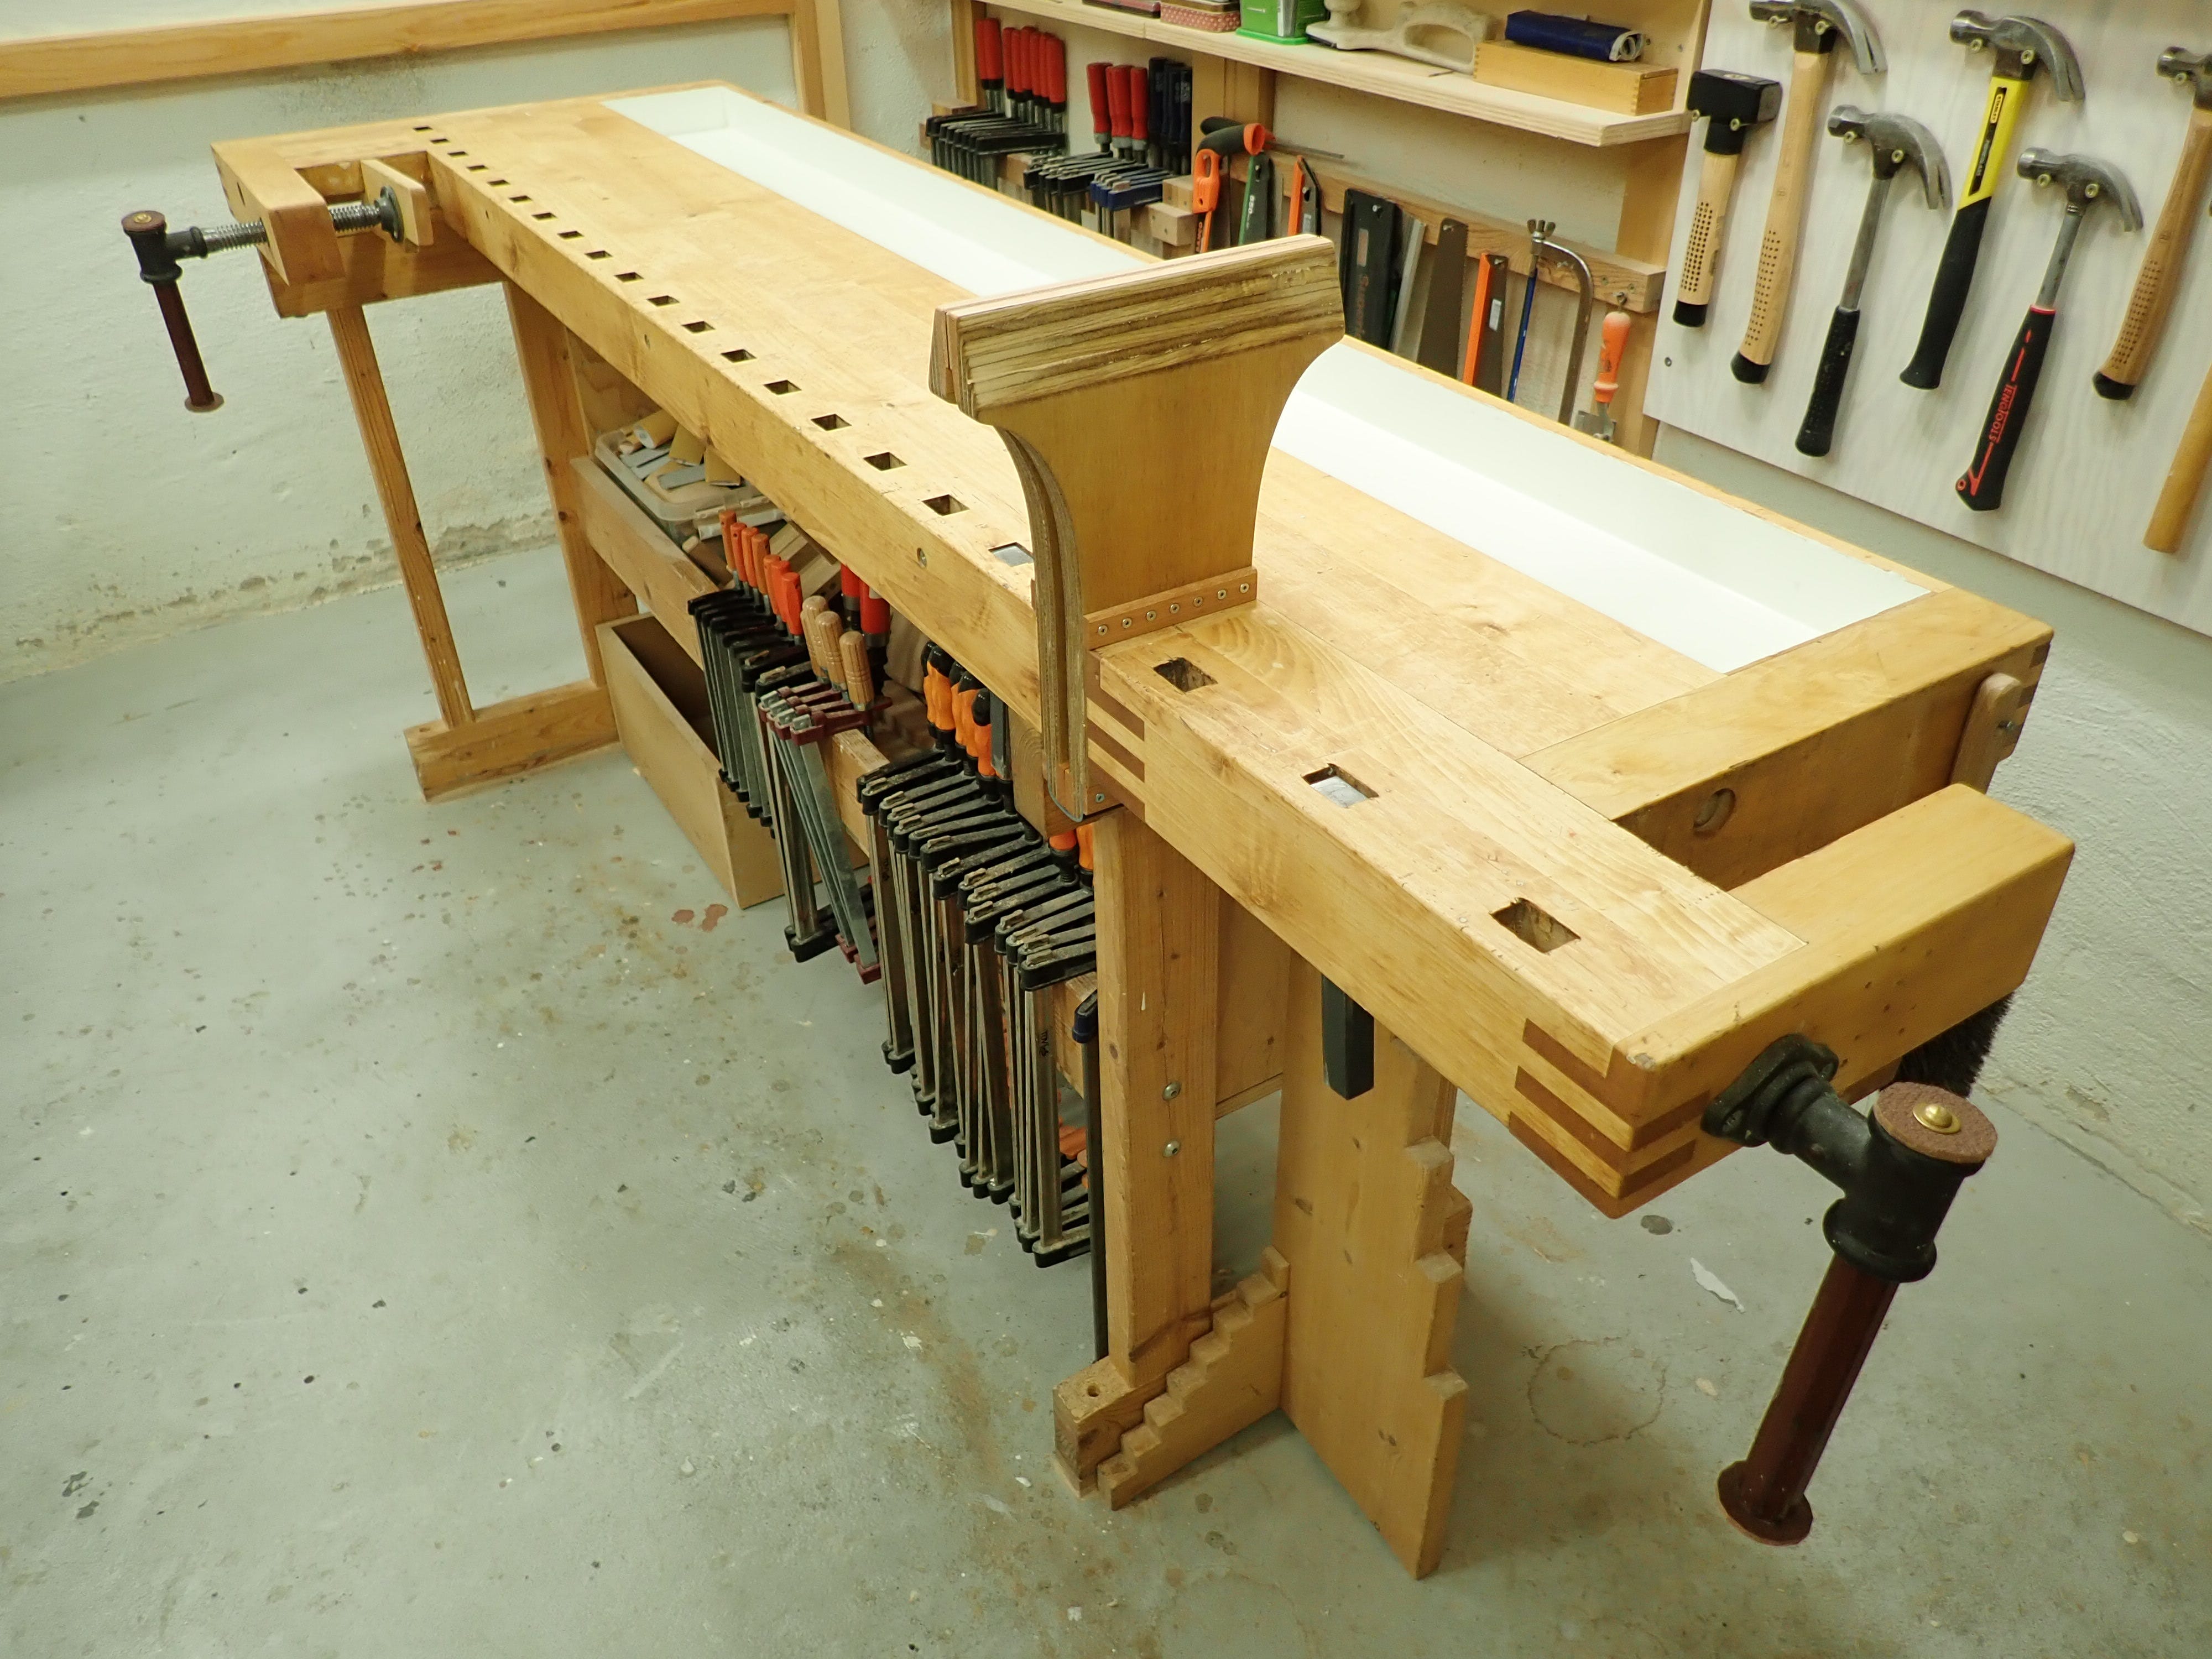
Here it is in the bench:
And here’s the leather hinge:
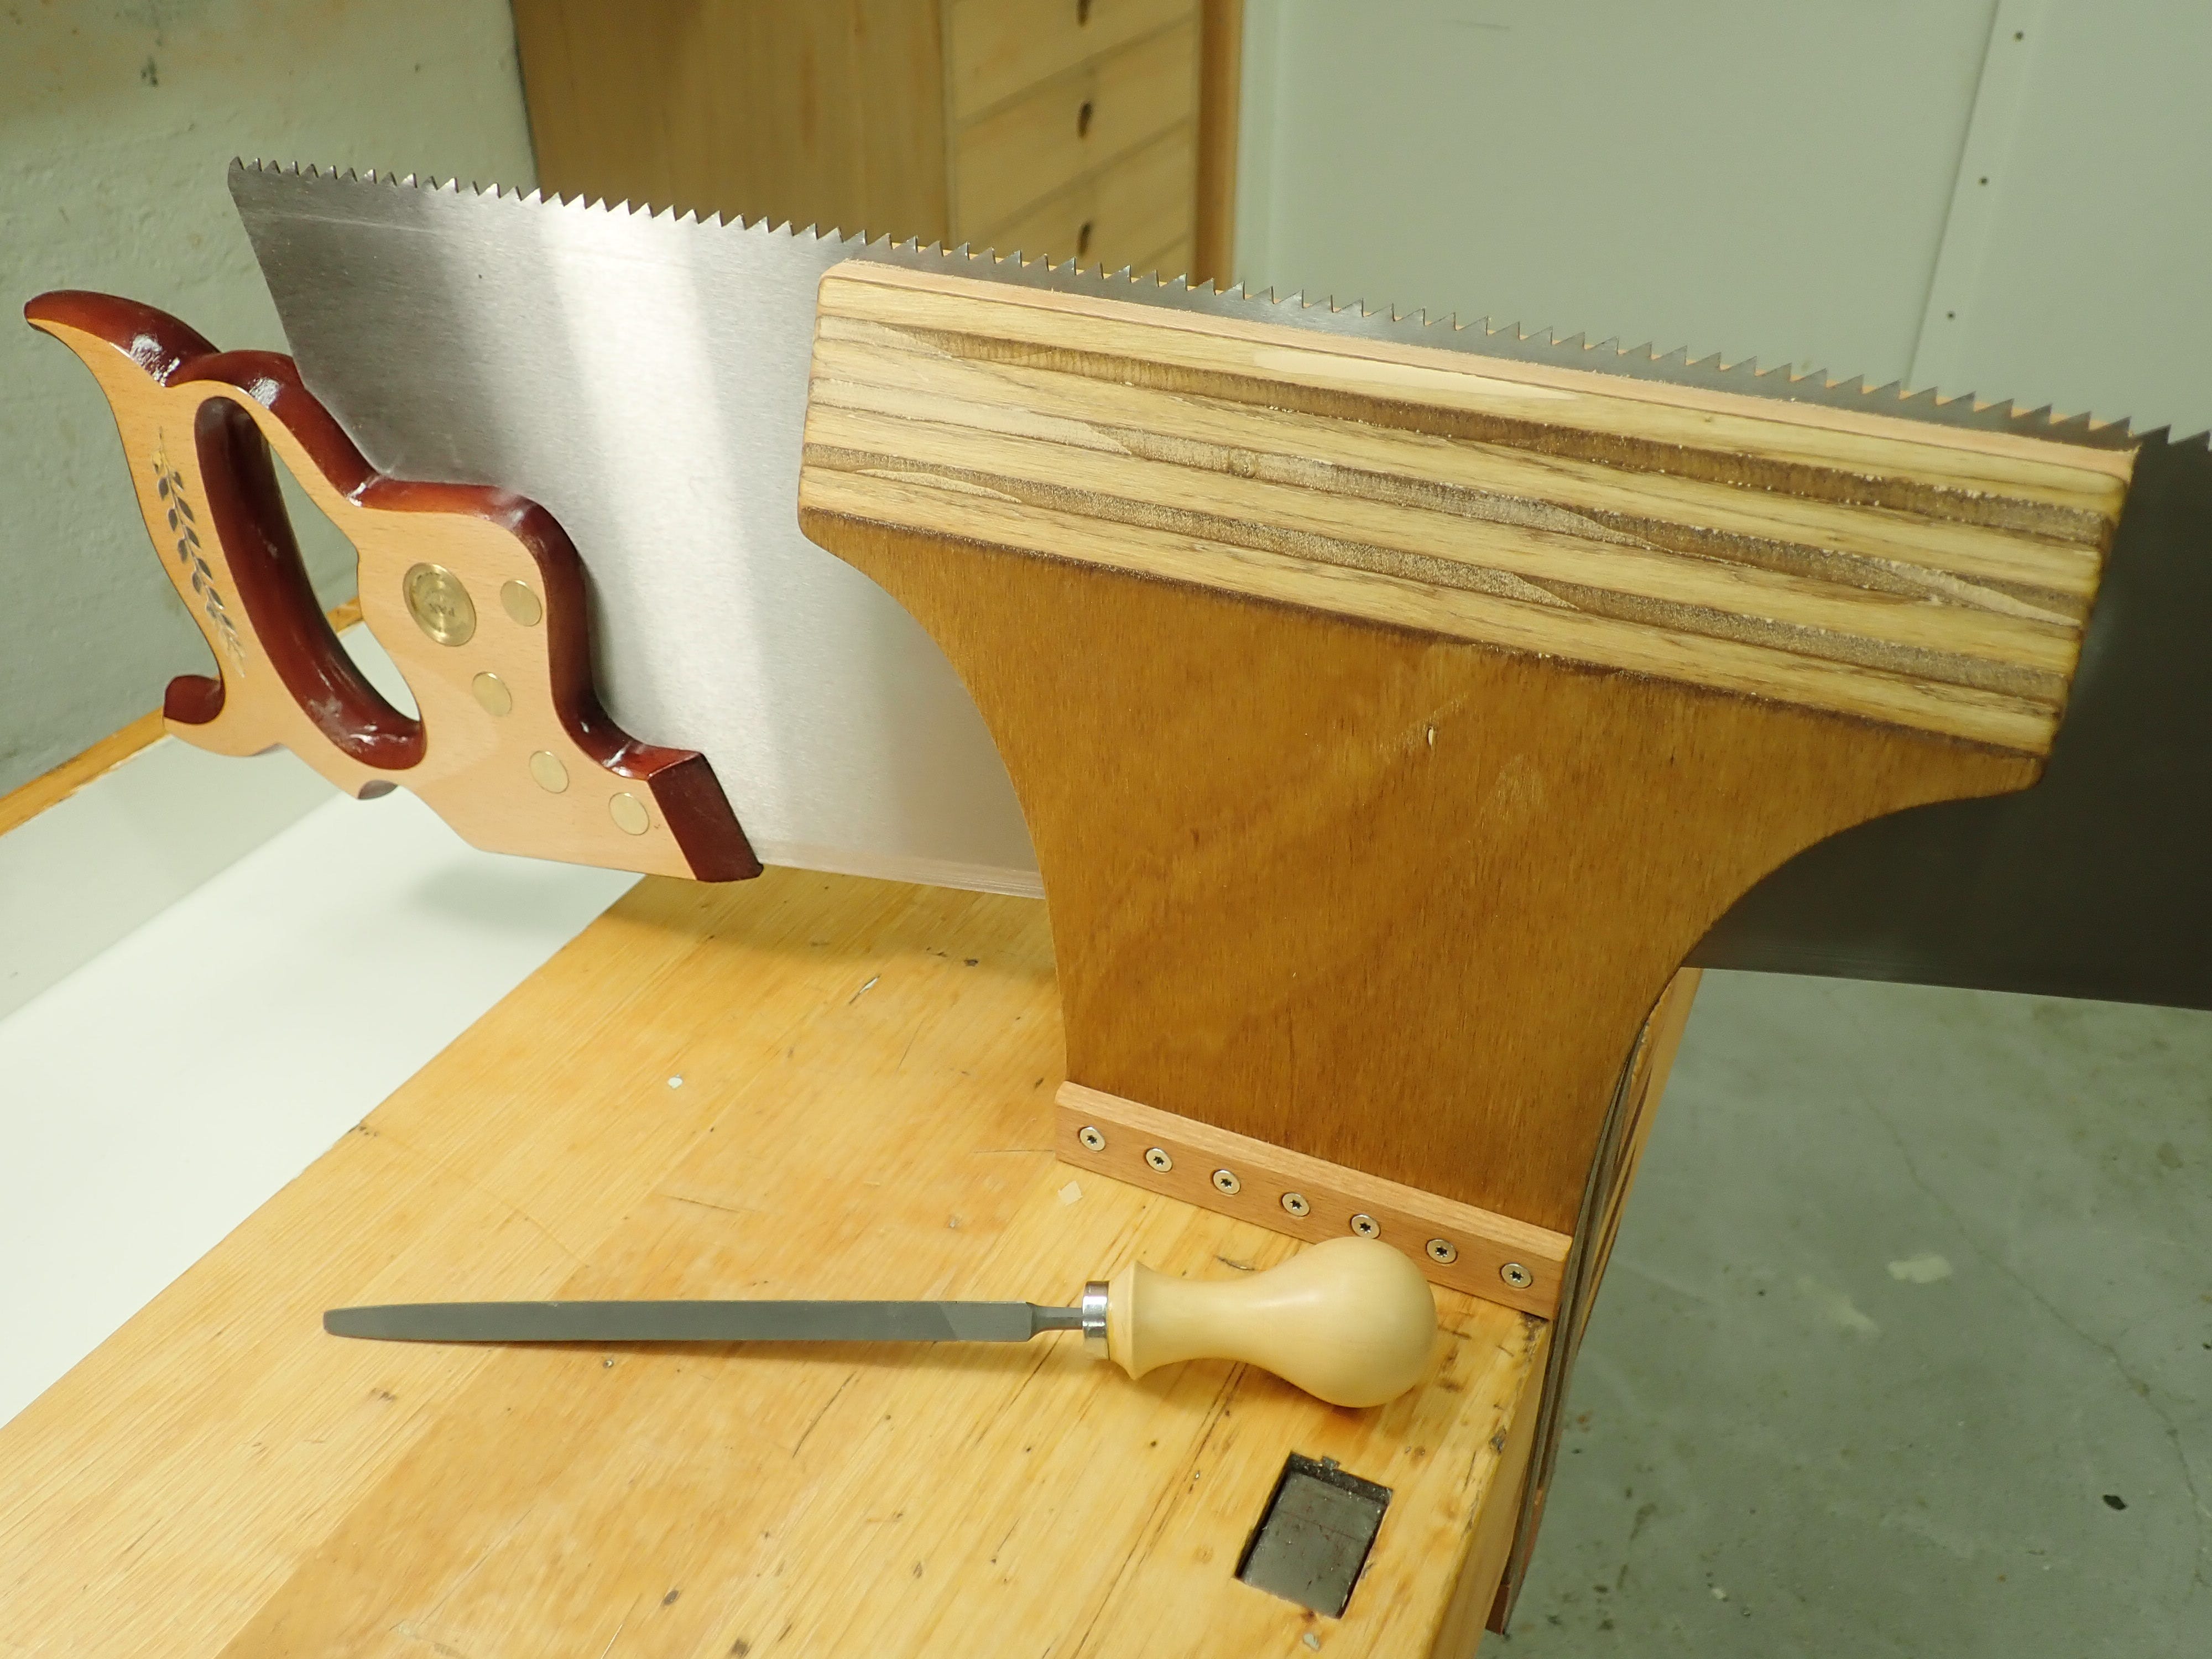
I won’t be writing about actually sharpening saws, since that’s the skill I don’t have but want to acquire. I have a couple of rubbish-saws that’ll have to bear the brunt of my beginner’s mistakes. I doubt I’ll be able to sharpen a saw perfectly, but I’m confident I can make it better than it was, and that’s good enough to begin with.
****
No posts
Comments
Nothing yet. Say the first thing.
Sign in to join the conversation.