
[ soundtrack : Minor Swing - Django Reinhardt & Stephane Grappelli ]
****
This post is too long for email — open in browser for full length.
****
This town is full of windows; very many of them are made of wood. Plastic windows have not caught on here, but aluminium is of course much used in modern and commercial buildings.
Traditionally, we’ve made our windows out of resinous pine, sometimes with the rot-prone parts from oak, and occasionally the whole window was made of oak, or even teak. Since all the windows in a building are usually supplied and installed at the time of construction, and are usually more or less ‘cut from the same cloth’ they lend themselves to serial/factory/batch production. There was a time when you would find a window- and door-factory in every other village. That was before we found oil and began manufacturing consensus and saving the world for a living.
When I started out in the early nineties, you could still buy running lengths of standardized ‘window-frame stock’ in the old lumberyards. The few remaining small bench-shops would buy what they needed for their piecemeal jobs and cut the joinery by hand when repairing or replacing broken or rotten window-frames.
That’s basically what I’ve been doing these last couple of days; making a copy of a small window-frame — a replacement for the one out of four that is missing; a favour for a neighbour. When making only one frame — four corner-joints and a muntin tenoned in across the middle — it is quickest to cut the joinery (mostly) by hand.
I’ll try to keep this short & sweet — pictures and curt comments. Here we go!
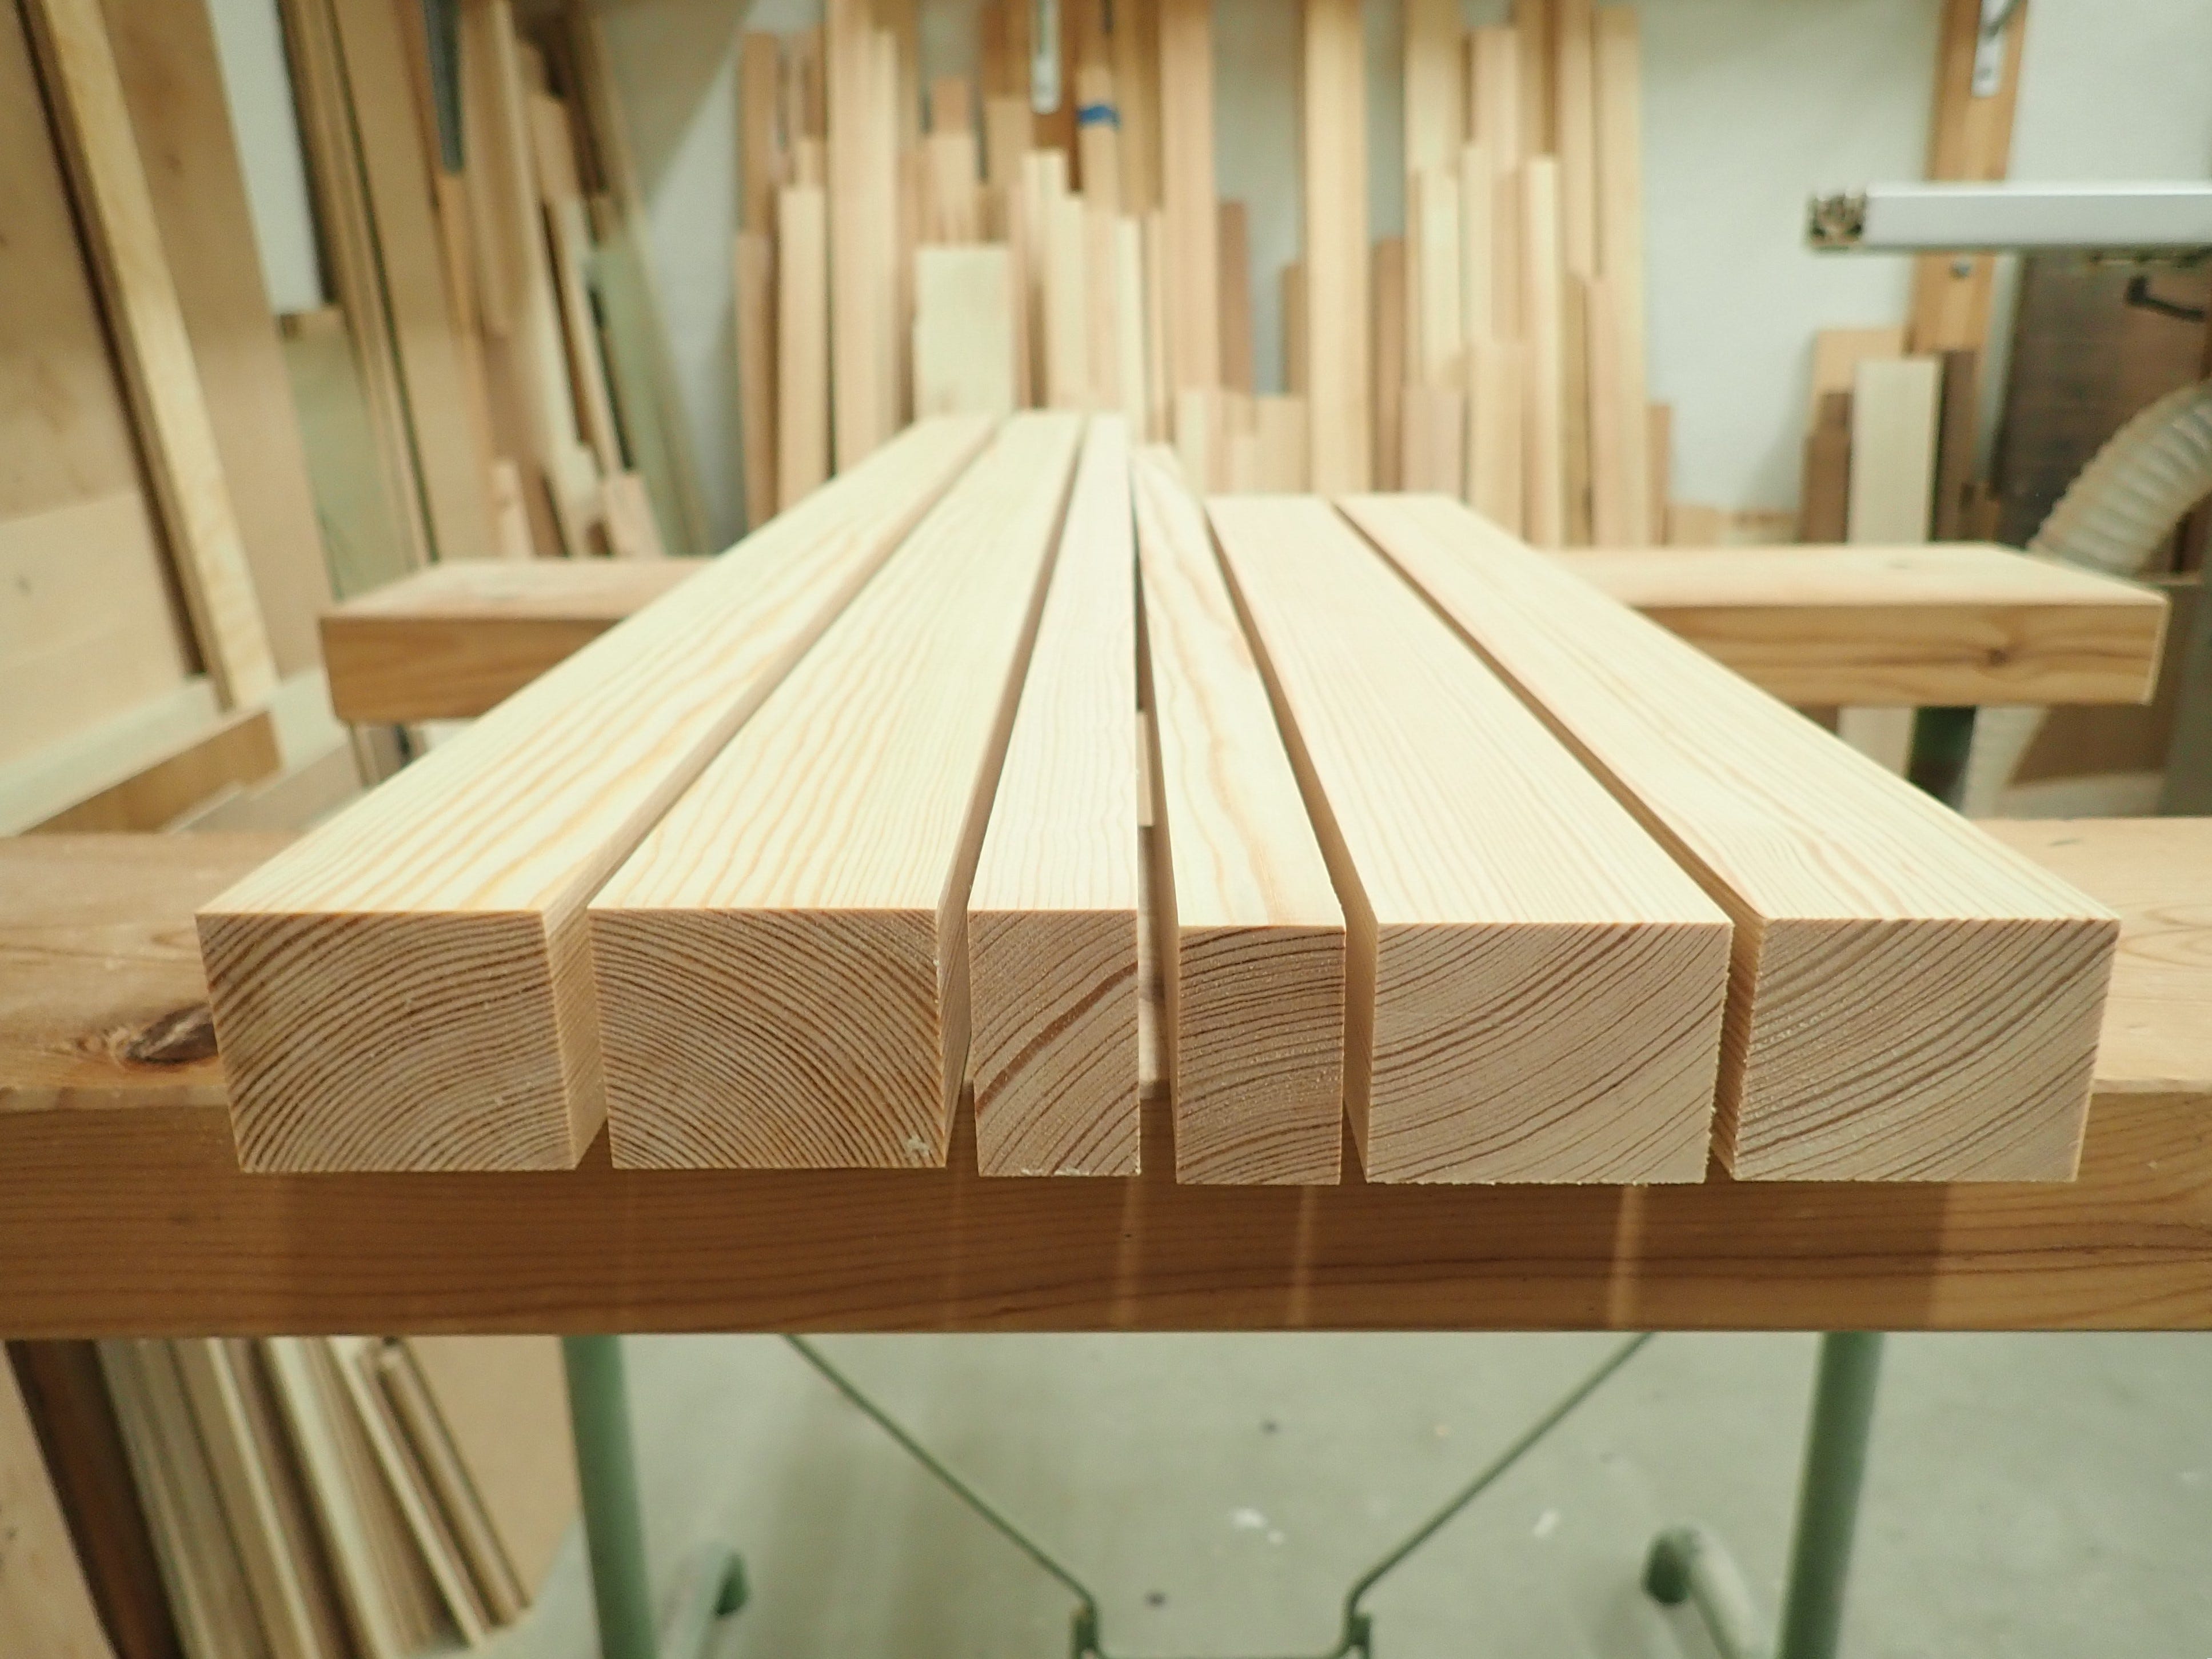
A small job like this is a good opportunity to use some suitable leftovers; I found some fat and heavy sticks of adequate size. Joint, square, thickness.
This window/glass-frame does not have any profile/moulding on the inside, just a chamfer. I cut it close but not quite; tilted blade on the table saw.
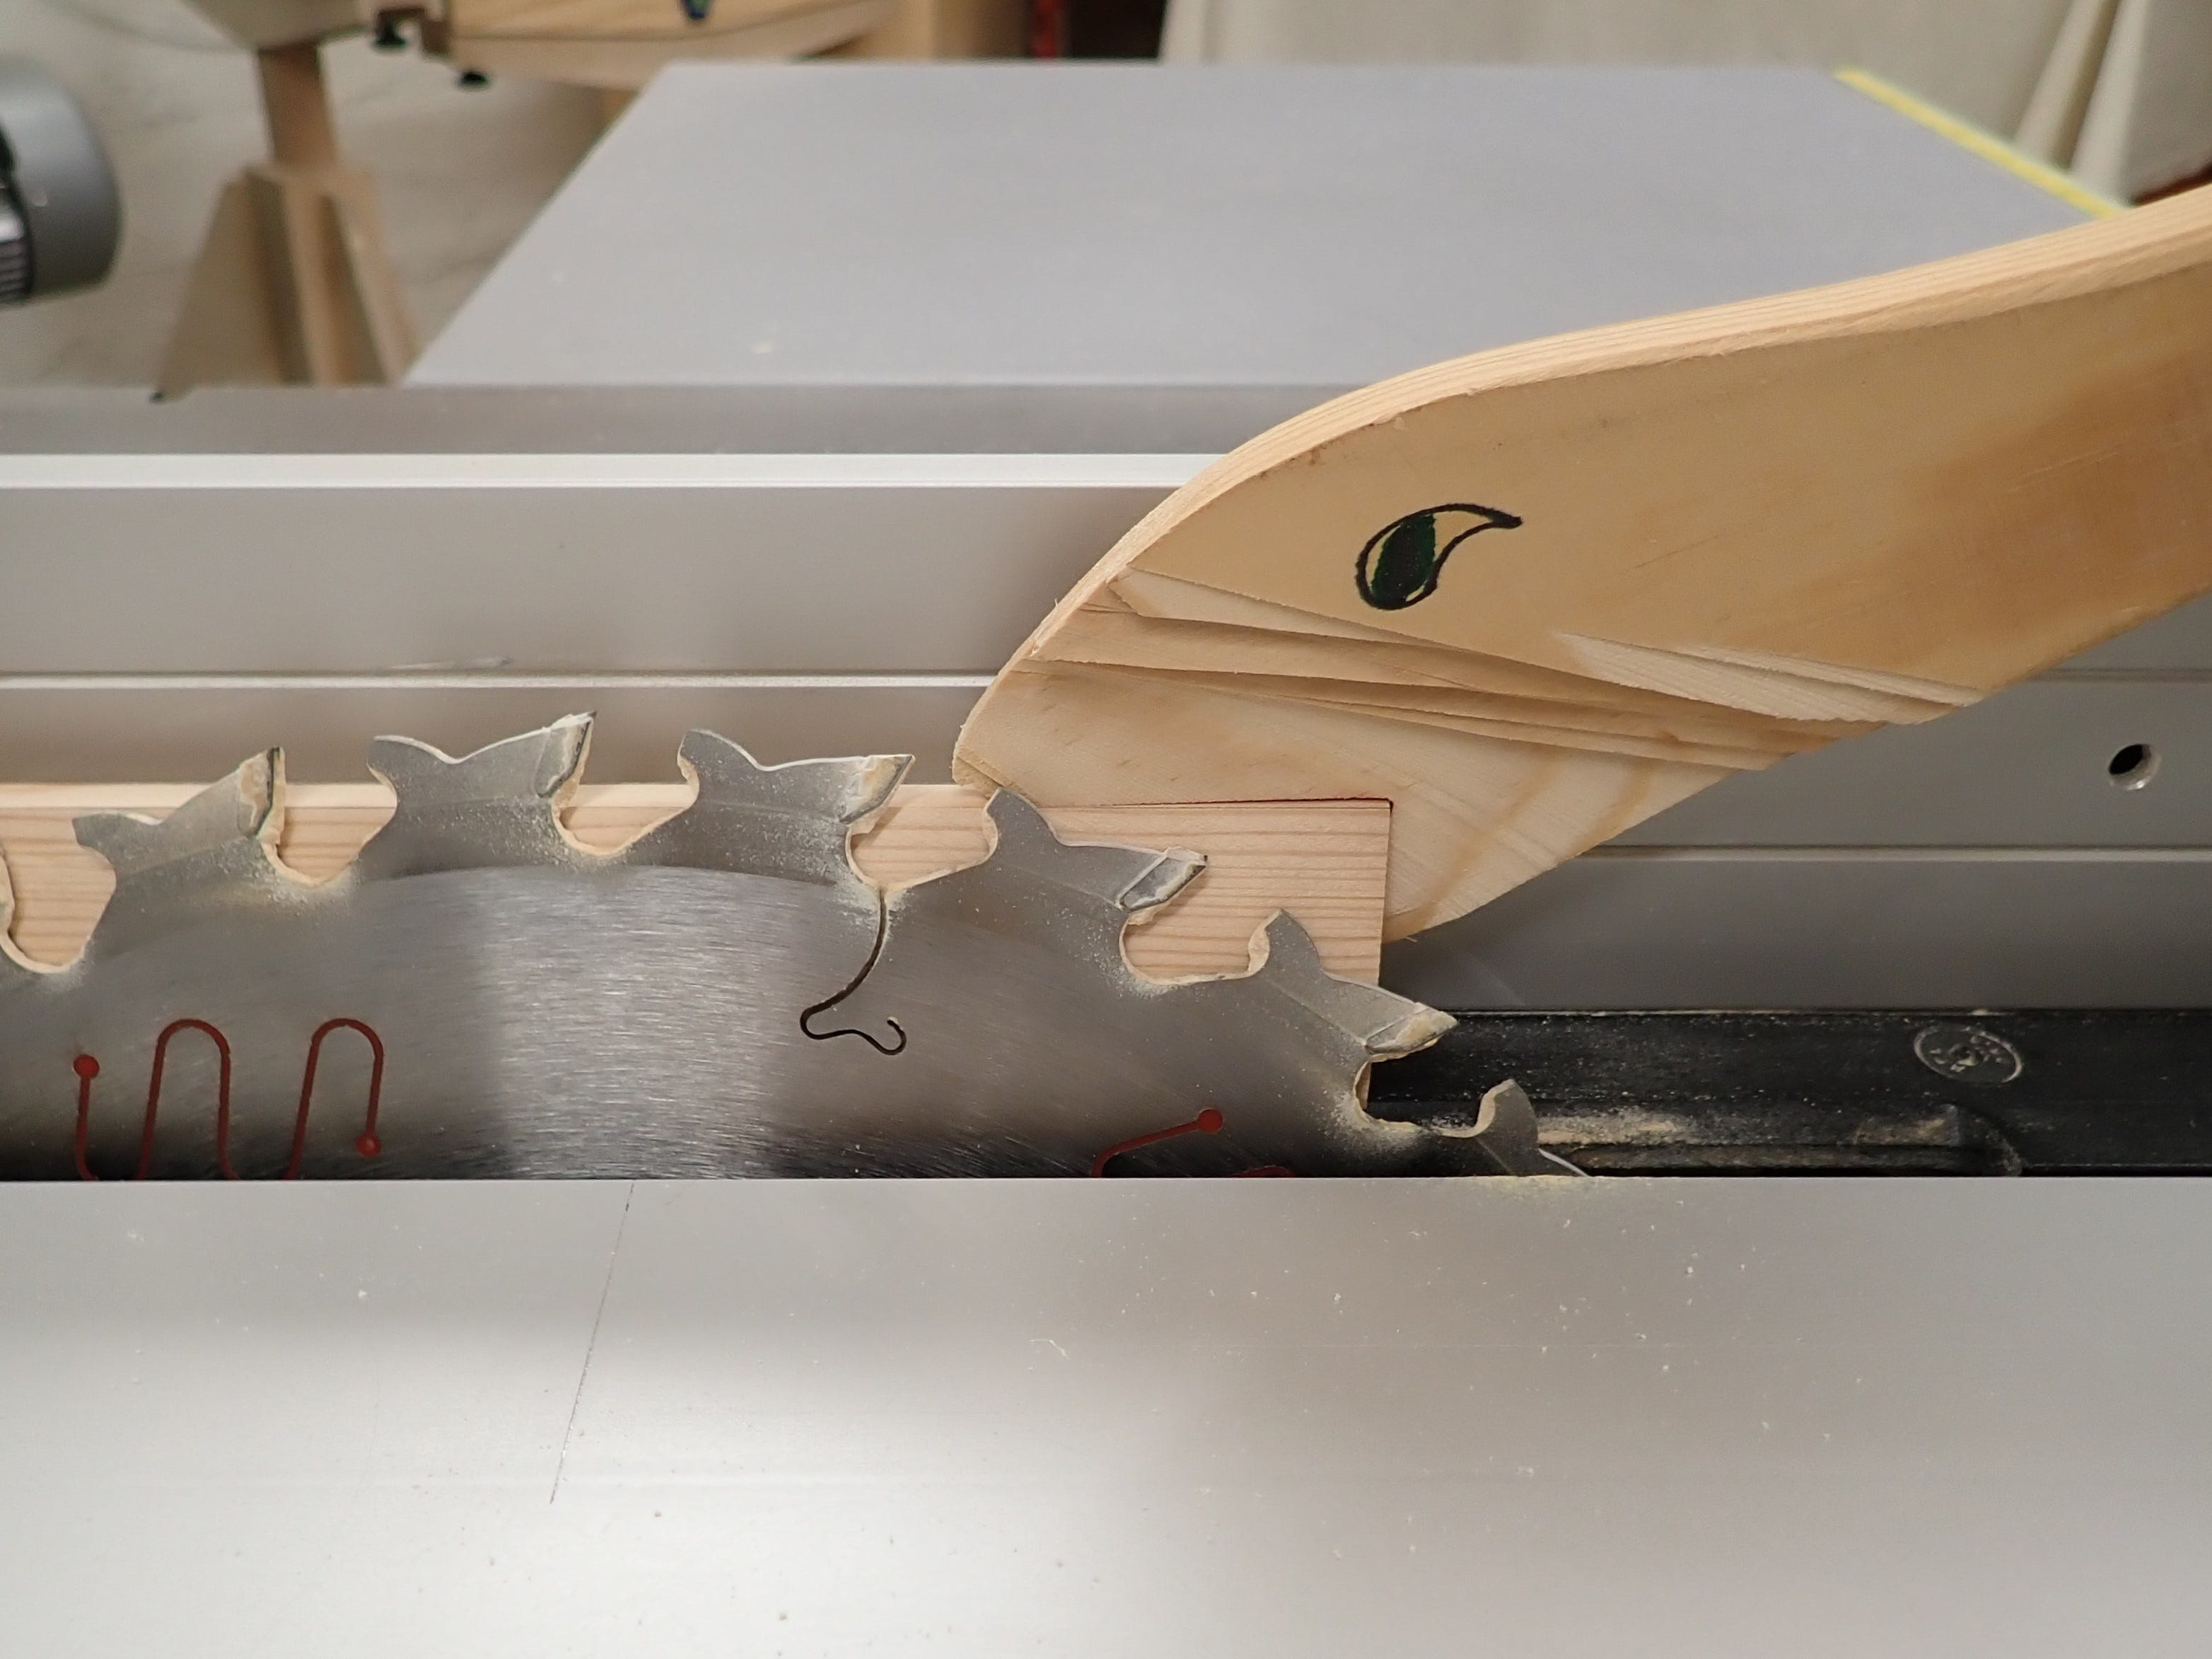
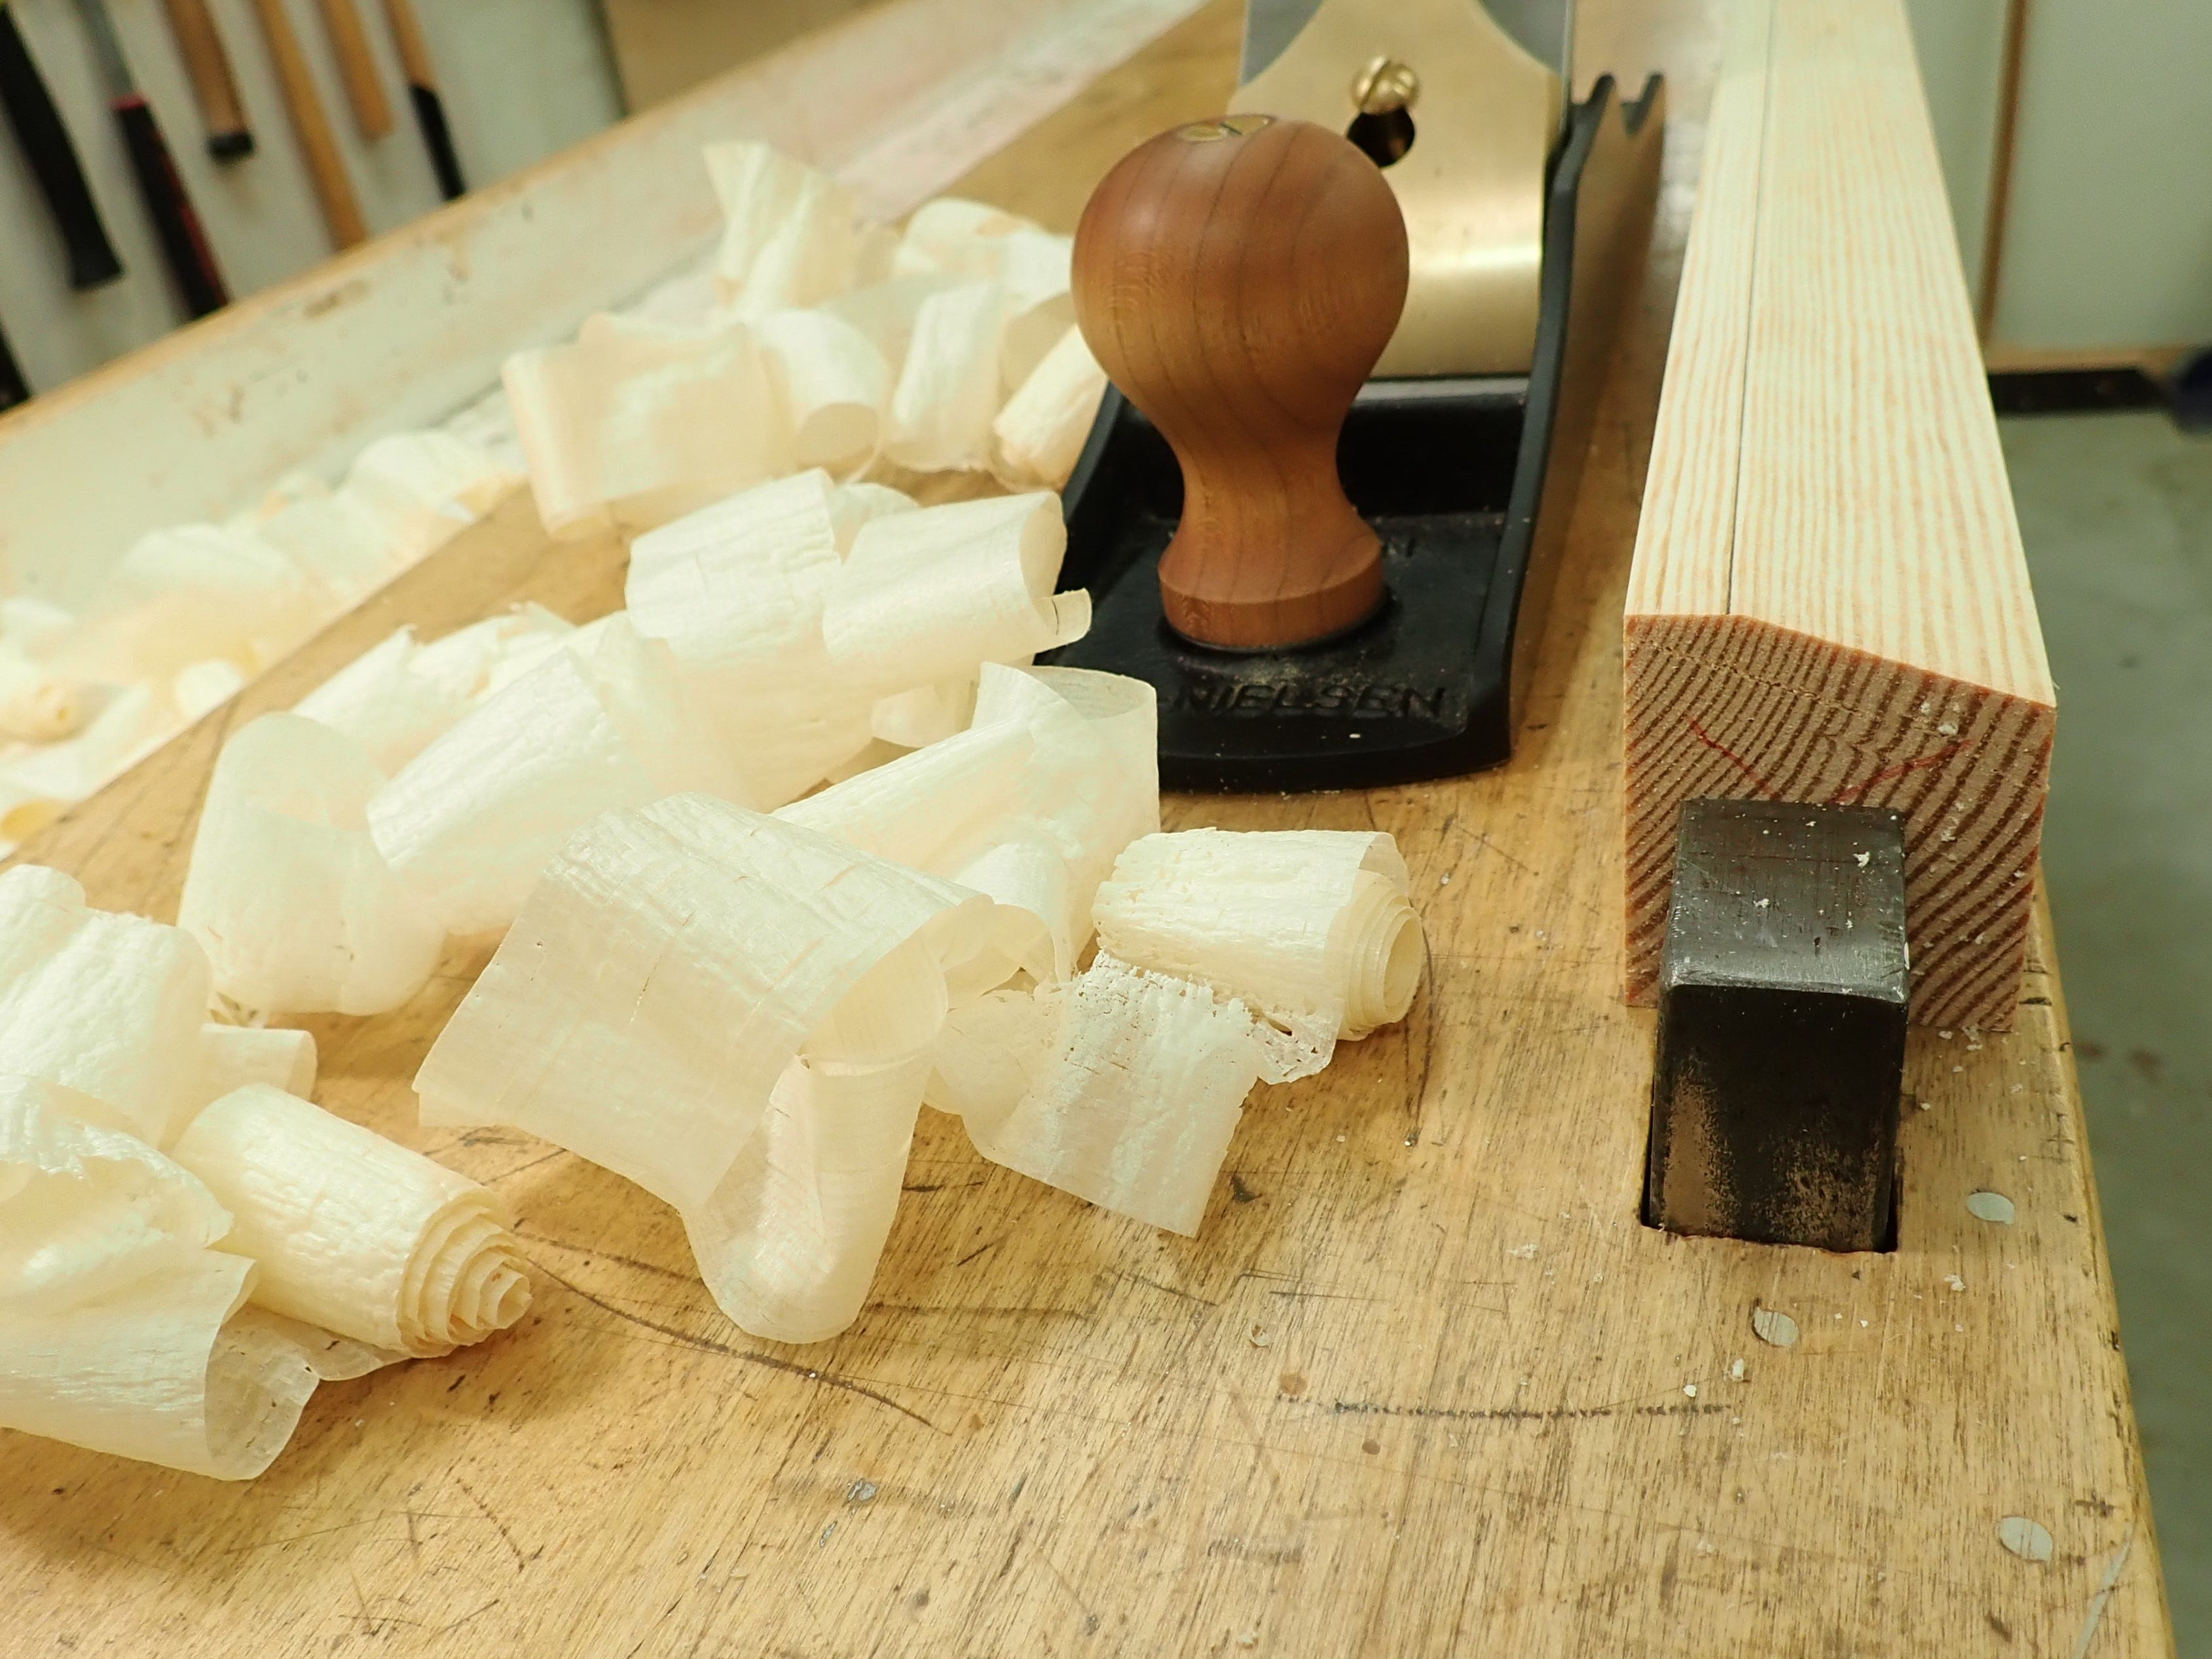
Clean up the sawn surface (count your passes to ensure equal dimensions) ...
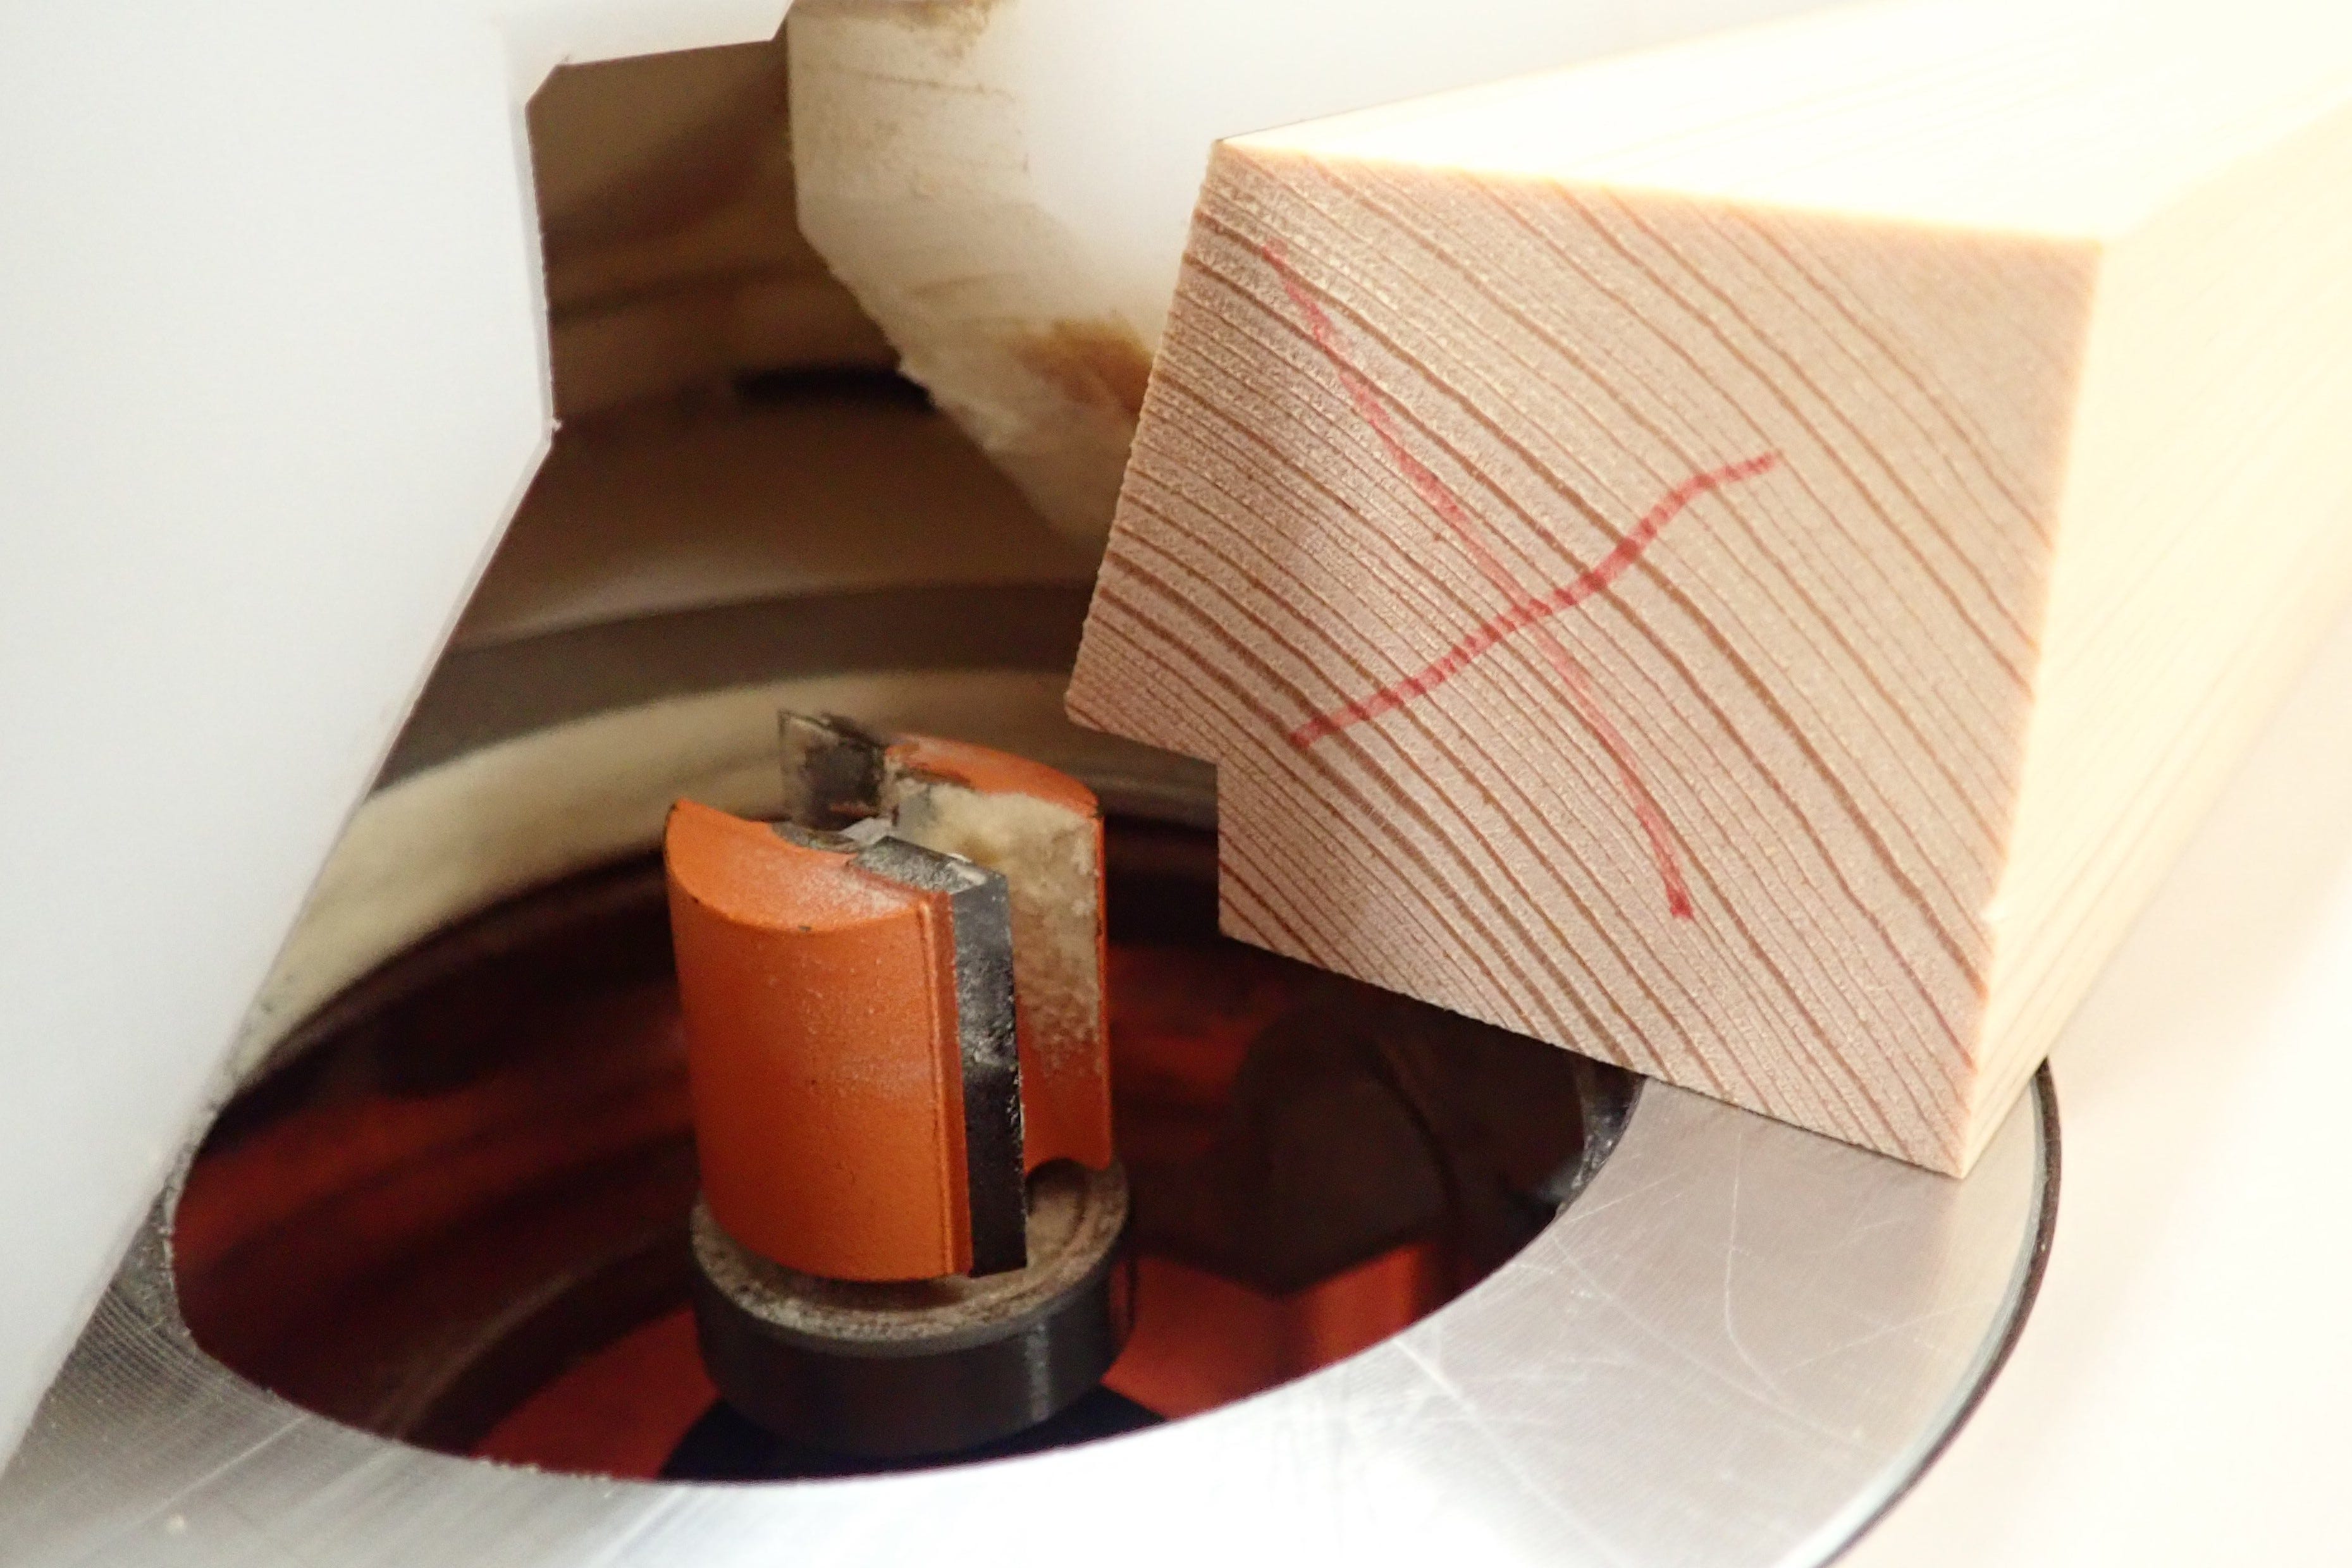
… before routing a glass-rebate on the small table router.
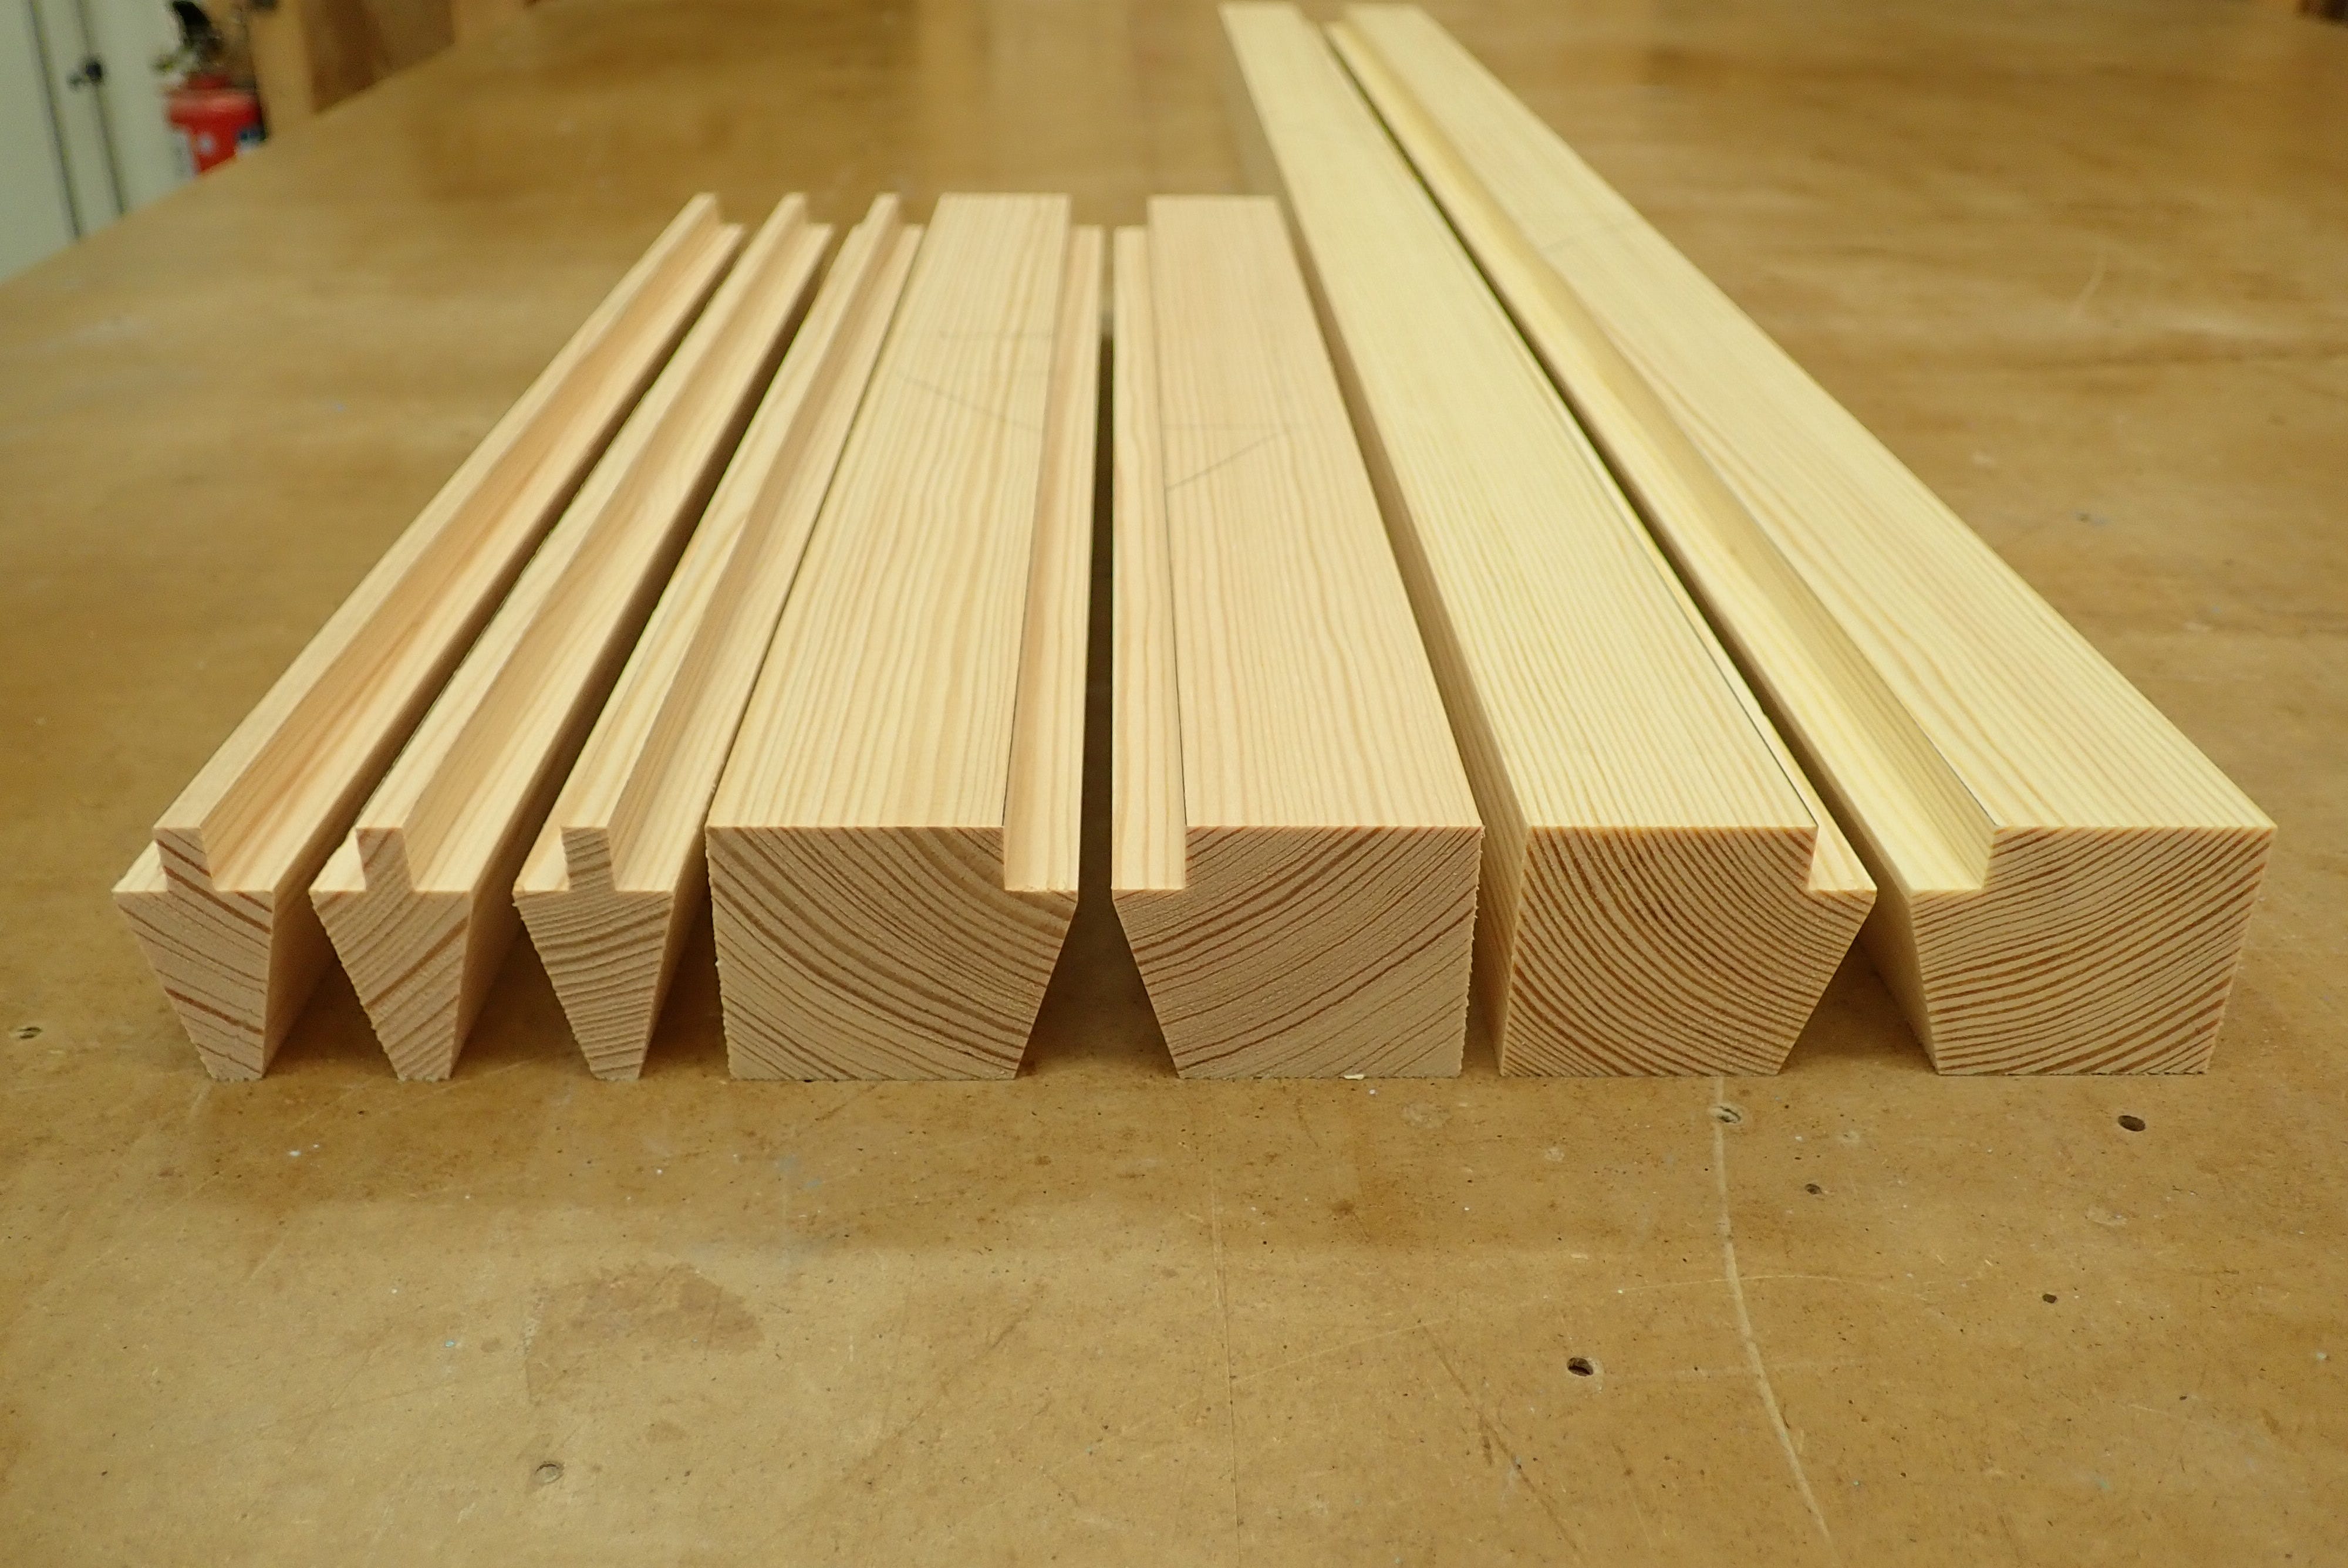
I had enough stick for three muntin-parts — nice to have a margin for error :-)
Here’s the window-frame I’m copying.
I always do the millwork with my sticks over-long to account for snipe. When the pieces are properly dimensioned and profiled, I cut off the ends to get rid of endgrain drying cracks and snipe.
Notice the long cut-off bits! They’ll come in handy :-)
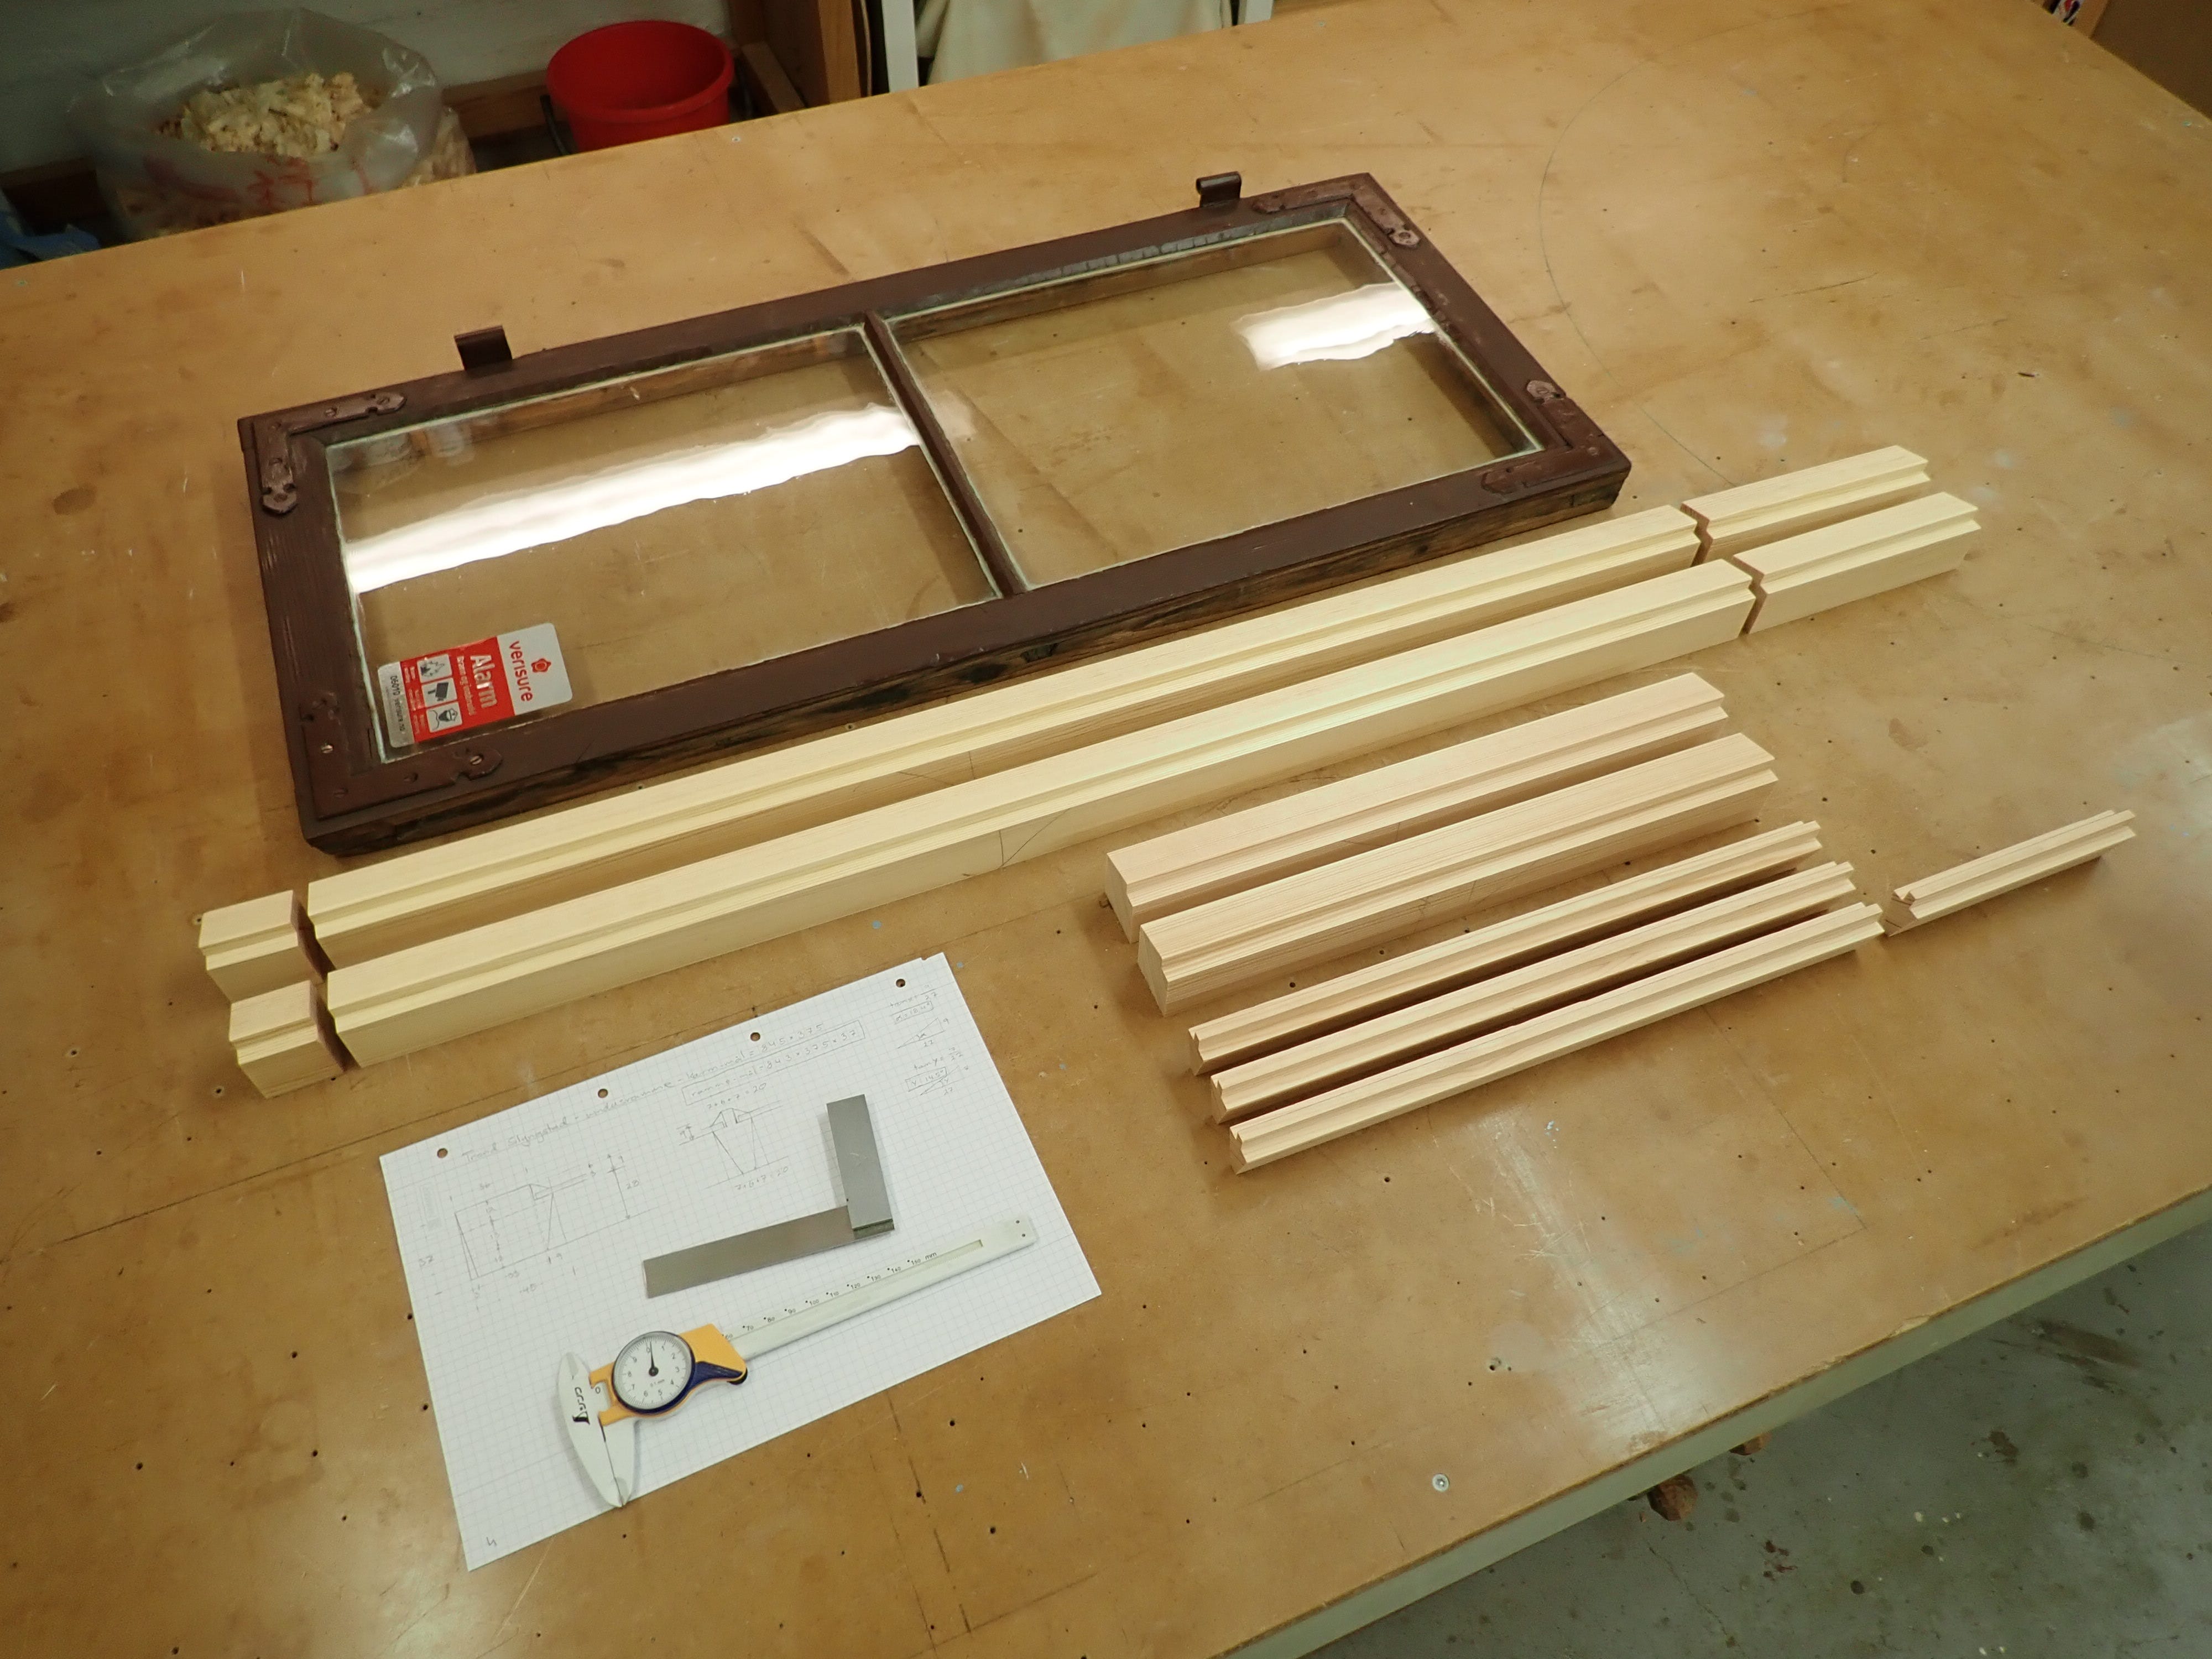
Offcuts are very useful: for dialing in settings …
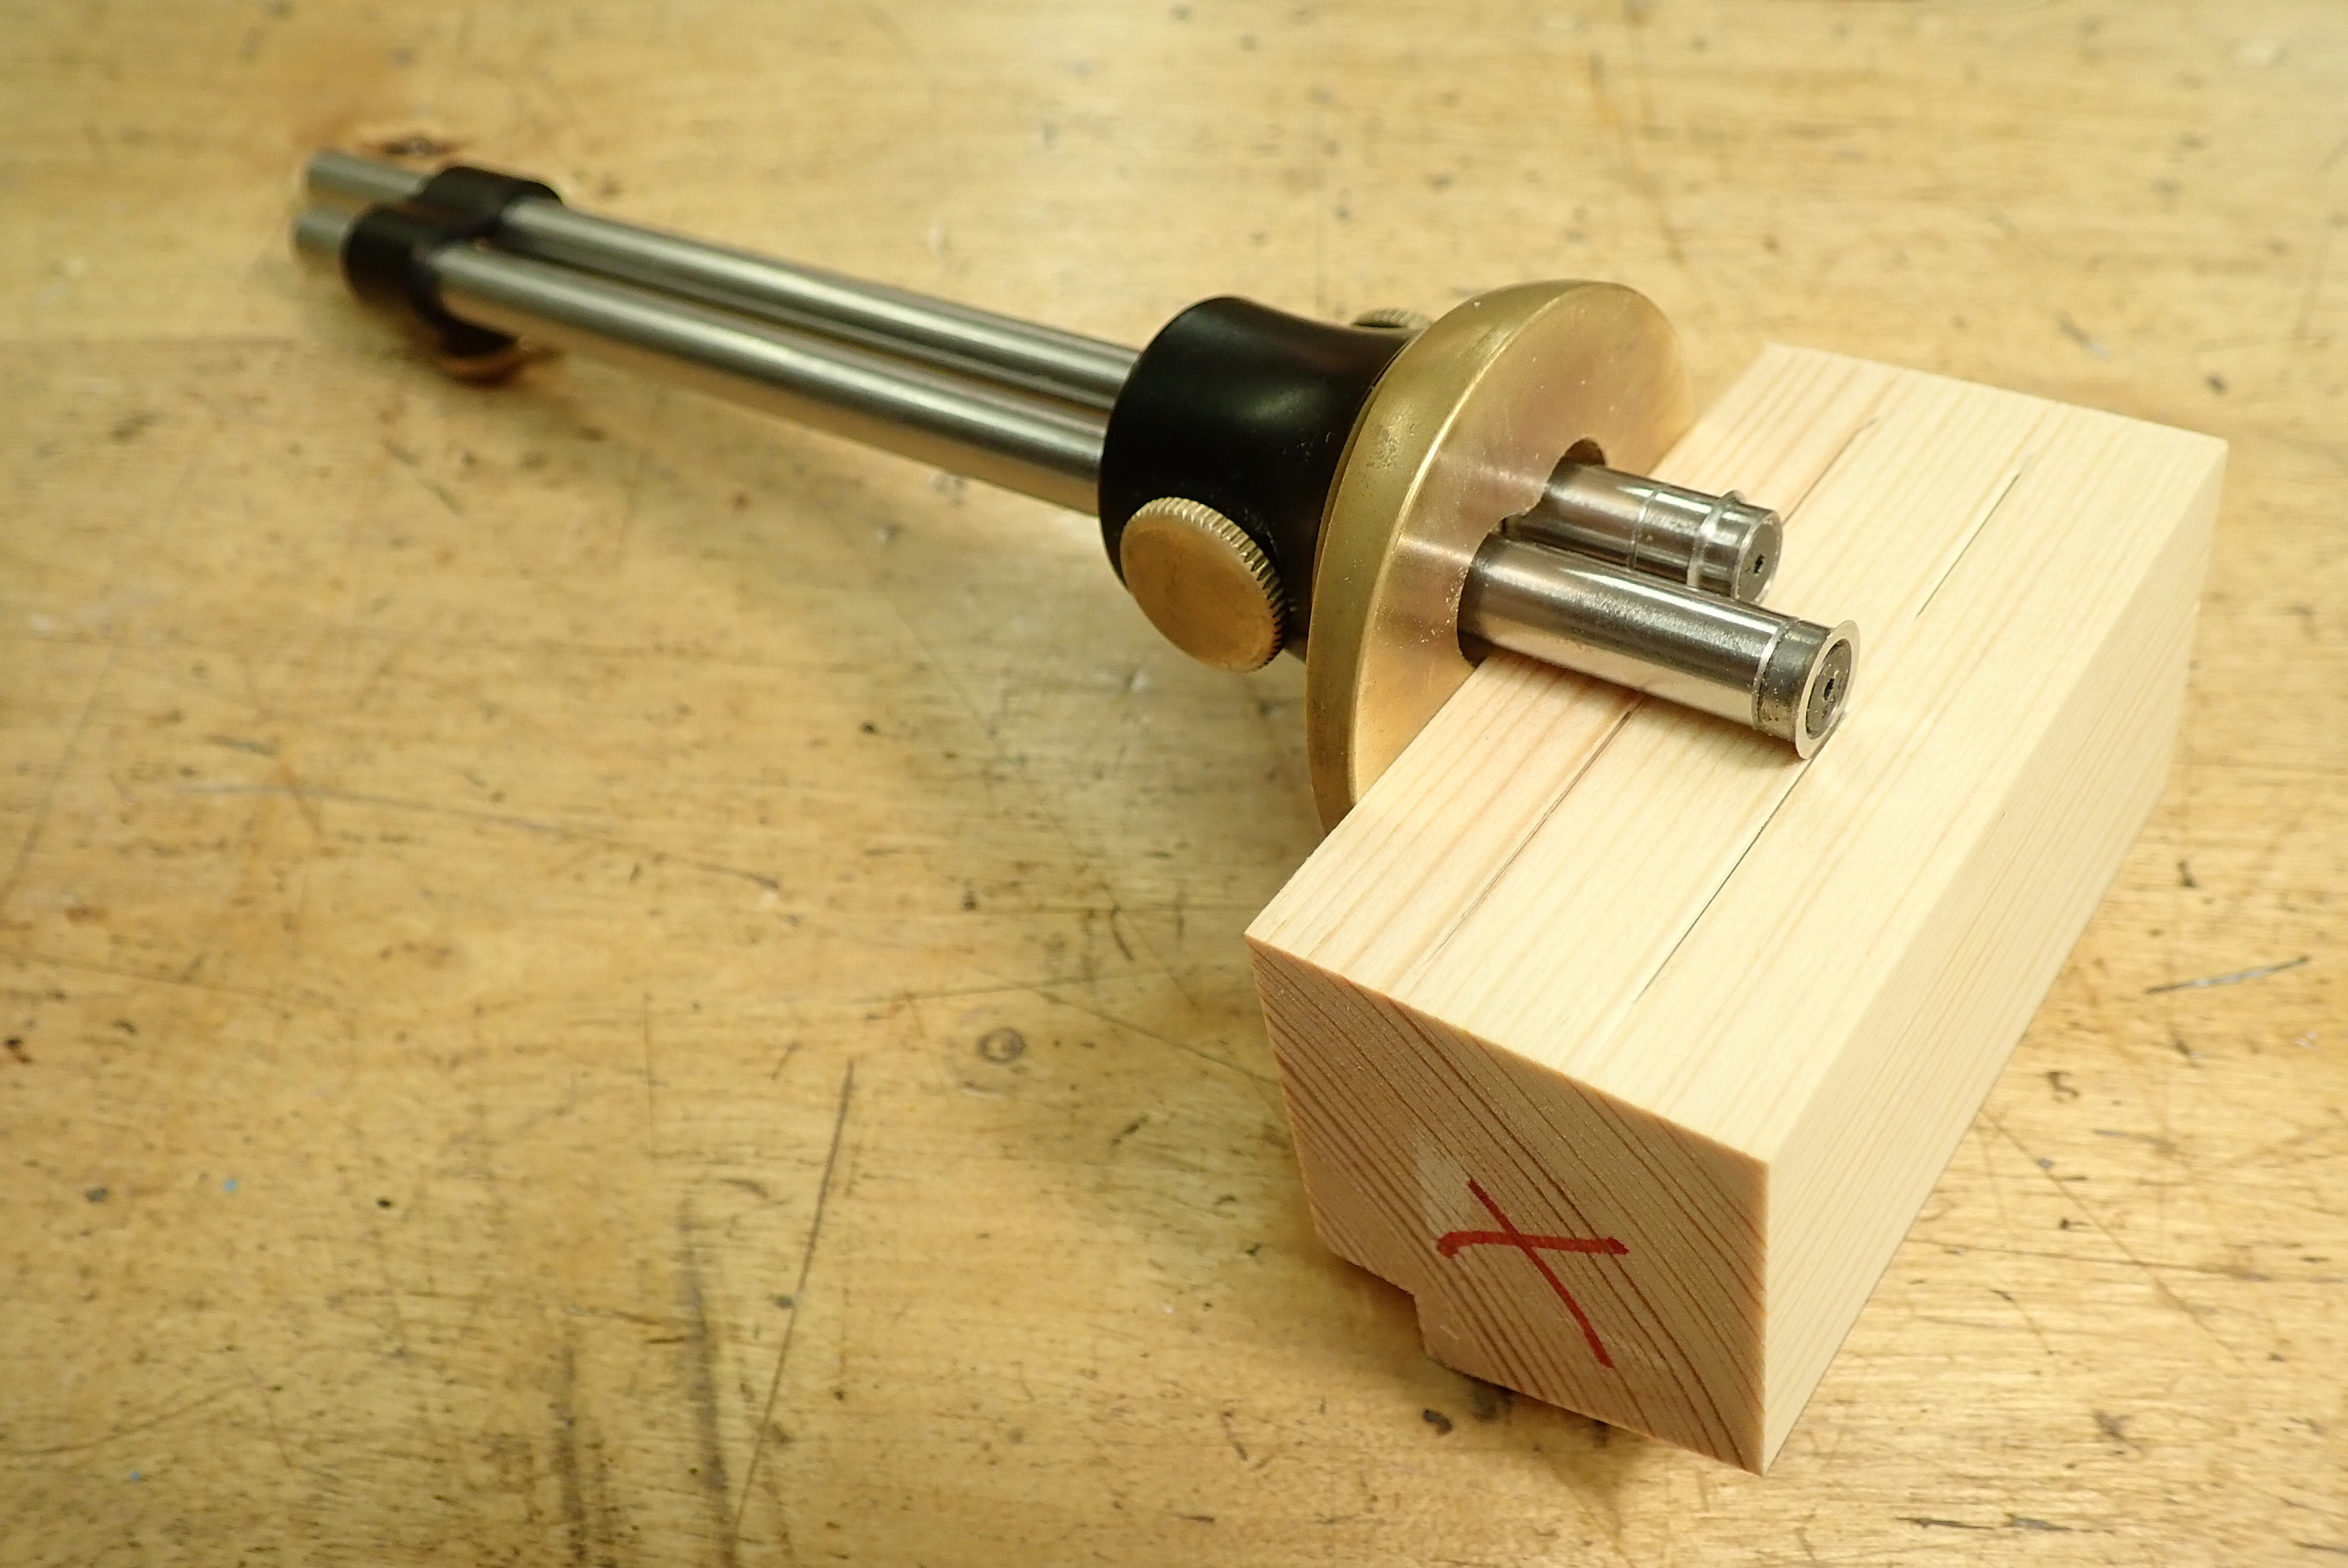
… for laying out test-pieces …
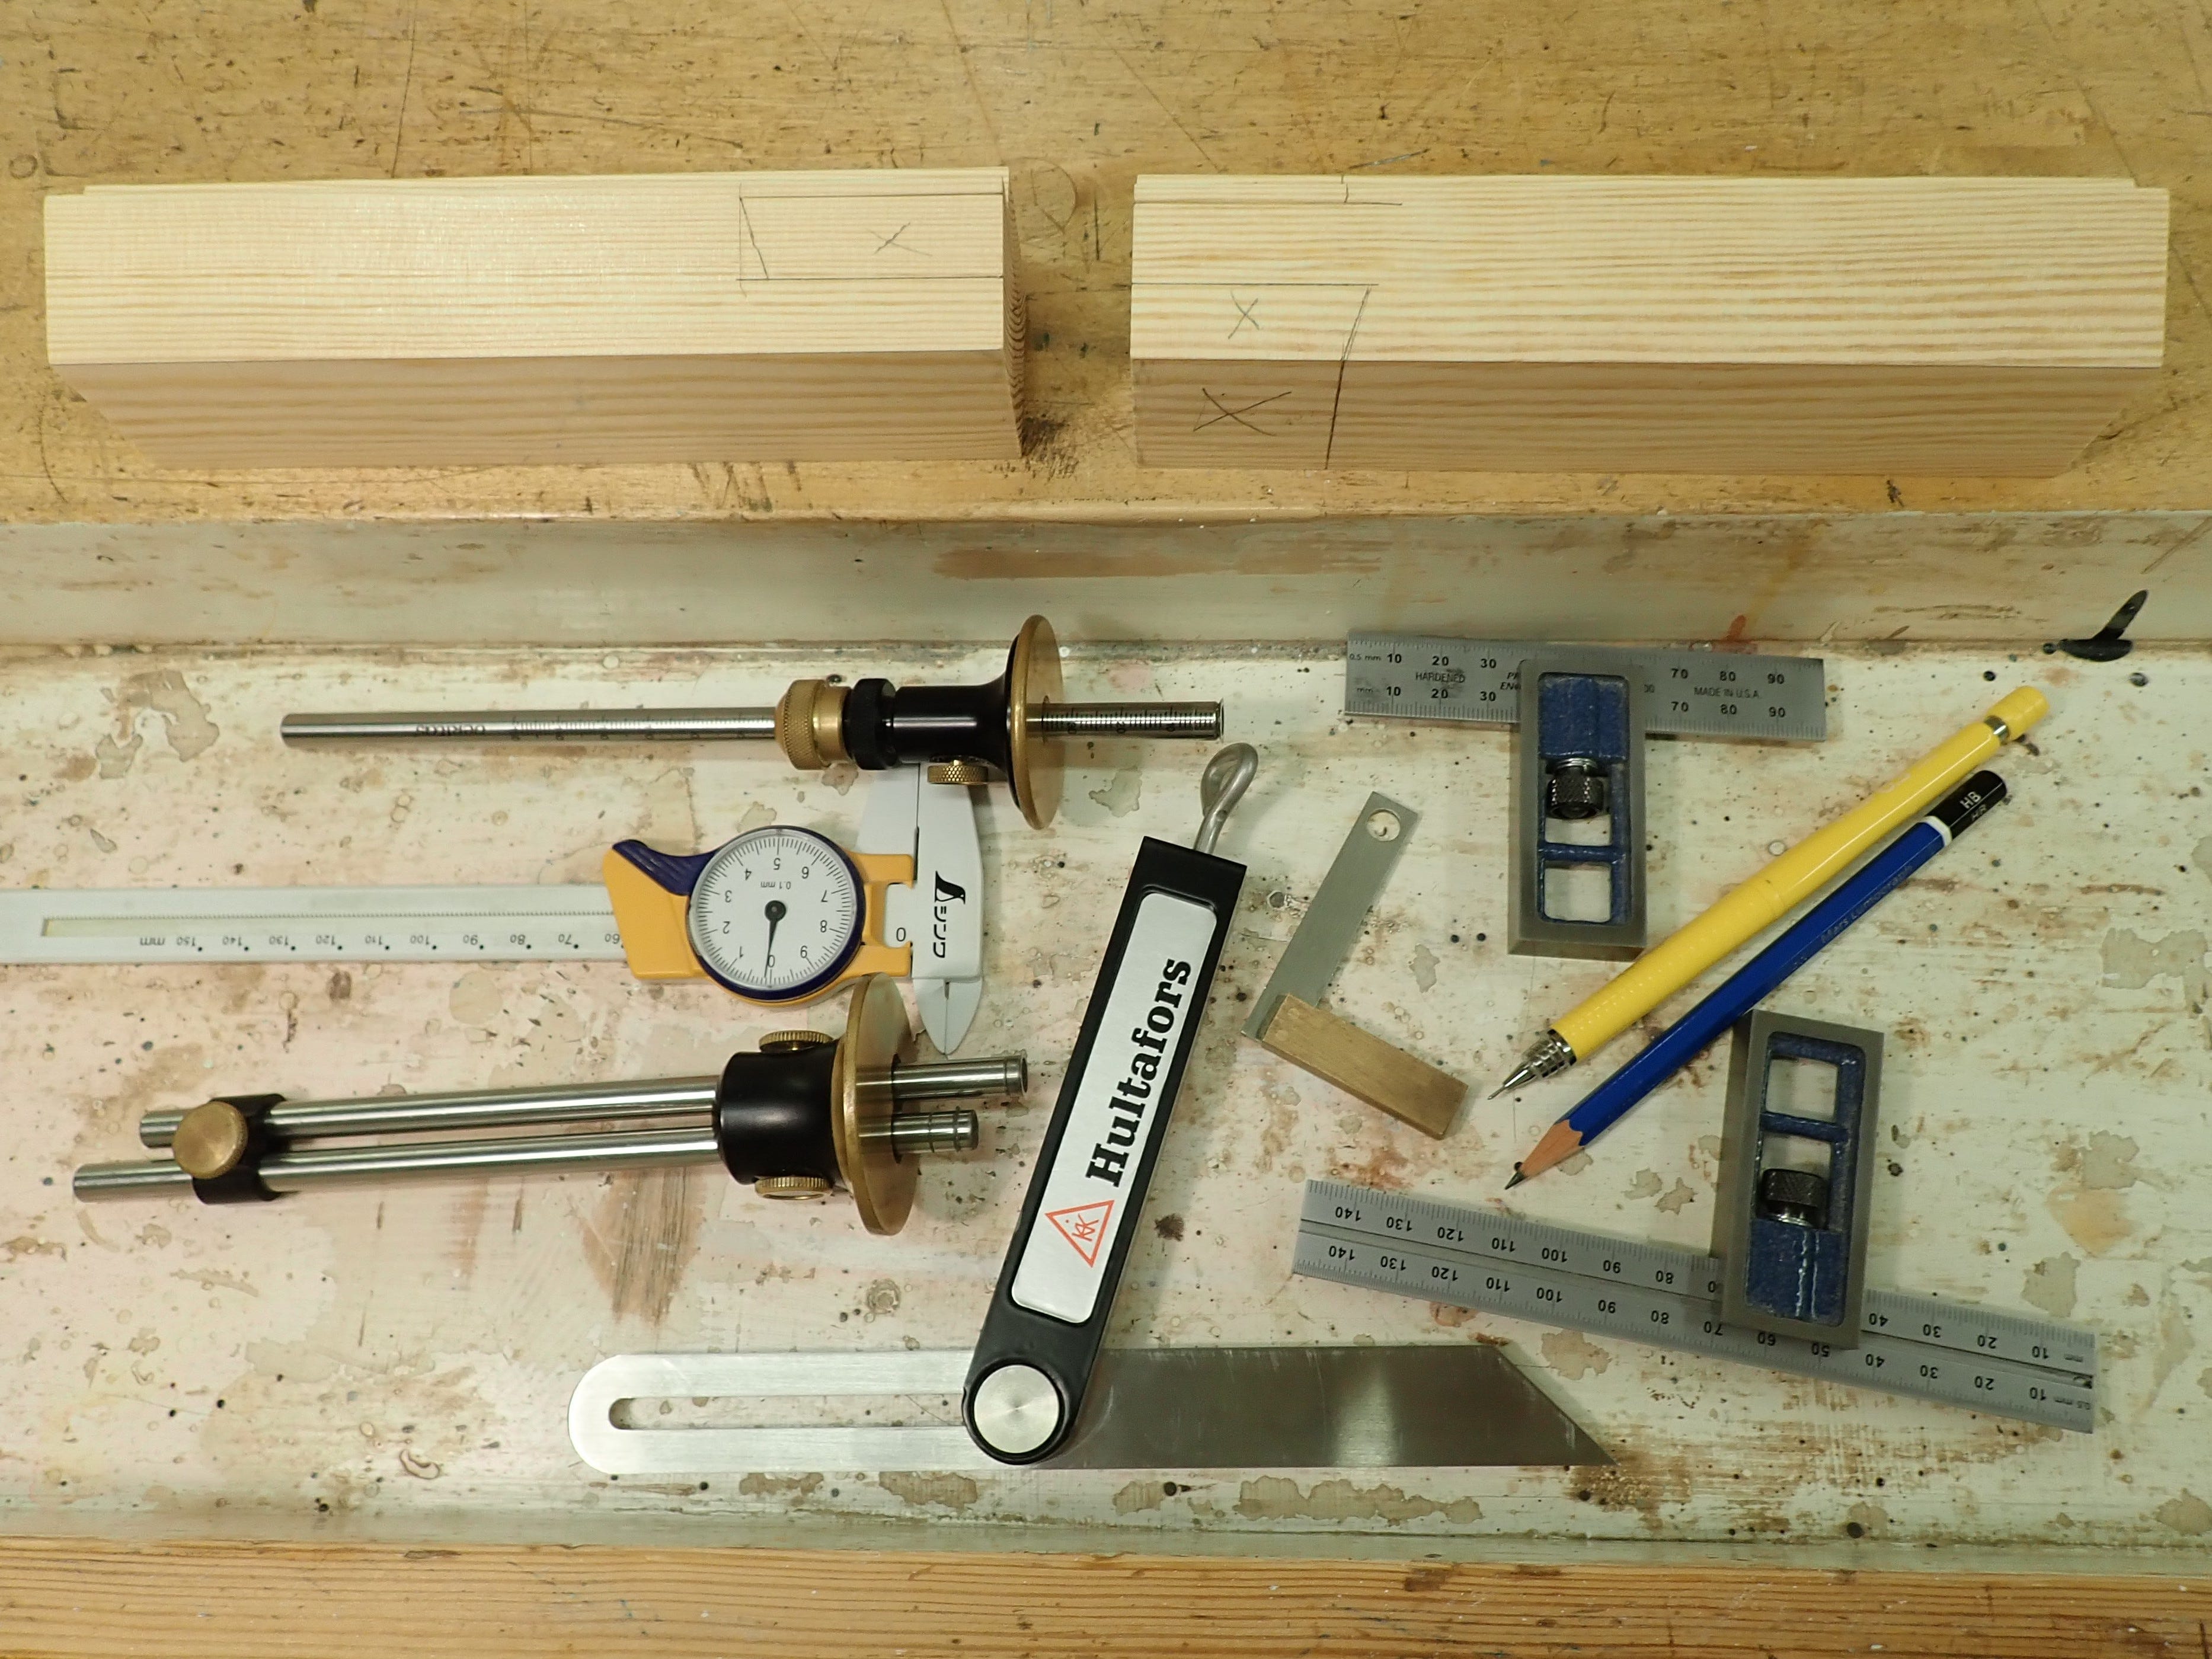
… for warming up your sawing-arm ...
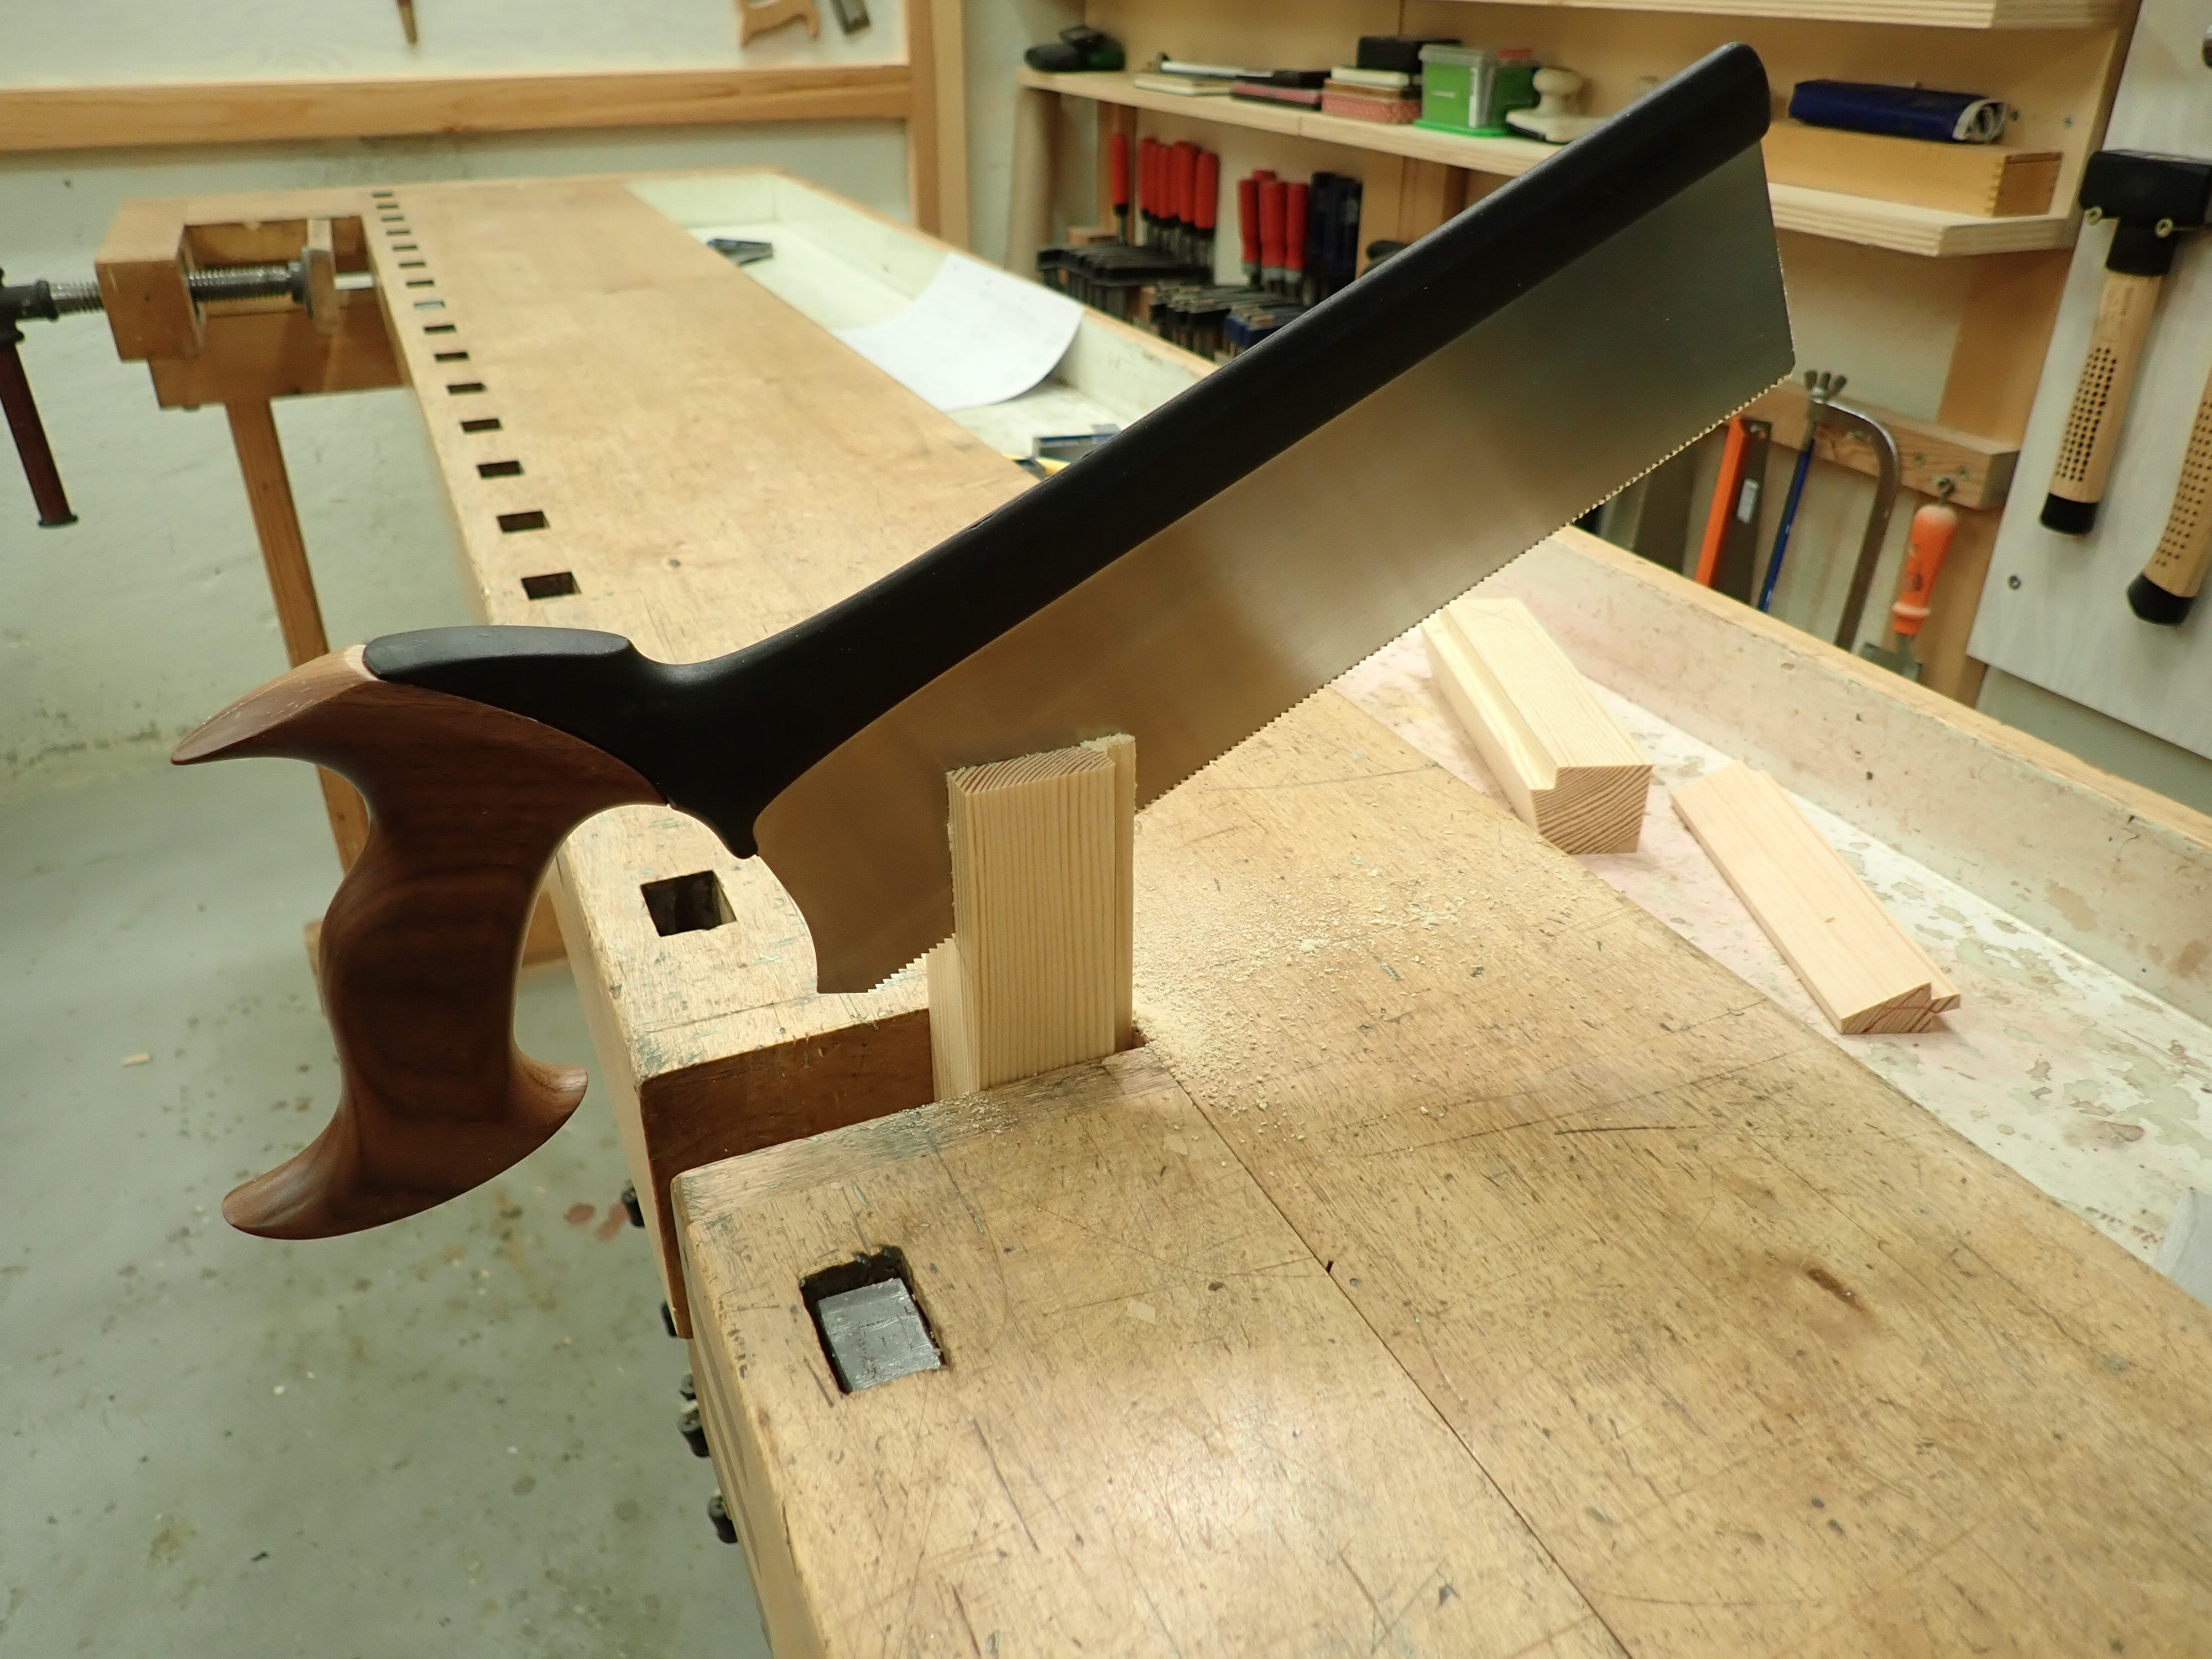
… for setting up your drill stand …
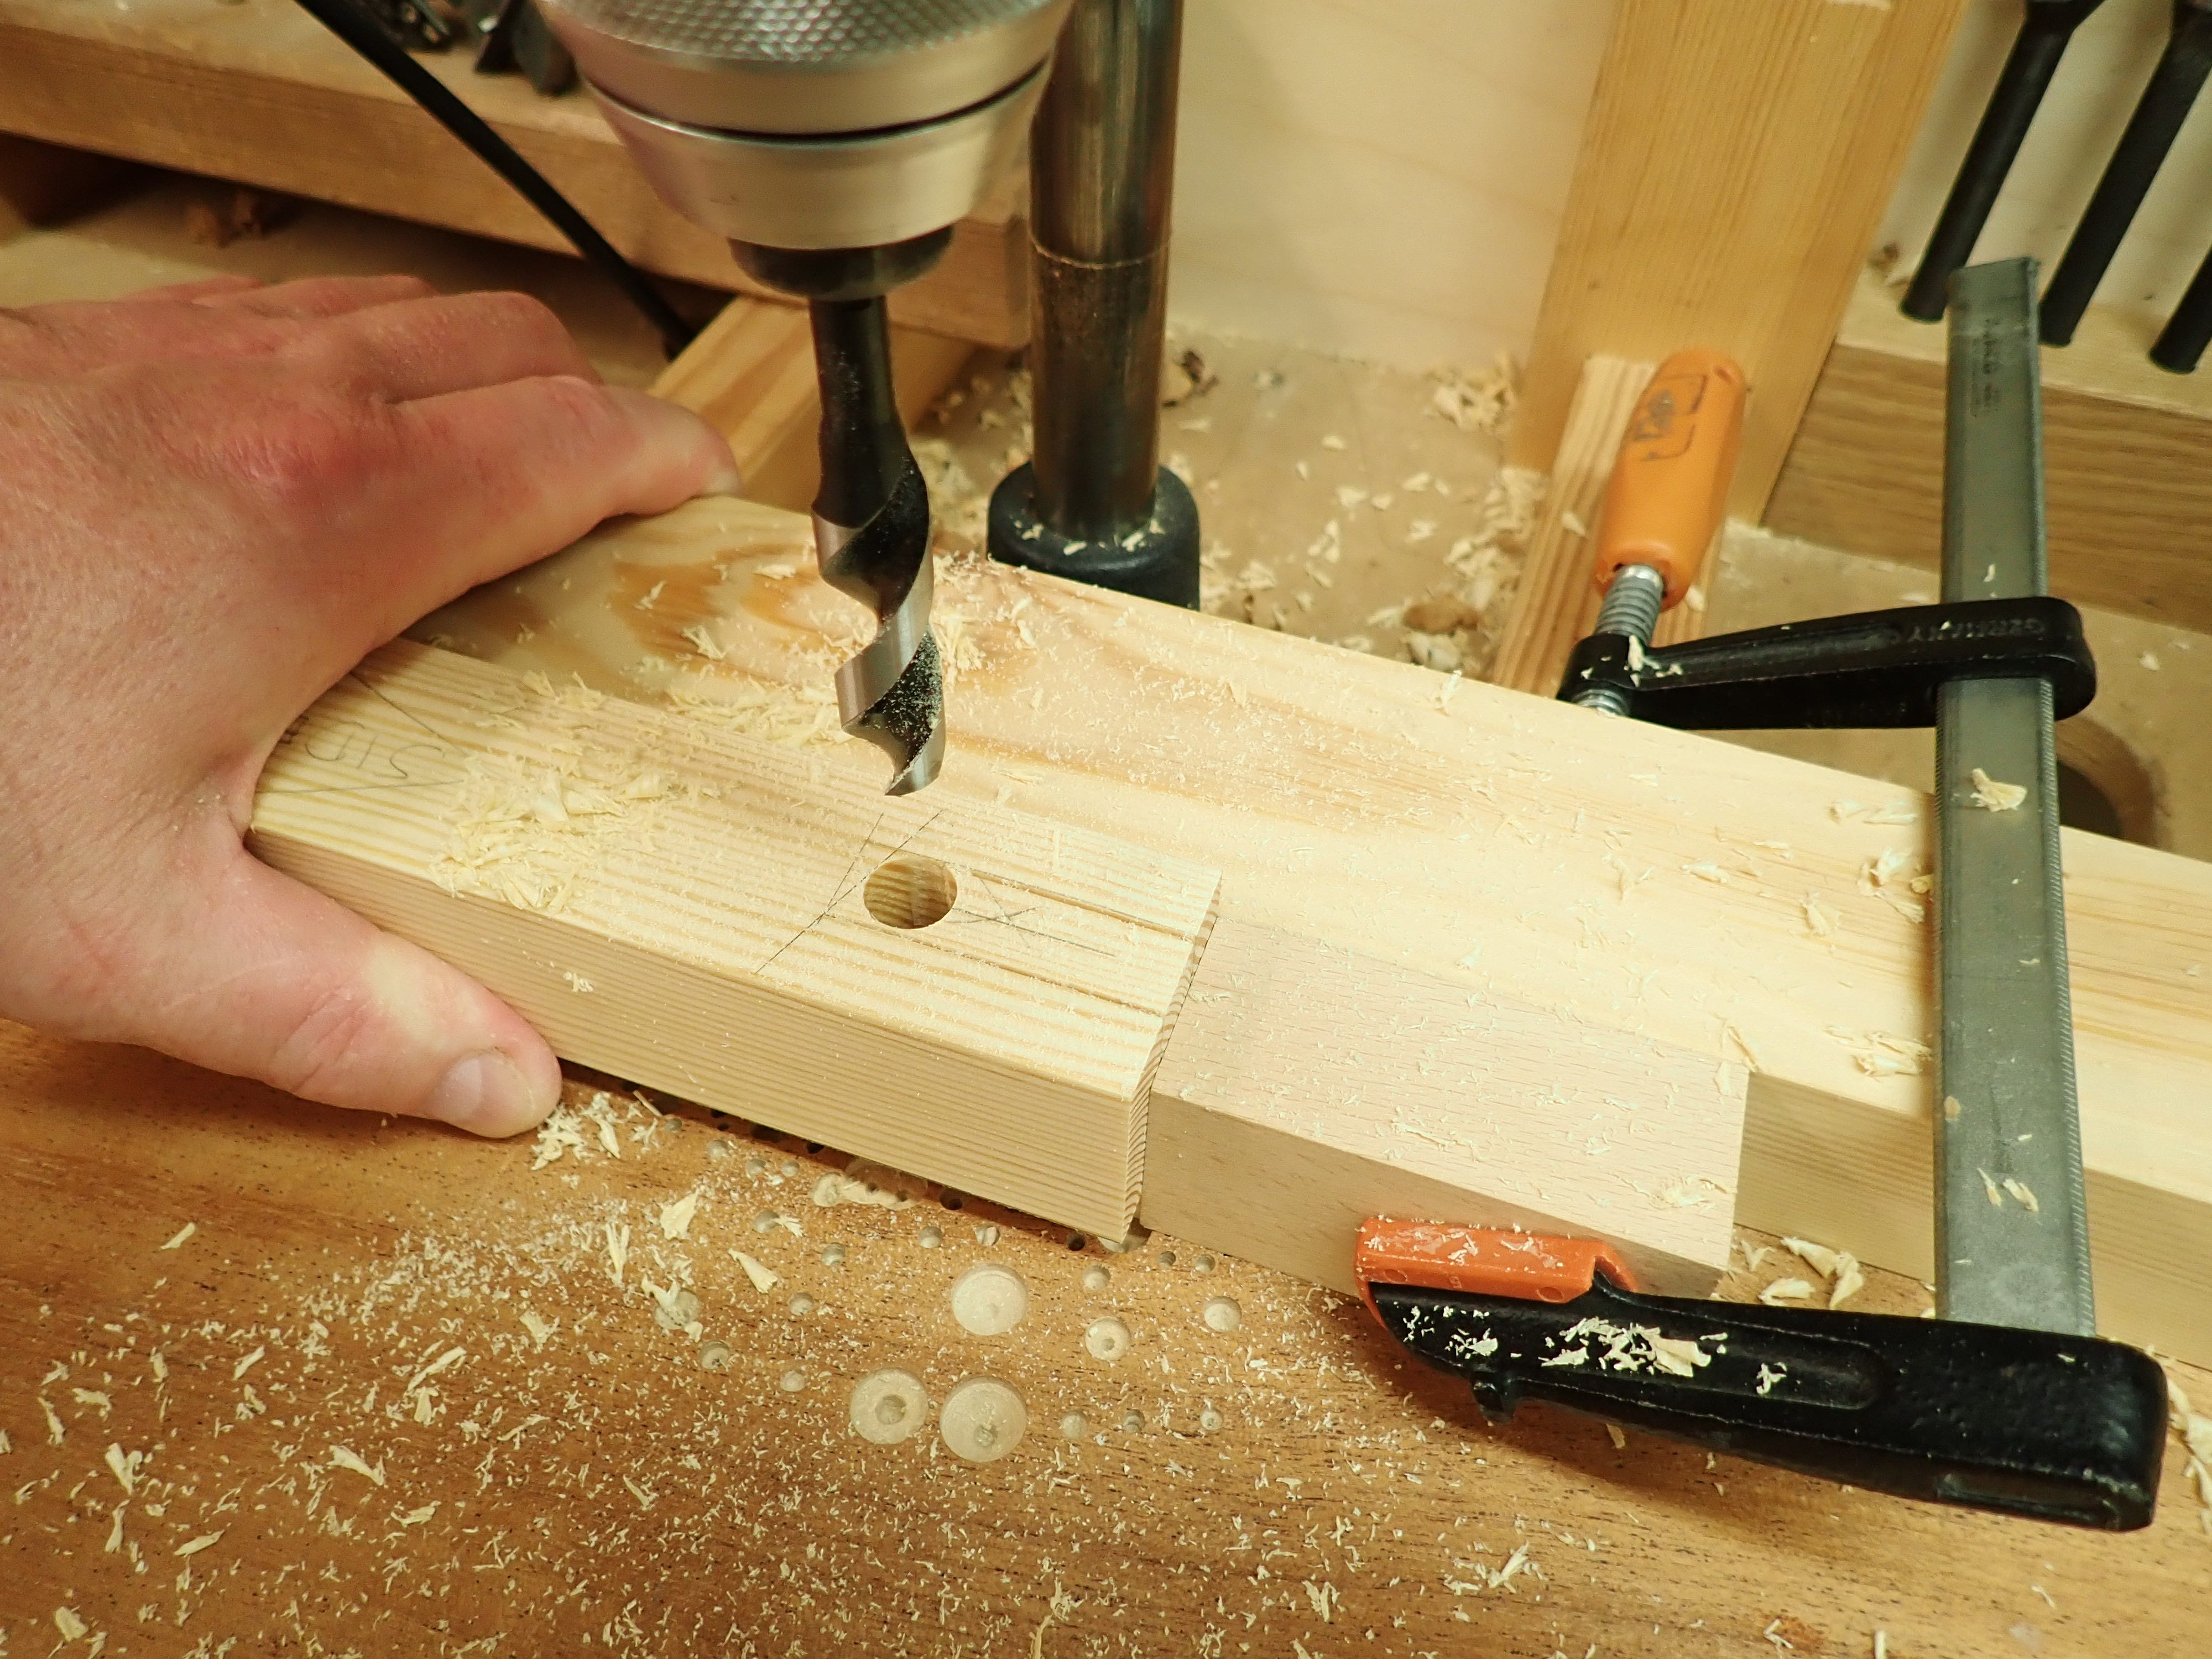
… you get my drift.
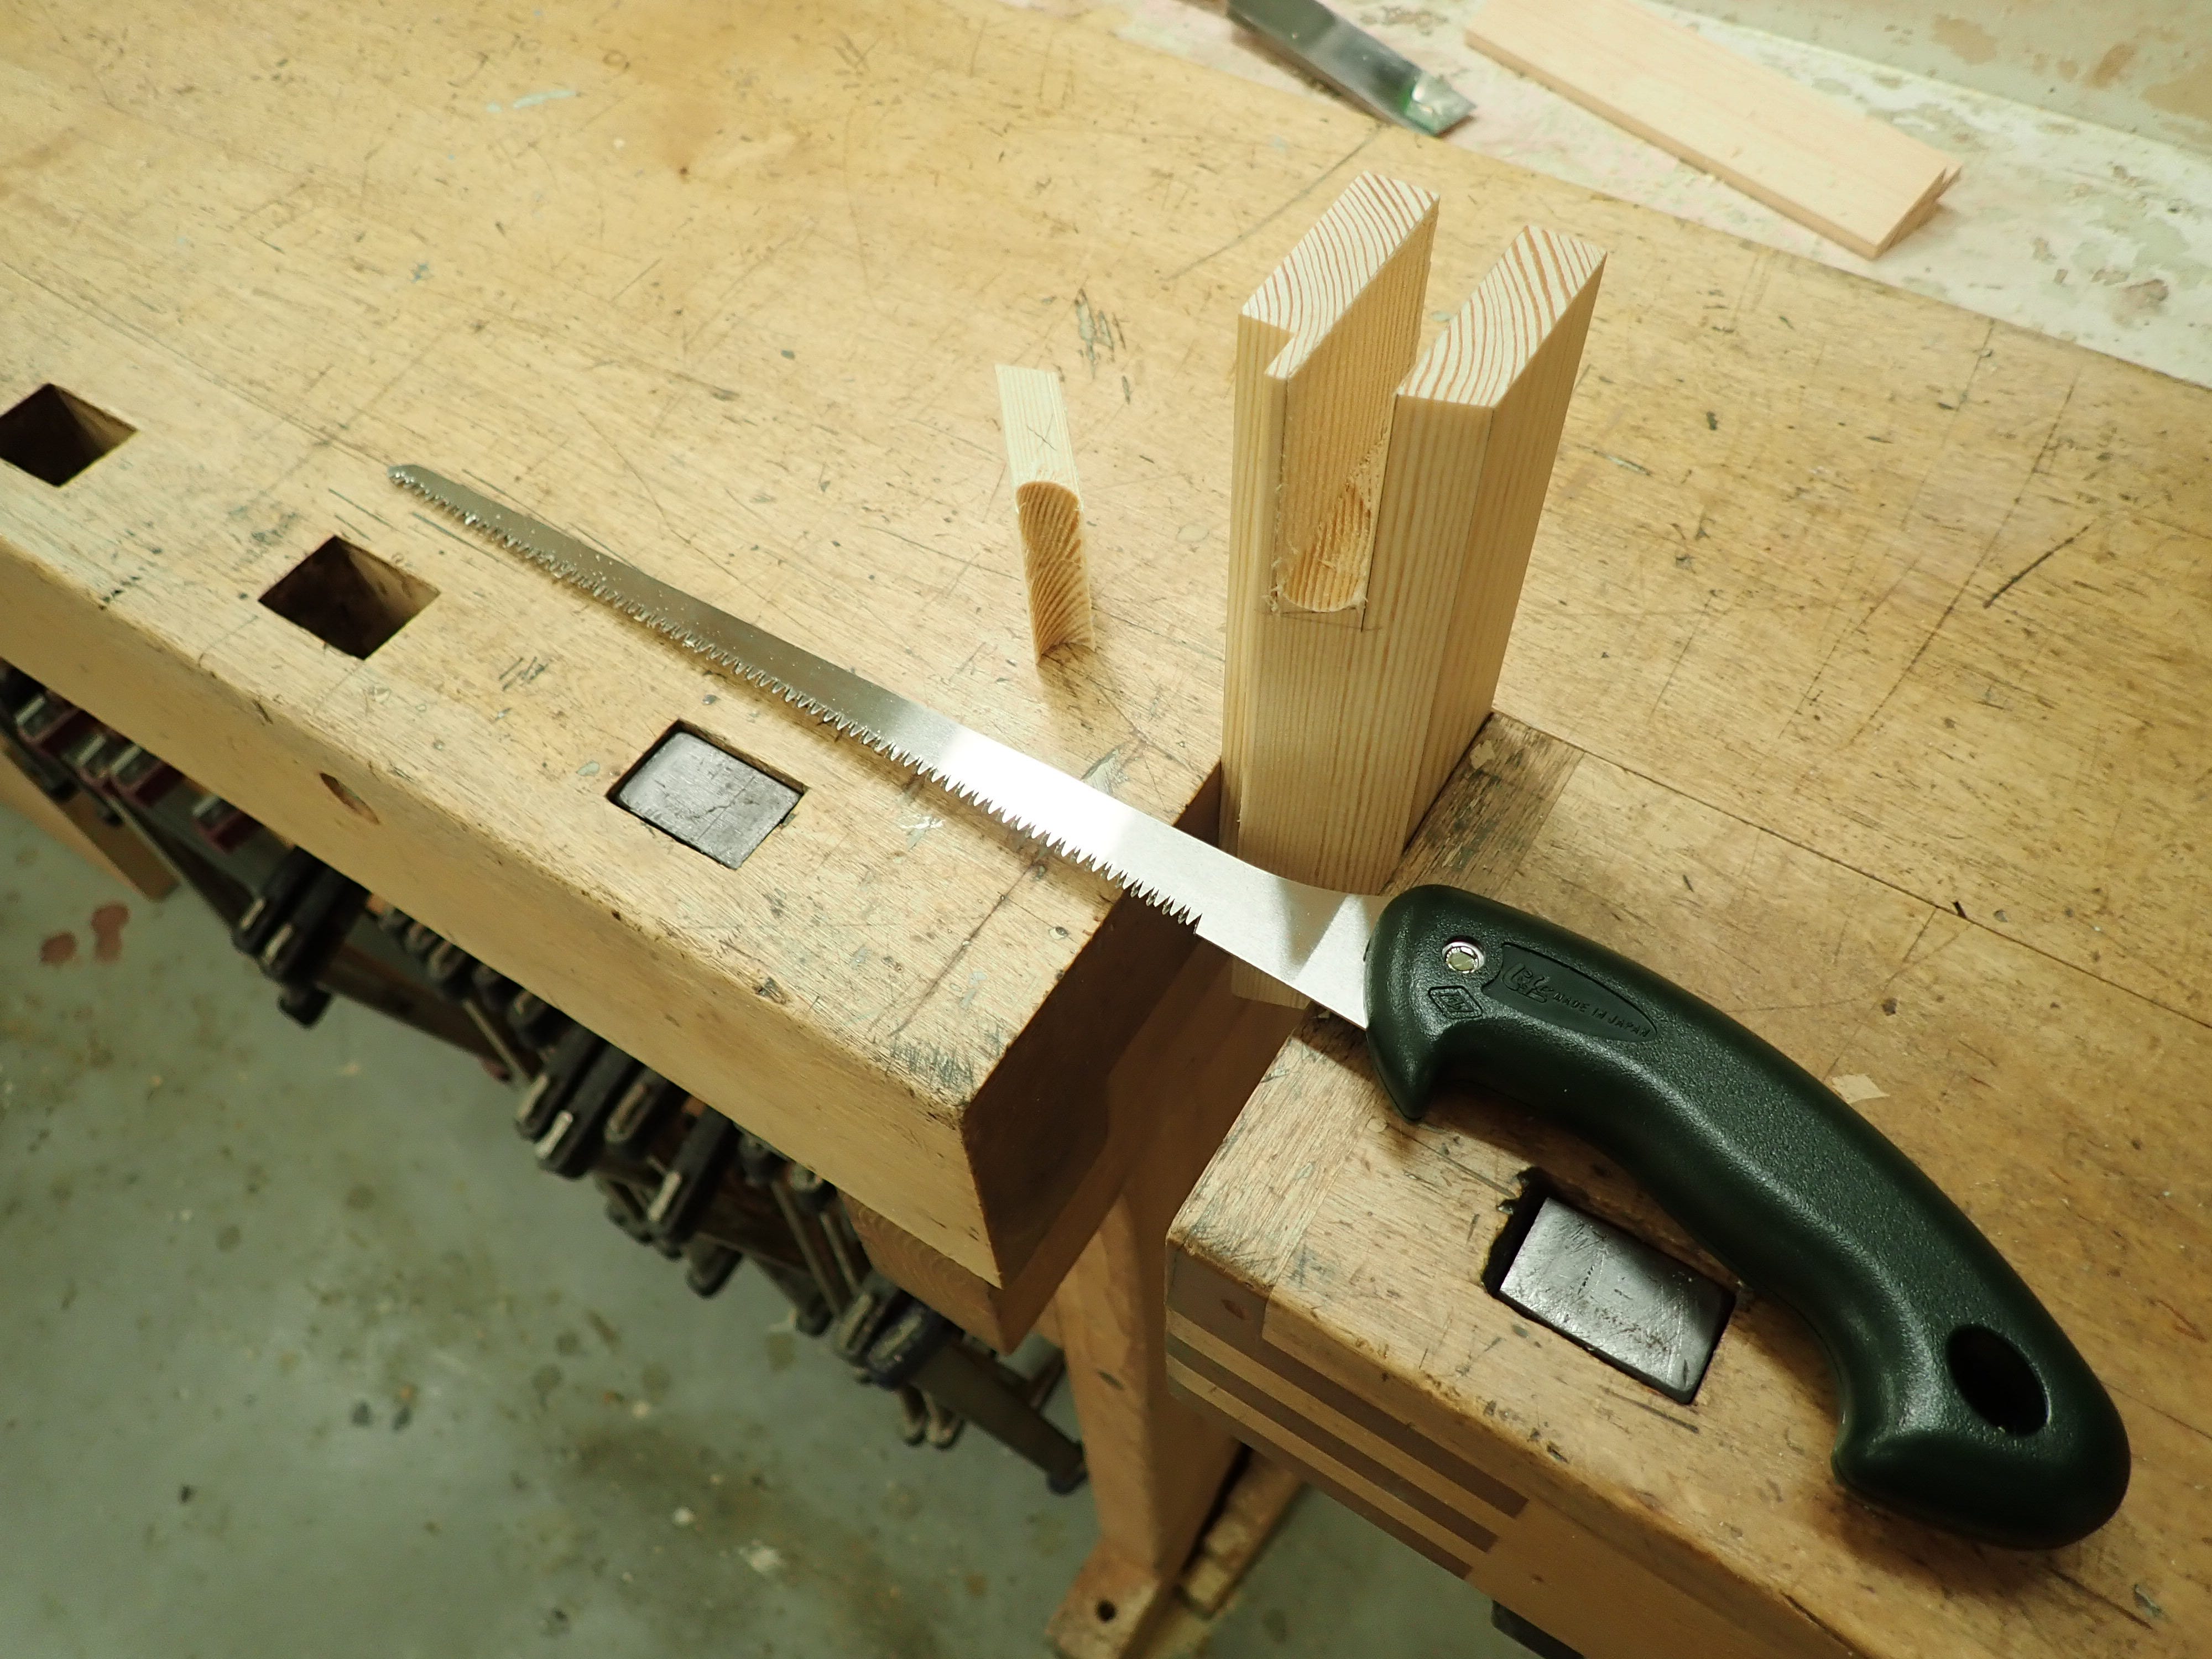
I like to make a test-joint first, to confirm that I’ve got things right, before I begin cutting the proper parts.
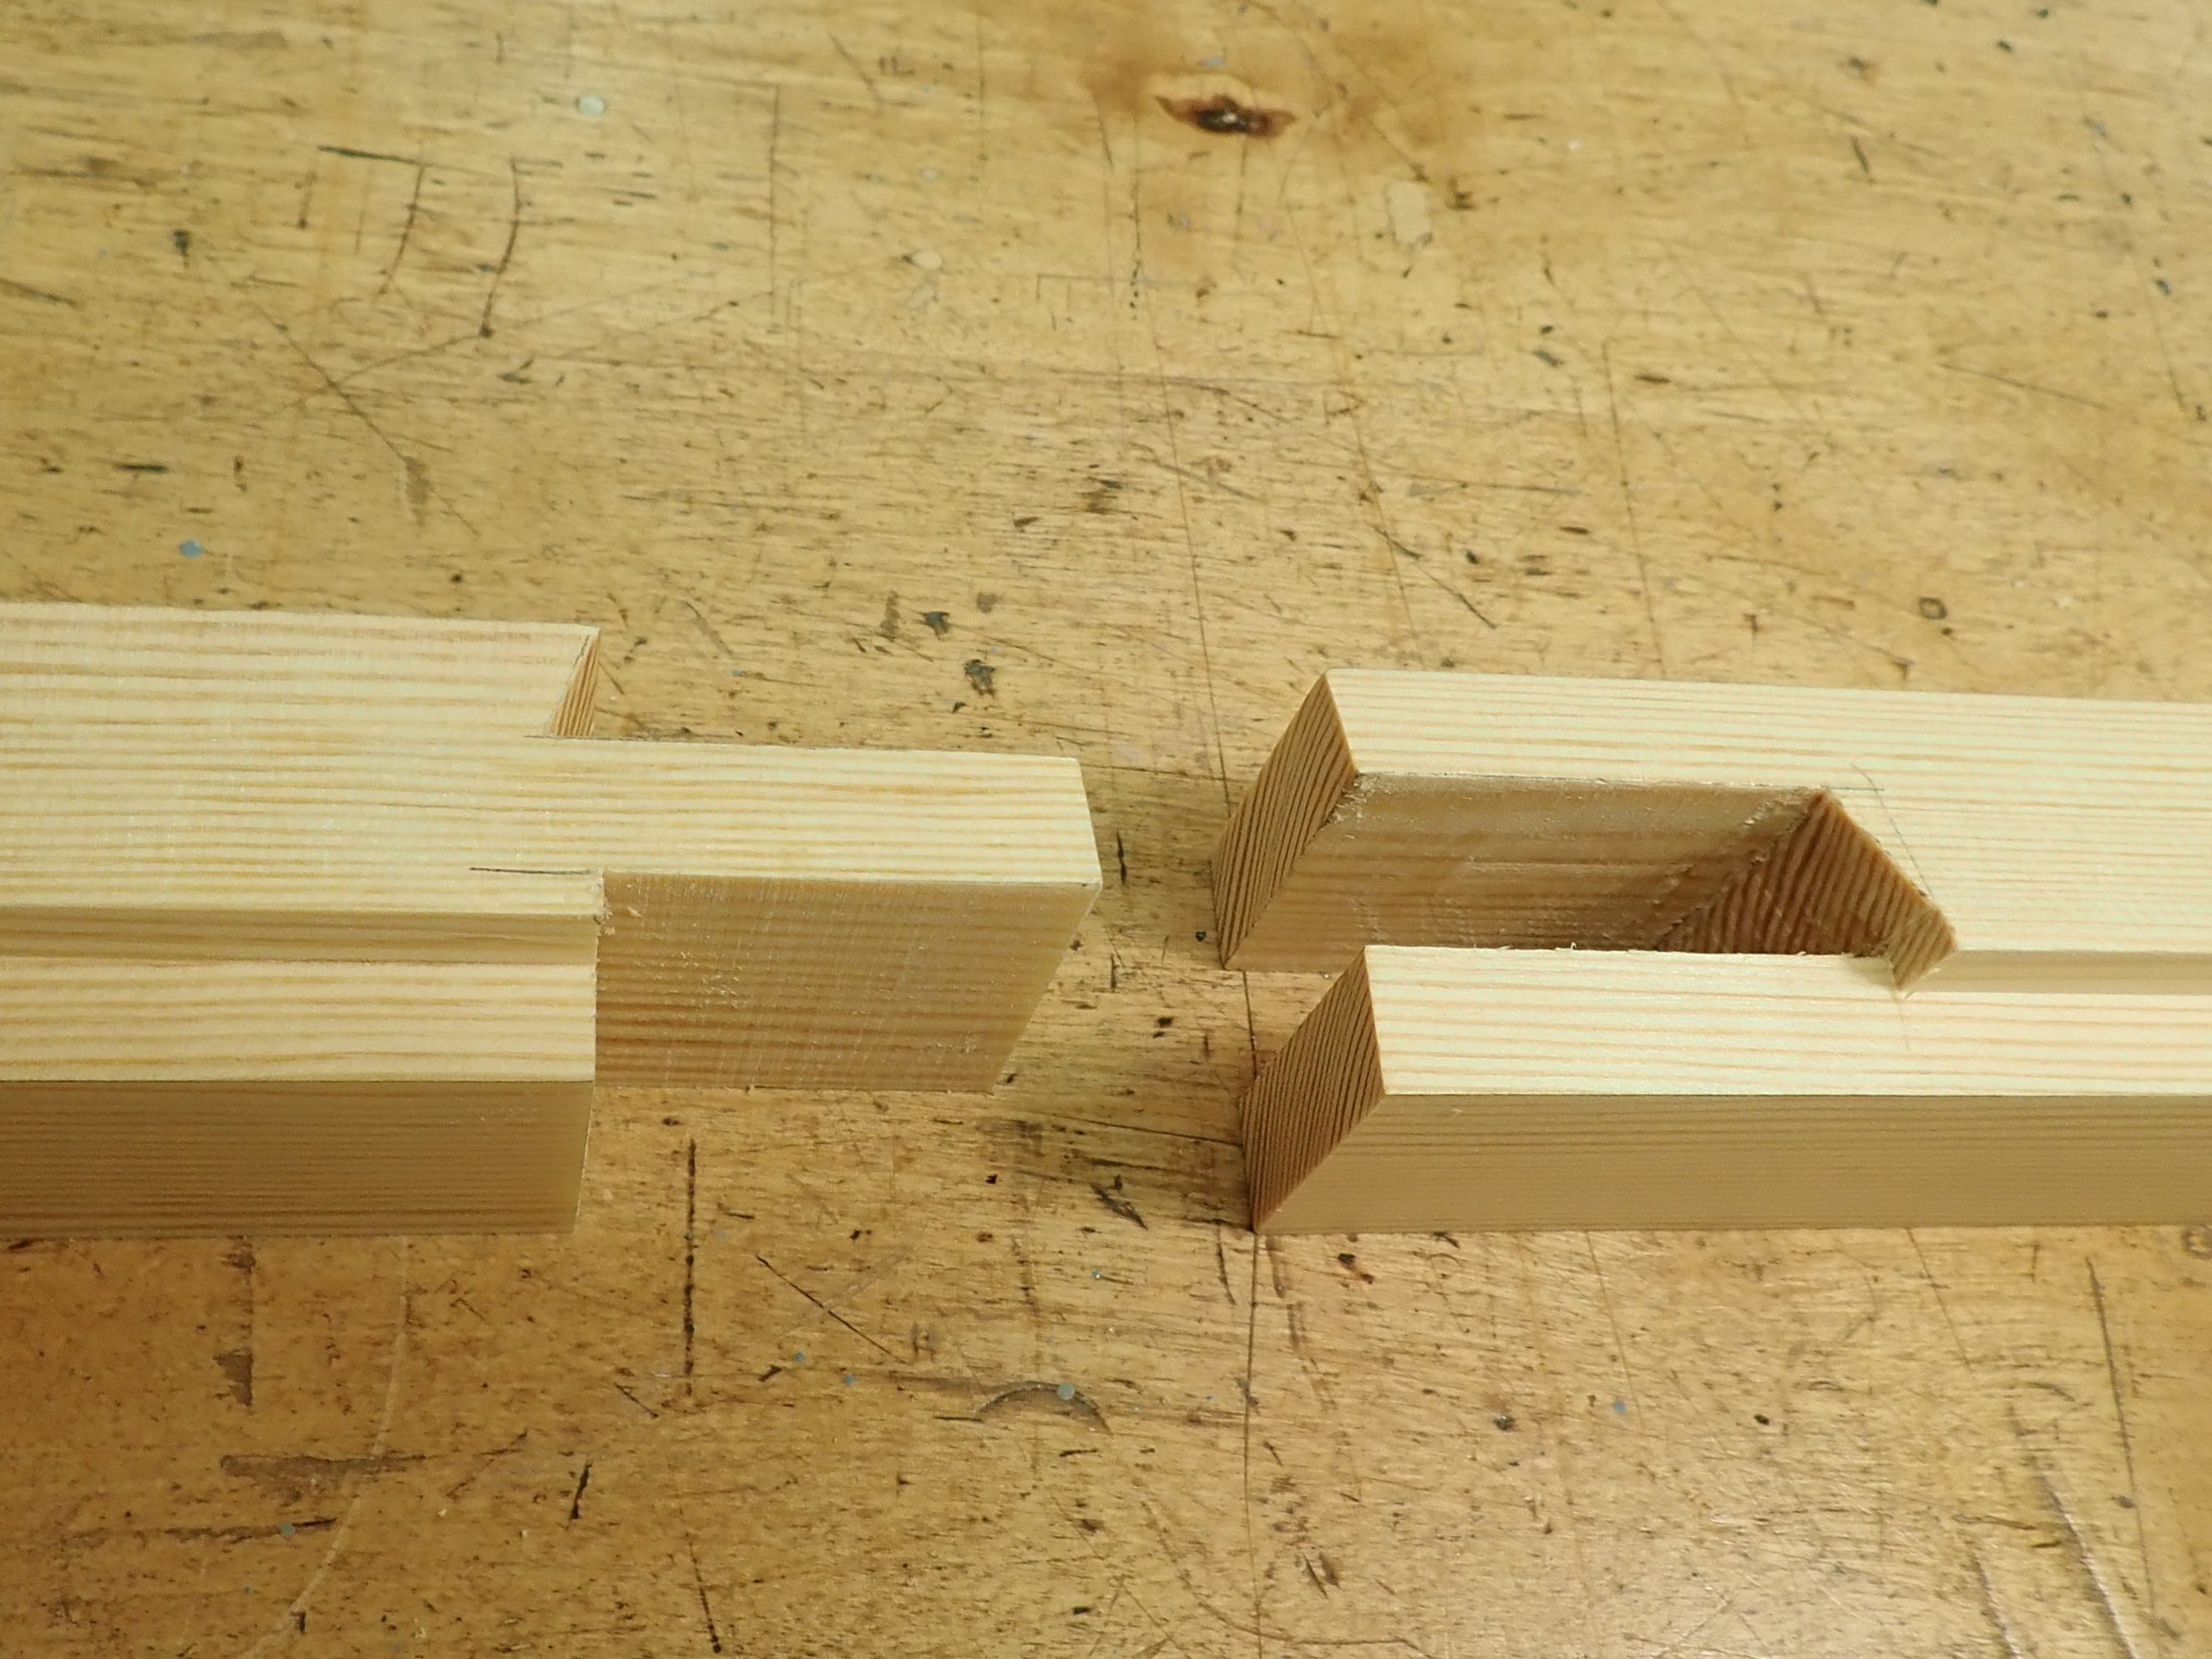
The fit should be precise even if it’s hand-cut. The ideal is that you should be able to fit the parts together using only firm hand-force (no banging with mallets), and they should fit together by friction so well that the parts will not loosen by their own weight when held at arm’s length and shaken. A firm, precise fit, but nothing excessive.
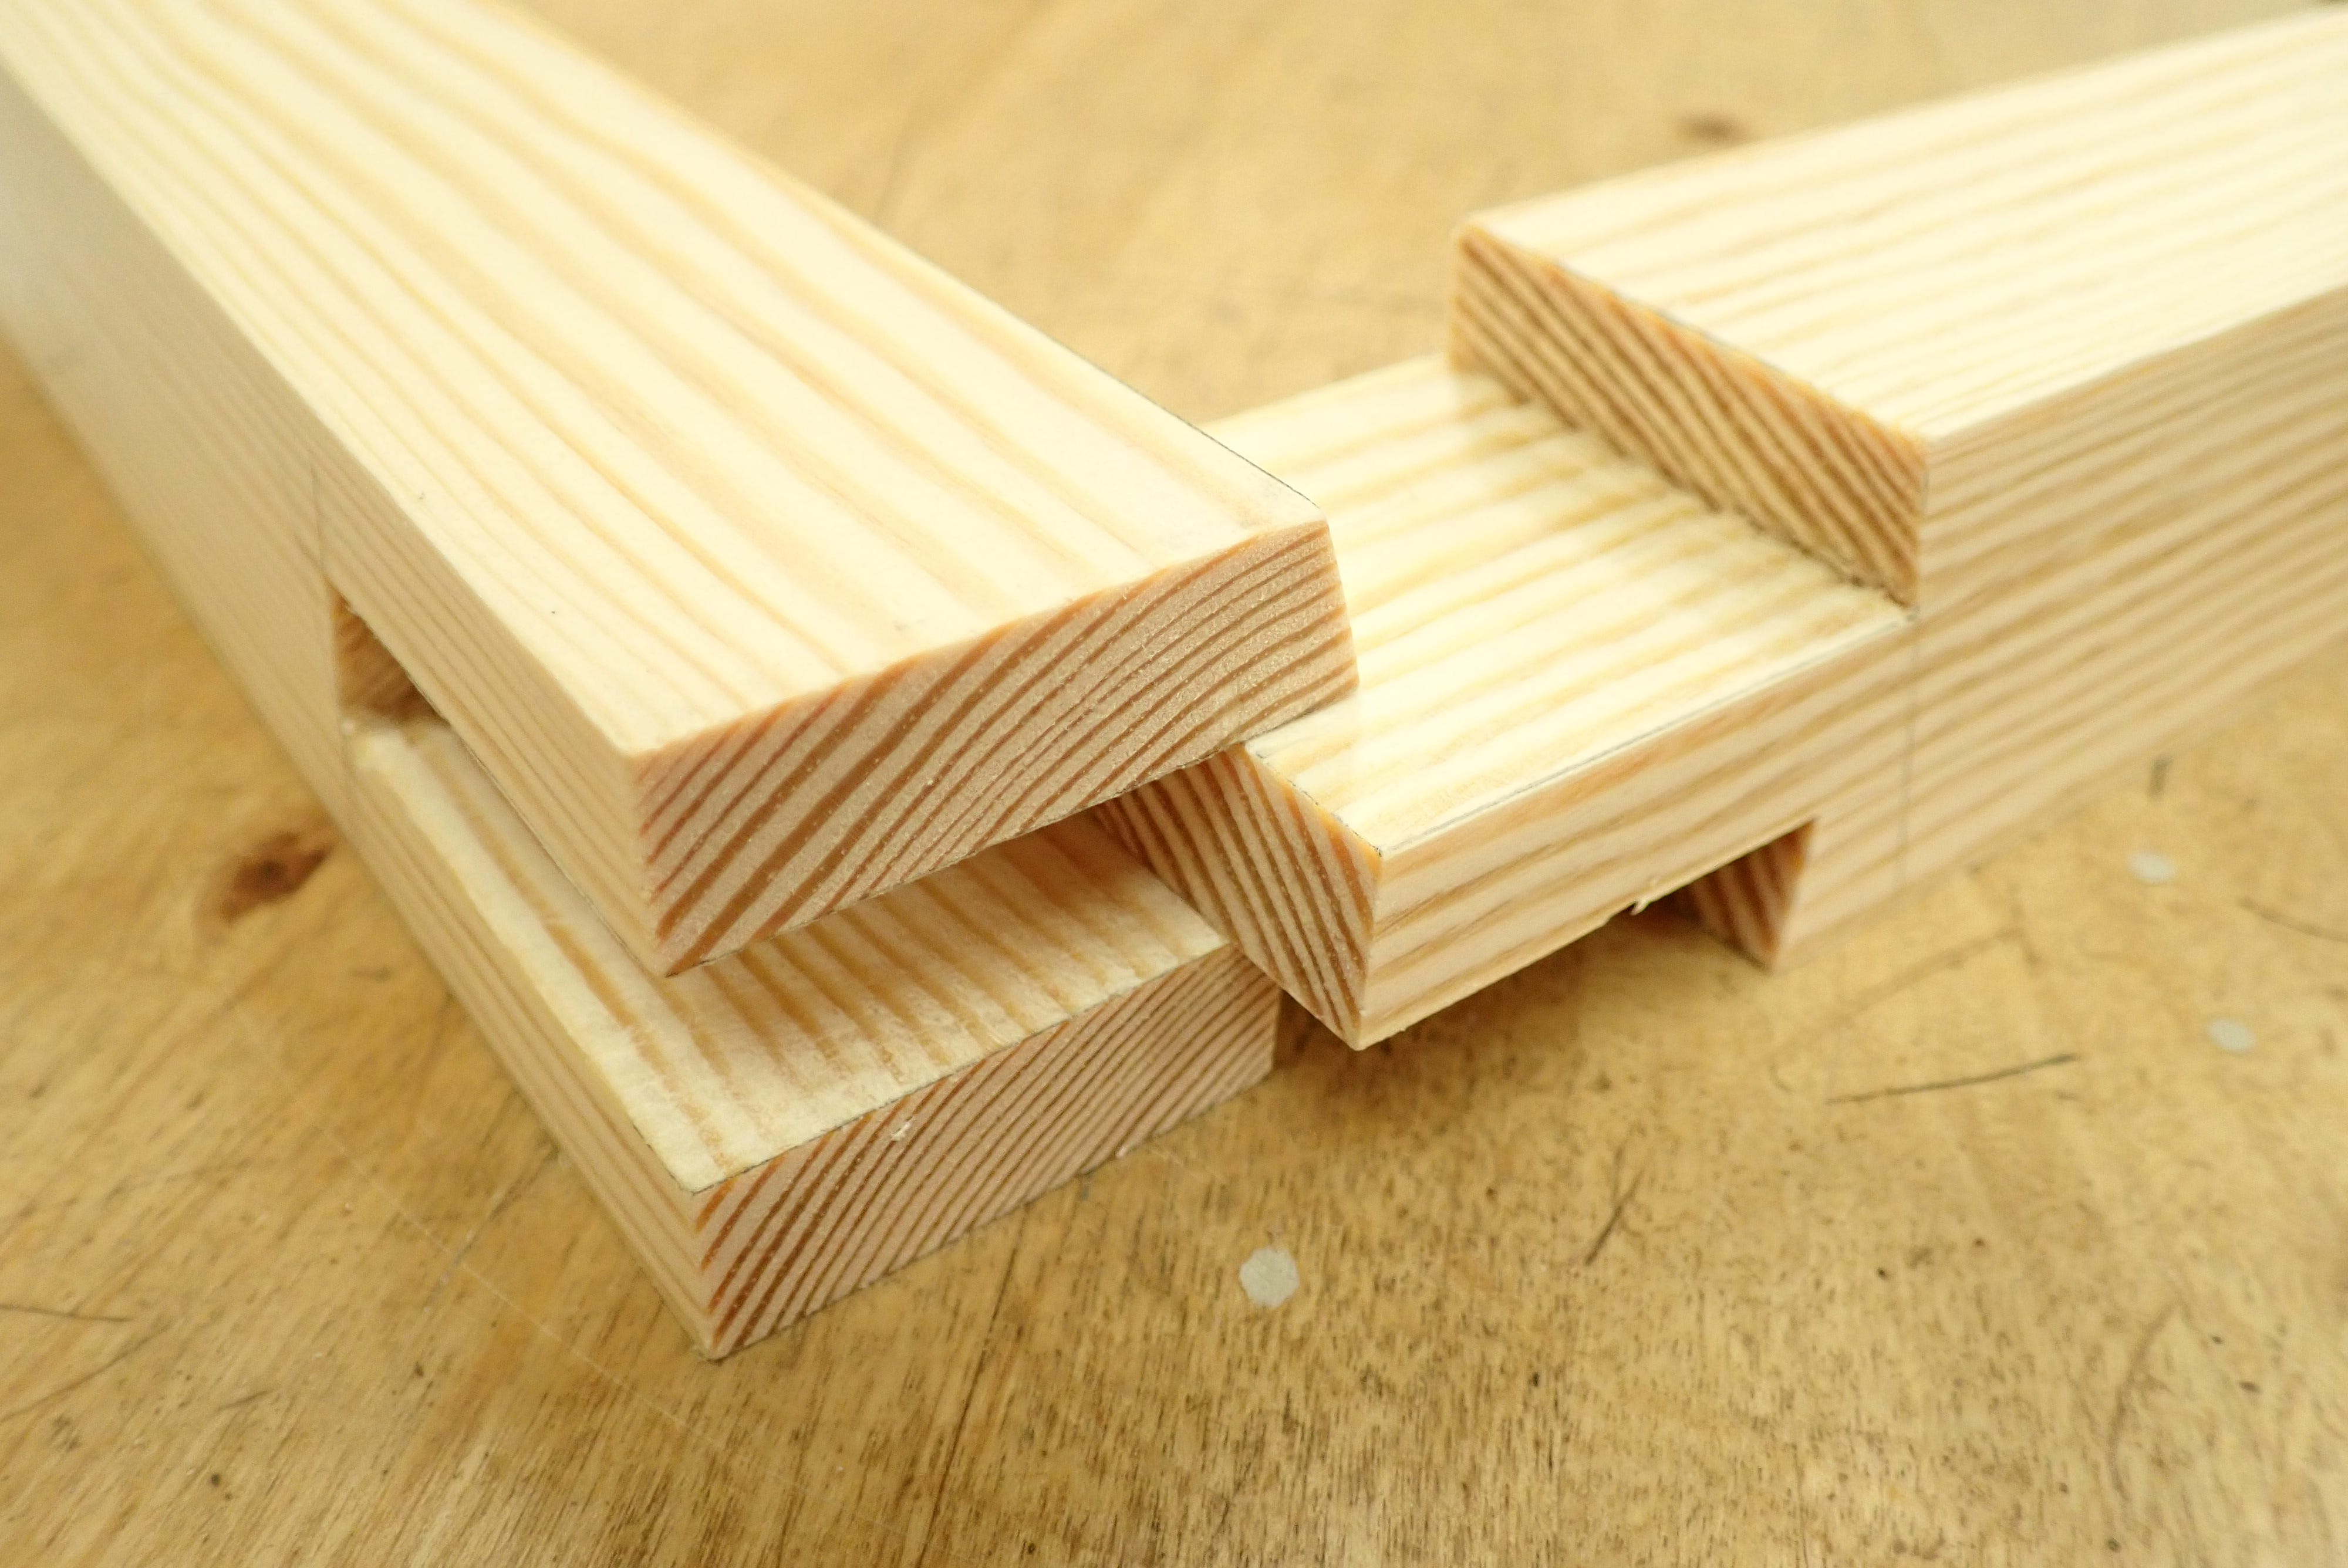
When satisfied with the trial run, you can go to town on the real parts.
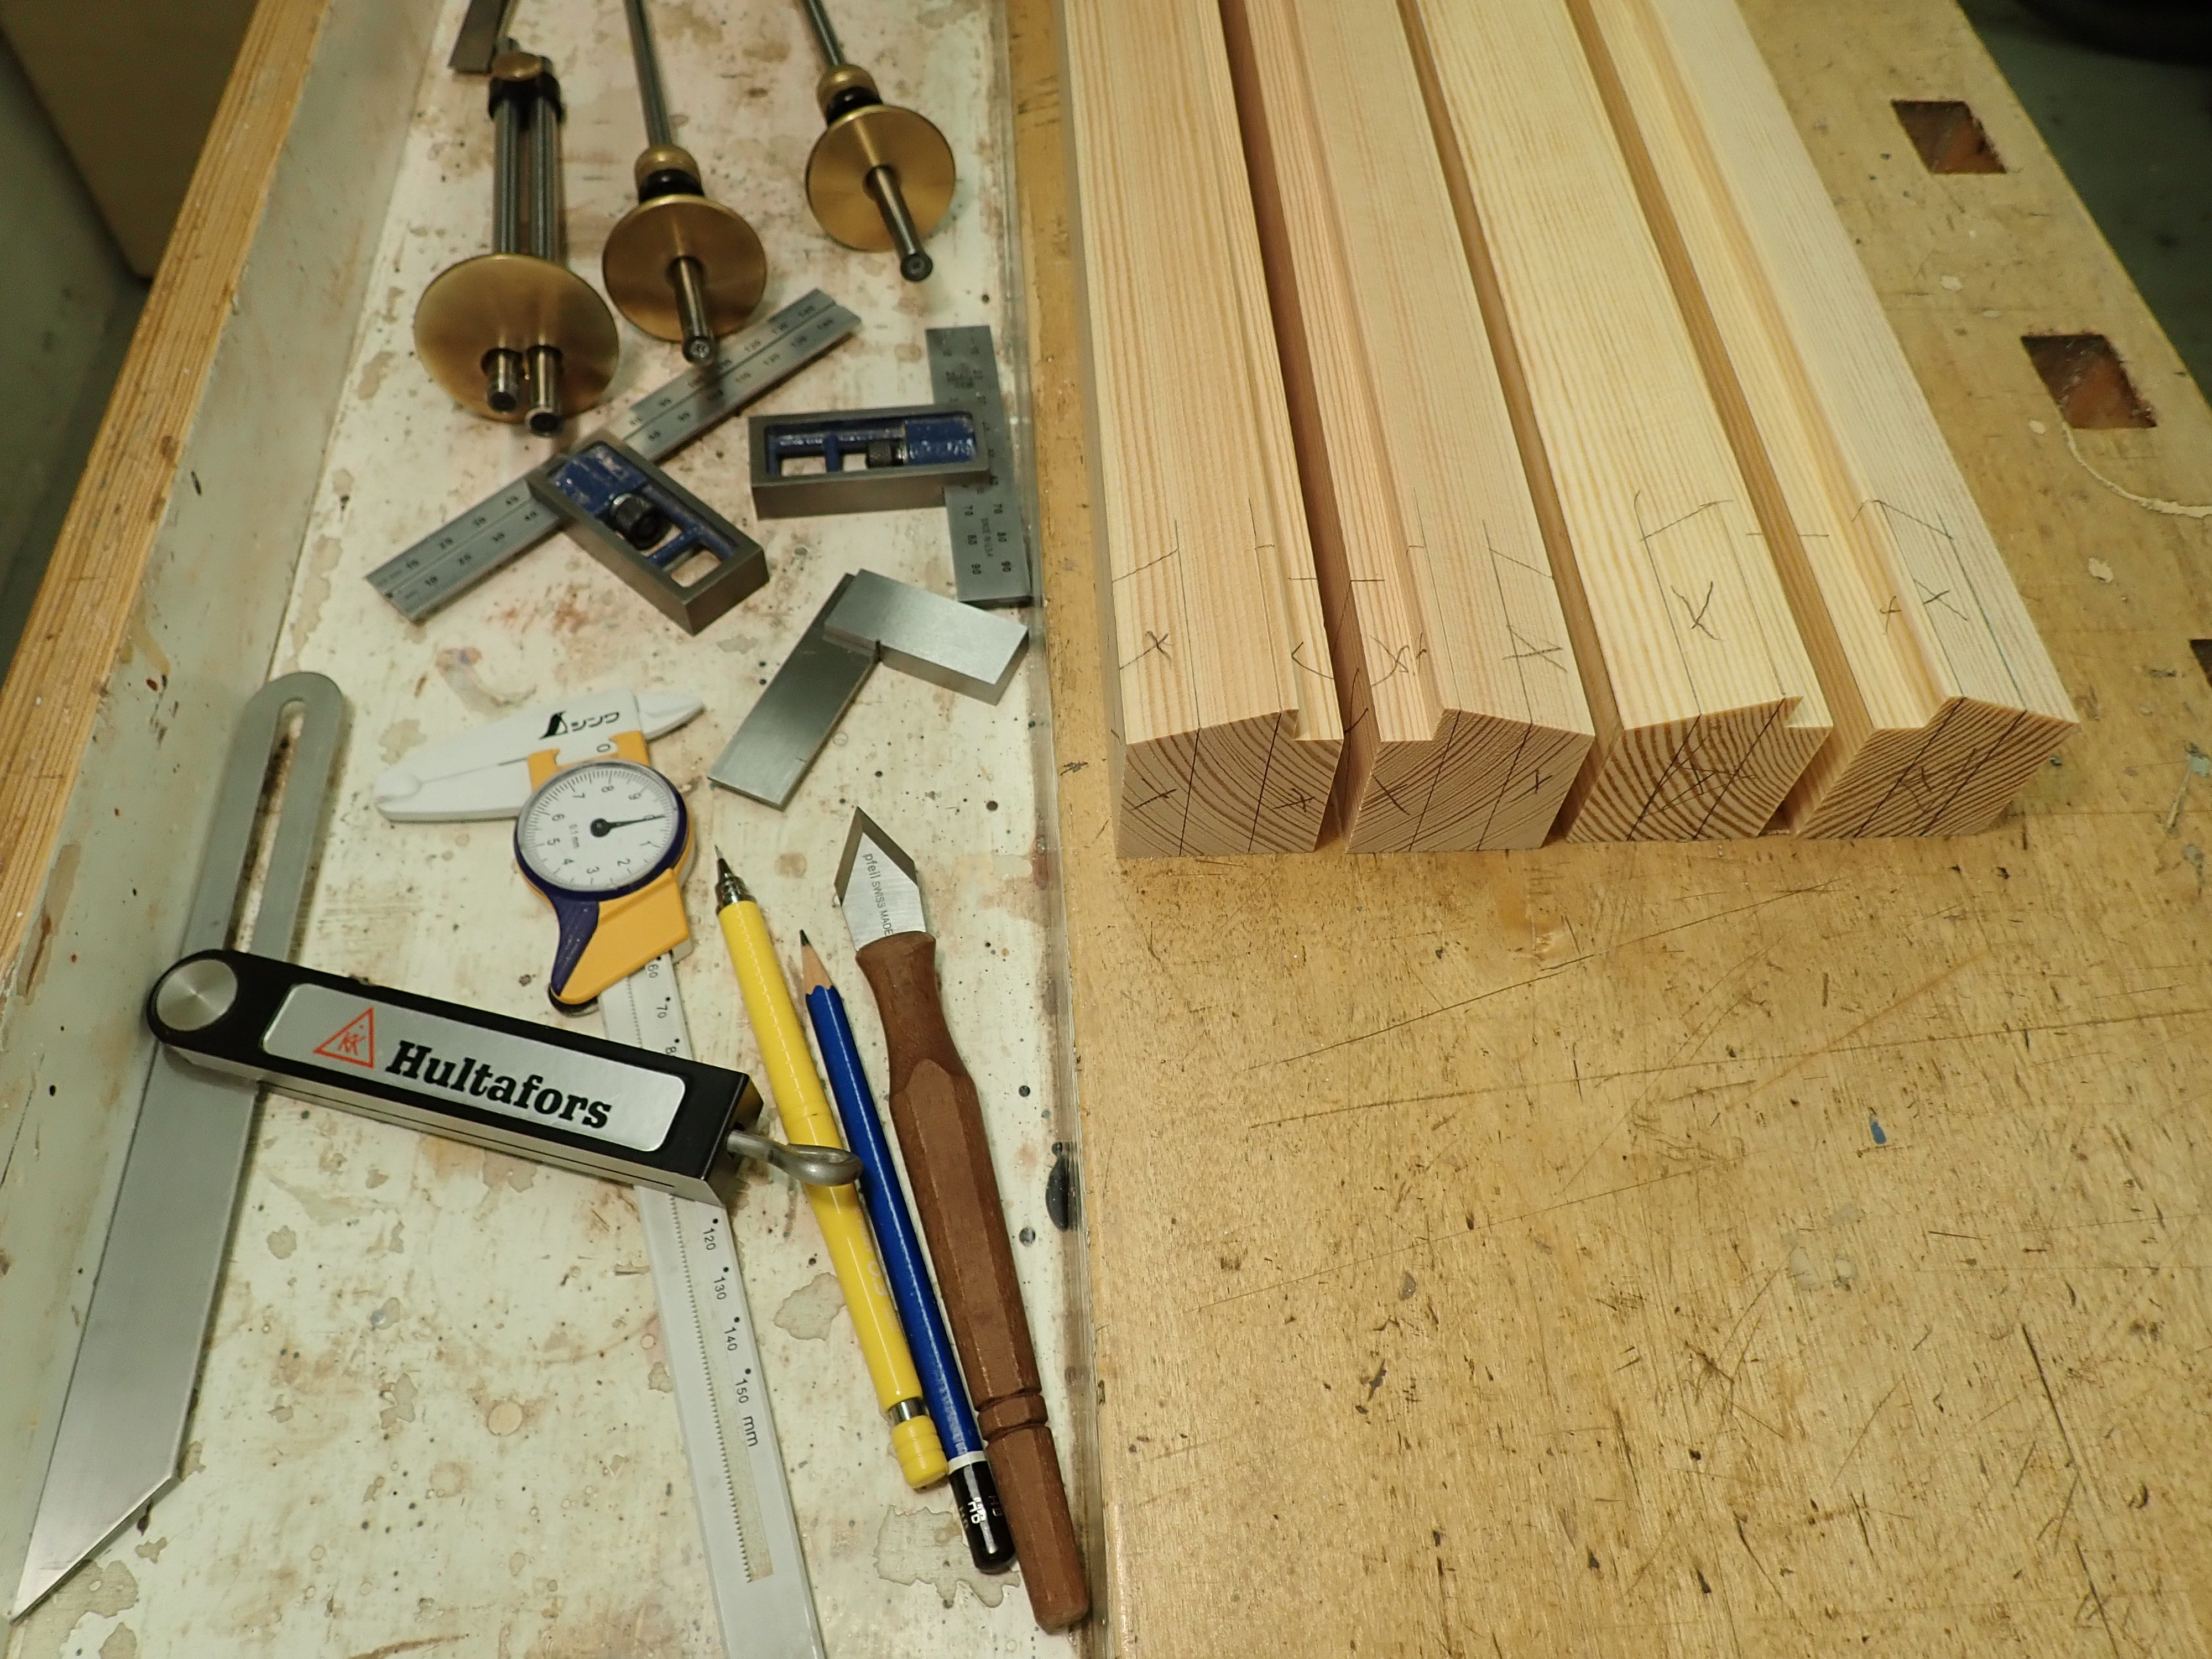
Sharp chisels are sooo much better than dull ones.
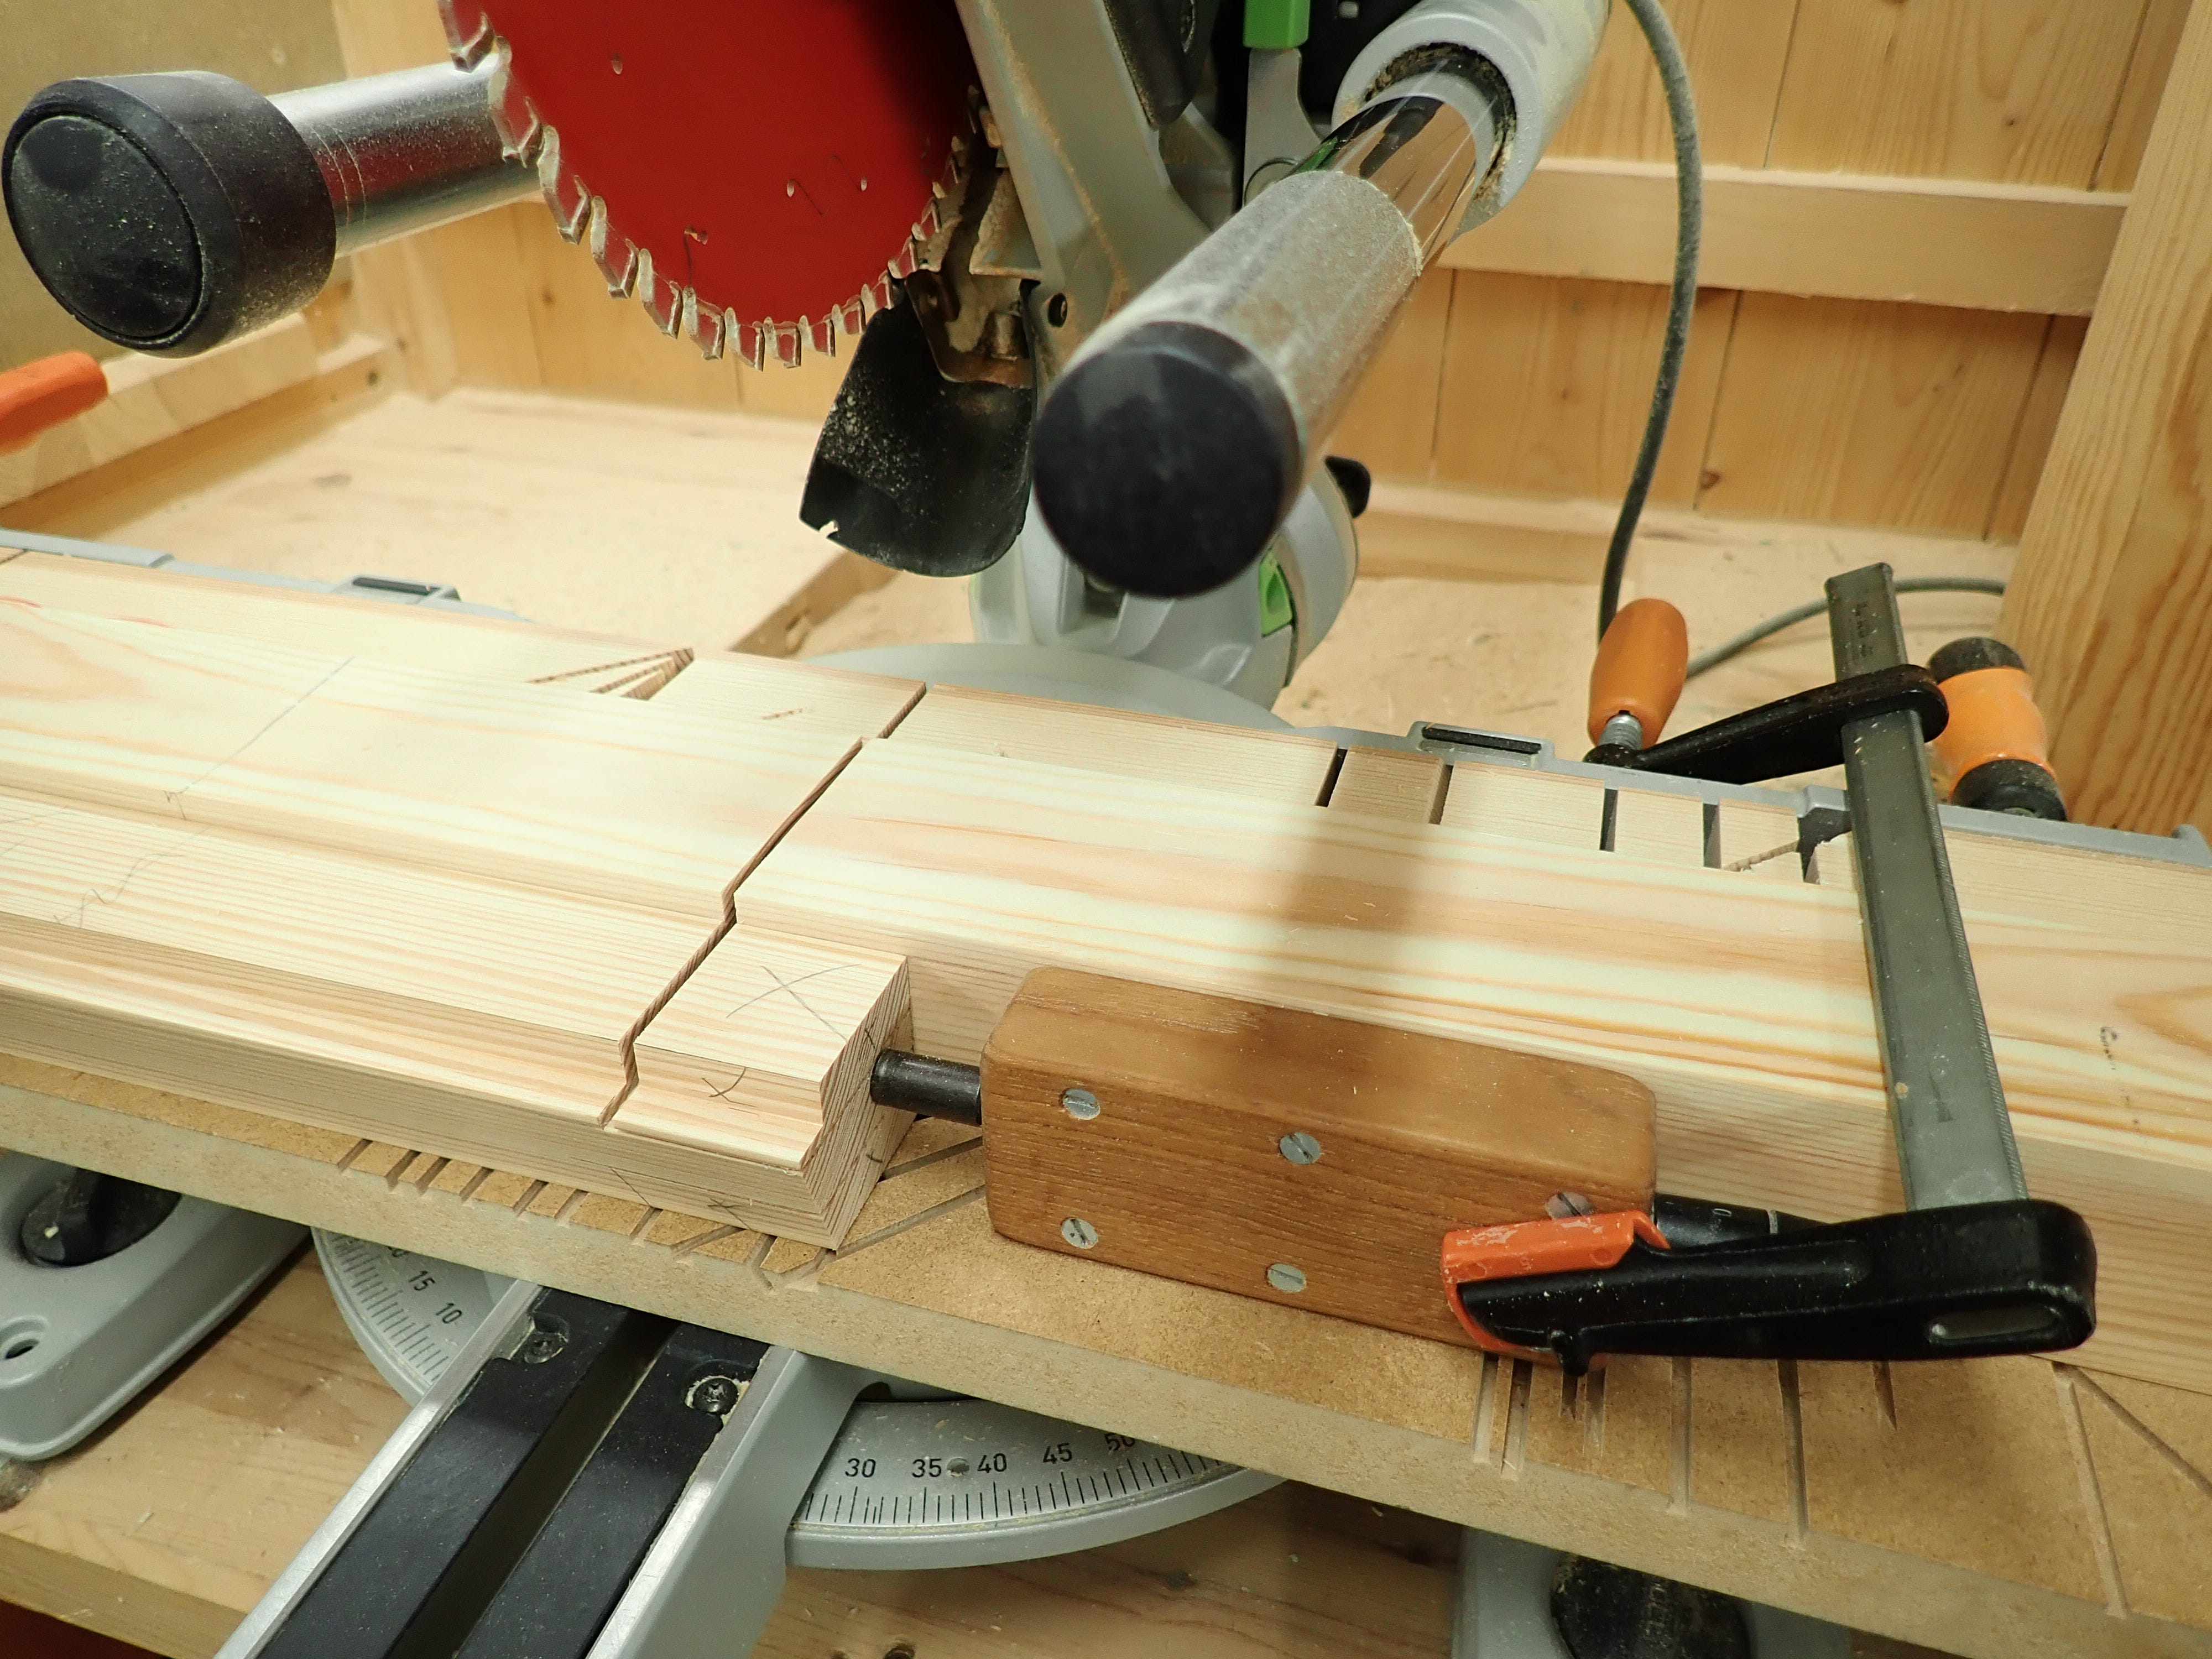
I use my mitre saw and adjustable stopper-block for cutting the shoulders.
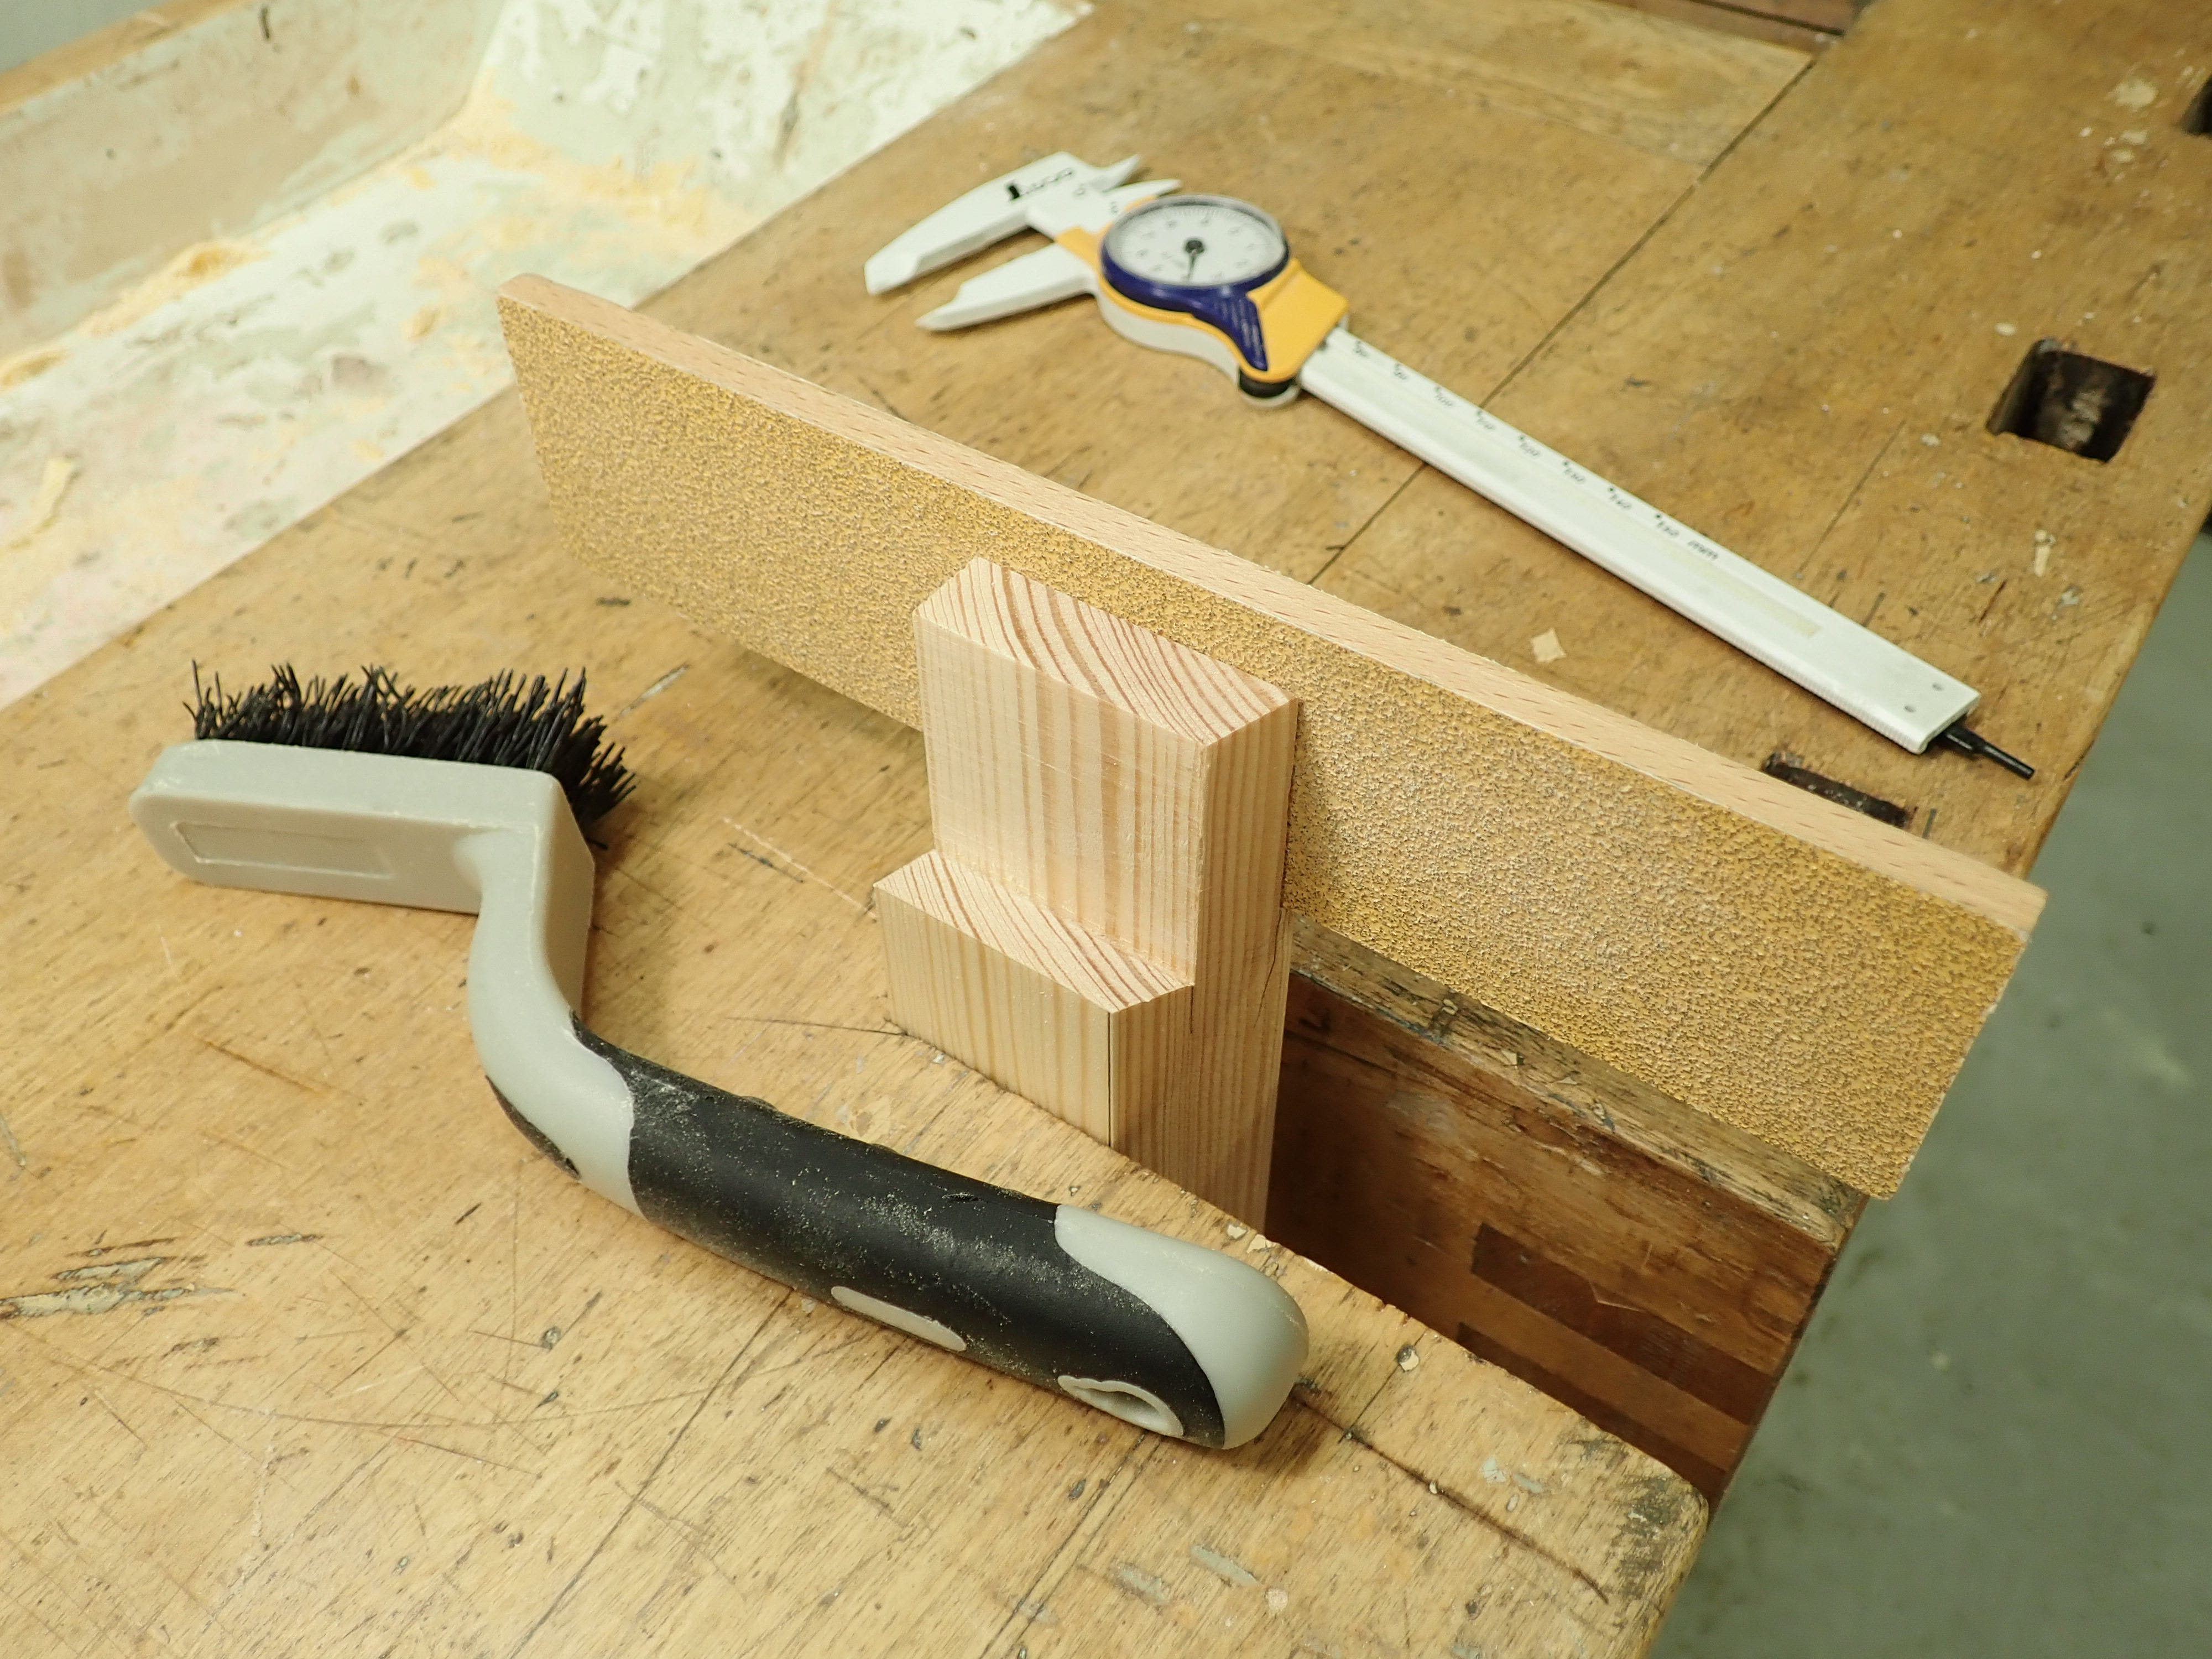
I’ve stopped using chisels or shoulder planes to adjust the fit of tenons; I much prefer my shop made sanding paddles. They’re perfect for sneaking up on a snug fit, one tenth at a time, but you must just be careful to not rock the paddles as you move them back and forth; keep them pressed firmly against the wood and keep your strokes linear!
The pine is resinous so I use a plastic brush to unclog the sandpaper.
Dovetails tend to get all the admiration — I guess because their seemingly complex geometry make them look impressive? Through-dovetails make you look expert, but they aren’t that difficult to cut (because of the usually thin dimensions), they’re just fiddly and time-consuming. It’s a nice, strong joint, but tight mortise & tenons are more difficult to get right — the larger the dimensions the trickier! Most exacting of all are tapered crossgrain dovetail battens or housed dadoes as used in carcass construction.
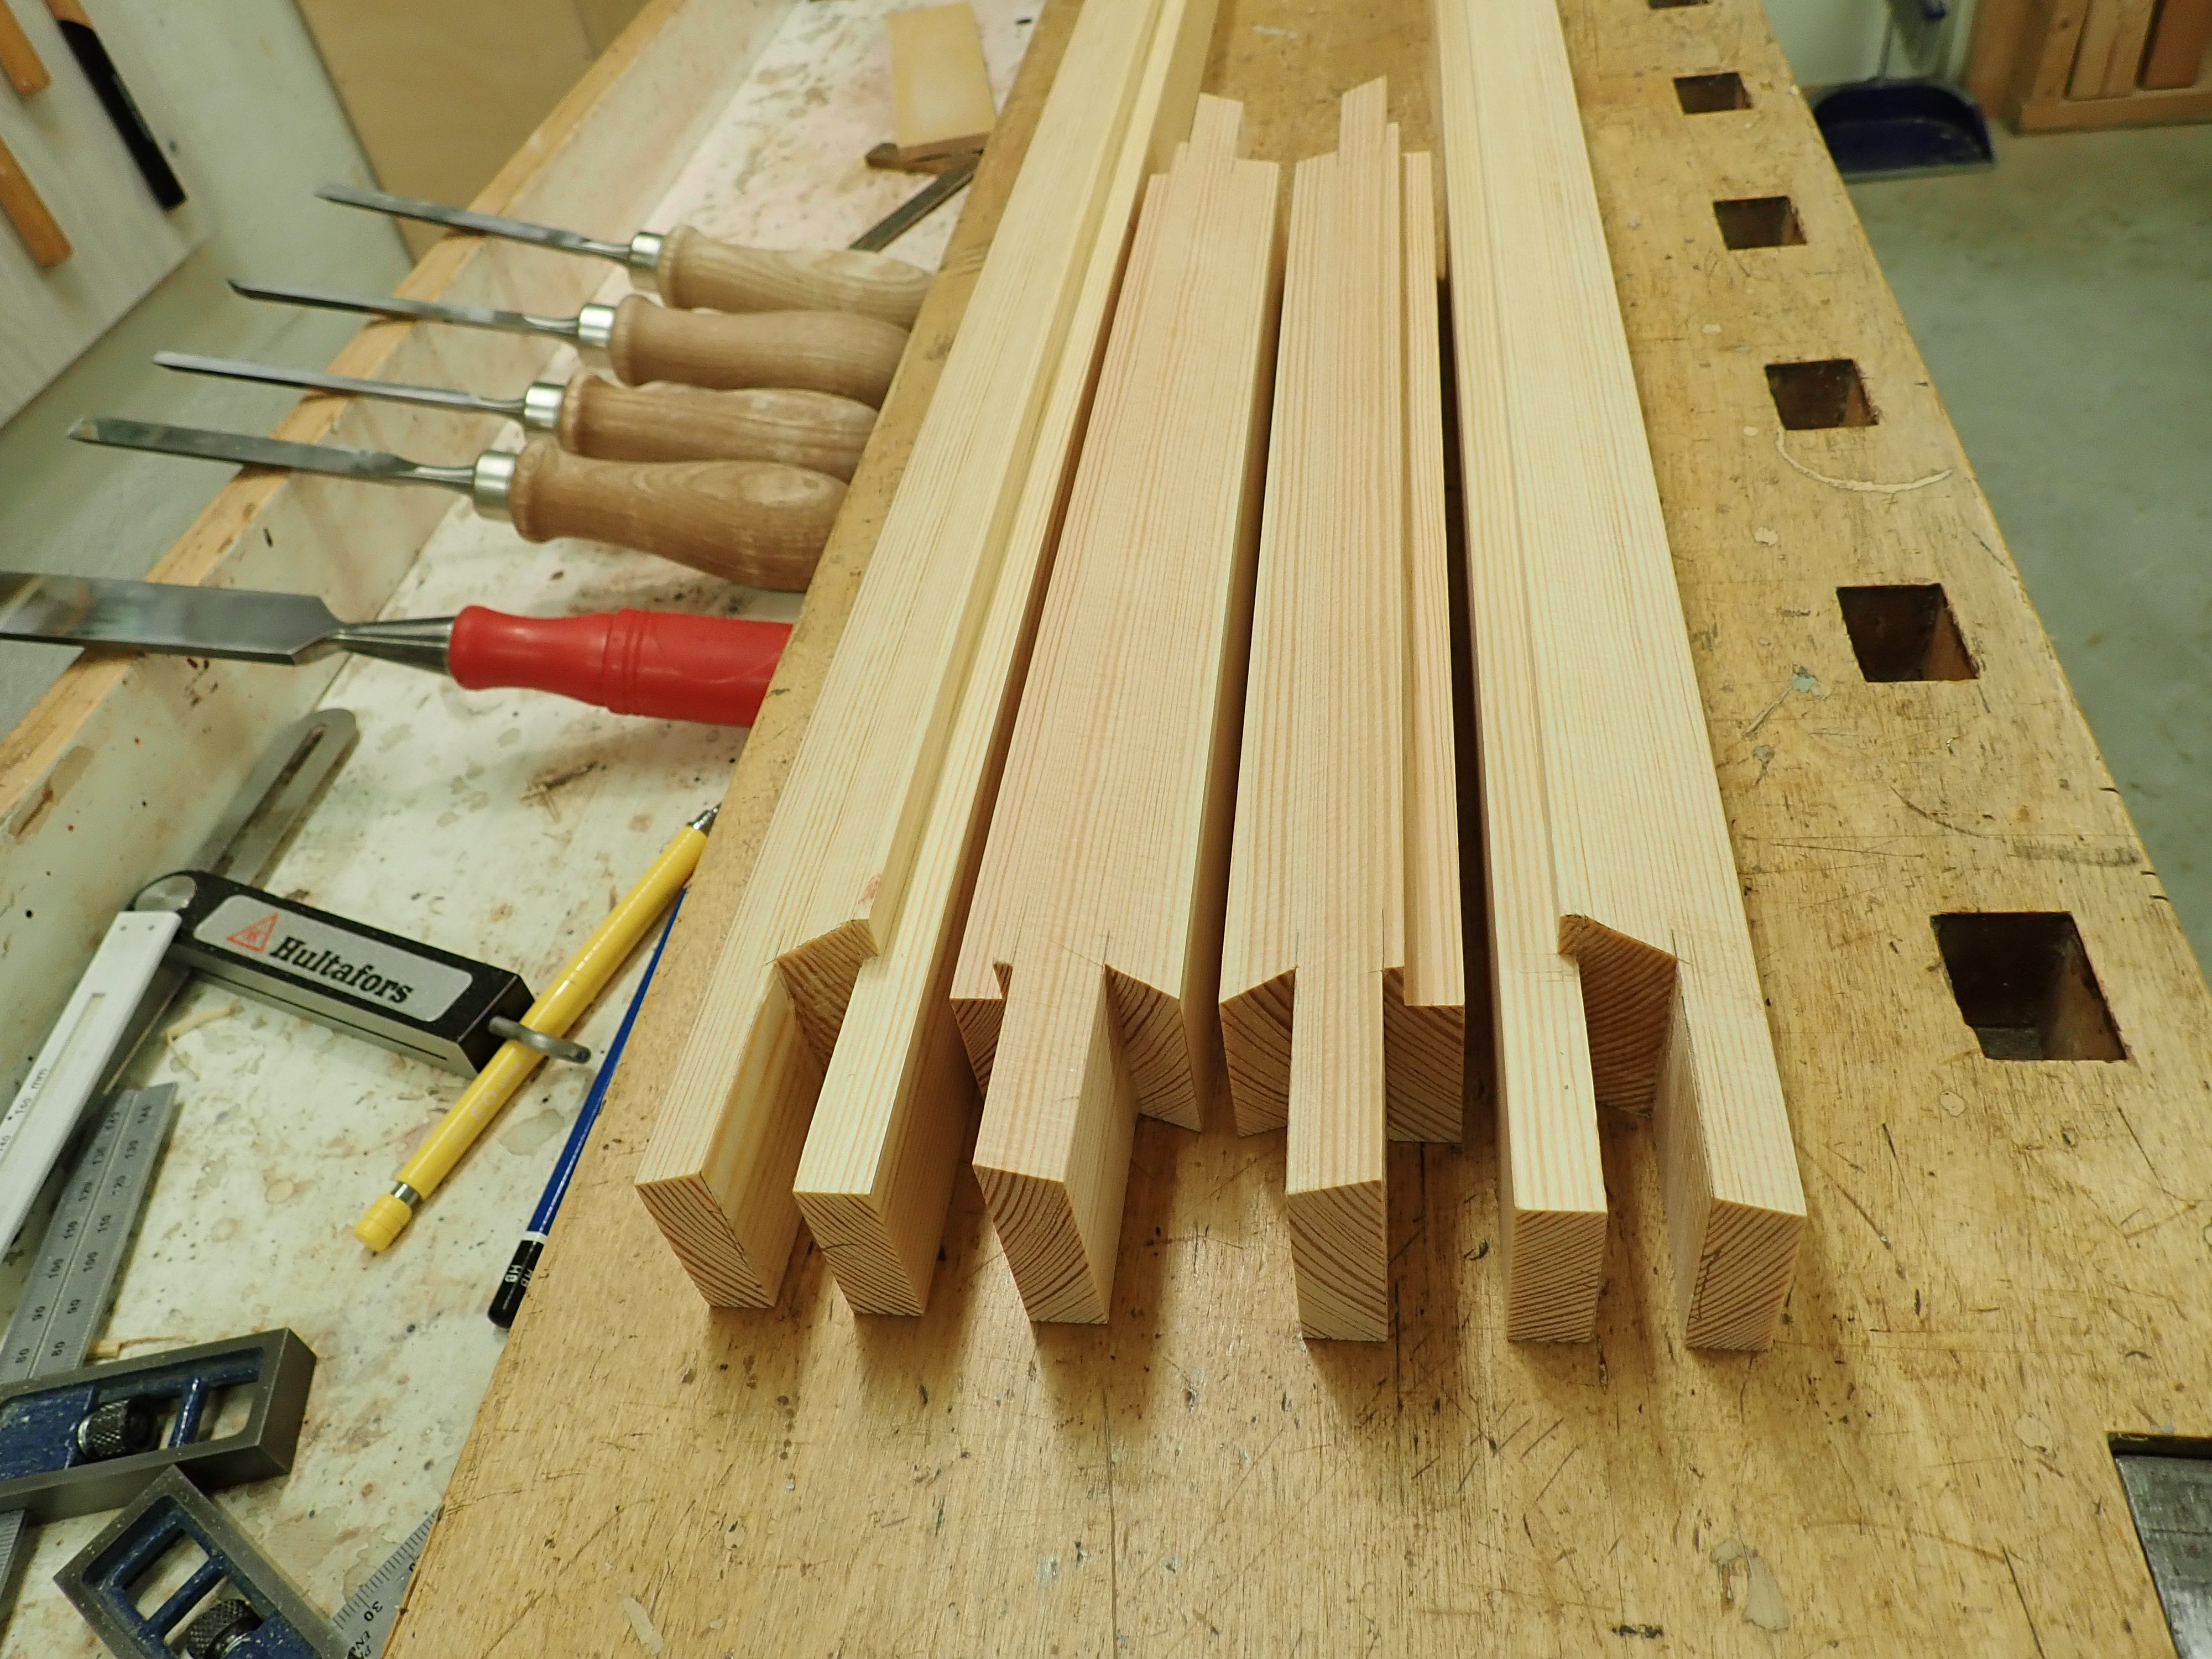
Mustn’t forget the muntin! Measure & mark.
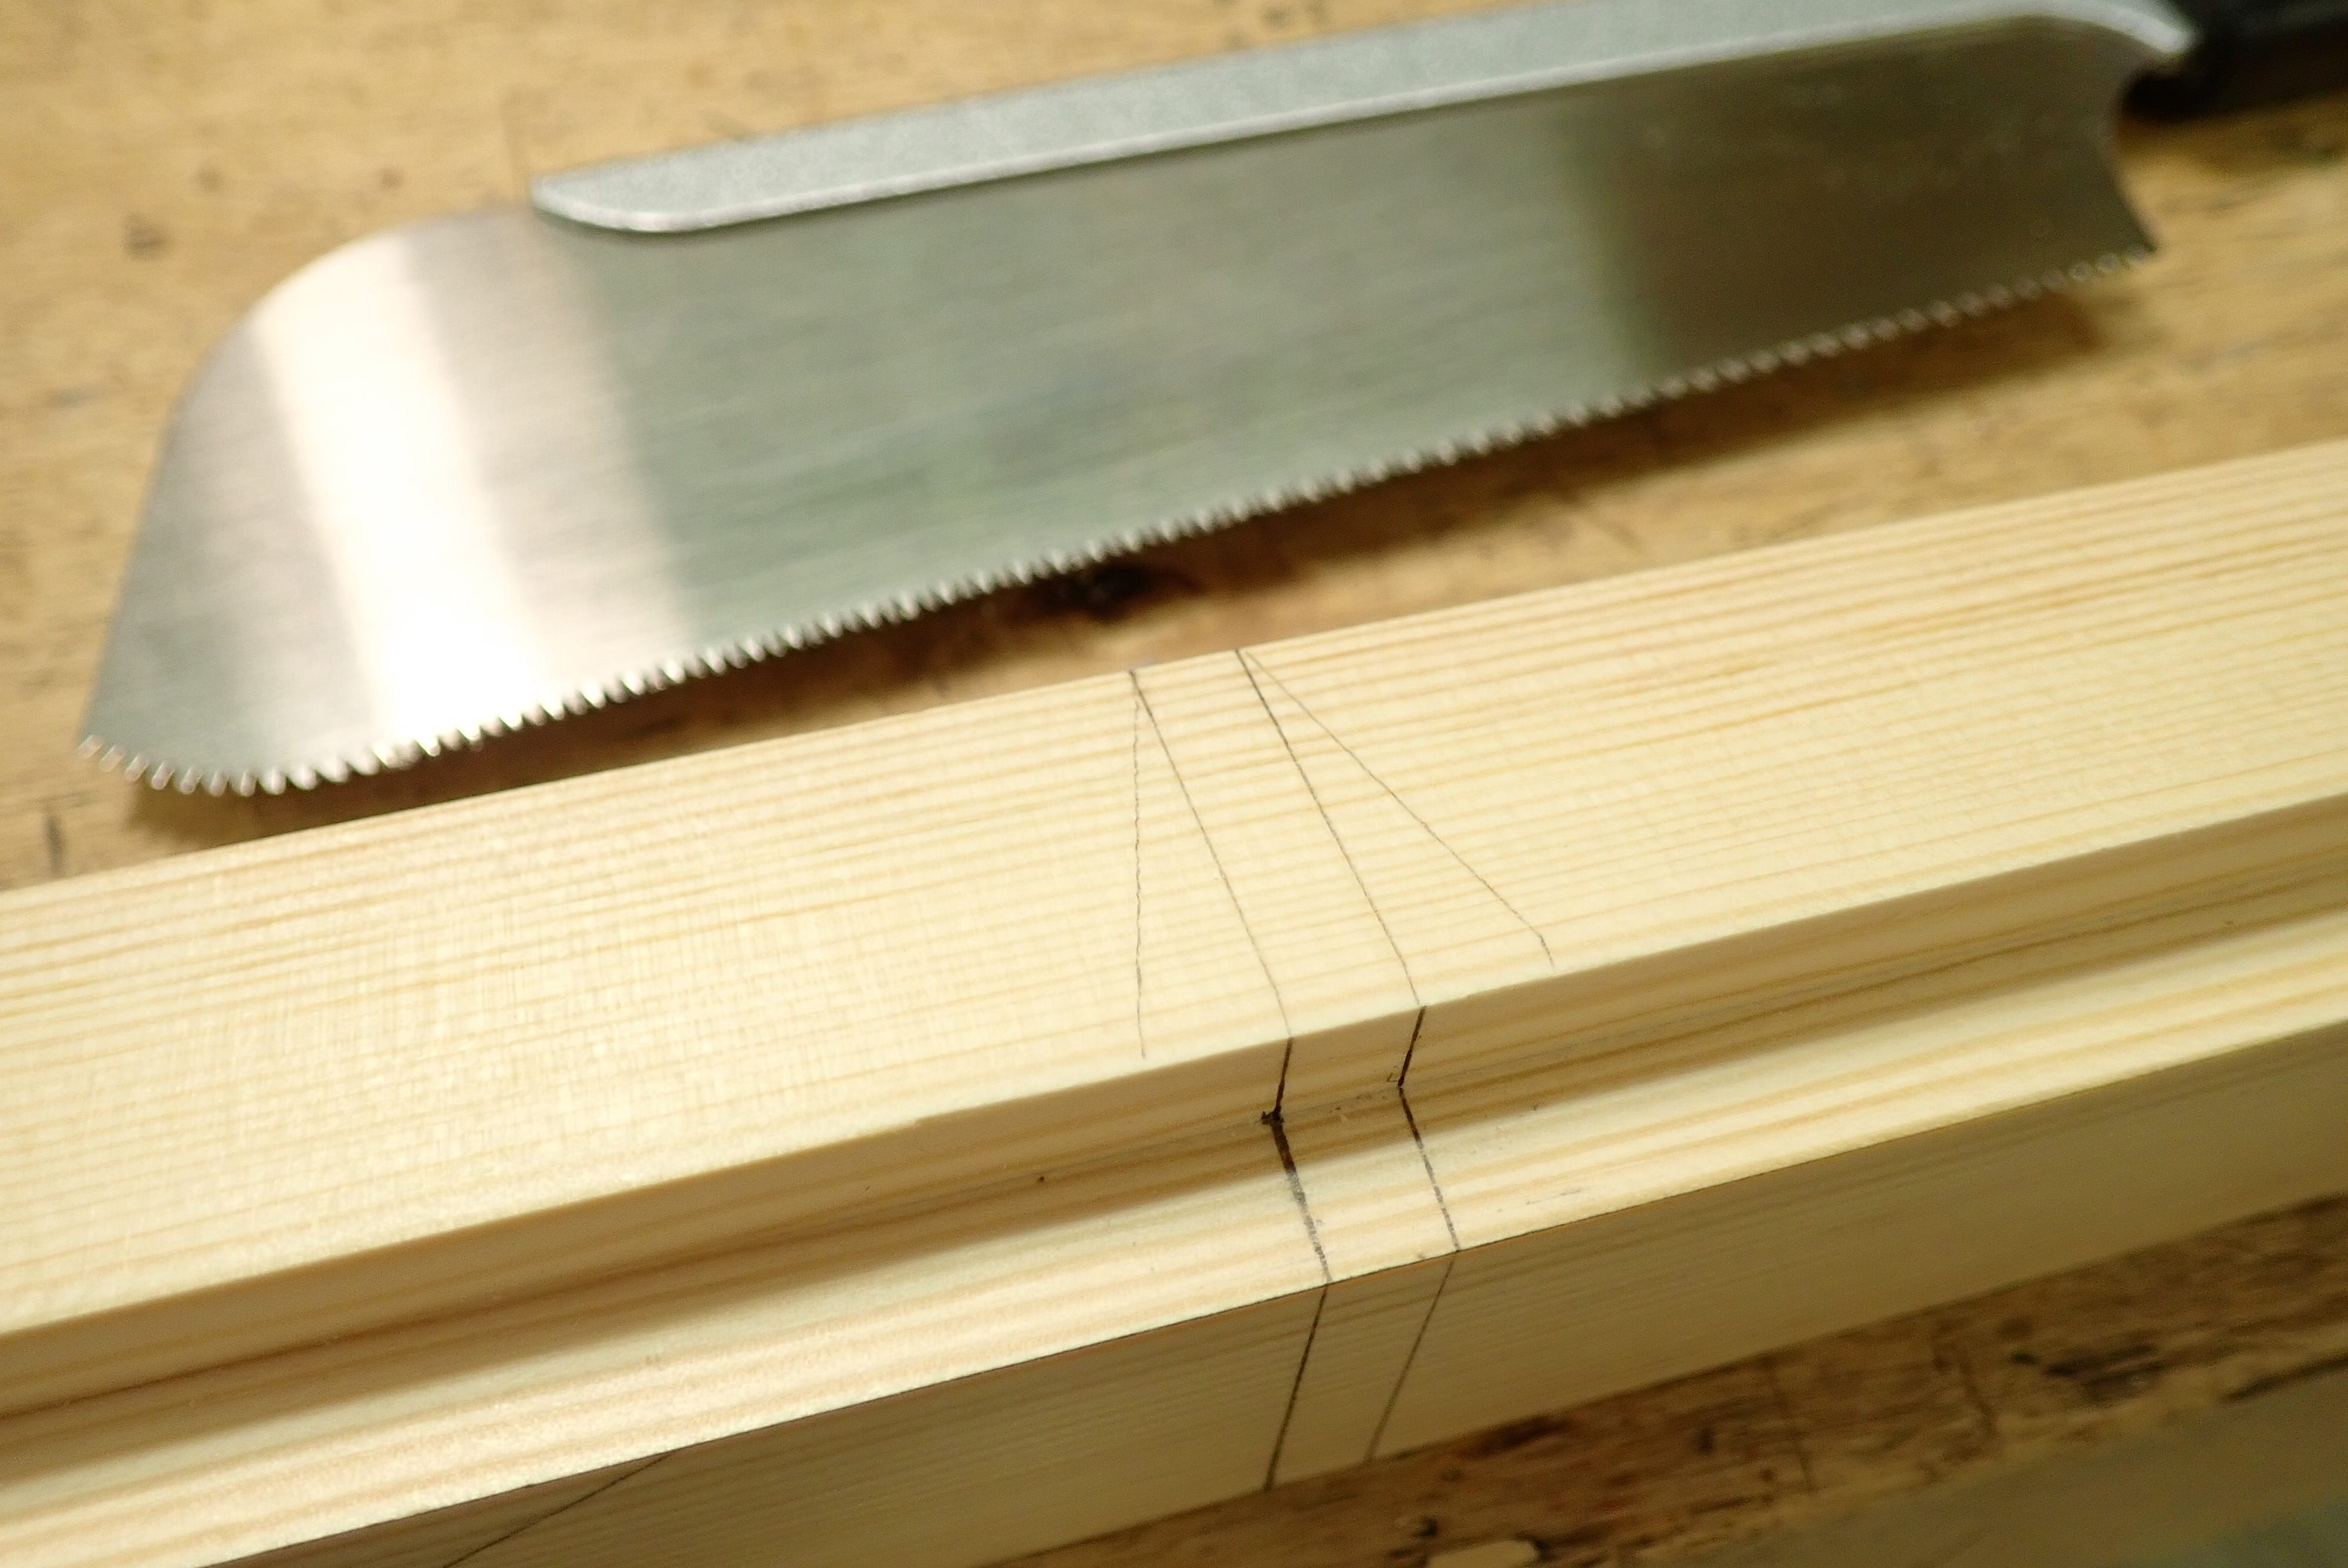
I keep my saw-cuts a hair inside of the lines.
And cut a couple inbetween just to weaken the wood.
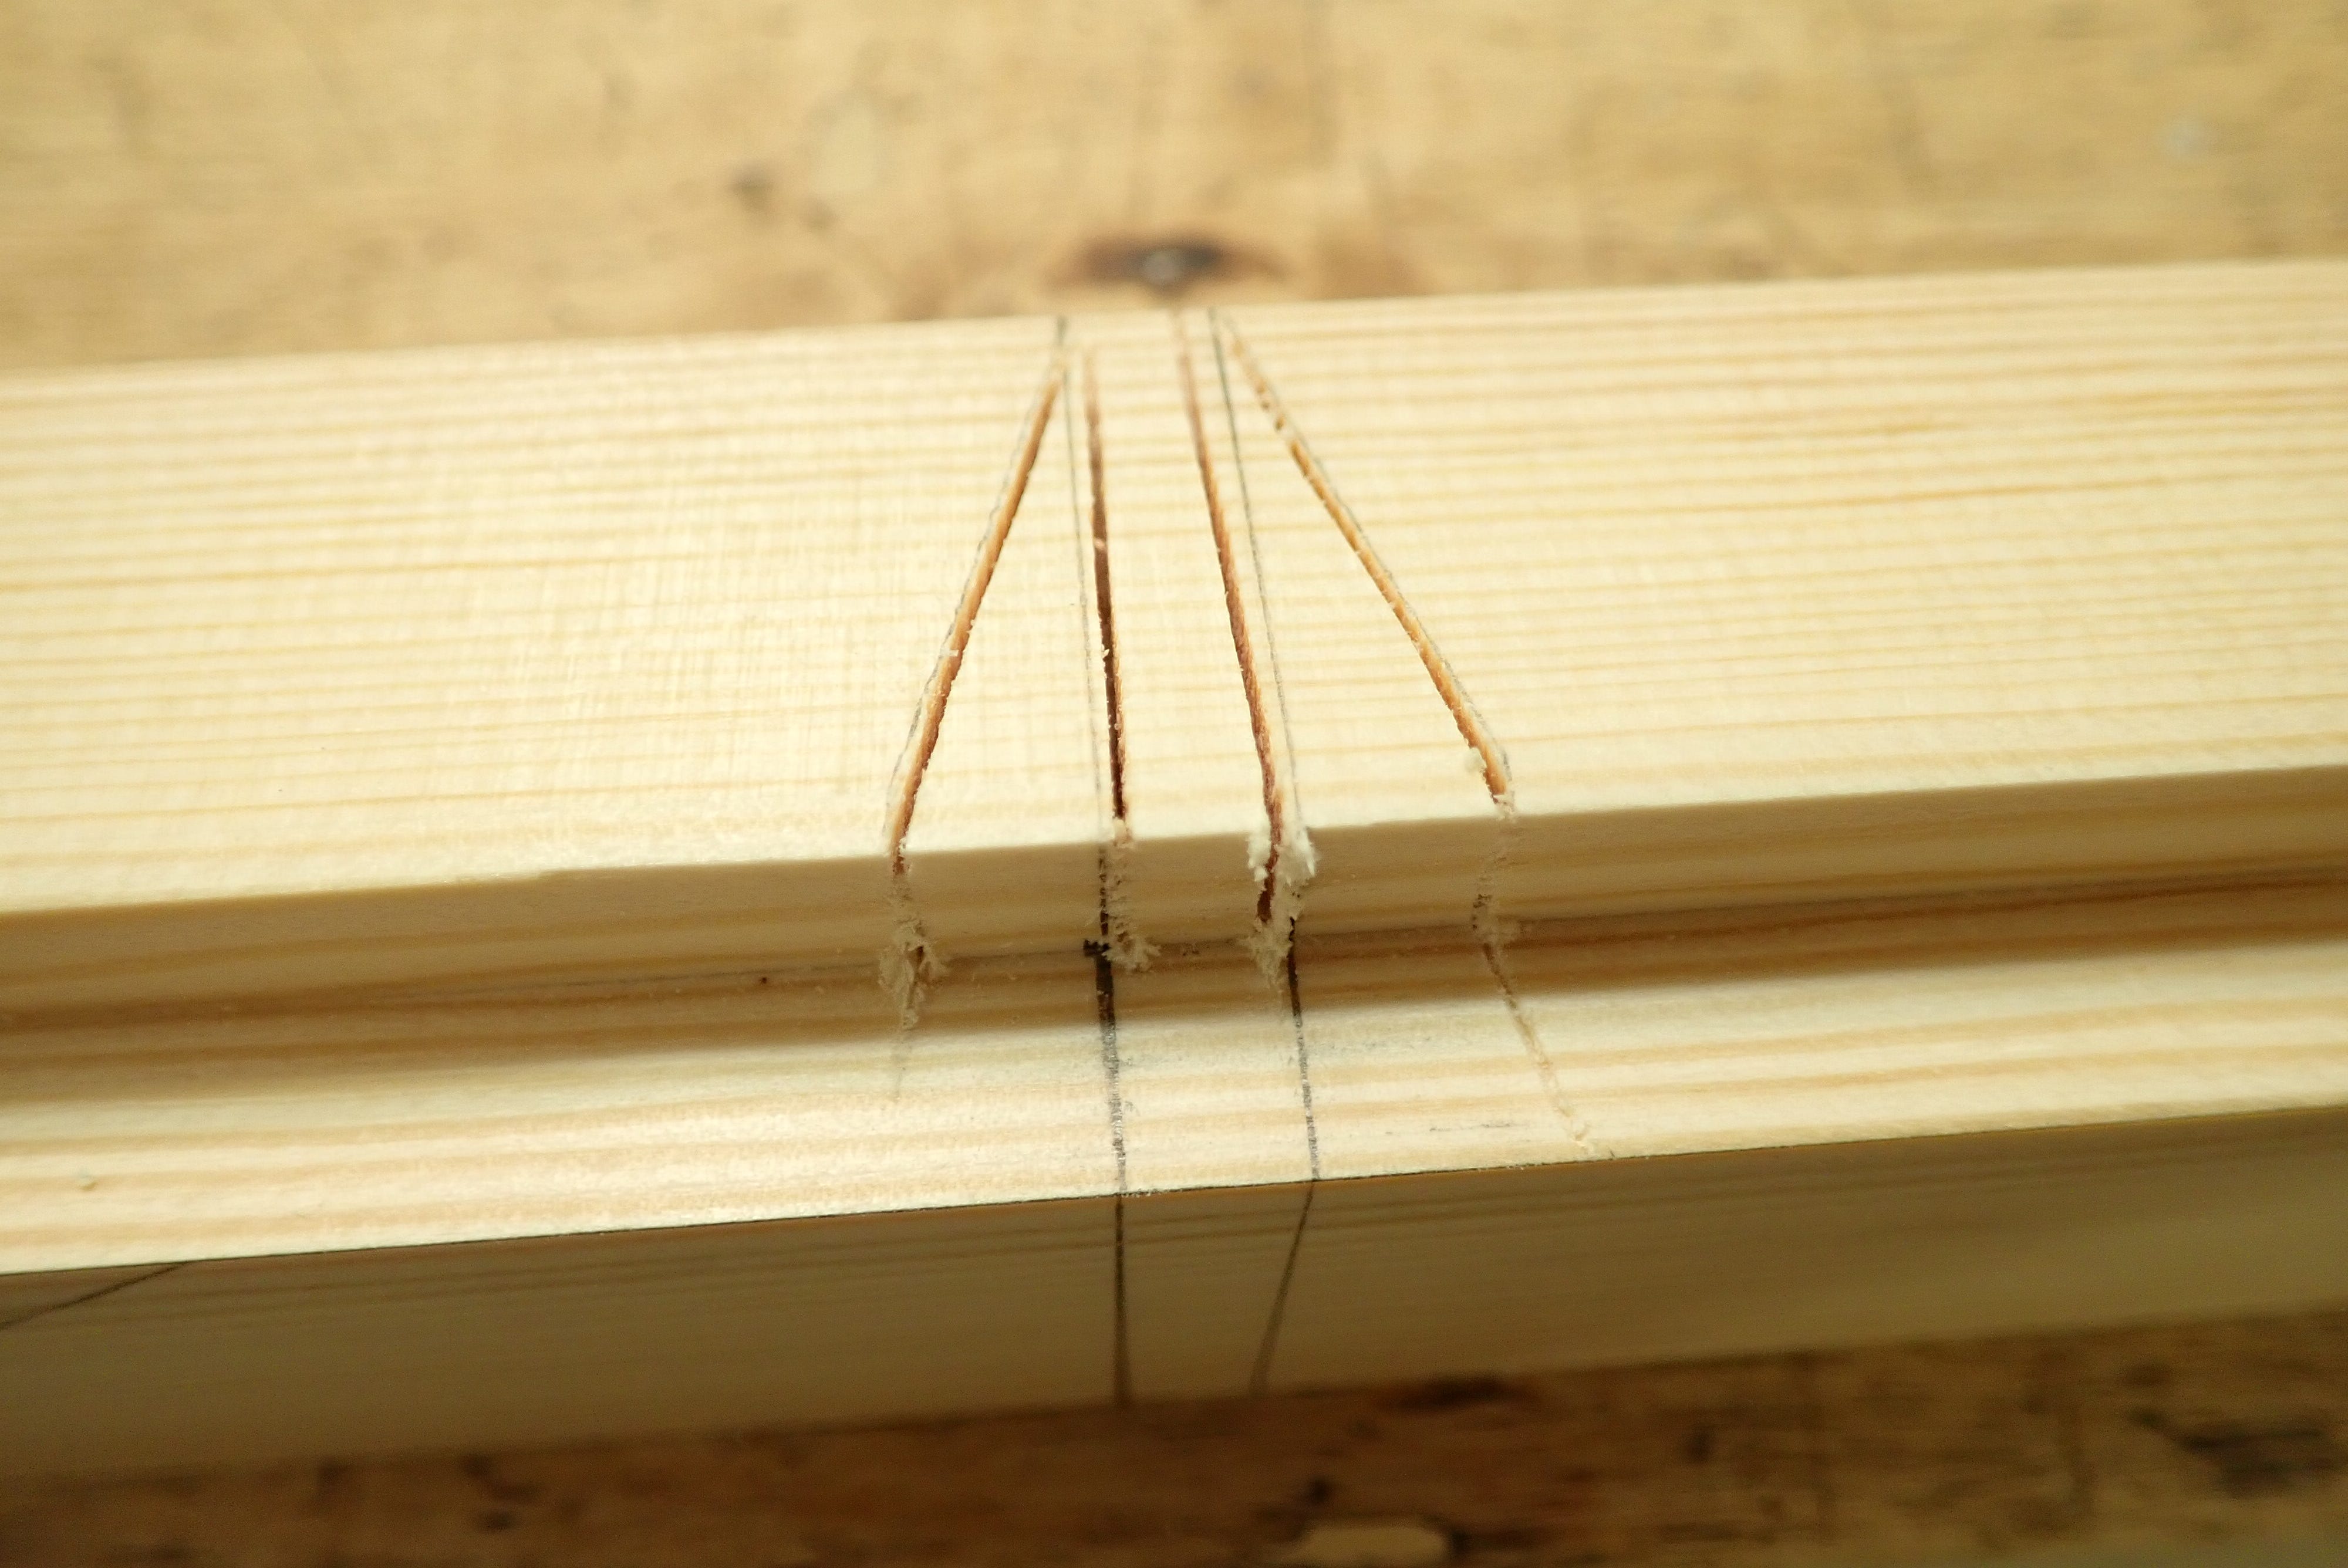
Remove the waste by slicing down incrementally.
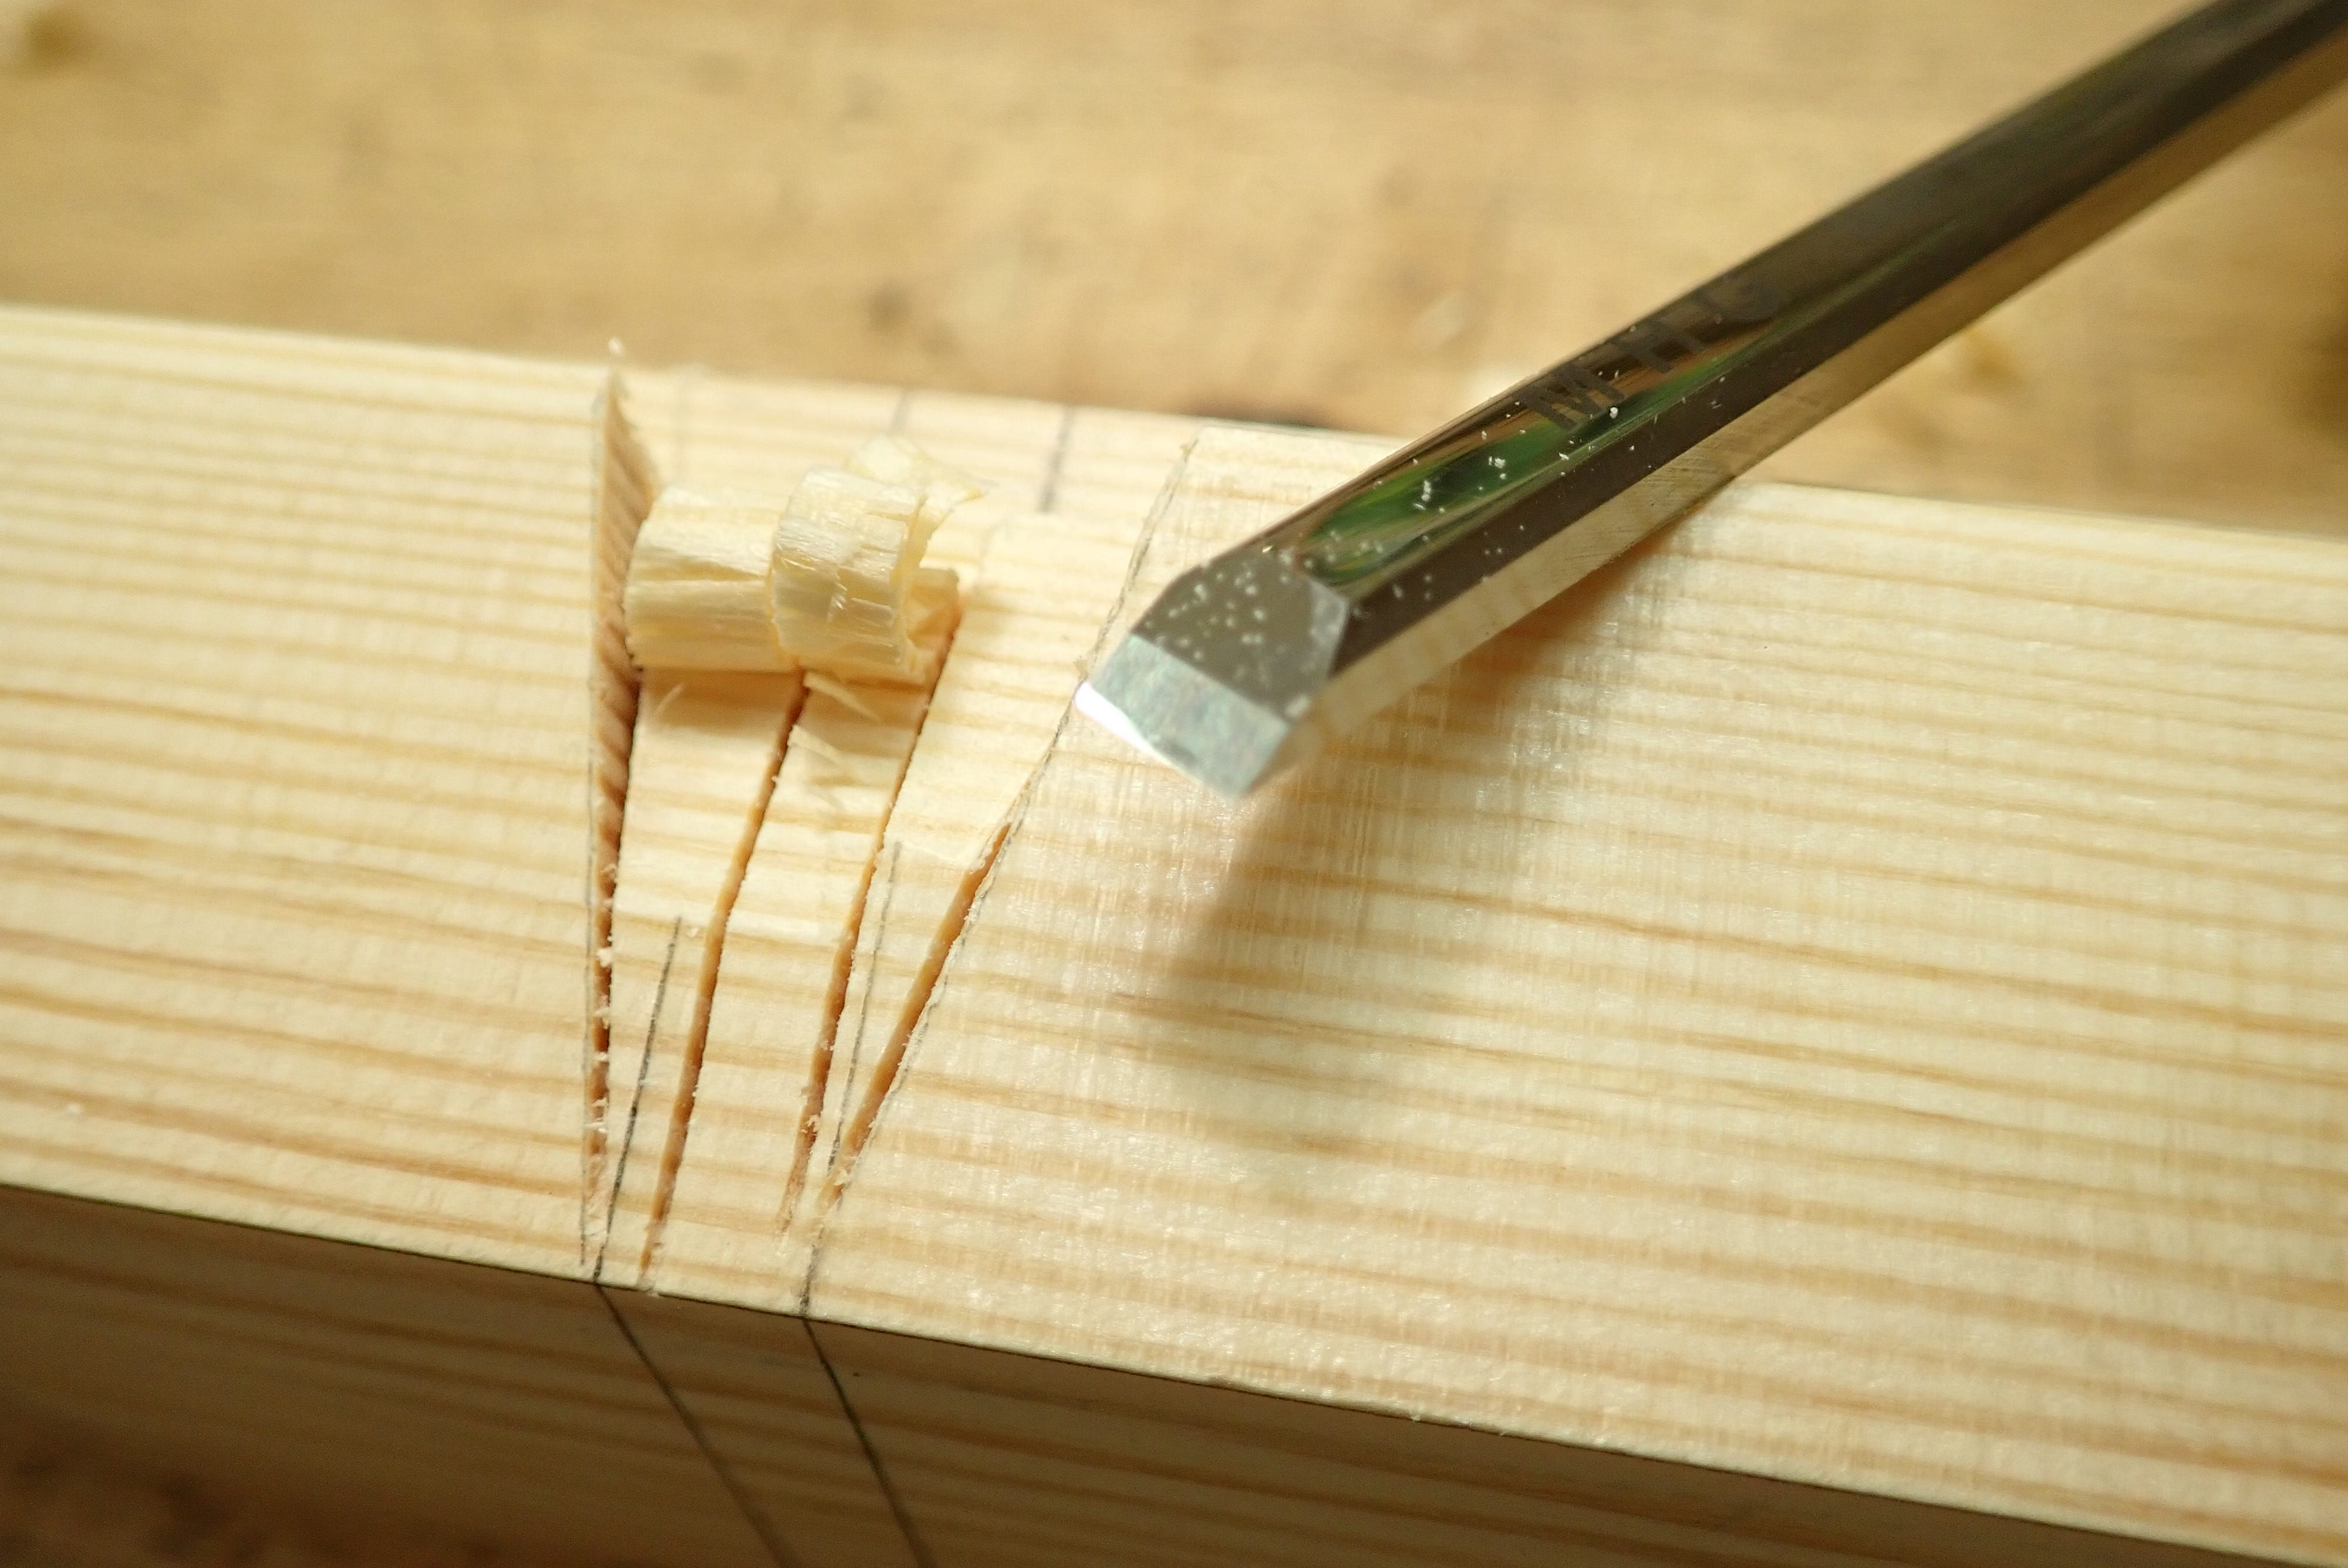
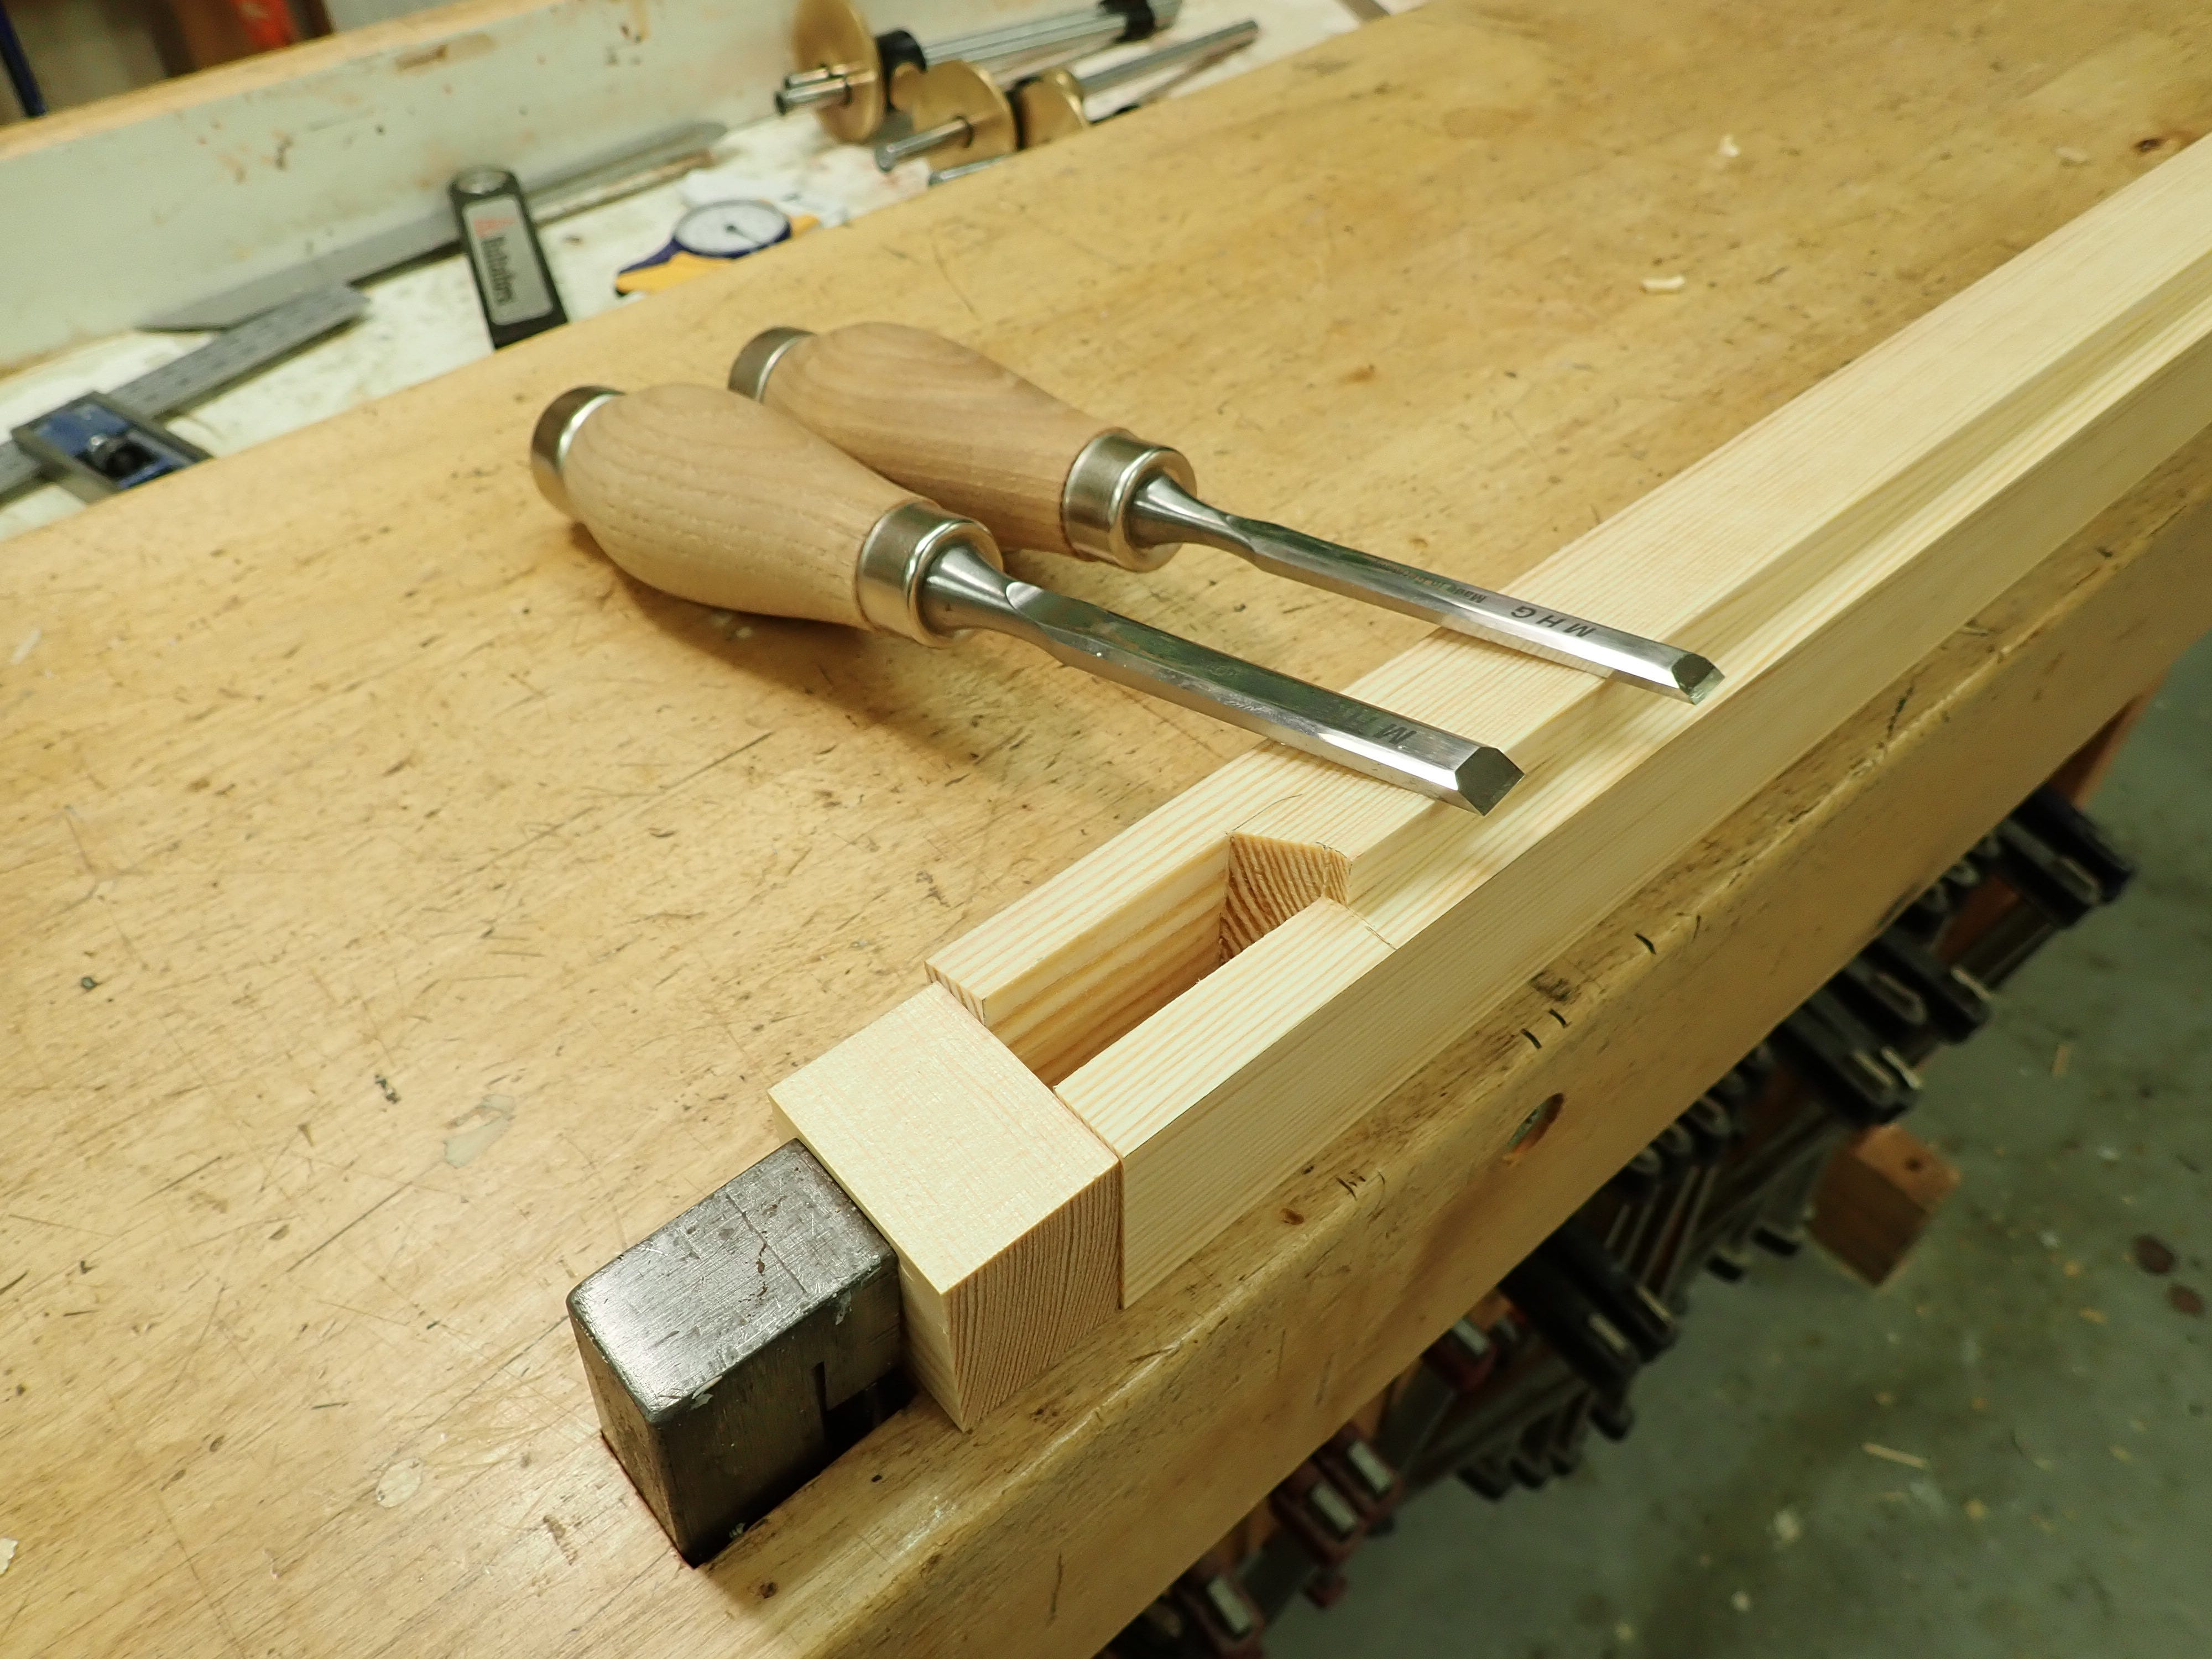
Use a wide and sharp! chisel to pare out towards the line, checking the fit as you go. Stop before you go too far! That’s timeless wisdom for free right there.
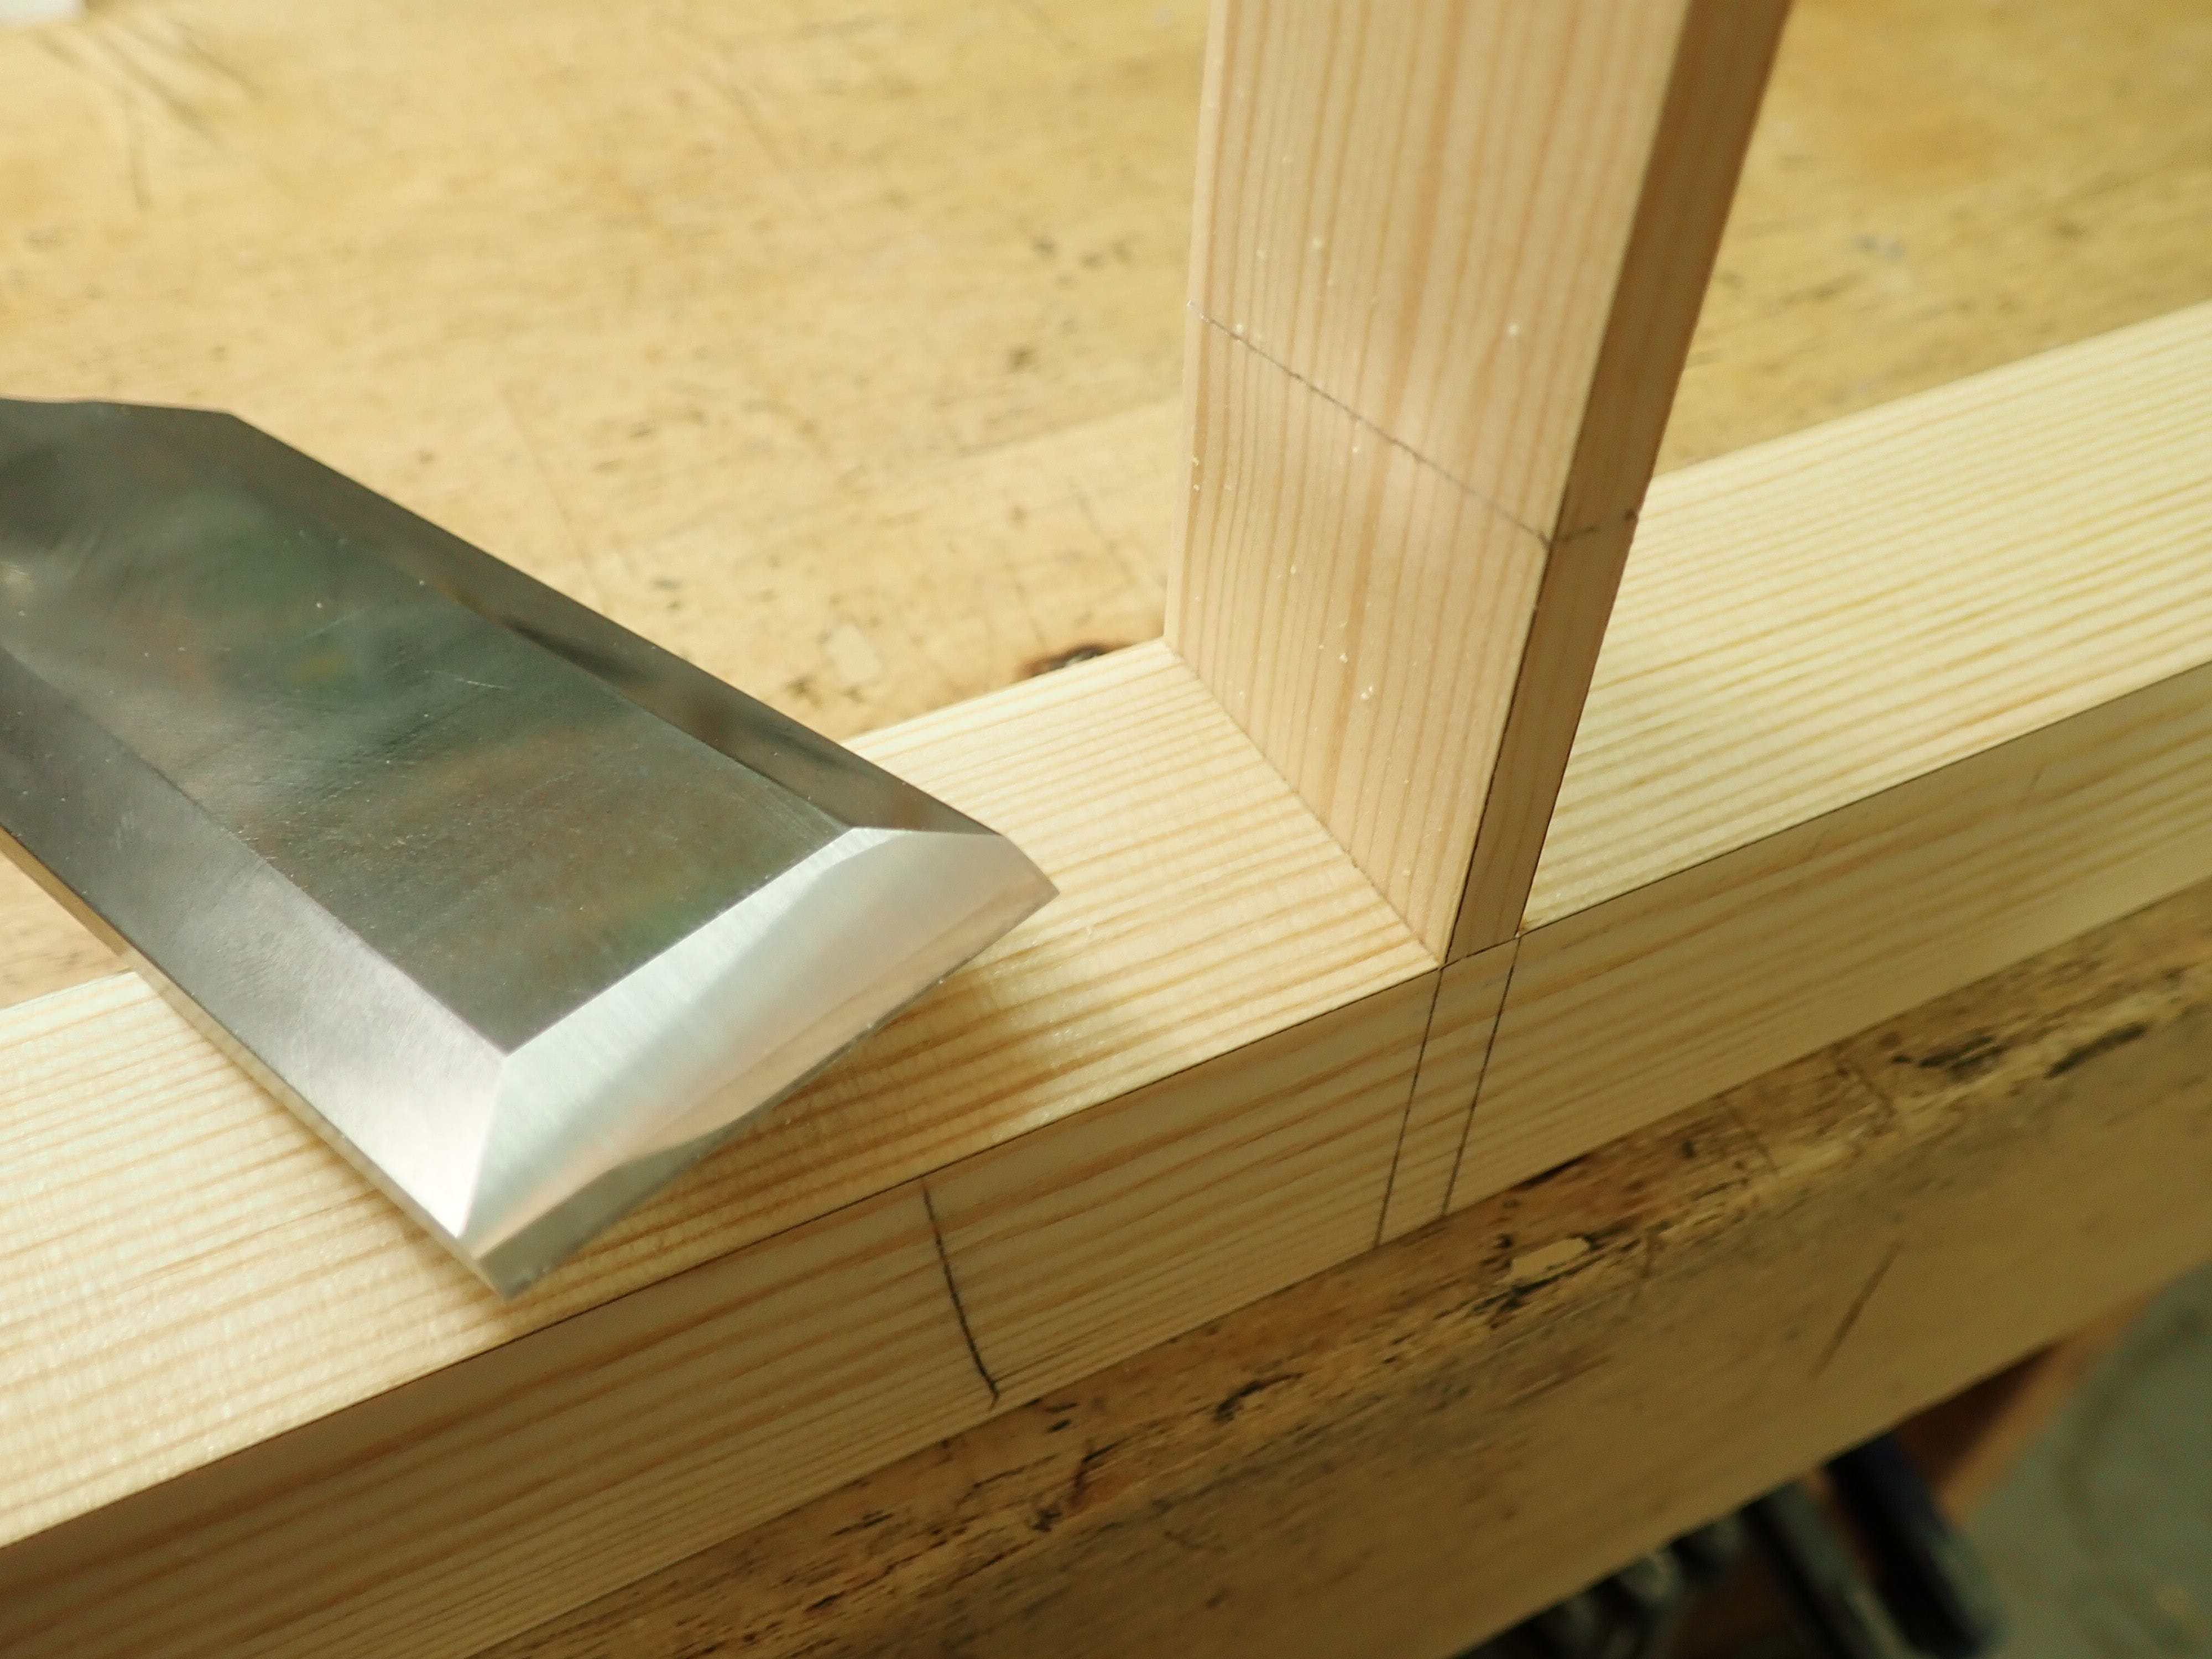
Laying out tenon & mortise: I use the same settings as I used in the corners.
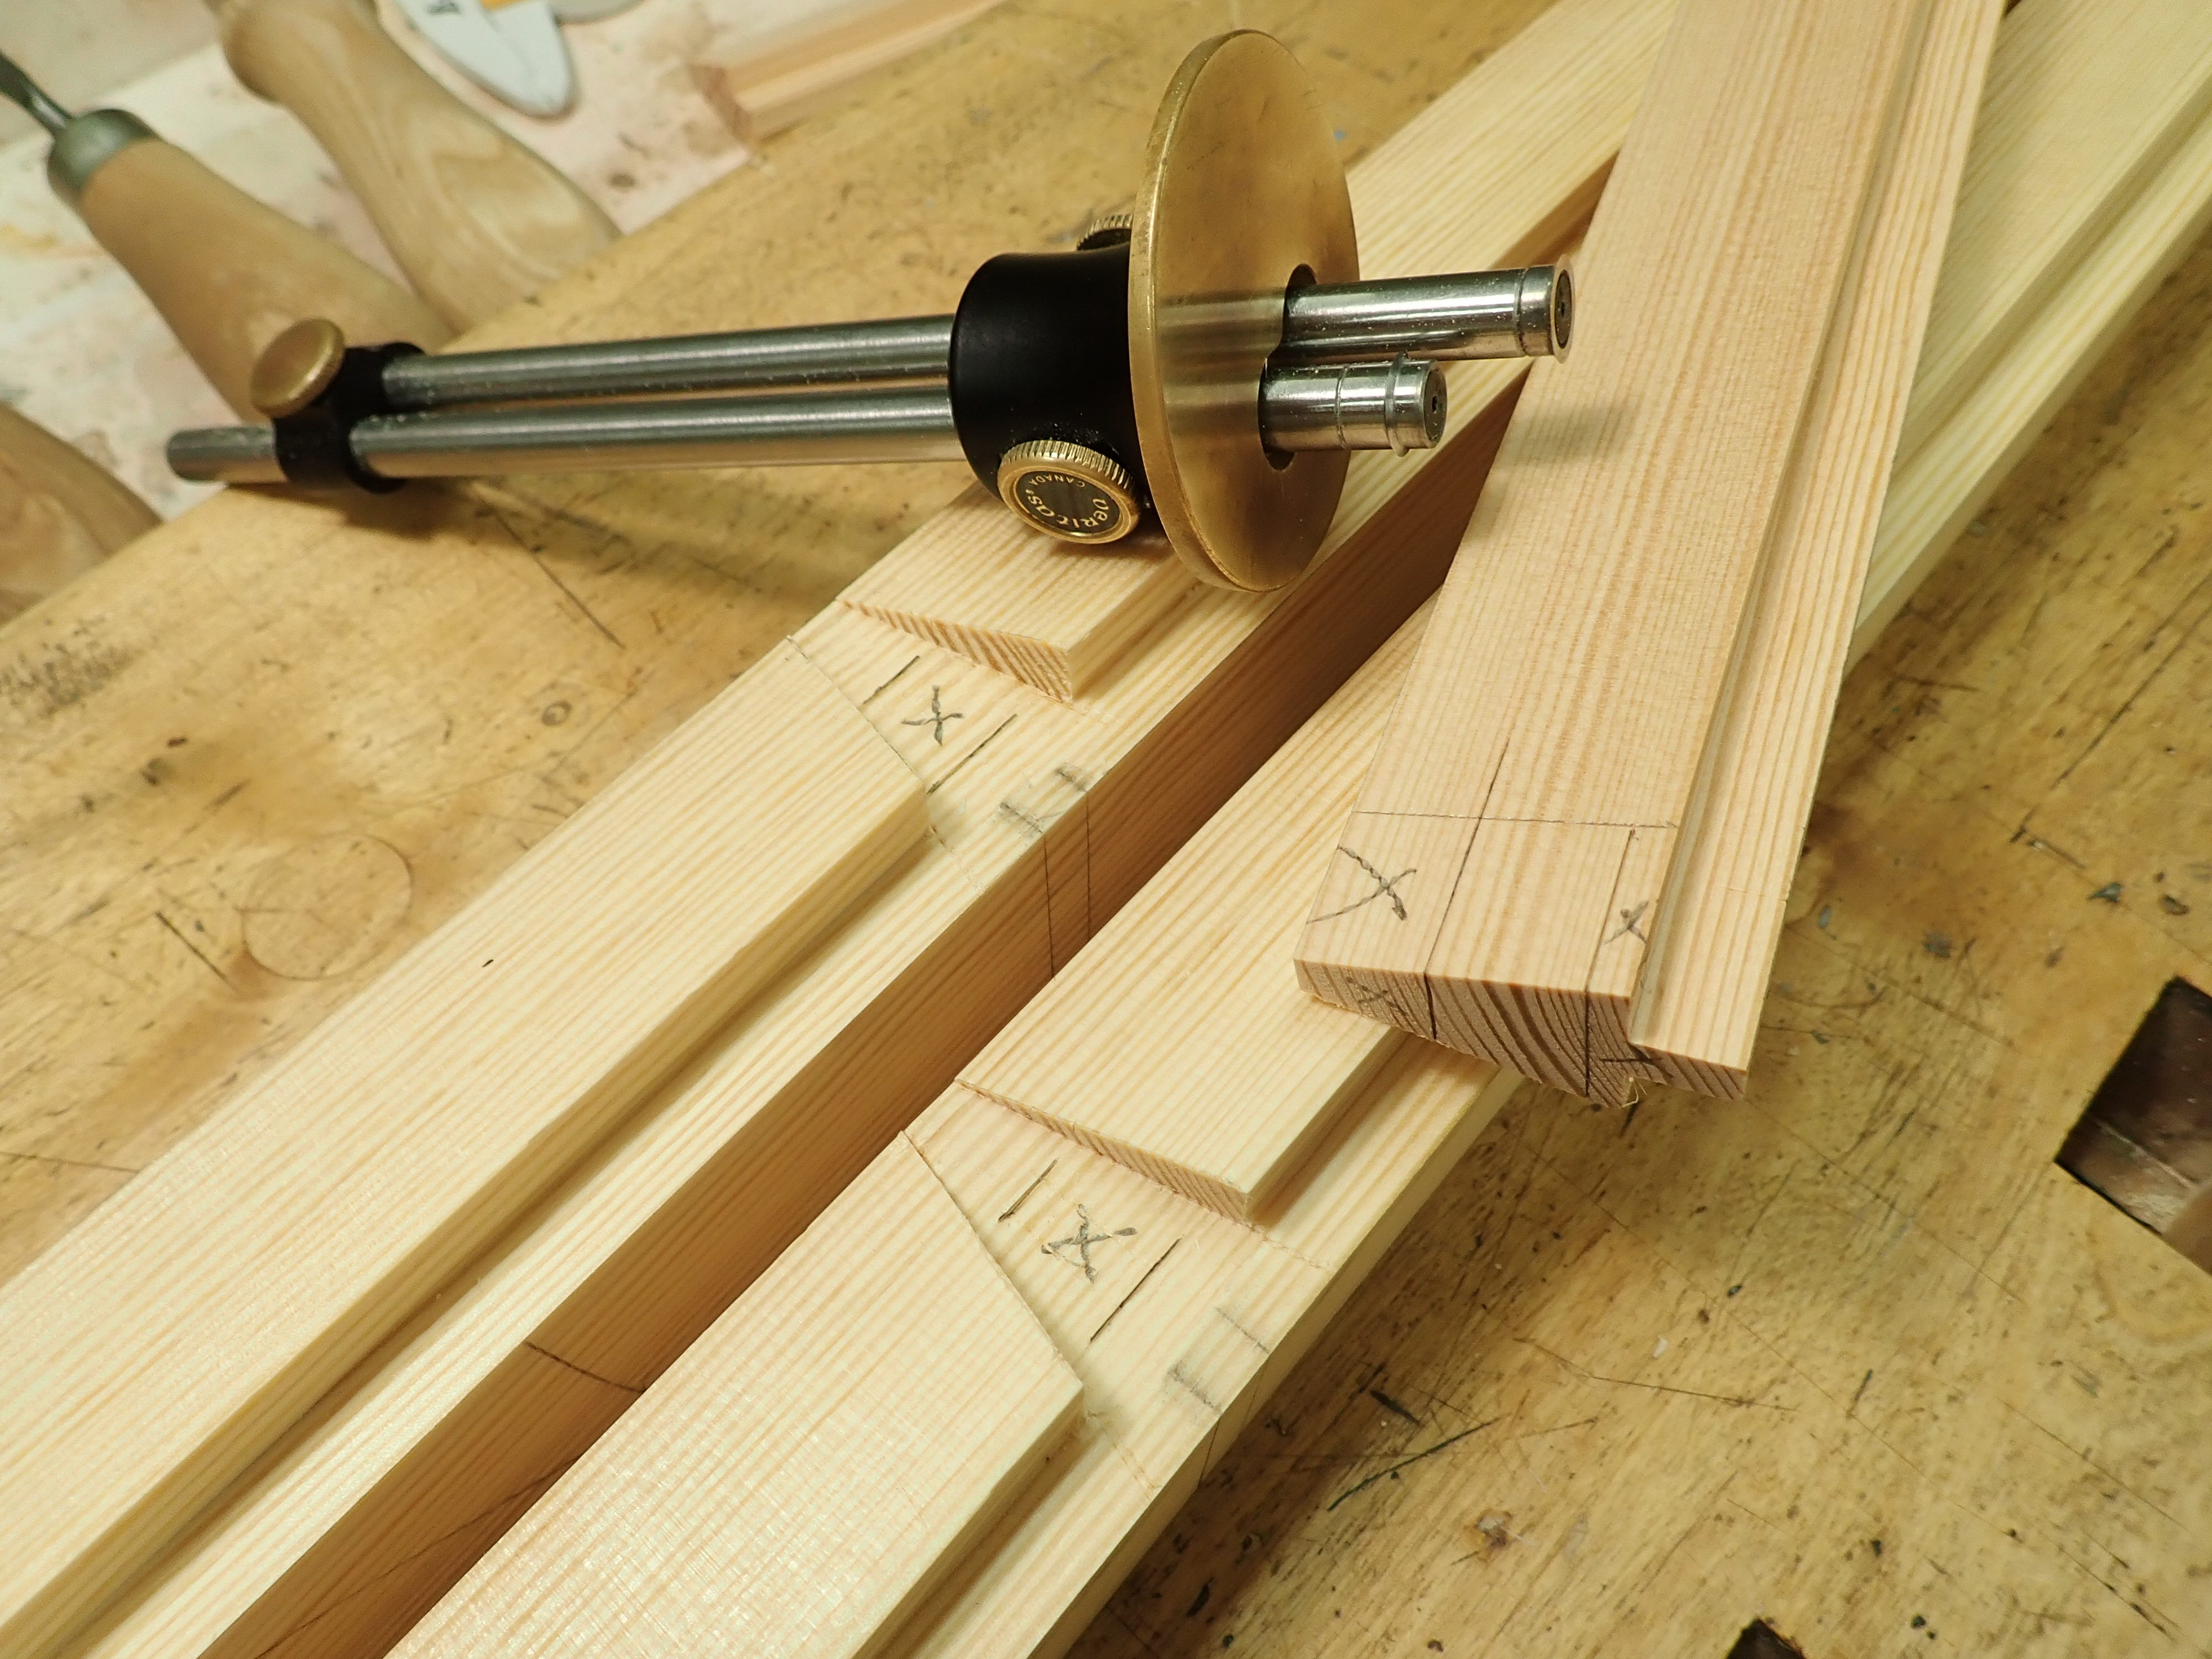
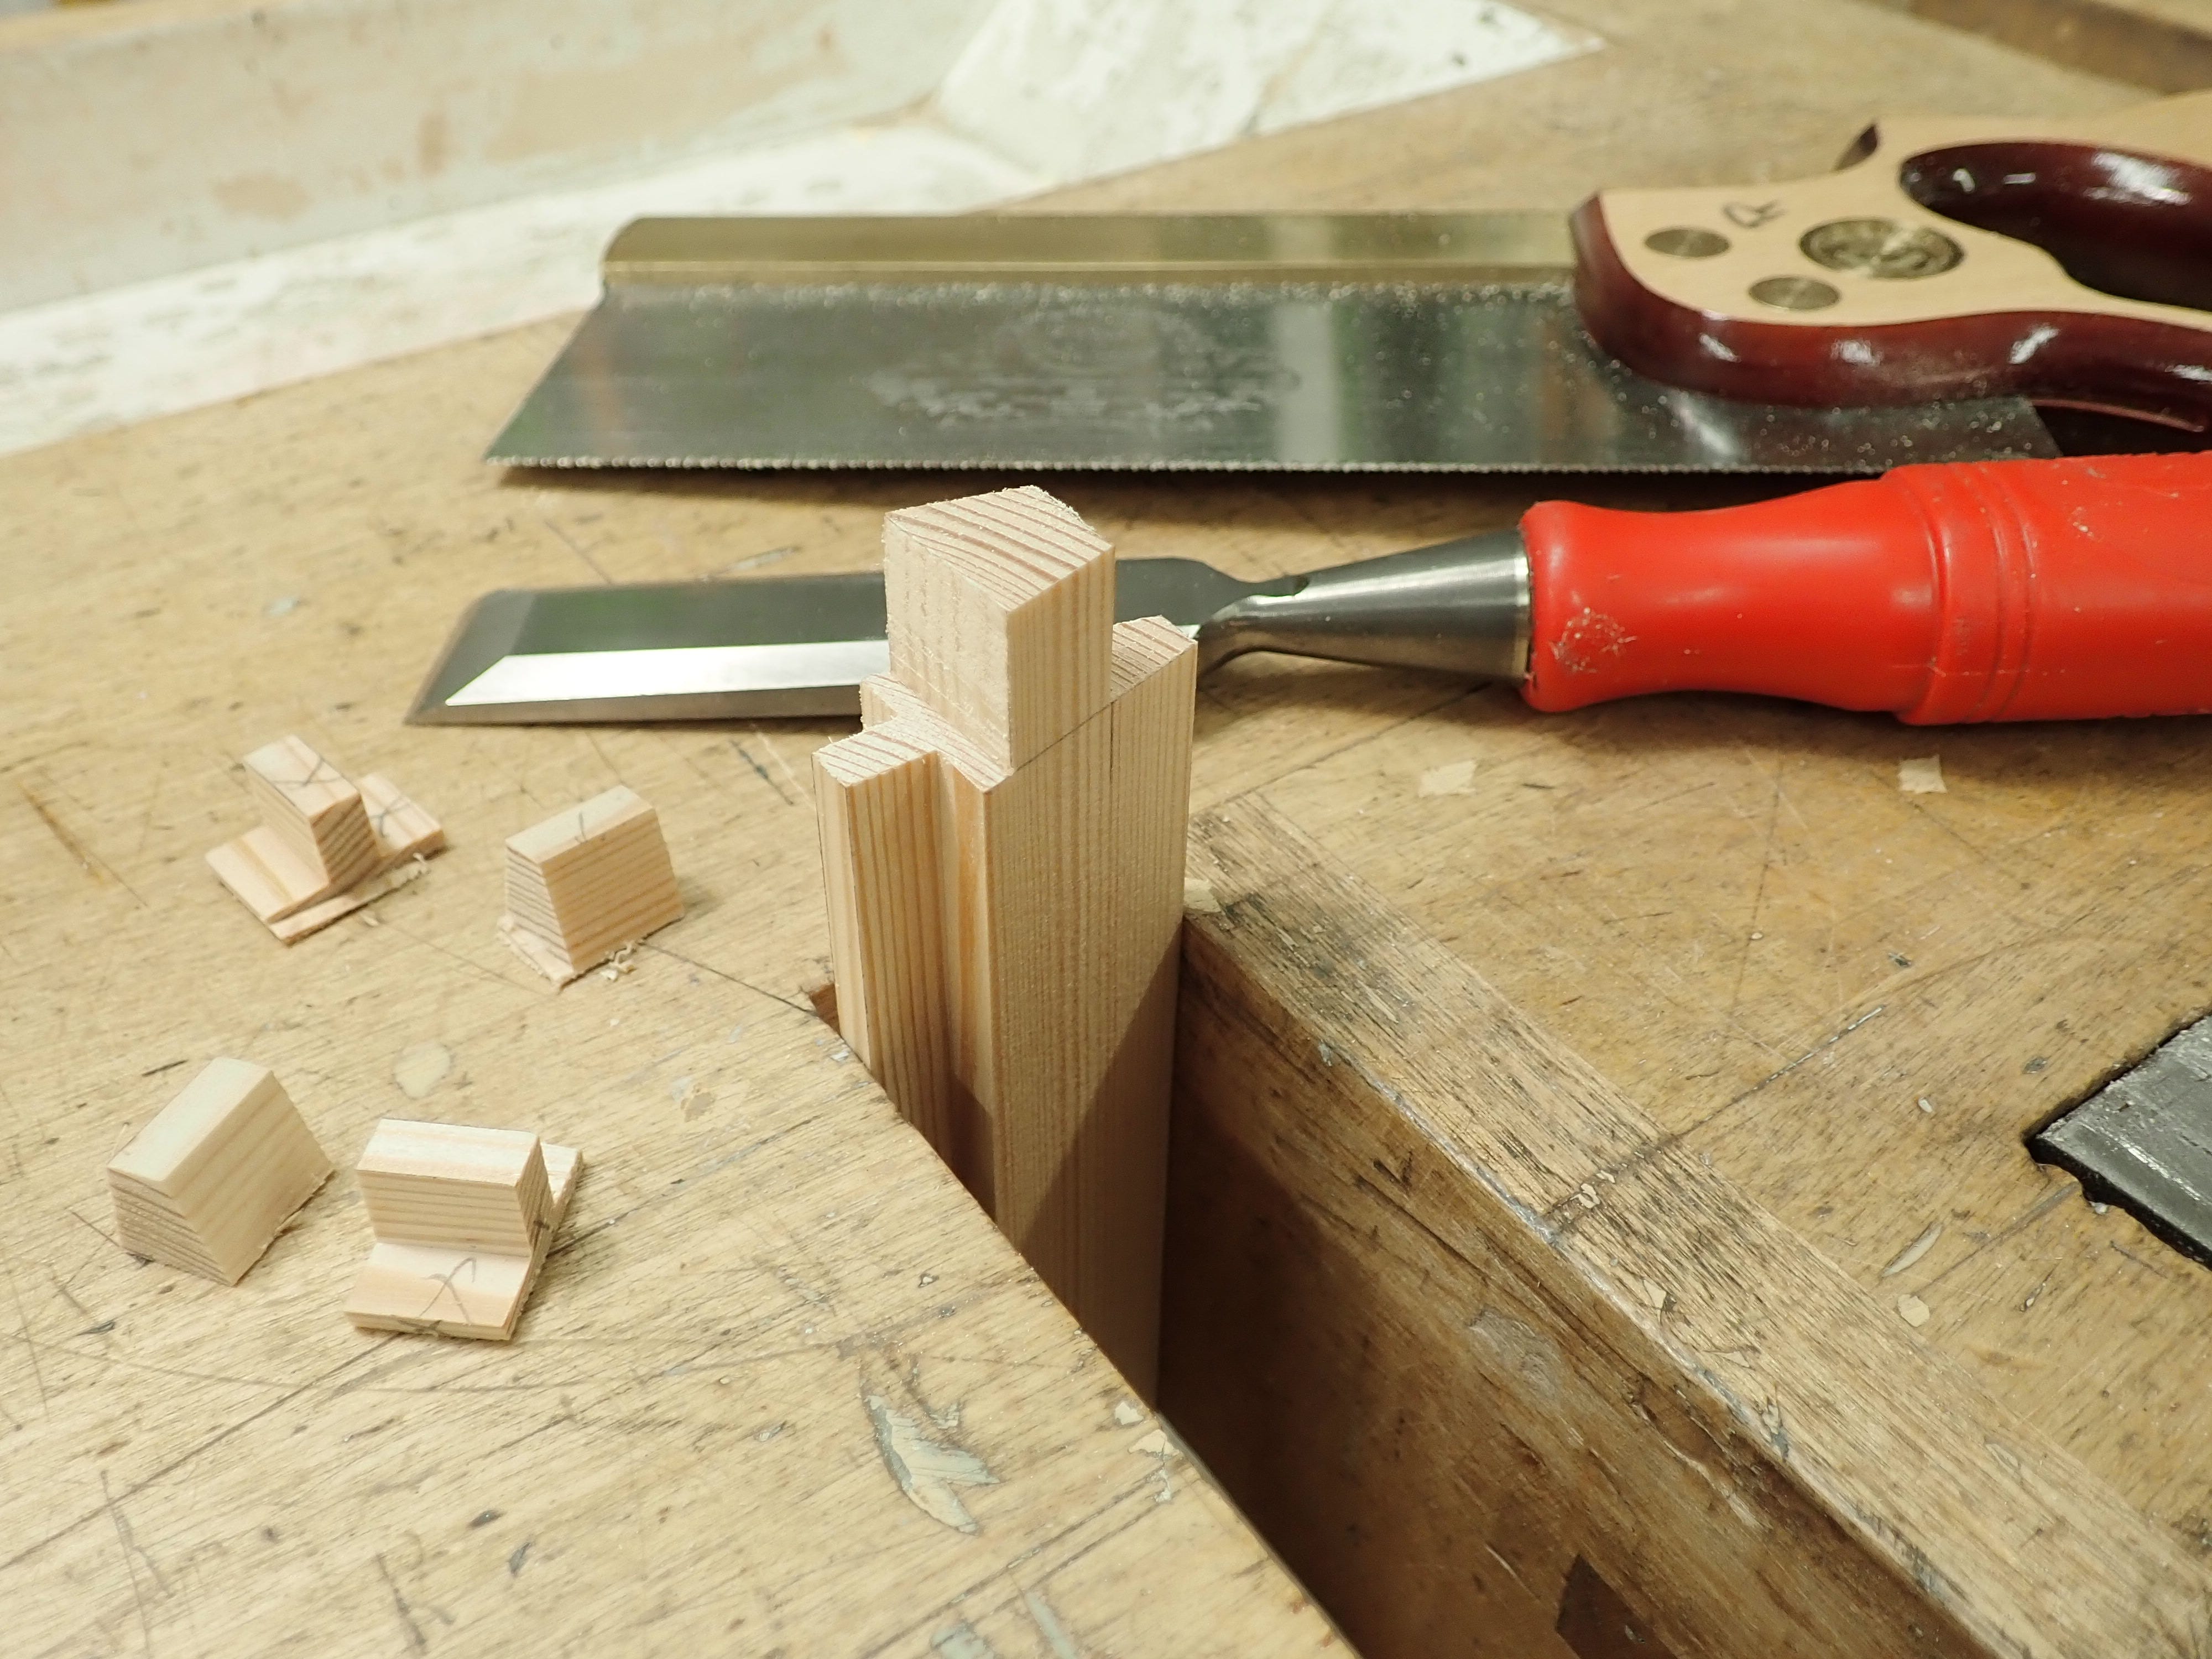
I told you the off-cuts were useful!
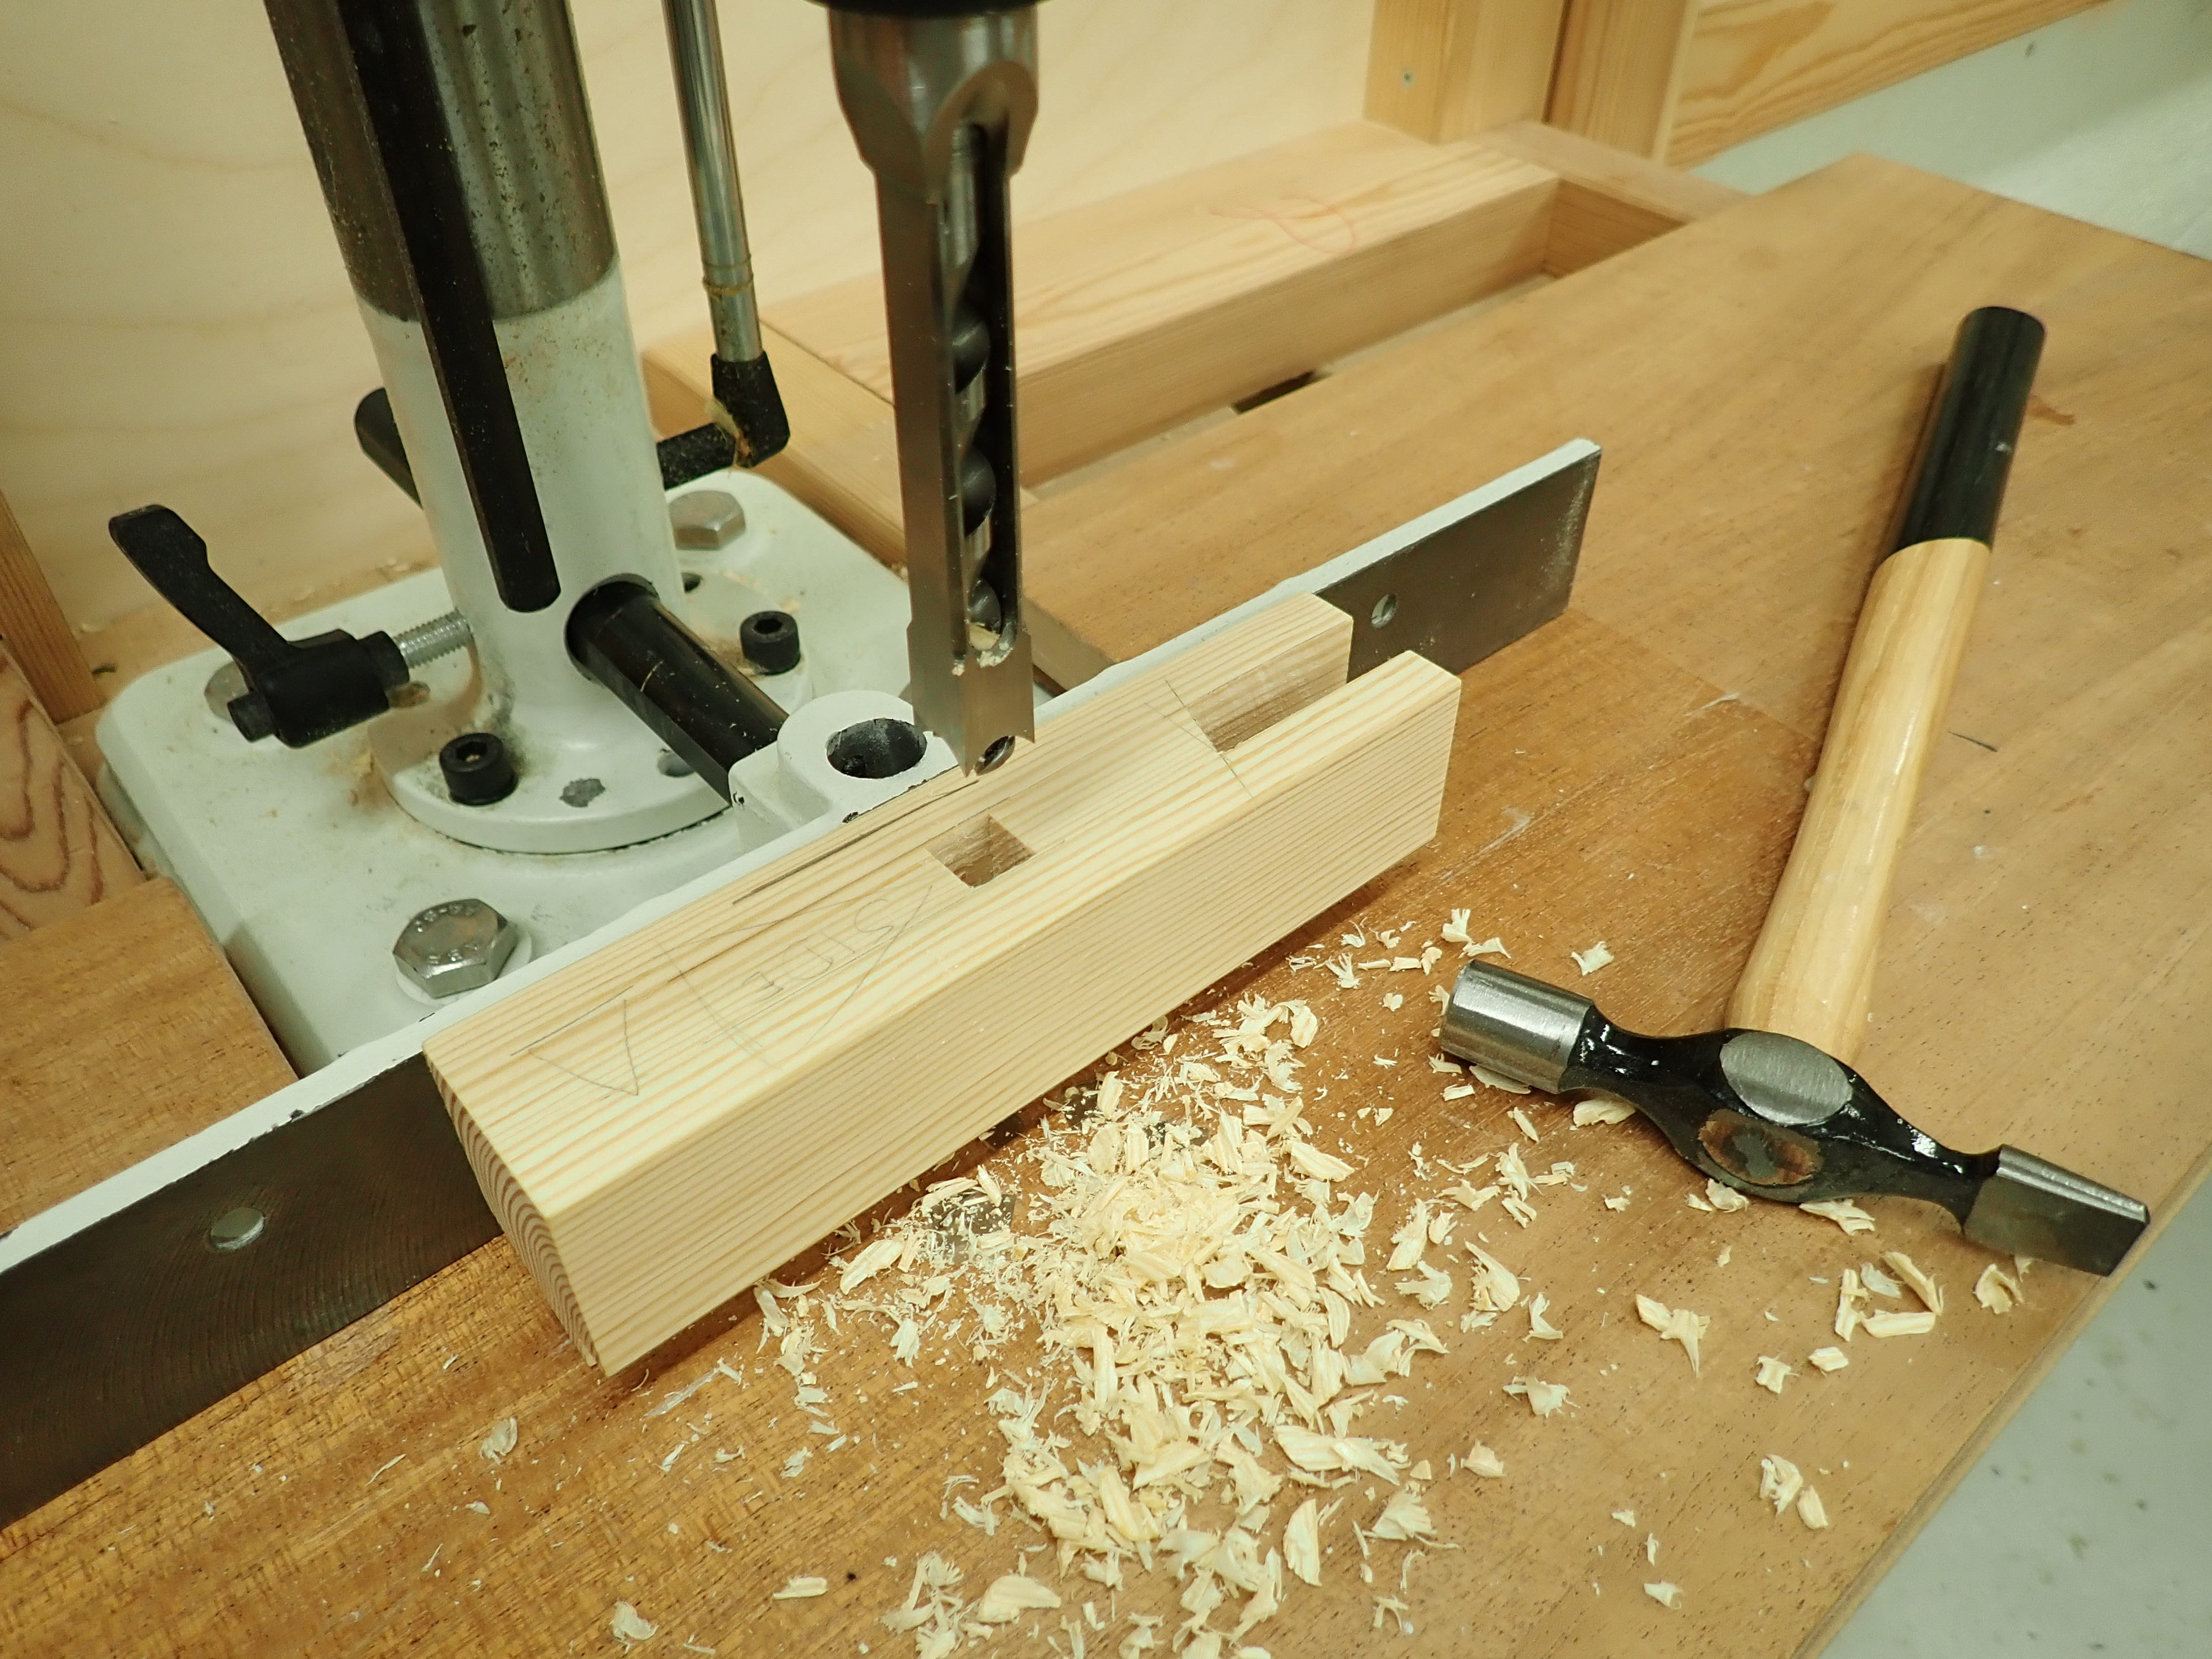
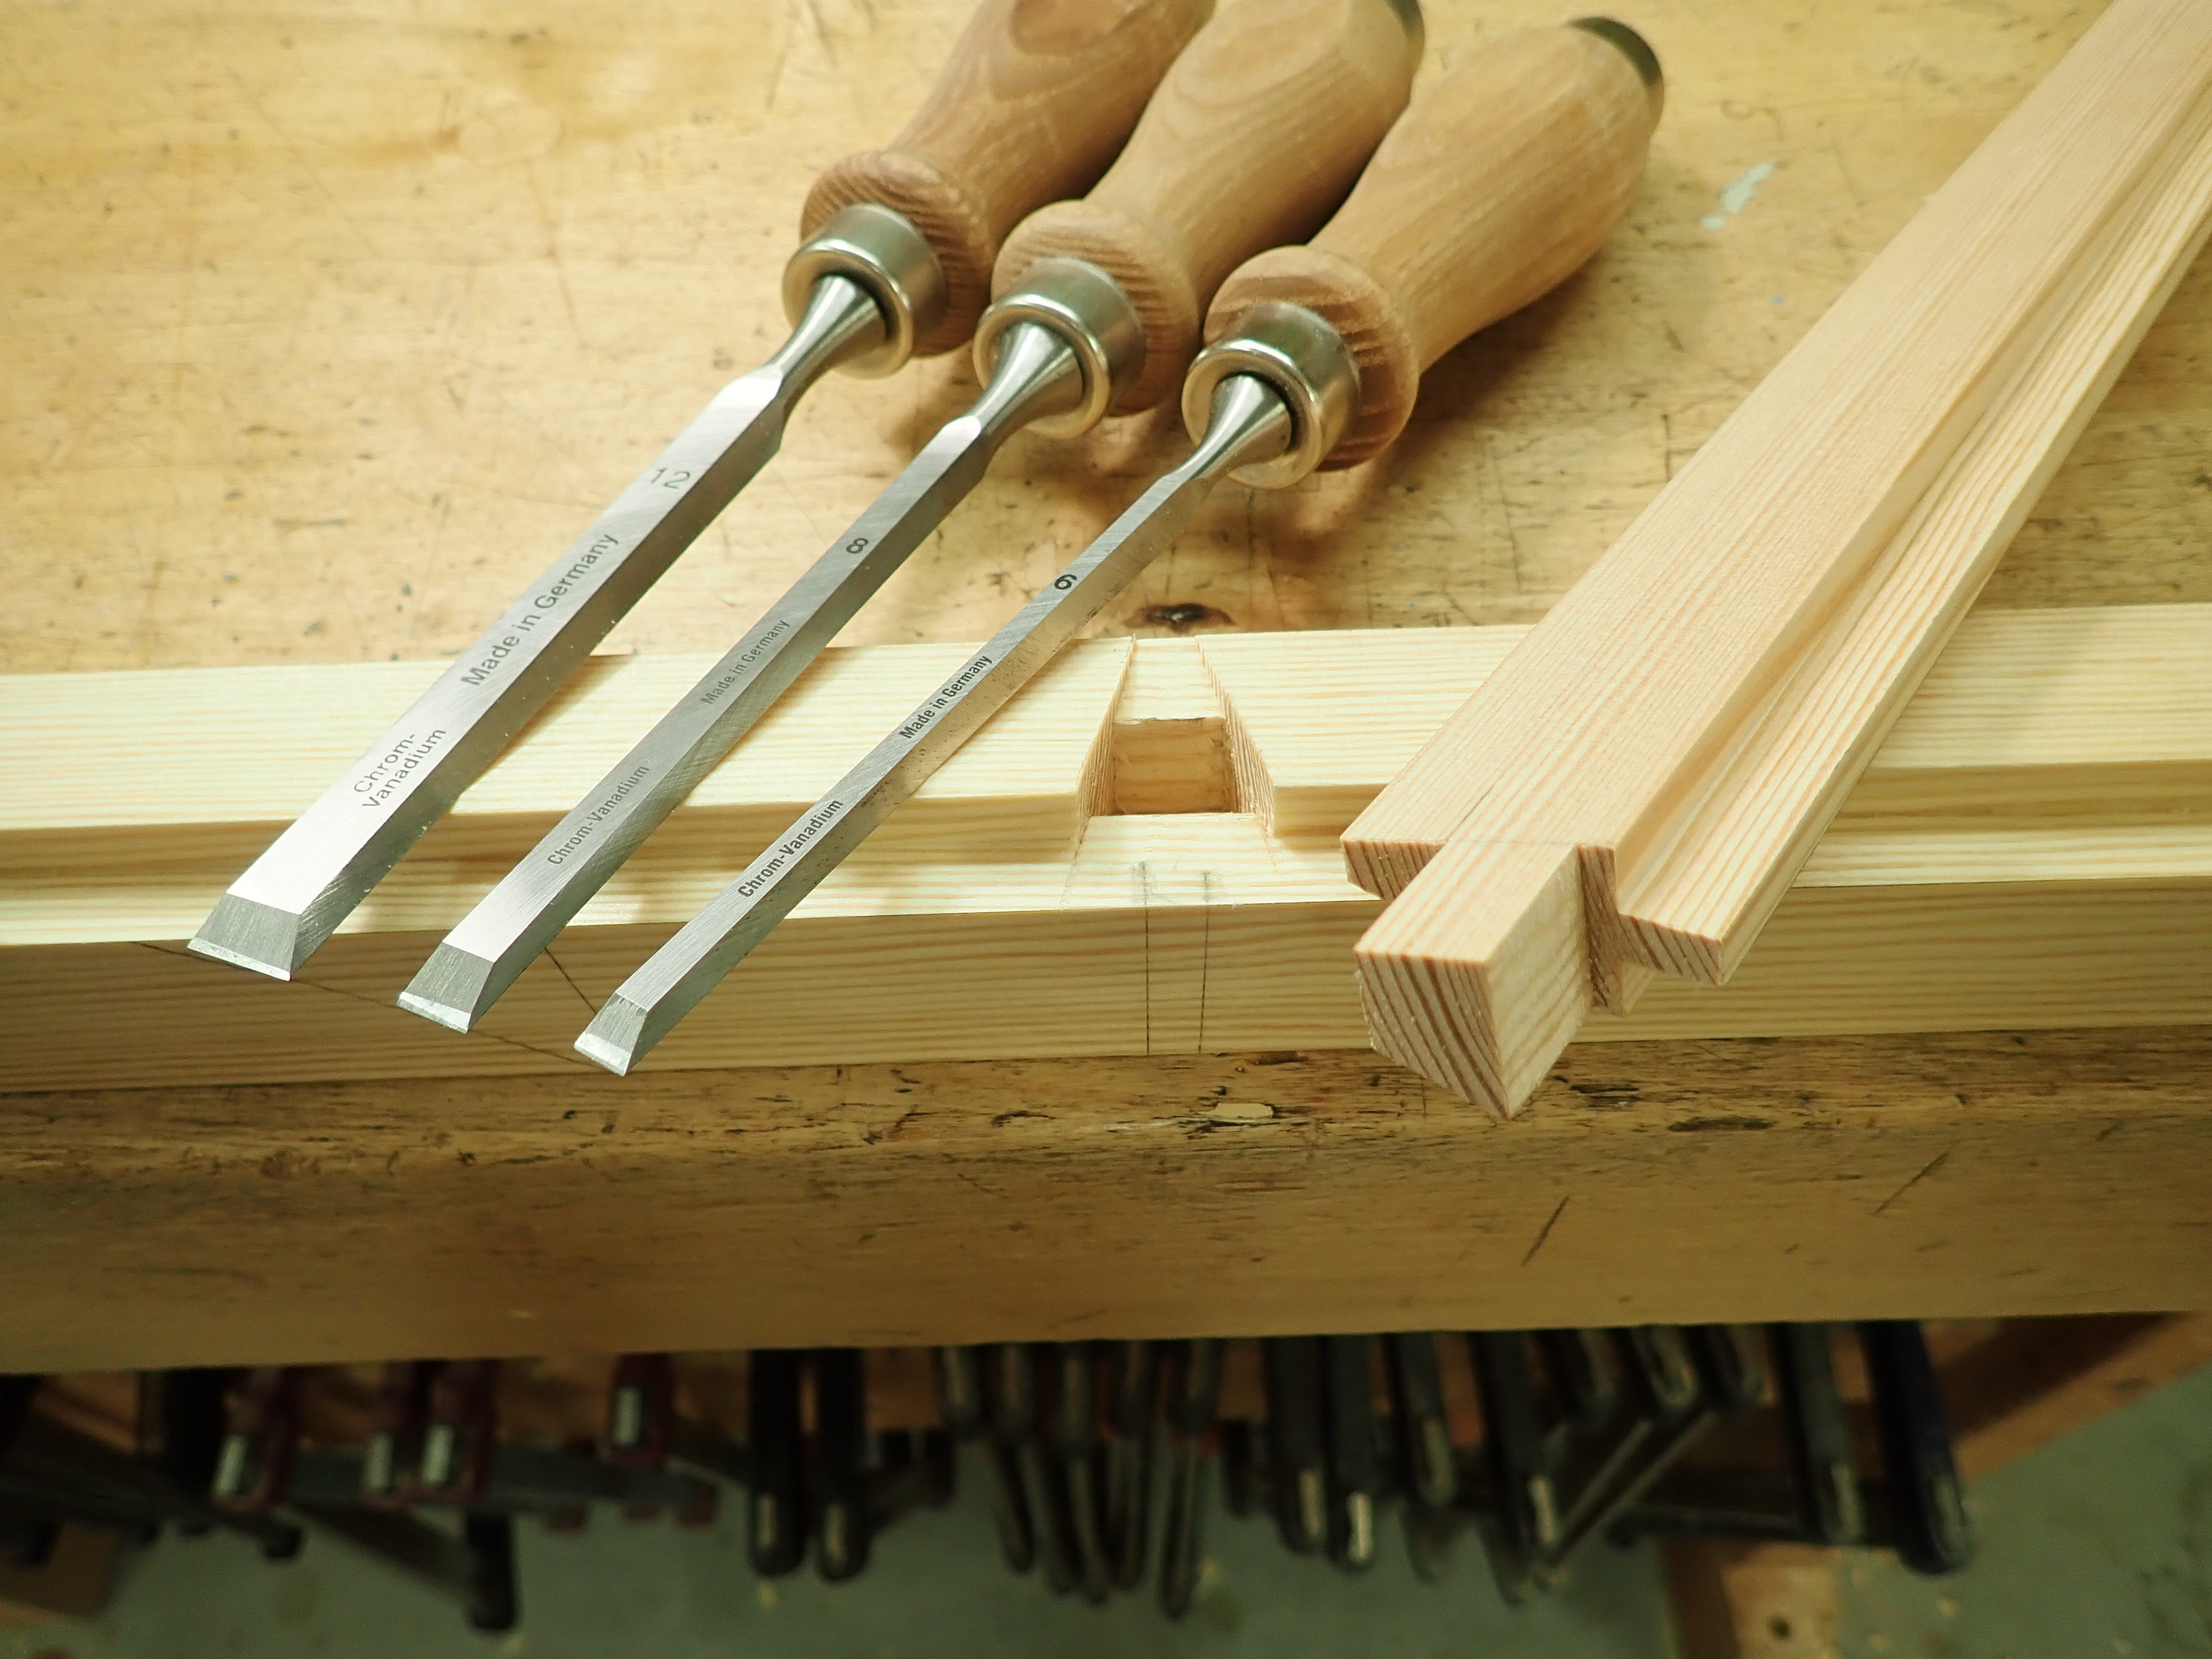
Sometimes, bevel-edged chisels are just what the doctor ordered.
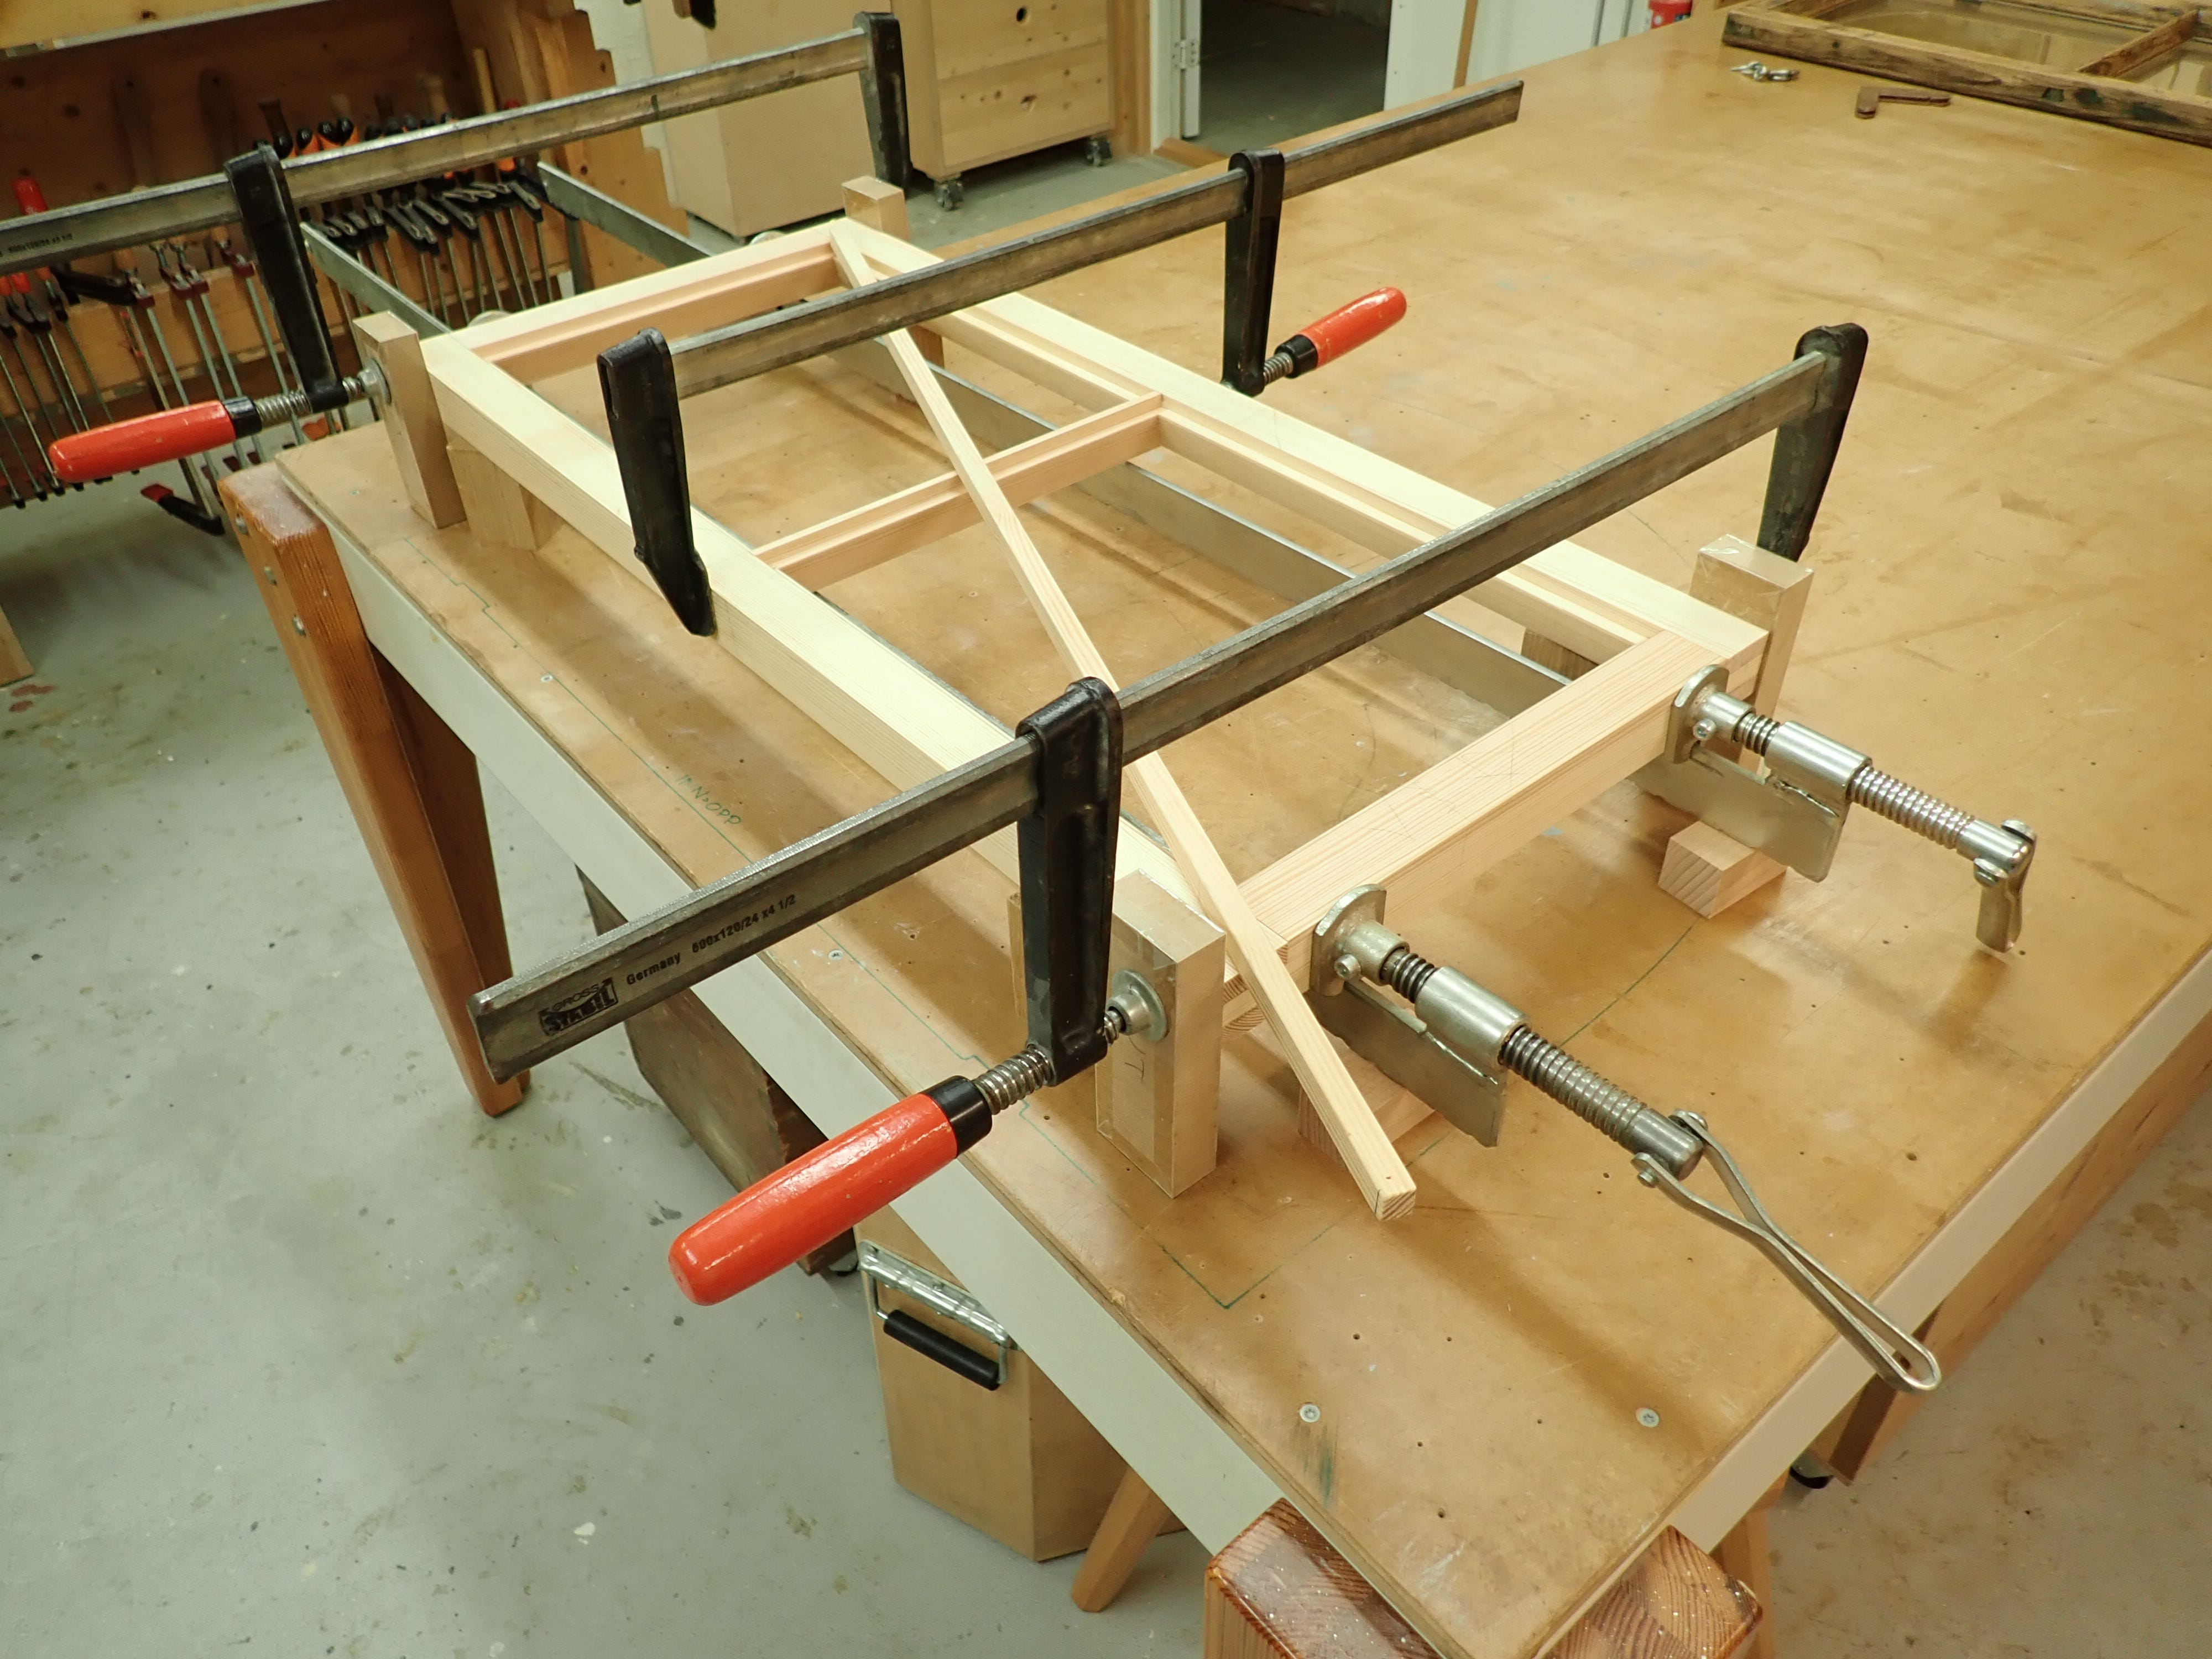
Block up, clamp up, measure the diagonal & shift clamps more parallel to the longest diagonal until there is no difference. Then do it all again with glue.
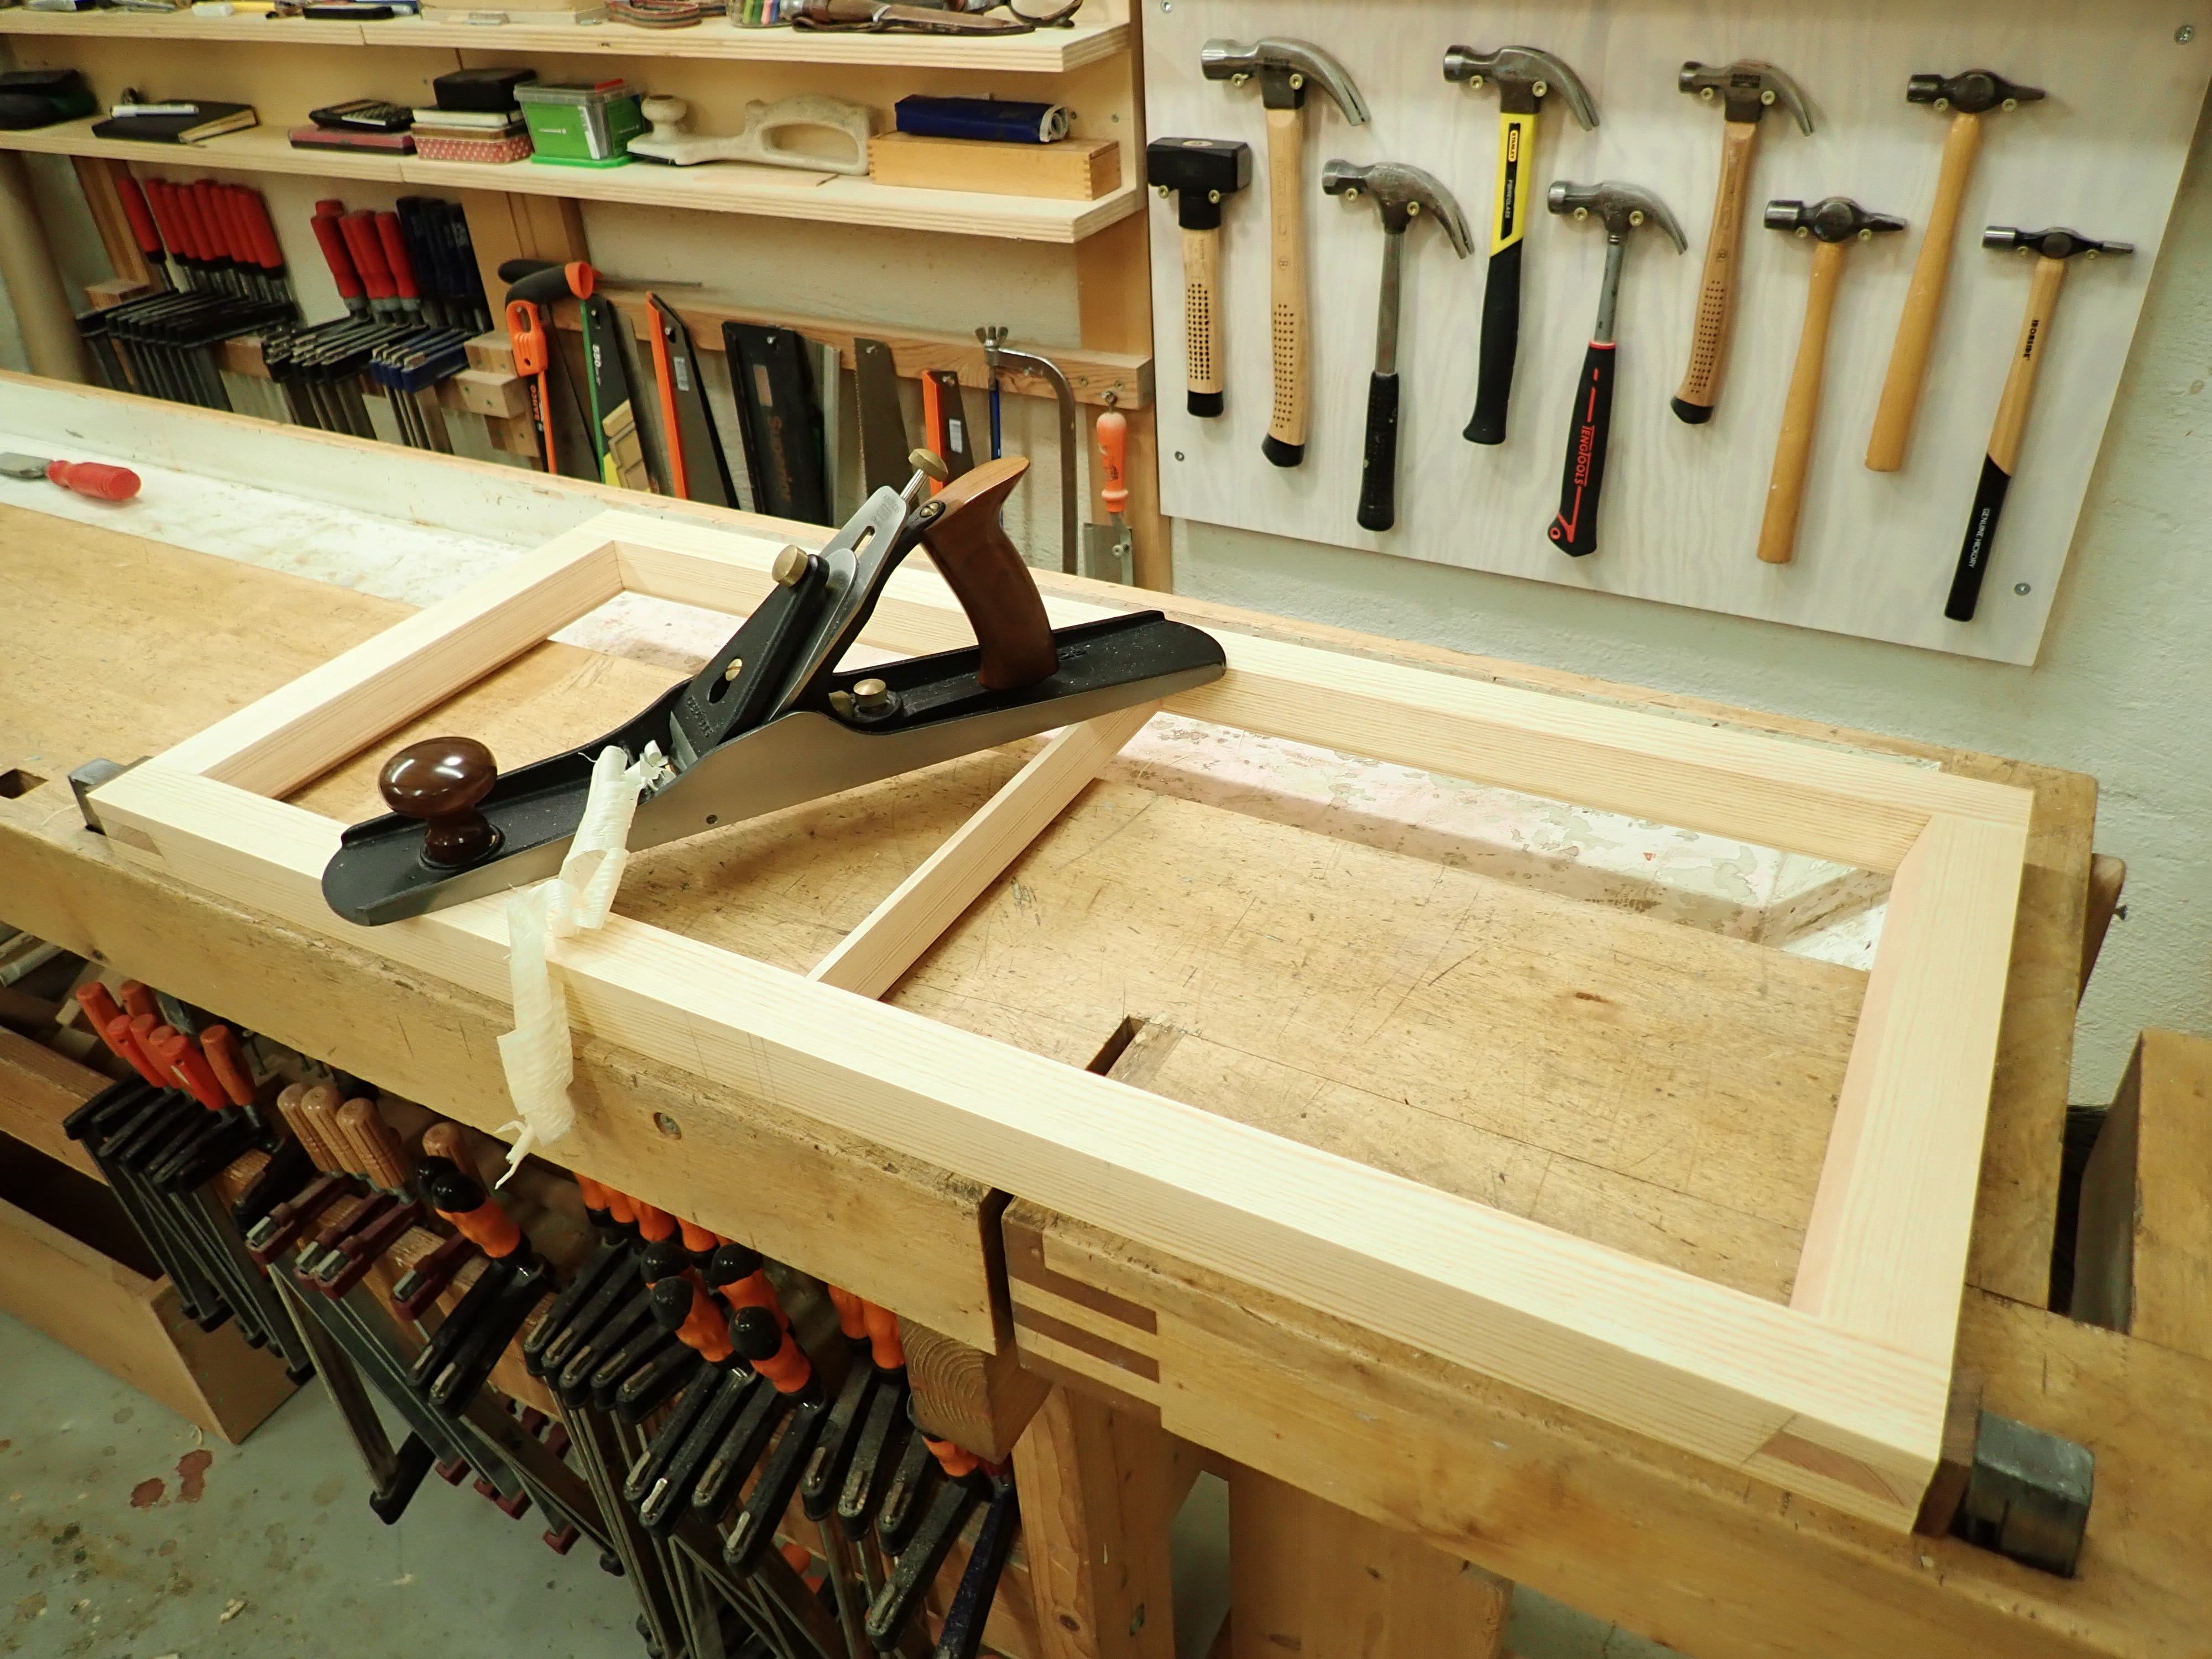
Next day: unclamp & tidy up; flatten faces, inside & out. Use long, sharp plane.
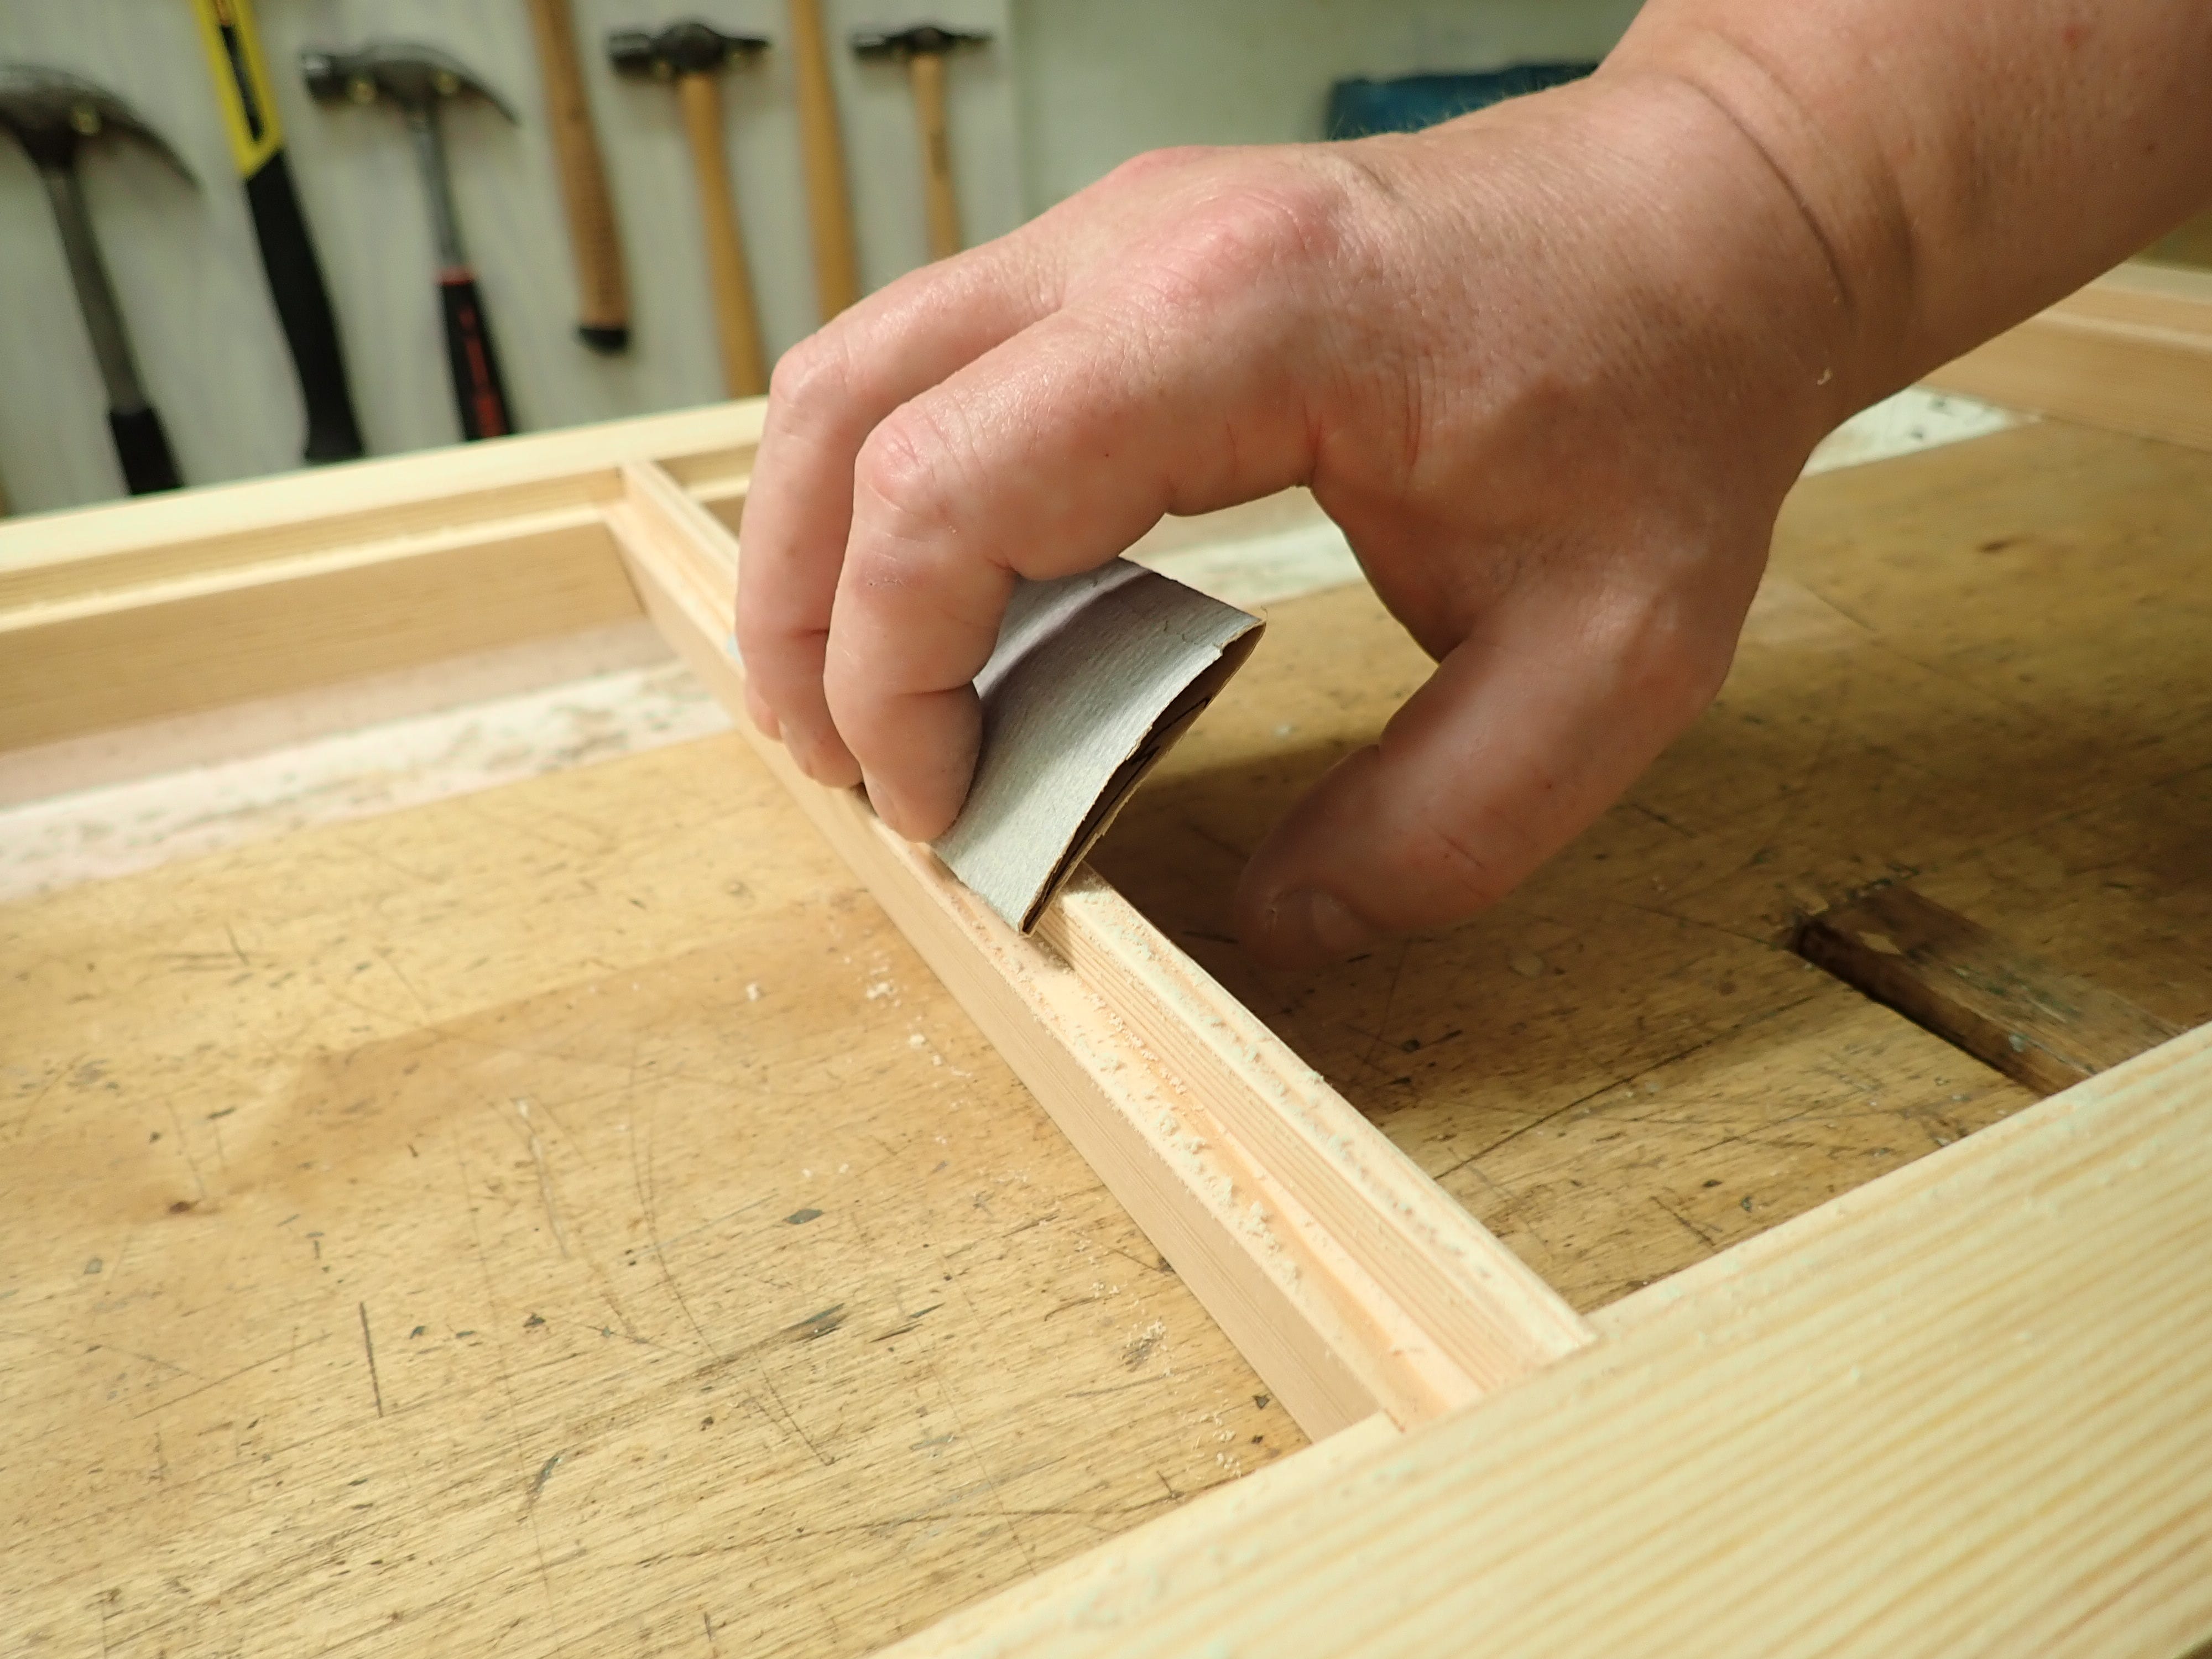
Break the sharp edges with a fold of 400-paper. The glazier will think fondly of you and besides, paint does not adhere at all well to sharp corners.
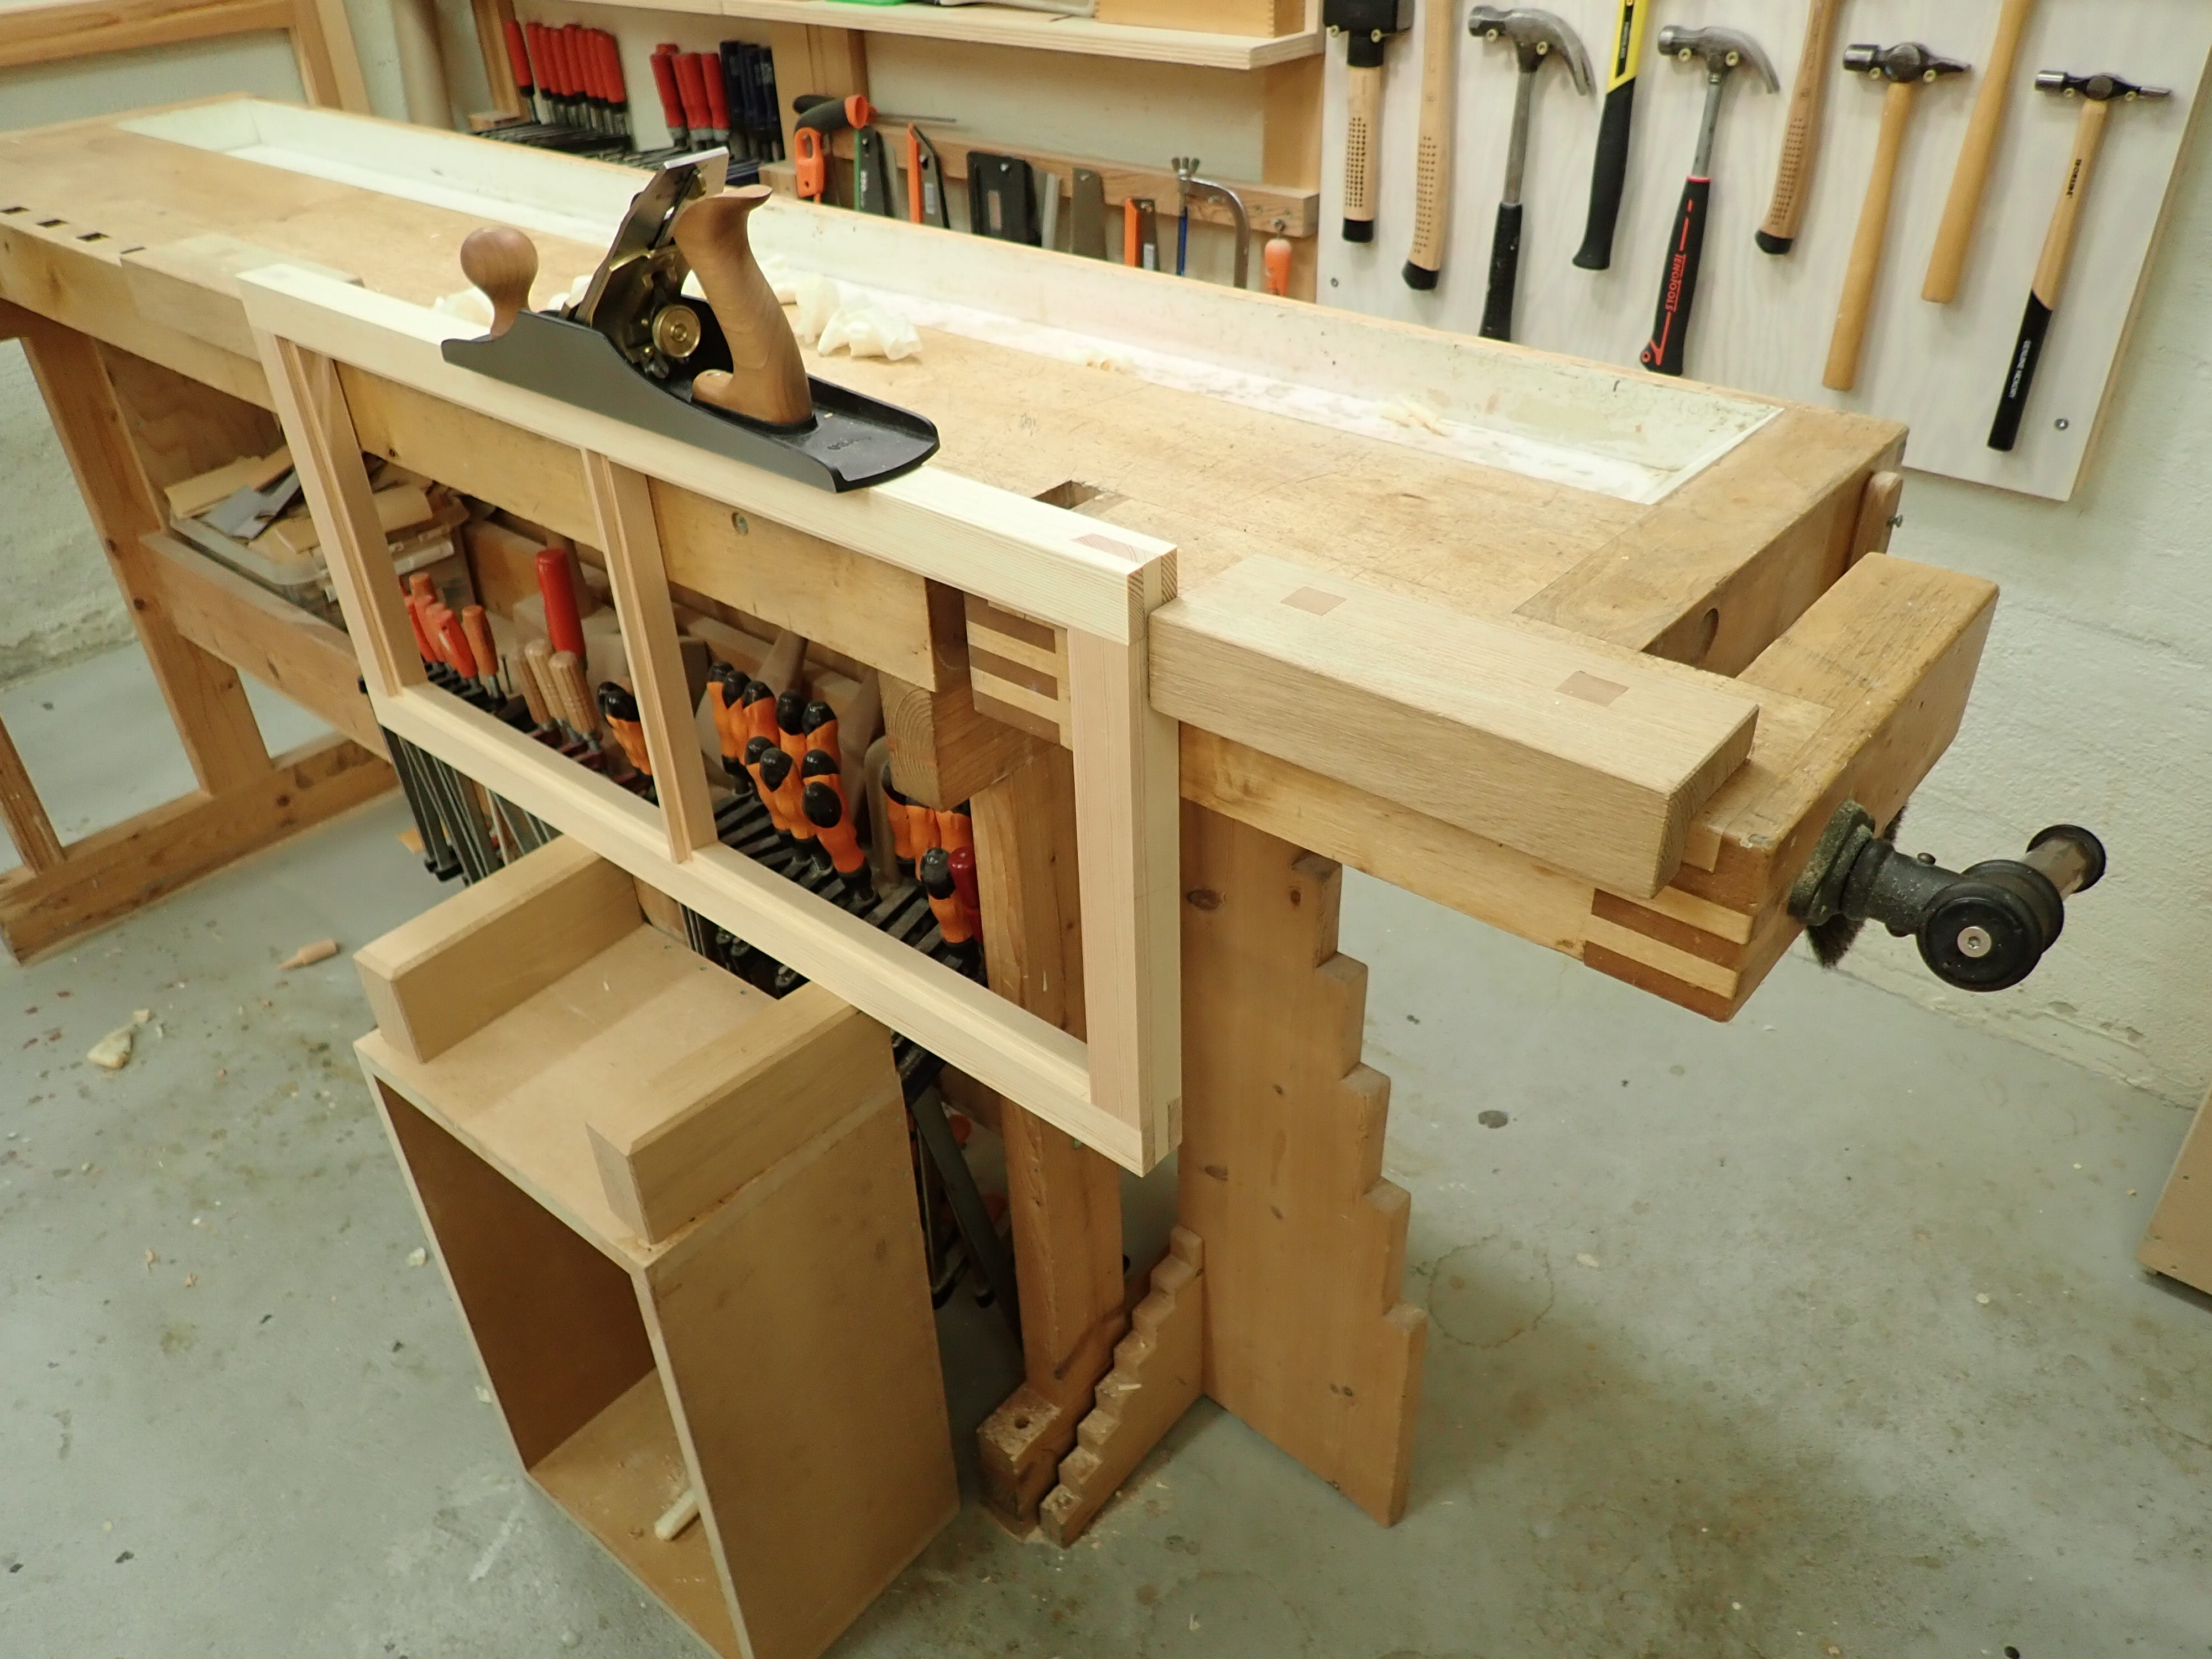
Next, give the edges a clean-up. Here, I’m using my side-bitches with the frame propped up on a my bench-box for firm support …
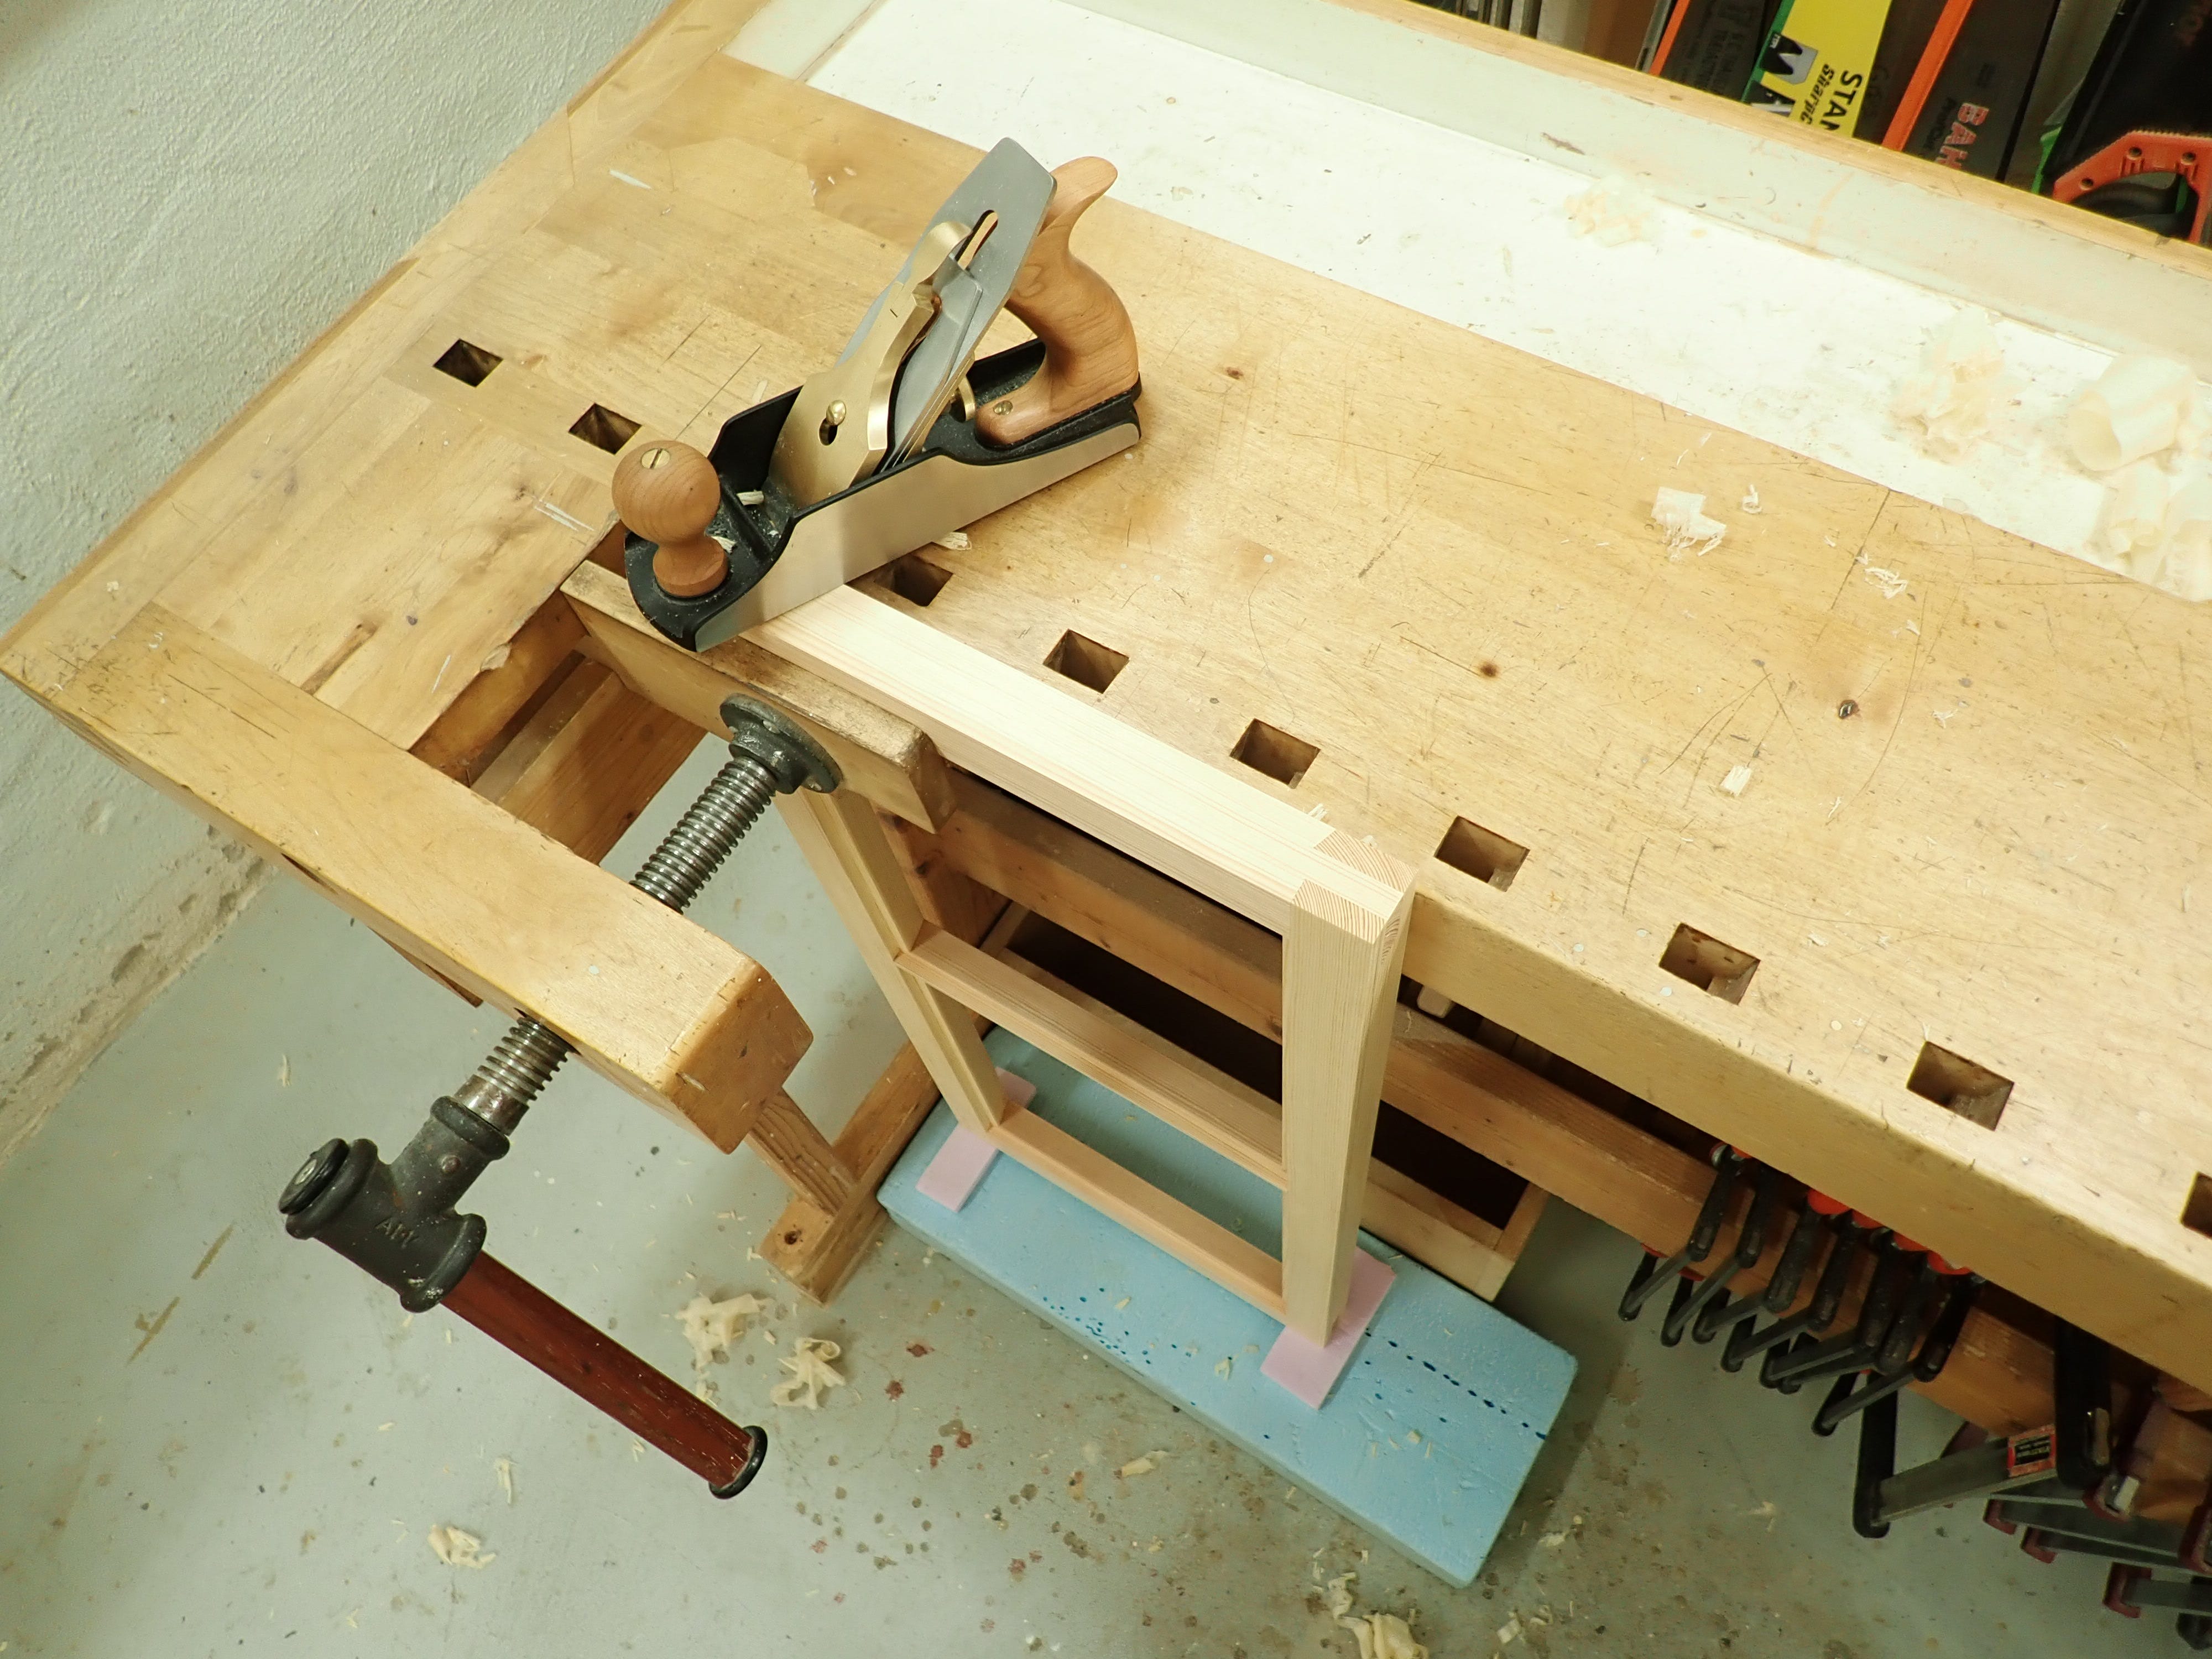
… but I could just as well have held it in the front vise resting on some foam.
Old-school windows like these were usually made with their edges slightly undercut / beveled towards the inside. The casements were correspondingly sloped. It makes it easier to adjust the fit between frame and casement and alleviates the ‘swing-radius’-problem (if you know, you know).
I cut the slope on the saw with the blade tilted the required amount. The bevel does not extend all the way to the outer face; leave 7 mm or so ‘square’.
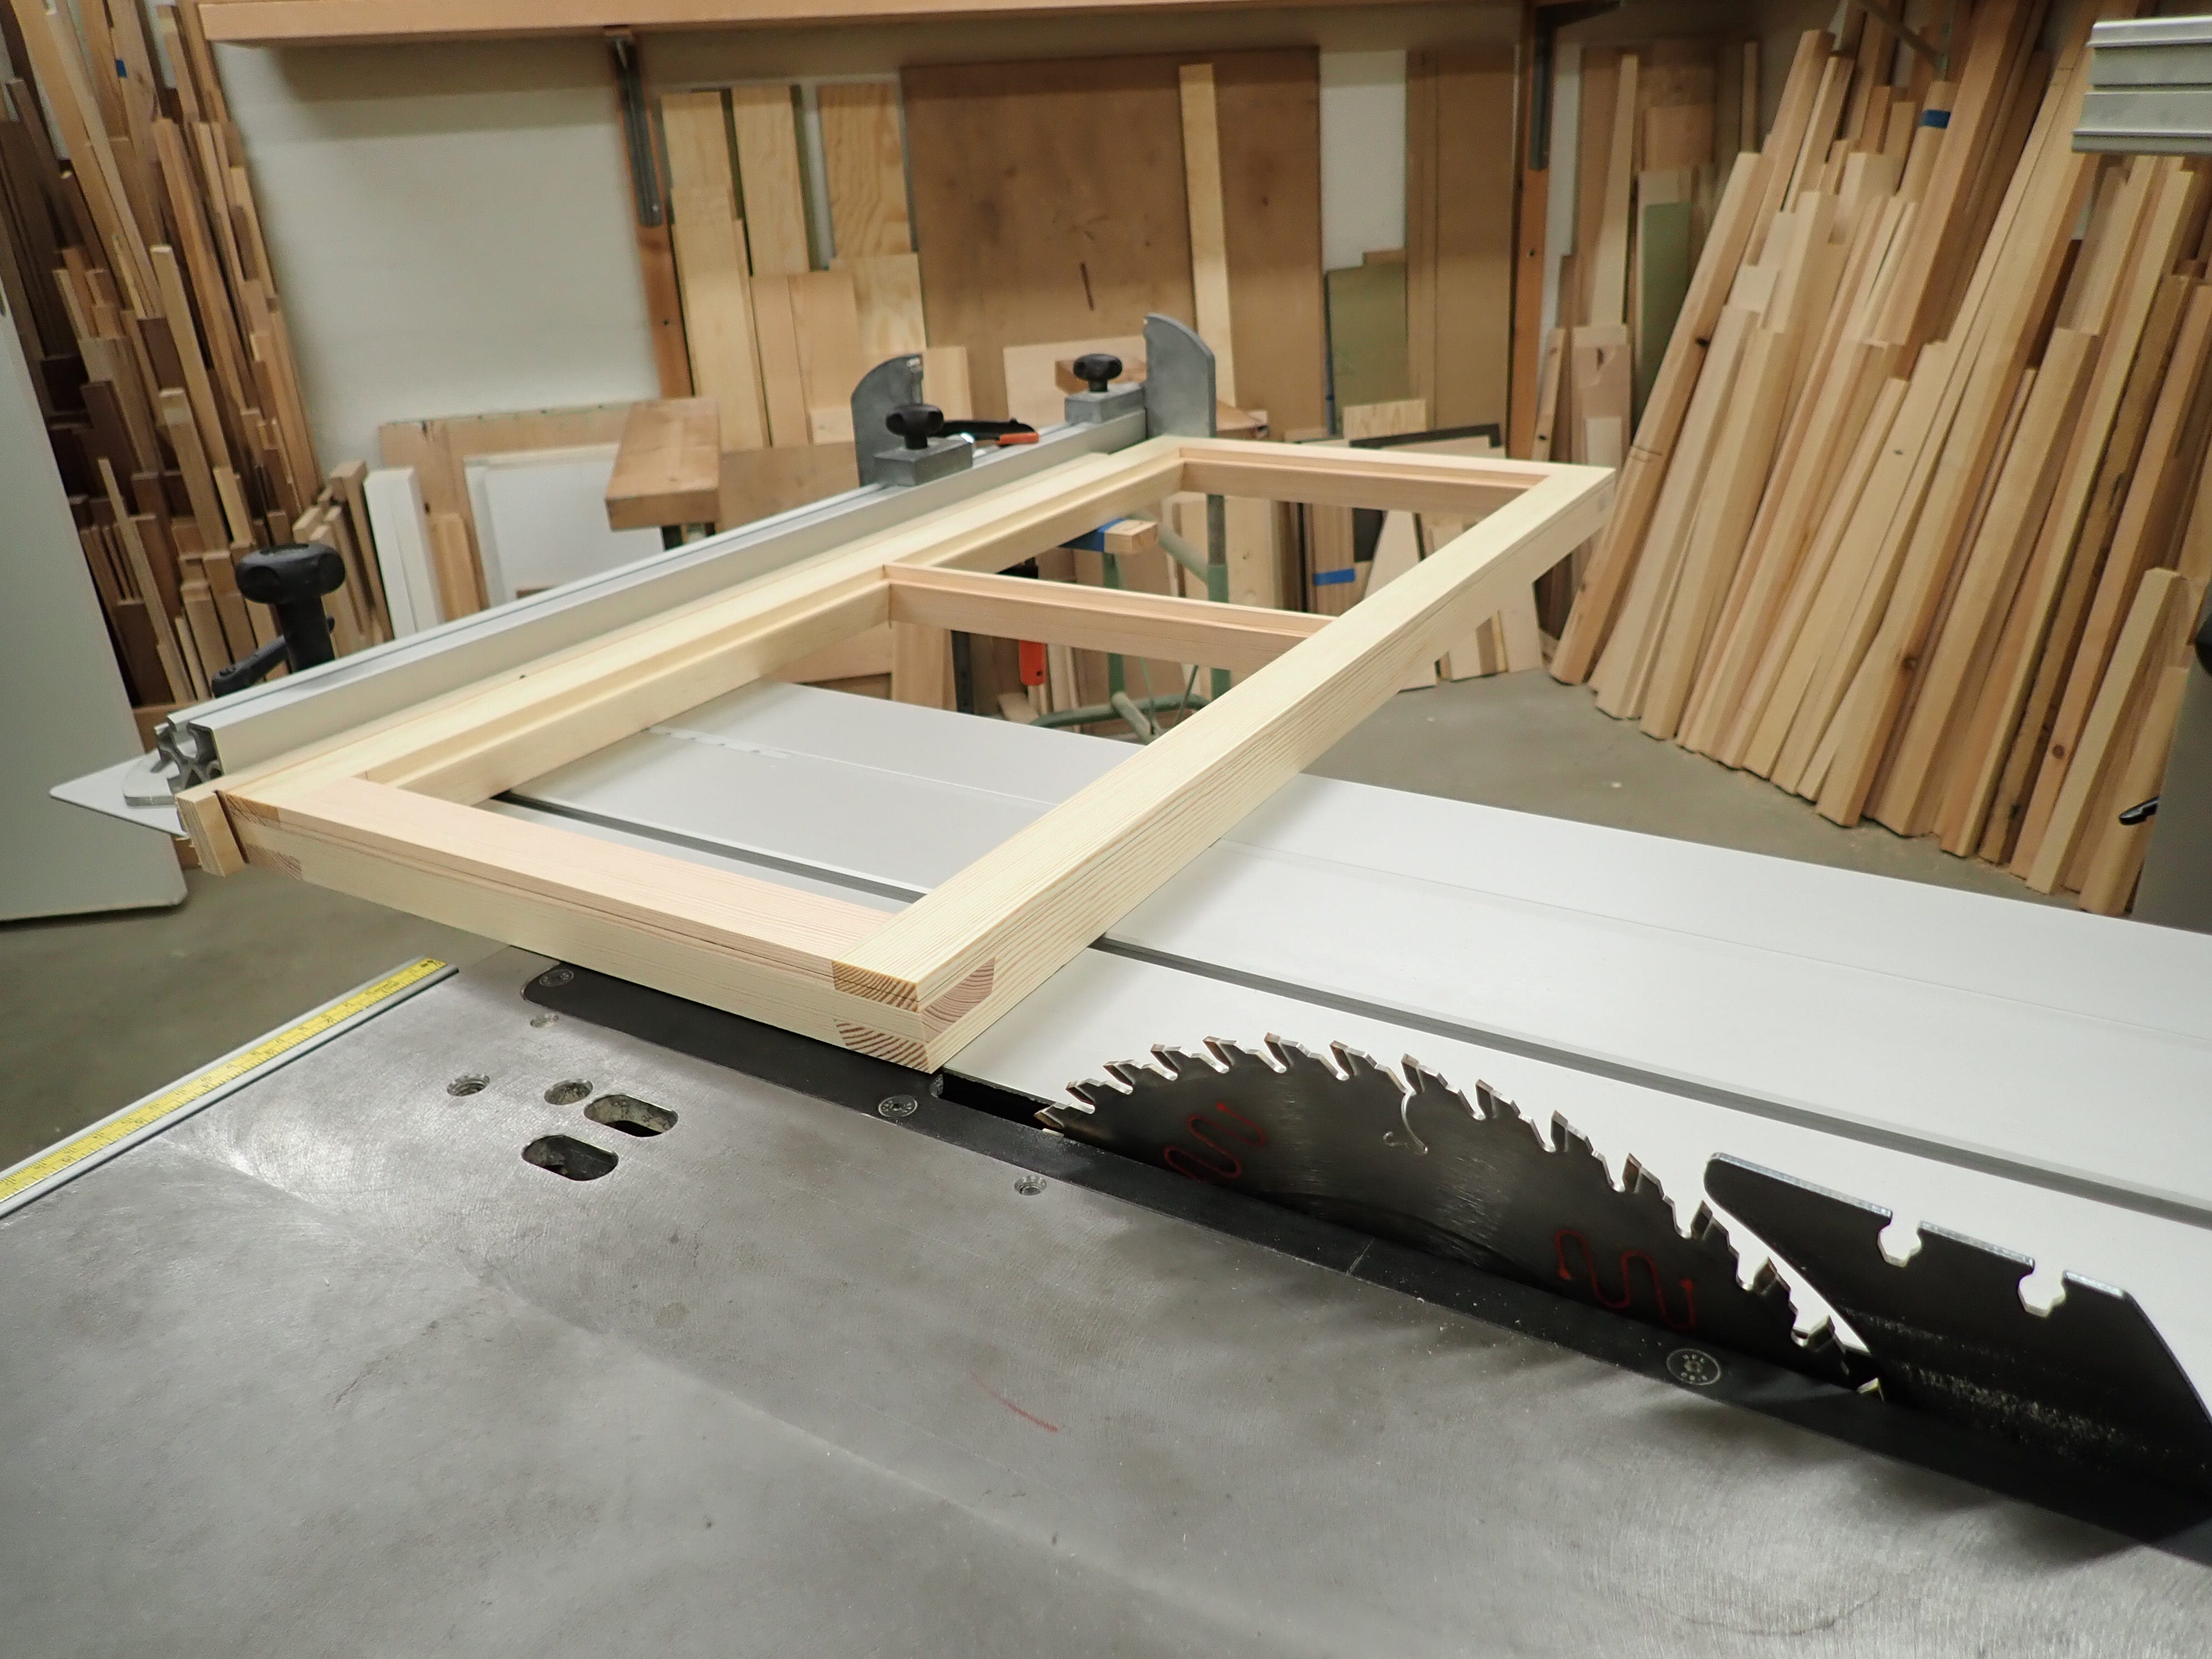
First the short edges using the cross-cut fence, then the long sides using the rip-fence.
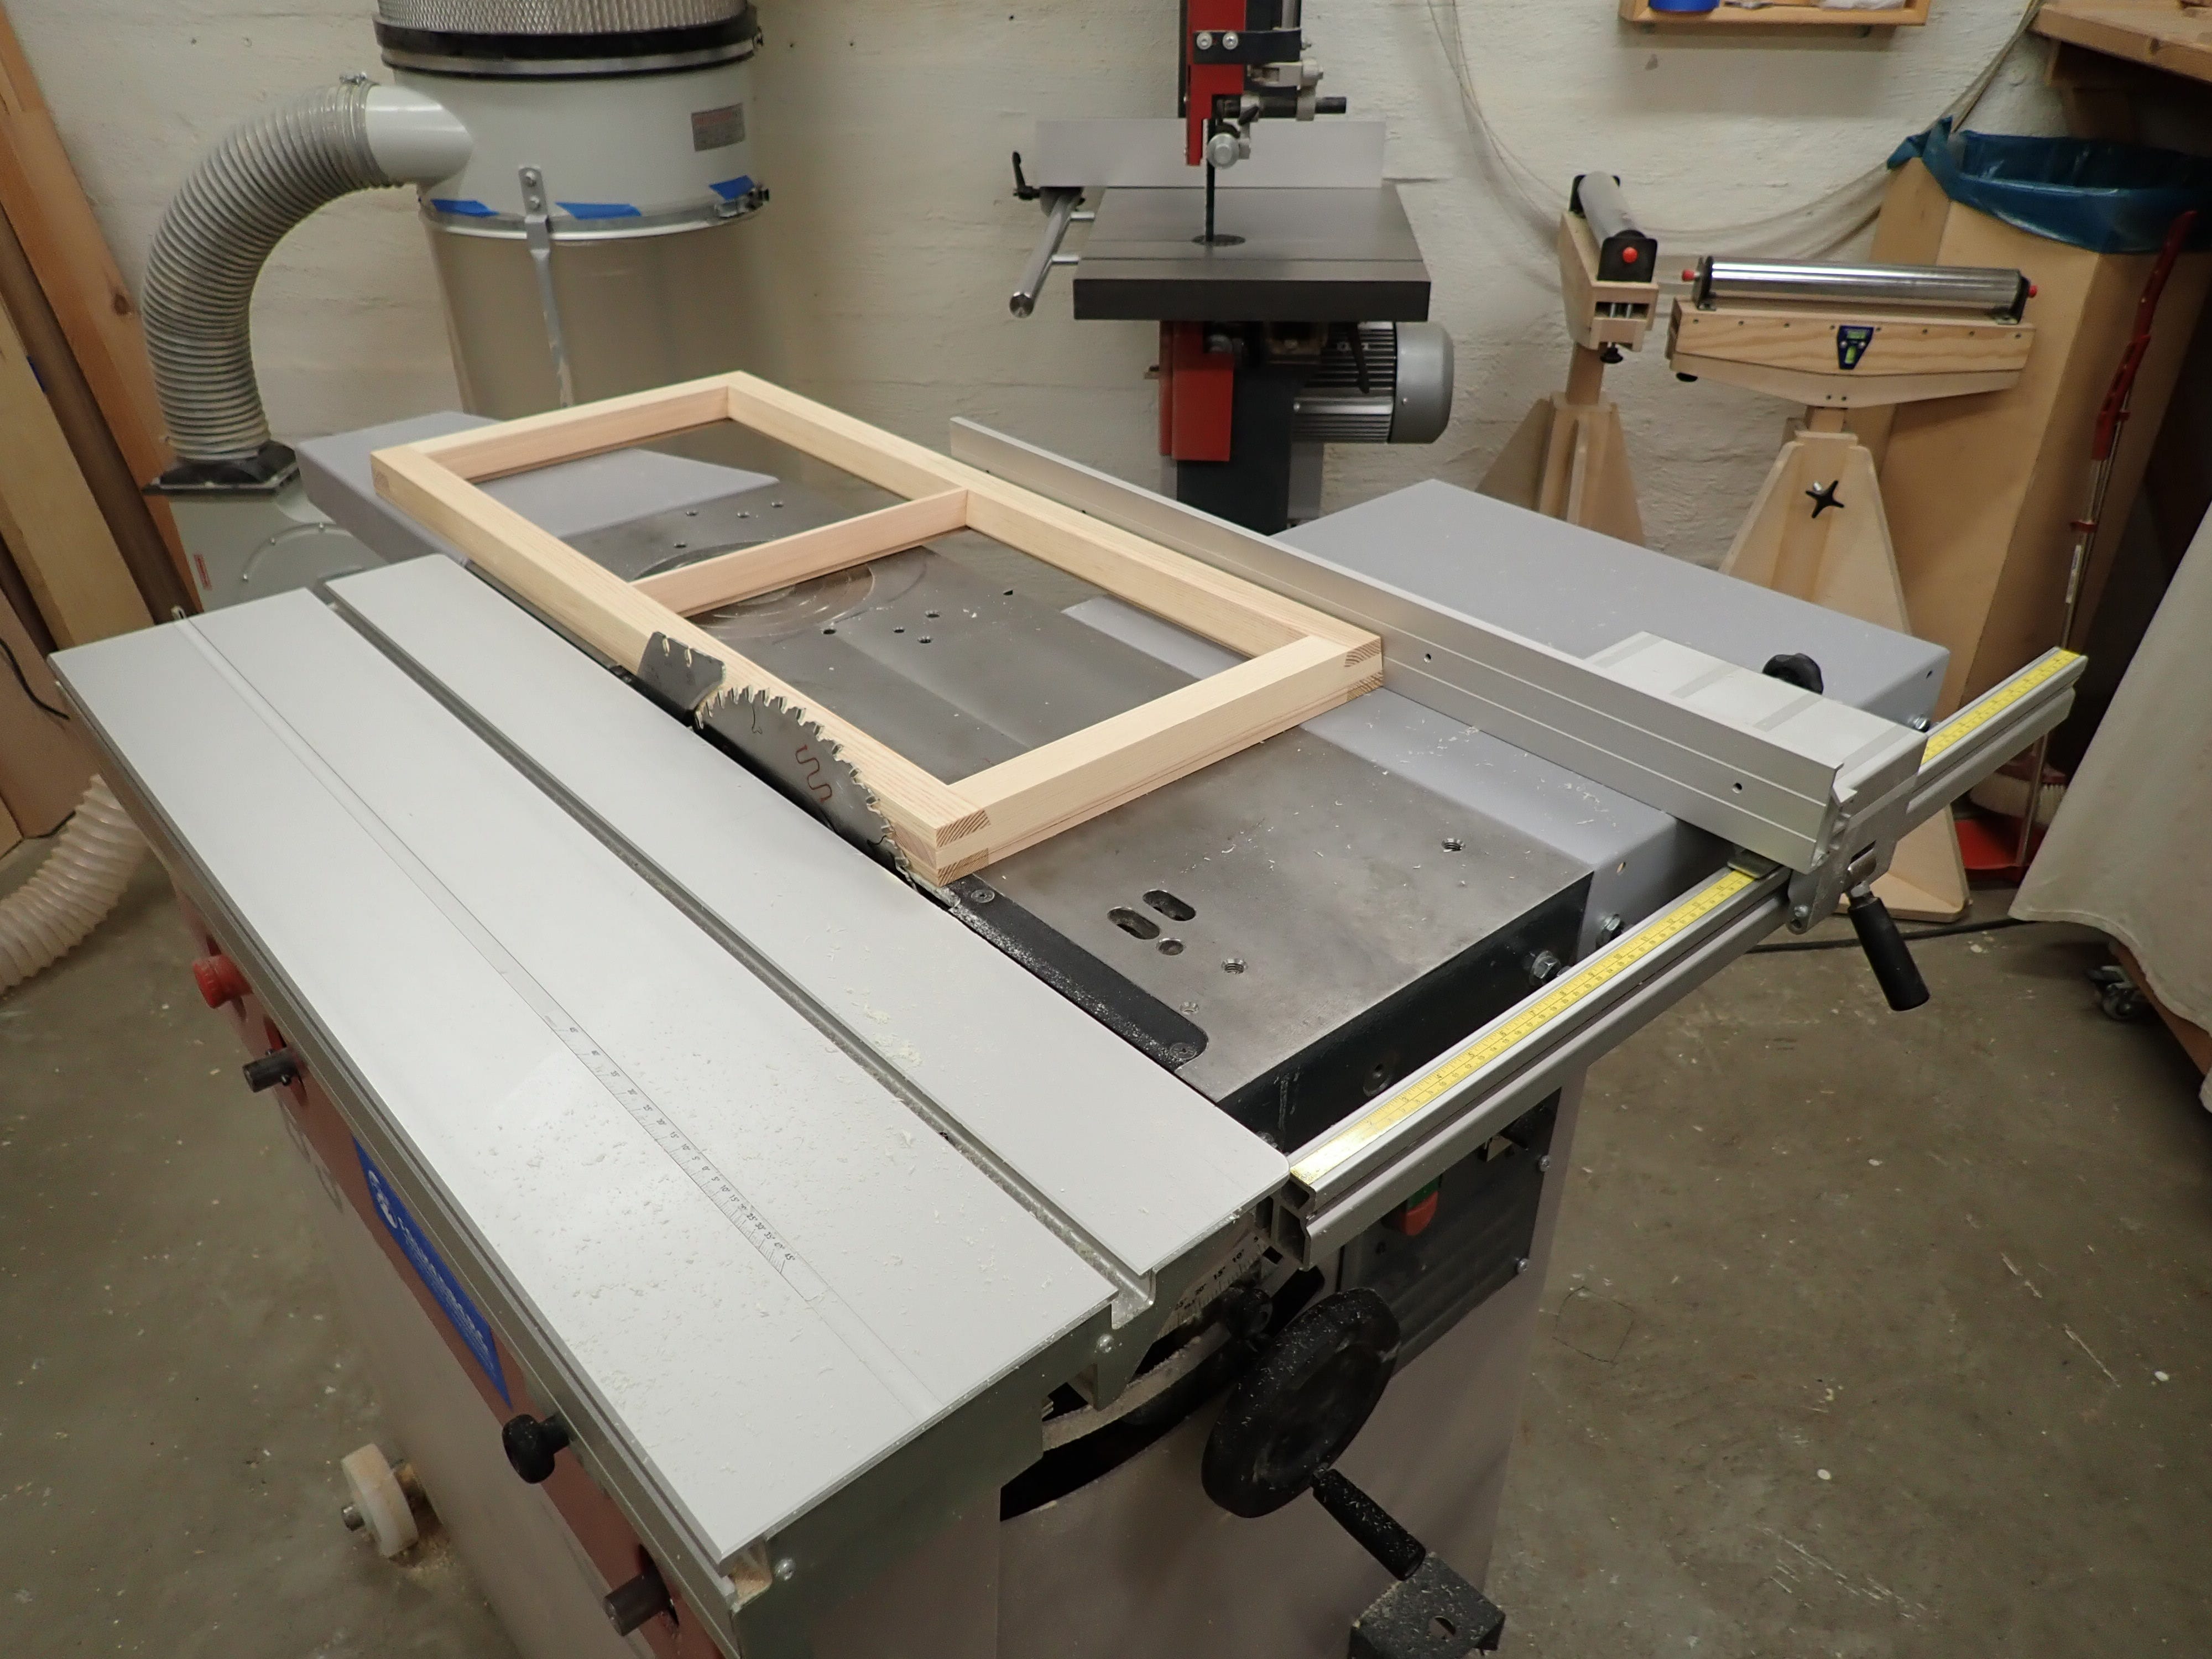
Then back to the bench for a quick lick-over to get rid of the saw-marks.
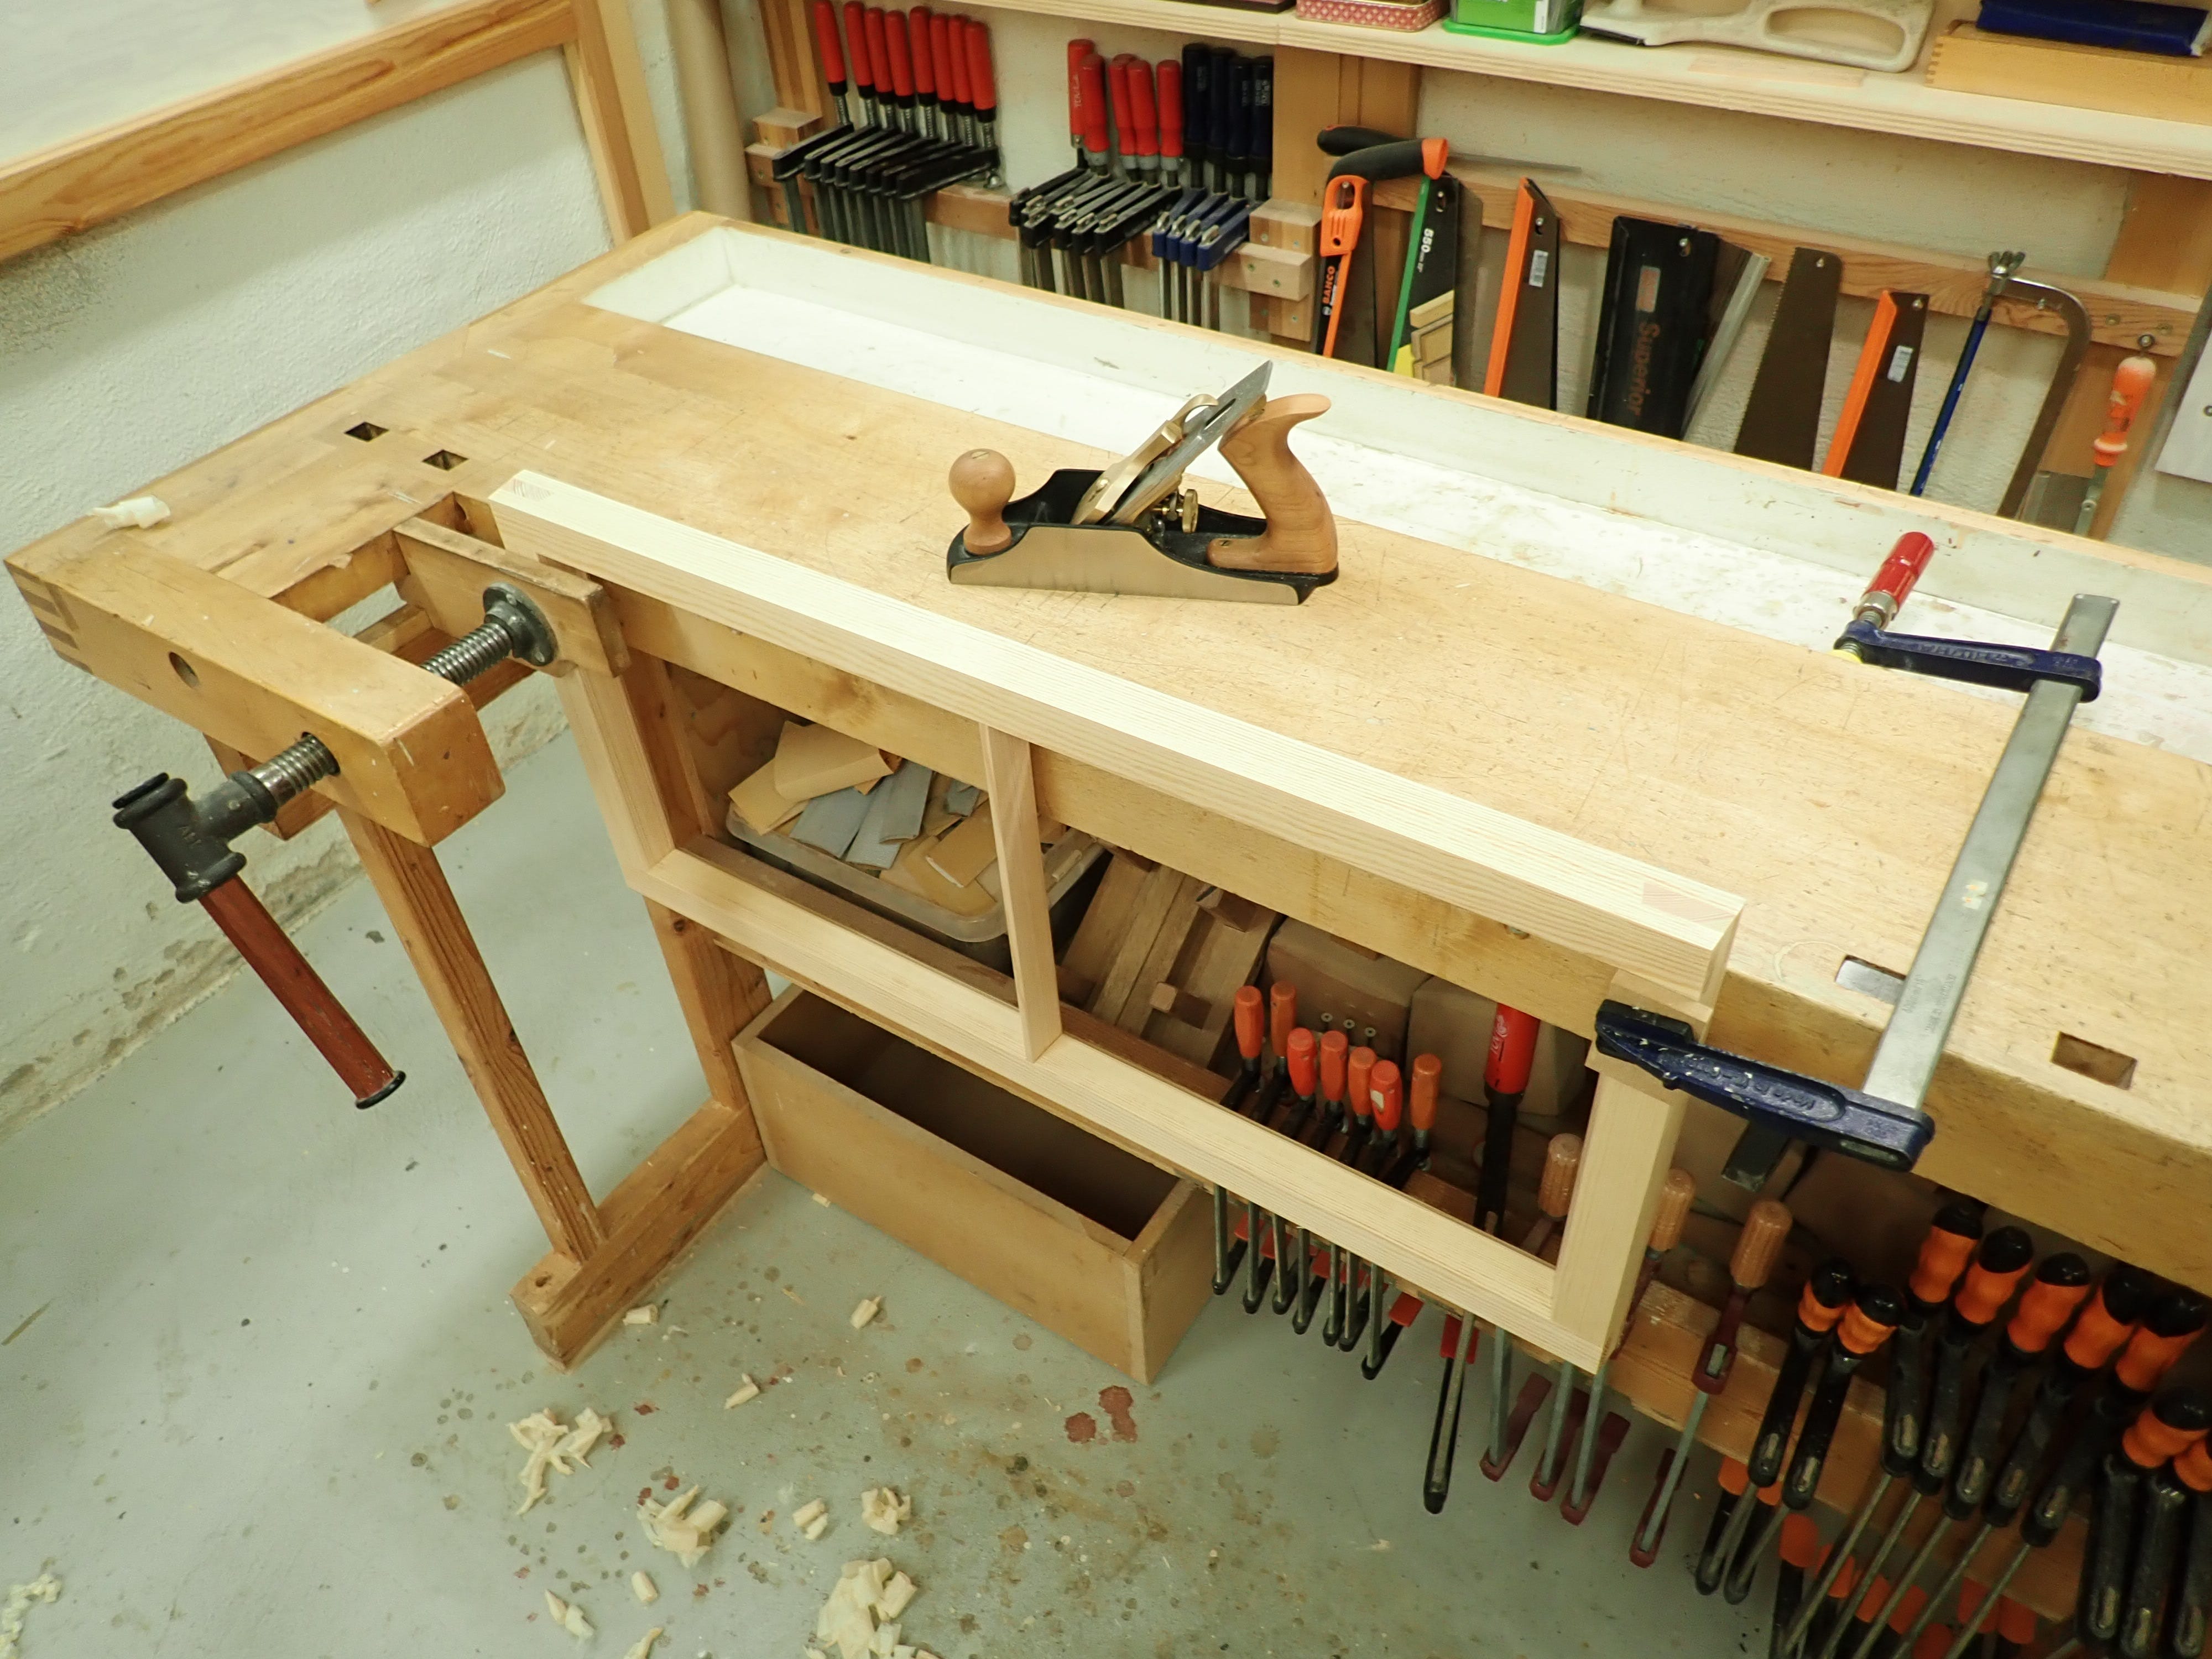
When all is sliced & diced, give her a final fondle with some fine sandpaper.
Place, mark and pre-drill for corner-irons.
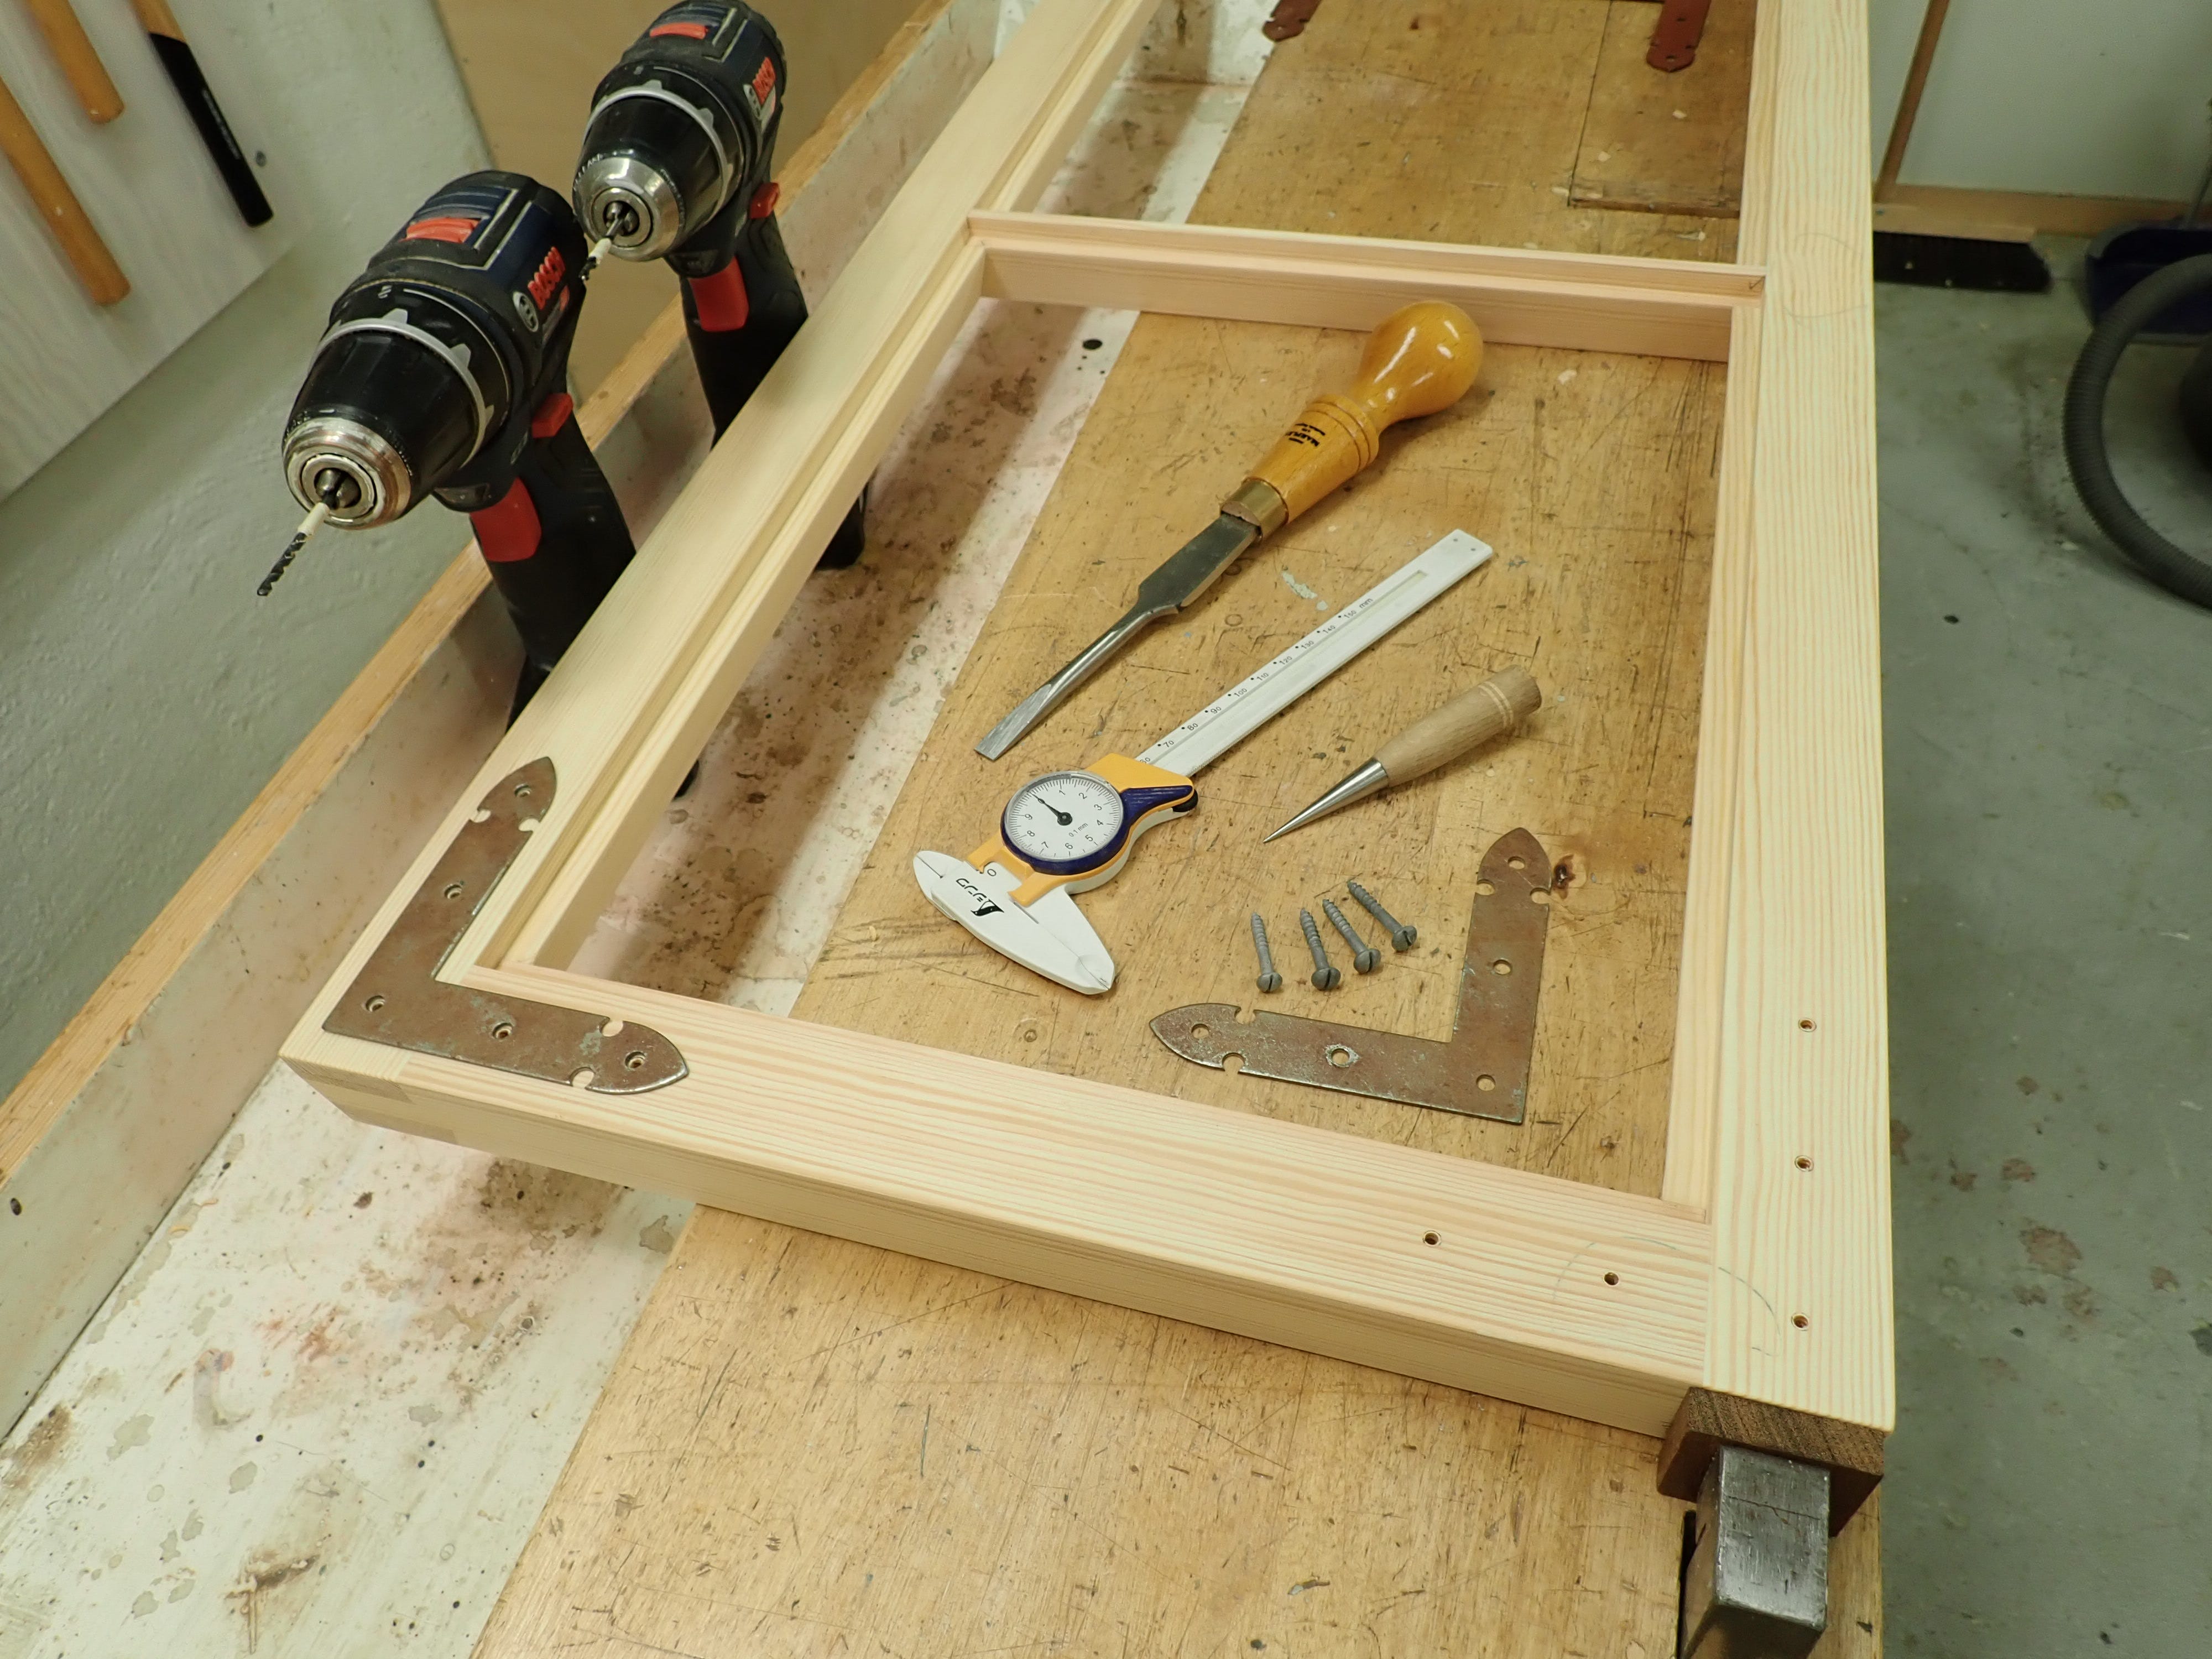
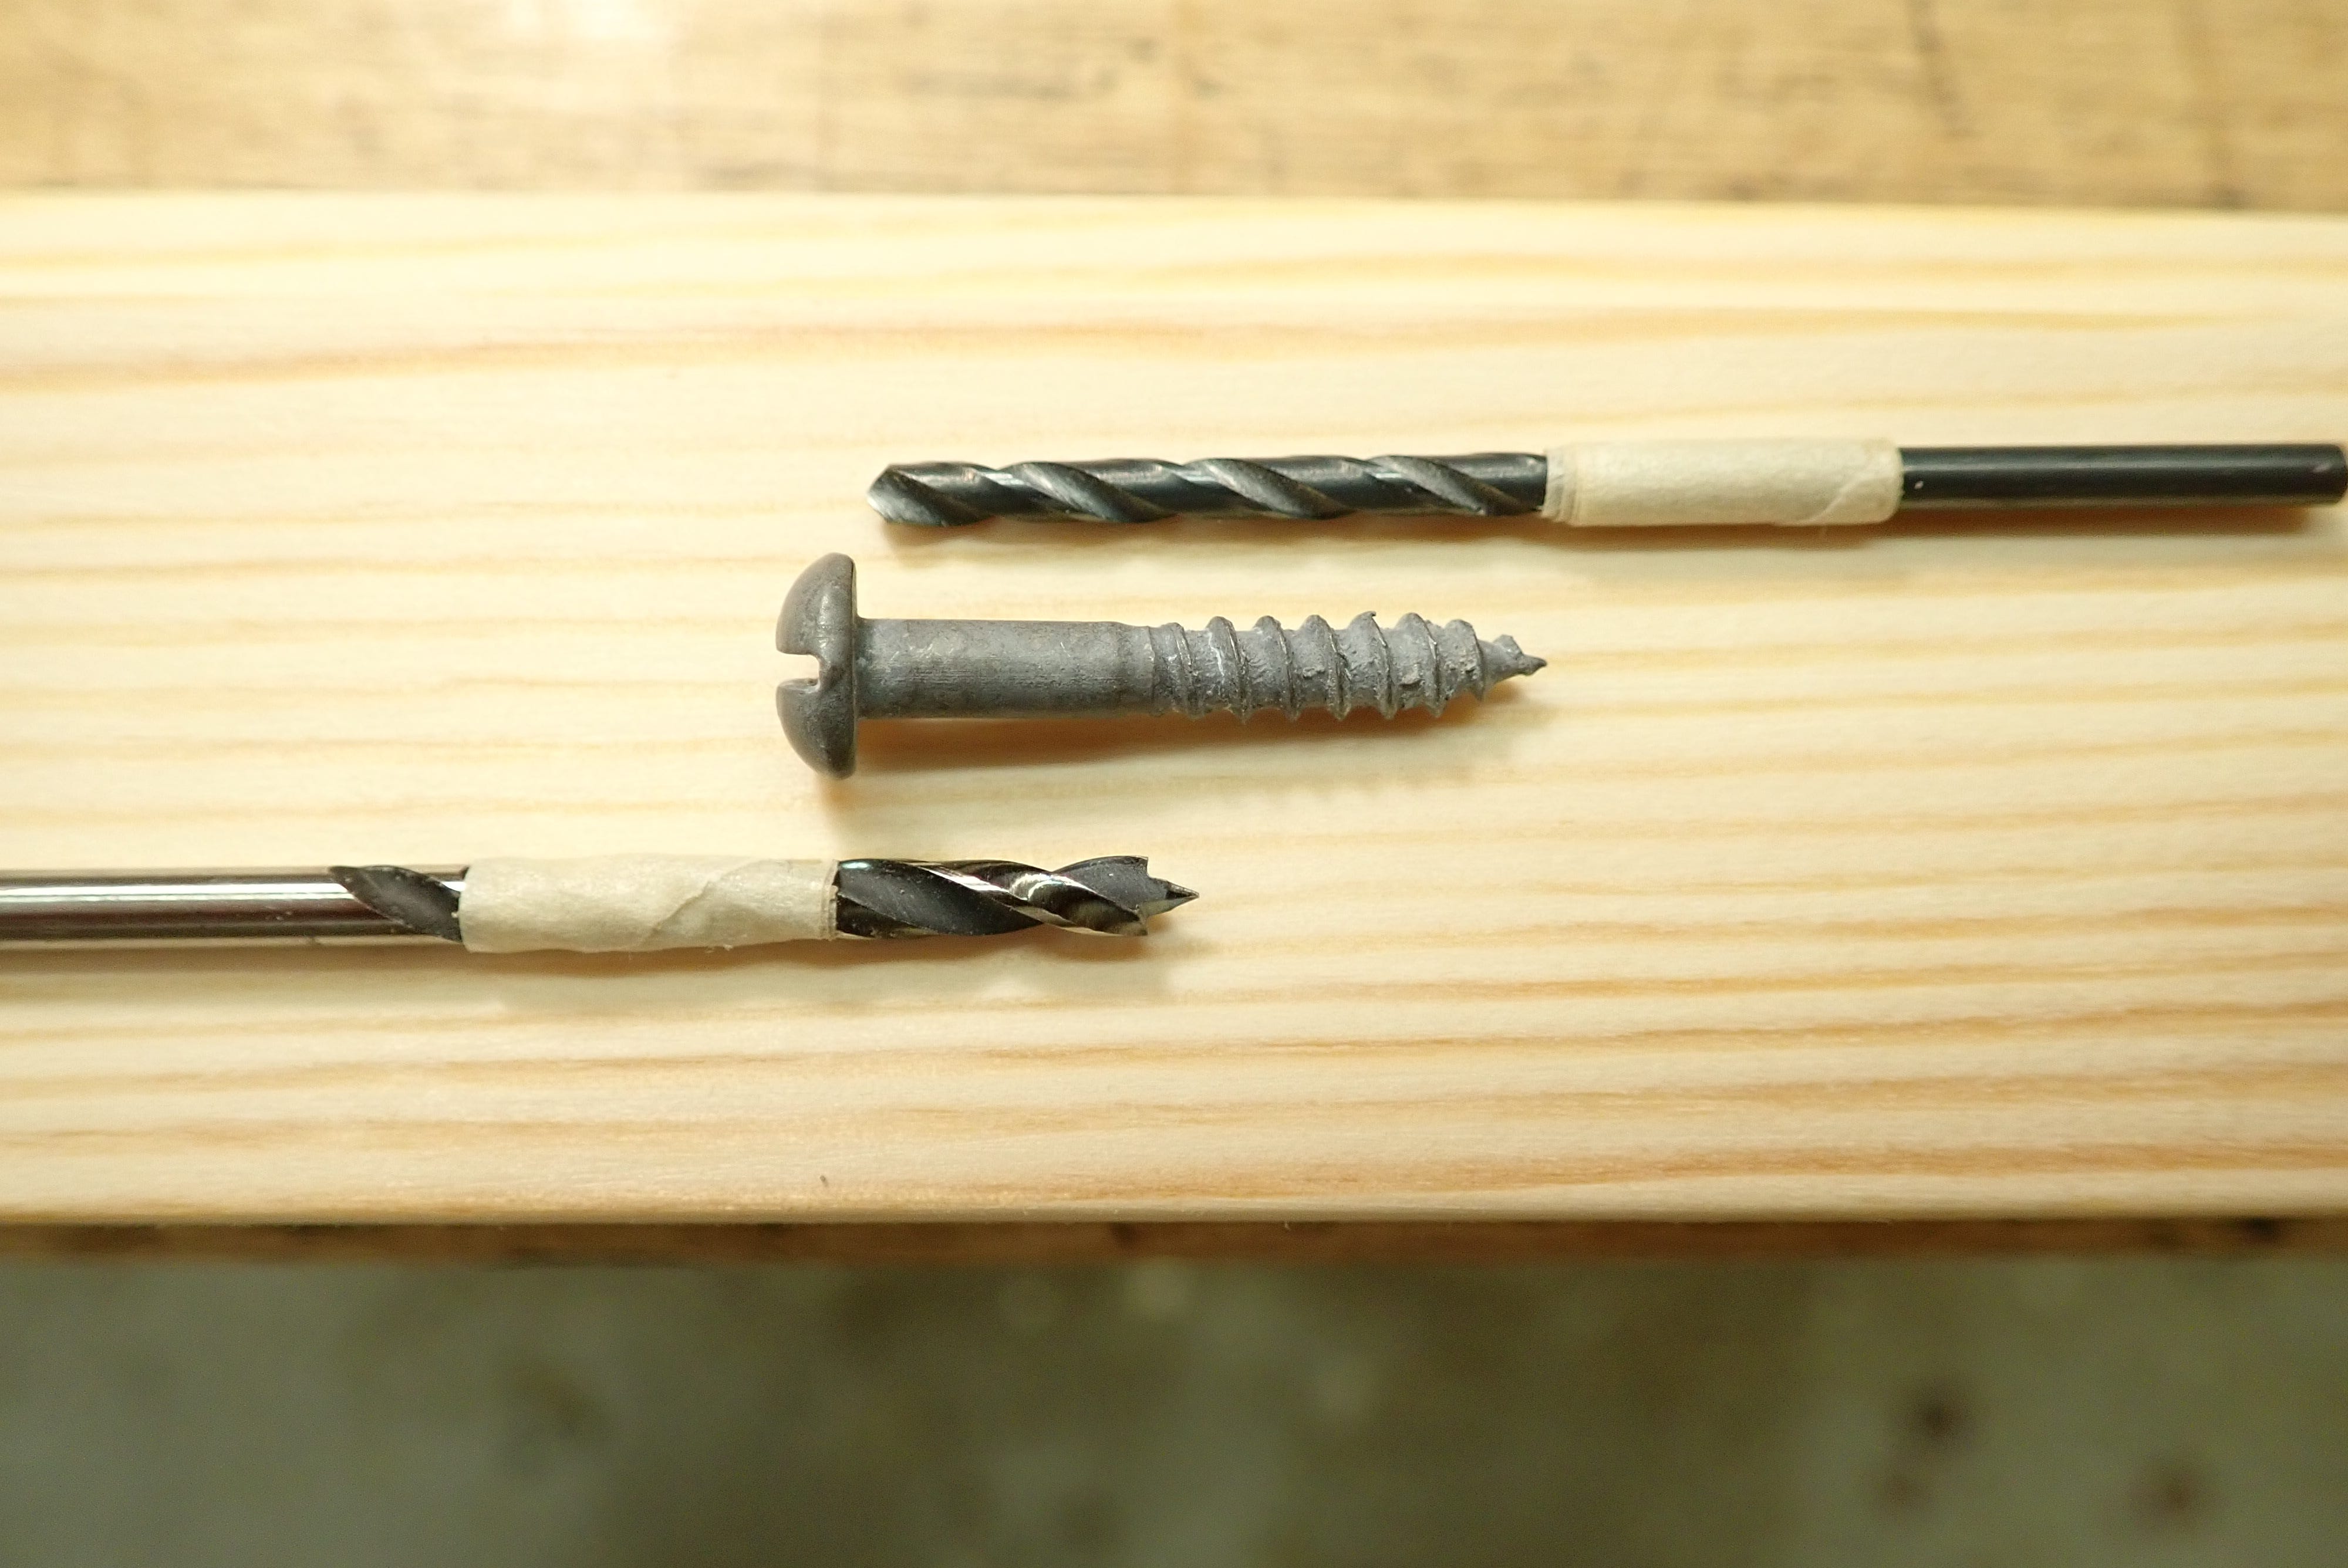
You know the old masking tape trick for drilling the right depth, surely?
A freshly planed and sanded wooden surface is very susceptible to contamination; dirt, greasy finger-prints … and this little window-frame has a surprising amount of handling to look forward to before it’s painted, hung in place and left alone. It still has to be hinged, glazed, adjusted/fitted in place and transported back and forth, rattling about in the back of a van … Maybe it’s just me, but bare wood seems so vulnerable! Surface contamination could seriously mess up the finishing job, and you want to avoid the blame for that!
And that’s why it’s best practice to never let untreated products out of your shop. Give it at least a thin coat of something suitable (depending on intended surface treatment); in this case a sparse coat of linseed grounding. Just enough to ‘seal off the surface’ and give a minimum of protection. This initial adhesion between freshly worked wood and primer coat is the foundation for a good paint/oil/varnish-job.
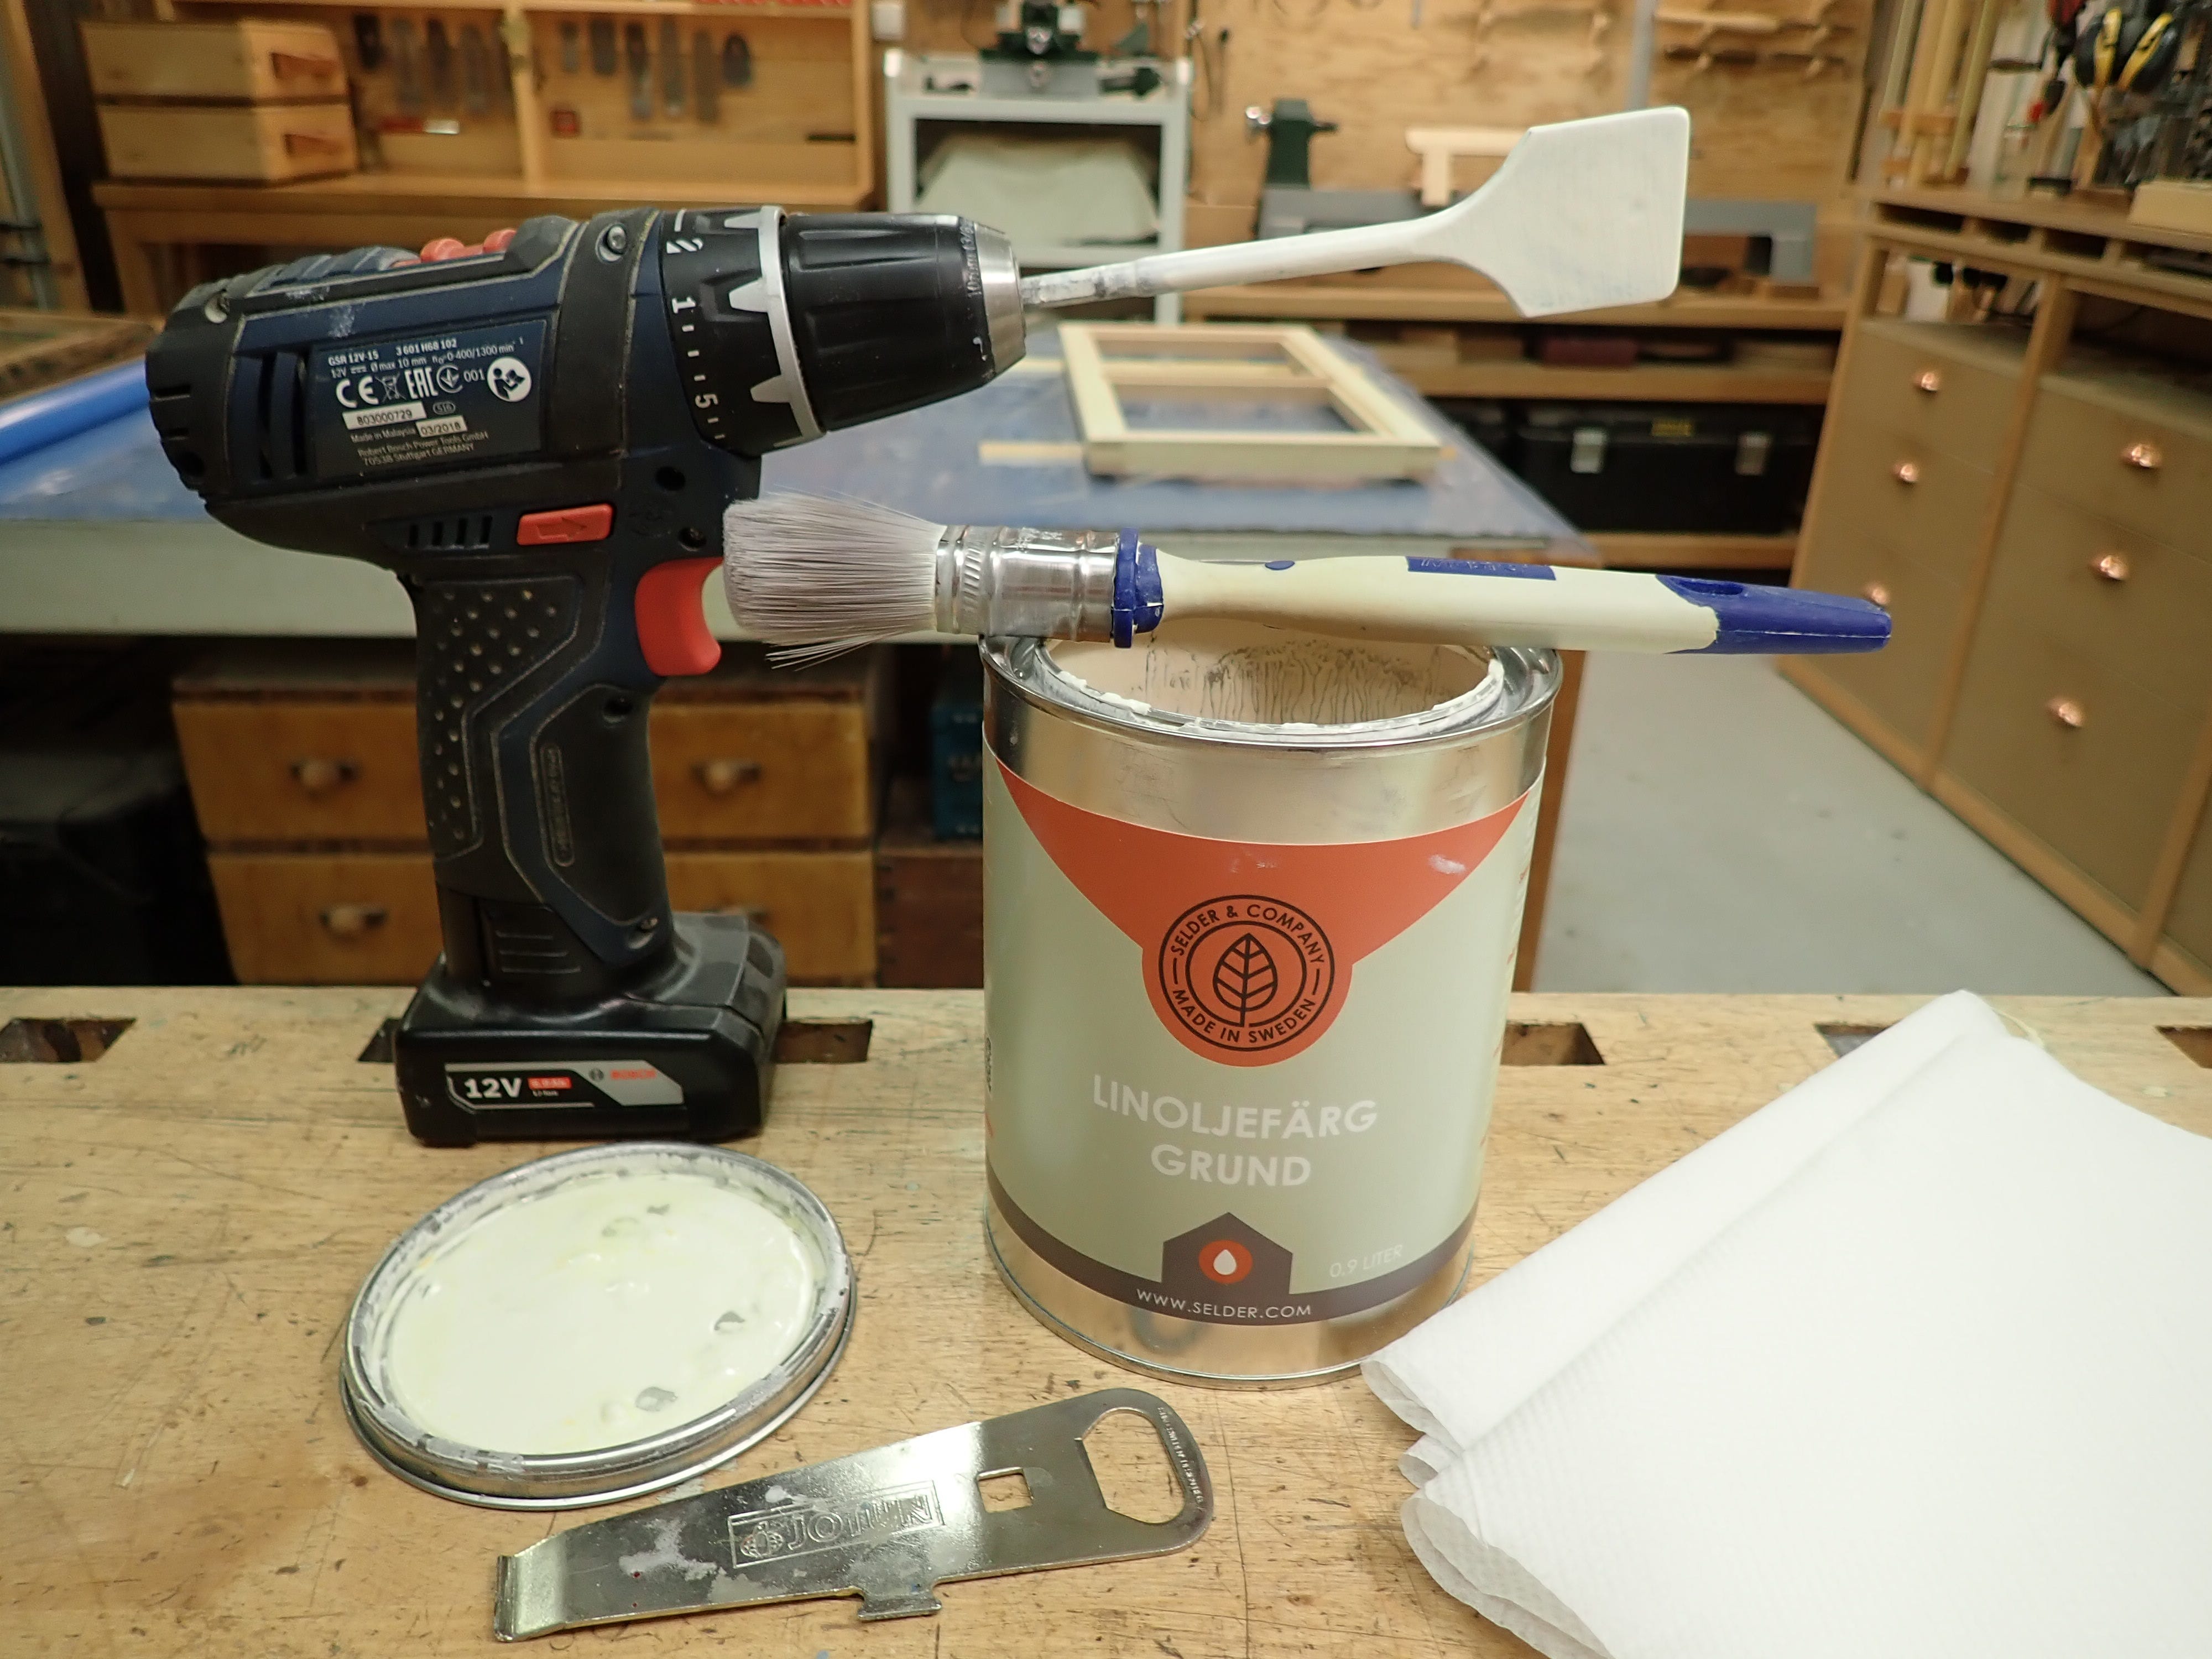
Nothing to it, really!
Sticking five pieces of wood together … can’t possibly take that much time?
****
No posts
Comments
Nothing yet. Say the first thing.
Sign in to join the conversation.