
There’s a particular kind of happiness that comes from driving out of town, watching the strip malls give way to open fields, and ending up somewhere that smells like apples and cut grass. That’s exactly what happened when I made my way to Marker-Miller Orchards last week.
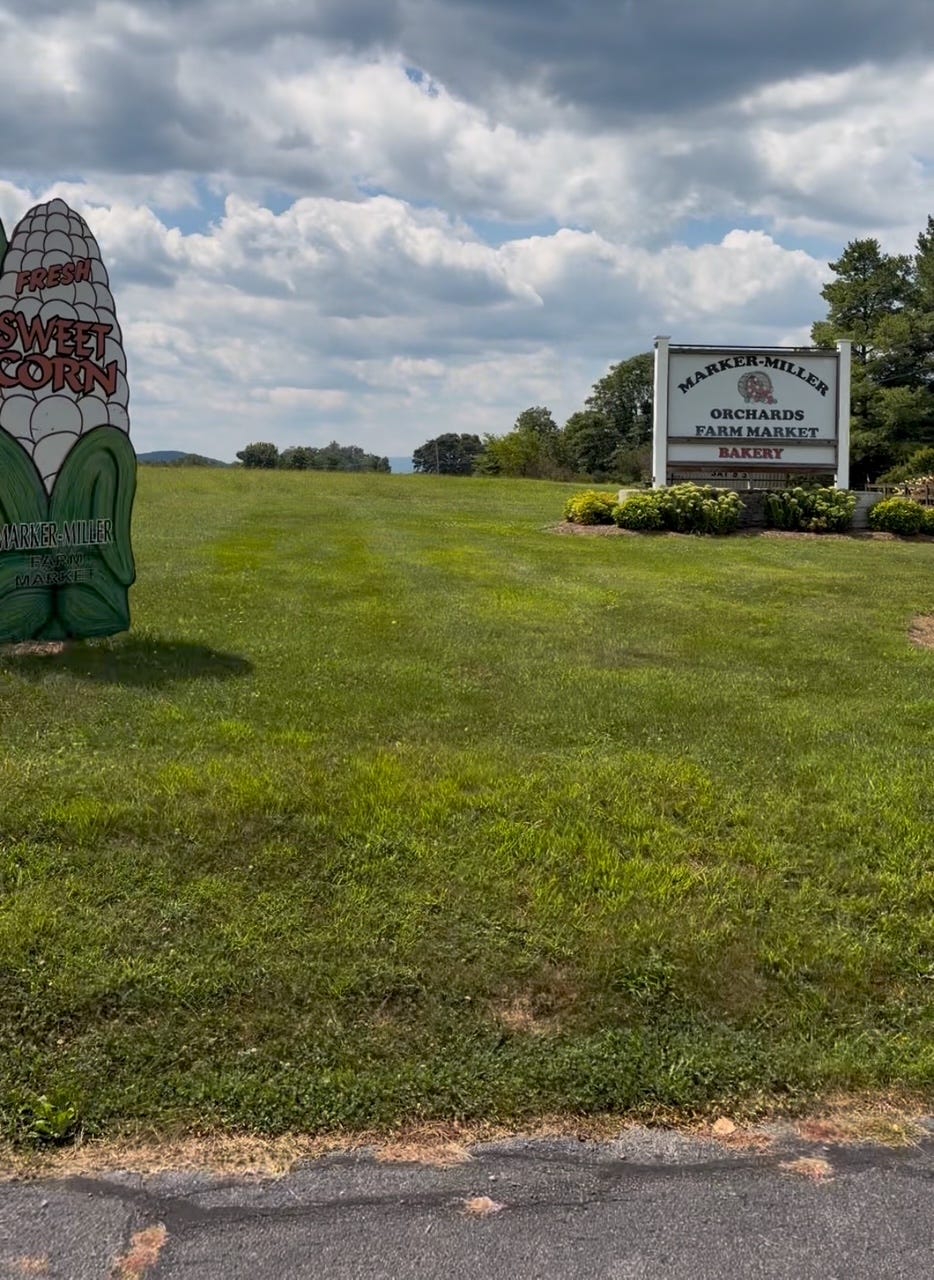
I’d heard people talk about this place for a while, the kind of local landmark that everyone mentions but you never quite make time for. So when I finally did, I understood immediately. The orchard sits up on a rise with views that stretch out over the most beautiful mountains and trees and I found myself standing in the parking lot for a solid five minutes before I even went inside, just taking it in.
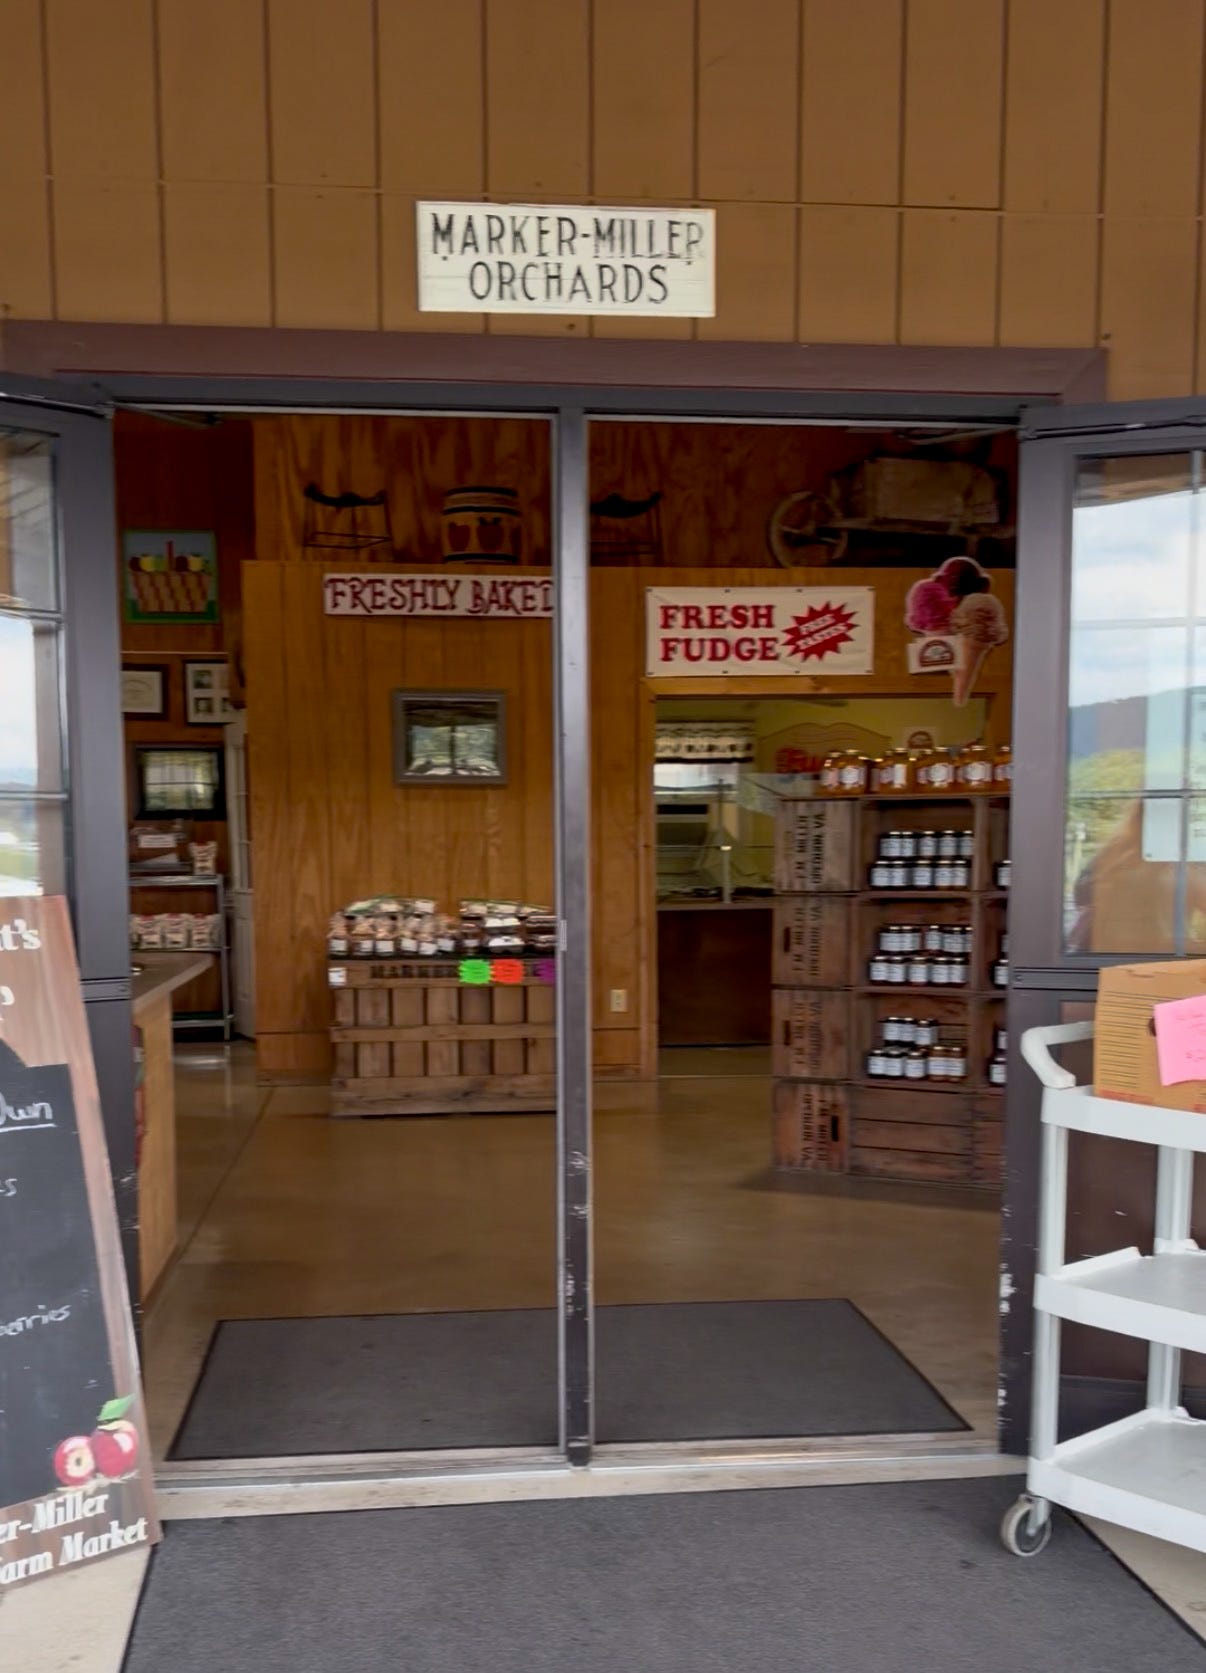
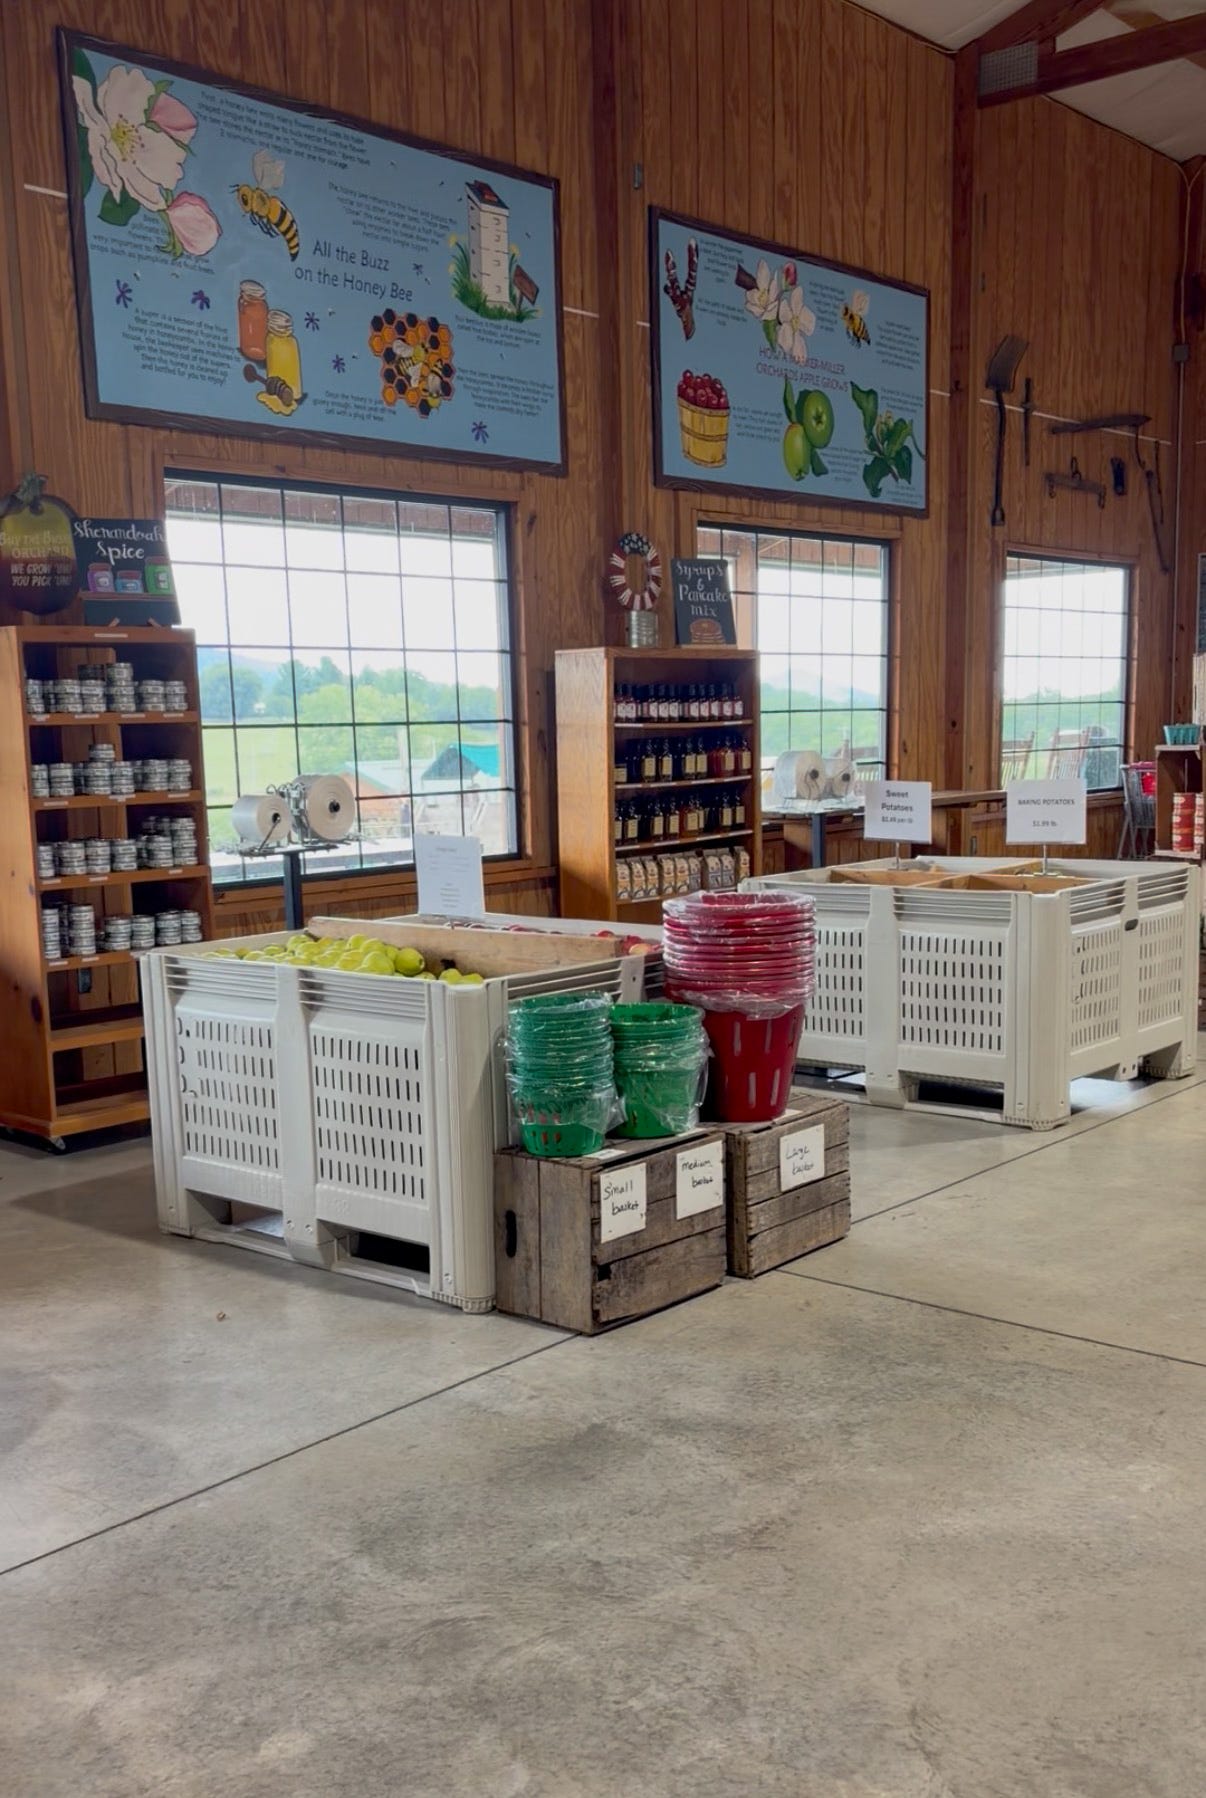
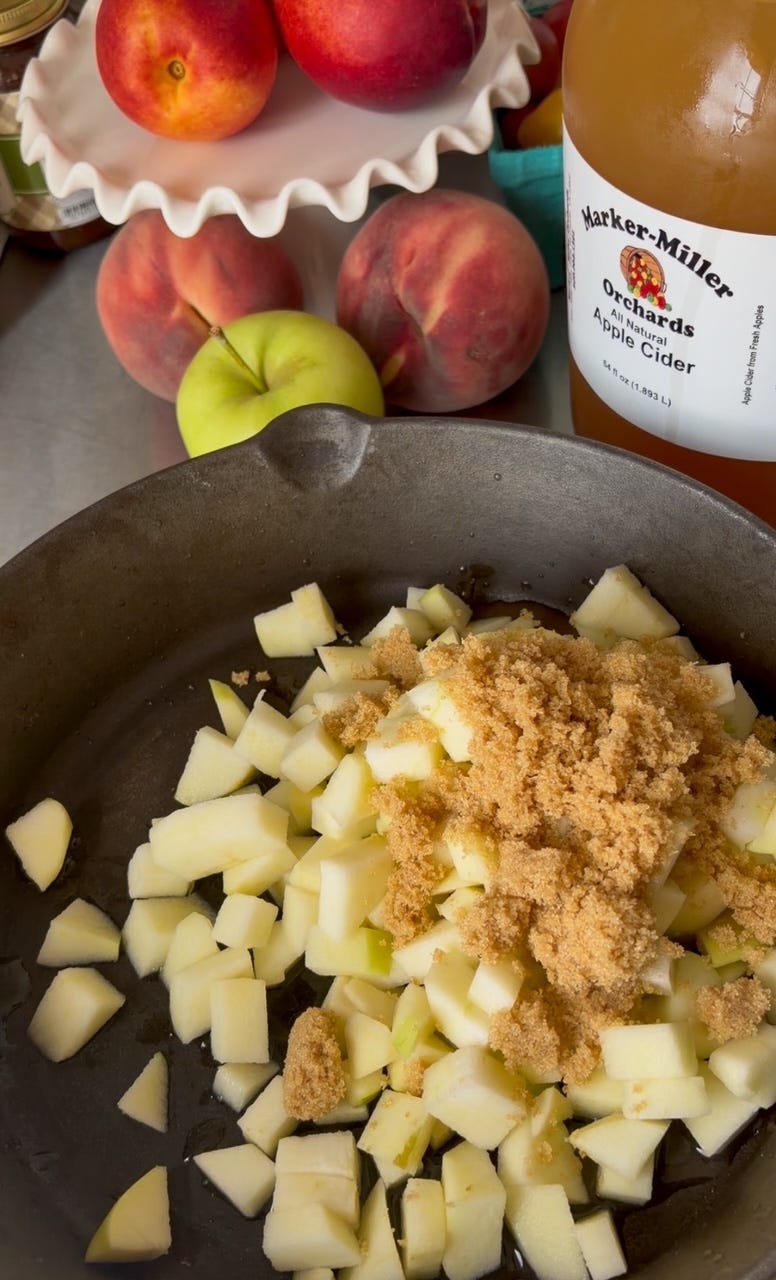
Inside, it’s the kind of market that makes you want to buy one of everything. Baskets of apples in every variety, jars of local honey, homemade jams, and bins of produce that actually looks like it came out of the ground that morning — because it did. I loaded up on crisp green apples, a few other local goodies I couldn’t resist, and a jug of their apple cider, which I’d been told was good but turned out to be insanely good. Cold, sharp, perfectly sweet. The kind of cider that makes you rethink every cider you’ve had before it.
I knew before I even got back to my car what I was going to do with it all: apple pie bars. It felt like the obvious move. Something about using their cider in the recipe, not just drinking it alongside, made the whole thing feel like it belonged to the orchard rather than just a recipe I happened to make with orchard apples. The cider adds this deep, concentrated apple flavor that you just can’t get any other way.
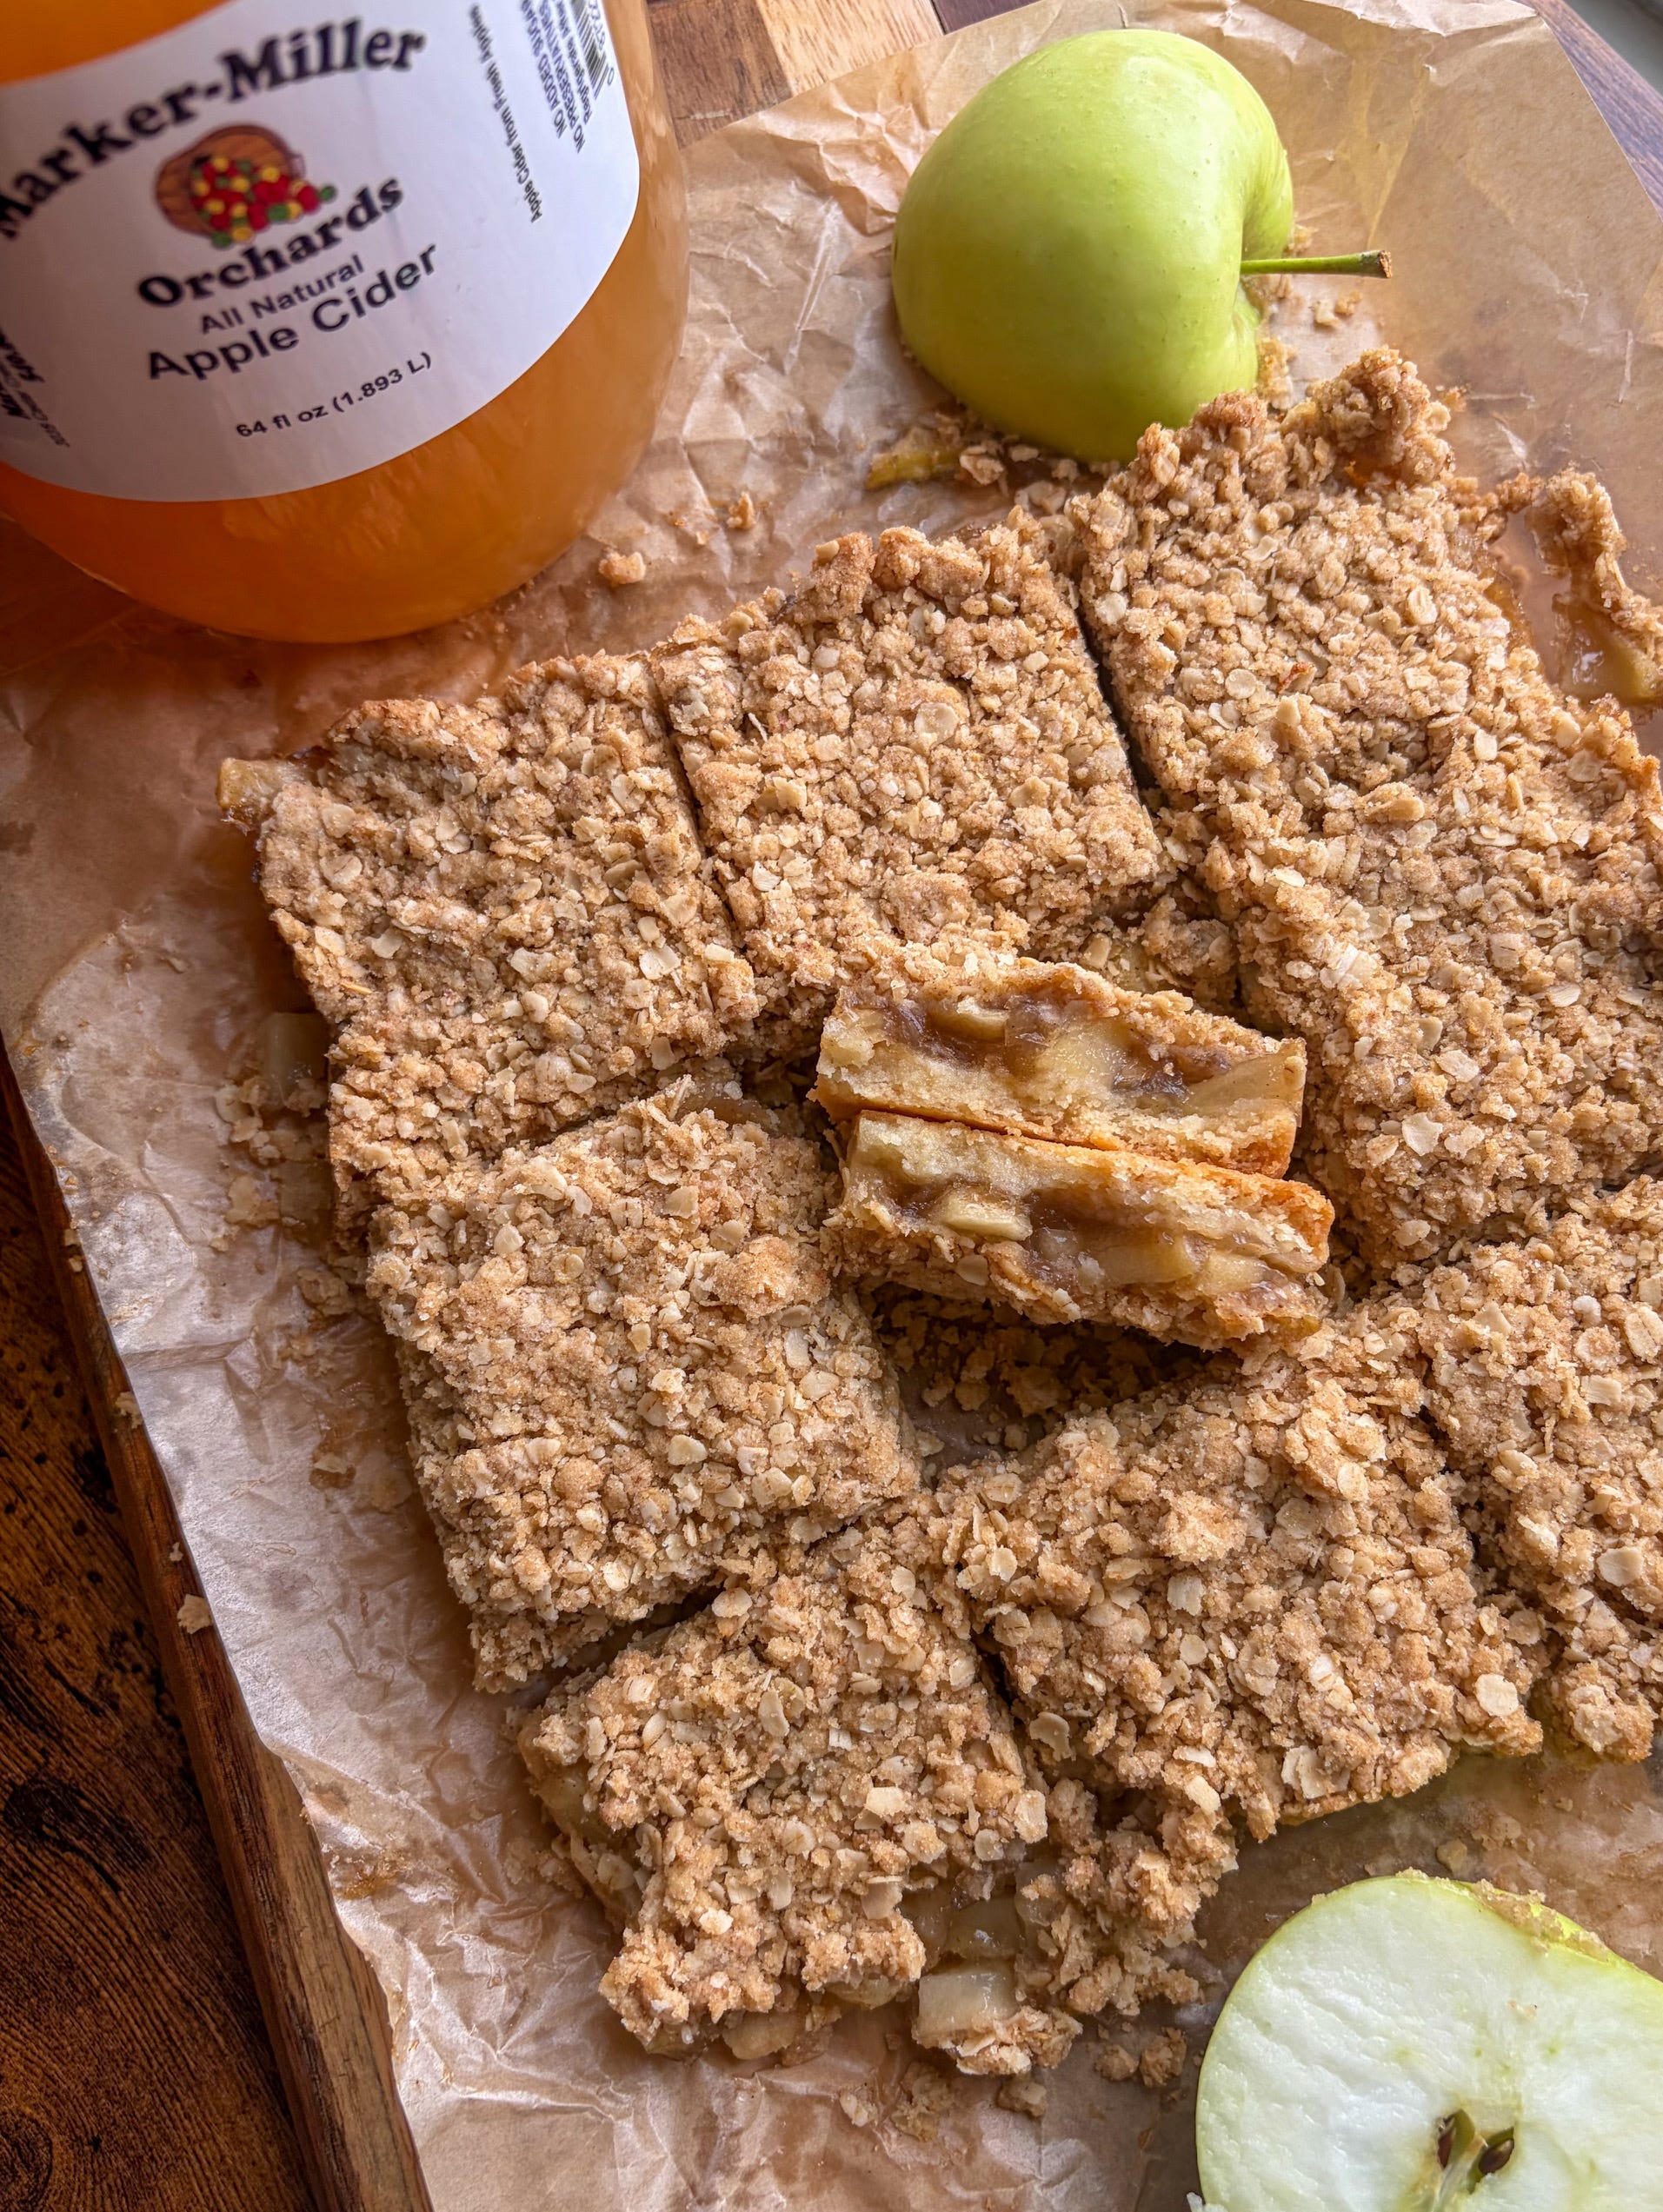
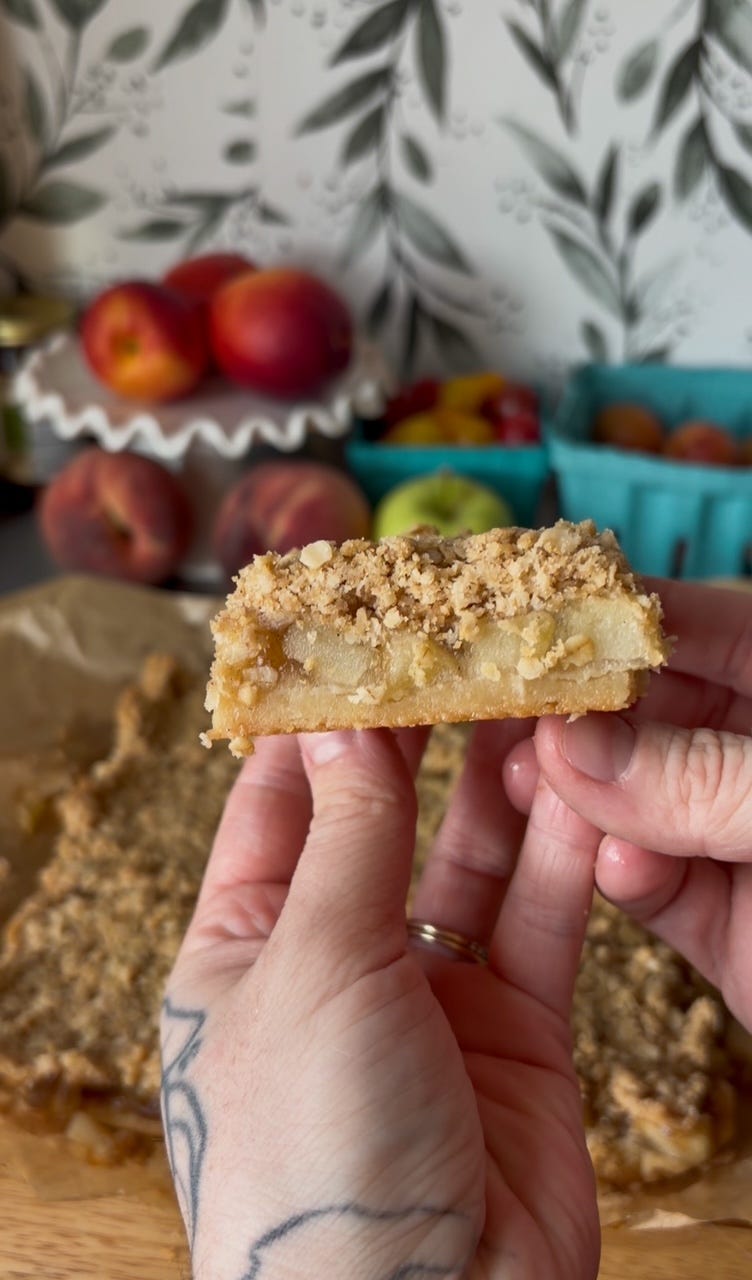
I baked them in the afternoon, kitchen full of cinnamon and butter and that cider smell, and they came out exactly the way I’d hoped: soft, spiced, a little caramelized at the edges, with a crumb topping that has no business being that good. They didn’t last very long in my house.
While I was there, I got to talking with some of the folks working the market, and I learned something that stuck with me more than I expected. A late frost this spring hit a lot of the farms and orchards around here hard — real damage to crops that people depend on for their whole season. You could hear it in the way they talked about it. Not dramatic, just tired in that quiet way that comes from watching something you’ve worked for take a hit you couldn’t control.
It’s easy to forget, picking through baskets of beautiful apples, that a place like this doesn’t just exist, it’s held up every single season by the people who run it and the people who show up for it. That’s kind of the whole story of the Shenandoah Valley, honestly. Our farms and orchards and little markets aren’t a backdrop, they’re the backbone, of how we eat, how we spend our weekends, how this whole area holds onto its way of life. Years like this one are a good reminder that showing up matters. Buying the cider, picking your own apples, telling your friends to make the drive, it all actually does something.
So if this post gets you even a little bit inspired to get in the car, consider it your sign. Go say hi, grab a bag of apples, and keep it going.
If you’re anywhere near the valley, I can’t recommend a visit enough, bring a bag for produce, plan on leaving with more than you meant to buy, and don’t skip the cider. It might just end up in your own baking, too.
Makes one 8×8-inch pan, cut into 9–16 bars
There are three layers happening here, and each one earns its place: a shortbread base that holds everything together, a jammy apple filling built on Marker-Miller cider, and a brown-butter oat crumble that’s honestly the whole reason to make these in the first place. Take your time with the brown butter — it’s a small step that changes everything.
150 g all-purpose flour
35 g granulated sugar
25 g light brown sugar
¼ tsp fine salt
113 g salted butter, melted
1 tsp vanilla extract
400 g peeled, cored, finely diced tart green apples (about 3 medium)
50 g apple cider
50 g light brown sugar
25 g granulated sugar
15 g cornstarch
1 tsp cinnamon
¼ tsp nutmeg
⅛ tsp salt
1 tsp vanilla extract
1 tbsp lemon juice
85 g salted butter
80 g old-fashioned rolled oats
70 g all-purpose flour
65 g light brown sugar
30 g granulated sugar
½ tsp cinnamon
¼ tsp salt
½ tsp vanilla extract
1. Heat the oven to 350 F and line an 8×8 inch pan with parchment, leaving a little overhang on two sides for easy lifting later. Whisk together the flour, both sugars, and salt, then stir in the melted butter and vanilla until a soft, crumbly dough comes together. Press it firmly and evenly into the bottom of the pan. Bake for 15–17 minutes, until just barely golden at the edges.
2. While the crust bakes, combine the diced apples, cider, both sugars, cornstarch, cinnamon, nutmeg, and salt in a saucepan over medium heat. Cook for 5–7 minutes, stirring often, until the apples soften slightly and the liquid turns thick and syrupy, they’ll finish cooking in the oven, so don’t take them all the way to tender here. Off the heat, stir in the vanilla and lemon juice.
A small trick that matters: dice the apples small, about ¼ inch. Smaller pieces mean apple in every bite, and bars that actually hold together when you slice them.
3. Melt the butter in a saucepan over medium heat and let it keep cooking until the milk solids turn golden and it smells toasted and nutty, a couple of minutes past melted is usually right. Let it cool slightly. In a bowl, mix the oats, flour, both sugars, cinnamon, and salt, then pour in the brown butter and vanilla, stirring until you have big, chunky crumbs.
4. Spread the warm apple filling evenly over the baked shortbread. Scatter the crumble generously over the top — press a little of it into the filling, but leave plenty sitting loose for texture. Bake at 350 F for 30–35 minutes, until the crumble is deeply golden and the filling is bubbling at the edges.
5. Cool completely before slicing — an hour or two, if you can stand it.
No posts
Comments
Nothing yet. Say the first thing.
Sign in to join the conversation.