
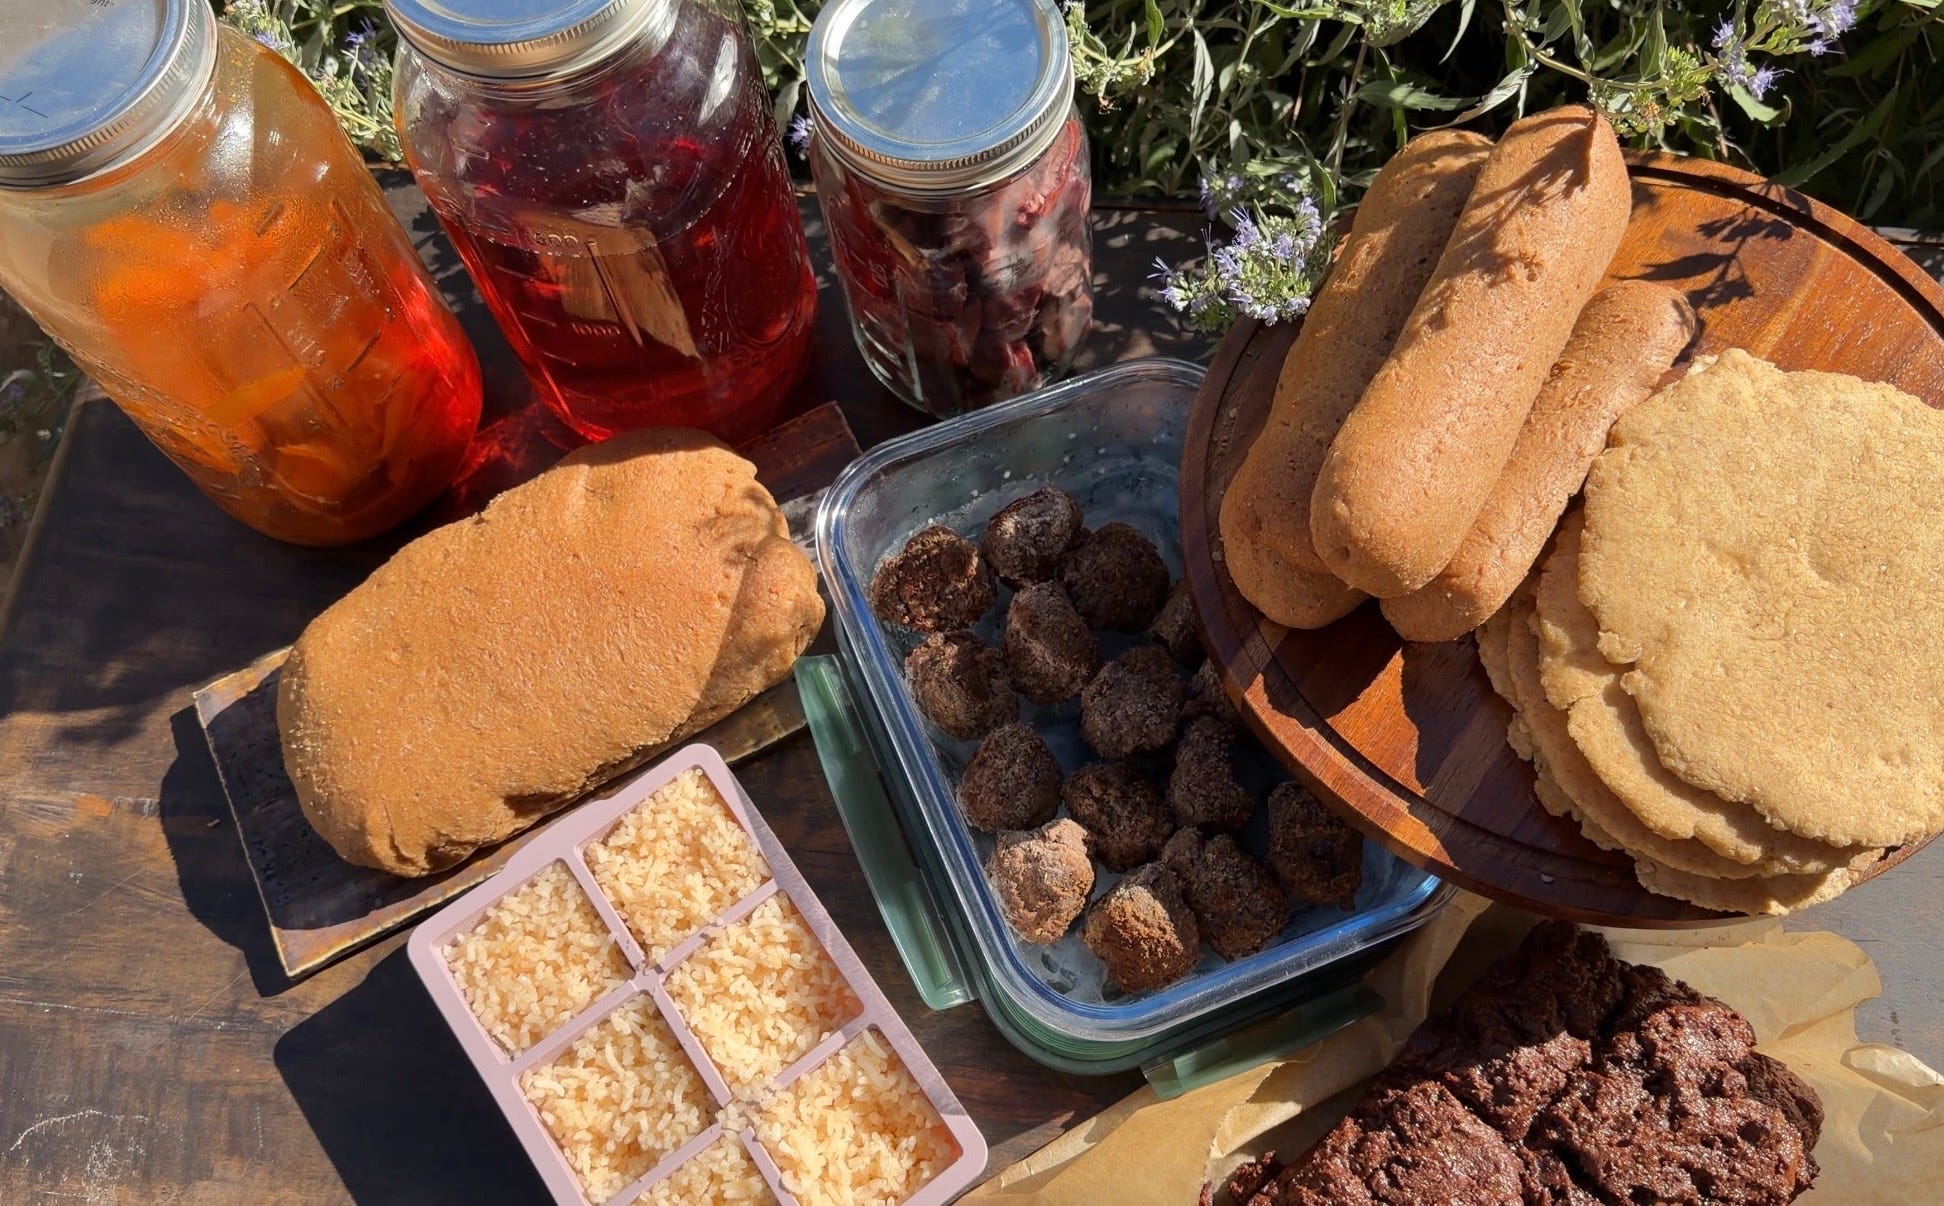
I feel SO good after doing all of my prep at once. Wow. & it is so much more efficient!
These past few weeks have been so busy with the launch of fauna (my medicinal makeup line based off the beauty rituals of ancient princesses!) And these are all recipes I’m obsessed with & make frequently. However I noticed I just didn’t have the time to dedicate to them!
So I decided to do a prep day where I stock everything up. That way, the fridge & freezer is full of our favorite nutrient dense foods anytime were hungry!
Things like raw milk soft serve, grass-fed liver meatballs made with gelatin & raw Parmesan, cubed frozen liver (I’ll show you how I make my favorite quick liver dish because I used to HATE liver), the most nutrient-dense brownies, batched raw carrot salad, my floral beauty detox tonic & more!
Here is a quick video I filmed showing everything:
By the way, I use all organic ingredients but it’s too repetitive if I type that before everything! Always source organic when you can <3
4 large carrots
1 head of garlic
1–1½ lb grass-fed beef liver
Enough for the crispy liver dish, plus ⅓ cup for the meatballs1 lb grass-fed ground beef
1 dozen pasture-raised eggs
½ gallon raw milk
1 package salted grass-fed butter (raw, if possible!)
1 small wedge real italian Parmigiano Reggiano (italian parmesan is always raw)
1 jar grass-fed tallow
grassfed bone broth
Spelt or einkorn berries
Active sourdough starter/discard
1 cup jasmine rice
1 tbsp active dry yeast
cacao powder
semisweet chocolate chips
grass-fed gelatin
virgin coconut oil
extra-virgin olive oil
sesame seeds
maple sugar
raw honey
2 tsp real vanilla powder
Sea salt
Freshly ground black pepper
Garlic powder
Paprika
Dried oregano
¼ cup dried rose petals
¼ cup dried hibiscus
¼ cup dried calendula
1 tbsp dried marshmallow root
Coconut aminos
Rice vinegar
Gochujang
So first things first, you want to feed your starter. That way, by the time your done prepping everything else, it has risen and is ready to make breads!
Dressing
2 tsp coconut aminos
3 tbsp rice vinegar
1 tbsp raw honey
1 tbsp gochujang
1 tsp sesame seeds
Adjust as needed!
Peel the outer layer off your carrots and discard it.
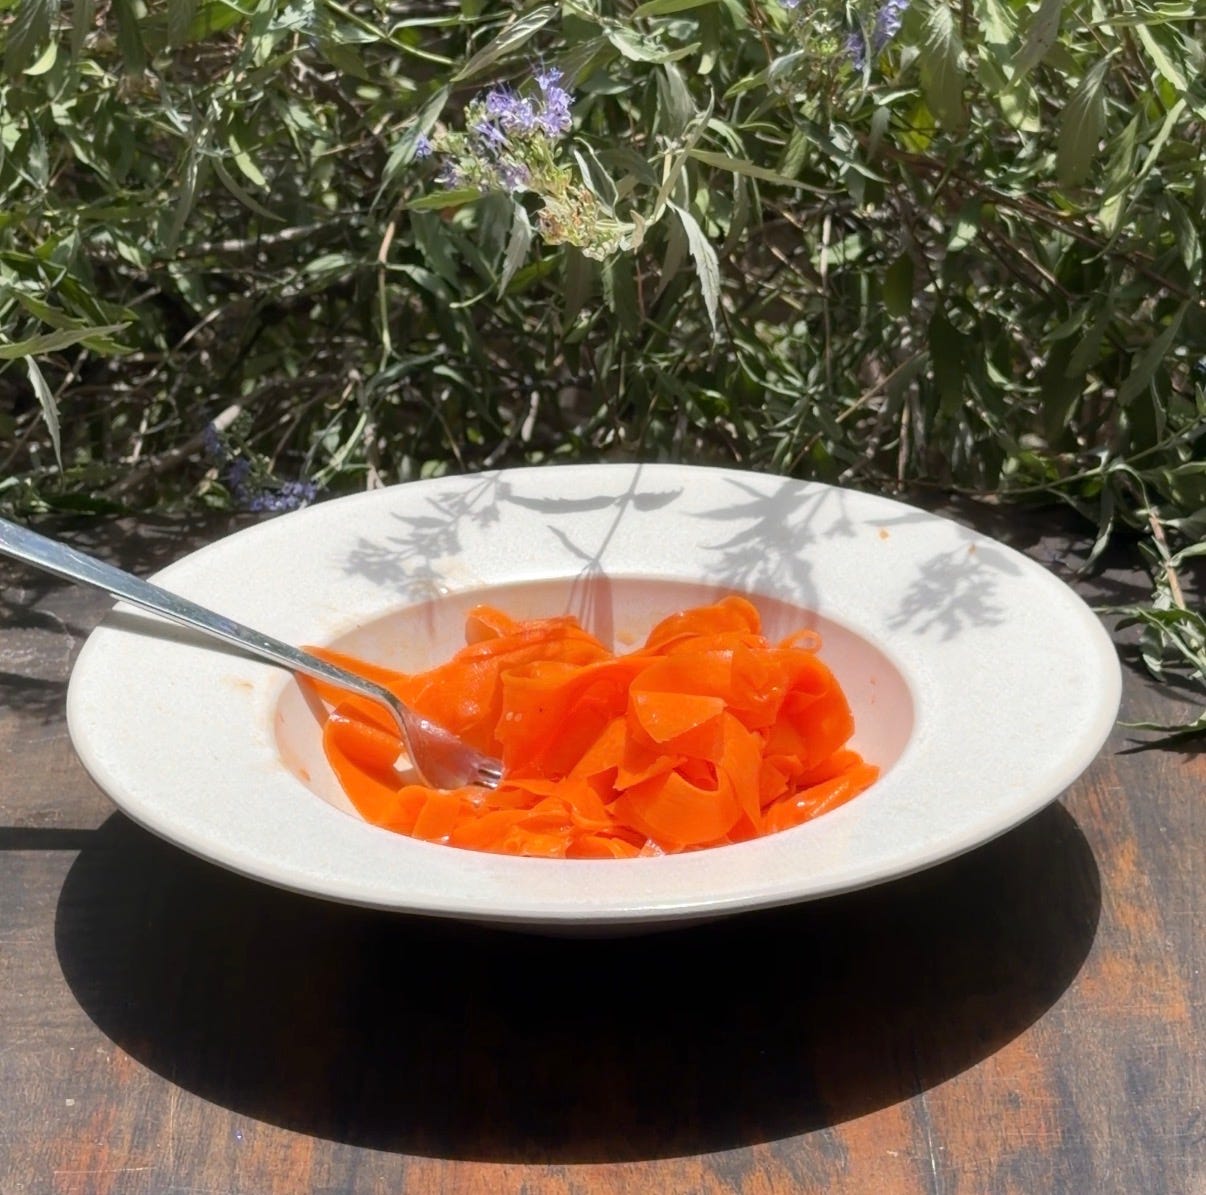
Continue peeling the carrots into ribbons. It took about 4 large carrots to fill a large mason jar.
In a small bowl, mix together your dressing.
Pour it over the carrot ribbons and mix well. Store in the fridge for up to 4 days and eat daily!
Cut the liver into ½-inch cubes and freeze on a parchment-lined tray. Once solid, transfer to a freezer bag and store for up to three months!!
Freezing it first completely changes the texture, helping it sear like steak and form a crispy, seasoned crust. It turns crunchy instead of soft and completely transforms the flavor.
Now when you’re making liver (not on the prep day, just the frozen cubes are prepped) make this:
Liver, cut into ½-inch cubes and frozen, about one handful per person
Salt, to taste
1–2 tsp garlic powder
1–2 tsp paprika
1 tsp oregano
2 tbsp grass-fed tallow, plus more as needed
1 onion, thinly sliced
Toasted sourdough
Grass-fed butter
Toss the frozen liver with salt, garlic powder, paprika, and oregano. The seasoning will stick to the frozen surface and create a crispy crust.
Heat tallow over medium heat. Cook the onions slowly until golden and caramelized, then set aside.
Add more tallow if needed and increase the heat to medium-high. Sear the liver for about 2 minutes per side, until deeply browned and cooked through but still tender.
Serve with the caramelized onions and buttered sourdough.
Now reserve about 1/3 cup of the liver for…
1 lb grass-fed ground beef
About ⅓ cup finely chopped liver
1 egg
2 garlic cloves, minced
1 tsp dried oregano
1 tsp sea salt
Freshly ground black pepper, to taste
2 tbsp grass-fed gelatin
½ cup shaved Parmesan (Always choose Parmigiano Reggiano from Italy, which is always made from raw milk!)
Whisk the egg, garlic, oregano, salt, and black pepper in a large bowl.
Add the ground beef and chopped liver, mixing until evenly combined.
Mix in the gelatin, followed by the shaved Parmigiano Reggiano.
Form the mixture into meatballs.
Heat tallow up on a frying pan. Sear your meatballs up until cooked through! I do about 3-4 minutes a side.
¼ cup dried rose petals
¼ cup dried hibiscus
¼ cup dried calendula
1 tbsp dried marshmallow root
Filtered water
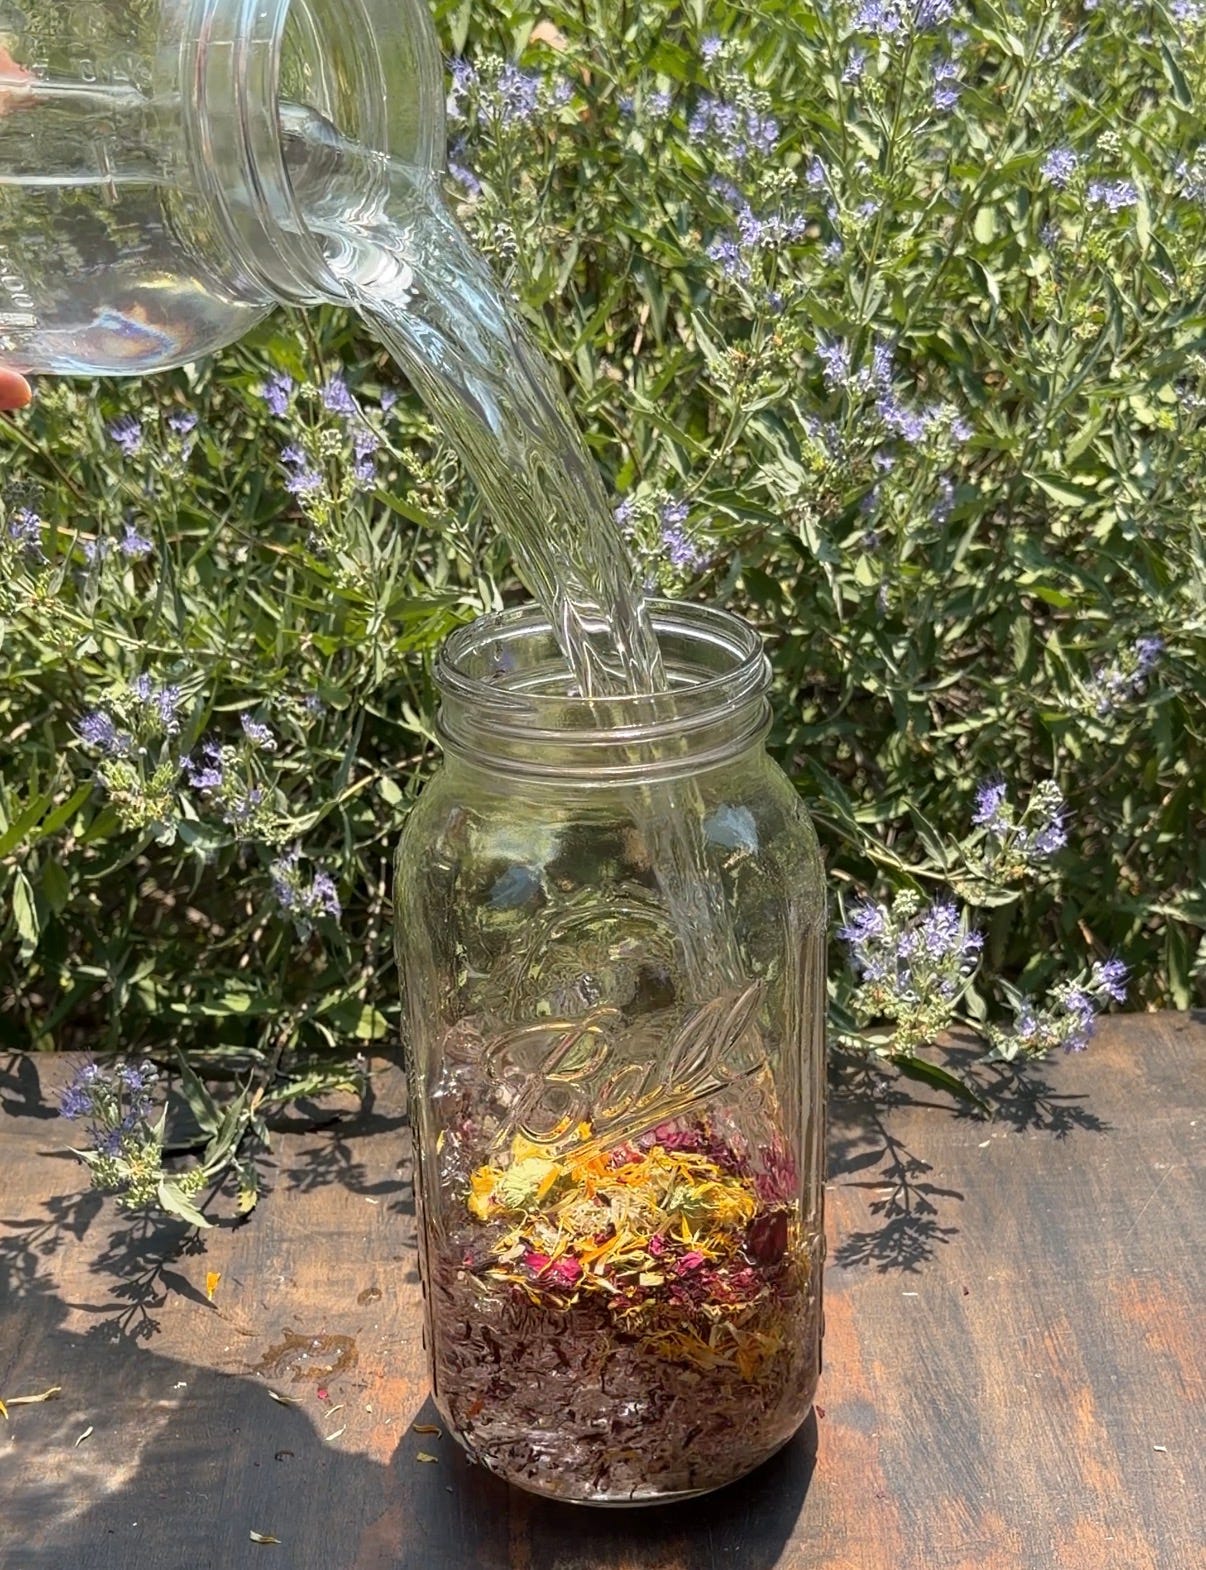
Add the herbs to a clean 64-ounce Mason jar.
Fill the jar with filtered water and cover.
For the safest method, infuse in the refrigerator for several hours or overnight. For my original method, I place it in the sun for one hour and refrigerate it immediately afterward.
Strain the infusion and pour it back into the jar.
Store in the refrigerator and enjoy within three days!
1 cup jasmine rice
1¼ cups bone broth
Add the rice and bone broth to a medium saucepan.
Bring to a rapid simmer, uncovered, over medium-high heat.
Reduce to low, cover, and cook for 12 minutes without lifting the lid.
Remove from the heat and let sit, covered, for 10 minutes.
Fluff with a rice paddle or spatula and serve.
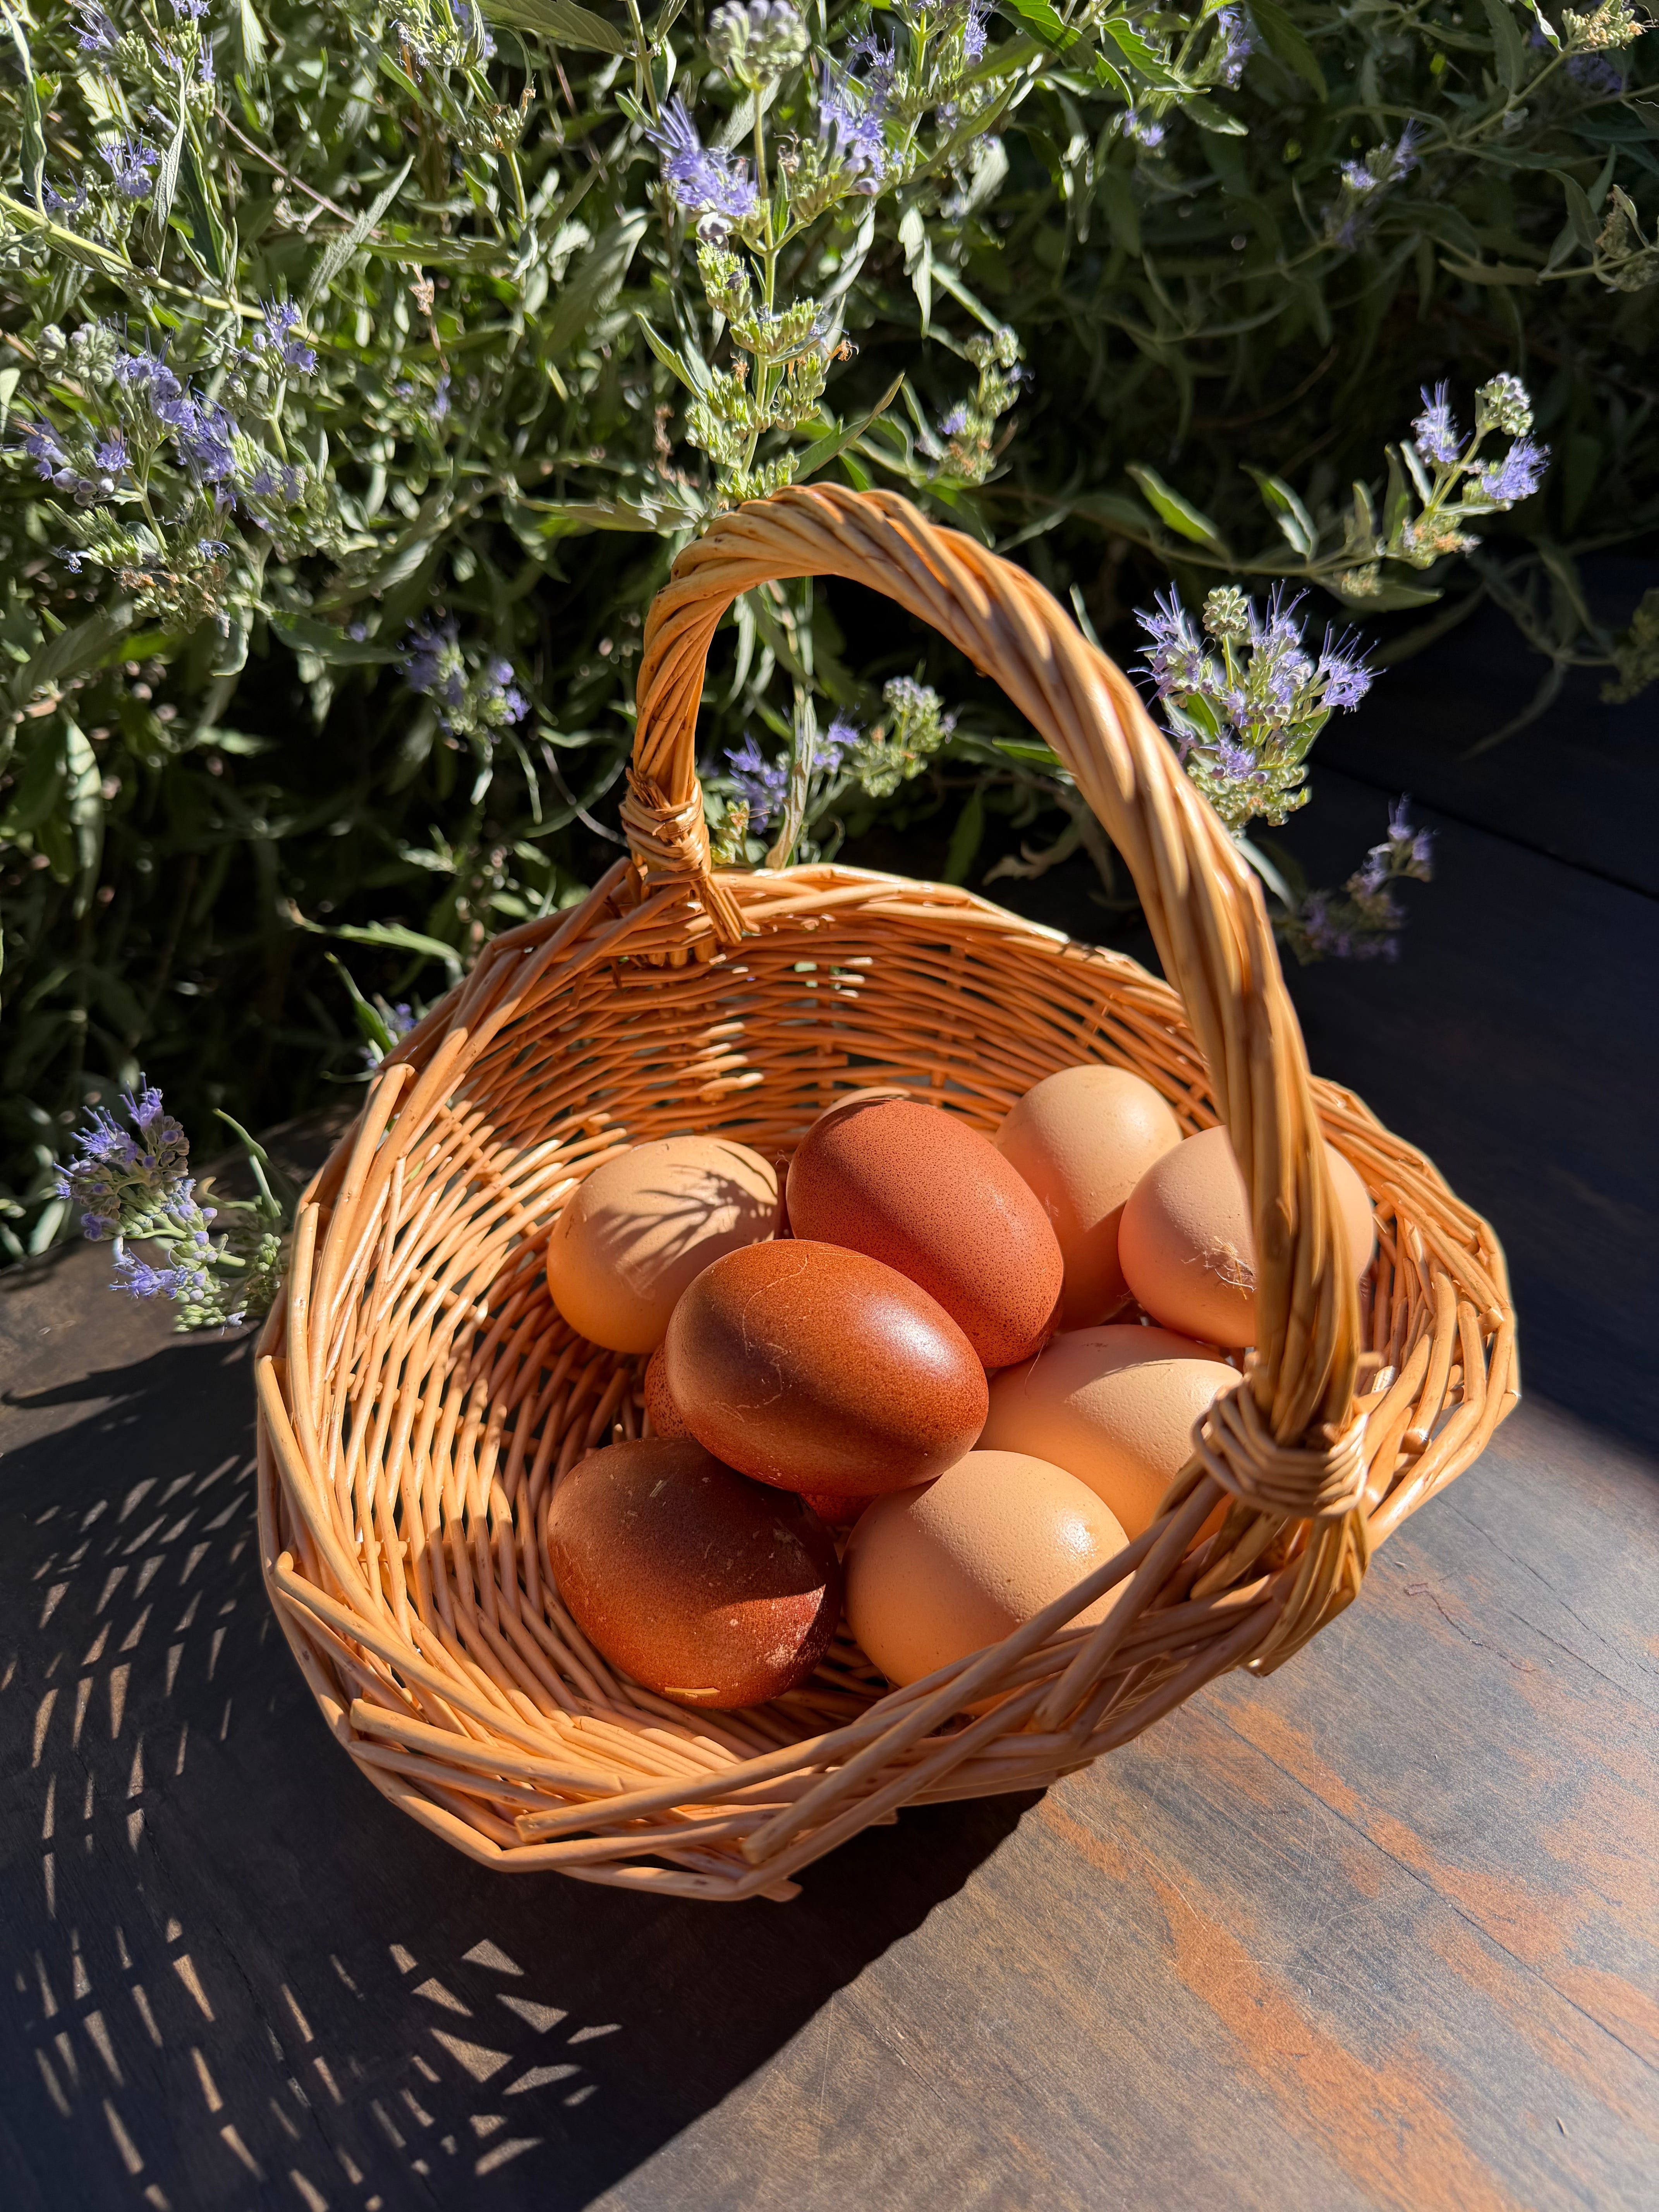
Okay, now before we start with our ice creams, breads & brownies, I went out to give the chickens some floral tea scraps & liver & gather some eggs!
I just wanted to show you because the eggs looked so beautiful in the sun. Collecting eggs is one of my favorite parts of the day:
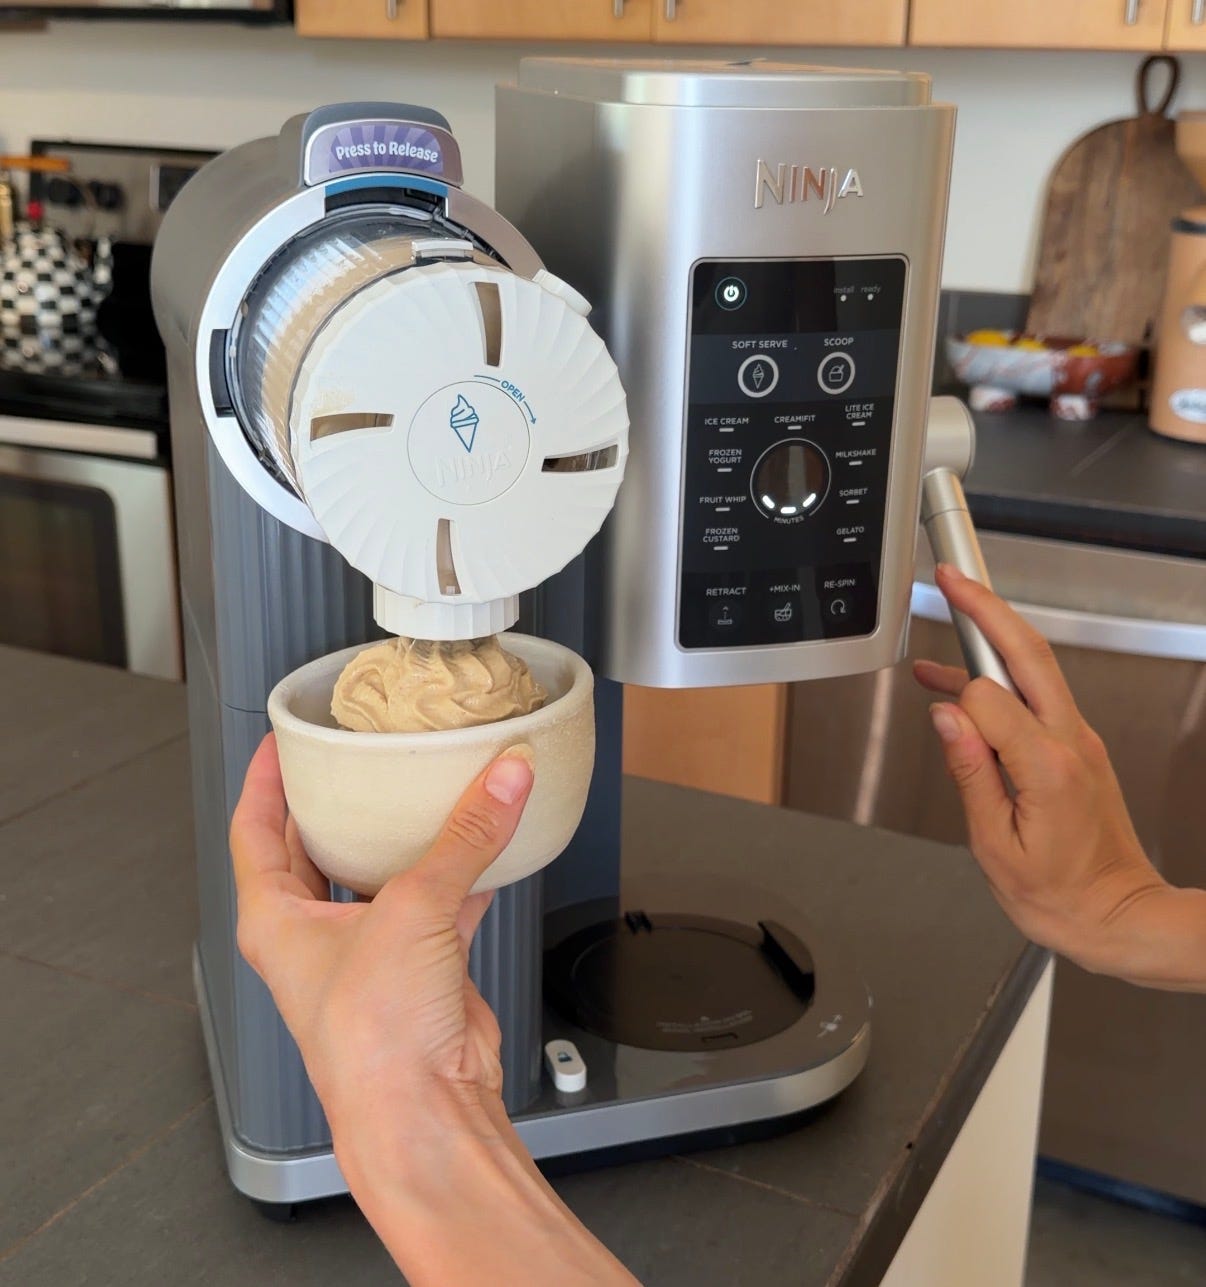
If you don’t have a soft serve machine (I have this one) you can use this to make regular ice cream too!
4 egg yolks0
½ cup maple sugar, maple syrup, or raw honey
1 cup raw milk
1 cup raw cream
1 tbsp grassfed gelatin (optional, but makes it hold it’s shape/texture)
1/2 tsp real organic vanilla powder
Whisk all the ingredients together until fully combined. I do this in the heated milk frother. *if adding gelatin: add a small portion of the liquid mixture into the heated milk frother, add the gelatin, and click the 120 degree setting. this is cool enough that it won’t pasteurize it. Mix back into raw mixture immediately!
Pour the mixture into a Ninja Creami Swirl container and freeze for 24 hours.
Process using the soft-serve setting.
Serve immediately and enjoy! I’ll refreeze the container and remix when needed.
Ok now our starter is probably ready! You don’t need an active starter for the brownies, but since I’m using active starter for everything else it’s just easier!
Also- everything I bake, I slice (if needed) and freeze! Baking & freezing fresh milled sourdough breads is one of my favorite healthy & nutrient dense eating hacks, because when you reheat it in the oven, it literally tastes like you just baked it!
My favorite before-bed treat- especially with a glass of raw milk.
5 tbsp salted grass-fed butter, melted
1 cup maple sugar
¼ cup raw honey
2 pasture-raised eggs, plus 1 egg yolk
2 tbsp sourdough discard
1 tsp vanilla extract or powder
⅓ cup coconut oil, melted
¾ cup cacao powder
1¼ cups fresh-milled flour (I use organic spelt or einkorn normally!)
¼ tsp sea salt
¾ cup organic semisweet chocolate chips
Whisk together the butter, maple sugar, honey, eggs, egg yolk, sourdough discard, coconut oil, and vanilla.
Mix in the flour, cacao powder, and sea salt, then fold in the chocolate chips.
Spread the batter into a parchment-lined loaf pan.
For a longer sourdough rest, cover and refrigerate for six hours. You can also bake it immediately.
Bake at 350°F for about 30 minutes, until a tester comes out with moist crumbs.
Let the brownies cool completely before slicing. I store them in the freezer, and reheat one whenever I want a brownie at 350 for 15 minutes
The recipe is from Sue Beckers with some tweaks! It was my first time trying it on my prep day. It’s not like my normal sourdough loaves, but it’s a nice sandwich bread & hot dog bun! I split the dough down the middle to make 1 loaf & a few hot dog buns!
This is the original recipe, & I just wrote the recipe here with all of my own tweaks!
1 1/2 cups hot filtered water (around 130 degrees farenheit)
1/3 cup coconut oil
1/3 cup raw honey
2 tsp. sea salt
1 egg
4 – 4 1/2 cups freshly milled flour (I used Spelt!)
1 Tbs. Yeast
2 tbsp Sourdough Starter
Combine water, coconut oil, raw honey, sea salt, and egg. Mix thoroughly. Add yeast and enough flour to make a soft dough. Knead until smooth and elastic (about 5-6 minutes). Let rise until double.
Shape as desired (I split the dough in half and made one of the halves into a sandwich bread, and the other half I cut and shaped into hot dog buns) and let rise again until double.
Bake at 350F for 25-30 minutes. (the hot dog buns may be ready early! so check them at 15 minutes)
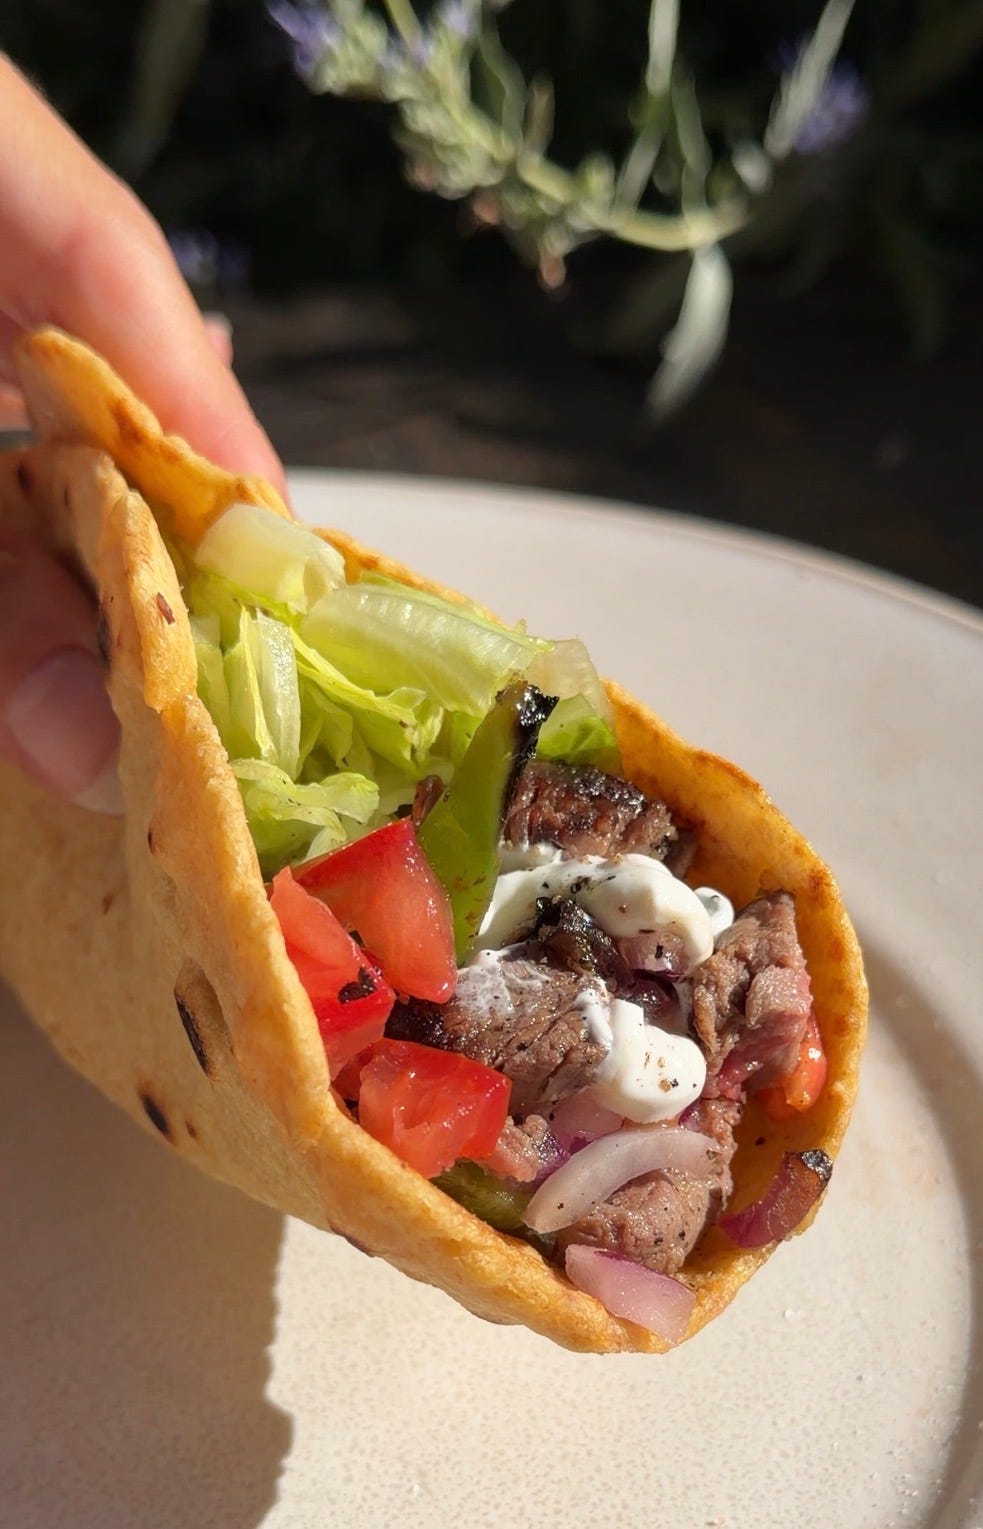
2¾ cups (330g) fresh-milled flour- I use spelt
¾ cup (170g) warm filtered water
½ cup (113g) active sourdough starter
2 tbsp (25g) extra-virgin olive oil
2 tsp maple sugar or raw honey
1½ tsp sea salt
Mix all the ingredients in a large bowl until a shaggy dough forms.
Transfer to a floured surface and knead for about 5 minutes, until smooth and springy.
Place in a lightly greased bowl, cover, and let rise for 1½ to 2 hours, until relaxed and slightly puffy.
Preheat the oven to 500°F with a baking stone or steel inside.
Divide the dough into 8 equal pieces. Shape each into a ball, cover, and rest for 15 minutes.
Roll each piece into a 6- to 7-inch round, keeping the remaining dough covered.
Bake the pitas directly on the hot stone or steel for 2½ to 3½ minutes, until puffed and set.
Stack the warm pitas between clean kitchen towels to keep them soft.
Once cooled I store these in the freezer for gyros!
No posts
Comments
Nothing yet. Say the first thing.
Sign in to join the conversation.