
Your back holds the day. By evening, it carries every hour you sat, every screen you stared at, every breath you held without noticing.
There is a way to release it—one line, seven steps, feet to neck.
This is the backline flow from Thai massage. Simple. Grounded. Tested over centuries at Wat Pho Temple in Bangkok.
During my training at Wat Pho, my teacher placed my hand on a student’s heel.
“Start here,” he said. “Always here.”
I wanted to jump on the shoulders. That is where tension lives, I thought. That is where the knots sit.
He shook his head. “Free the base. The top will follow.”
He guided my hands up the back of the leg, along the spine, ending at the neck. One continuous line. No skipping. No rushing. The student exhaled—long, deep, complete.
That was the lesson: the body releases from the ground up.
When you free the feet and legs first, the hips soften. When the hips soften, the spine can breathe. When the spine breathes, the neck finally lets go.
Want to see how I actually learned this in Bangkok? Follow my journey on Tiktok: @lukaswiesflecker where I share behind-the-scenes stories from my training.
Thai massage works with Sen lines. These are pathways that run through the body like roads. The backline is one of the most important.
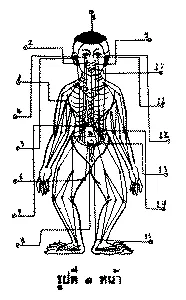
It starts at the soles of your feet and travels up the back of your legs, through your hips and spine, ending at the base of your skull. When this line is tight, your whole back feels locked. When it is open, movement becomes easy again.
You do not need to believe in energy. You only need to notice: when you press the feet, the calves relax. When you stretch the hamstrings, the lower back softens. When you release the hips, the shoulders drop.
The body is connected. Thai massage simply follows that connection.
Related: If your shoulders are tight right now, read Why Your Back Pain Always Starts Somewhere Else (coming Friday) to understand the full connection.
This flow works best with a partner, but you can adapt steps 1–3 for yourself.
What you need:
A yoga mat or soft surface
10–15 minutes of quiet time
Loose, comfortable clothing
The person receiving lies face down, arms relaxed by their sides.
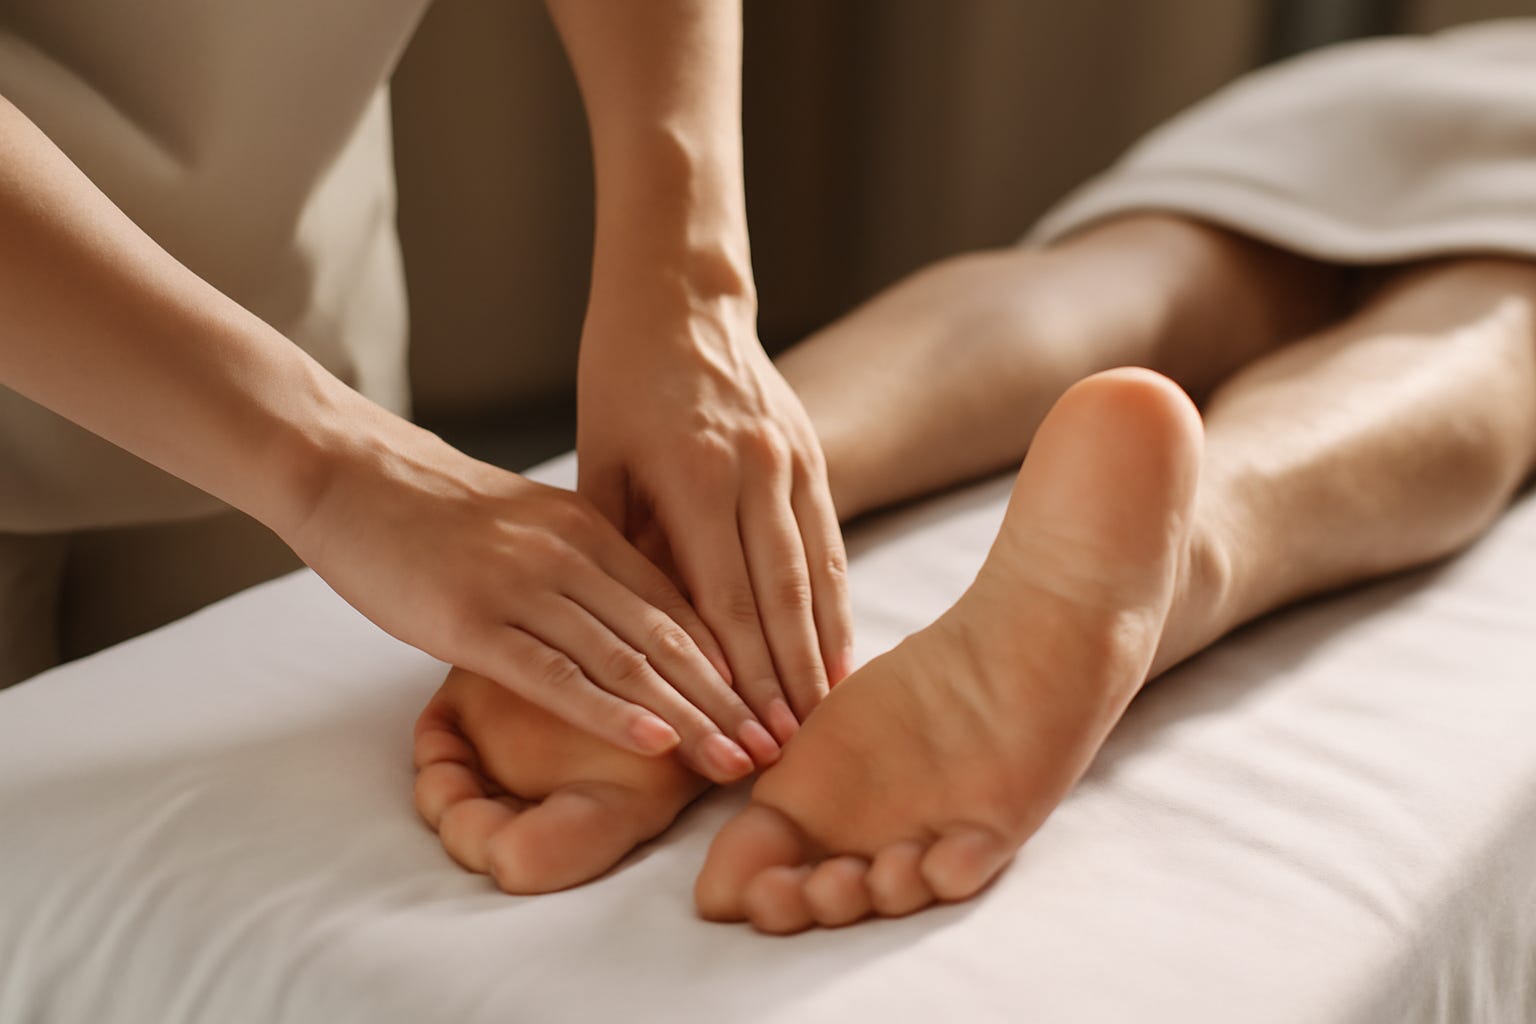
Place both palms on the soles of their feet. Press gently but firmly for 5–10 seconds.
Why: The feet hold tension from standing and walking. This first press signals the body to begin releasing.
Breath cue: Ask them to breathe in as you press out as you release.
Solo adaptation: Sit down and press your own feet with your thumbs, or use a tennis ball under your foot while seated.
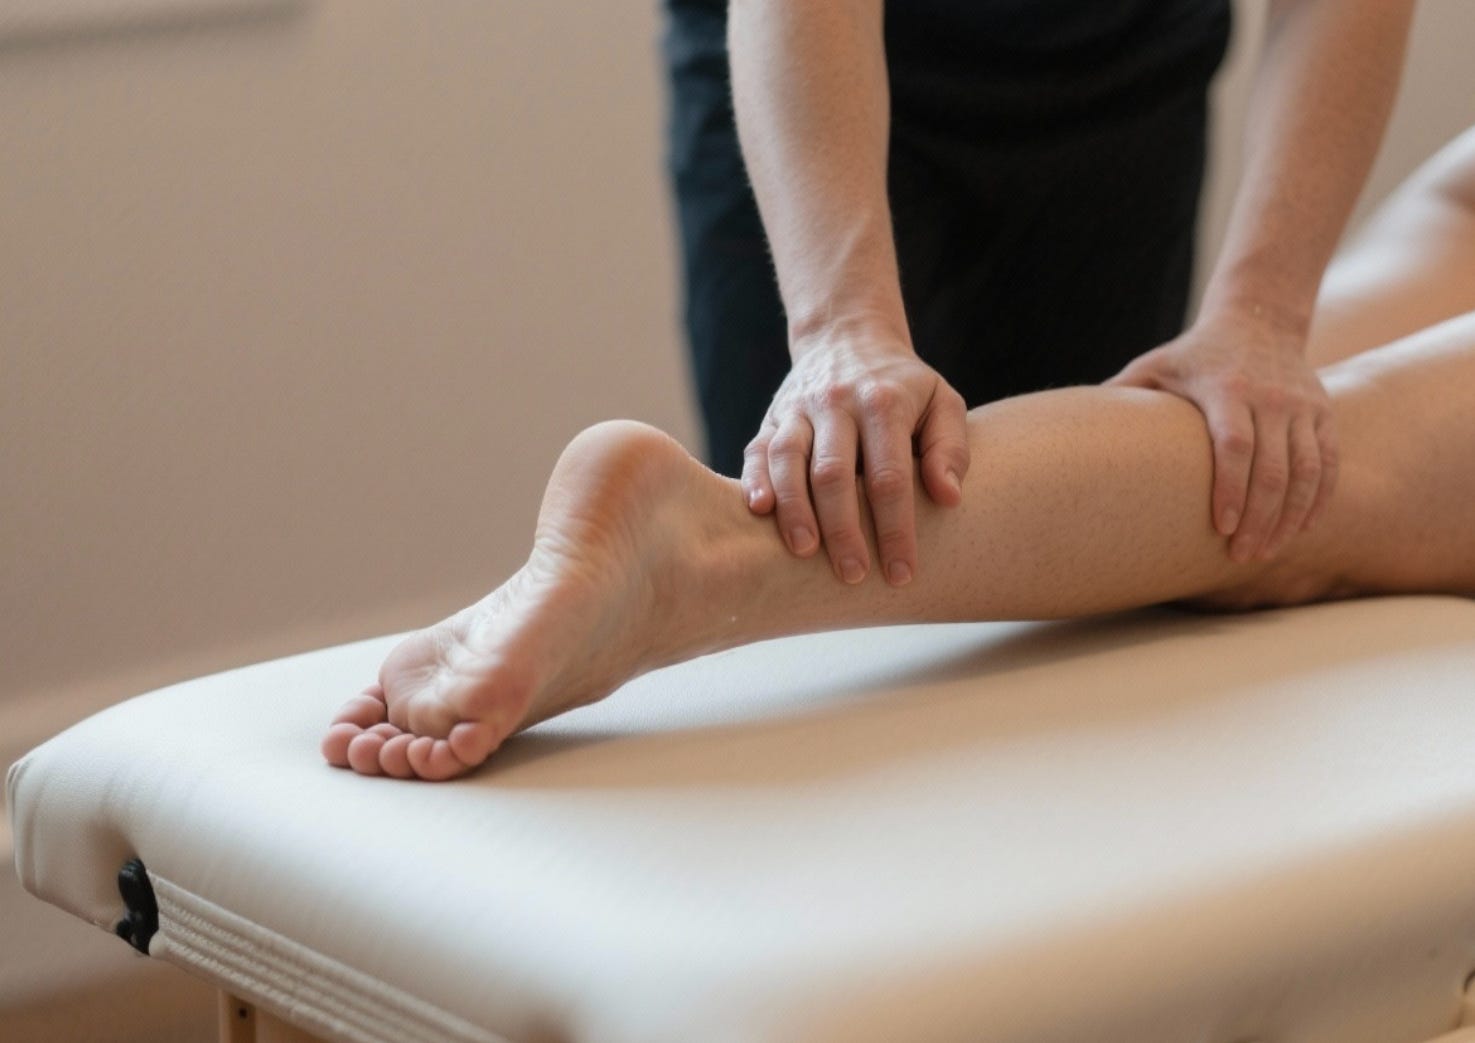
Walk your palms up the calves, pressing down in slow, rhythmic pushes. Start light, increase pressure as the muscle softens.
Why: Tight calves pull on the hamstrings and lower back. Releasing here prepares the next layer.
Key detail: Press with your body weight, not just your arms. Lean in gently.
Solo adaptation: Use a foam roller on your calves, or sit and compress them with both hands.
Bend one leg at the knee, bringing the heel toward the glutes. Press the thigh down gently with one hand while holding the ankle with the other. Hold for 10 seconds. Repeat on the other side.
Why: The hamstrings connect directly to the pelvis. When they release, the lower back has room to move.
Adjustment: If this feels too intense, reduce the bend by 20%. Never force.
Solo adaptation: Lie on your back and bring one knee to your chest, then straighten the leg upward.
Place both palms on the glutes and press in slow circles. Move toward the sacrum (the flat bone at the base of the spine). Use steady, sinking pressure.
Why: The hips hold the body upright all day. This step releases the foundation of the spine.
Feel for: Areas that feel harder or denser. Spend extra time there.
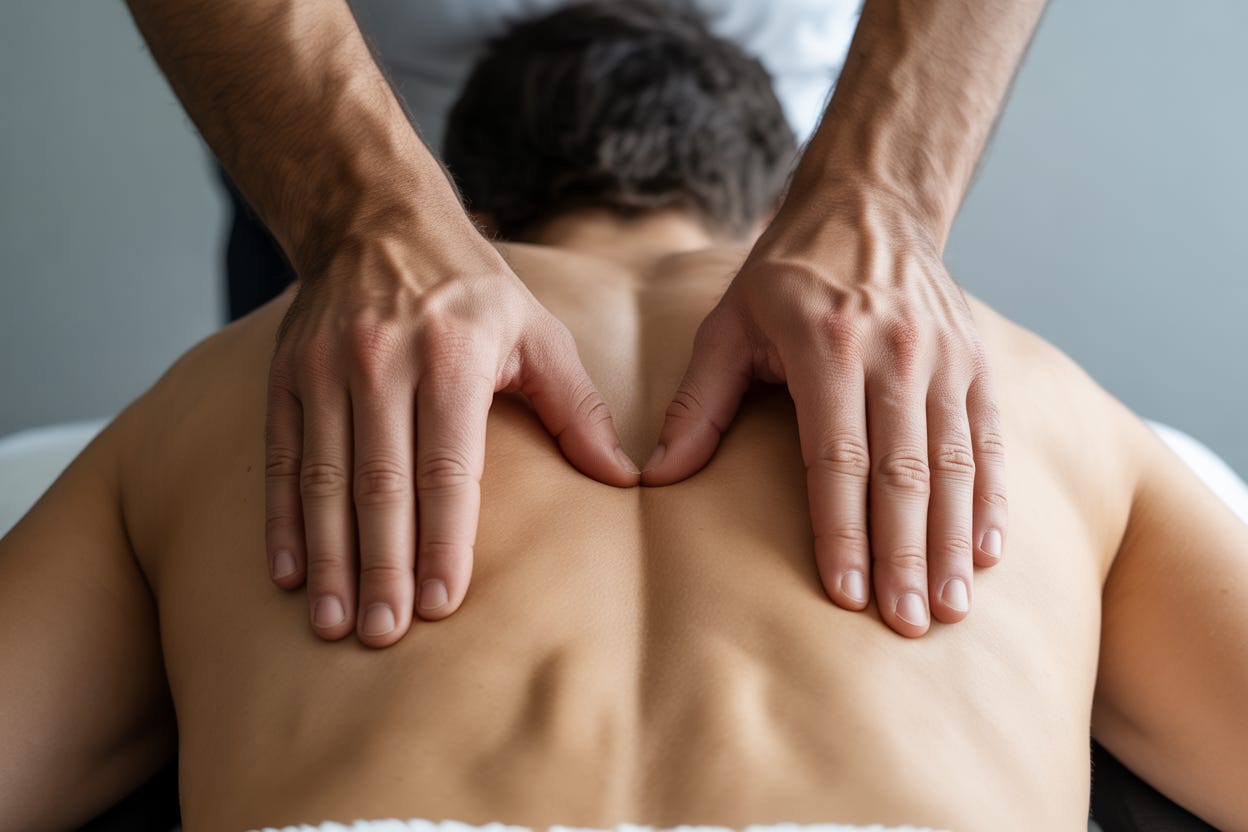
Starting at the lower back, walk your palms up both sides of the spine. Press down and slightly outward, following the muscles along the vertebrae. Move slowly.
Why: The erector spinae muscles run the length of your back. Releasing them opens the entire line.
Caution: Never press directly on the spine itself. Stay on the muscles beside it.
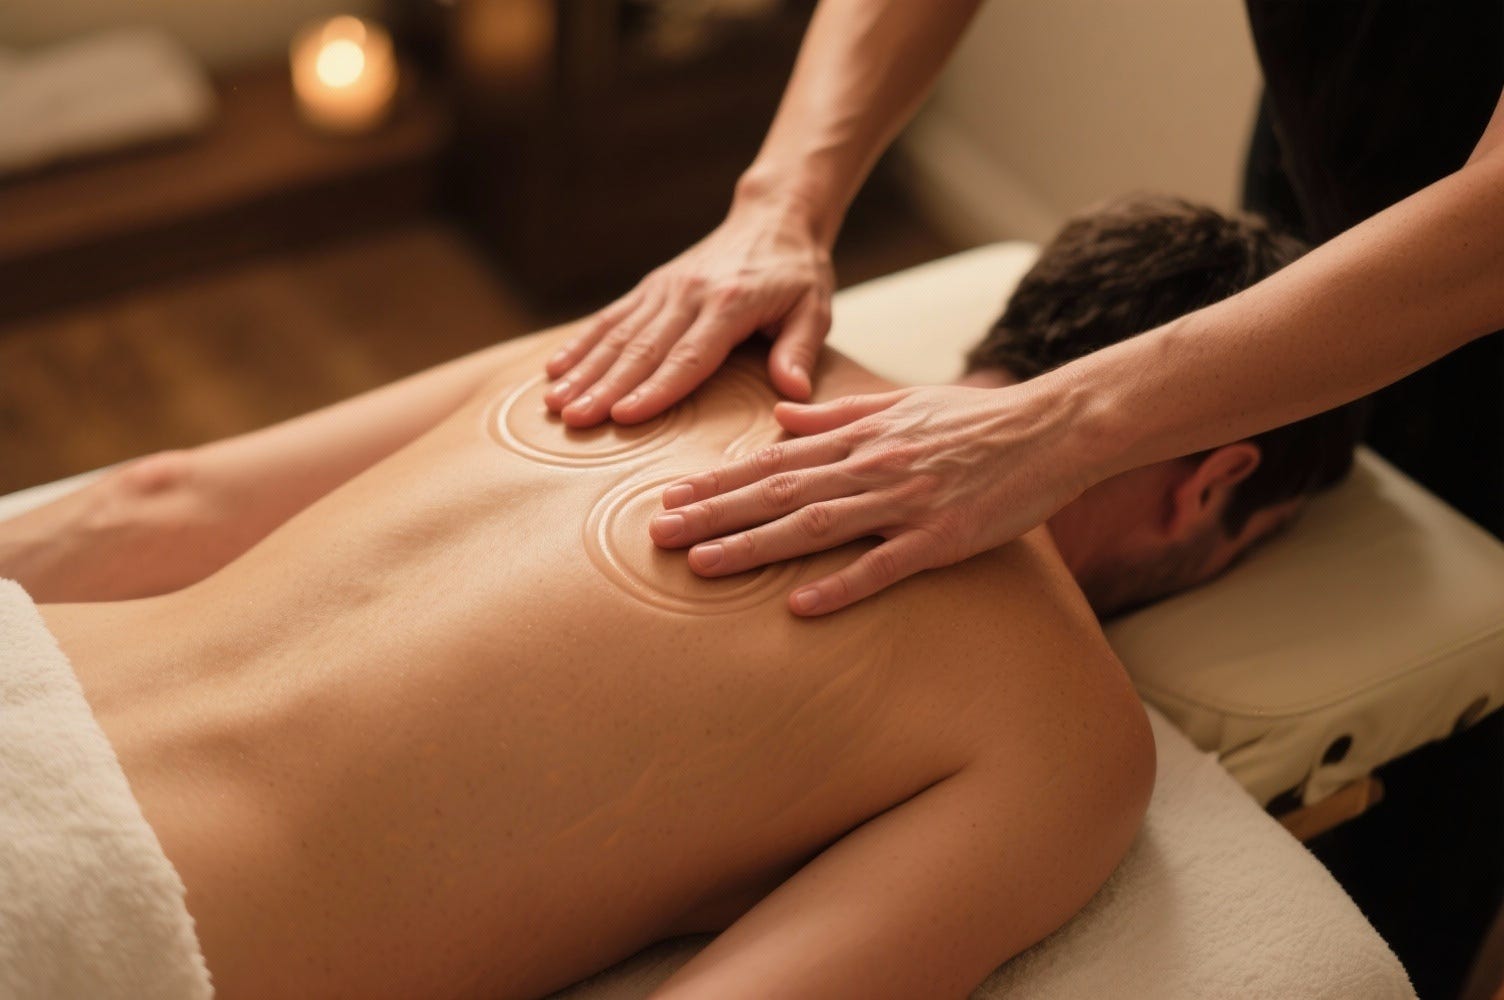
Place your palms on the shoulder blades. Press down gently, then make small circles. The shoulders often hold the most tension—give them time.
Why: By now, the lower body has released. The shoulders can finally soften without bracing.
Notice: You may feel them drop as tension leaves.
Need shoulder-specific help? In Week 5, I’ll share The 2-Minute Tapping Pattern for Computer Shoulder Tension—a technique from Chiang Mai that works like magic.
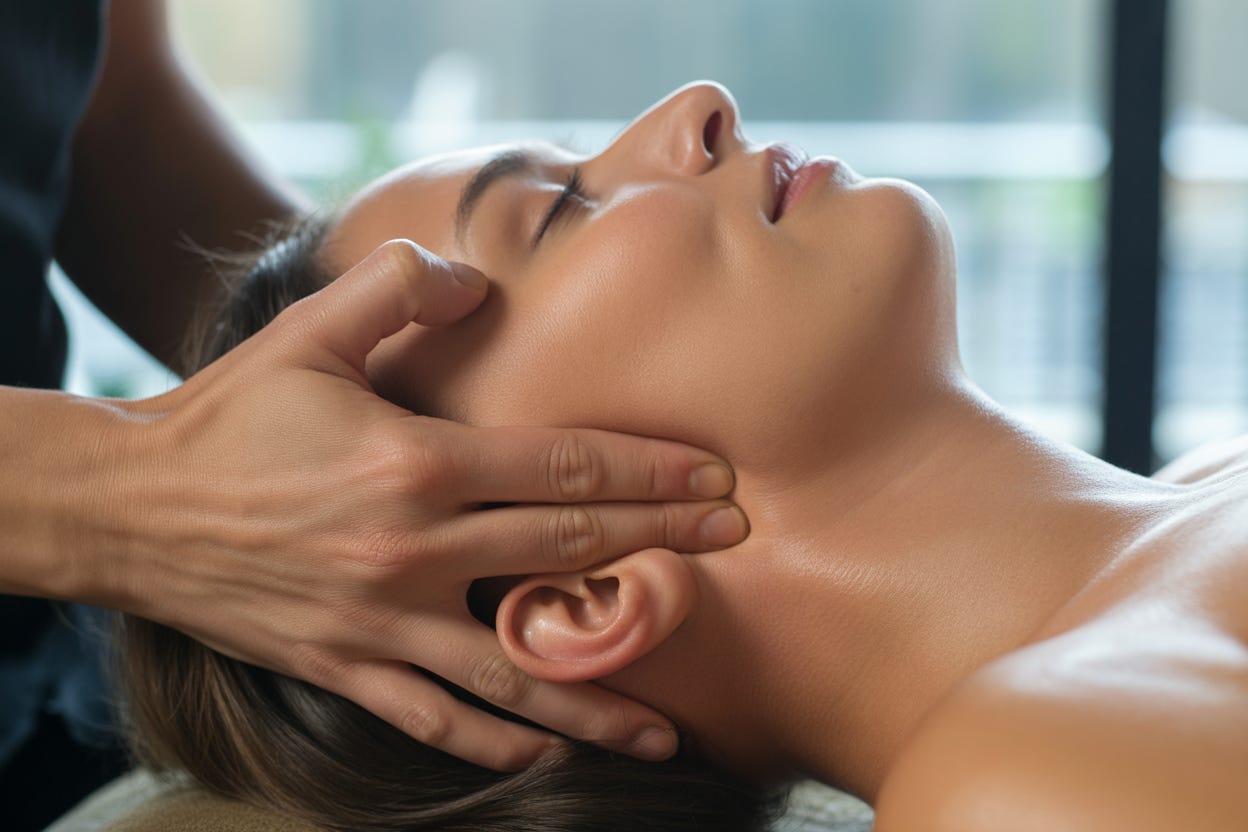
Place your thumbs at the base of the skull, where the neck meets the head. Press gently upward and hold for 10 seconds.
Why: This is where the backline ends. Releasing here completes the flow.
Final breath: Ask them to take one long, full breath before you lift your hands.
Go slow. Speed skips tension. Slow pressure finds it.
Follow the breath. Press as they exhale. Release as they inhale. This rhythm makes the work softer and deeper.
Listen with your hands. Hard areas need time. Soft areas need less. Your hands will tell you where to stay.
Check in. Ask halfway through: “How does the pressure feel?” One word is enough—”good,” “lighter,” “more.” Respect their answer.
End with stillness. After step 7, rest both hands on their mid-back for 10 seconds. Let the body register the change.
After this flow, the person receiving often feels:
Longer in the body, as if stretched without stretching
Quieter in the mind, as tension stops pulling attention
Easier to breathe, as the ribcage has space again
Some fall asleep. Some stay awake but deeply calm. Both are correct. The backline does not fix everything. It simply reminds the body how to release when it is ready.
If you have a partner, walk them through this flow. If you practice alone, try steps 1–3 on yourself:
Press your own feet while seated
Use a foam roller on your calves
Stretch your hamstrings gently on the floor
Start at the feet. Always start at the feet.
The body knows how to follow the line. You just guide it.
This free guide gives you the foundation. If you want the complete system—including self-care routines you can do alone, precise timing for each step, and troubleshooting for stubborn tension—the premium version has everything. No pressure, just know it’s there if you need it.
I trained at Wat Pho Temple in Bangkok for 1.5 months, learning directly from teachers who have practiced Thai massage their entire lives. Every technique I share comes from that lineage—grounded, practical, tested over centuries.
This backline flow is one of the first sequences I learned. It is also one I still use every week. Simple does not mean shallow. Simple means it works.
Try it. Notice what changes. Share what you feel.
— Lukas
📍 New to Touchlines Asia? Start with About My Training—the story of how I learned massage in Bangkok, Chiang Mai, Nepal, and Kerala.
Share this article to someone who might need it.
Disclaimer: This article is for educational purposes only and does not replace professional medical advice. If you experience pain or discomfort, consult a healthcare provider. Always practice with care and respect for the body.
Touchlines Asia shares Asian massage knowledge learned directly from traditional masters explained in simple, grounded language anyone can understand.
No posts
Comments
Nothing yet. Say the first thing.
Sign in to join the conversation.