
We can never have enough yogurt in the house. As a large family mom, I keep my fridge stocked with yogurt for breakfast, snacks, desserts, and smoothies. One way I like to do this is by making homemade yogurt or Greek yogurt in the Instant Pot. With 2 ingredients and 10 hours, mostly hands-off, I can make a batch of homemade yogurt while the kids do homeschool bookwork or while we are out in the garden.
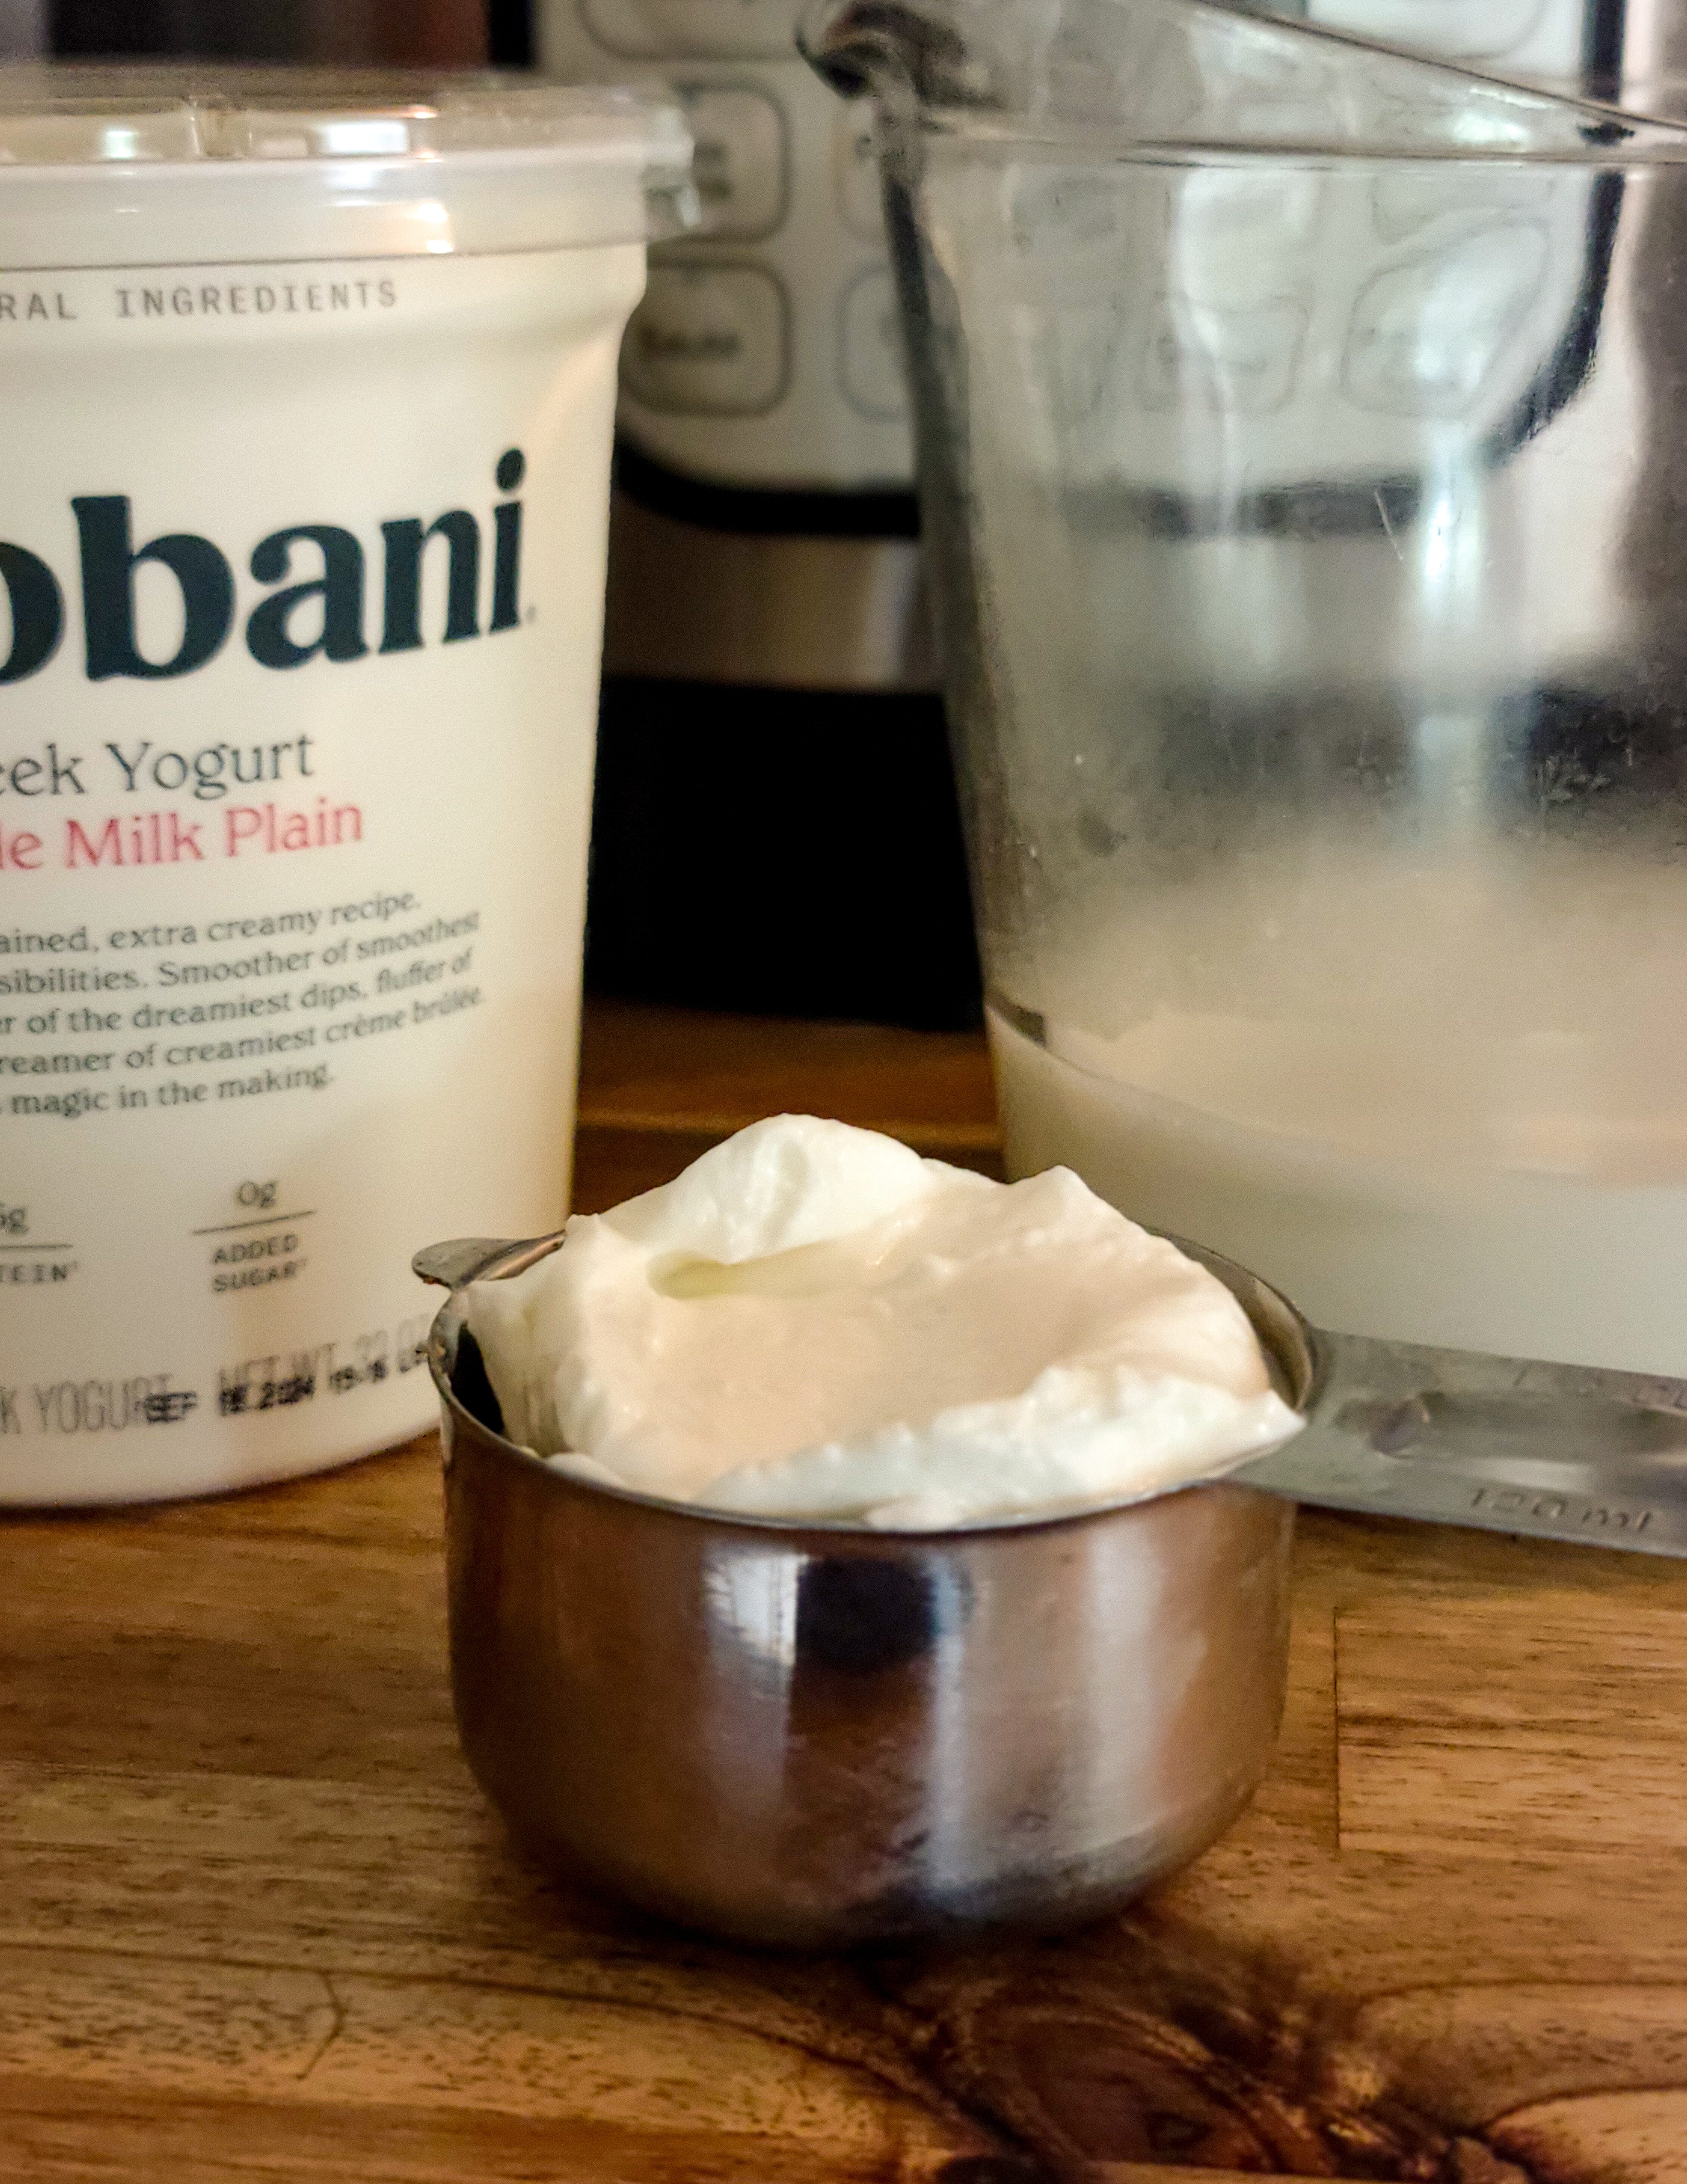
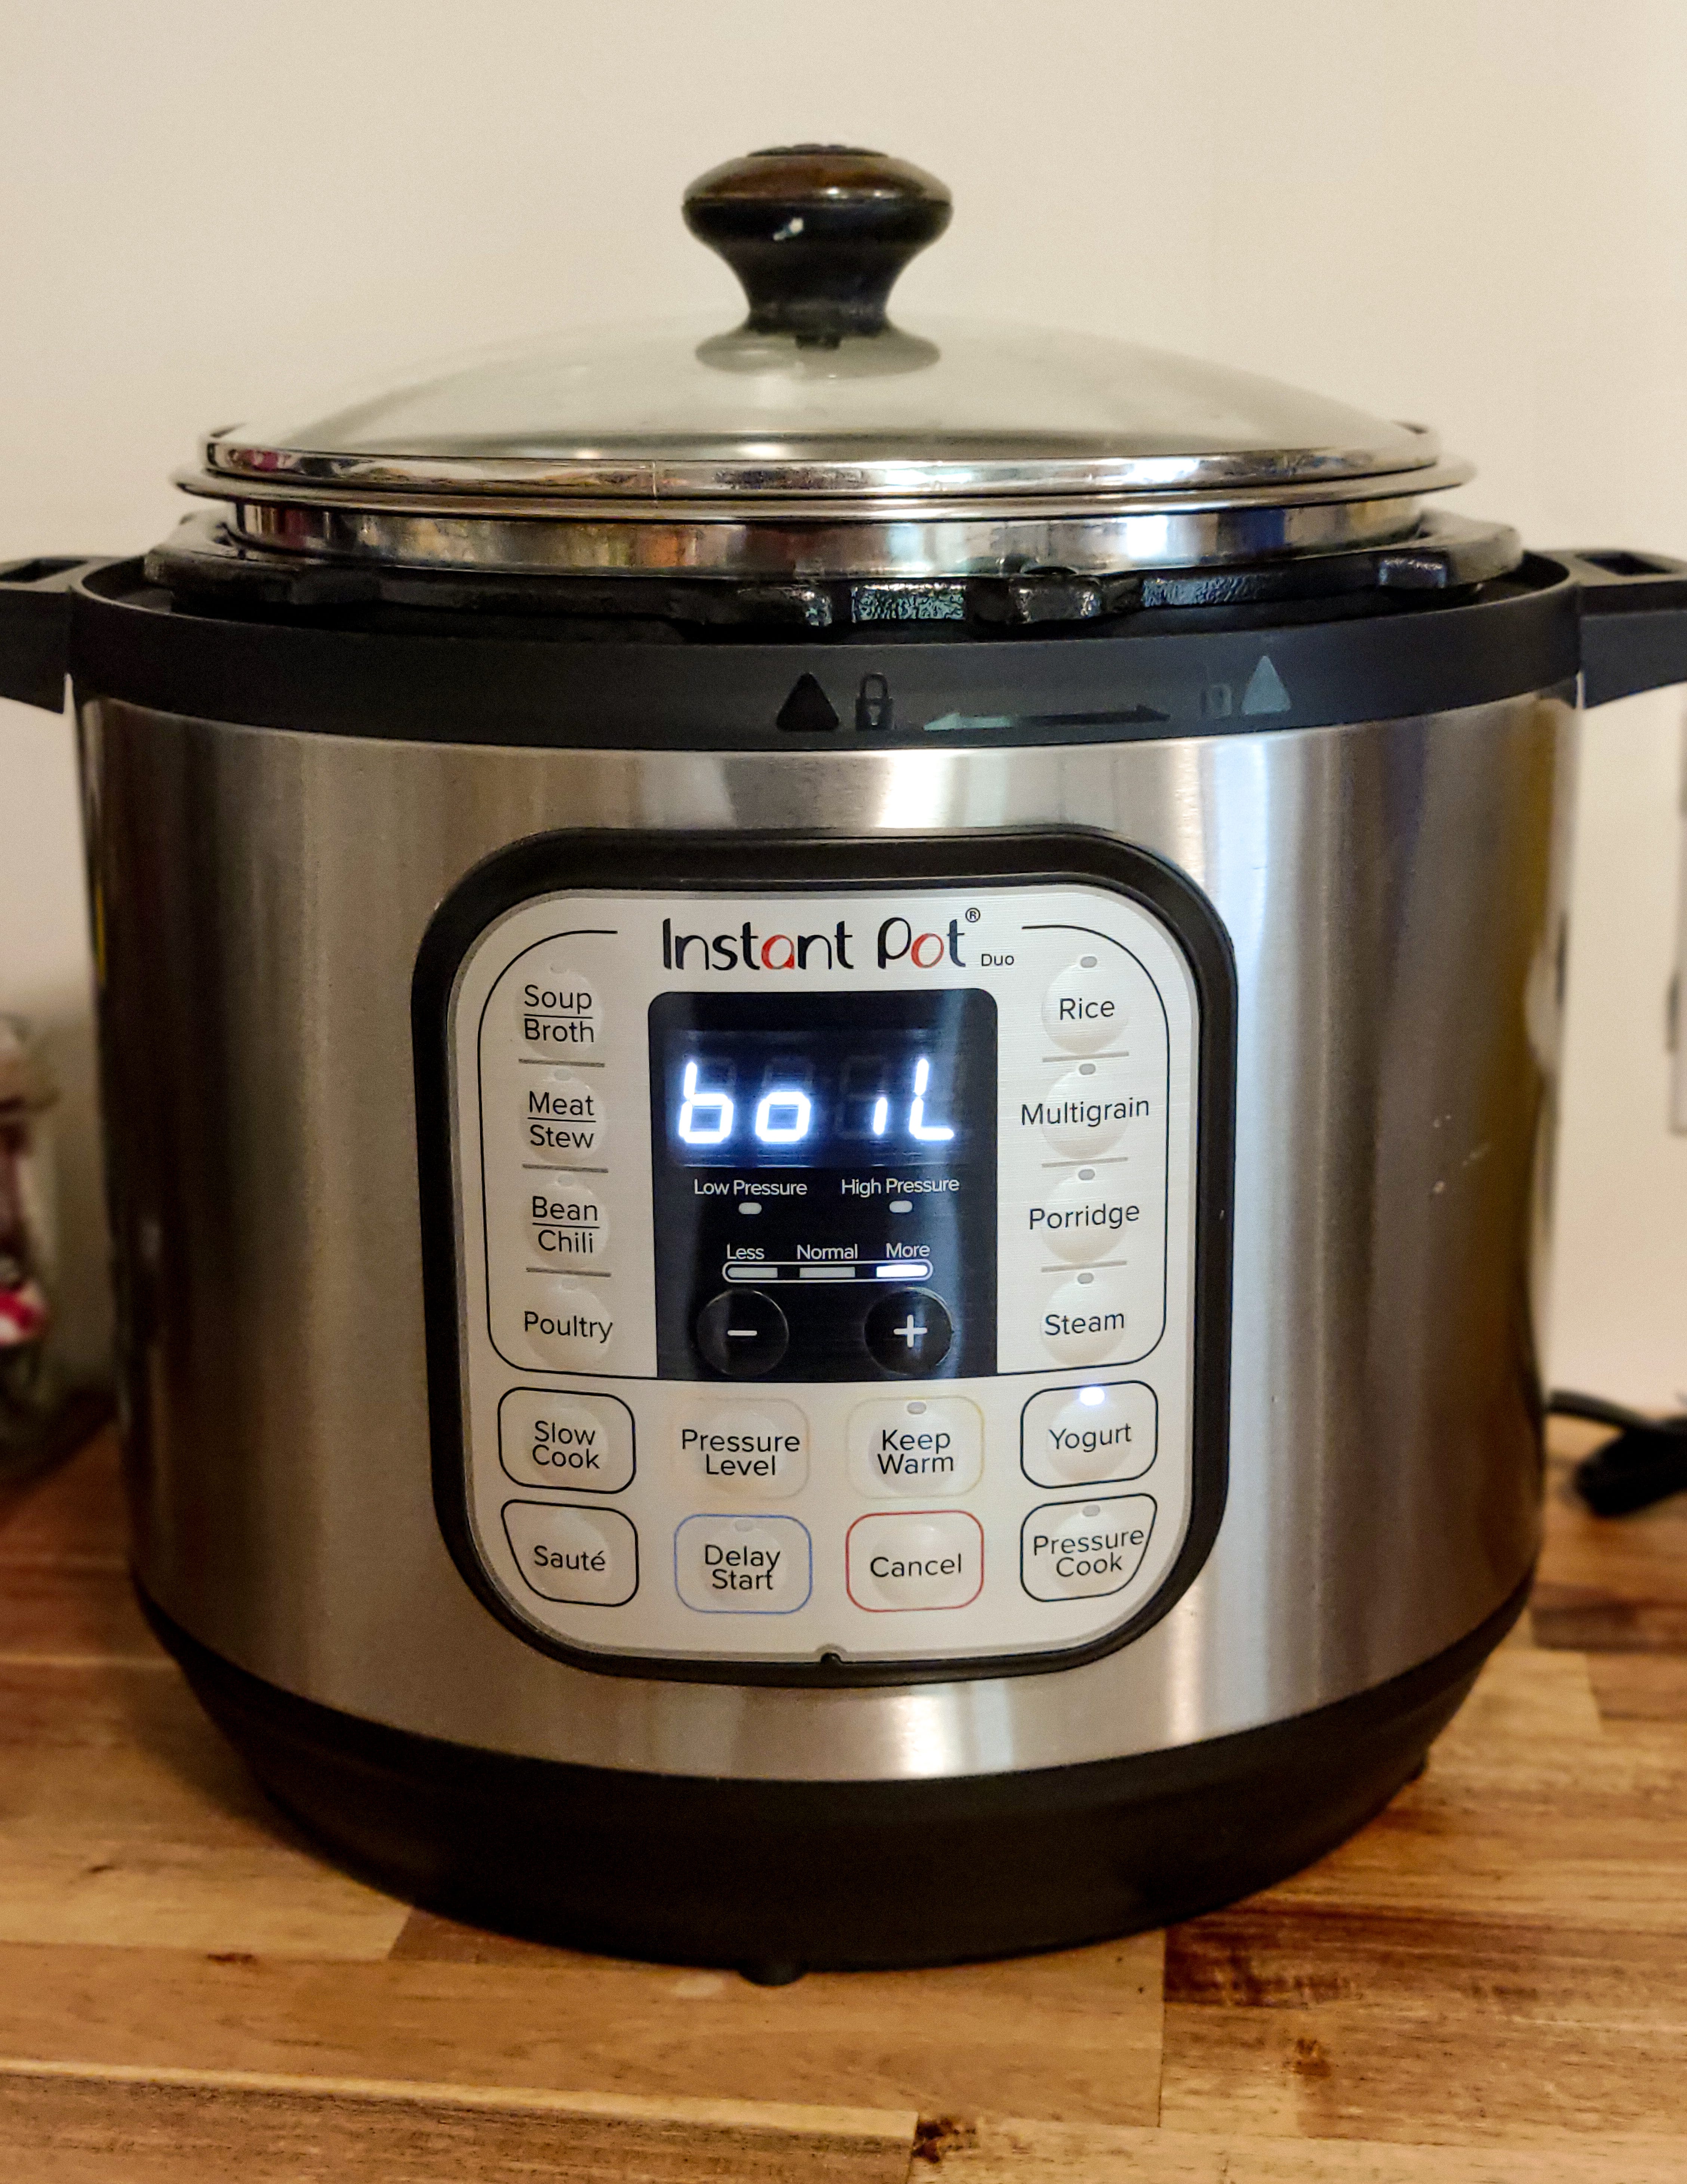
To get started, you’ll need a live-culture yogurt. My favorite is Chobani Whole Plain Greek Yogurt, but any plain yogurt with live active cultures will work. This yogurt serves as the starter for your homemade yogurt, introducing the beneficial bacteria necessary for fermentation.
Making homemade yogurt is less expensive than buying store-bought yogurt. With this recipe, the cost of homemade yogurt is half, yes, half the cost of store-bought yogurt. You can control the ingredients and customize them to your family’s taste preferences.
Alternatively, you can use a yogurt culture starter found in health food stores or online. These starters are specifically designed for making yogurt and come with instructions. They’re convenient and reliable, ensuring a consistent batch every time.
Thanks for reading! This post is public so feel free to share it.
You can make various styles of yogurt depending on your preference:
Whole Milk Yogurt: Rich and creamy, perfect for a decadent treat.
Fat-Free Yogurt: Lighter but still delicious, ideal for those watching their fat intake.
Greek Yogurt: Thick and tangy, great for cooking and snacks.
Each method is similar: whole milk produces the creamiest results, while fat-free milk yields a lighter texture. You’ll strain the yogurt to remove whey, resulting in a thicker consistency. I prefer to use this yogurt strainer.
Making yogurt in the Instant Pot is incredibly simple. Here’s a step-by-step guide:
Sterilize: Ensure your Instant Pot and utensils are clean to prevent contamination.
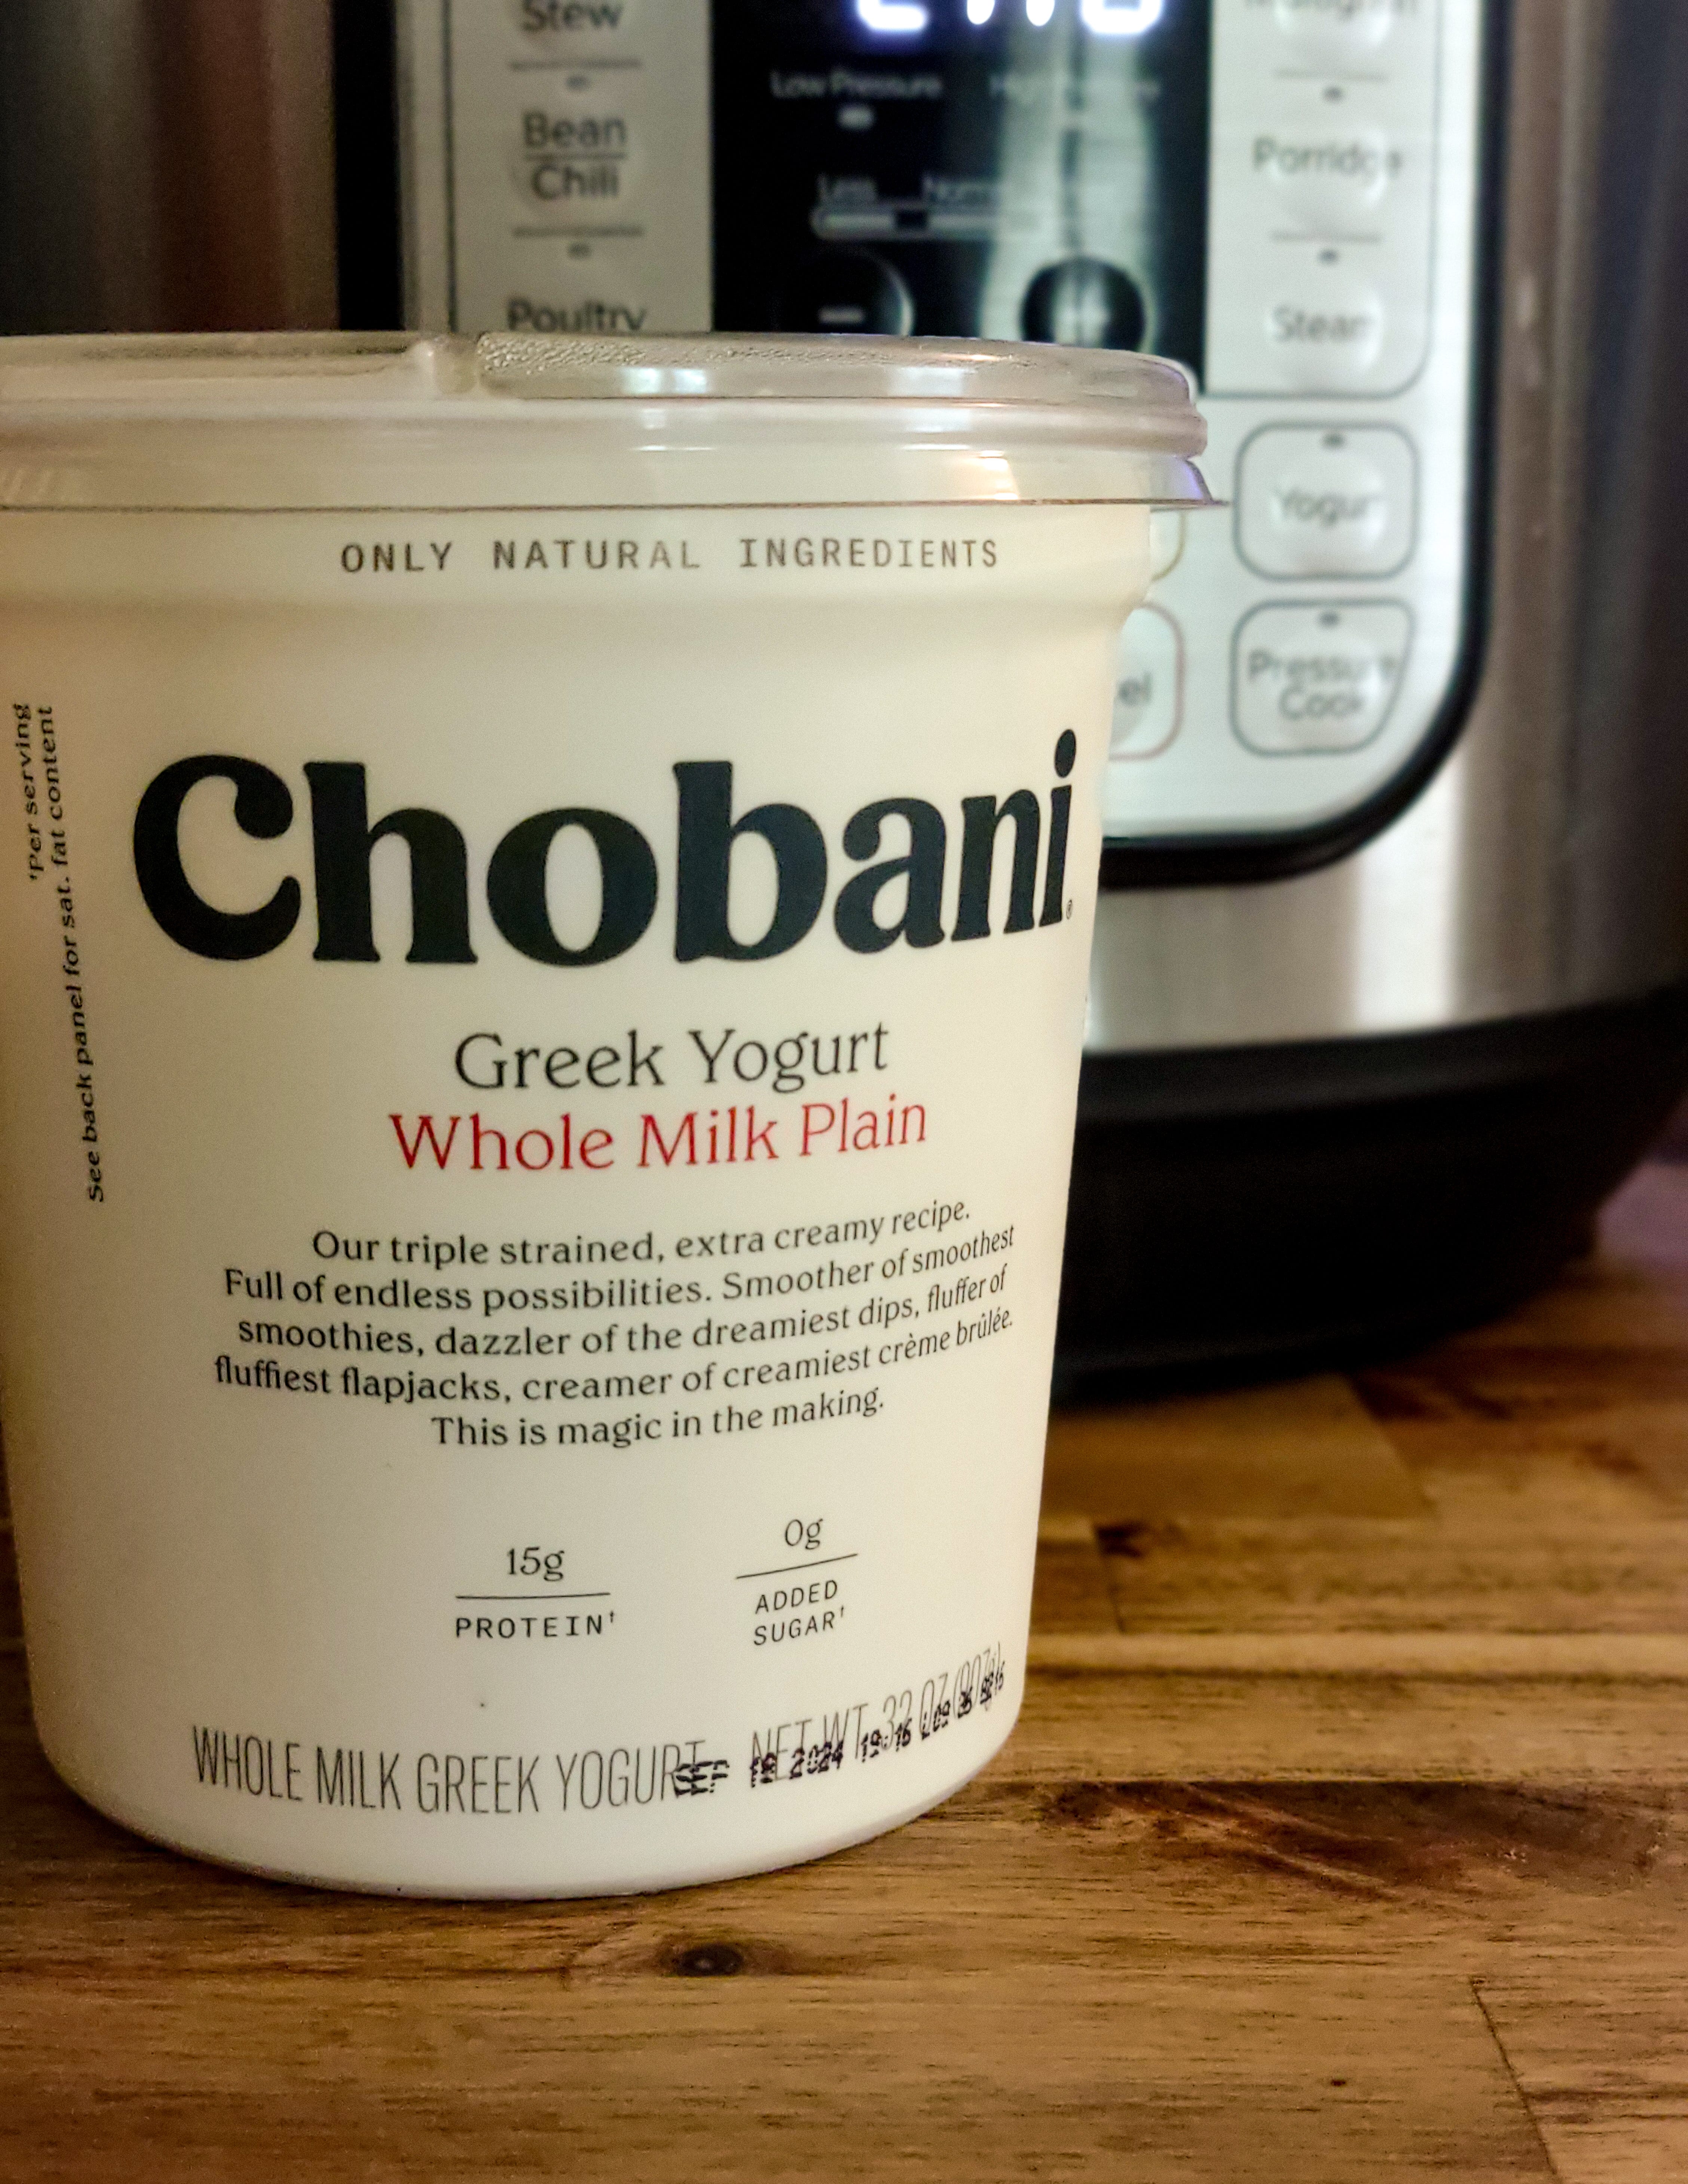
Heat the Milk: Pour the milk into the Instant Pot and select the ‘Yogurt’ setting until it reads ‘Boil’. This heats the milk to around 180°F, killing any unwanted bacteria.
Cool the Milk: Once it reaches 180°F, let it cool to around 110°F. You can speed up this process by placing the inner pot in a cold water bath.
Add the Starter: Whisk in your live culture yogurt or yogurt starter until fully incorporated.
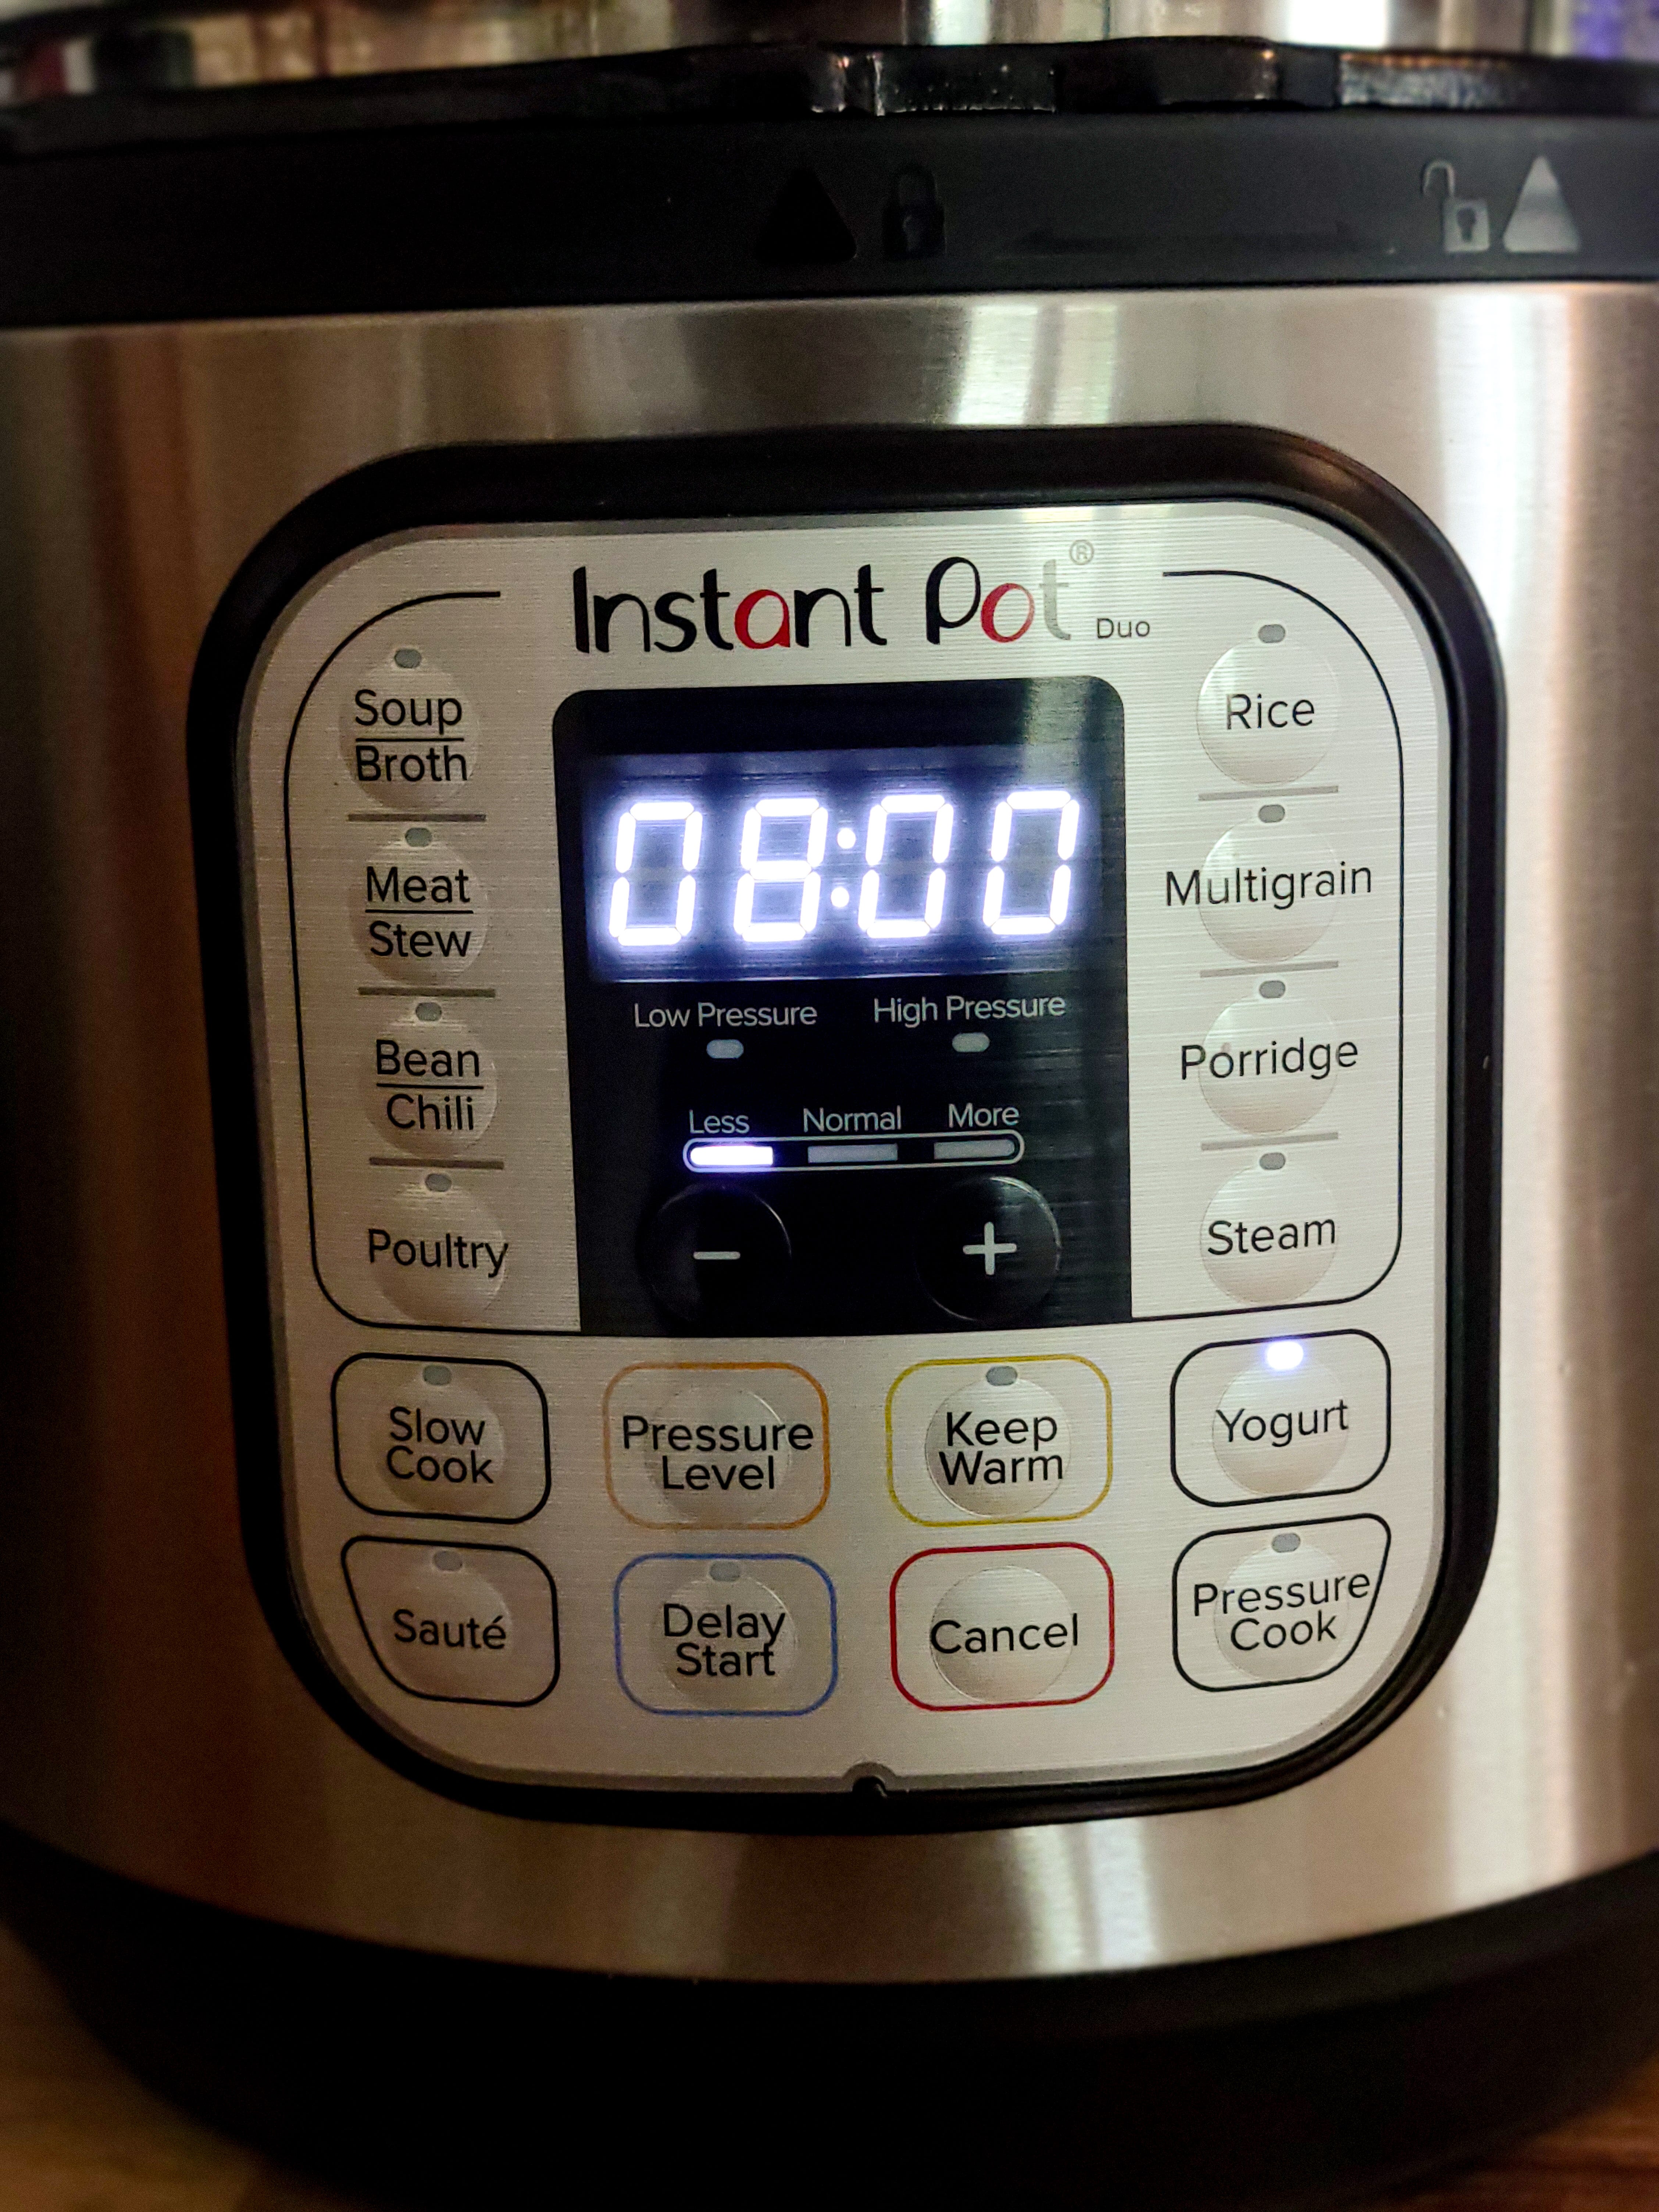
Incubate: Place the lid on the Instant Pot, select the ‘Yogurt’ setting again, and set the time for 8-12 hours. The longer it incubates, the tangier the yogurt will be.
Refrigerate: Once the incubation period is complete, transfer the yogurt to the refrigerator to chill for at least 4 hours.
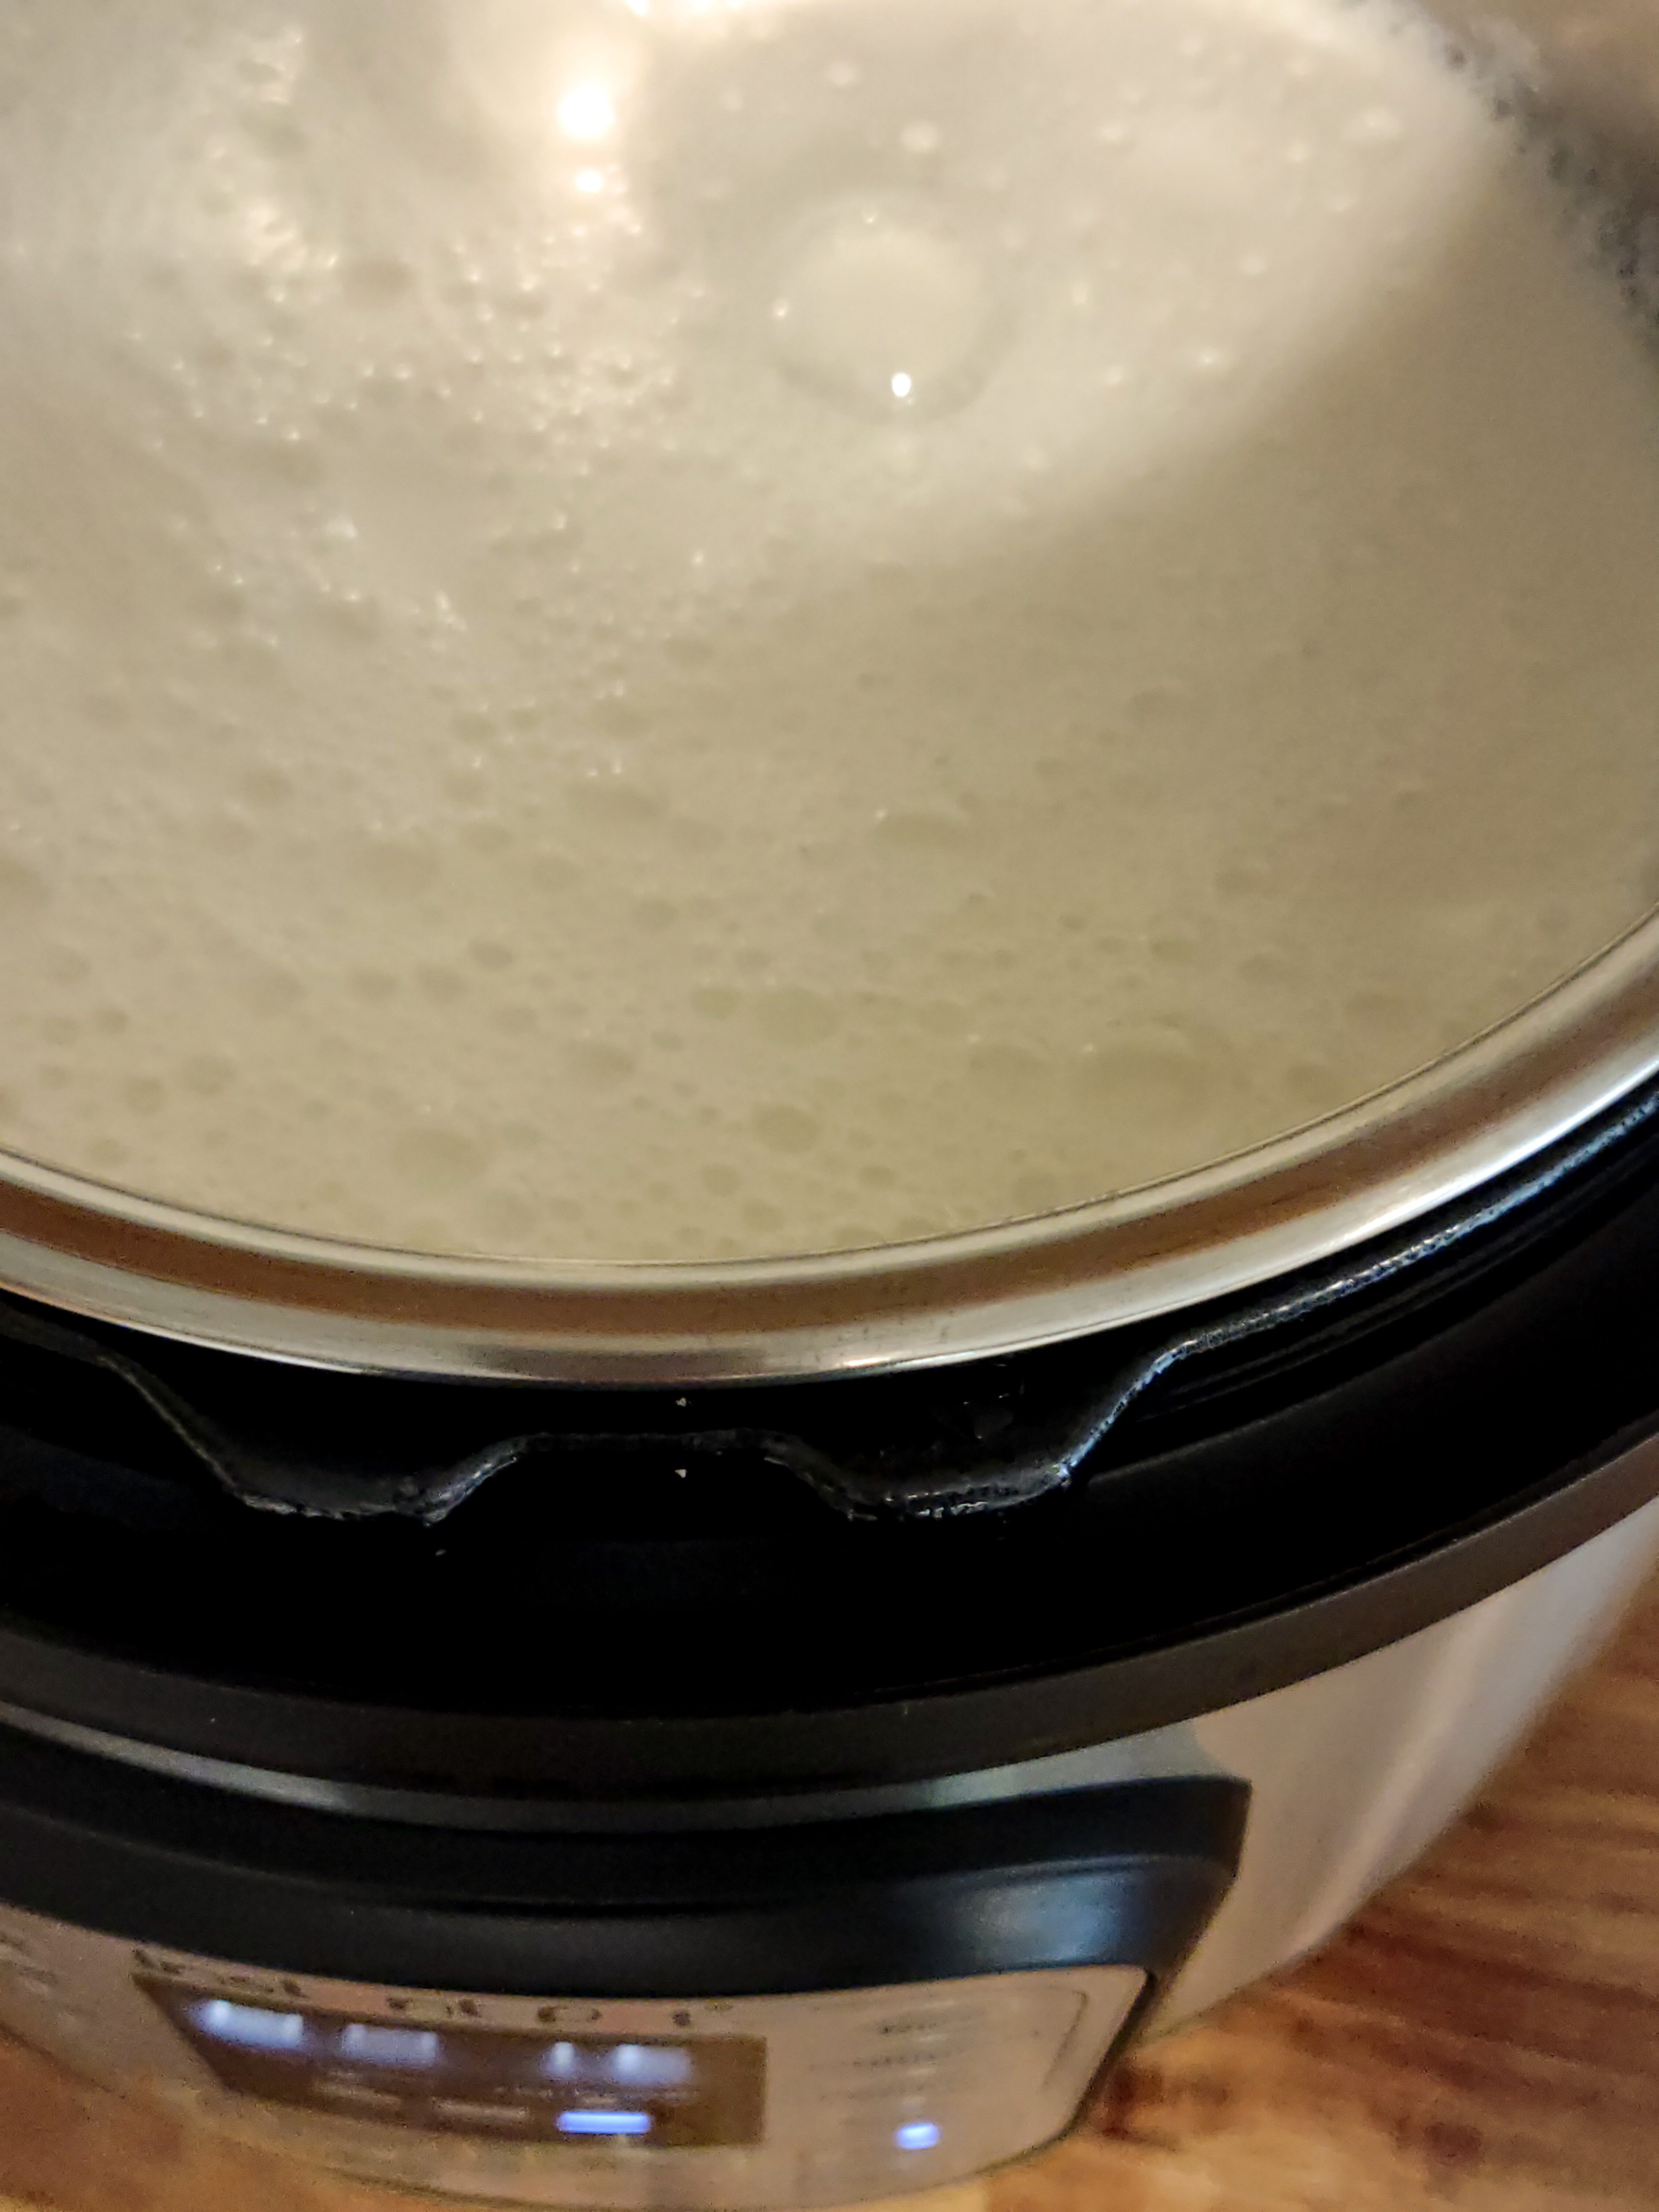
To make Greek yogurt, one of our favorites, you’ll need to strain the homemade yogurt to remove excess whey. Here’s how:
Set Up the Strainer: Place a yogurt strainer or a colander lined with cheesecloth over a bowl.
Strain the Yogurt: Pour the yogurt into the strainer and let it drain for several hours or until it reaches your desired thickness.
Store the Whey: Don’t throw away the whey! It’s nutritious and can be used in smoothies, baking, or as a buttermilk substitute.
Add vanilla to your yogurt for a touch of flavor. Stir in a teaspoon of vanilla extract after the yogurt has finished incubating and before refrigerating. Adjust the amount based on your taste preferences.
Sweetening your yogurt is easy and can be done naturally with maple syrup or honey. Stir in the desired amount to taste. This method allows you to control the sweetness and avoid added sugars in many store-bought yogurts.
Homemade yogurt can last up to two weeks in the refrigerator if stored properly in an airtight container. The longer it sits, the tangier it will become. Remember to save 1/2 cup of yogurt as a starter for your next batch.
Making homemade yogurt using the Instant Pot is a fun and rewarding activity that ensures you always have fresh, delicious yogurt. Whether you prefer whole milk, fat-free, or Greek yogurt, the process is simple and customizable. Adding flavors and sweeteners like vanilla, maple syrup, or honey creates a yogurt that's perfect for your family’s taste. Plus, it’s cost-effective to keep your fridge stocked with a nutritious staple.
I hope you enjoy making yogurt as much as I do! With just a little effort, you’ll have a steady supply of this versatile dairy product, perfect for breakfast, snacks, desserts, and smoothies.
Comments
Nothing yet. Say the first thing.
Sign in to join the conversation.