
Blackberry wine is a low-stress option that tastes amazing, and the deep color alone will make you feel like a pro. This is the kind of wine that doesn’t need aging to be enjoyable, but it improves with time.
If you’ve been curious about making your wine at home, this is the perfect place to start.
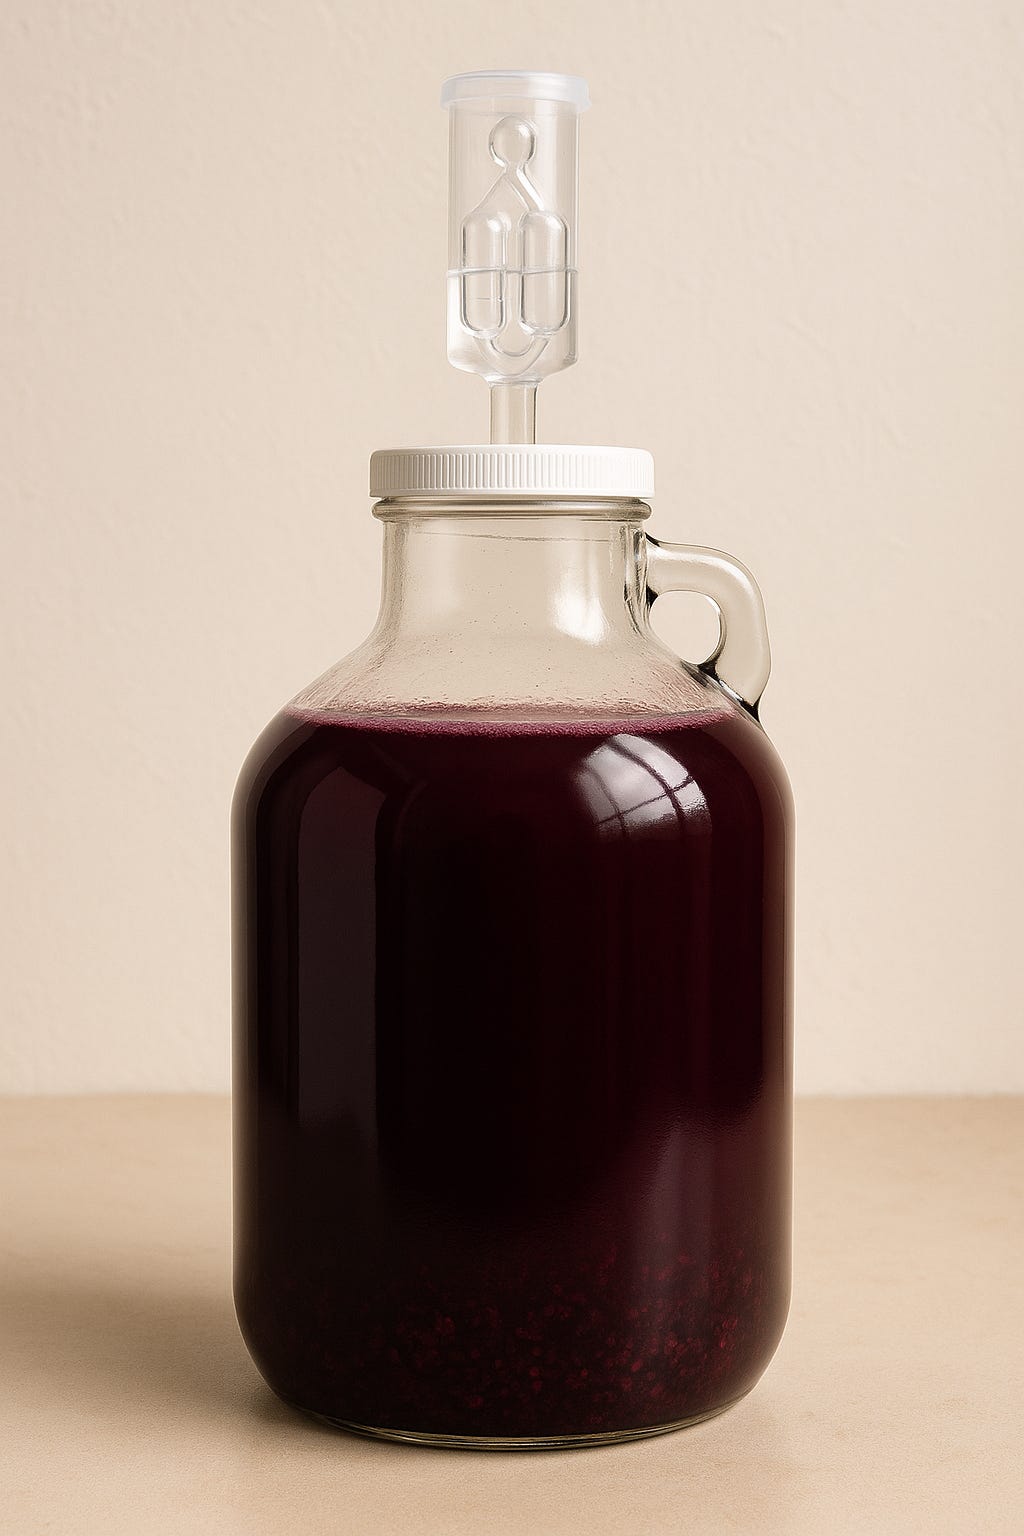
This is a small-batch recipe that makes about a gallon of wine, or 4–5 bottles. I kept it simple and classic, using:
3 lbs blackberries – Fresh or frozen work. The riper, the better.
3 lbs of sugar – Feeds the yeast and contributes to the wine's alcohol and sweetness.
1 gallon of water – Clean, room temp water (not distilled).
1 pack of yeast – Wine yeast like Lalvin EC-1118 is ideal
Optional twist: drop in a cinnamon stick or a bay leaf for a hint of spice and a subtle Caribbean flair.
Nothing fancy required here—just a few basics:
A large glass or plastic container (1-gallon minimum, the larger the better. I use a large bucket)
A metal spoon to stir
A large bowl
A strainer bag or cheesecloth
A funnel (very handy for bottling)
Clean bottles with caps or corks
Check out my equipment list: My Wine Equipment
Step 1: Sanitize Everything
Start by cleaning your container, spoon, funnel—anything that’ll touch the wine. This step is key to avoiding funky flavors.
Step 2: Prep Your Blackberries
Place the berries in the large bowl and remove any debris. Rinse them out a few times. Take a potato masher and roughly mash up the blackberries. Add berries to bag.
Step 3: Add Sugar and Water
Pour the water and sugar into the fermentation device. Dissolve the sugar. Add the bag of blueberries to the bucket. And stir some more.
Step 4: Add the Yeast
Sprinkle the yeast on top or stir it in gently. Cover your container with a cloth or use an airlock if you have one.
Step 5: Let It Ferment (Primary)
Put the container in a warm place. You’ll see bubbles after a day or two—this means it’s working. Stir it once daily for the next 5–7 days.
Step 6: Strain and Transfer
Once the bubbling slows all the way down (anytime after 7 days), strain out the fruit and transfer the liquid into a clean bottle or jug for secondary fermentation. Leave some space at the top.
Step 7: Let It Age
Now the wine rests. Store it with an airlock or loosely sealed lid for at least a month—longer is even better for mellow flavor.
Step 8: Bottle and Enjoy
When the wine clears and no more bubbles appear, it’s time to bottle. Chill before serving—or stash it away for a special occasion.
Taste before bottling—if it’s too dry, you can back-sweeten with a little sugar or simple syrup.
Don’t rush the aging—3 months gives a smoother finish.
Keep it still during aging to avoid stirring up sediment.
If you make this batch, I’d love to hear about it. Leave a comment or reply to this post and let me know how it turned out, or tell me what fruit you’re thinking of trying next. Guava? Sorrel? Mango? The possibilities are endless.
Comments
Nothing yet. Say the first thing.
Sign in to join the conversation.