
Just as seeds require the right conditions to germinate and grow into mature plants, so do artistic ideas. I would estimate for every new idea that I have for a pot that comes to fruition there are at least a dozen that are abandoned, forgotten or neglected before the seed ever reached the soil. This series will document the origin stories of pieces that were given just the right conditions to grow into tangible pots and make their way out into the world.
Seed
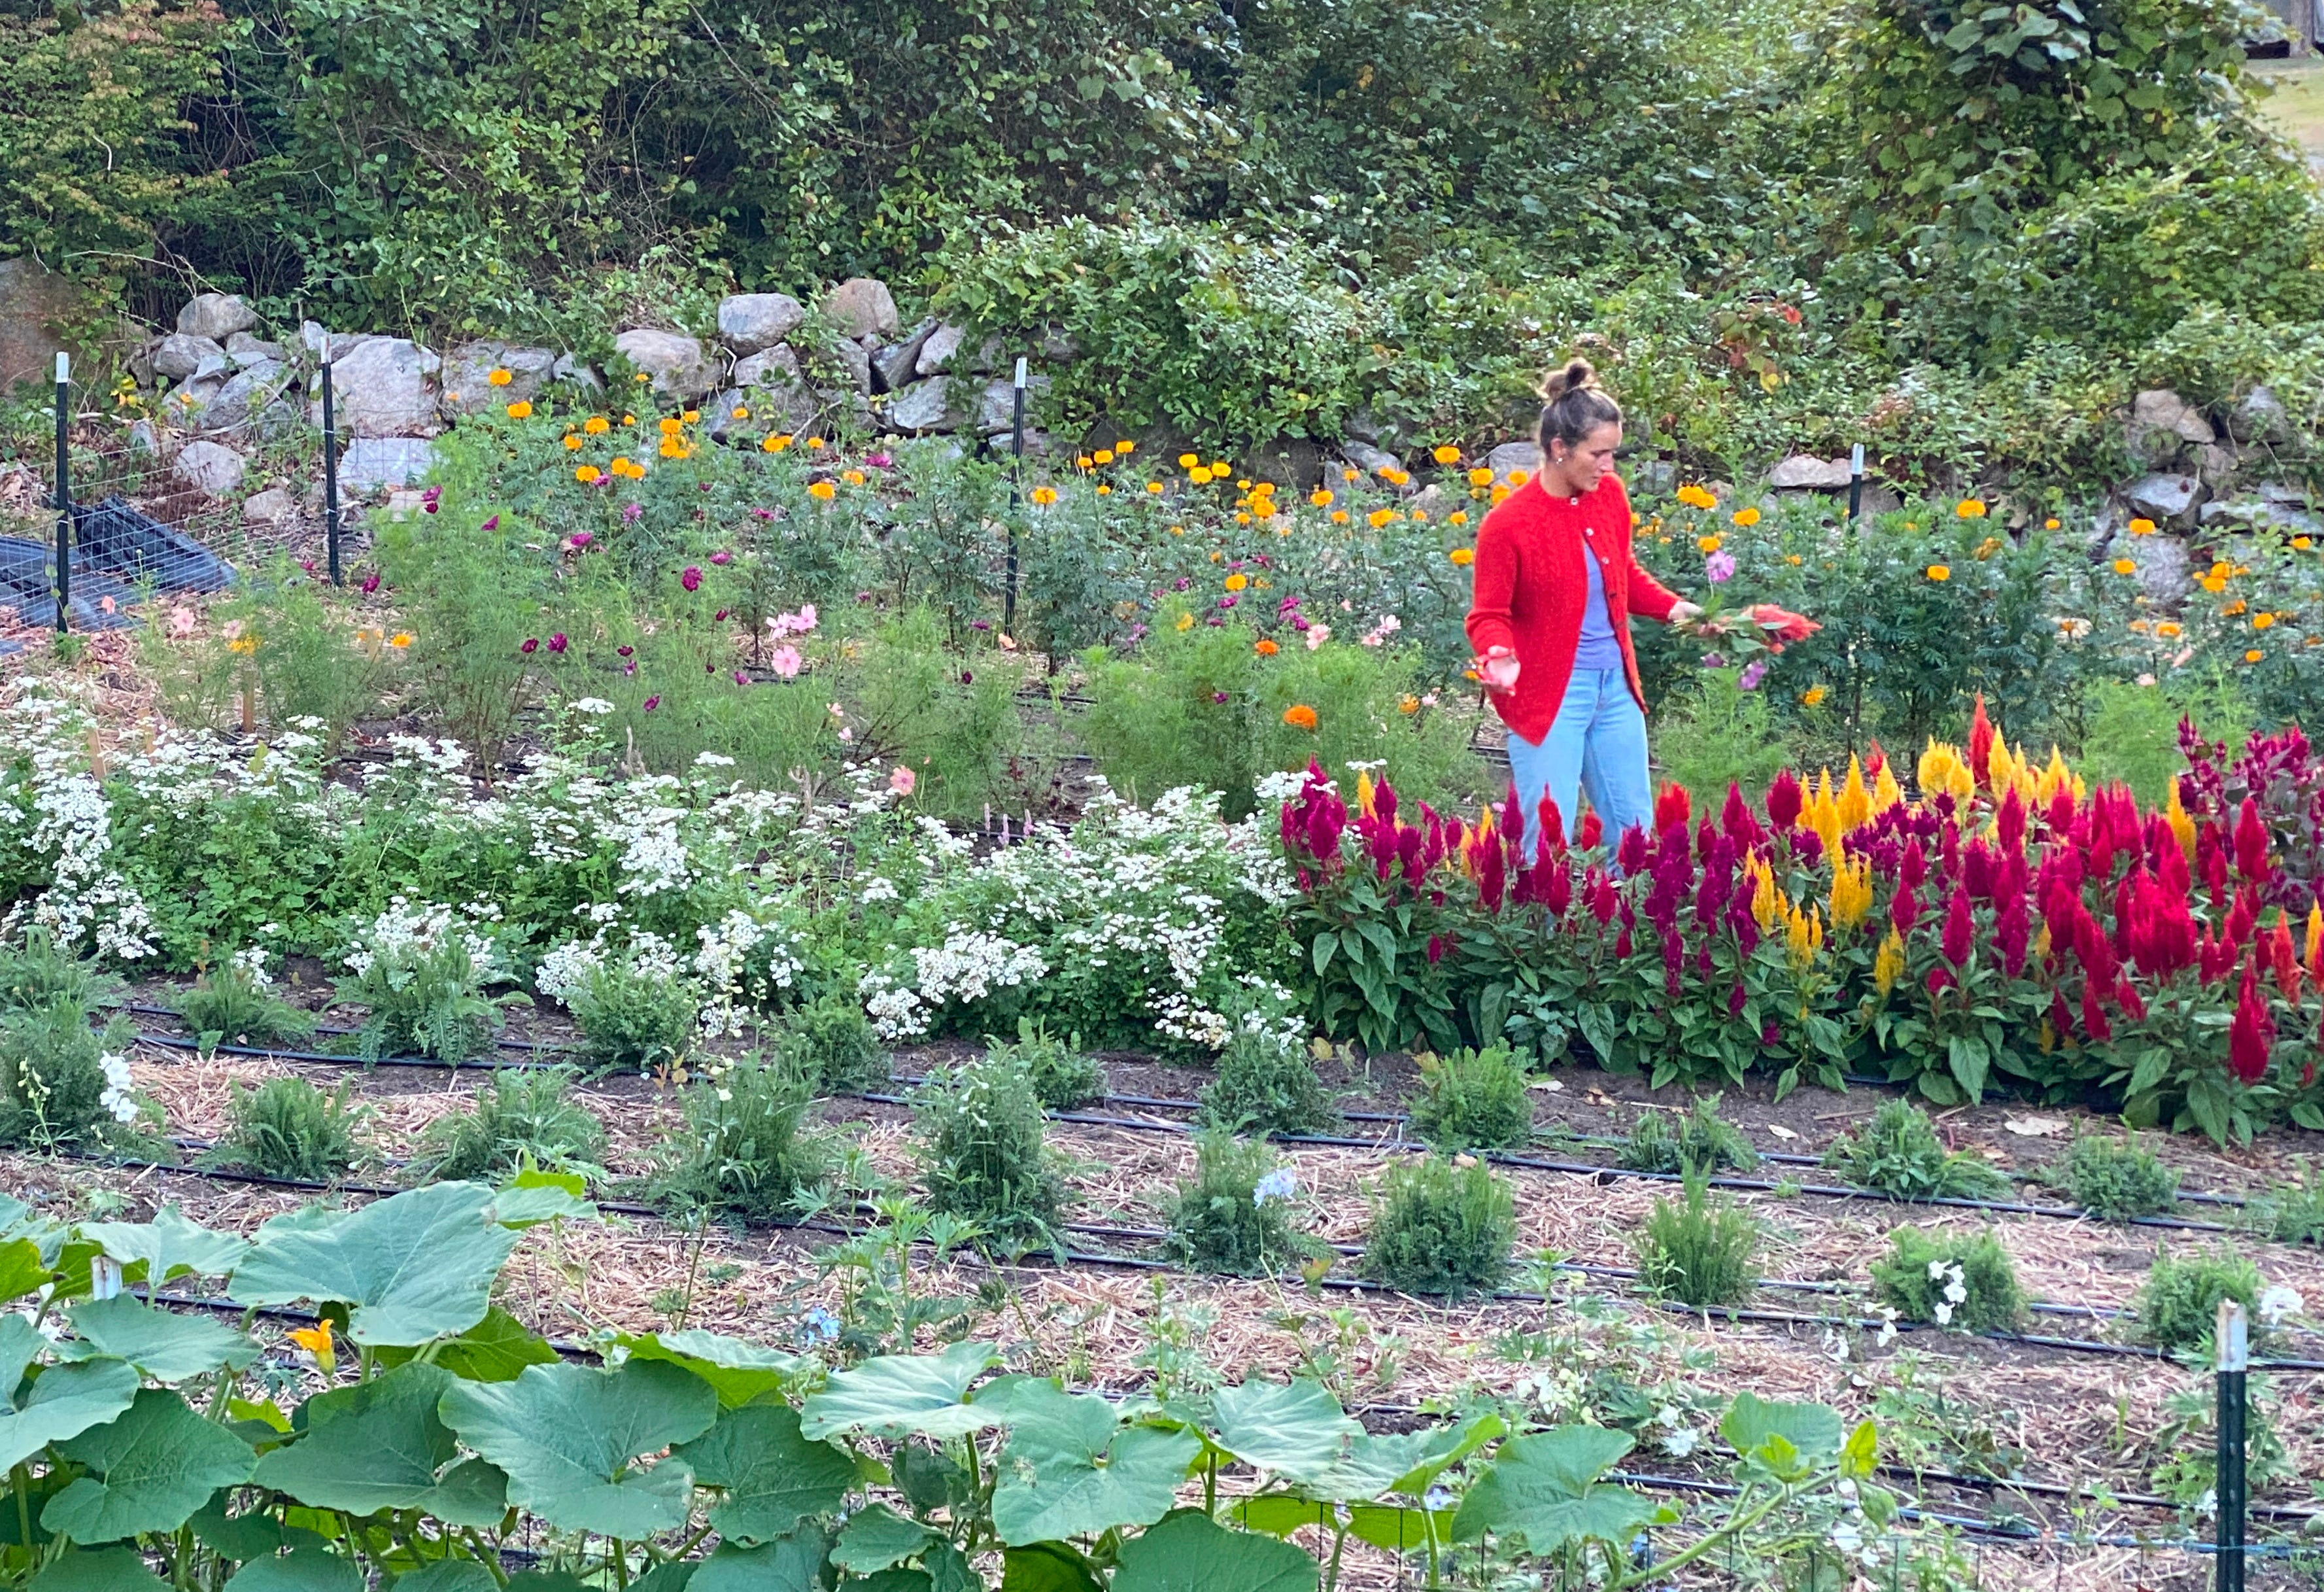
While I’ve always admired flowers for their beauty and contribution to nature, they never became a muse until my friend Casey moved back to CT from the west coast. Proximity is everything. I knew Casey to be a passionate artist, maker and flower farmer but until I witnessed her love affair with flowers first-hand, I couldn’t have anticipated the effect it would have on me and my craft. Casey’s home is filled with the most darling vignettes composed of thrifted finds, her own paintings, block prints and vessels of flowers. It doesn’t matter the season she finds something to snip and arrange in such a way that you immediately feel cozy. A stalk of poke berries in winter or a handful of honeysuckle sprigs in spring before armfuls of home-grown Mazzo Farm cosmos, delphinium, sweet peas make their appearance and then the dinner plate dahlias steal the show in late summer. Autumn brings Sunflowers and marigolds the size of your fist. Just witnessing the flower field unfold each year is like watching a canvas come to life with a multitude of color and texture it’s impossible to avoid being inspired, let alone in awe
Seed meets Soil
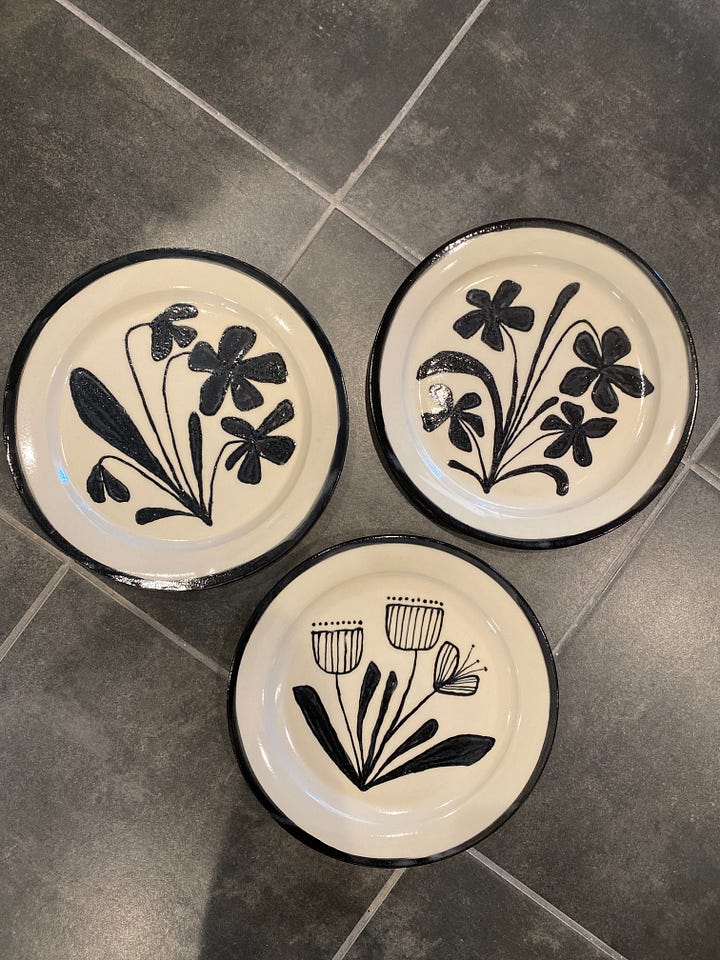
Flowers began showing up on some of my pot surfaces in 2023 in the form of floral transfers that were commercially available. I would apply them to my pots as black line art and hand paint the individual flowers. While the technique was effective, and a good jumping off point, I knew I wanted to develop the confidence to draw my own flowers and play with other possibilities for surface design. I began paying more attention to flowers I saw in my daily life and taking photos as reference for color and design ideas. I even had Casey herself come in and paint the surfaces of some of my bisque fired plates with her own floral designs which further pushed me in my own practice.
Germination
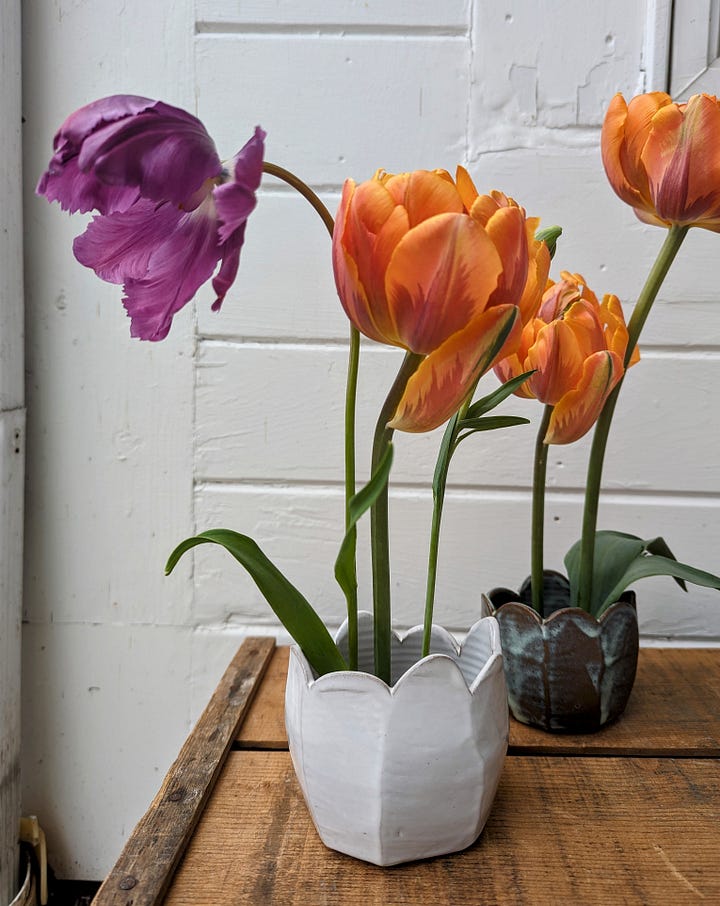
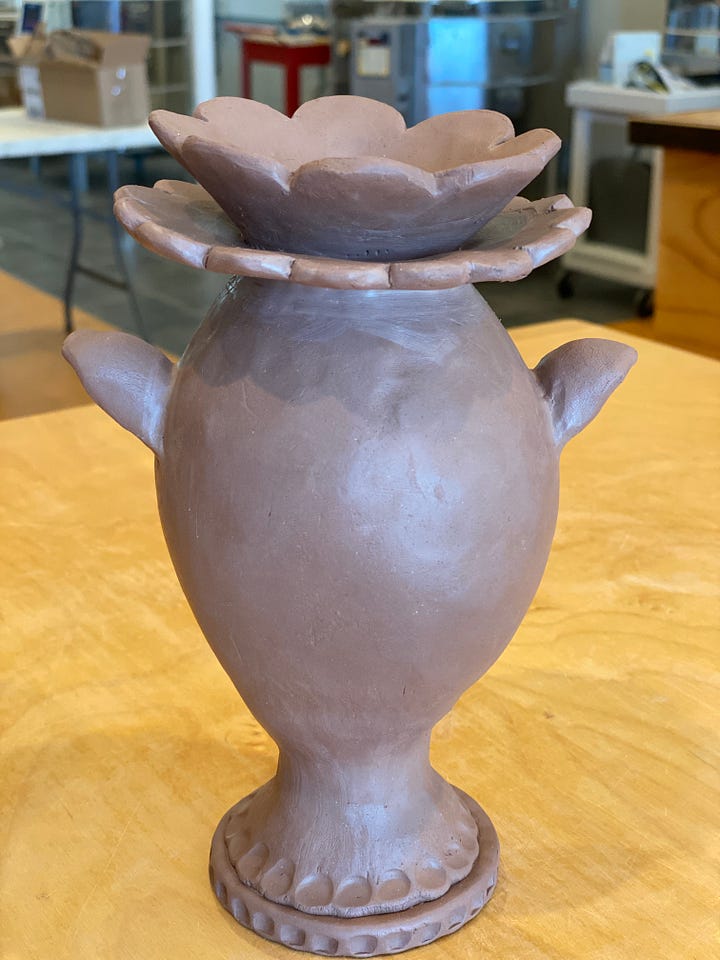
In 2024 I played with some unusual vase forms from thrown and altered pieces with scalloped rims reminiscent of tulips. I continued to be inspired by flowers and diving more into creating vessels for them. Understanding which flowers required extra support in a vase, how the shape of the top of the vase could hinder or help an arrangement. I spent the first 8 month of 2025 concentrating on making a variety of vase forms, some wheel thrown and others hand built (constructed from flat slabs of clay).


Growth
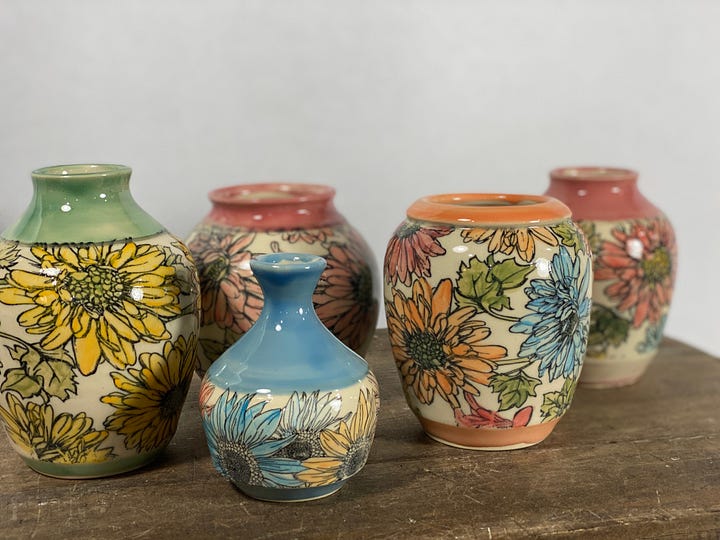
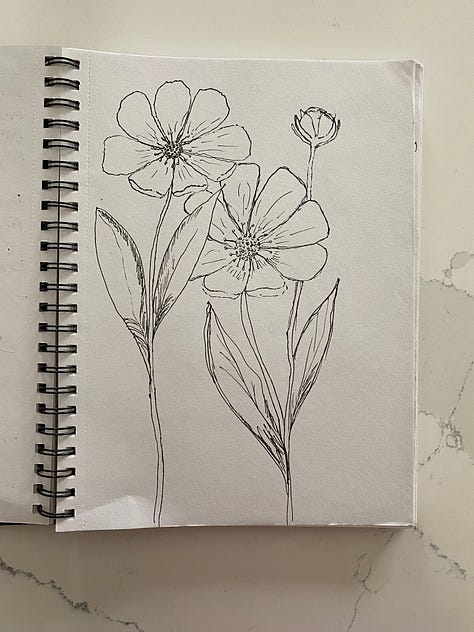
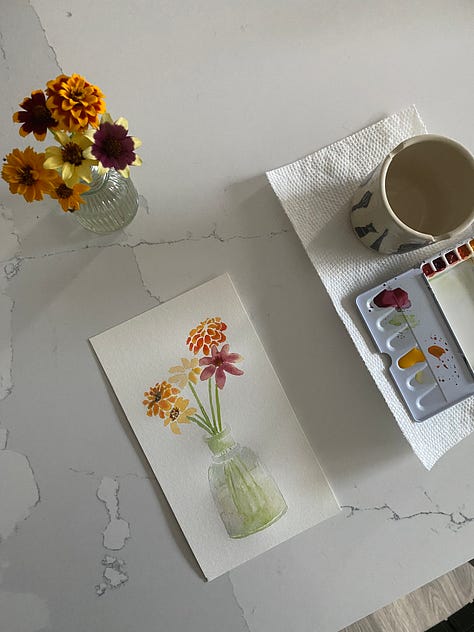
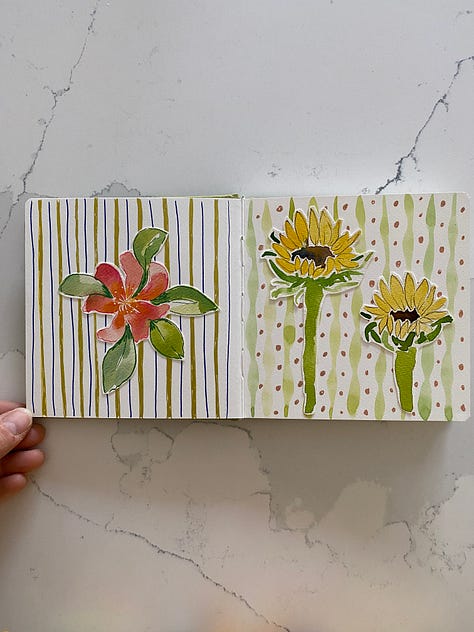
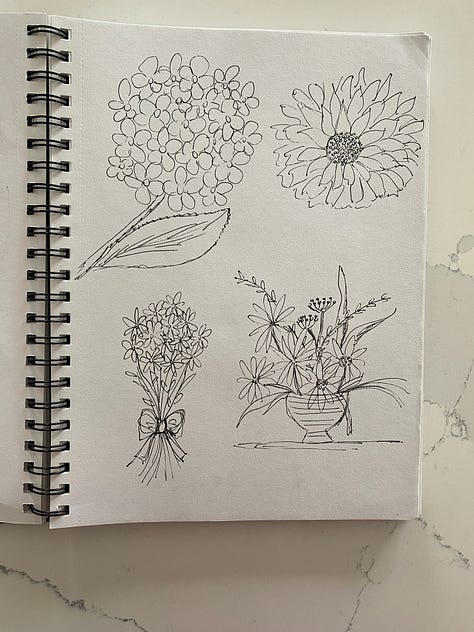
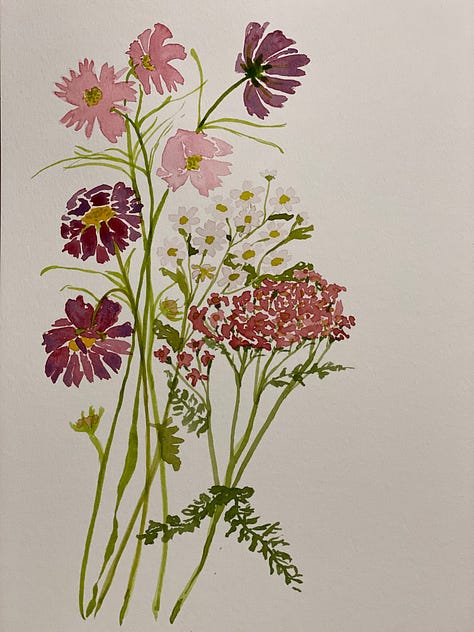
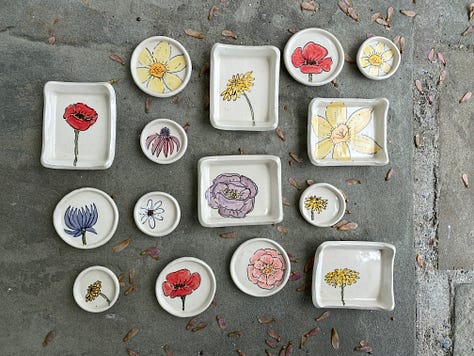
I procrastinated practicing my drawing skills falling back into an old belief of: “I’m not good at drawing” but then, in early 2025, I began sketching in a sketch book and watching more floral line art tutorials which helped me gain confidence to translate simple floral designs onto pots. In addition to sketching, I also picked up my watercolors which had sat dormant for nearly 20 yrs. I took an online watercolor class from a local painter and instructor, Roxanne Steed, and once again found my footing with watercolor. I painted from photos and from still life, learning to become more fluid and suggestive with my lines which led to more realistic depictions of the flowers. Small clay dishes then became mini canvases and I could finally see a path forward, and more importantly, I was still enjoying practicing and learning. I had finally brought the vision of my own hand painted flowers onto the surface of my pots, albeit tiny, I was happy to see progress in my drawing and encouraged that their seemed to be an audience for them as well. By the end of the year, I had likely painted nearly 100 tiny floral dishes.
Budding
I have always enjoyed a technique called ‘sgraffito’ the word originates from an Italian word meaning ‘to scratch’ and has been used since ancient times on pot surfaces and wall art. I employ this technique by painting a layer of colored slip or underglaze on the surface of a partially dry pot before firing and then scratching through the colored layer to reveal the bare clay beneath. The pots need to be just the right consistency to successfully carve. Too wet and the clay sticks and pulls, too dry and you can end up with jagged looking lines because the colored surface can become dry and flaky. While it’s a very labor-intensive process, it’s also incredibly meditative and yields tactile results that create more visual interest on the pot surface. I have utilized this method of surface decoration on flat wall art and 3D mugs and cups for years but had not played with it on vase surfaces until recently.
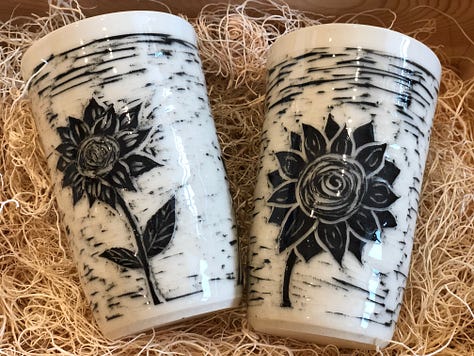

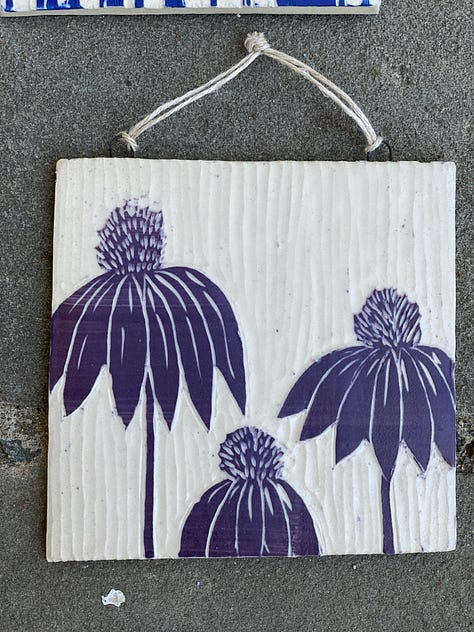
Blooming
Often, I need an external, unplanned push from the universe to send my creativity into alignment with a next step. That push came in the form of a custom order for a vase with a rose motif. I decided a sgraffito inspired surface could be a classy way to translate roses on to the vase surface, and I got started wheel throwing the vase (which would be the canvas). Rather than paint a colored layer and carve through, I drew the design onto the vase and carved away the negative space making the flowers appear slightly raised. Whenever I take on a custom order I always make more than one of the same form to account for any number of small catastrophes that can occur to a pot during the making, drying and double firing process. What I often don’t account for is the actual time it’s going to take me to execute a design especially when it’s the “first”. Needless to say, that rose vase took me twice the amount of time I had allotted but the result was exactly what I had envisioned and once it was successfully out of the final fire I began work on the “back up” vase and used the same carving technique to cover the surface with a sunflower motif and a matte glaze that really highlighted the surface.
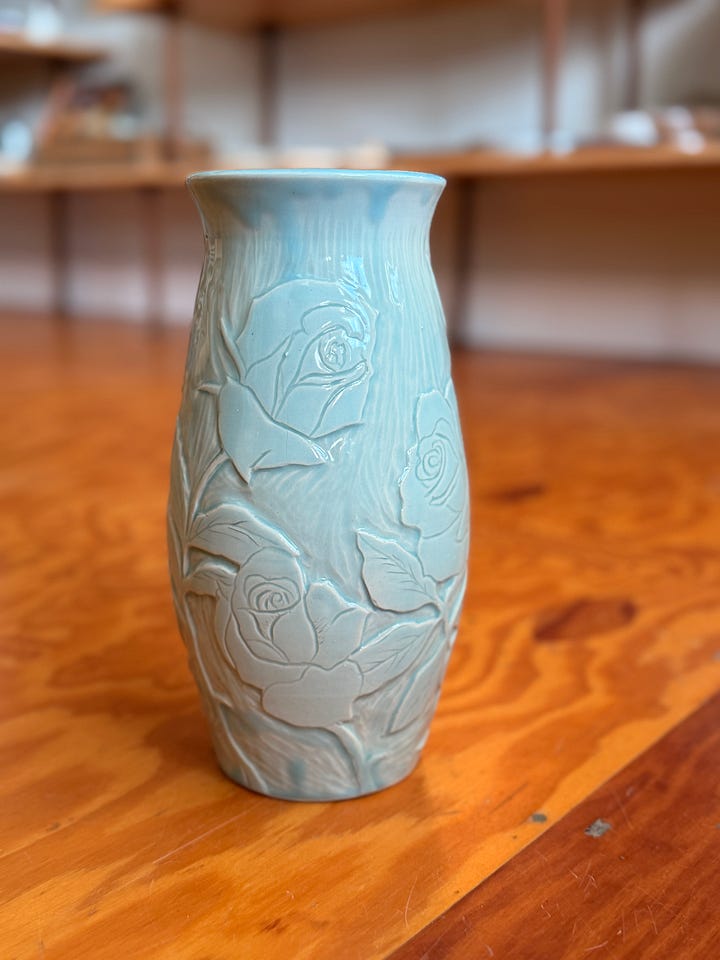
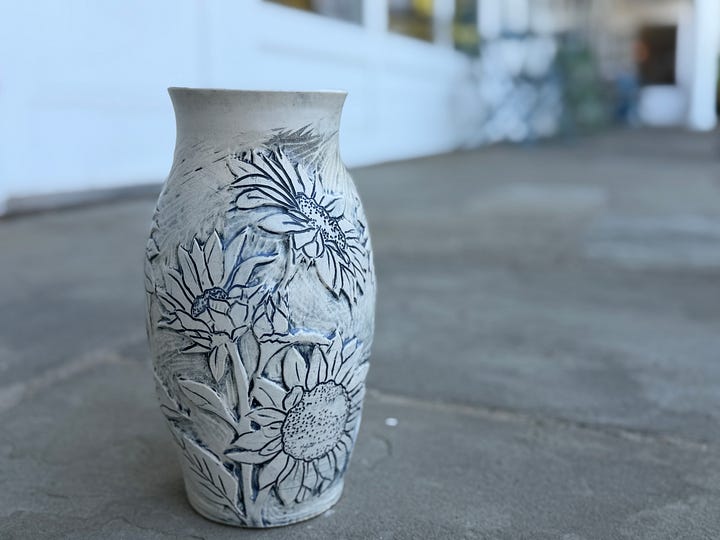
Pollination
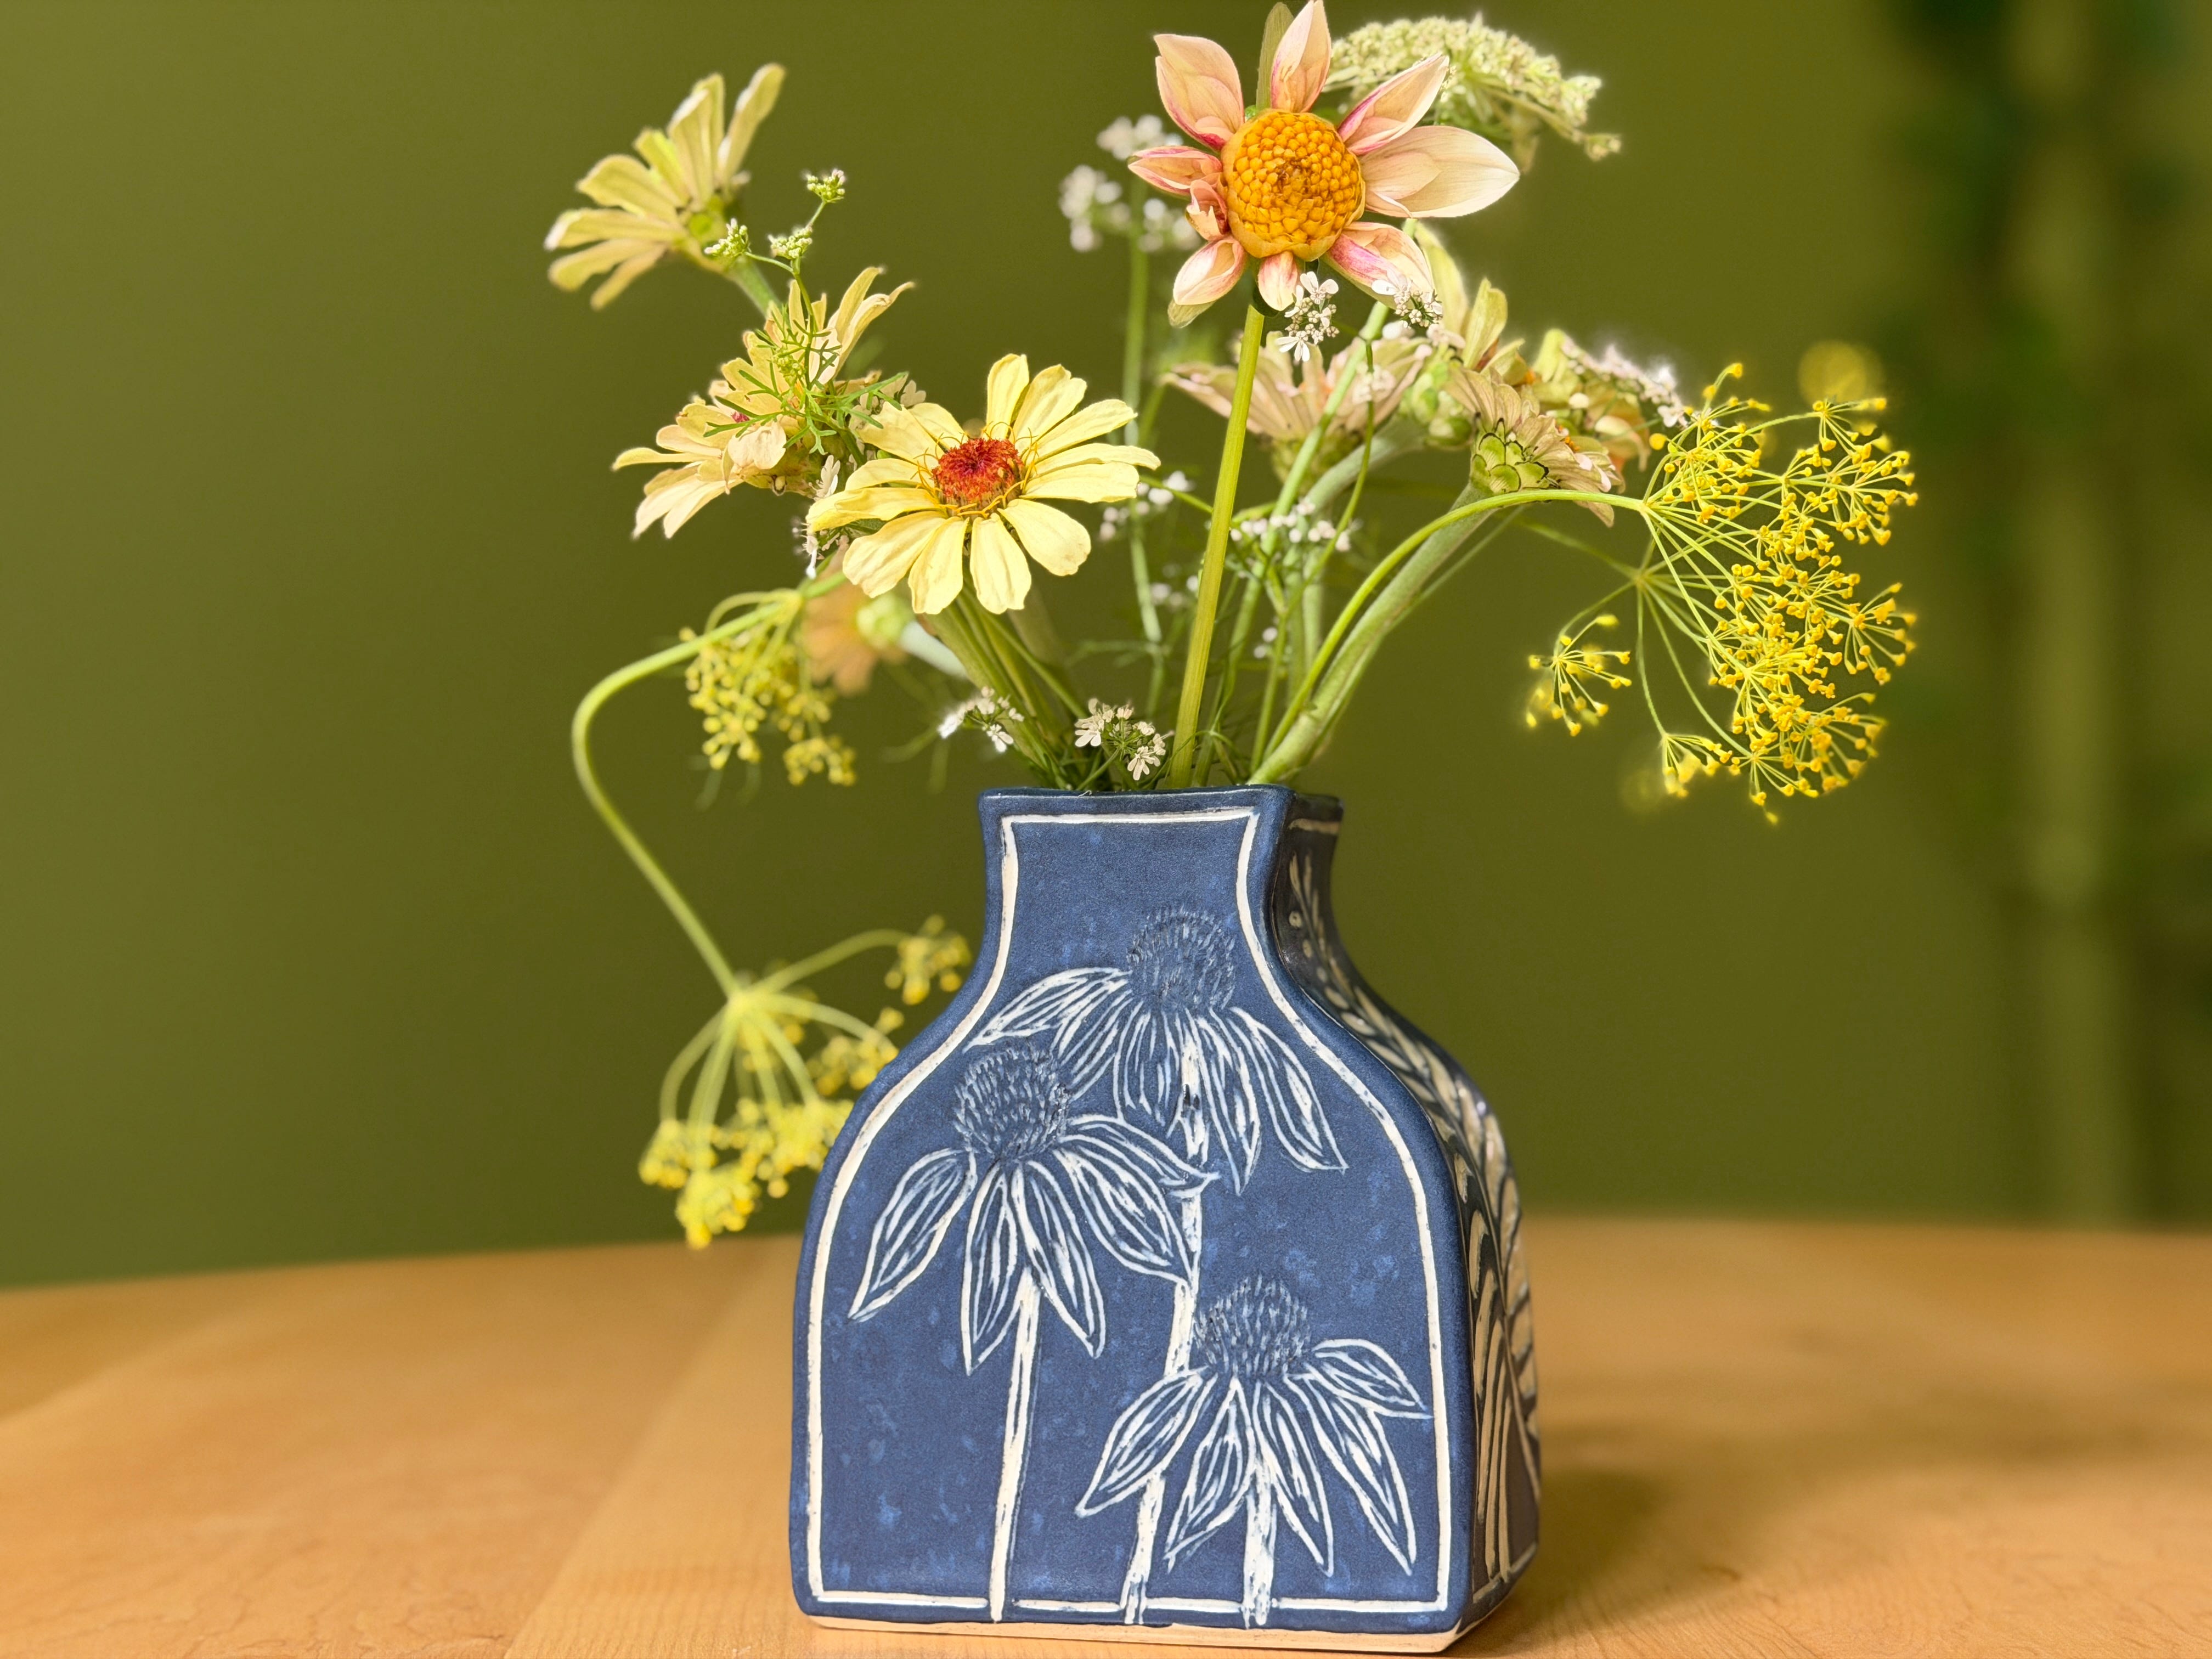
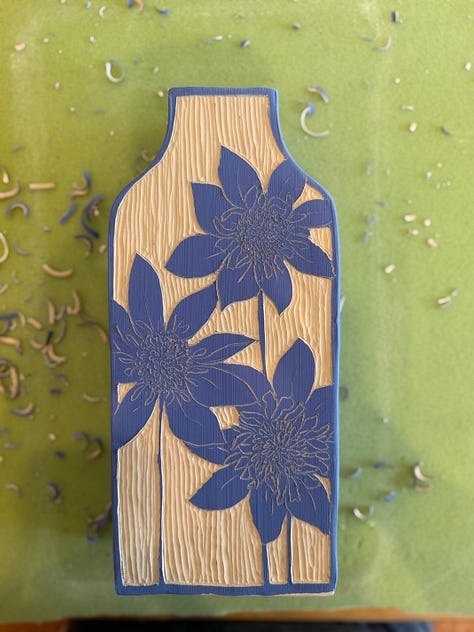
Those two successful carved vases led me to play with other shapes and canvas sizes. I wanted to revisit the sgraffito technique but I also craved a flat canvas, because, let’s face it, round forms are beautiful, but their shape alone makes them more difficult to carve into. Constantly having to rotate the surface and create a design that elegantly wraps around, while lovely, can also be taxing. I began cutting templates for hand-built vase forms that could be assembled from flat slabs of clay giving me 4 panels to adorn with various flowers. The Casey vase is one of 3 forms I originally designed. The vase creation process is three-fold. Day one is cutting and assembling the vase form from the template. Day two is painting a colored underglaze and allowing it to dry overnight. Day three is using the sgraffito method to carve the design into the vase which depending on the vase size and design can take anywhere from 1-2hrs for a smaller piece to 4-5 hours for a larger piece.


Harvest
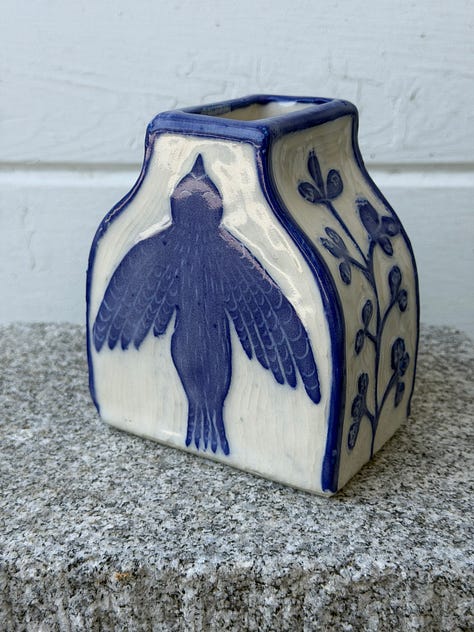
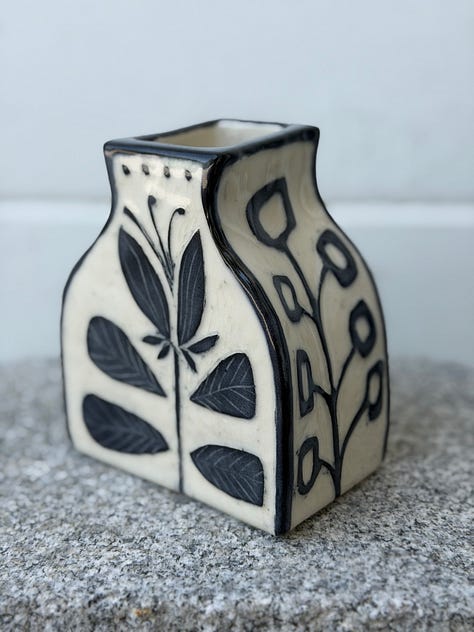
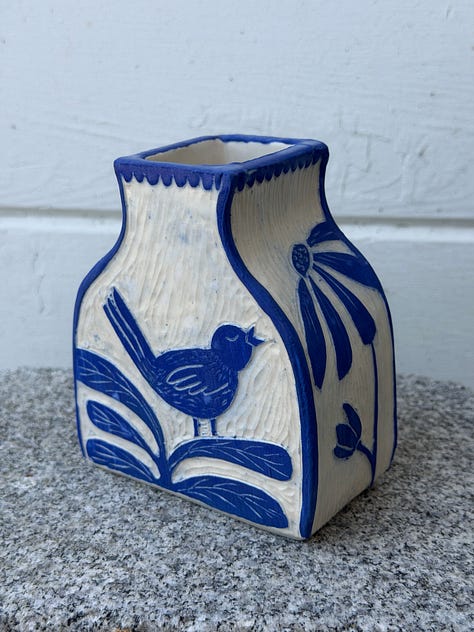
It’s only fitting that one of the original hand-built vase forms be named “The Casey” in honor of the seed that started the journey of adorning my pots with flowers. The first batch of Casey Vases were done in black and indigo and I used gloss and matte finishes as each lends its own charm to the form. While every Casey Vase is the same in size and shape they are each unique in surface design and personality just like each and every flower. I’ll continue to make small batches of this vase style and look forward to adorning them with different colors and floral patterns in the future.
If you’d like to purchase one of the original batch of Casey Vases there may be one or two available on my website which is always fully stocked with an array of unique pieces.
Comments
Nothing yet. Say the first thing.
Sign in to join the conversation.