
(The following is a tale told by someone still finding their way through this thing. Please do not read it with a voice of expertise.)
Binding, the little ledge of (usually) fancy wood surrounding the body of a guitar or ukulele. I hate it! I HATE IT.
When it’s right, it’s a beautiful thing.
I haven’t kept track of how long I spend on the various parts of building a ukulele, but I’d be willing to bet the body has about a dozen hours of work into it before the binding needs to be done. The binding is where I usually freeze and the build gets put on hold.
The woodworkers among you are rolling your eyes. “Ben, it’s routing a damn rabbet. What’s the big deal?”. As far as I can tell, binding is universally despised by luthiers, and for good reason. The backs of most acoustic guitars and many ukuleles are curved so there isn’t a single surface to reference off of. To make matters worse, the sides are tapered so the body is thins out from the back towards the neck.
Just a rabbet? No. Your charge is routing a perfect rabbet around the instrument with all the surfaces curving in multiple directions. Every single way you’ve routed a rabbet as a woodworker no longer applies. Go home luthierie, you’re drunk.
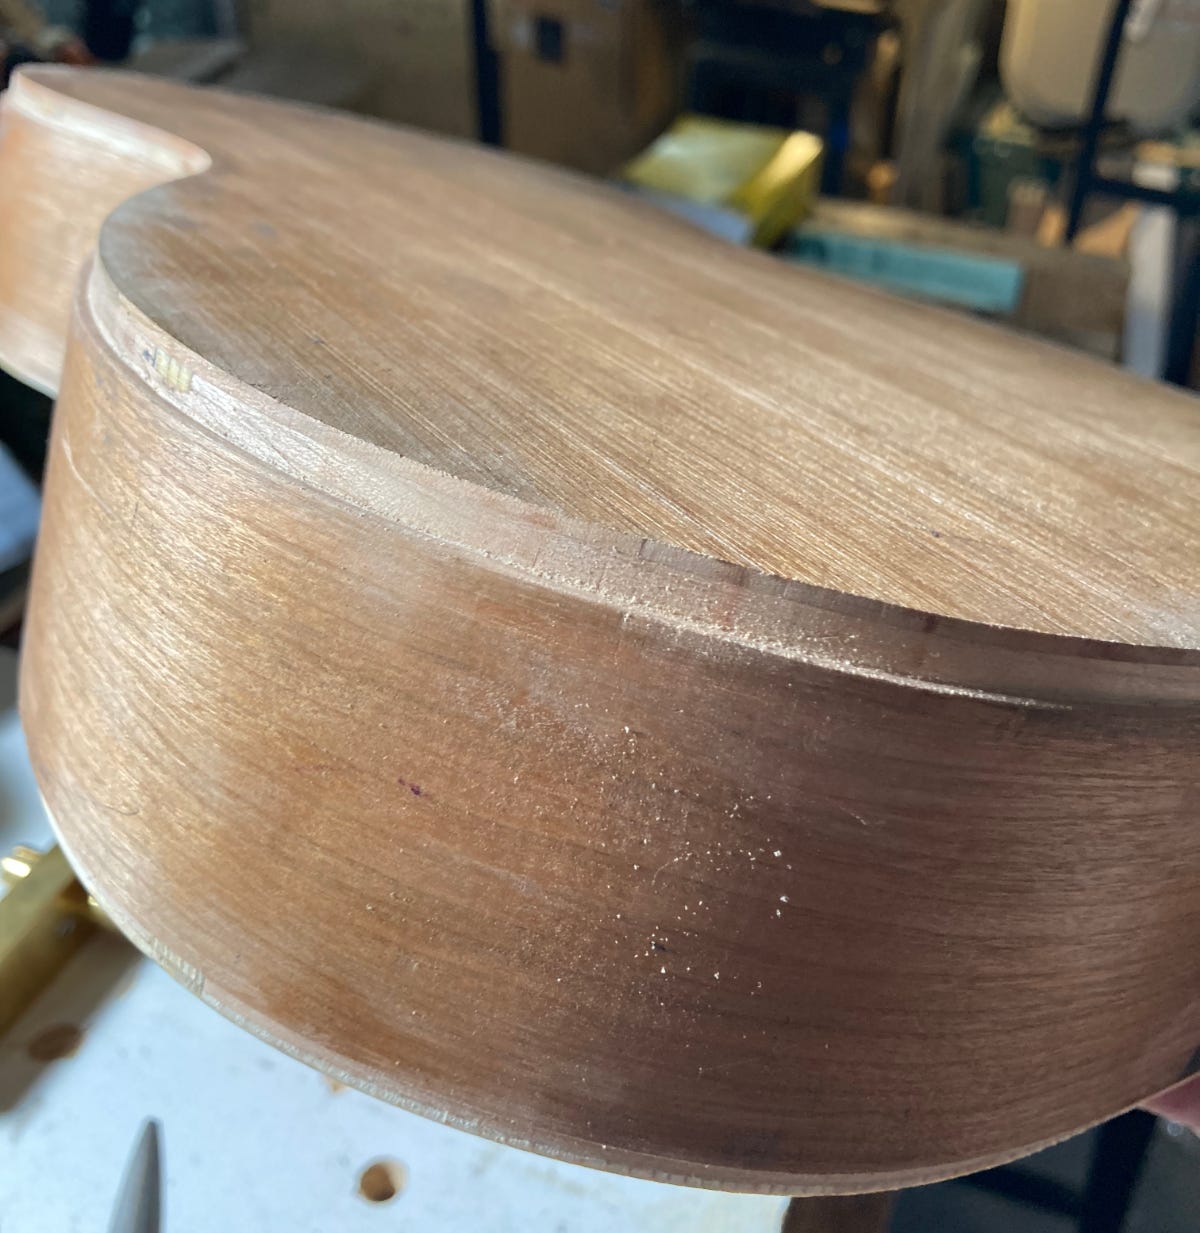
By my rough count, I’ve done binding on 6 or 7 ukuleles and I’ve yet to find a method of routing the ledge that doesn’t make me want to run away screaming. Most methods involve an elaborate jig sharing the following characteristics.
The router needs to run as perfectly perpendicular to the side of the instrument as possible.
A small ledge to ride on the top or bottom plate that sets the depth of the router bit.
All of my attempts have been some variation of this style of binding jig. The simpler of the two styles, these jigs all rely on the user to keep the sides of the instrument held perfectly flat on the jig while simultaneously moving the instrument over the jig. If you tip it away from the jig the cut is too shallow. No big deal… try again. If you tip it towards the jig the cut is too deep and you now hate yourself.
It’s a high-skill operation and this is not a point in the build to throw in a learning curve.
I don’t think I’ve ever made it through an instrument without at least one ‘oops’ tip. The oops moment usually ends up being a small section the width of the router bit that is over-routed by a 64th of an inch (.5mm-ish). Sand it out and be kind to yourself.
Coming in at $422, the high-water mark for this style of commerical jig is as pricey as it is heavy—the Elevate Ultimate Binding Jig. I’ve always made my own versions as you’ll see below.
In a perfect world, with a perfect jig, the router couldn’t be tilted in relation to the instrument side. Some jigs perfectly suspend the router in the air allowing it to only move up and down along the z axis. The instrument is then held in a cradle so the sides are perpendicular to the router. These jigs are not only elaborate but expensive.
Stew Mac’s True Channel jig starts at $376. You can find knock-off versions on ebay for around $200. Eventually, I’ll cave and buy or build one. I have an old too-smol CNC in the basement that is begging to be turned into a binding jig.
One reason I haven’t wandered down this road is that I’ve always worried the sled to hold the body would be too finicky. Another reason is that I didn’t want to dedicate the space to yet another bulky jig. We’ll see if my apprehension was well-placed or not.
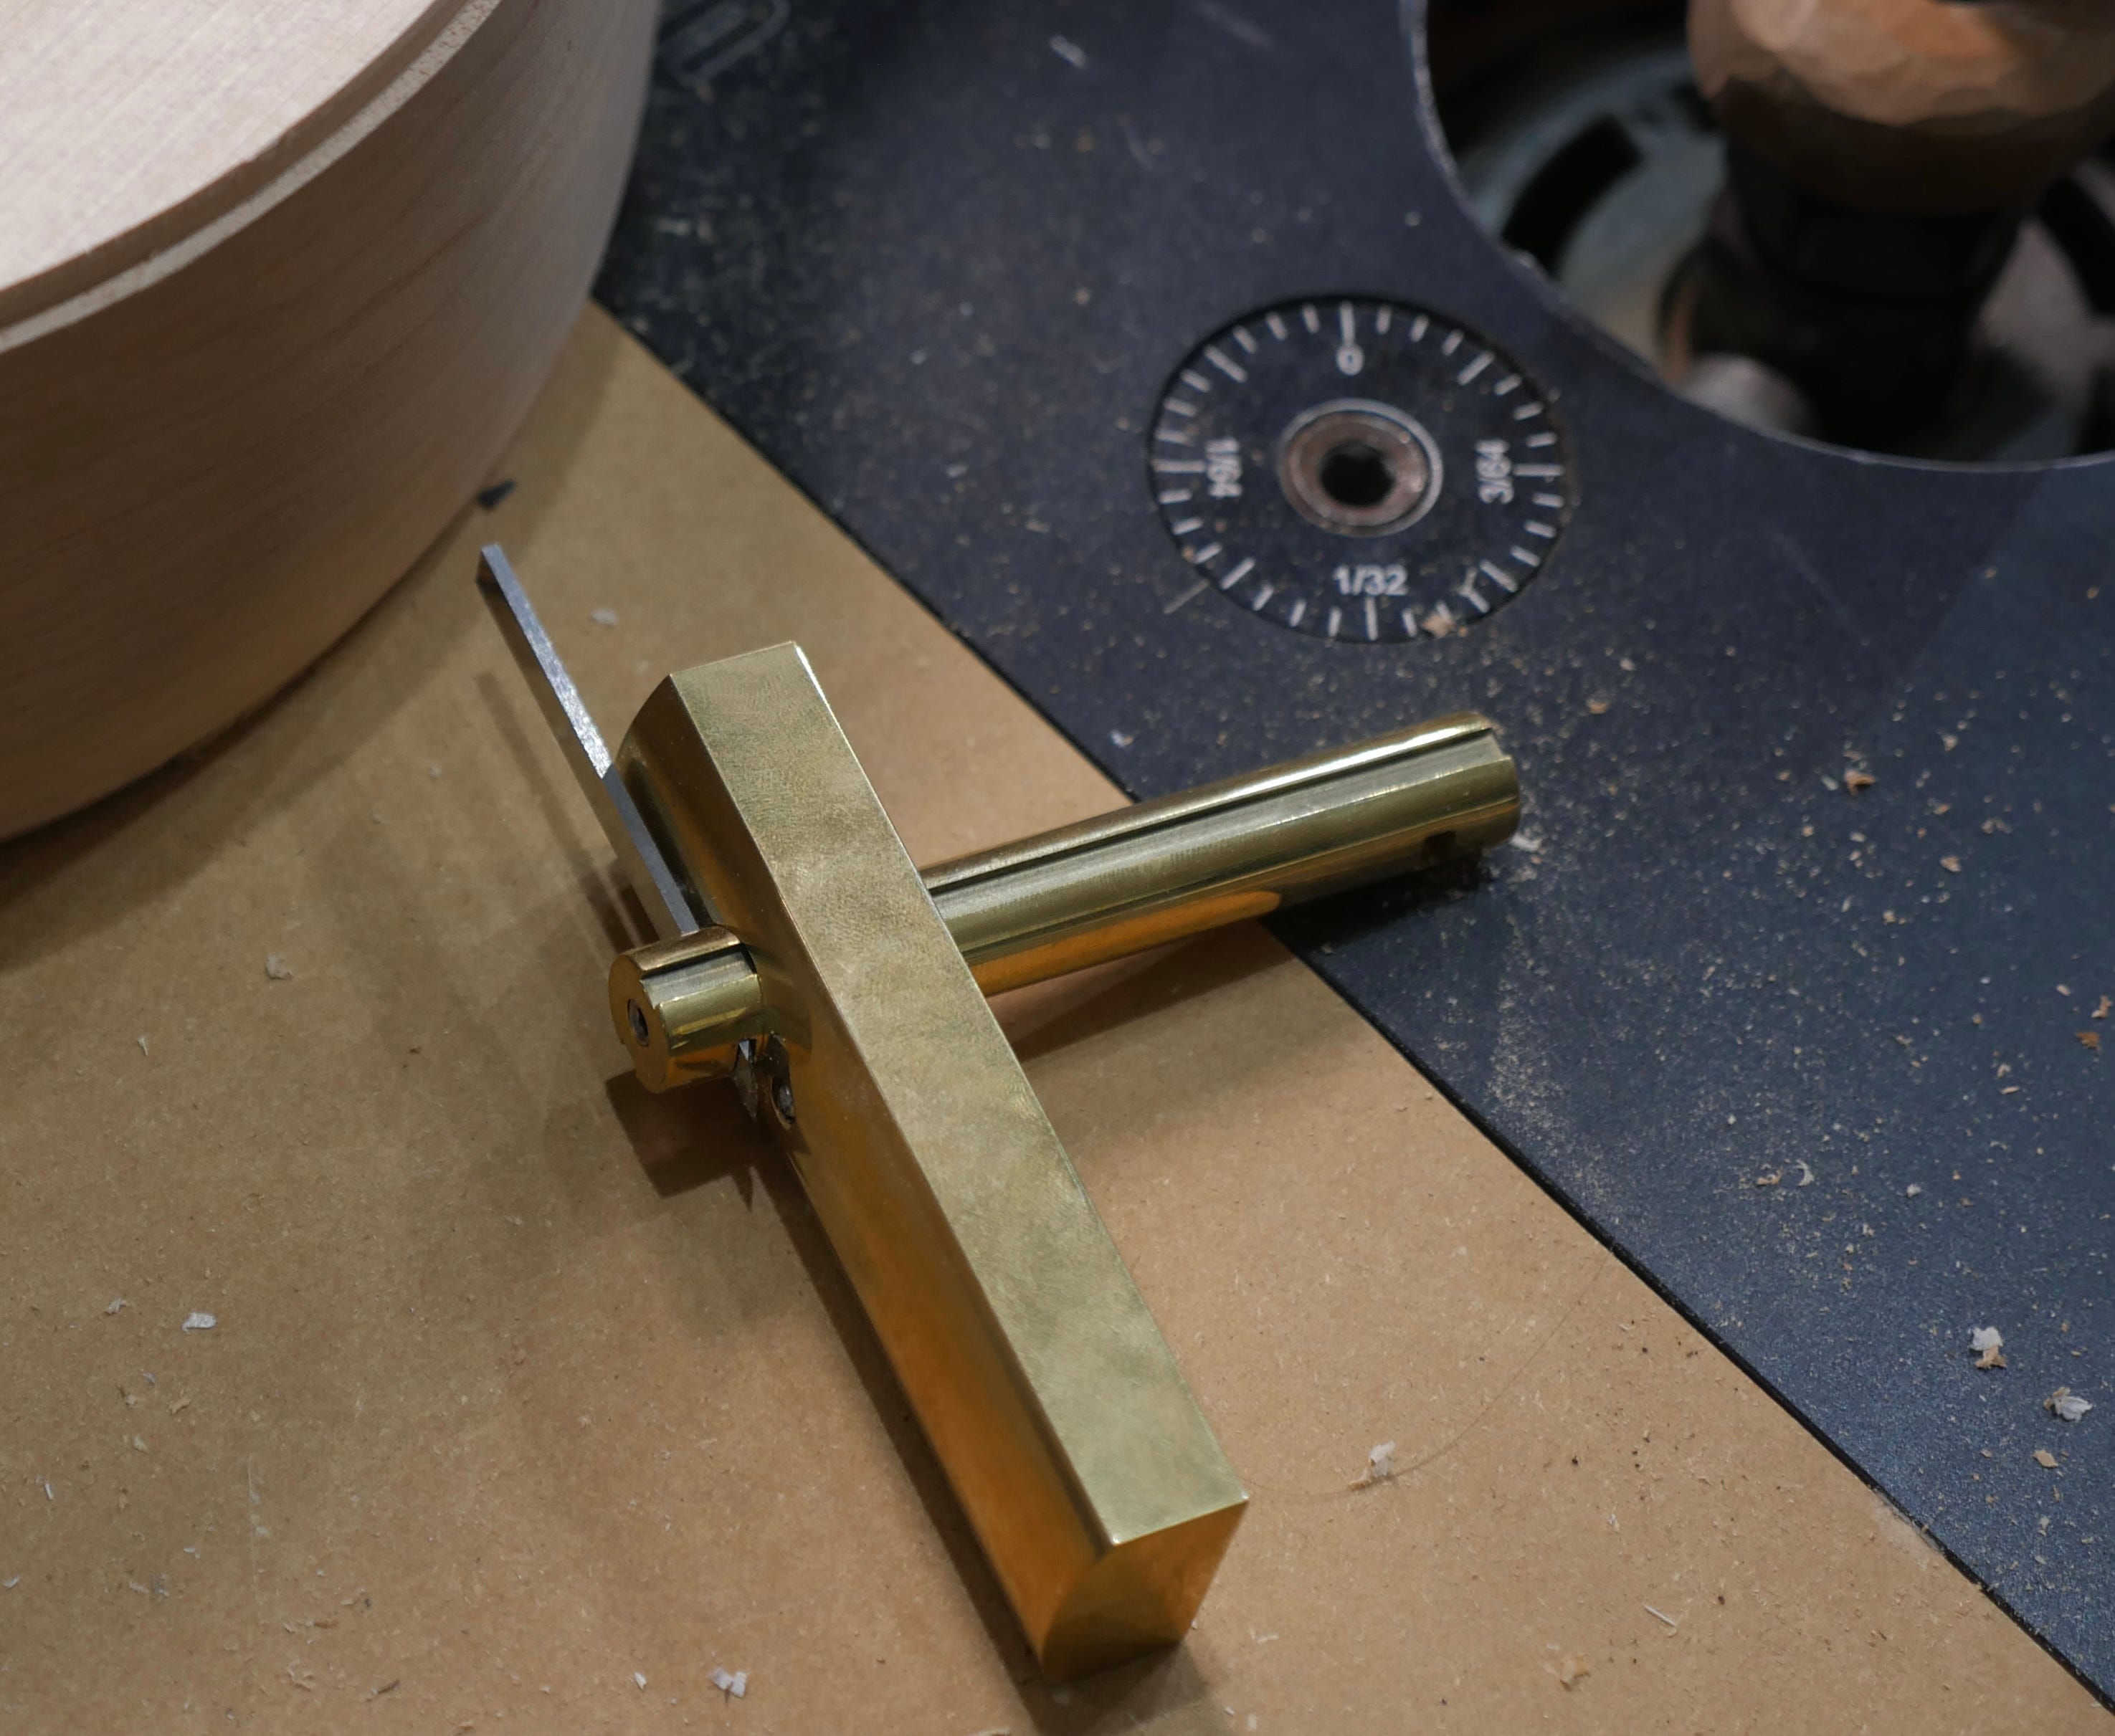
The heart of the hand-tool method is a grammel. A grammel is basically a marking/cutting gauge with a curved reference side to allow you to cut into concave shapes. This grammel is sold by Michael Bashkin and is a thing of beauty. I use it as a marking gauge to score lines around the body before routing, but many people use a grammel and an array of related hand tools to do the binding channel from beginning to end.
It’s not my bag, but sometimes I wonder if it should be. As with most hand tool operations, the downside is that it is a lot of work and takes forever. The upside is that you make your mistakes very slowly (hopefully) giving you time to course correct before it’s too late.
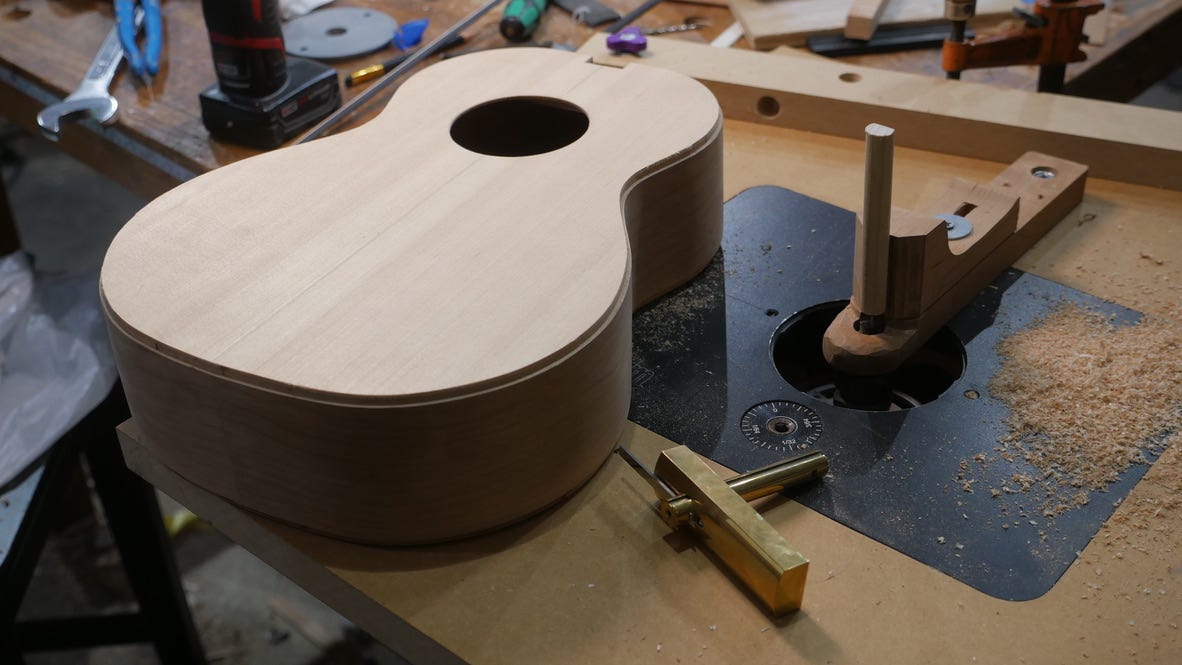
Almost all of my binding channels have been cut with this jig. It’s the same concept as the Elevate Lutherie jig above but on a router table. The wooden dowel sticking up is the reference surface that side of the ukulele rides on and the top or bottom reference off of the contoured bottom.
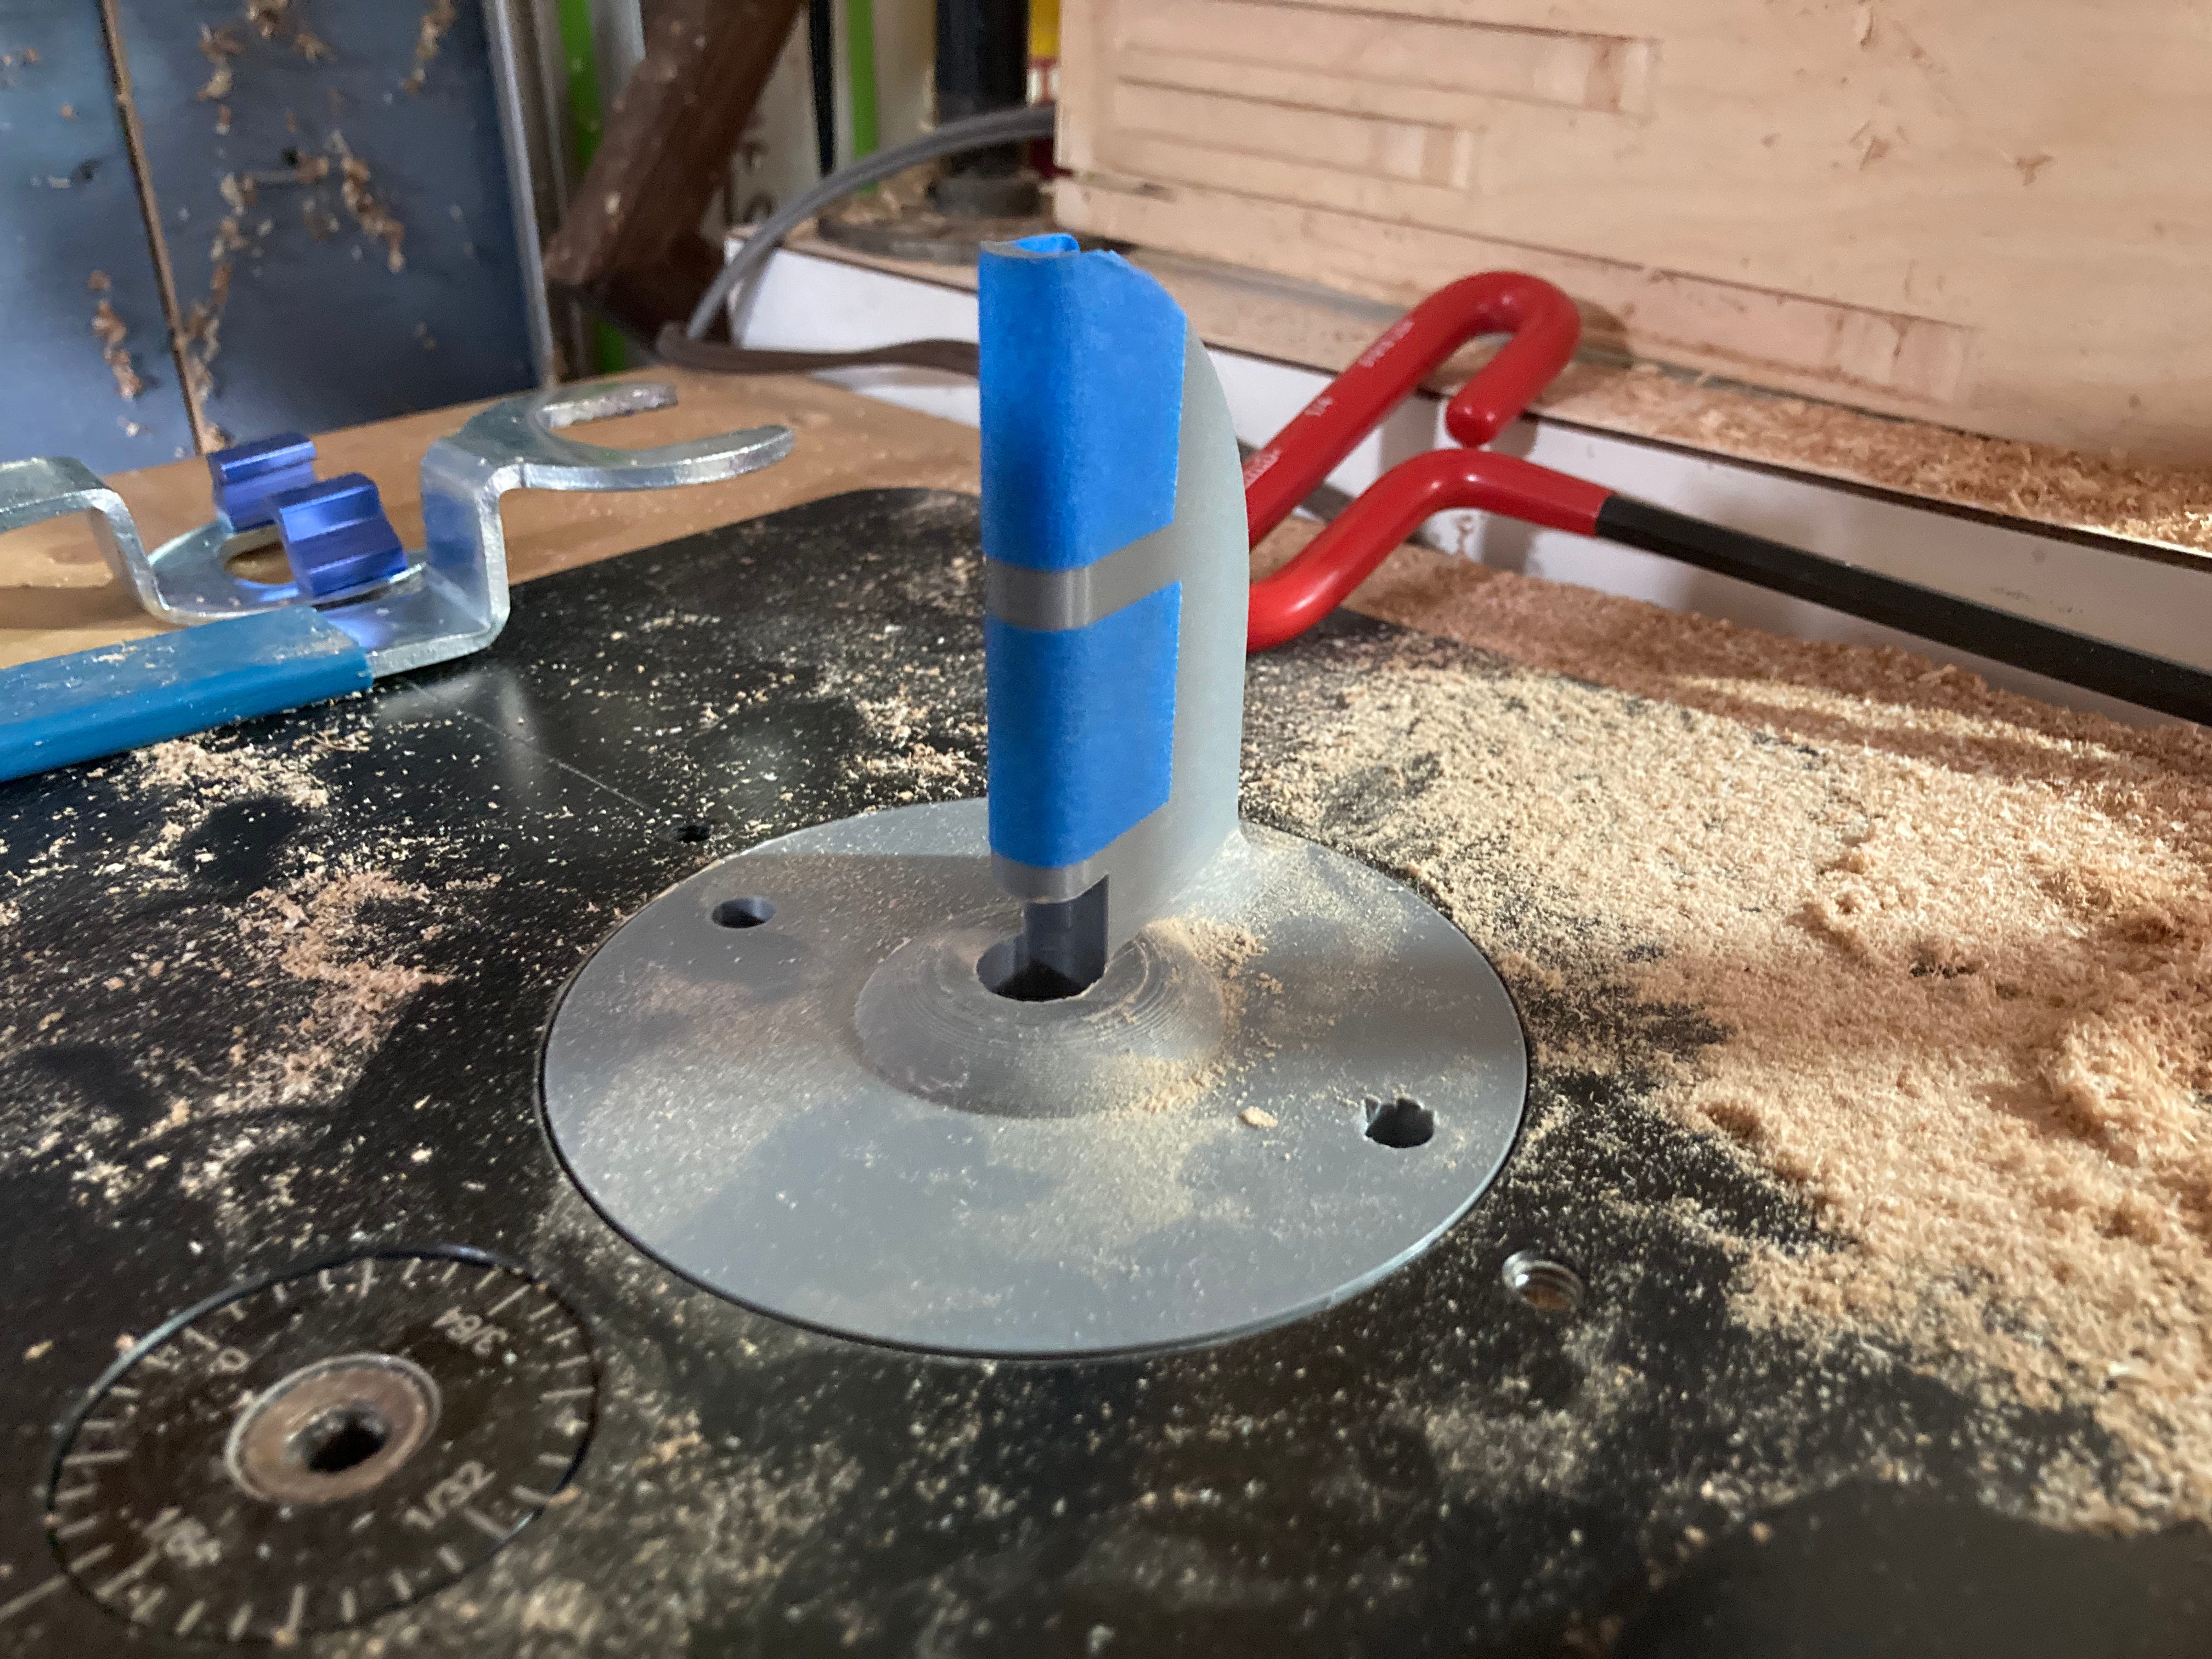
I struggled to get the jig perfectly lined up on the bit with my wooden version. I eventually (and shockingly!) 3D printed a version of the jig that locks into the plate on my router lift. The offset from the bit is done in the 3D model, so if you want a different offset you print a different jig entirely.
For a time I really liked this setup, but lately, I have found the movement of the ukulele over the router table awkward which leaves me prone to mistakes.
Recently Morgan Kelsey posted a video demonstrating how he cleverly (mis)uses the Elevate jig and it got me thinking. The Elevate jig is meant to be held in a vise, and the instrument moved over it. Morgan inverts the relationship and holds the guitar in a vise and moves the jig and router over the instrument. This made a lot of sense to me.
We all know where this story goes. Fusion 360 > 3D printer > JIG!
A natural progression from the router table jig I 3D printed was my riff on Morgan’s riff. The hardest part of modeling this jig was figuring out what the dang hole pattern was on my Makita trim router. It was such a frustrating affair, it became the inaugural post on my new website*.
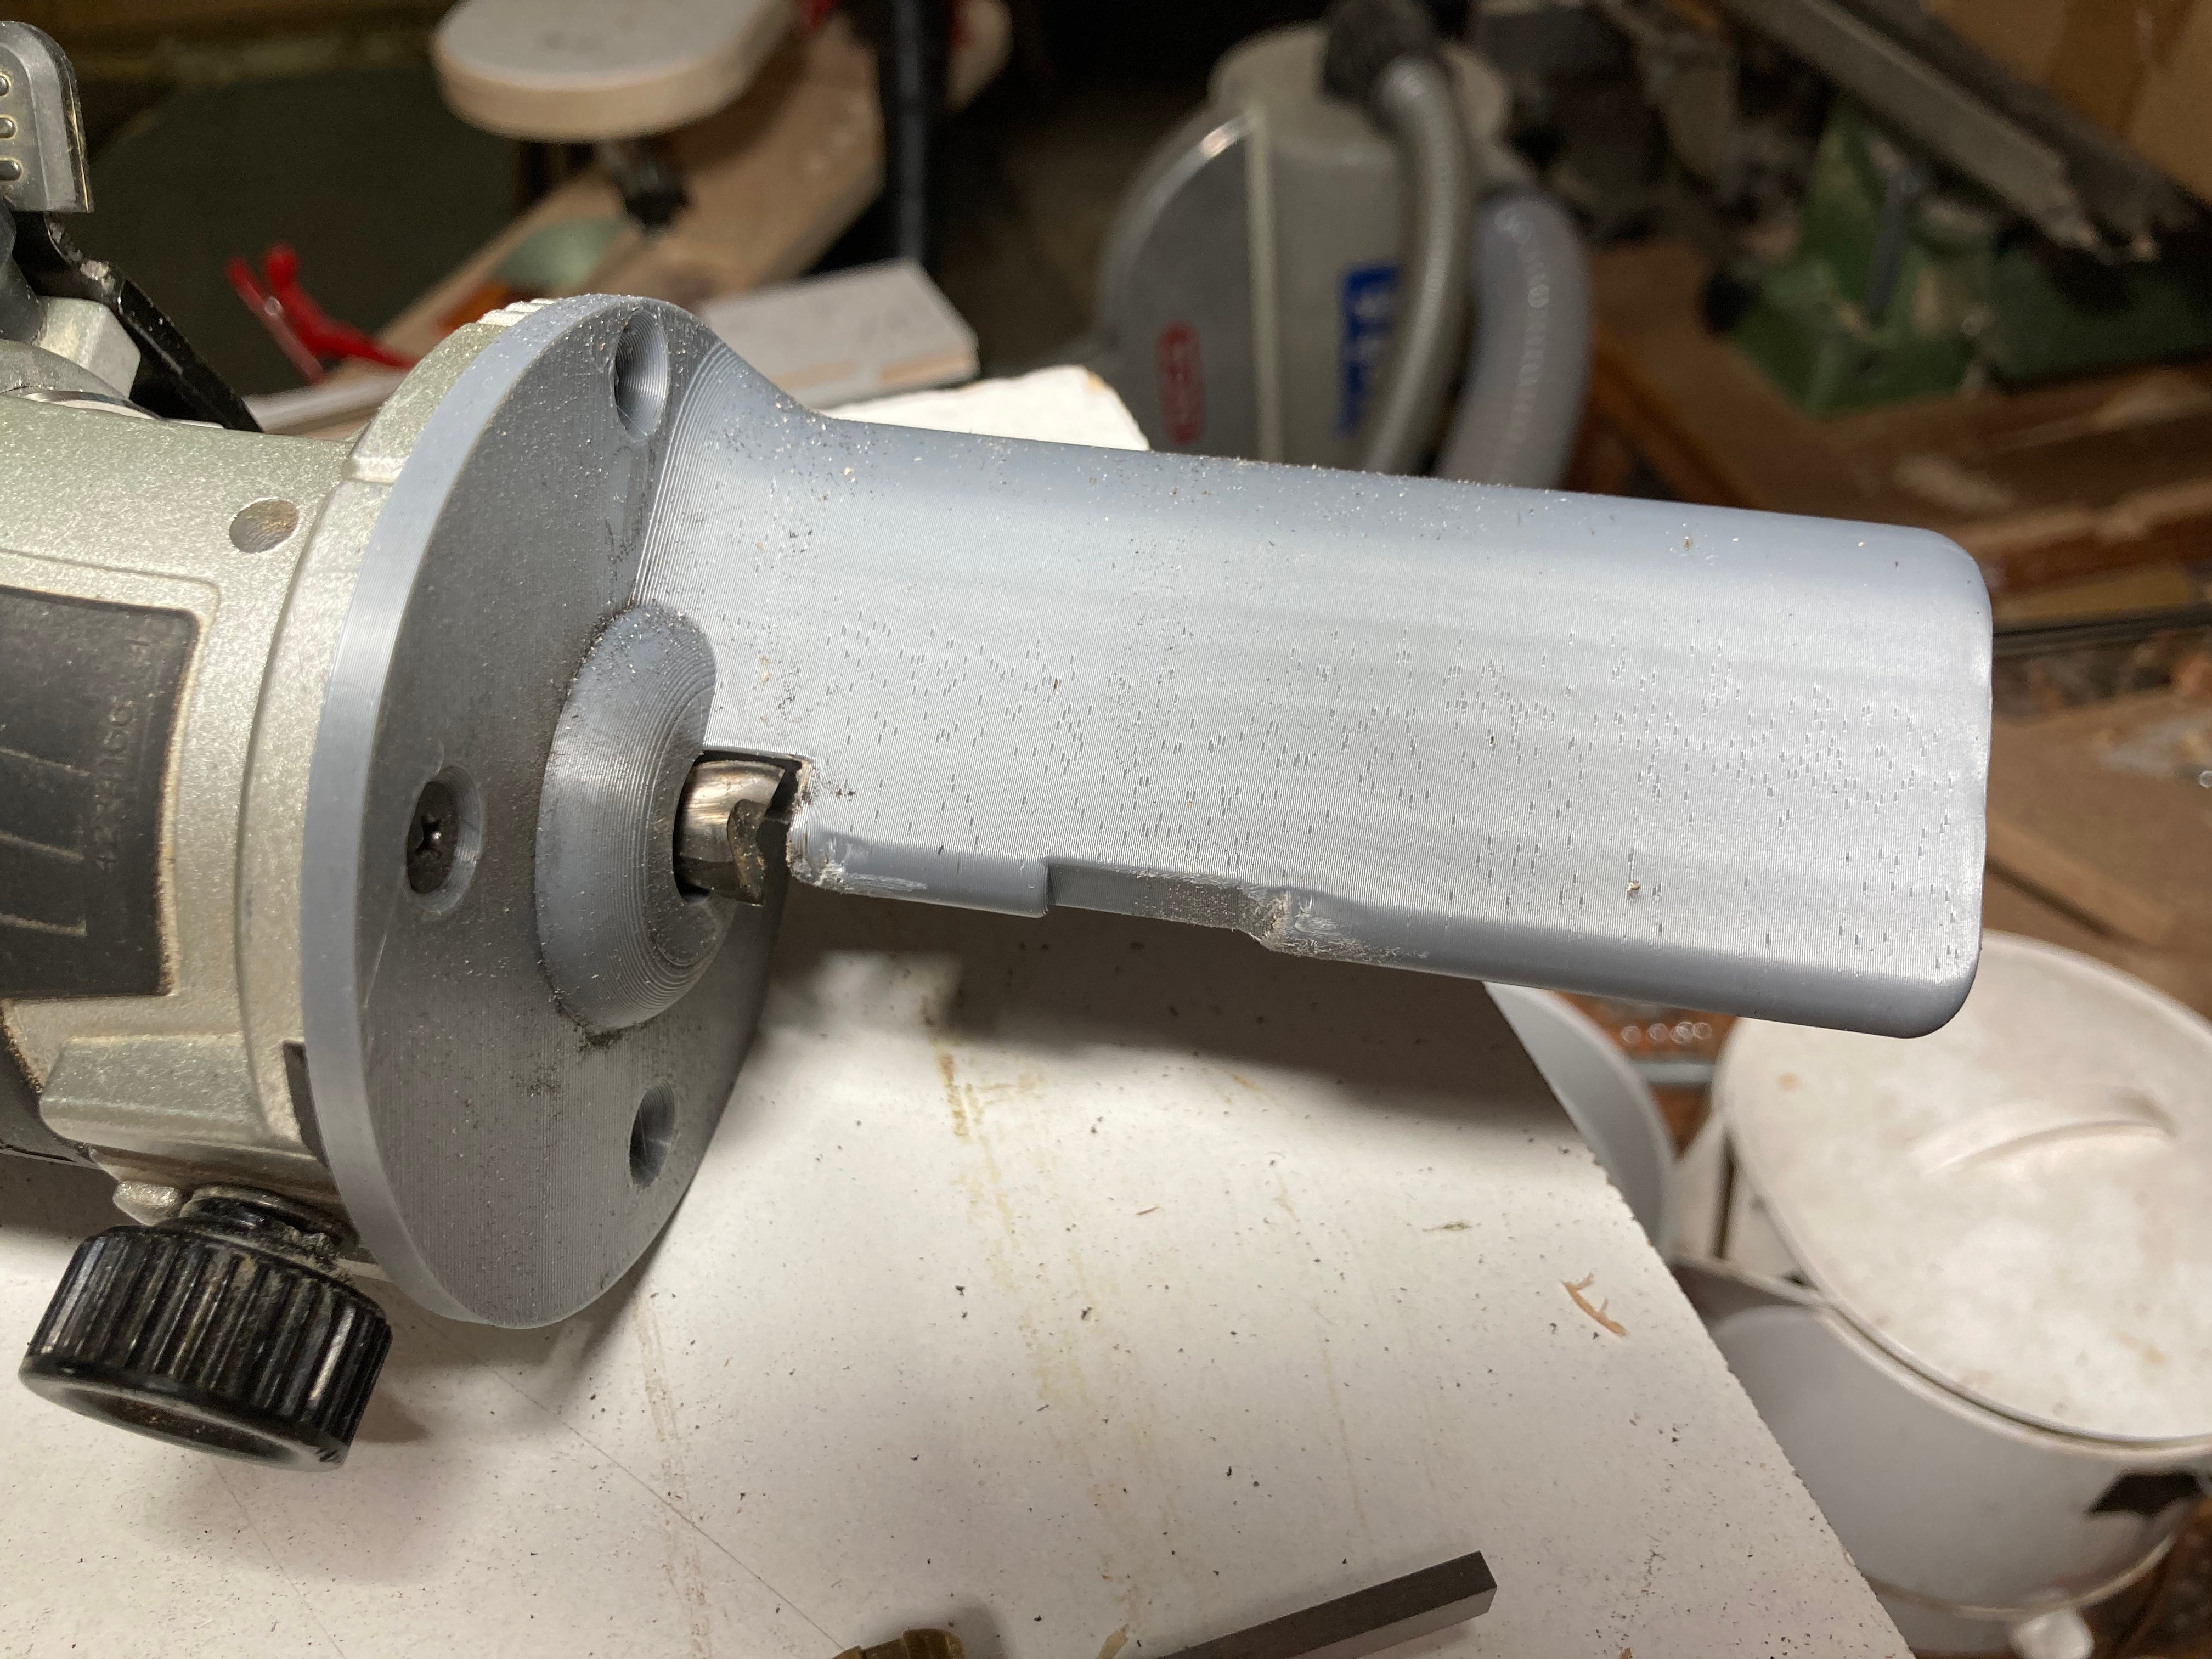
No jig or jig-user is perfect so there will always be finessing after the routing. I use an array of files, scrapers, and sandpaper to finesse the binding channel.
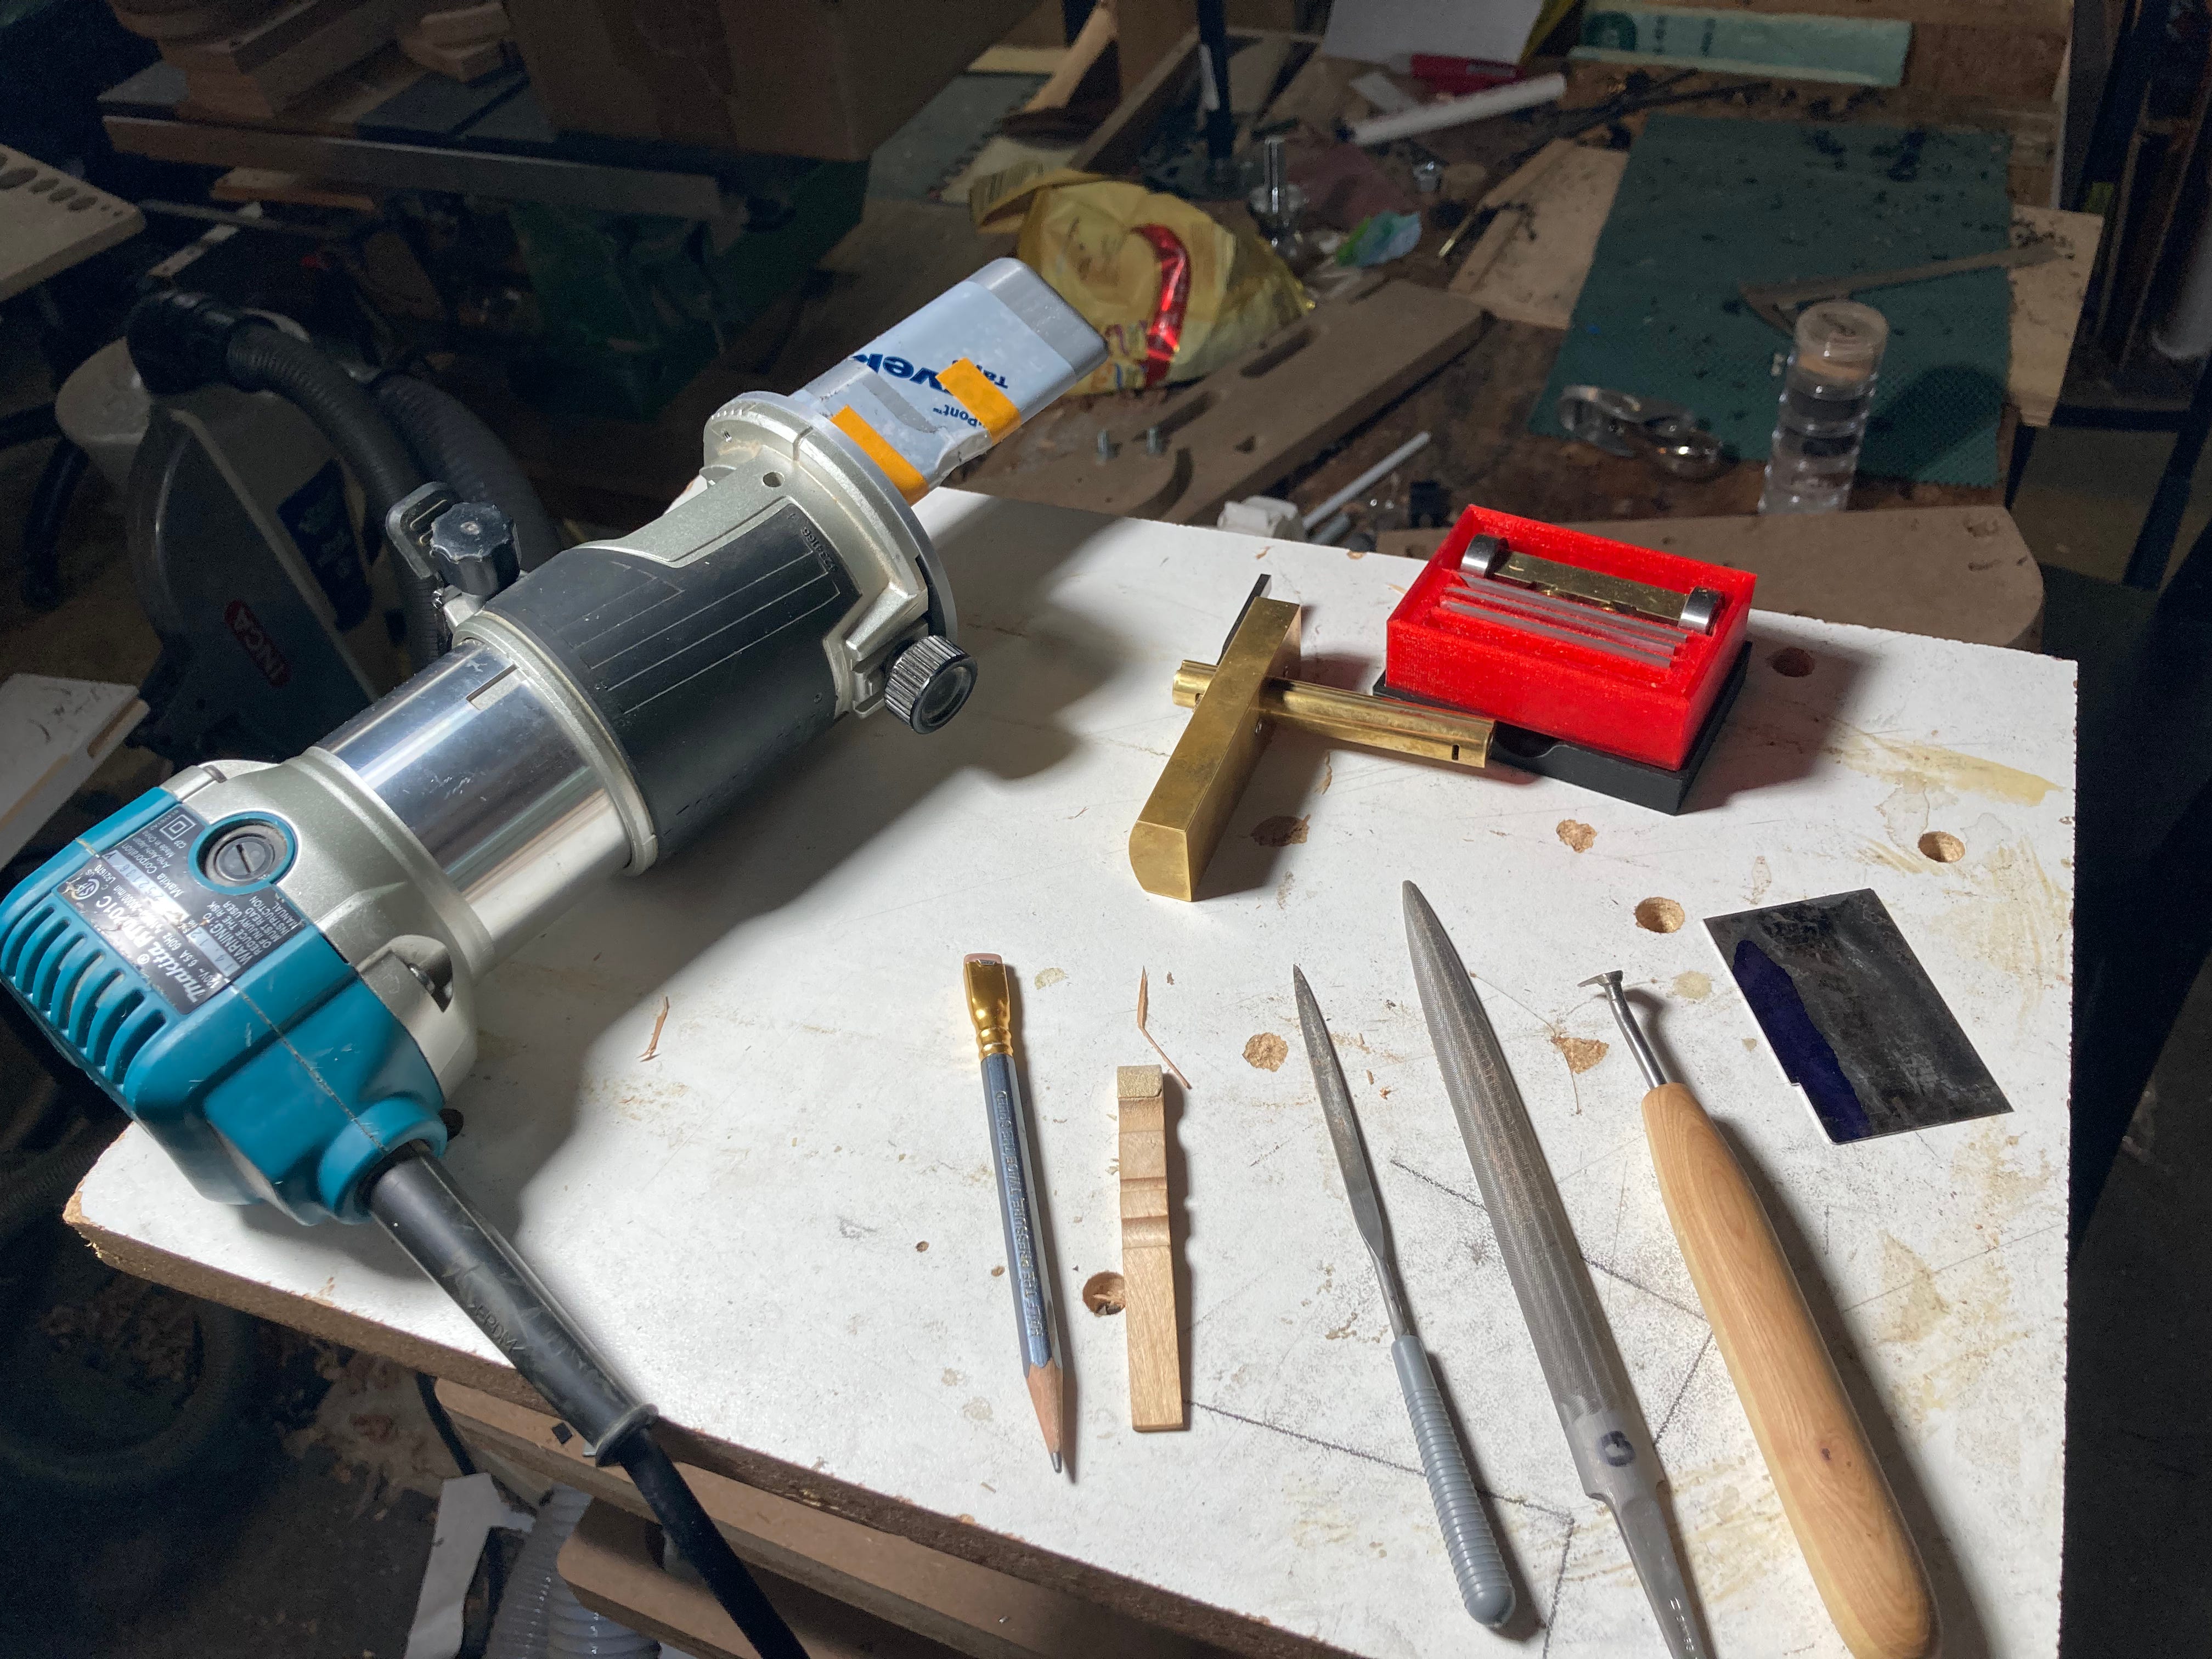
The most recent addition to my post-rout-mortem is a simple scraper with the ledge excavated away. I created this as a way to gauge my successes but quickly realized that it served as a perfect scraper to take that last hint of material off to get me to the finish line.
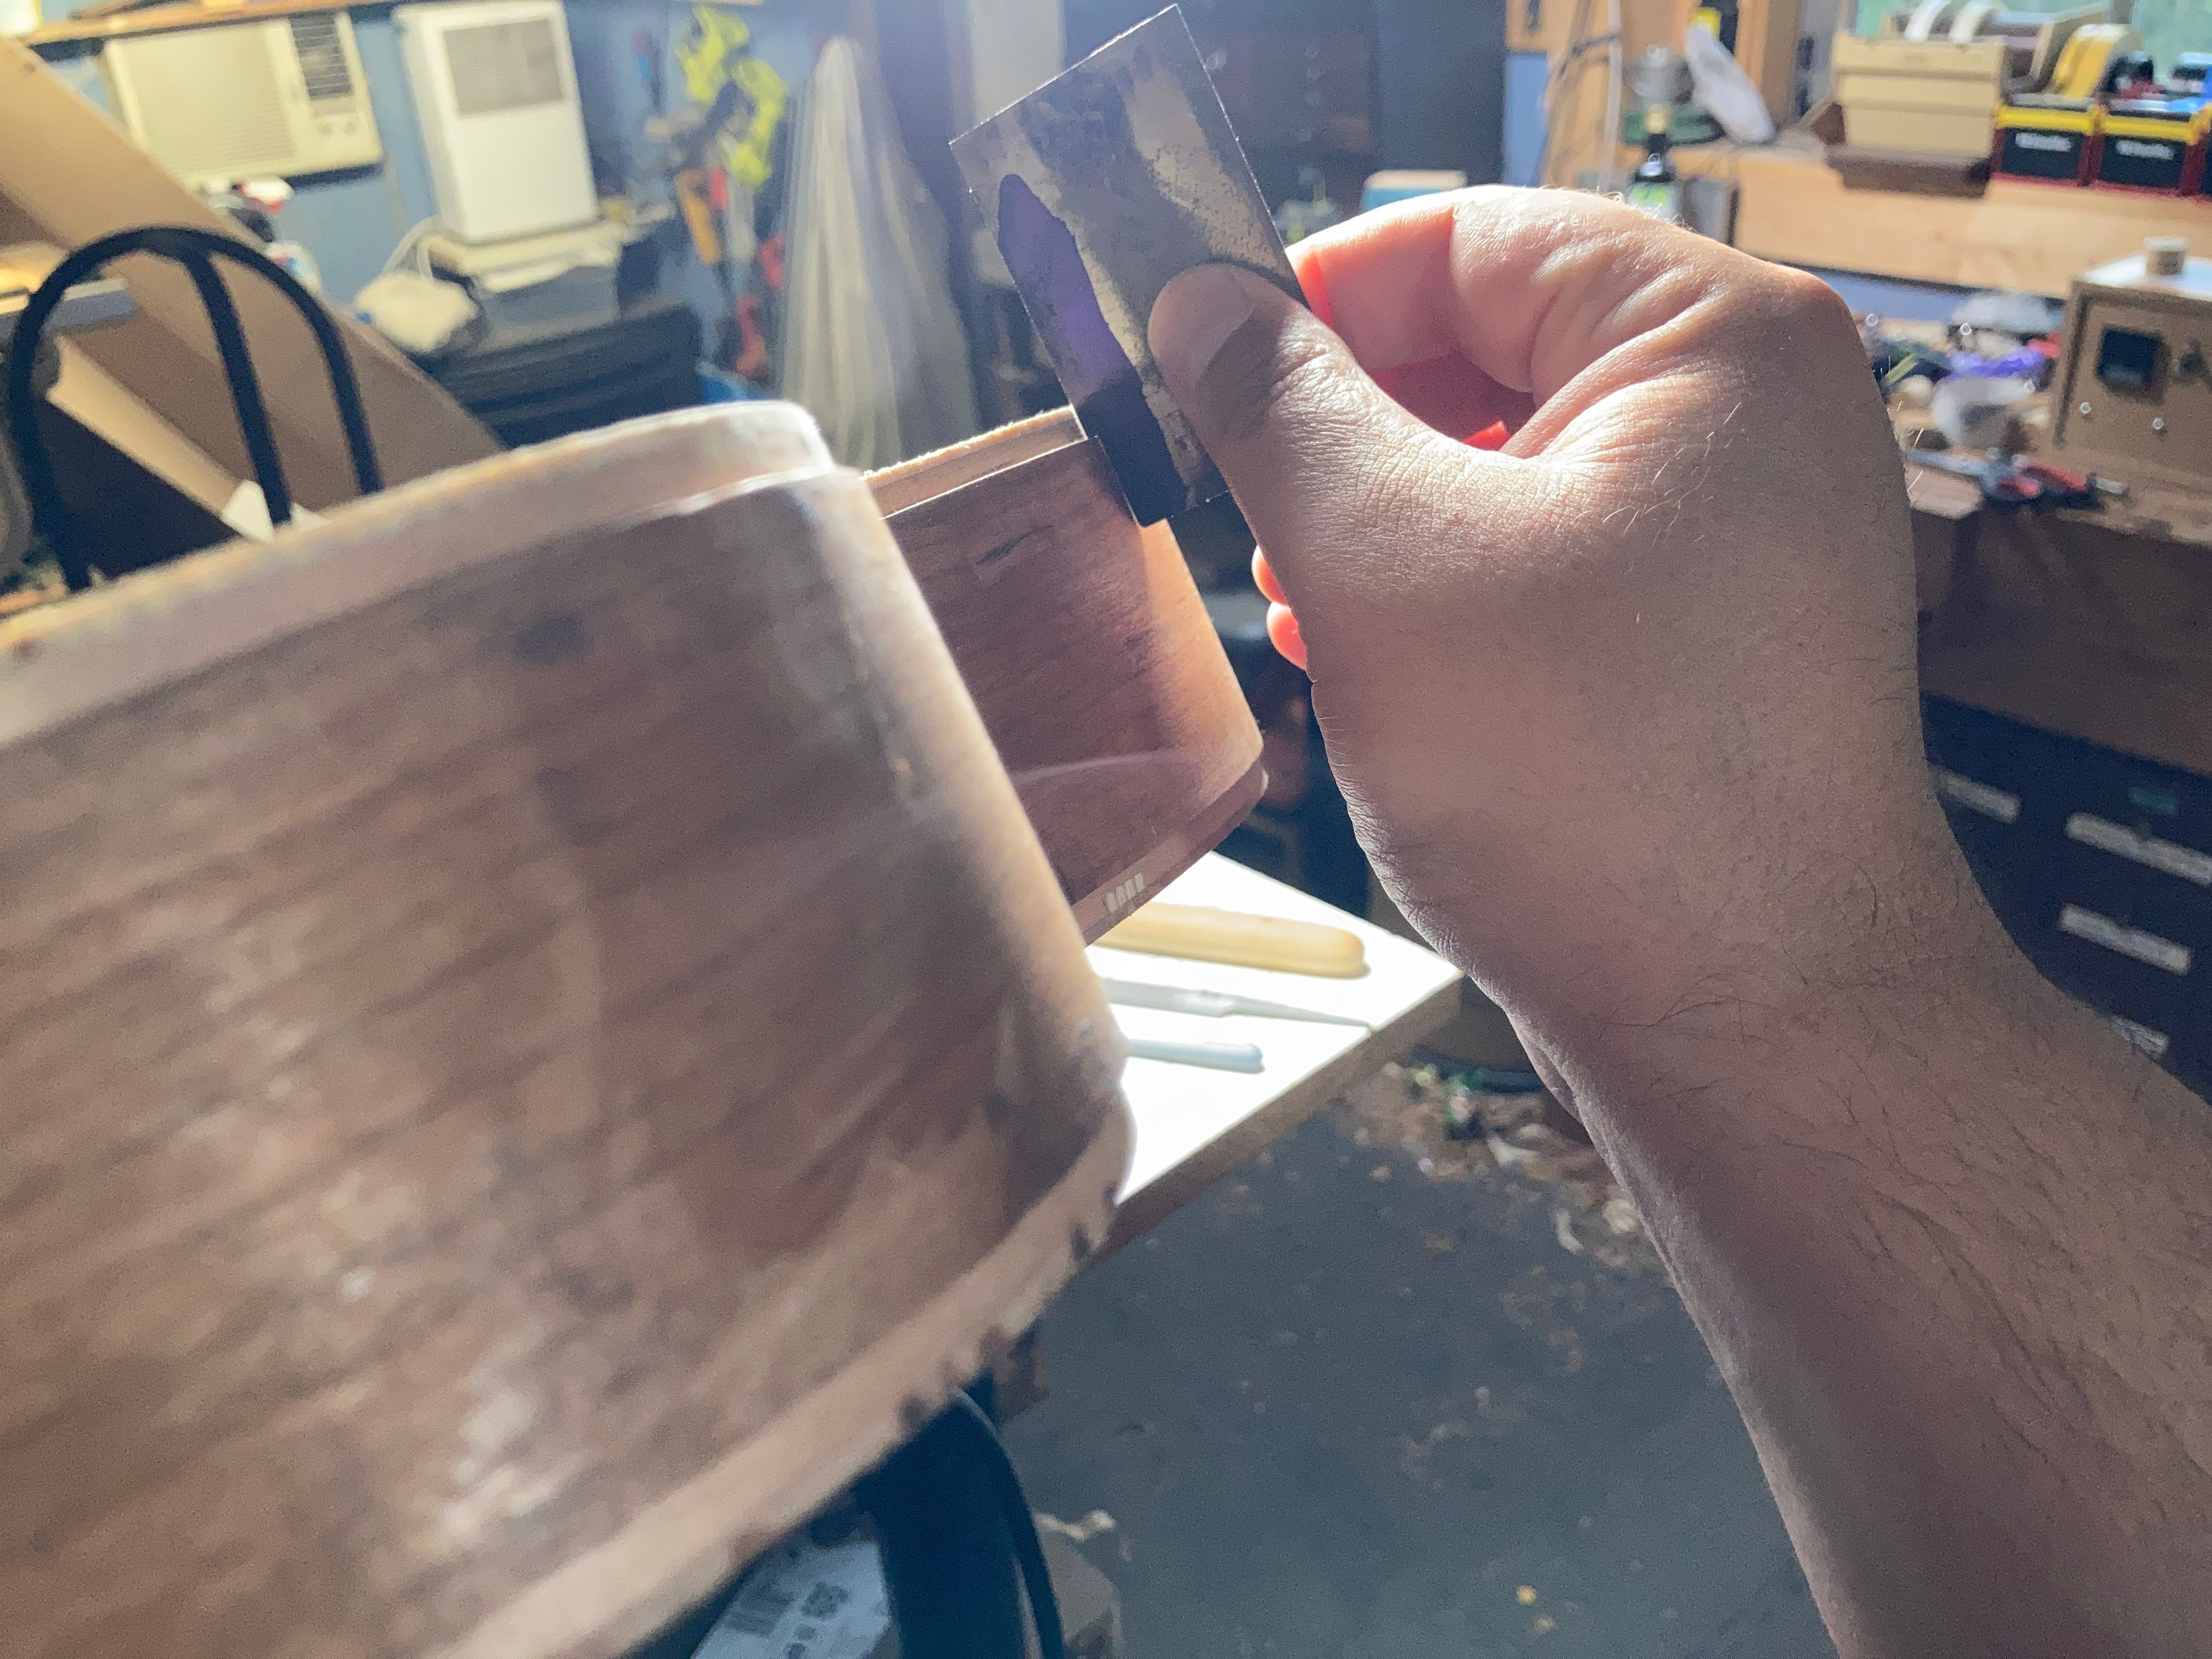
Probably the most important tool in my binding kit is my visor. I’ve finally settled on wearing these visors fitted with a 1.5x lens for any and all delicate work. They’ve honestly been as game-changing of a tool for me as I can remember.

*ya… about this site—Woodorking. I’m not 100% ready to go full-on with it and I’m not 100% certain what that site means for this substack. Right now, my guess is that the substack will remain as a journal and Woodorking will serve as a container for other info. Again… your guess is as good as mine!
No posts
Comments
Nothing yet. Say the first thing.
Sign in to join the conversation.