
A hot iron is a sewing tool. You cannot sew or quilt without it. But, sometimes your iron might not do what you want it to do, and your seam keeps popping back up, or getting the iron out may feel like ‘overkill’, or using it along the way slows you down. Maybe your sewing space is cramped, maybe your electricity bill is already giving you a side-eye, or maybe you just really like non-electric tools (no judgment). Enter: the classic, electricity-free trio of pressing legends: the Seam Roller, the Seam Presser, and the Tailor’s Clapper.
These tools might sound like characters from a steampunk novel, but trust me, they’re superheroes in the quilting and sewing world. They don’t beep, buzz, or burn your fingertips. And they do their job. Let’s meet the team.
You might have thought that when you use an iron, you are “ironing”. Yes and no. Ironing a seam is not the same as pressing a seam. Pressing with an iron is lowering and lifting the iron from the fabric, while ironing is moving the iron back and forth on the fabric. When you press, you set the stitches, which makes it easier to press the seam to one side or press the seam open. After you’ve pressed, you have to let the fabric cool down before proceeding. Moving a warm fabric can cause distortion. This is really important with bias seams, which most half-square triangles and flying geese have, as do bias-cut garments.
Do I need to tell you why pressing seams in sewing is important? It sets the stitches in the fabric and makes projects more precise and professional-looking. Every unpressed seam can add a tiny bit of size and shape variability and thus introduces a tiny bit of imperfection. Even if it is one millimeter… multiplied by every seam in a garment or quilt, you can end up with a garment or quilt blocks that are half an inch larger or smaller than was originally intended.
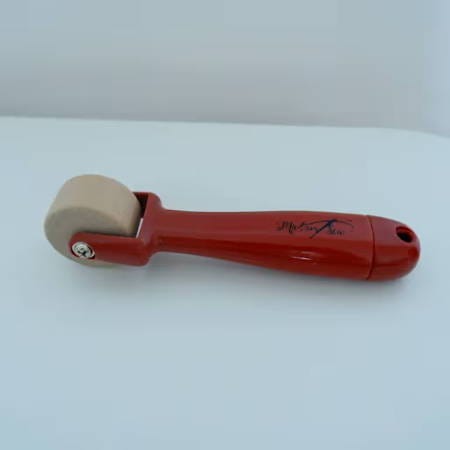
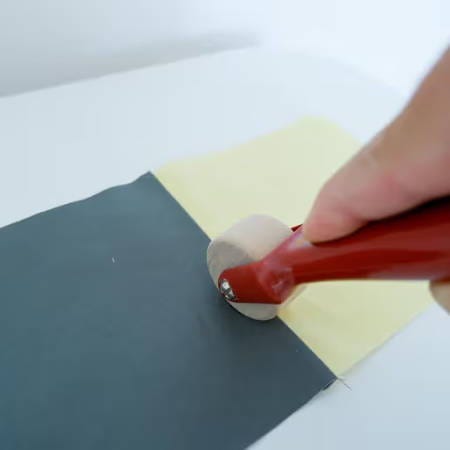
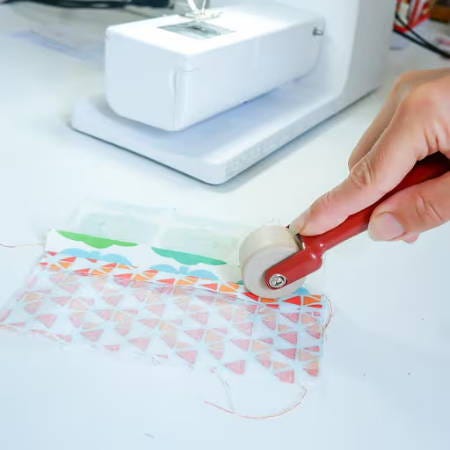
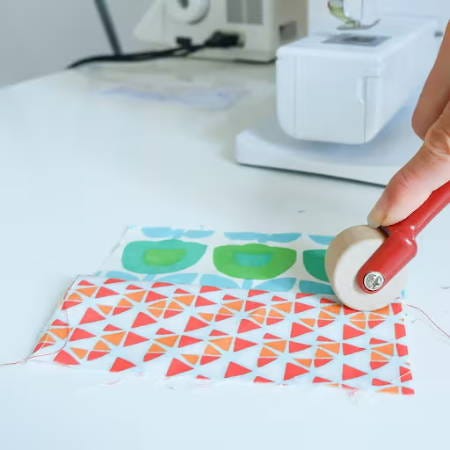
The rolling part of a good seam roller or rolling seam press is made of smooth, sturdy wood. Wood is a good material for pressing because of its dense structure. It can be used with a steam iron because it absorbs steam and heat, which helps to flatten and set fabric fibers. A seam roller also flattens seams with the gentle power of pressure alone.
Use it to temporarily press seams while sewing or quilting, or give seams an extra press as you would with a tailor’s clapper, or as a replacement for an iron when you can’t use heat on seams. It’s great for paper piecing, paper crafting, scrapbooking, and quick presses next to your sewing machine. However, it doesn’t replace an iron. You cannot flatten big surfaces of fabric with a seam roller.
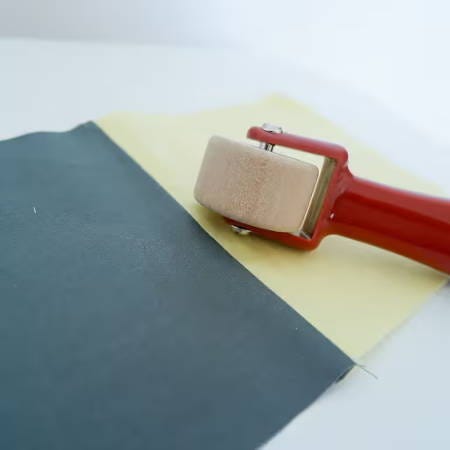
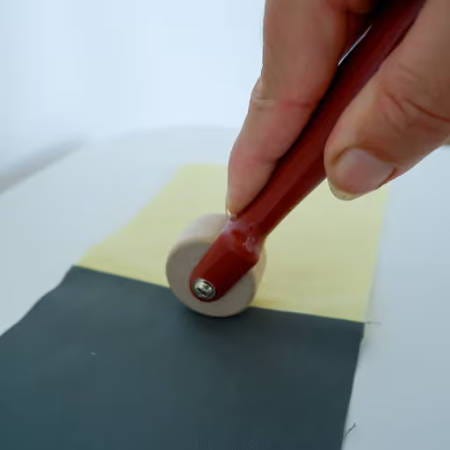
No heat, no waiting. Just roll and go.
Less getting up and down from your sewing machine to your iron station
You can press seams on fabrics that don’t support heat (like faux leathers, waterproof fabric, waxed canvas, some vinyls)
Works like magic on small, fiddly seams.
You’re not using heat, so no stretching or distortion on bias seams.
Crisp... crisper... Crispiest! Quilters love a good seam roller and the effect it has on their seams.
Great for any retreat sewing. This lightweight tool can be tossed easily in your project bag. Plus, you will not have to fight over the one iron in the room.
1. Sew your seam as usual.
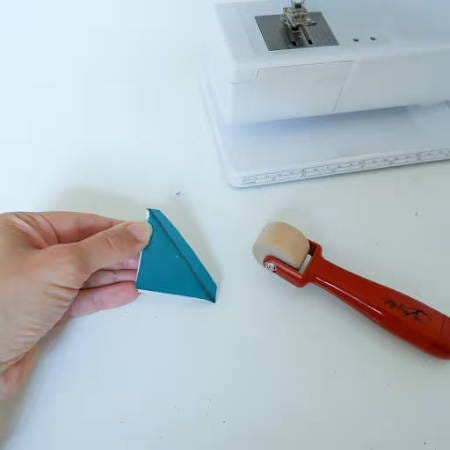
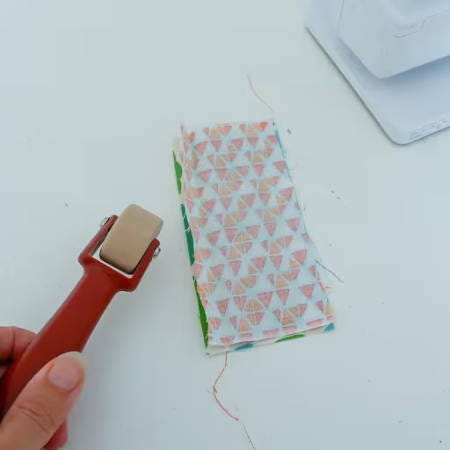
2. Push the seam to one side or open the seam (put your finger in between the layers).
3. Roll the seam roller firmly along the seam to flatten it or roll over the seam on the right side. Use a hard surface to get the best results.
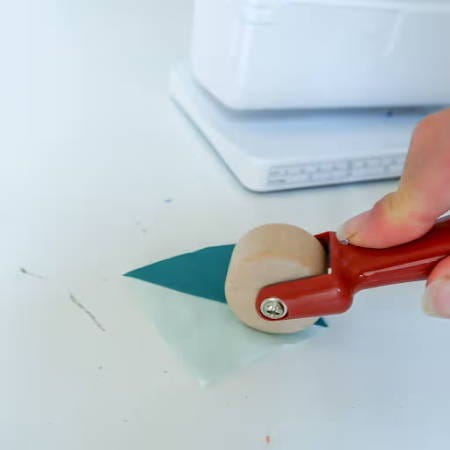
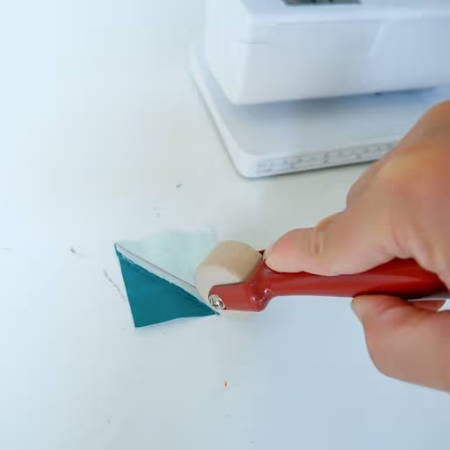
Sew your seam as usual
Iron your seam
Give your seam an extra press with the seam roller by firmly rolling it along the seam to flatten it.
Get the best rolling seam presser at a great price at MadamSew.com
This elegant little tool may not look like much, but don’t let its minimalist design fool you. The finger or seam presser is the seam roller’s quieter. It’s a small tool that is usually made out of plastic, wood, or bone. It flattens fabric seams using pressure alone.
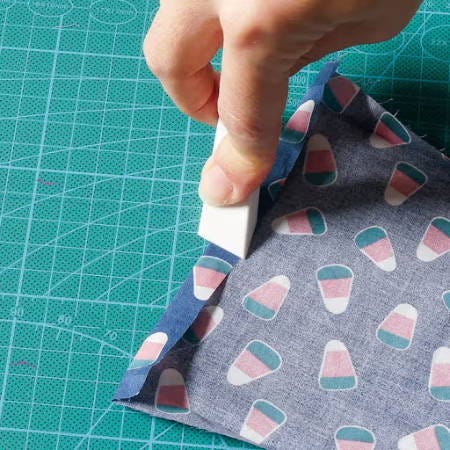
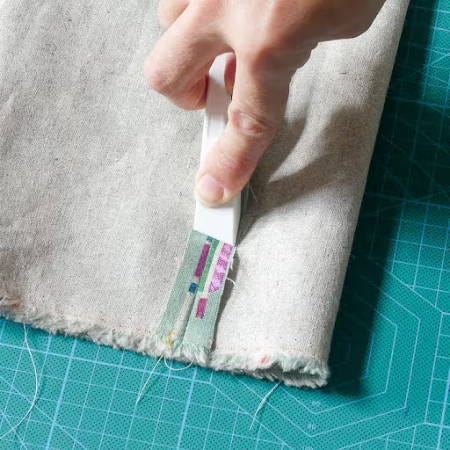
The finger presser is often shaped like a thick spatula or finger (yes, finger). A finger press gently opens up seams or flattens small areas with more control than a roller, but may not be as ergonomic. It doesn’t replace an iron for final pressing, but it is great for in-progress piecing. Quilters use it a lot for foundation paper piecing, appliqué, or on mini quilts.
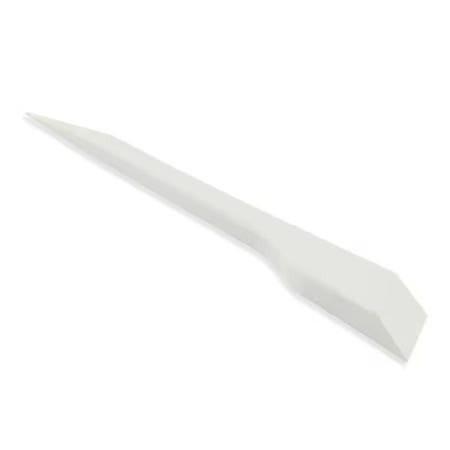
Pinpoint accuracy for pressing open seams.
Perfect for delicate fabrics that don’t like heat. It works best on cotton or quilting-weight fabric.
No electricity? No problem.
Sew your seam as you normally would.
Open or press the seam to one side using your fingers to separate the layers.
Place the edge of the finger presser on the seam and press down firmly.
Slide or rock the presser along the seam to flatten it. Use even pressure. Just rub with your thumbnail, but without stressing the fabric.
Get this great finger presser from MadamSew.com
If you want your seams sharper than your wit, get a tailor’s clapper. This hefty block of hardwood might look like something you’d use to defend yourself in a fabric store brawl, but its purpose is far nobler. When used with steam, it traps heat and flattens any seam to perfection.
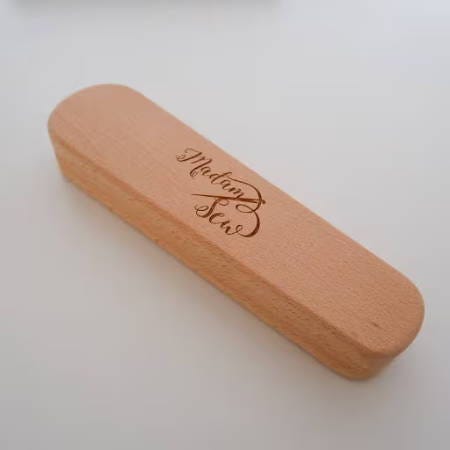
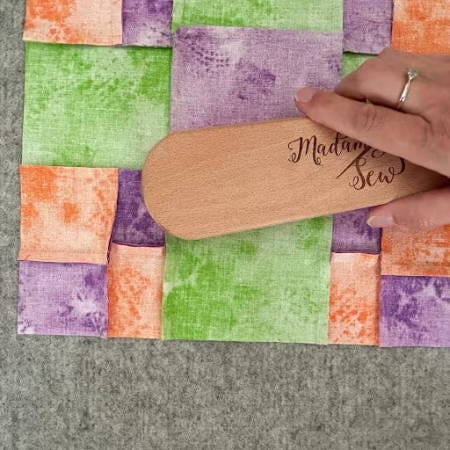
Perfect for creating crisp creases and using on stubborn seams that refuse to lay flat (like thicker, heavier-weight fabrics)
Works wonders on hems, collars, pleats—anything you want to behave
Pairs beautifully with a steam iron
Flattens seams on fabrics that an iron would leave a mark…like velvet
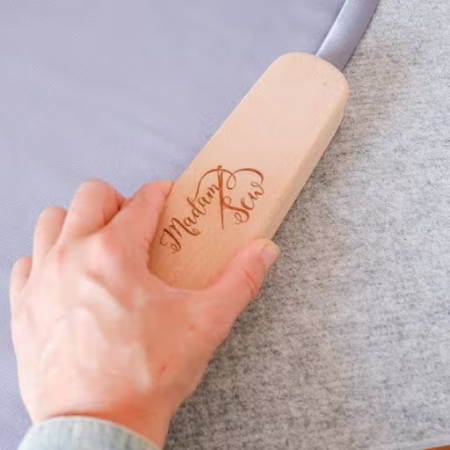
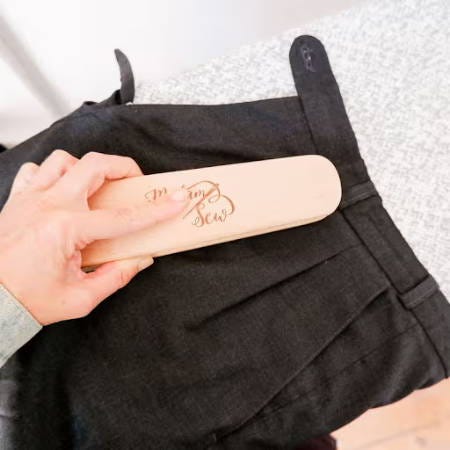
1. Press your seam or hem with a hot iron with as much heat and steam as your project or fabric can handle. For a fabric you can’t iron, use steam only, and then go to step 3.
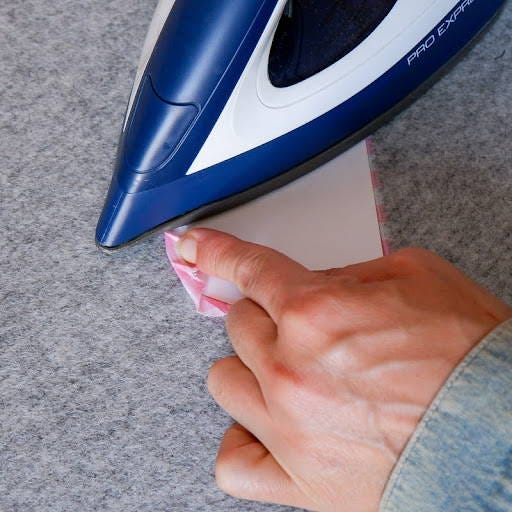
2. Remove the iron
3. Place the clapper on top and trap the heat with the clapper to set the hem or seam in place. This seam isn’t going anywhere ;-)
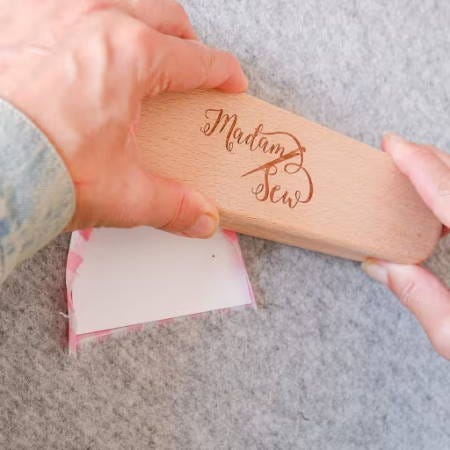
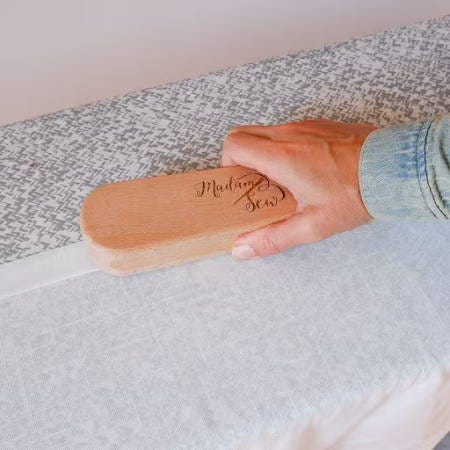
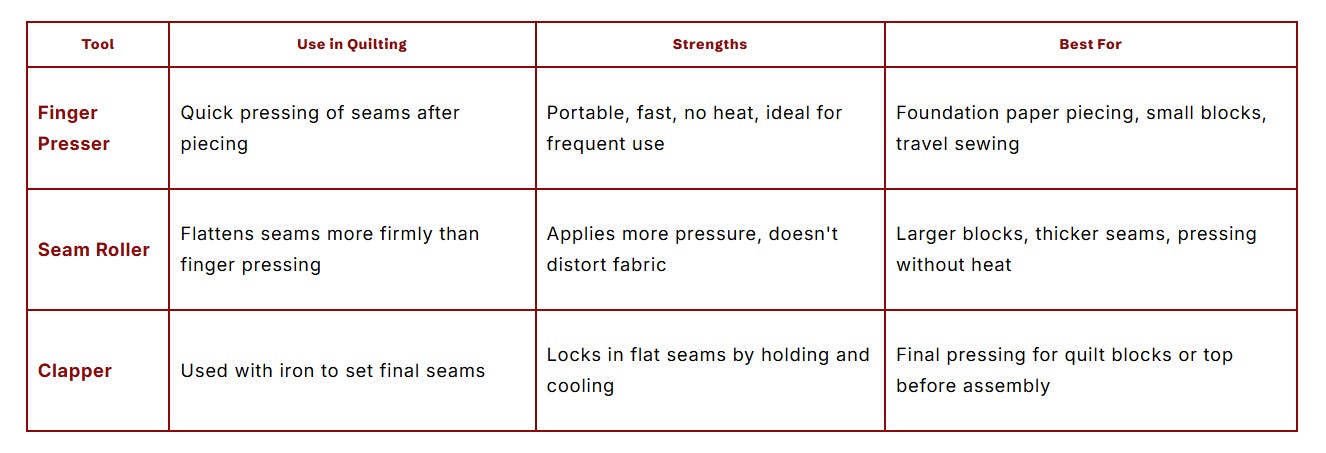
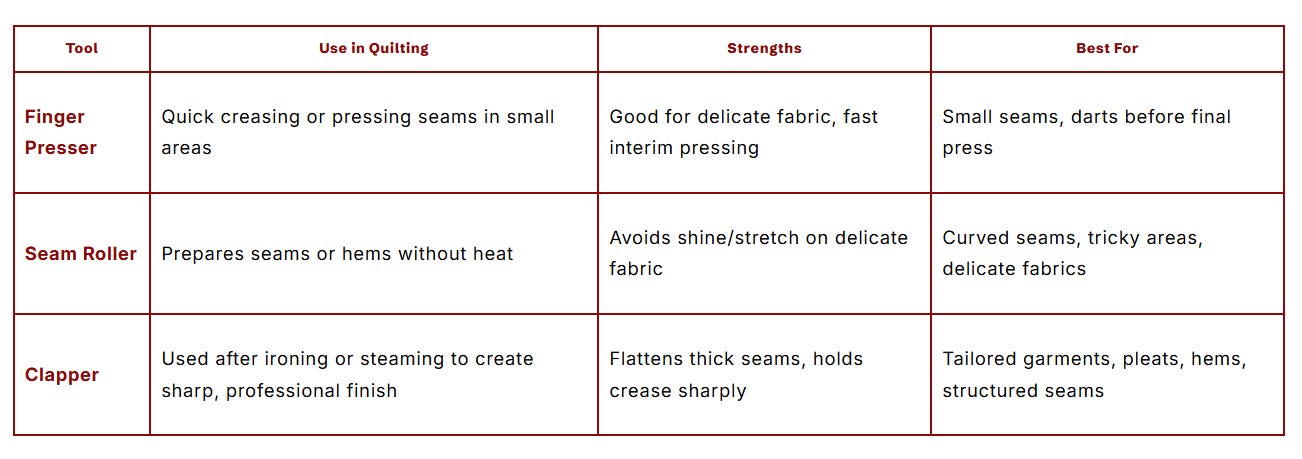
Quilting or Foundation Paper Piecing:
Finger Presser: Can be used for pressing after each seam.
Seam Roller: Use for a fast press when piecing, especially where multiple seams meet and for bias seams.
Clapper: (Optional) Lock in final seams with an iron + clapper when finishing the block.
Garment Sewing (e.g., dressmaking or tailoring):
Seam Roller: Press seams flat before ironing, especially on delicate or curved fabrics.
Iron + Clapper: After pressing a seam with heat, apply clapper to hold it flat and sharp as it cools.
No-Iron Workspaces (classes, travel, quick piecing):
Use a finger presser or seam roller for interim pressing without getting up to use an iron.
Finish at home with an iron + clapper for crispness.
Besides the obvious perks (no cords to trip over, no heat burns, no waiting), these tools are eco-friendly, travel-friendly, and sewing-room-clutter-reducing. Whether you’re power-outage-prepping or just embracing your inner vintage seamstress, they’re the perfect mix of function and old-world charm.
Steam and high heat can distort or damage sensitive fabrics. Silk, rayon or certain synthetics can get scorch marks, shine, or even start to stretch when exposed to heat and steam. Natural fibres, on the other hand, can shrink when exposed to heat and steam. In quilting, excessive steam combined with ironing can distort your fabric, making your seams a little too wavy. Dry pressing (with a clapper) gives sharper, flatter seams.
All three tools—the Seam Roller, Seam Presser, and Tailor’s Clapper—are available at MadamSew.com in the Pressing Tools category. Crafted from high-quality material and tested by sewists and quilters who actually use them (and love them), they’re the kind of tools you’ll wonder how you ever sewed without.
Any questions, comments, don’t hesitate to leave them below!
An
Comments
Nothing yet. Say the first thing.
Sign in to join the conversation.