
Dry your hair elegantly with a hair towel wrap you can sew at home! With this step-by-step tutorial and downloadable and printable free pattern it is a doable project for sewists with little experience as well!
You can make this hair wrap in less than an hour. Towel drying your hair is the best option if you prefer not to process your hair with heat or deal with the complexities of using a blow dryer properly. Apparently, an aggressive towel attack can be just as damaging as the heat from your blow dryer, think… friction, frizz, and breakage.
If you have long hair, like me, you probably wrap your hair in a towel when you get out of the shower… It’s difficult to hold a regular towel place, right? Keeping a towel on your head to keep your hair out of the way and to prevent it from dripping and making a mess while you get dressed is a big hassle, and next to impossible to keep on.
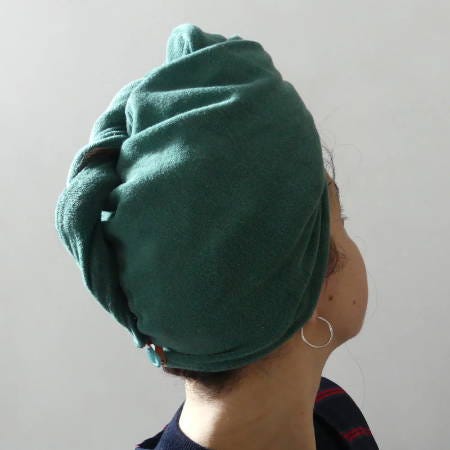
That is why this DIY hair towel wrap is such a great upgrade! It is lightweight, practical, and very easy to make. This wrap features a button to secure the towel in place, and can also be used as a sleep-wrap to keep hair in place overnight. This wrap fits a variety of head shapes and sizes, but if you have very long or thick hair, you might want to make it a little longer.
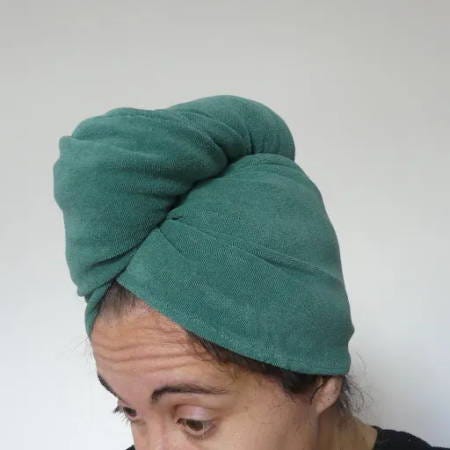
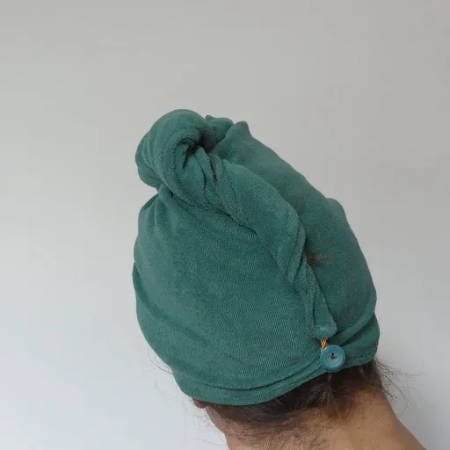
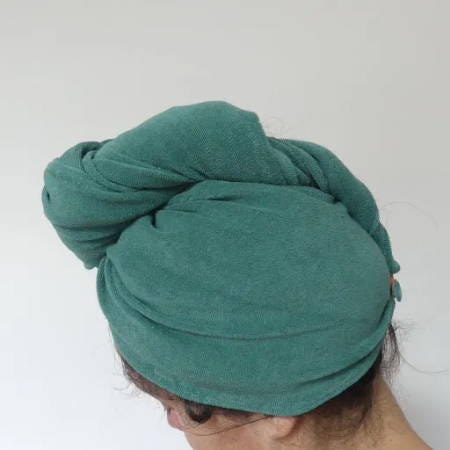
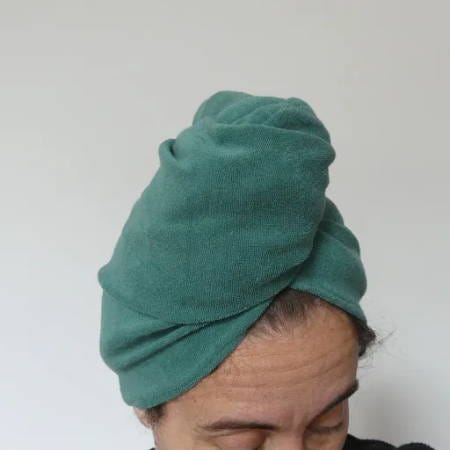
You can make this towel hair wrap in just 30 minutes. It is both a great beginner project and a fabric stash buster. Scraps of jersey fabric, terry cloth, or even an old t-shirts or towels are great fabric options for this project. I would just advise to use fabric that isn’t too thick. If you want the fancy version, you can choose a microfiber or a bamboo fabric to make this wrap super-absorbent.
You don’t need a lot for this hair towel wrap pattern… Here’s a list of things to get:
2 pieces of 12 x 25 inch (or 1 fabric piece of 24 x 25 inch or 1 fabric piece 12 x 50 inch)
1 regular button
the printed hair towel wrap pattern (you will find the link further down in this blog)
a piece of elastic, 2 inches long and about ⅜ inch wide
matching thread
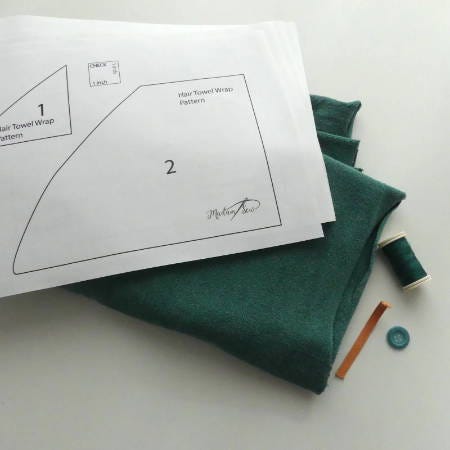
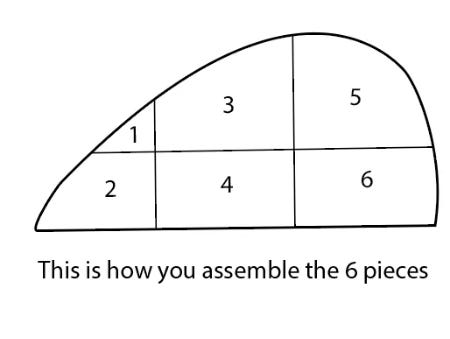
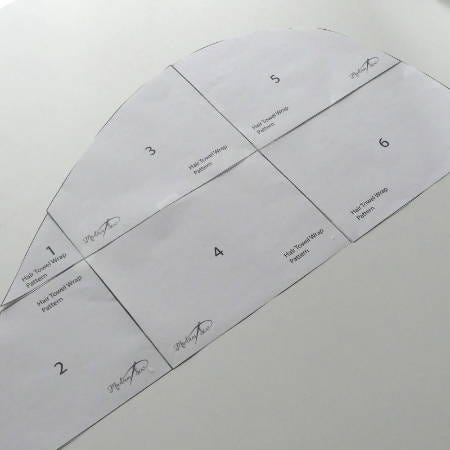
Download the free sewing pattern HERE, print and cut it out, then tape the different pieces together so you get one pattern piece. If you want, you can also draw the pattern yourself. It will also work even if you don’t make an exact copy. Take a look at the shape, the longest line is 25 inches, the highest point is 12 inches.
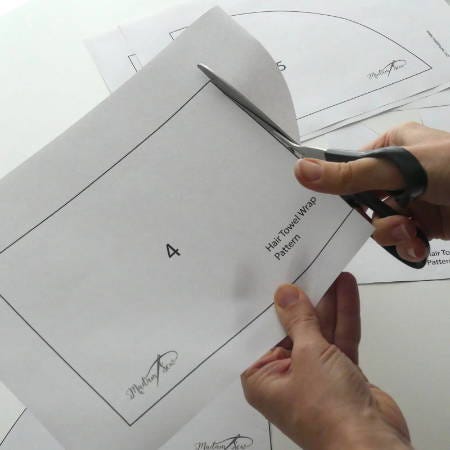
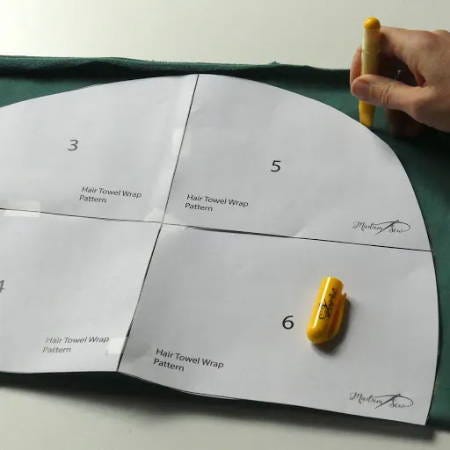
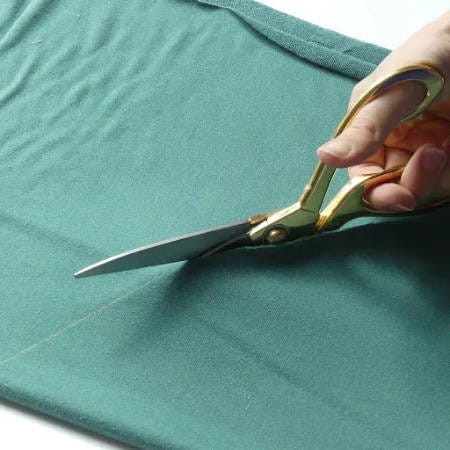
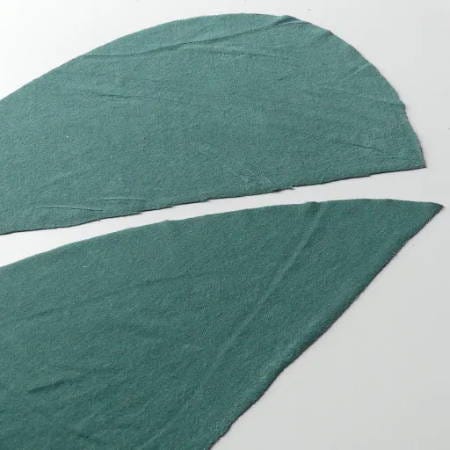
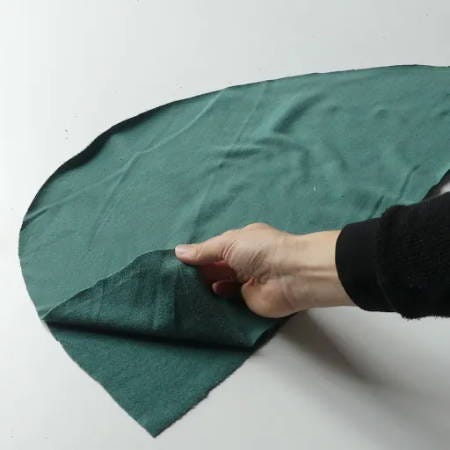
Copy the pattern twice on your fabric with a temporary fabric marker and cut out. Make sure you mirror the shape if your fabric has a wrong and a right side.
Pin the two fabric pieces together, right sides facing. Sew along the long curved edge with a ⅜ inch seam allowance. I’m using my sewing clips instead of pins, much faster to attach, and no pin pricks!
If this is your first time sewing with stretch fabrics, you might want to read this blog with nine tips to avoid wavy hems.
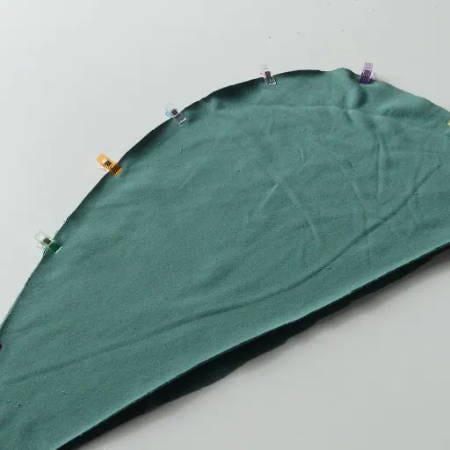
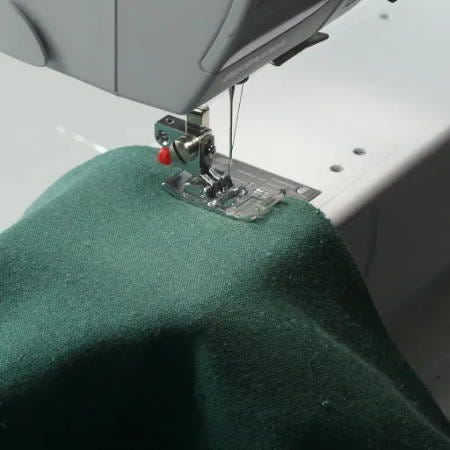
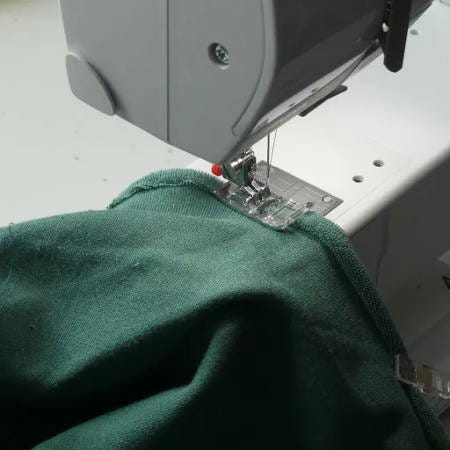
Now finish the raw edge with a serger or with an overlock stitch and overcast foot on your sewing machine. For a nice finish, you can also sew the seam down with an extra row of stitching. To do this, press the seam to one side and sew at ¼ inch.
I can refer to this blog for an introduction on finishing edges with an overcast foot. You don’t need to invest in a serger to finish your edges neatly!
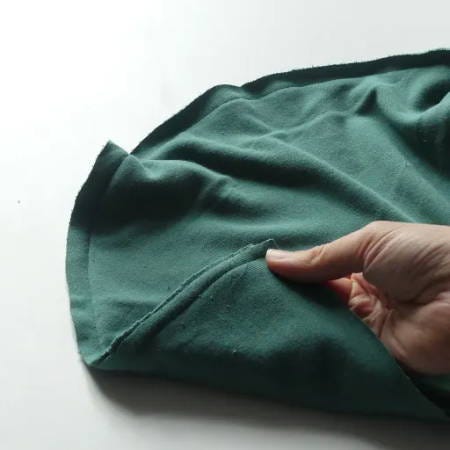
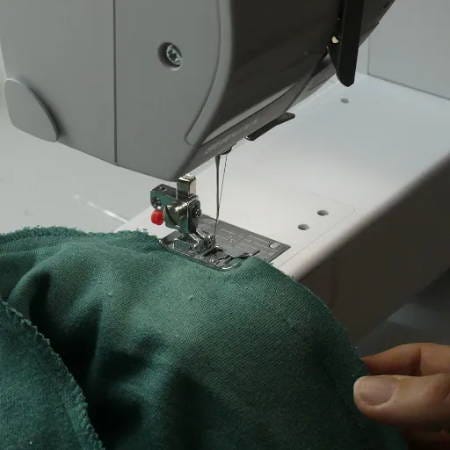
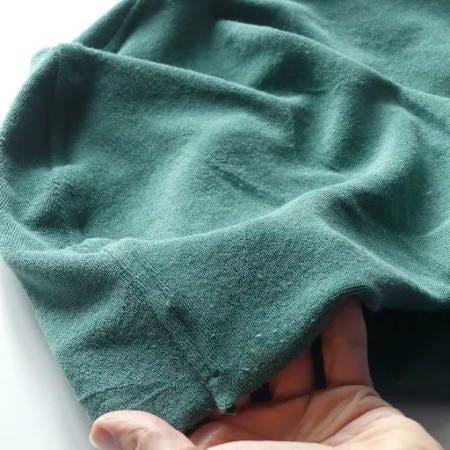
Fold the straight edge ½ inch in, all the way around, press it, and pin it down. Insert the elastic as a little loop in between the seam on the narrow end of the wrap, and then stitch the hem all around.
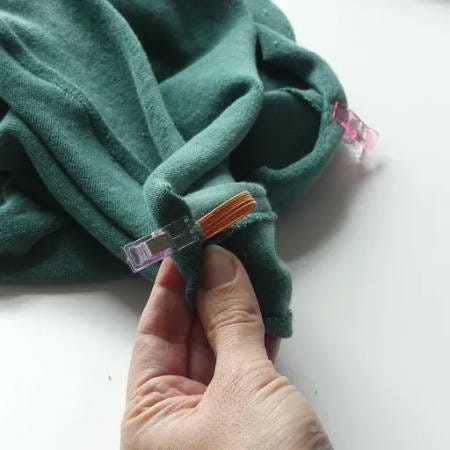
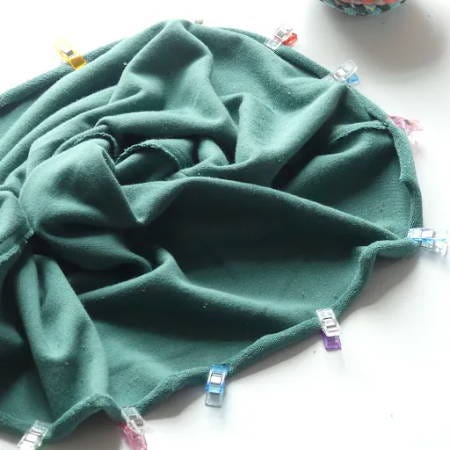
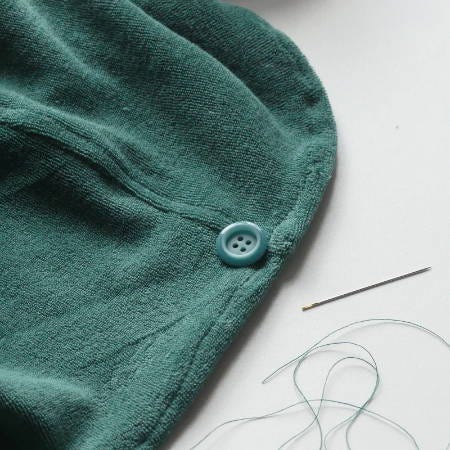
Hand-sew a button onto the larger end of the towel wrap, right in the middle at the bottom, on the right side. If you want to learn how to attach a button the right way, go to this blog about hand-sewing buttons.
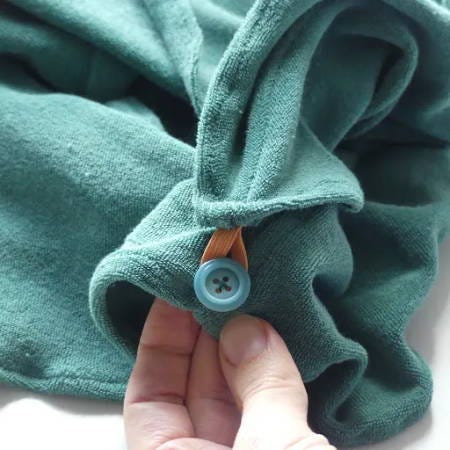
And that’s it! Your fancy towel headwrap is ready! Did you see that these sell for $30 in stores? A towel wrap also makes an amazing and easy last-minute gift for friends, moms, sisters, and daughters!
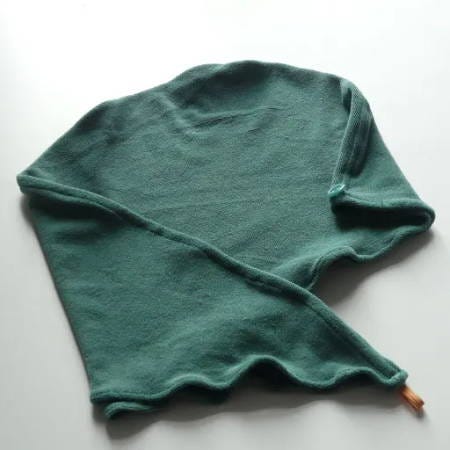
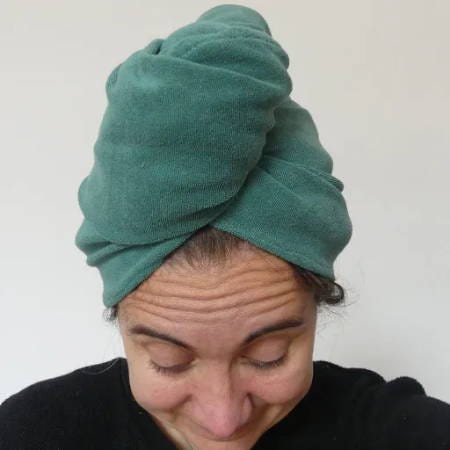
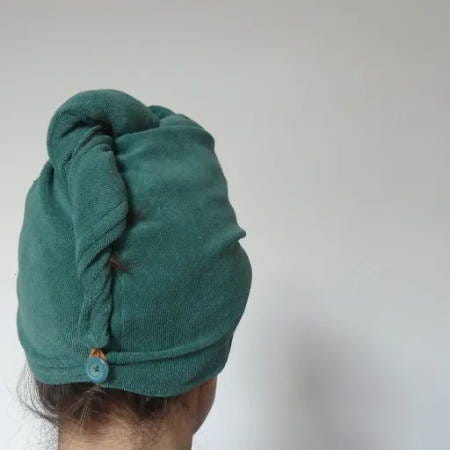
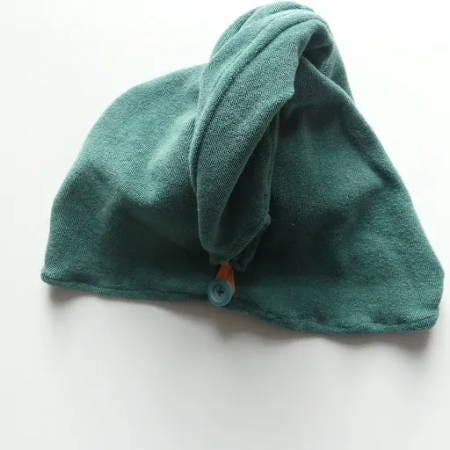
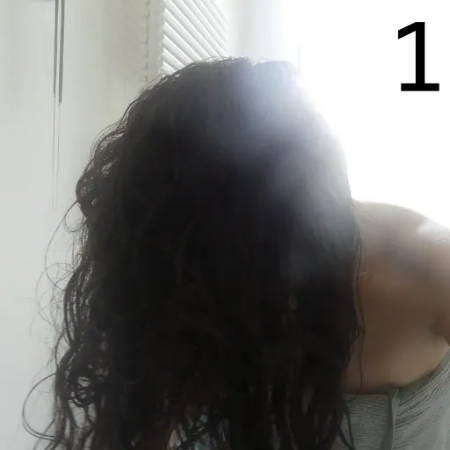
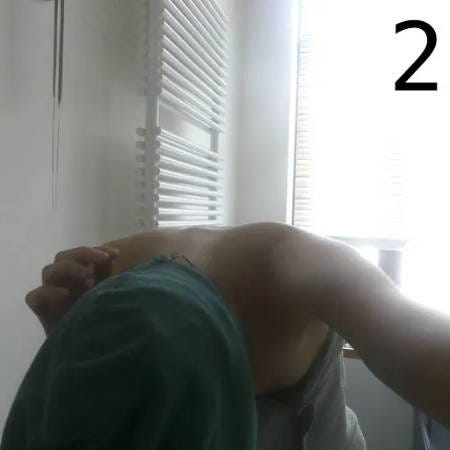
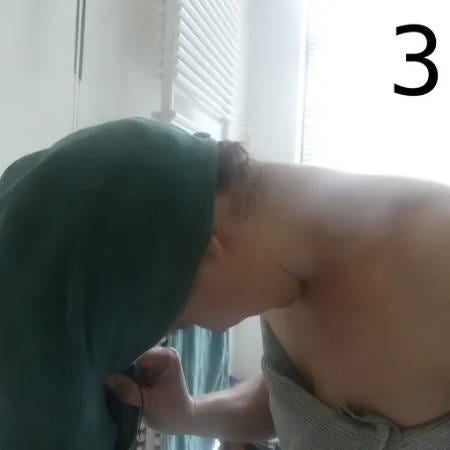
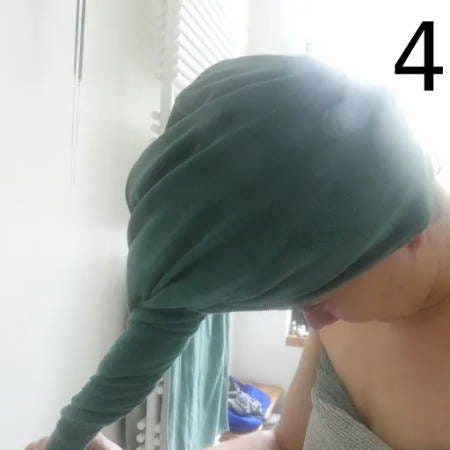
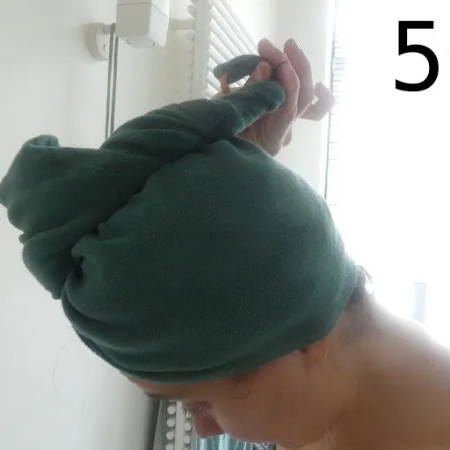
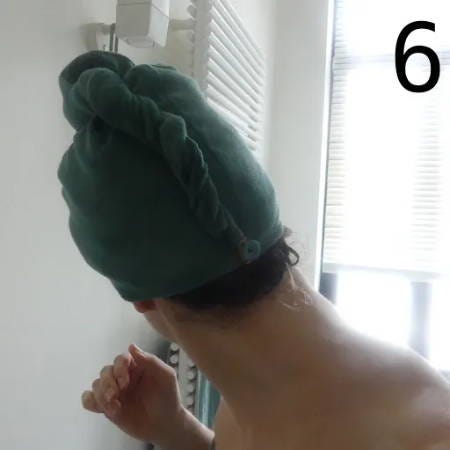
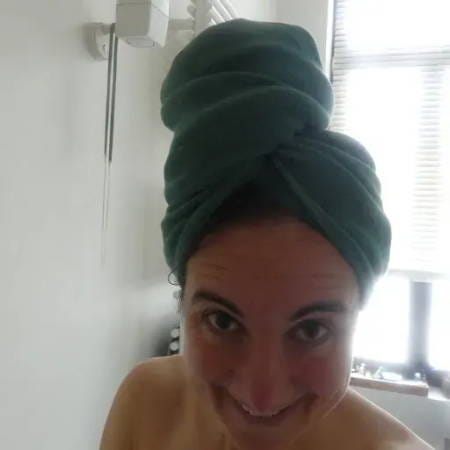
To put the wrap on your head, first gently squeeze excess water from your hair. Then, flip your head upside down (1) and place the wrap over your hair (2). The button should be on your neck. Twist your hair in the wrap (3 & 4) and then bring it back to the back of your head (5). Secure the elastic loop at the end of the towel around the button (6). Now you can feel free to do anything around the house with your hair up, from reading a book to doing the dishes or sewing another hair wrap for your best friend. :-)
Have fun sewing and drying your hair with this easy towel hair wrap pattern! It is a very beginner-proof project for any sewist, it doesn’t take long to make, and is a very practical little thing that will get a lot of use! I promise!
Let me know if you have any questions in the comments below.
An
Blogging for MadamSew.com, your go-to webstore for sewing tools and accessories!
Comments
Nothing yet. Say the first thing.
Sign in to join the conversation.