
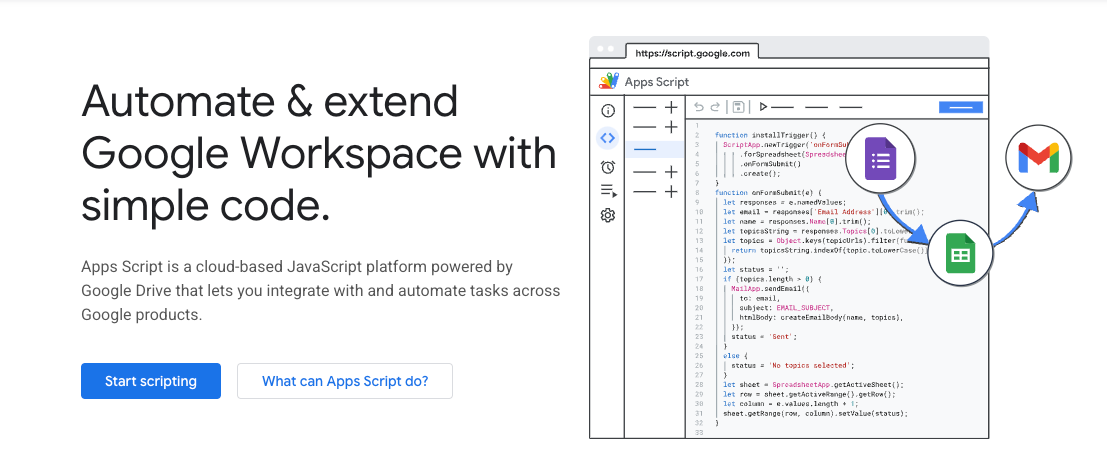
Tired of setting up project report emails manually every week, across all the projects you’re working on?
In this article, I go over how you can automate your project reports using Google Slides (for hosting your reports) and Gmail (for sending them).
This is just one use case. With this workflow, you can automate anything you need to send via Gmail and hosted in Google Slides, whether that’s a report or not. Even beyond this, you can automate anything you need to if you work with the Google Suite of products.
This is a workflow I stumbled upon while looking for efficient ways to save myself time when having to prep these reports regularly (as at any time I can be working on 3–6 different initiatives that need regular reporting to executive stakeholders), and I feel it could help to share it with you out there having similar issues, especially those of you out there that are also hands-on in the Project Management world.
I’m starting to write more and more about all things automation, and you don’t necessarily need to deploy expensive AI agents to start saving yourself time.
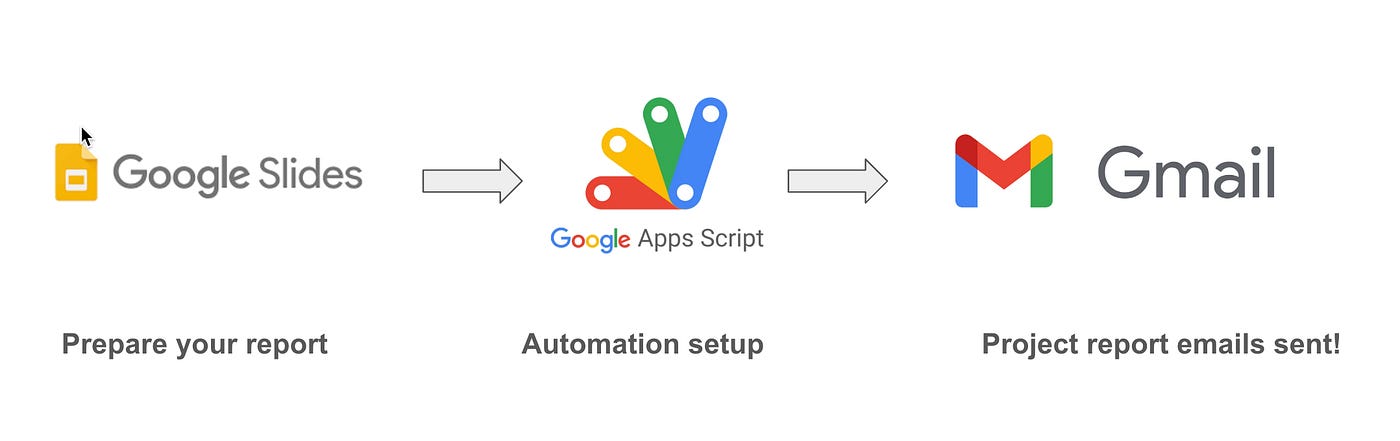
The key steps we’ll go through are:
Setting up a Google Slides report in Google Sheet
Setting up a simple code with Google AppScripts that picks up the GSlide report and schedules it for submission via Gmail
Setting up a trigger that executes the code above on a regular schedule according to the reporting frequency you need
Watch the reporting emails go off on autopilot from your Gmail Account. No More Email typing!
Disclaimer: It’s important to first align with your project stakeholders on whether the reporting format you’ll feature in both GSlides plus the actual email format you’ll be setting up via Apps Scripts is one they’re comfortable with. As with many things in Project Management, getting stakeholder buy-in for the process BEFORE you start automating that same process is critical to ensuring success.
Creating a Google Slide Report is straightforward. You may already have a template handy with your key project details filled in. If you don’t, you can simply open up a blank Google Slide file and get started.
Whenever you’re done with your report and are ready to send it, you can move on to setting up and scheduling the automation.
You can now use App Scripts to ingest the Gslide report and set it up as the input to a function, which we will call sendWeeklyReport(), which:
Read your Gslides presentation.
Converts it into a PDF file
Creates and formats a net new Email (for Gmail)
Attaches the PDF file
Send it to your desired audience.
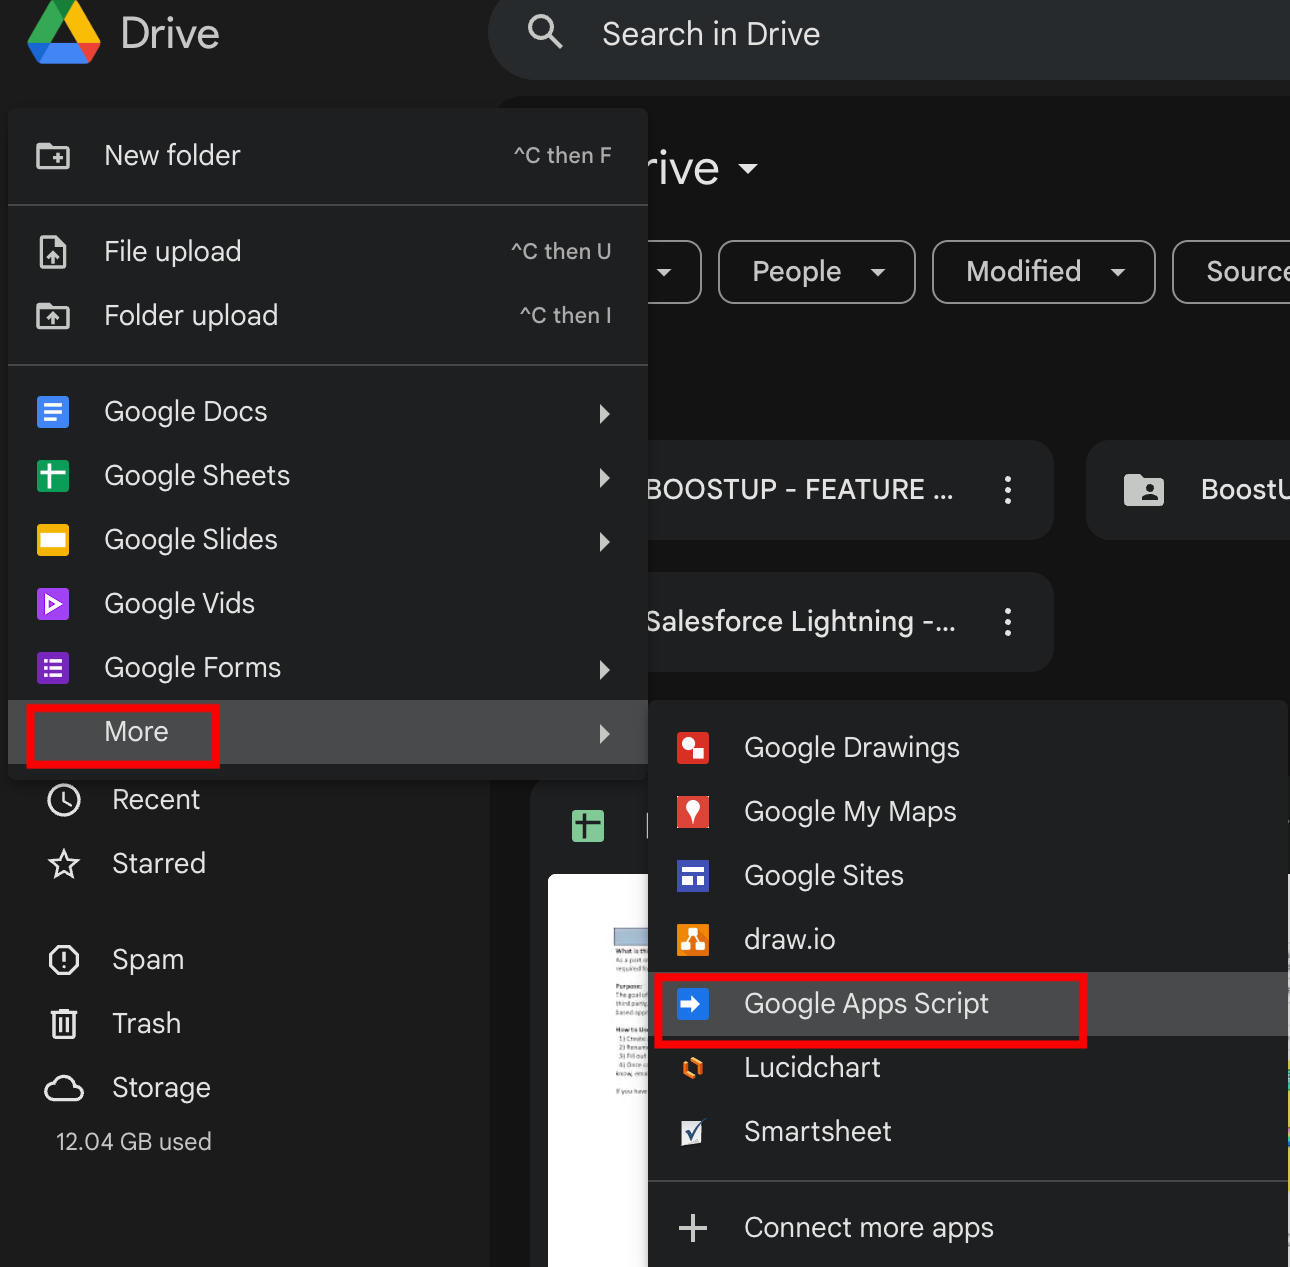
To get started, simply open up your Google Drive > click New > More > Google Apps Scripts. You’ll be redirected to a brand new script.
Read your Gslides presentation & Convert it into a PDF file
Let’s start by setting up the sendWeeklyReport() function and reading the Google presentation file ID, which you can get by your GSlide URL (see highlight in bold for a sample ID section — note this is an illustrative URL only)
https://docs.google.com/presentation/d/18bdsadsa7s4wspXu7_wJ3Hjxoa-efWz0fQWAuaSudBg500qDM/
function sendWeeklyReport() {
  // Replace with your Google Slides presentation ID
  const presentationId = 'YOUR_PRESENTATION_ID_HERE';
  // Get the Google Slides presentation file by ID and export it as a PDF
  const presentationFile = DriveApp.getFileById(presentationId);
  const pdfBlob = presentationFile.getAs('application/pdf');
Creates and formats a net new Email (for Gmail)
We will now create a few helpful variables to use in your Gmail, including today’s date to feature in the email, the email subject, your recipients, and even a formatted logo image if you’d like to get fancy.
// Set up email date formatting and details
  const today = new Date();
  // Format the date. For example: MM/DD/YYYY
  const formattedDate = Utilities.formatDate(today, Session.getScriptTimeZone(), 'MM/dd/yyyy');
  // Construct the email subject with the formatted date
  const emailSubject = `Weekly Report - Report Date: ${formattedDate}`;
  // Define the recipient email address
  const recipient = 'YOUR_RECIPIENT_EMAIL_HERE';
  // Optional: Define Bcc recipient email address
  const bccRecipient = 'YOUR_BCC_EMAIL_HERE';
  // URL for the logo image - replace with your desired image URL
  const logoUrl = 'YOUR_LOGO_URL_HERE';
Then, we add an HTML template for formatting the body of the email, adding key project resources (you can customize these as you wish) in a list for your stakeholders to refer to and click right from the email
 // Construct the HTML email body
  const body = `
    <html>
      <body style="font-family: Arial, sans-serif; color: #333; line-height: 1.6;">
        <div style="max-width: 600px; margin: auto; padding: 20px; background-color: #f9f9f9; border-radius: 10px; box-shadow: 0 0 10px rgba(0, 0, 0, 0.1);">
          <div style="text-align: center; margin-bottom: 20px;">
            <img src="${logoUrl}" alt="Logo" style="max-width: 200px; height: auto;">
          </div>
          <h1 style="text-align: center; color: #4CAF50;">Weekly Report</h1>
          <p>Dear Team,</p>
          <p>Please find attached the latest weekly report, providing an overview of key points and updates.</p>
          <h2 style="color: #4CAF50;">Key Resources:</h2>
          <ul>
            <!-- Replace the href values with actual resource links -->
            <li><a href="LINK_TO_RESOURCE_1" style="color: #4CAF50; text-decoration: underline;">Resource 1</a></li>
            <li><a href="LINK_TO_RESOURCE_2" style="color: #4CAF50; text-decoration: underline;">Resource 2</a></li>
            <li><a href="LINK_TO_RESOURCE_3" style="color: #4CAF50; text-decoration: underline;">Resource 3</a></li>
          </ul>
          <p style="text-align: center; font-style: italic; color: #666;">Thank you for your attention!</p>
        </div>
      </body>
    </html>
  `;
Once all of our variables are ready, you can now send the actual email and attach your Program Report PDF to it
Attach the PDF file & Send your email to your desired audience
To do this, we use the GmailApp.send email() function, with the recipient, the subject, and the body we previously set up as inputs. You also have the option of adding cc or bcc recipients as needed.
// Send the email with the PDF attachment and optional Bcc
  GmailApp.sendEmail(recipient, emailSubject, '', {
    htmlBody: body,
    attachments: [pdfBlob.setName('Weekly_Report.pdf')],
    // Optional: Add the Bcc email address if needed
    bcc: bccRecipient
  });
}
You can access the full code here.
Important: to run and test your code before scheduling the email to go out on a schedule (see Triggers at the below step), always TEST and Run your code first.
You can run and test your code by hitting the run button at the top of your script. Use your email address in the code to test and adjust your format as needed.

Let’s now set the trigger event to be executed every week.
Select Triggers From the Side Bar.
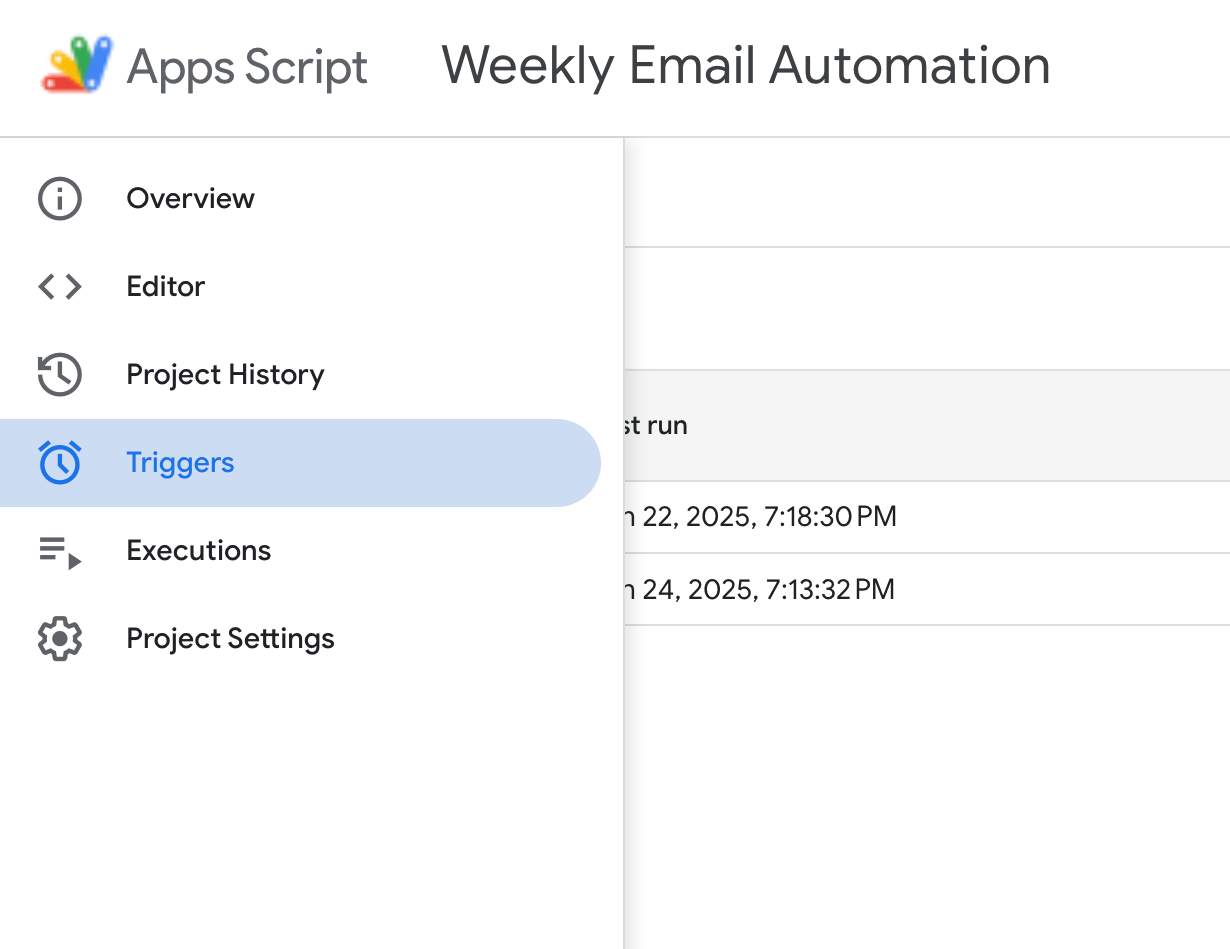
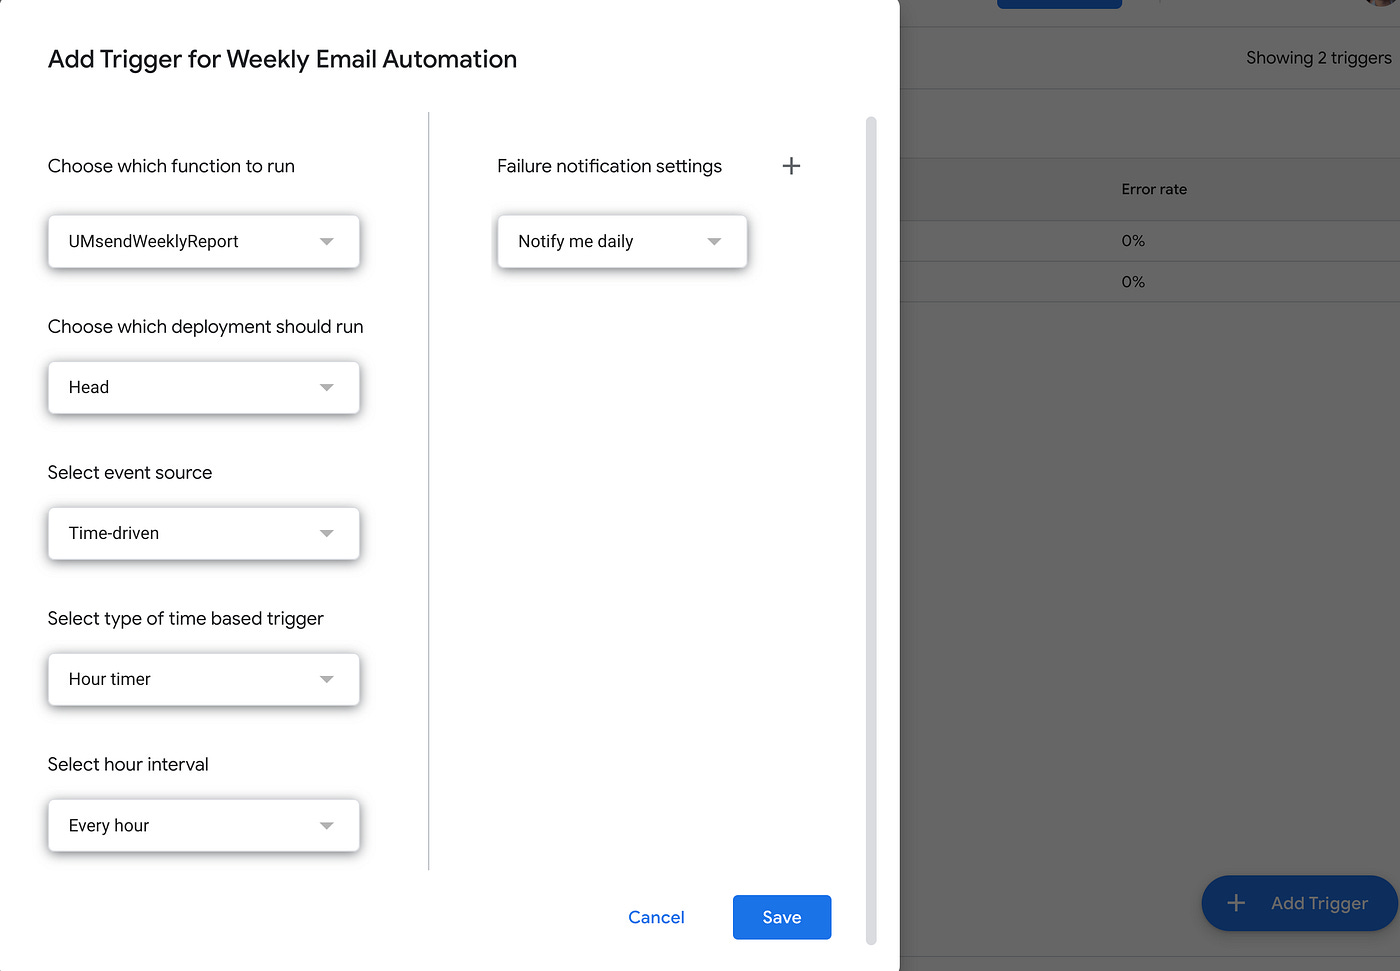
Click on the Add Trigger button.
For Functions to run, select the
SendWeeklyReportfunction from the dropdown.For Event Source, select Time-driven.
For the Type of time-based trigger, select Week-Timer.
Then select your Day of Week and time of day based on your preferences
Hit Save and your trigger is now done!
You can now watch the reporting emails go off on autopilot from your Gmail Account. No More Email typing!
Hopefully, this example gives you a sense of the automation you can achieve with just a little bit of playing around with AppScripts, and helps your weekly project reporting efforts!
Reach out if you have any questions, and thanks for reading!
Find me at @thedatanewsletter.io

Comments
Nothing yet. Say the first thing.
Sign in to join the conversation.