
Installing and configuring a virtual machine (VM) successfully should make you a star in the tech industry. This guide will walk you through the process of creating a virtual machine (VM) using VirtualBox, with a particular focus on the configurations necessary to run OpenStack smoothly.
The first time I had to set up a VM, I was preparing for my first ever OpenStack Horizon contribution. After trying a couple of times and failing, I gave up and did a local installation.
I contributed fine, but OpenStack is quite heavy. I crashed my laptop and had to reinstall it. By the time I finished, I had become an expert in "local installation" (check out some DevStack debugging tips, btw).
I then decided to try and install it in a VM. When I finally had it working, it literally felt like I had a “small computer” inside my desktop.
I hope this step-by-step tutorial saves you considerable time.
You have installed VirtualBox and VirtualBox Extension Pack.
You have an Ubuntu ISO image downloaded (I used ubuntu-24.04.2-desktop-amd64.iso).
We are now ready to start creating our VM.
Open VirtualBox and click "New."

Name your VM.
Choose the folder for the VirtualBox directory location (which is where you installed VirtualBox).
Choose the previously downloaded Ubuntu desktop ISO image.
Select "Linux" as the type, “Ubuntu” as the subtype, and "Ubuntu (64-bit)" as the version.
Allocate at least 8GB of RAM (8192MB). I have 16 GB of RAM; this is me living dangerously.
Create a new virtual hard disk (VDI) with at least 40GB of space (preferably 60 GB+).
This part helps with automatic OS installations.

Add your username and password (leave the password as the default one, as changing it causes errors).
Hostname
Domain name (you can use the default)
If you check the "install in background" box, you won’t be able to see the installation process, as it’ll be running in the background. I won't check it for now so that if there are any issues, you can see them.

The “Guest additions” checkbox allows further configuration between your host and VM. We’ll leave it unchecked for now.
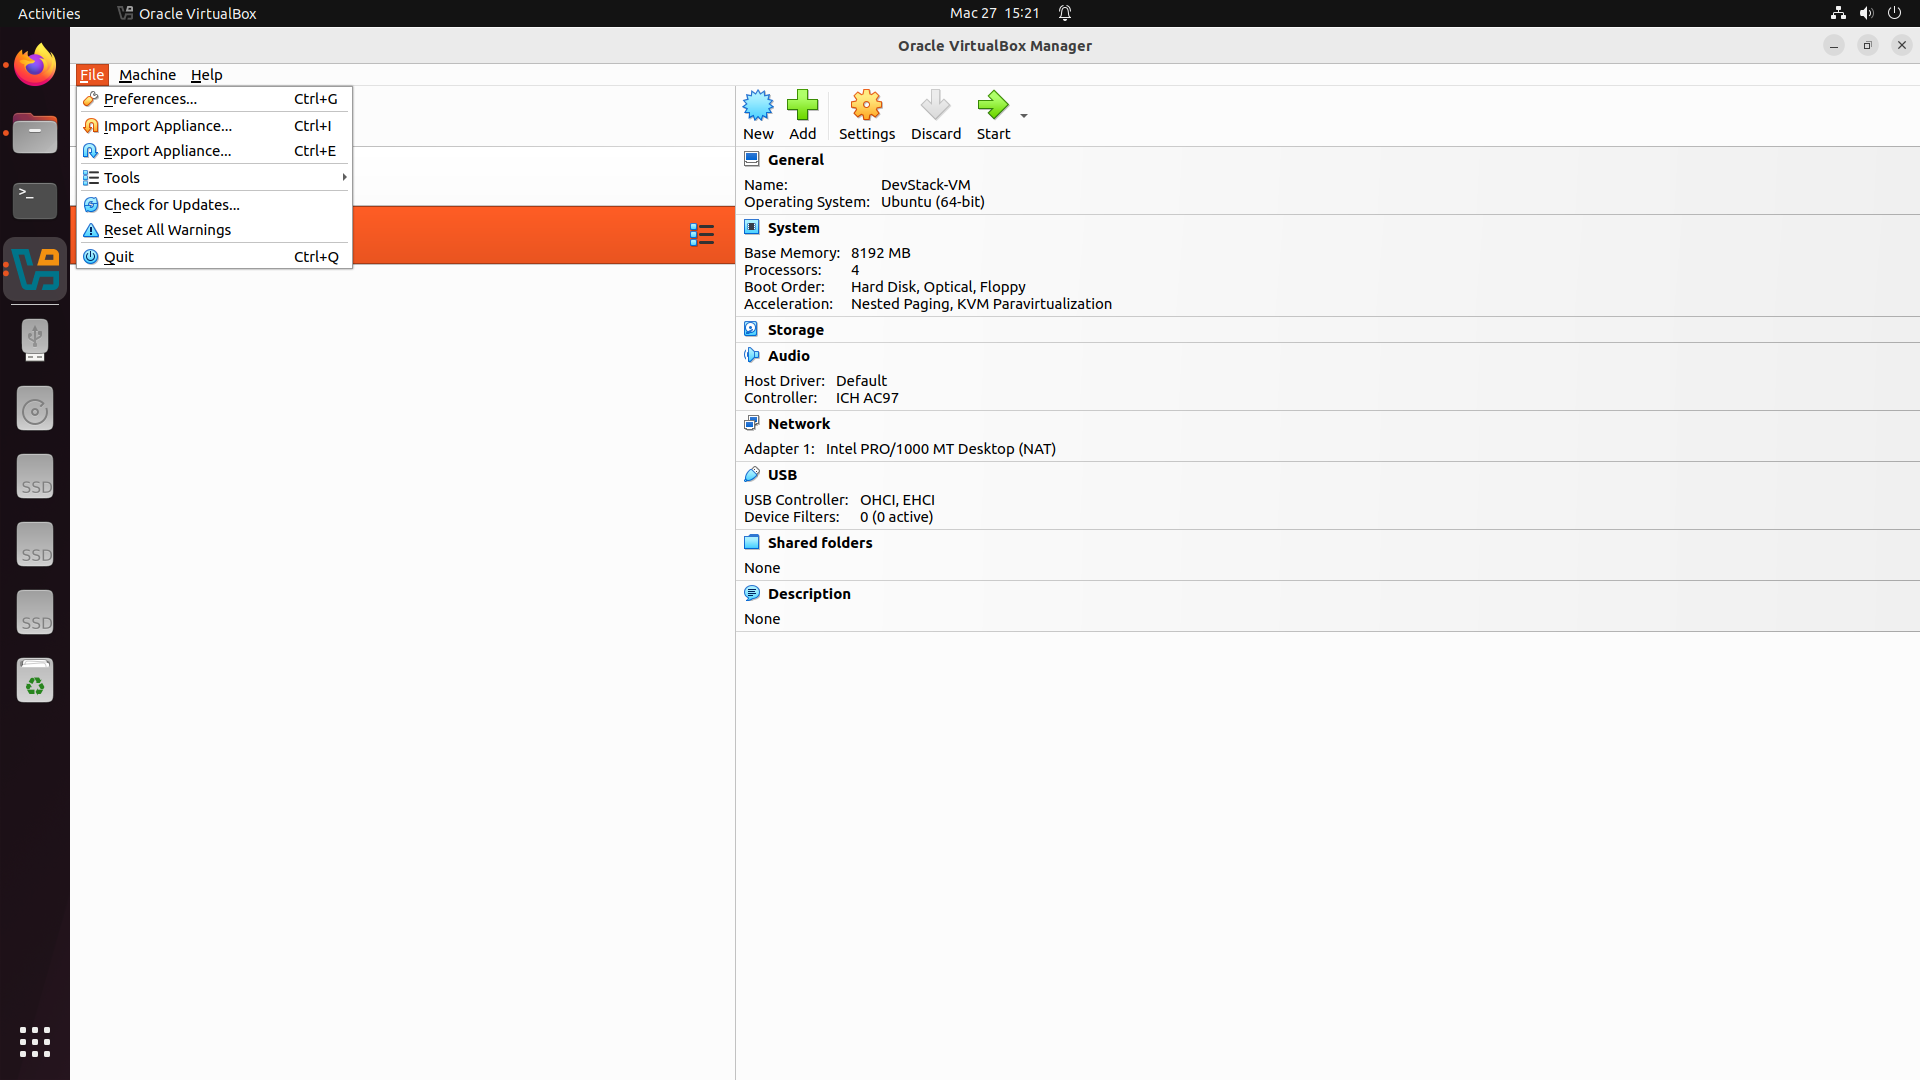
Base Memory: 8192 MB (8 GB)—perfect for DevStack requirements
Processors: 4 CPUs
We’ll create a new virtual hard disk with a size of 25 GB.
File type: VDI

You can now click “finish” to create the VM.
Wait for a few minutes for the Ubuntu installation and setup and other configurations to complete.
You can power the VM off.
If everything works well, you should be greeted with a “normal” Ubuntu login.
Input your password, and voila!

We need to shut down the VM again to create a host-only network.
To safely shut down the VM run the
sudo shutdown -h nowcommand.
Click "Create."
The network name should be "vboxnet0."
Select your VM and click on "Settings."
Go to the "Network" tab.

Under "Adapter 1," check "Enable Network Adapter."
Choose Attached to NAT (this gives your VM internet access).

Under "Adapter 2," check "Enable Network Adapter."
Choose Set to Host-Only Adapter.
Select the network you just created from the dropdown menu.
Click OK to save the settings.
Start your VM again.
Run
ip addr
This should show you your network interfaces and IP addresses. Check that you have IP addresses under enp0s3 and enp0s8.
You’ll need the host-only network interface IP (enp0s8), as you’ll add it to your local.conf file when setting up DevStack.
DevStack will use a static IP to give you access to the Horizon dashboard.
sudo ip addr add 192.168.56.x/24 dev enp0s8
sudo ip link set enp0s8 up
After doing this, run ip addr again to verify that enp0s8 has an IP address.
You are now one step closer to your DevStack installation. I will discuss this in a separate post. I hope this works for you and you have a smooth install time.
Happy VMing!
No posts
Comments
Nothing yet. Say the first thing.
Sign in to join the conversation.