
Hi! I’m so glad you’re here. Everything I share is made possible by this community, and I truly couldn’t do it without you.
If you’d like to support my work, you can like this post, share it with a friend, or become a paid subscriber. As a paid subscriber, you’ll get 4 new recipes each month, full access to the recipe archive, weekly meal plans, and honest motherhood conversations - the kind that aren’t always easy to have, but feel important to share.
A few weeks ago, I shared that Rich and I bought our first rental property, and I’m so excited to tell you that it’s officially ready! You can check out the listing here.
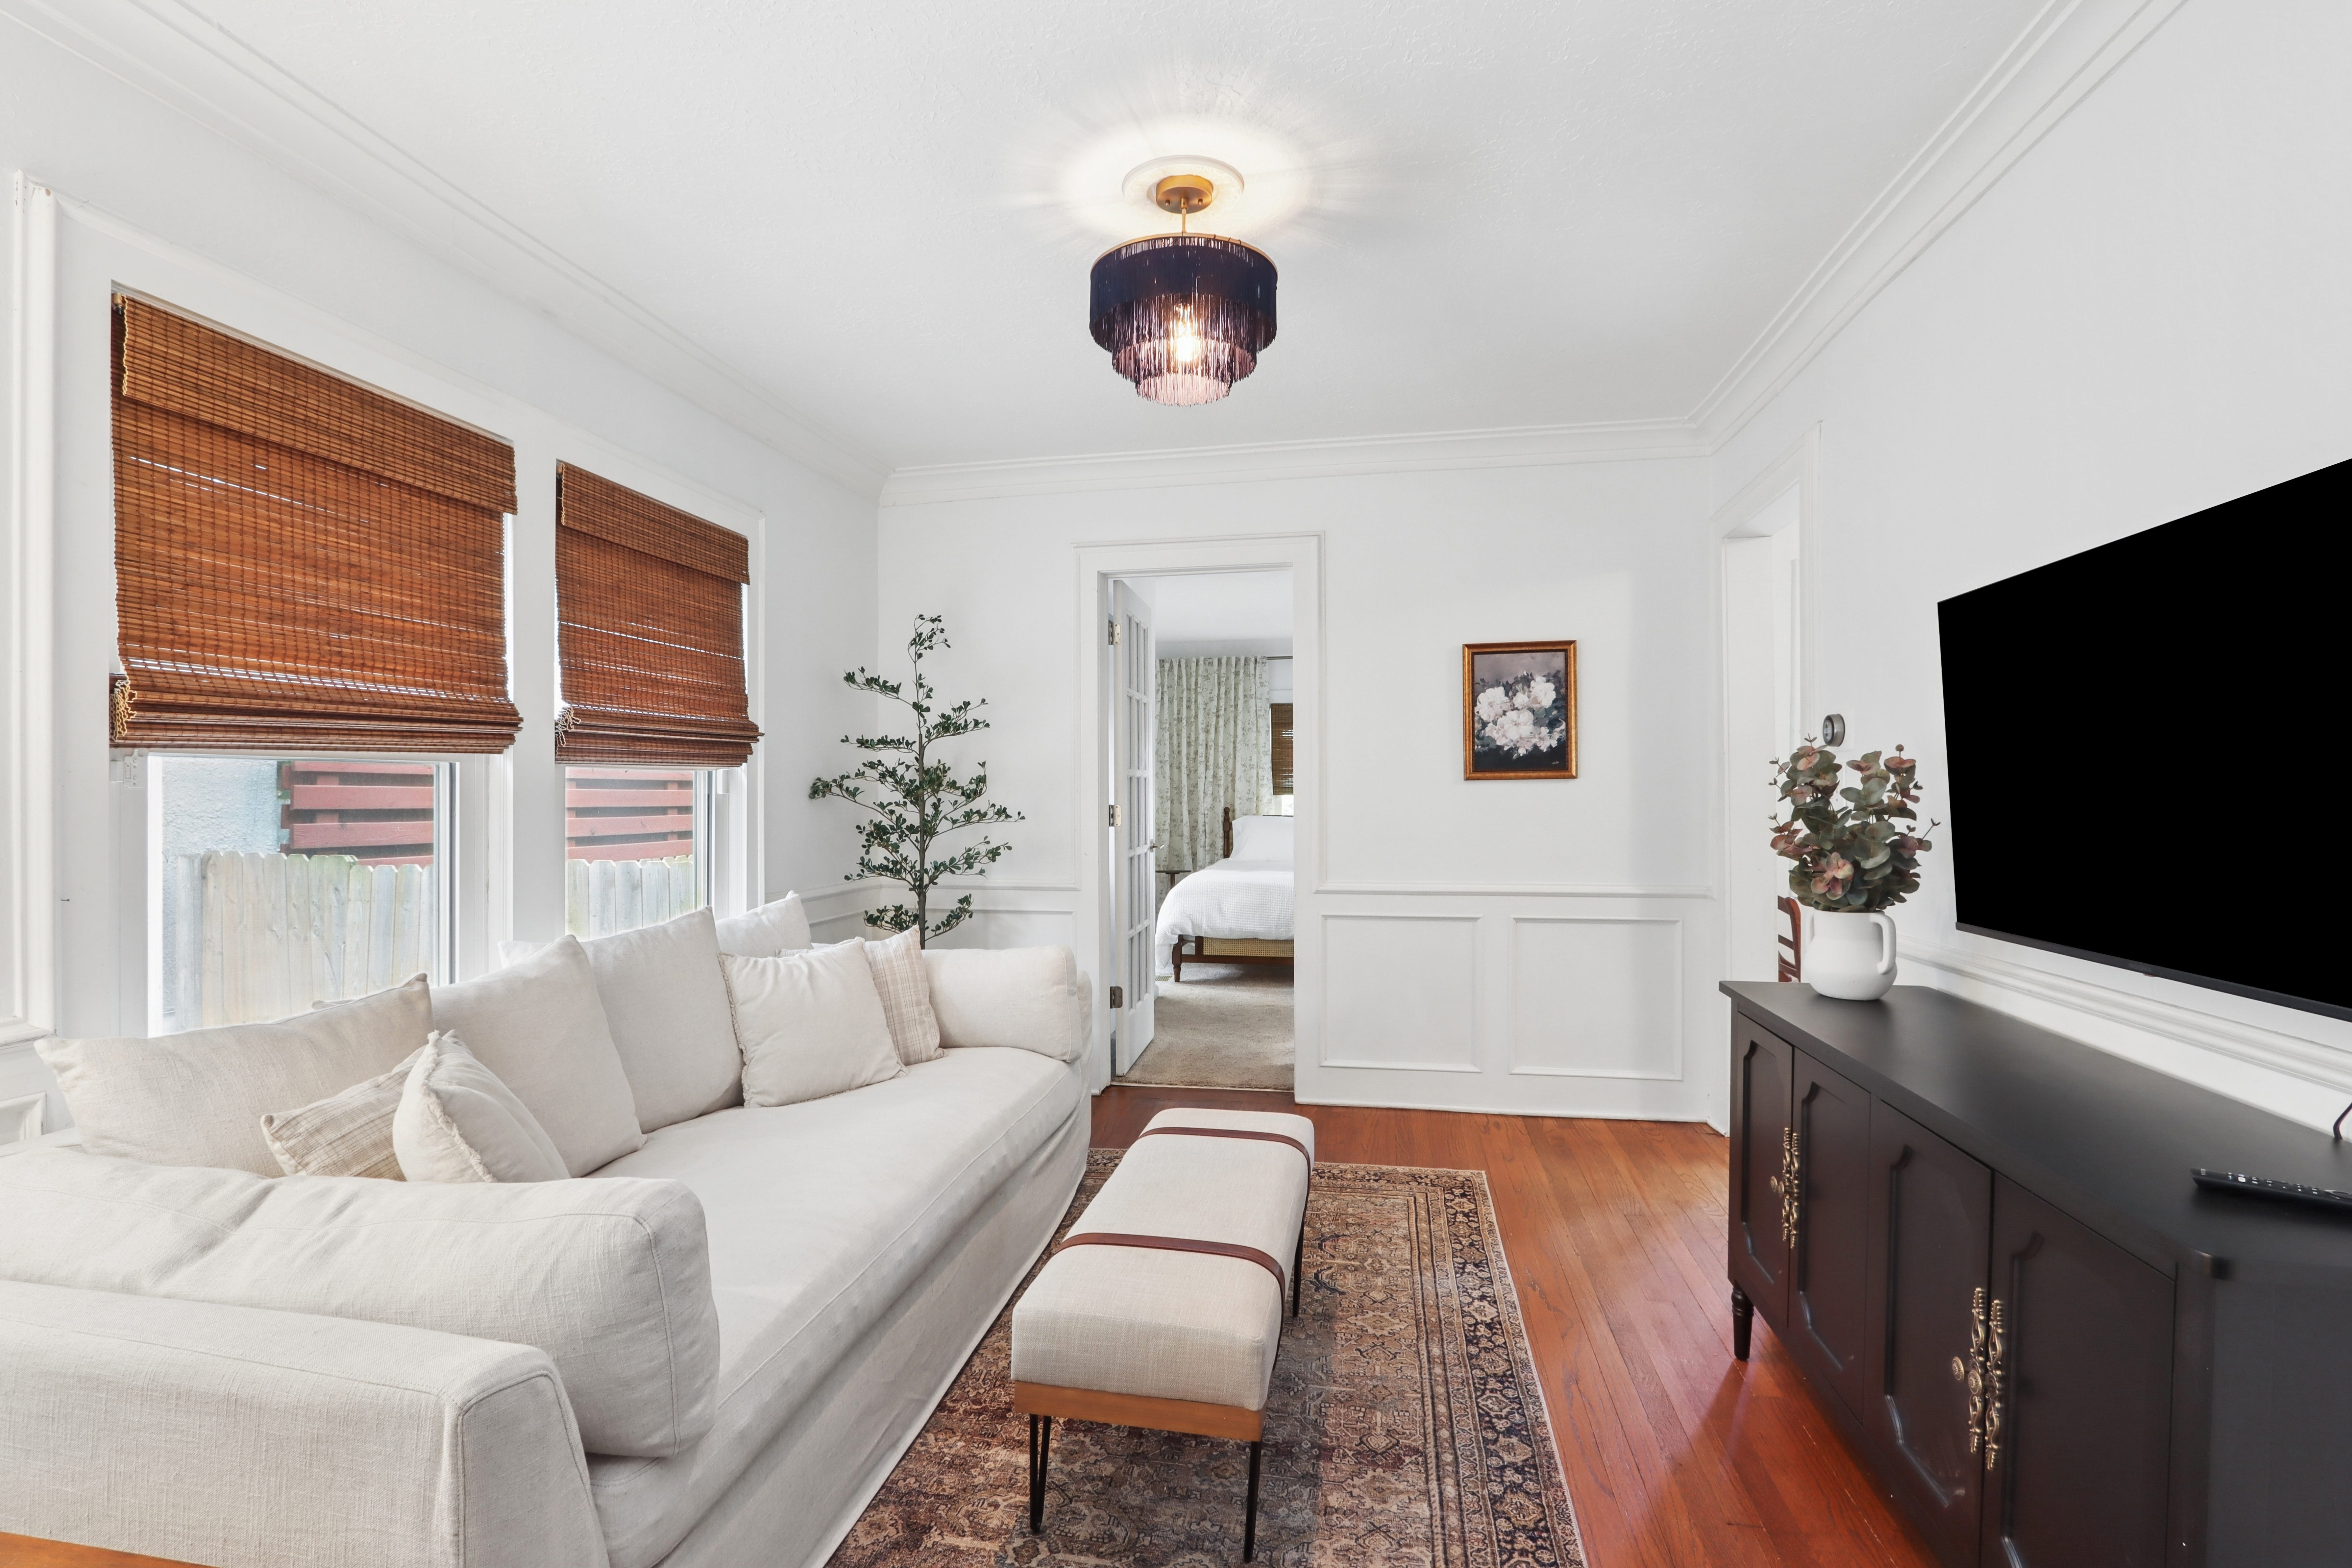
Our original goal was to get it listed within a month and have tenants moved in by August 1, which also happens to be the date of our first mortgage payment. It’s been listed for less than a week, and while we don’t have a booking yet, we’re feeling optimistic. We put a lot of time and thought into creating a space that people will genuinely love staying in, and now it’s just a matter of finding the right tenant.
Throughout the process, we were intentional about sticking to our budget, avoiding unnecessary spending, and thankfully, we caught a few lucky breaks along the way.
Going into the project, we knew there was a cracked sewer pipe and some chimney repairs that needed to be made. Thankfully, we negotiated a credit from the sellers to cover those costs, and the repairs ended up costing less than expected. If you’ve watched even one episode of HGTV, you know projects usually go over budget, not under, so that felt like a huge win.
Once those repairs were finished, it was time to paint the entire interior. We budgeted around $5,000 for that project, but the final cost came in at $3,800. Another win!
Then came my favorite part: furnishing the house.
Because this is a mid-term rental, our guests will typically stay for 30 days or longer. I wanted it to feel like a home, not just another furnished rental. So instead of buying the cheapest furniture we could find, I focused on creating a space that felt warm, cozy, and inviting while still being mindful of our budget.
Below, I’m sharing the before-and-after photos of every room, what we purchased to bring each space to life, and exactly what everything cost. If you don’t want to read on, you can shop everything here!
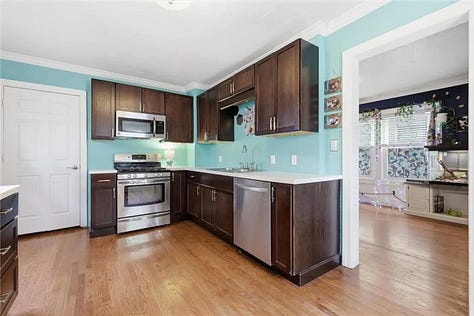
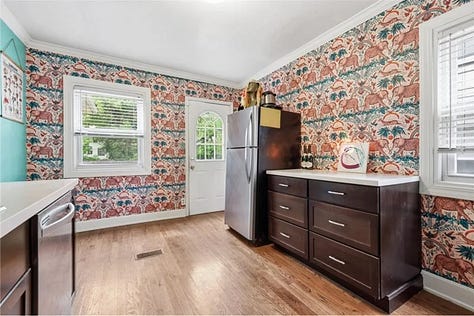
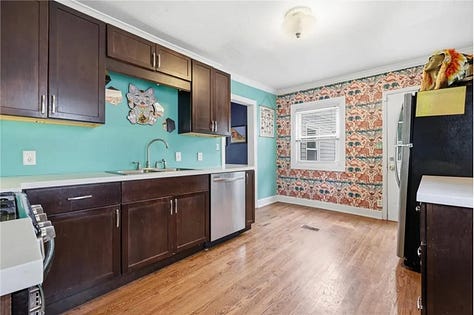
Before:
After:
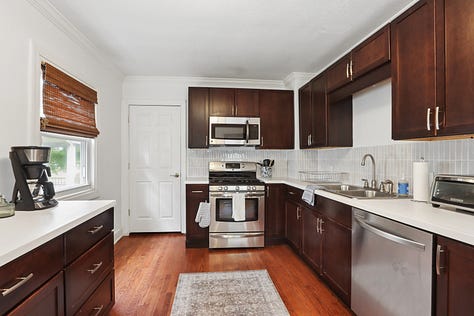
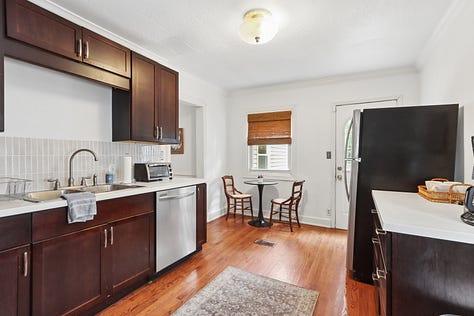
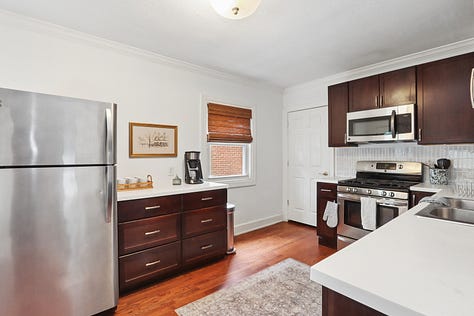
The kitchen was actually in great shape for the age of the house, so thankfully, a few cosmetic updates made a huge difference. Aside from a fresh coat of paint, the biggest change was adding a peel-and-stick backsplash. There wasn’t one when we bought the house, and I knew we needed something to protect the walls from grease and water. It only took me a couple of hours to install, but I think it completely transformed the space.
We hadn’t swapped out the light fixture when these photos were taken, but that was another update we made shortly after. Here’s the light I chose!
One of my favorite areas in the entire house is this little breakfast nook that I styled with a bistro table and chairs that I scored on Facebook Marketplace for just $20. I love how much warmth it adds to the room, and I can picture someone enjoying their morning coffee or breakfast by the sunny window.
As a cook and a foodie, there was no way I was leaving this kitchen anything less than fully stocked. We filled the cabinets with cookware, plates, bowls, glasses, knives, utensils, mixing bowls, baking sheets...you name it. My goal was for guests to have everything they need to cook, whether they’re making boxed mac and cheese or one of my recipes. 😉
I know I’d be disappointed if I stayed somewhere and had to hunt down a can opener or realized there wasn’t a decent knife, so I wanted to make sure our guests could truly feel at home in the kitchen. We stocked up on everything we needed at Walmart, and the total came to $525.33. Considering we were outfitting an entire kitchen from scratch, I was pretty happy with that!
We also replaced the window shades, along with every other room in the house. It wasn’t an expense we had planned for, but the old ones had definitely seen better days. Looking back, I’m so glad we made the investment because they really helped make the house feel fresh and finished.
Lastly, I added a few finishing touches to make the space feel a little more lived in, like this vintage-style French café painting above the coffee bar and a few faux succulents for the bistro table.
Room Cost: $867.32
Before:
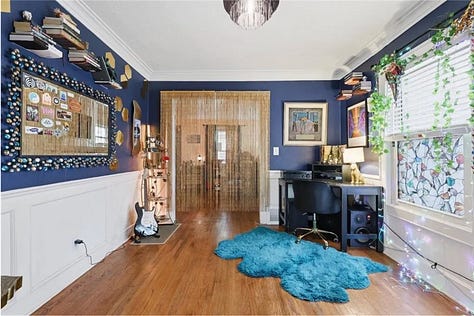
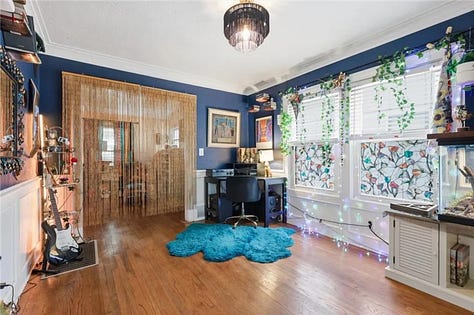
After:
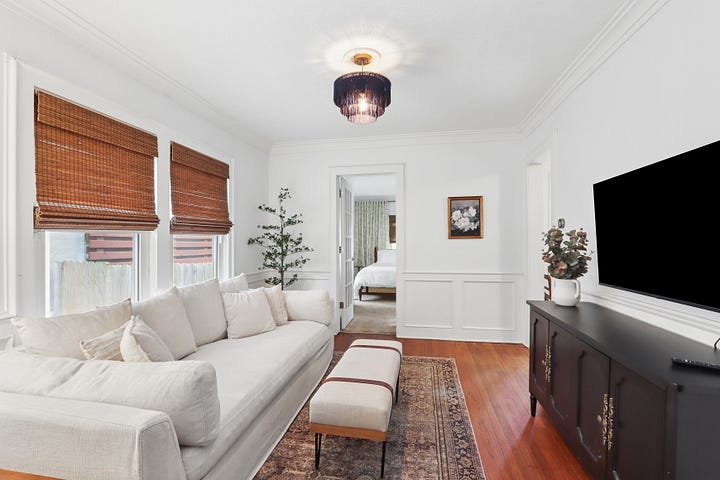
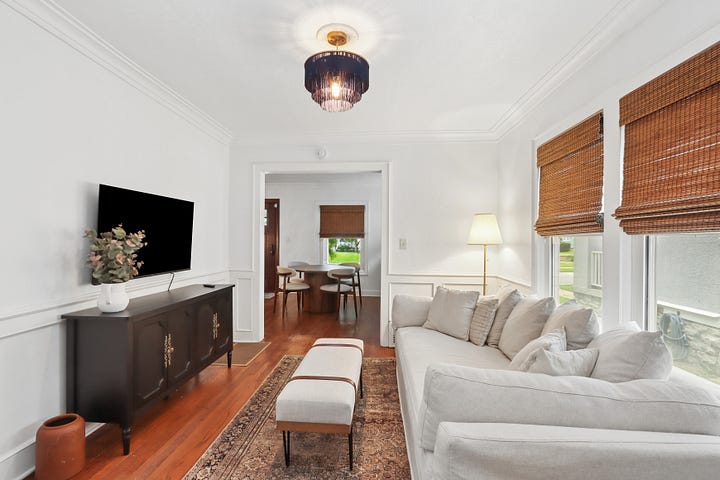
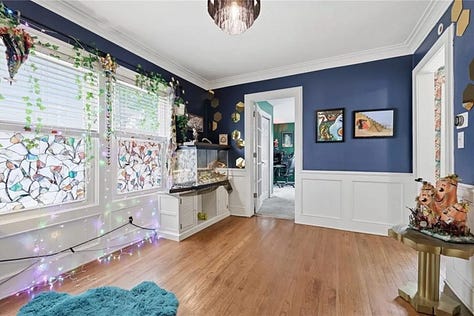
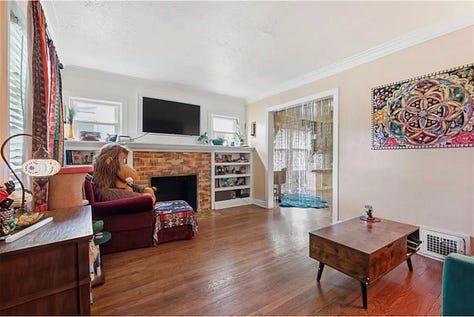
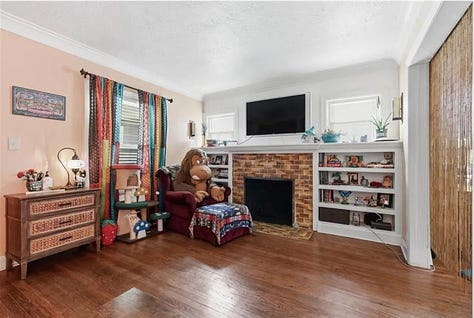
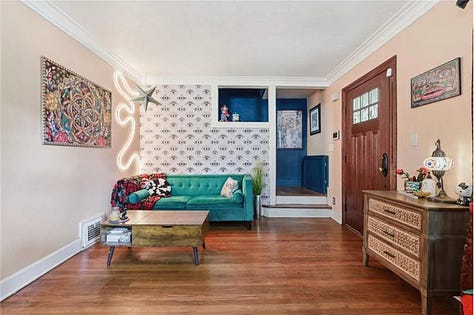
A fun fact about this room: it’s actually where the dining room would traditionally be! We decided to swap the two spaces because it made a lot more sense functionally, and I absolutely love how it turned out.
We’ve actually had this couch for years. We bought it when we first moved to Kansas City, and I still love it just as much today. When we bought our current home, though, we needed something larger, so it ended up living in our basement and hardly getting used. Instead of buying another couch for the rental, we decided to put this one back to work.
I will say, if I were furnishing a rental from scratch, I probably wouldn’t spend what we originally paid for this couch. But I love it enough that I’d buy it again in a heartbeat. One of my favorite features is that all of the covers are removable and machine washable, which came in handy more than once when it lived in our house with our dog!
We also repurposed a few other pieces from our home, including the rug, the floor lamp, and the ottoman. Everything else in the room - the sideboard, the TV, the side table (found at a vintage market), window shades, artwork, faux flowers, and faux tree - we purchased specifically for the rental.
And before anyone says anything...yes, I know that chandelier had to go. 😂 We hadn’t swapped it out when these photos were taken, but here’s the one we replaced it with!
Room Cost: $753.59
Note: I deducted the cost of the furniture we already owned in this calculation!
Before:
After:
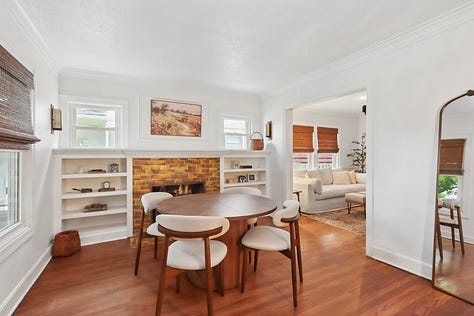
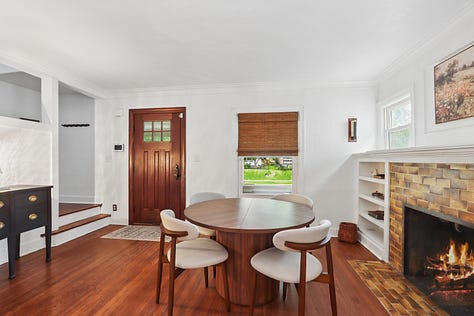
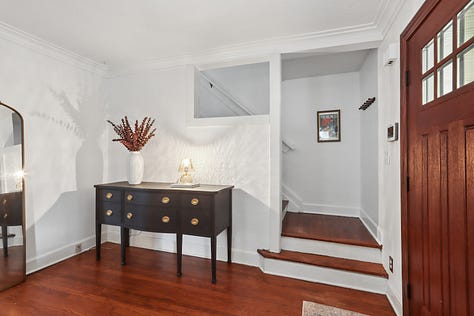
This room was such a question mark in my mind until it all came together! When we bought the house, it was staged as the living room, so we really had to use our imagination to picture it as a dining space. Now it’s one of my favorite rooms in the house. It’s small, but I think it’s so cozy.
To keep the space feeling open, I chose a round dining table with chairs that weren’t too bulky, so guests can easily move through the room.
Since this is also the main entryway, I wanted it to be functional, too. I figured everyone needs a place to toss their keys when they walk in, and let’s be honest... my fellow girls will appreciate having a mirror nearby for one last outfit check before heading out the door. You can’t see it in these photos, but a full-length mirror was a non-negotiable for me. I feel like so many rentals skip them, and I’m always wishing they had one so I can actually see my whole outfit before I leave!
The credenza is actually one we bought on Facebook Marketplace for $150 a few years ago and decided to repurpose for the rental. I styled it with a table lamp, a coffee table book, and some faux florals in a white vase to make the entry feel a little more welcoming.
We also added a coat rack in the stairwell because this is Kansas City, after all, and we get all four seasons...whether I like it or not. 😂 Next to it is a print I found at a garage sale for just $3, and I paired it with this ornate frame that makes it look so much more expensive than it was.
Like the rest of the house, we also replaced the window shades in this room.
And finally, let’s talk about the built-ins. They’re one of my favorite architectural details in the house, but decorating them was way harder than I expected! We mixed in a little bit of everything: pieces from our own home, thrifted vintage books, finds from a local vintage market, garage sale treasures, and a few affordable pieces from Amazon and Walmart. If you’re looking for any of the decor, I’ve linked everything I could find near the bottom of my master list of furniture and decor links.
Room Cost: $1,045.45
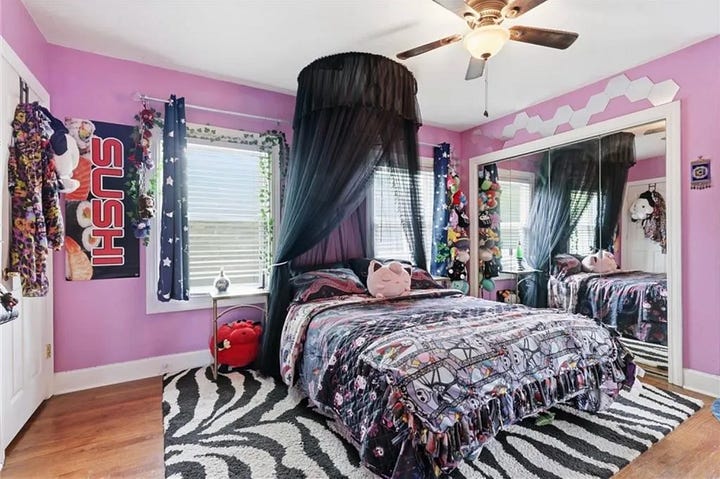
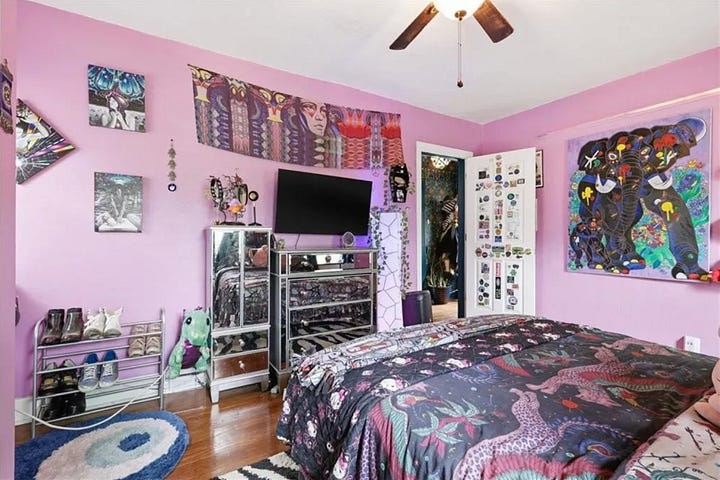
Before:
After:
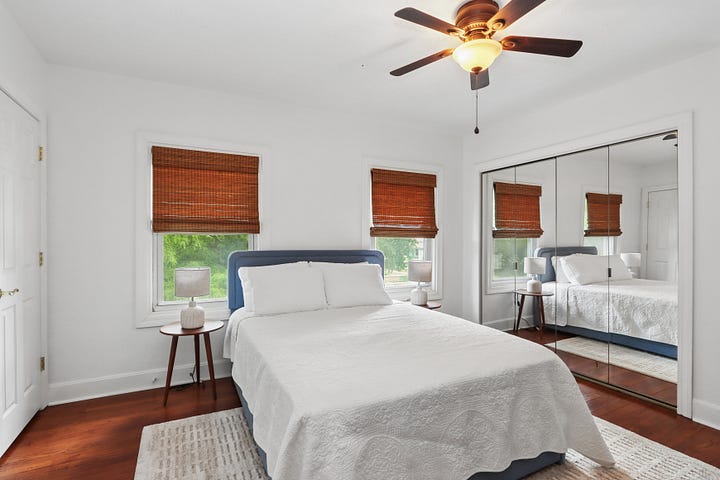
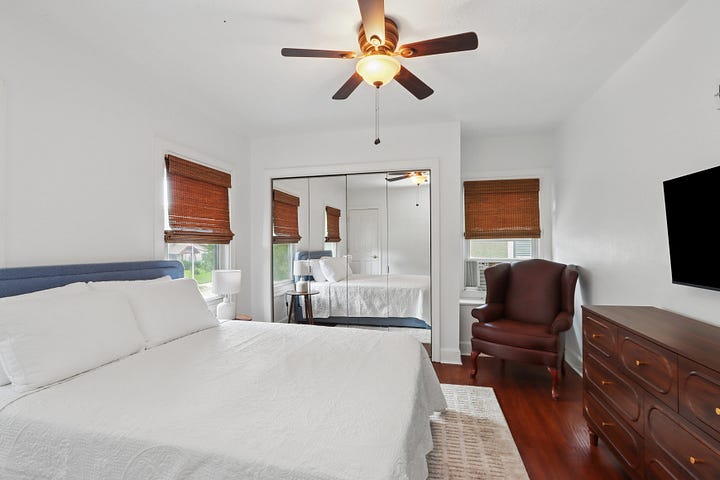
Can we take a moment for the transformation in this room?! The paint is obviously the star of the show, but since this is the primary bedroom, I spent the most time designing it. I really wanted it to feel like a space you’d look forward to coming home to after a long day.
I fell in love with this blue bouclé bed and paired it with a plush mattress to make the room as comfortable as it is pretty. I had originally envisioned larger three-drawer nightstands, but in an effort to stay on budget, I opted for these smaller end tables instead and honestly, I think they ended up being the better choice. I finished the space with matching table lamps (a gift from our real estate agent 🥰), and this vintage-inspired quilt, which adds so much warmth to the room.
Like every other room in the house, we replaced the window blinds. I also brought over this leather chair that I found at a vintage market years ago and was happy to give it a second life here. Then I layered in a cozy rug, added a 6-drawer dresser, and because this is the primary bedroom, we mounted a TV so guests can wind down and relax at the end of the day.
Room Cost: 1,324.07
Before:
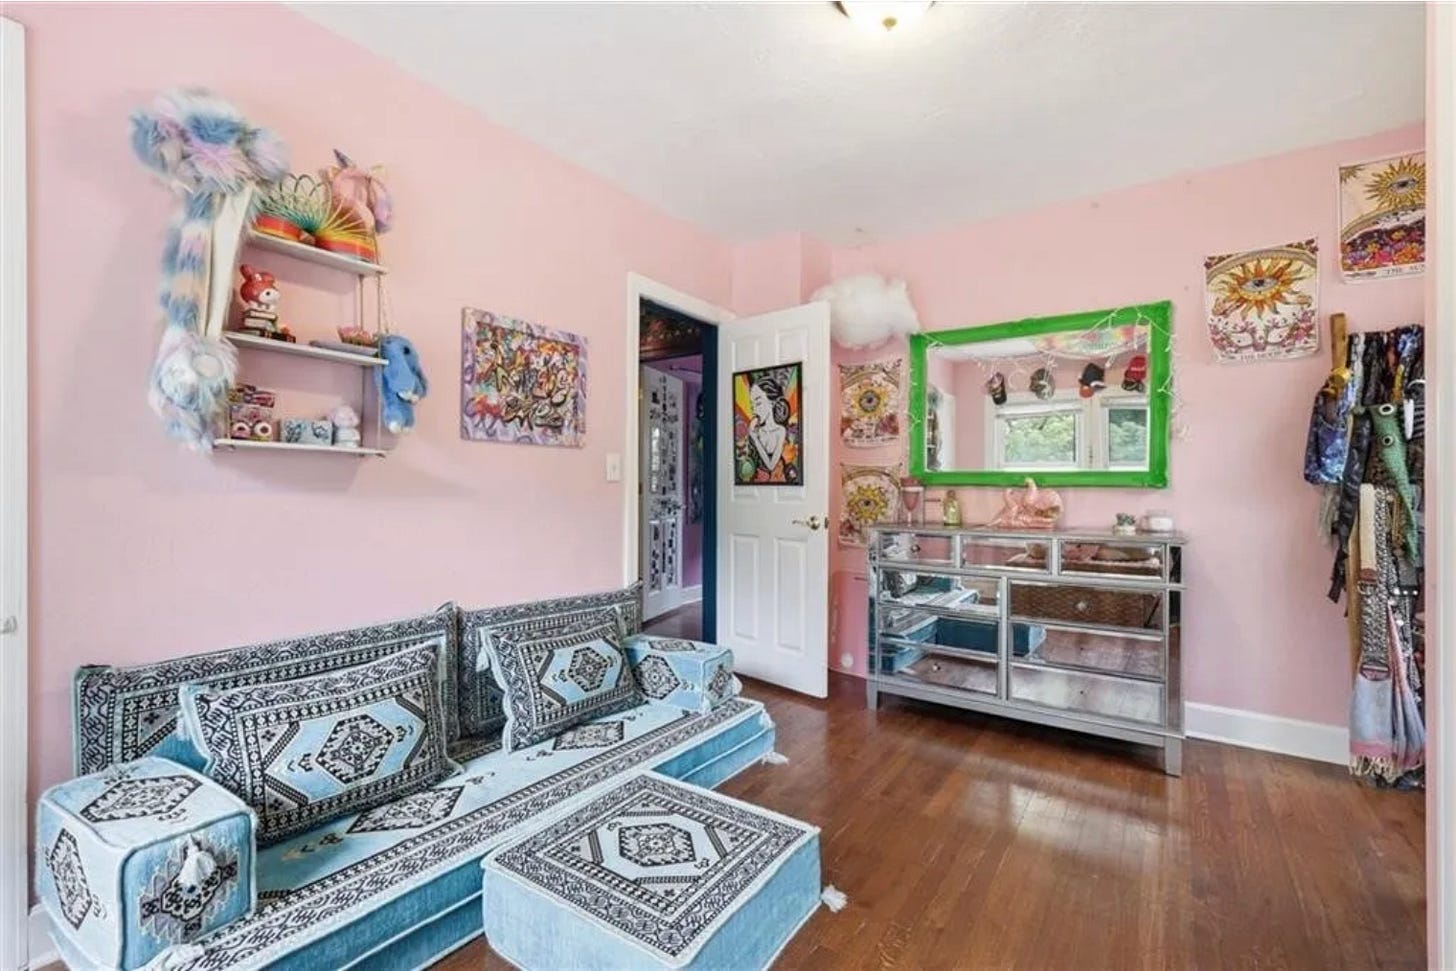
After:
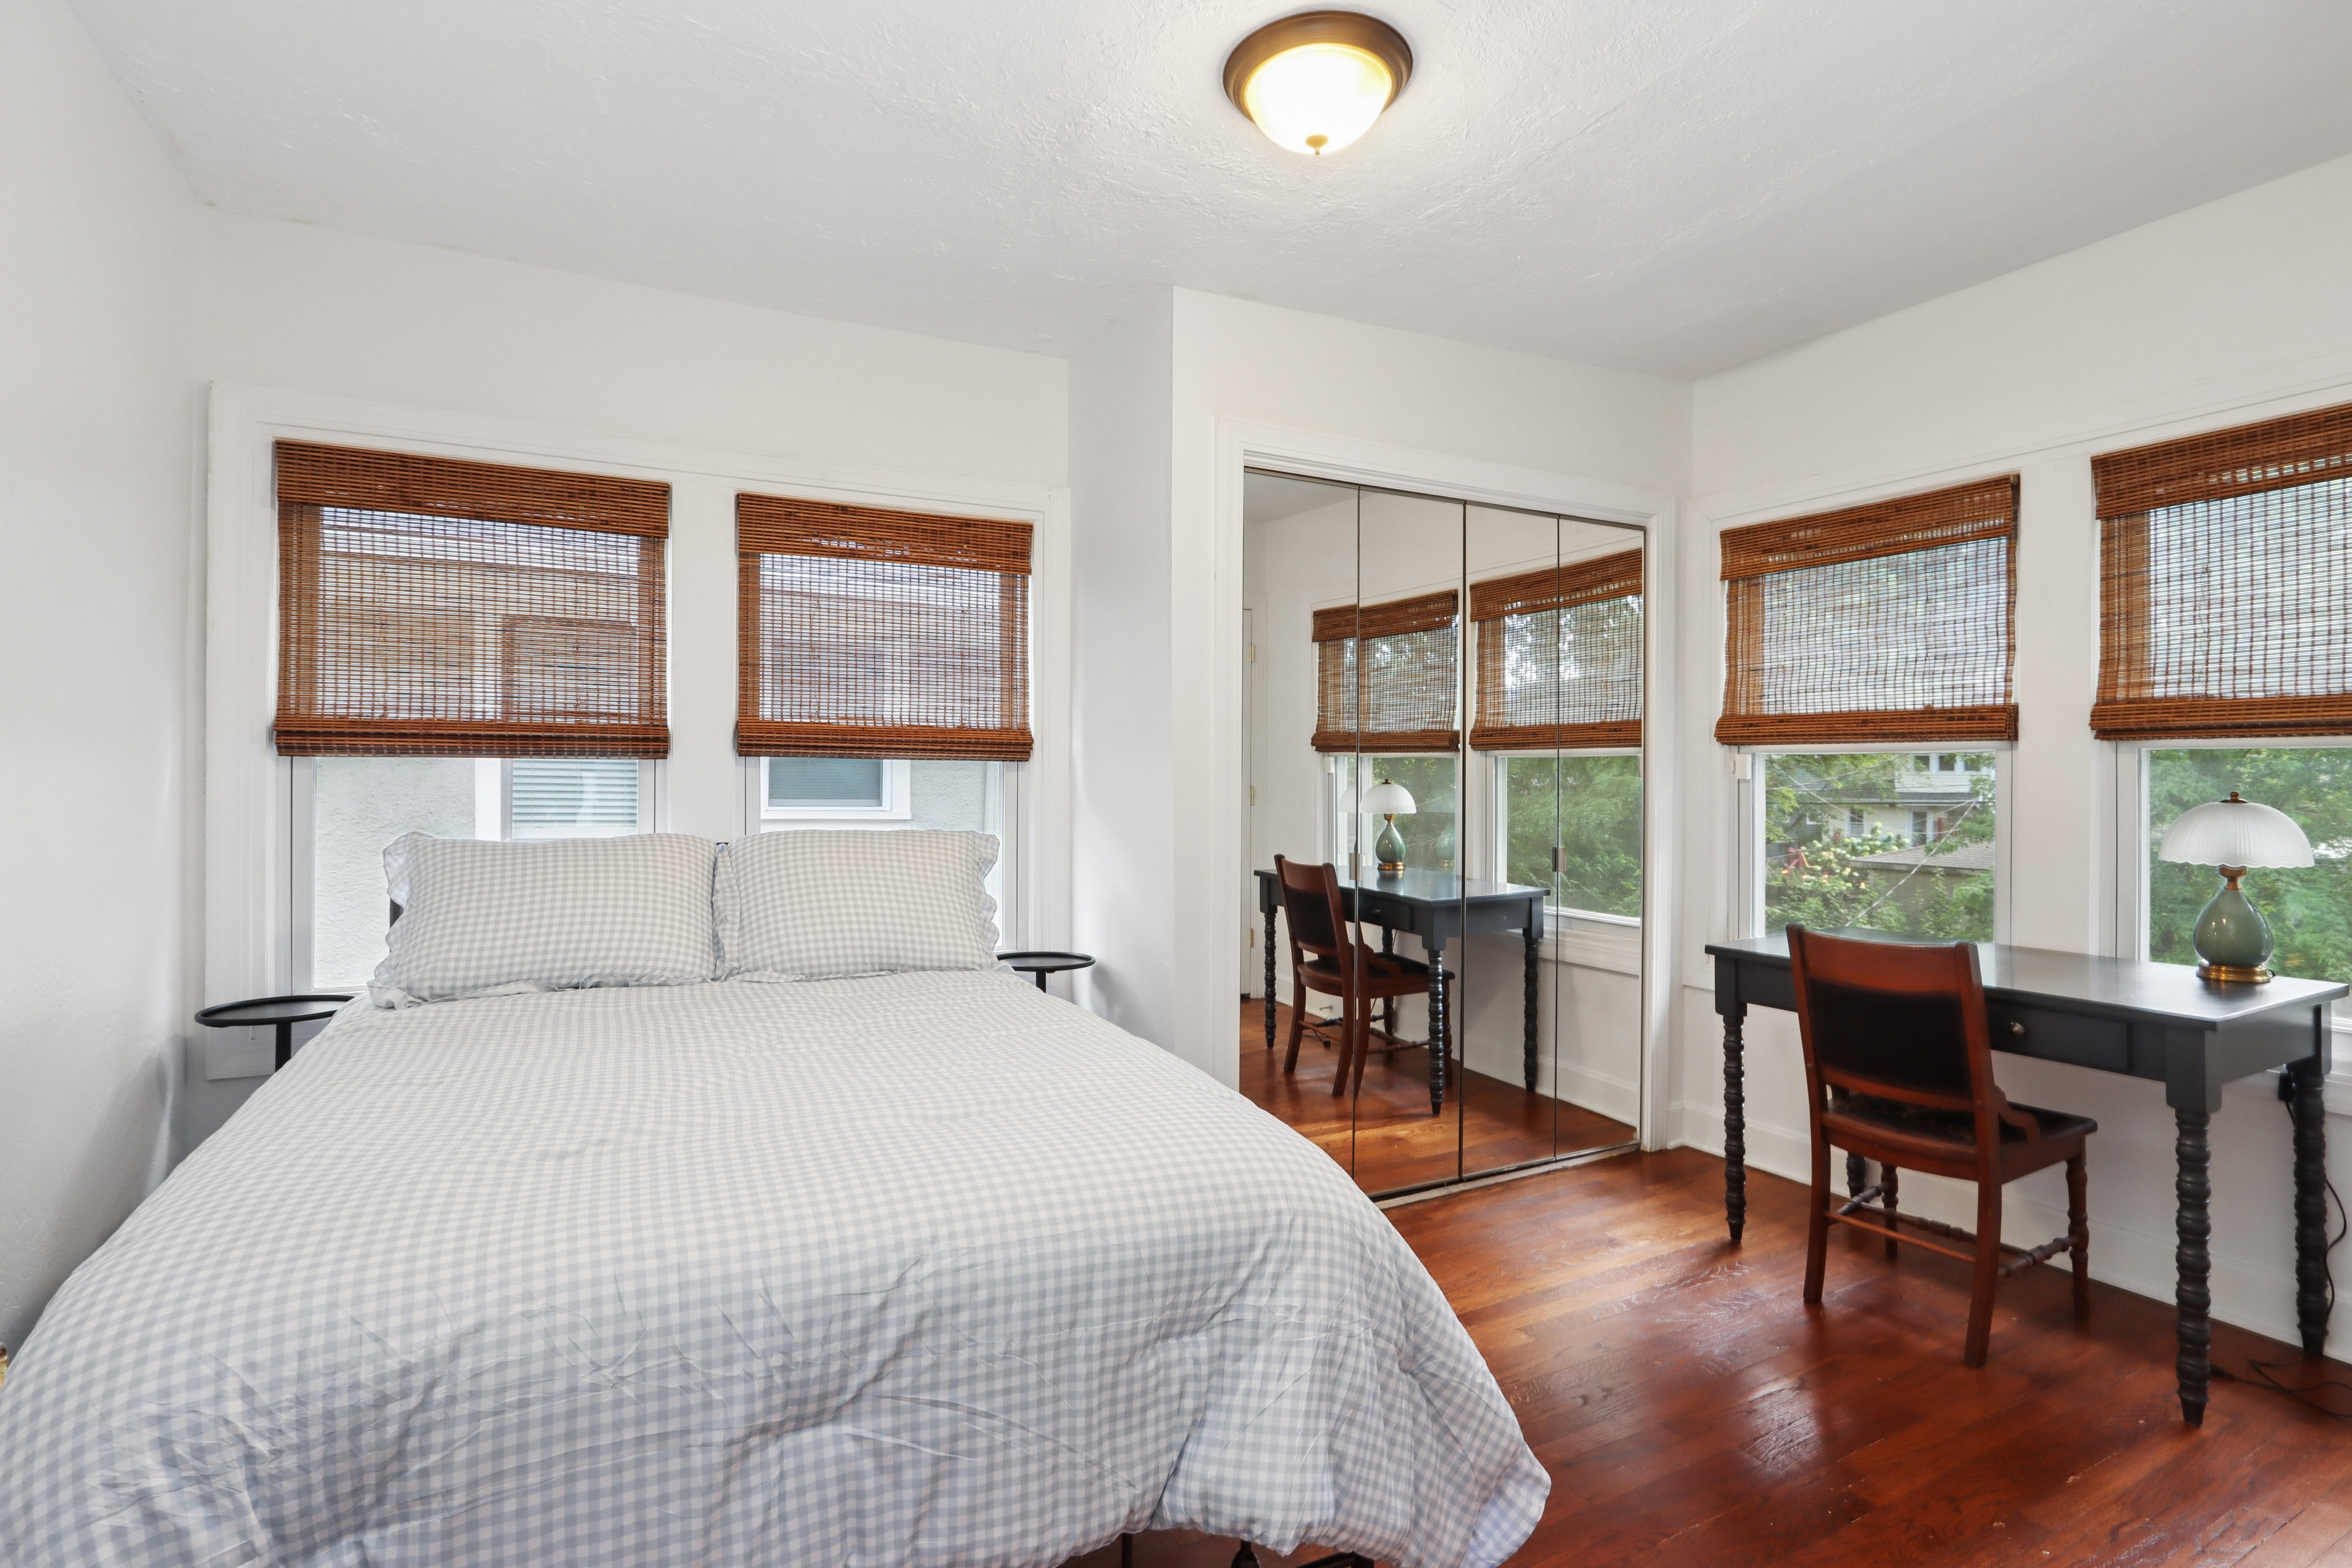
This room took a little trial and error to figure out, but once I decided to use a full-size bed instead of a queen, everything fell into place. It made the room feel so much more functional without sacrificing comfort.
Like the rest of the house, we replaced the window shades. There wasn’t enough space to hang curtains, so I leaned into the color palette instead and chose this fun blue gingham comforter. I paired it with two smaller nightstands that fit the room perfectly without making it feel cramped.
The desk is another piece we brought over from our house that we were happy to give a second life. Reading through this, it probably sounds like I’ve donated half of my furniture to this rental, but I promise our house isn’t as empty as it sounds. 😂
One of my favorite finds in this room is the embroidered chair that I picked up at a vintage market here in Kansas City. I paired it with a vintage-inspired blue table lamp for the desk, then finished the room with a couple pieces of artwork that aren’t visible in these photos. This room ended up being one of my favorite surprises in the house.
Room Cost: $712.30
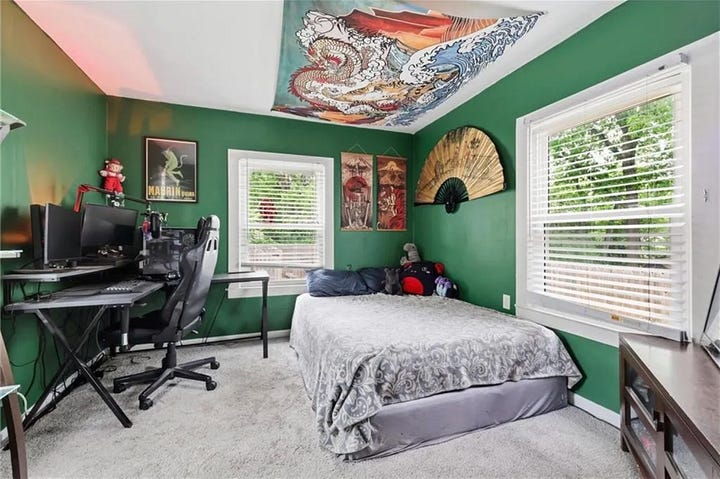
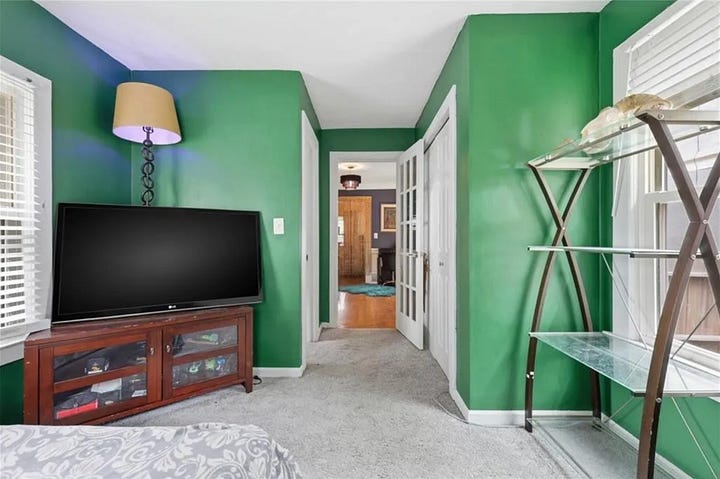
Before:
After:
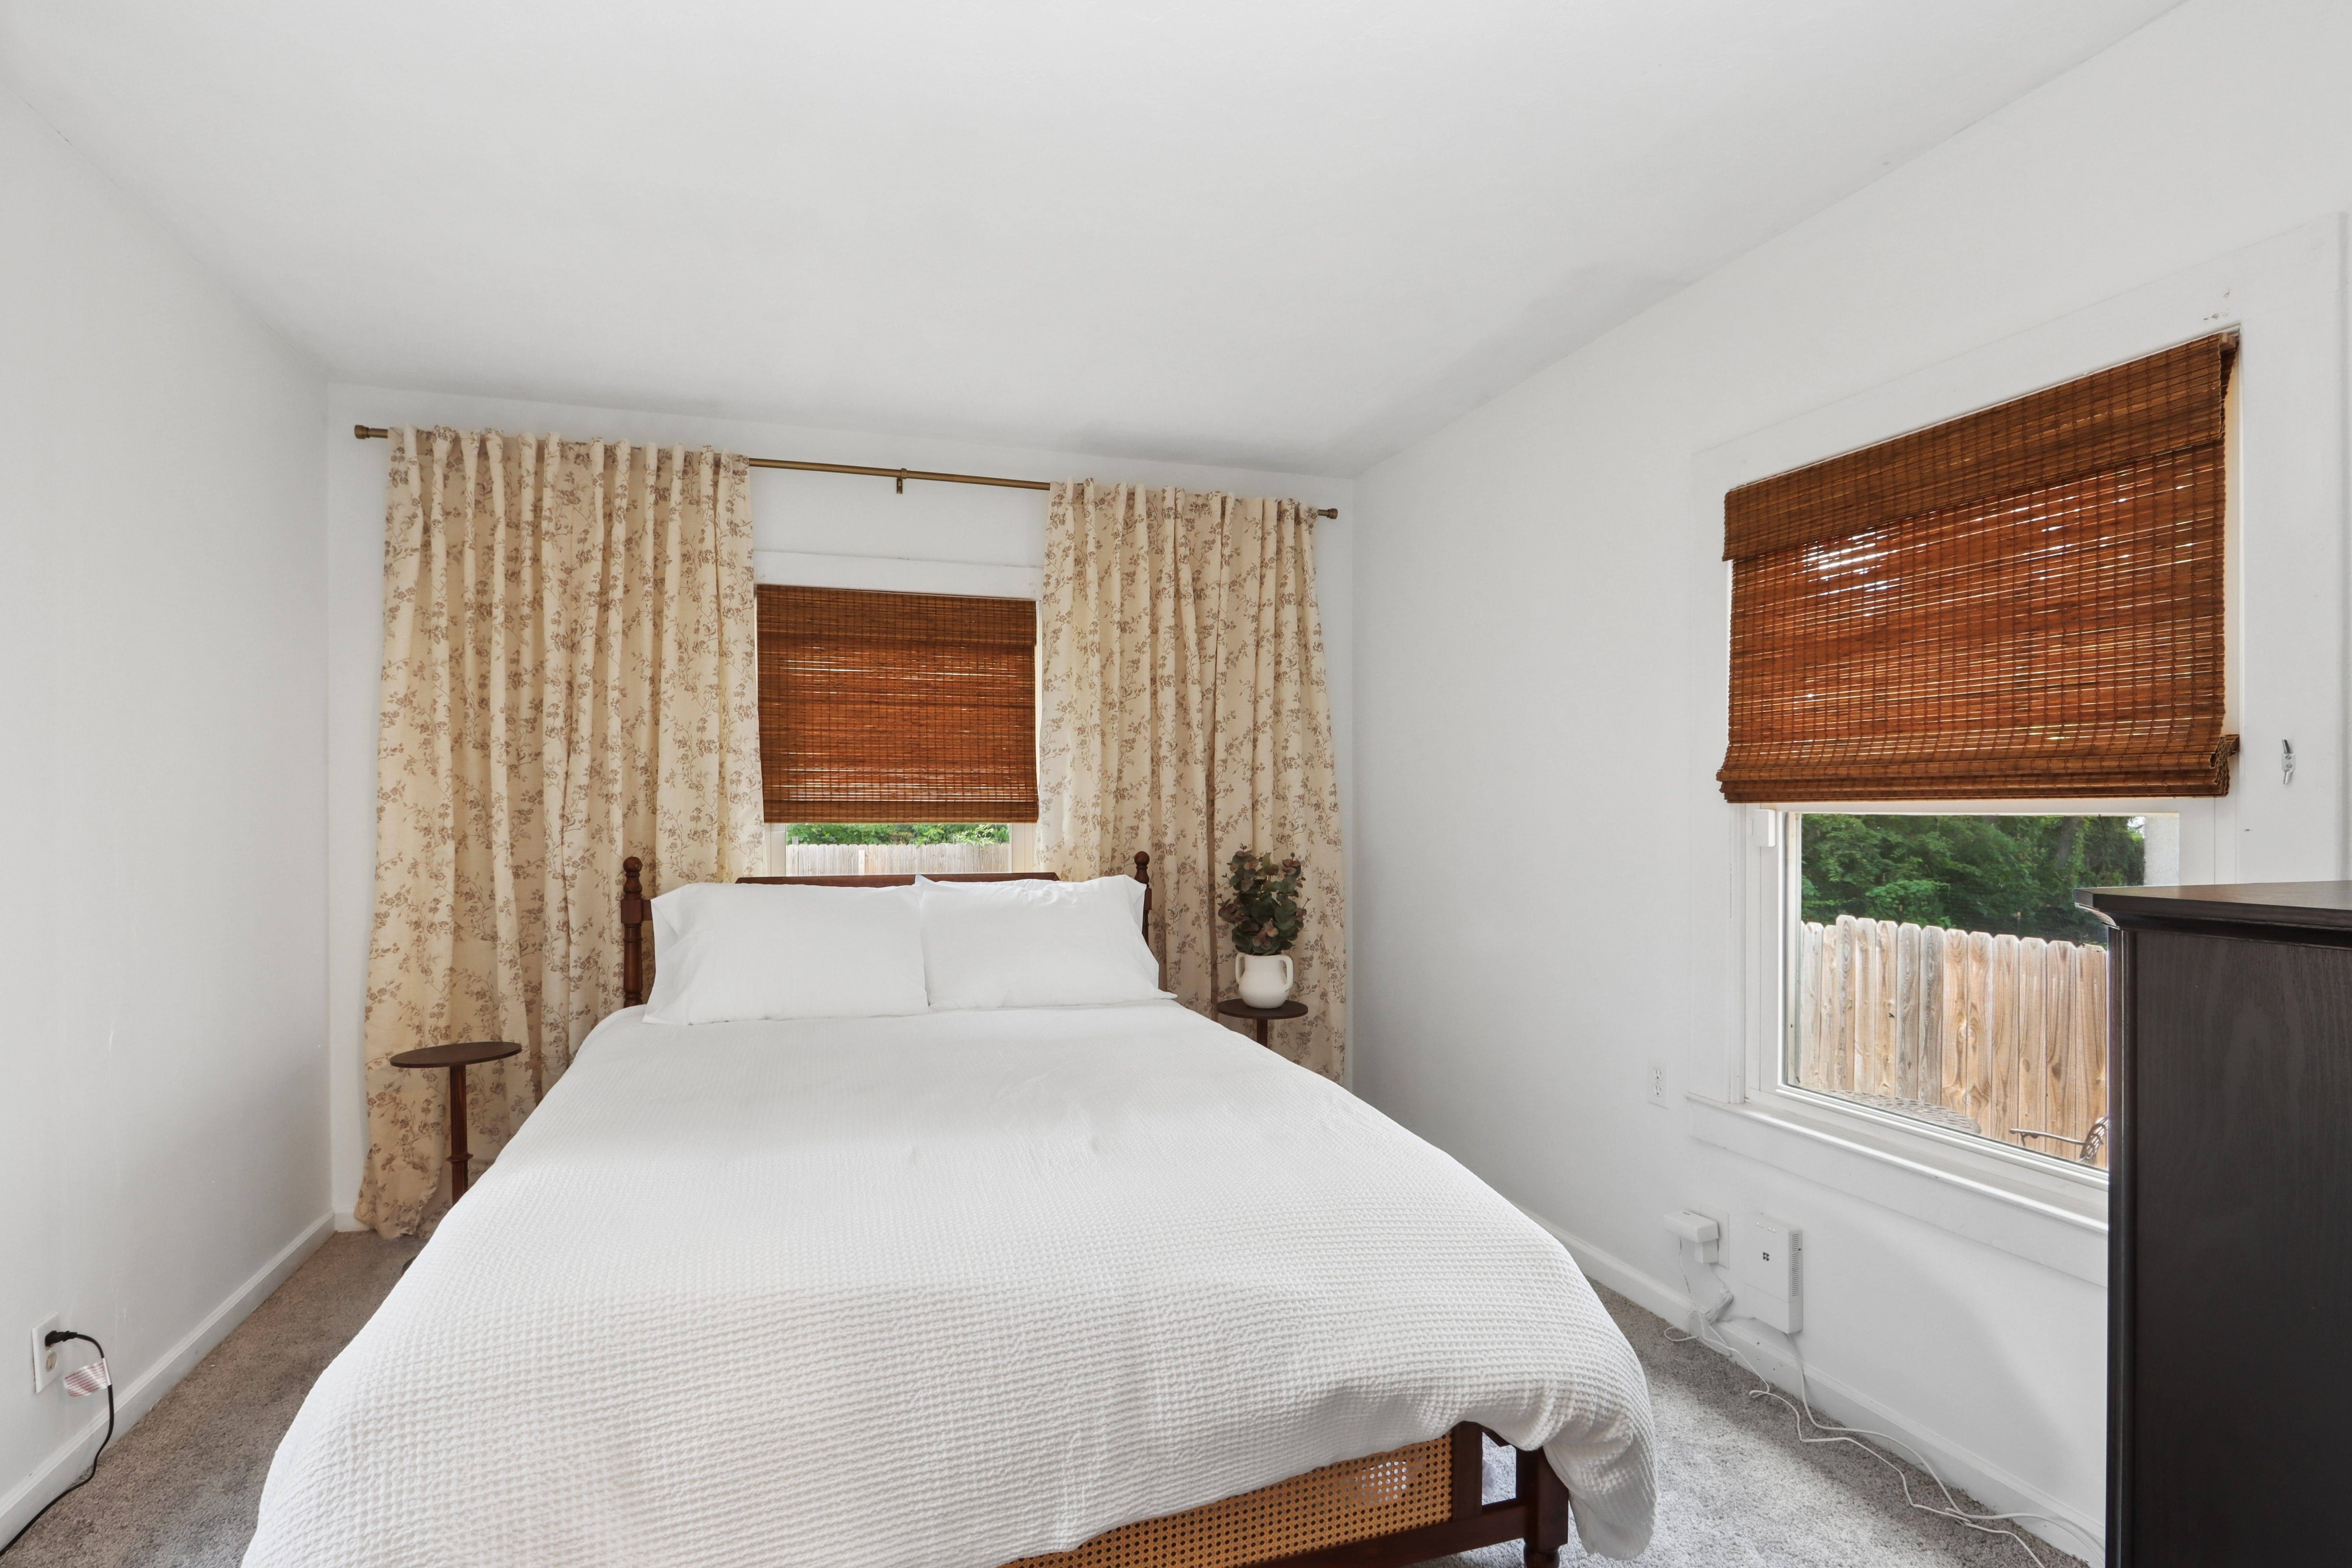
This was another tricky room to design. It’s part of an addition to the house, so it feels a little different from the rest of the home. If the budget had allowed, I would’ve loved to rip out the carpet and replace it with hardwood floors, but we decided to put our money toward updates that would have a bigger impact.
One thing we couldn’t ignore, though, was the carpet. It was obvious the previous owners had cats, and there was definitely a lingering smell. Thankfully, I received an email from a local deep cleaning company, Coconut Cleaning, offering to clean the carpets in exchange for sharing them on my Instagram Stories. Perks of the job! It’s a service that normally costs around $500, so it ended up saving us a good chunk of money while making the room feel so much fresher.
Onto the furniture! We were able to fit a queen-size bed in this room, and the duvet is actually one we already had tucked away at home. Just like the other bedrooms, I used smaller nightstands to maximize the space, then added this tall dresser that fit the room perfectly.
To finish everything off, we replaced the window shades and hung these floral curtains on a gold curtain rod across the entire back wall. I love the drama they add and think they help make the room feel so much softer and cozier.
Room Cost: $900.08
There were also plenty of little finishing touches that helped make the house feel like a home, from faux florals in the bathroom to new doormats outside. We also upgraded our patio furniture at home this year, which meant our old outdoor dining set got a second life at the rental.
Going into this project, we budgeted about $10,000 for furniture. While I’m definitely not the numbers person in our marriage, I had a feeling we’d be able to furnish the house for less.
Our grand total came to $5,603.81!
A big reason we were able to keep costs down was by repurposing furniture and decor from our own home, but I’m still really proud of how intentional we were with every purchase. I love how this house turned out, and after seeing it all come together, I definitely think we’ve caught the bug. I have a feeling this won’t be our last rental. 🥰
As always, if you have any questions as you’re cooking, please don’t hesitate to reach out!
Until next time,

*some of the links included may be affiliate/commission links.
No posts
Comments
Nothing yet. Say the first thing.
Sign in to join the conversation.