
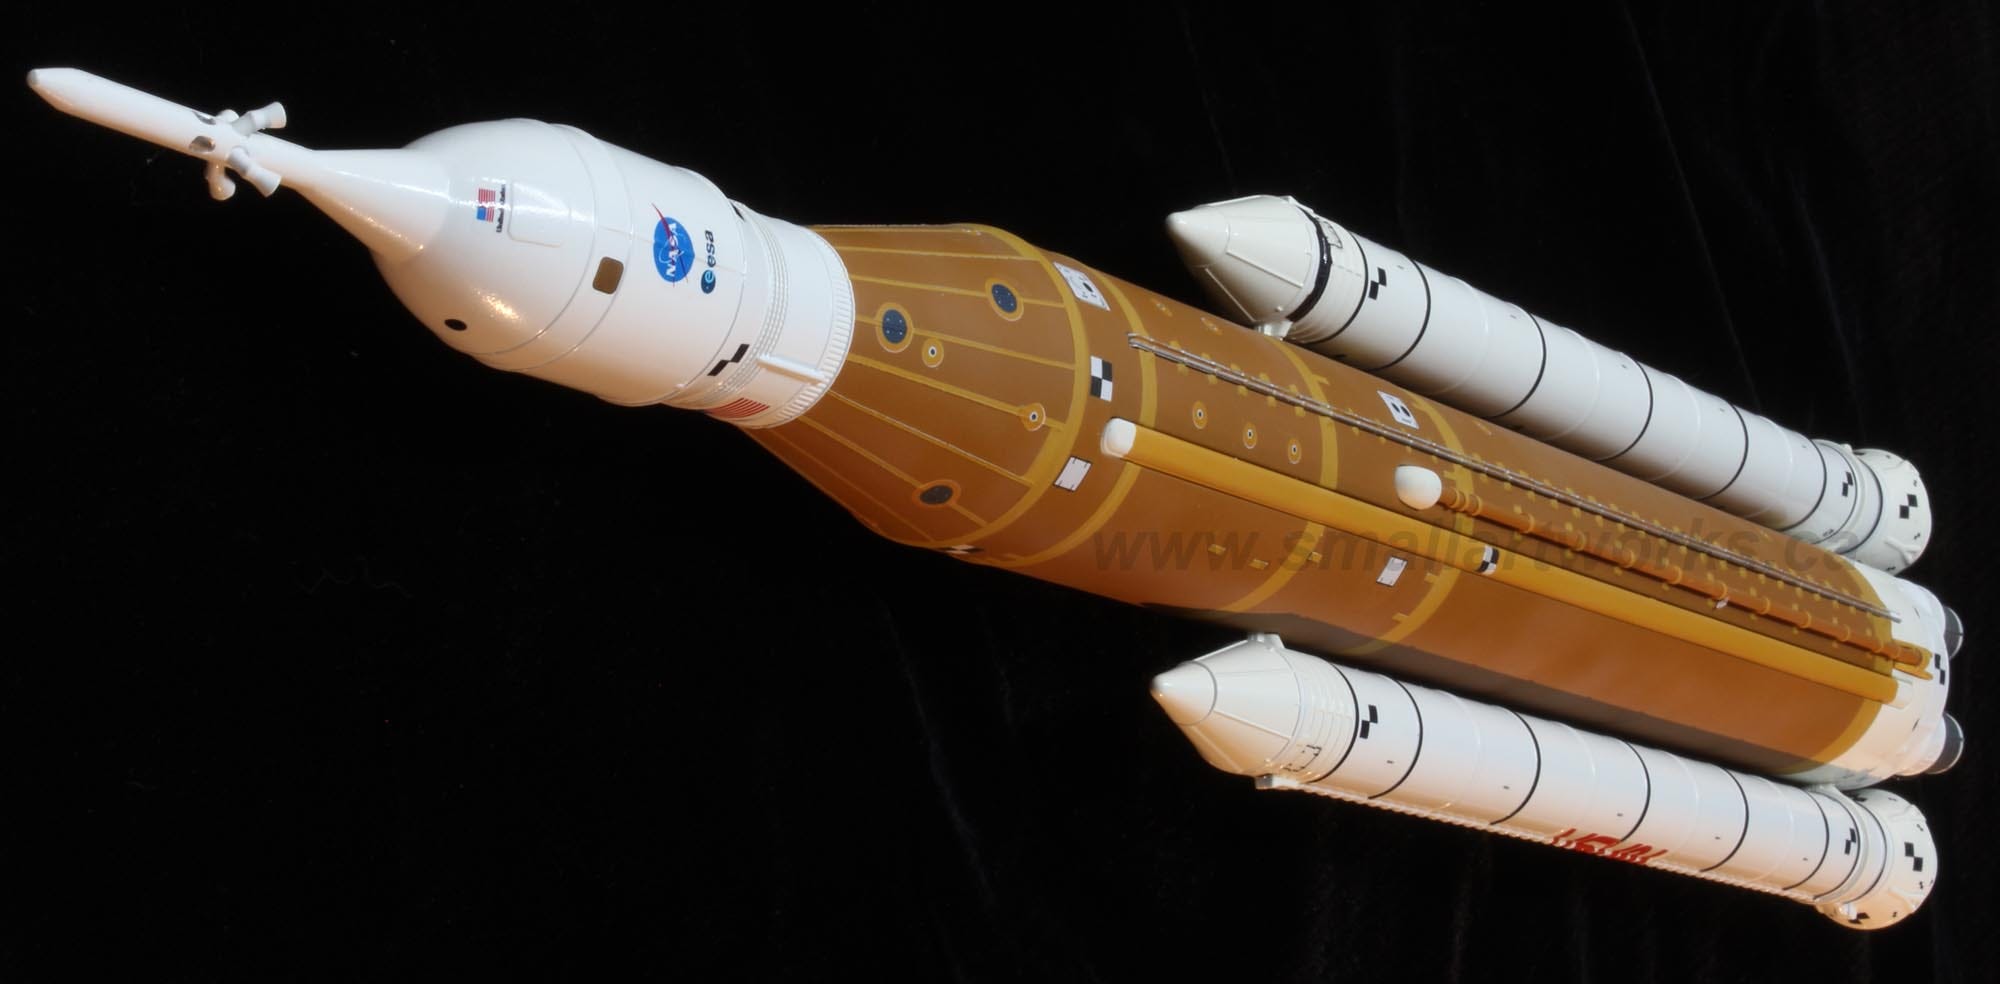
In mid 2023 I was asked by Jamie Hood at Round 2 LLC (the makers of MPC, AMT, Polar lights products etc.) to build their new model kit of NASA’s Artemis rocket. They sent me test shots of the kit and I began work.
It’s a real kick to be the very first fella to build and finish a newly minted kit for the public to enjoy! I’m grateful to Round 2 for giving me those opportunities!
Assembly was very straightforward and simple enough but the real work was much more than that.
NOTE: To get a better look at the photos shown on the entire Small Art Works Substack site, right click and “open in new tab” option and you’ll be able to zoom in on them better.
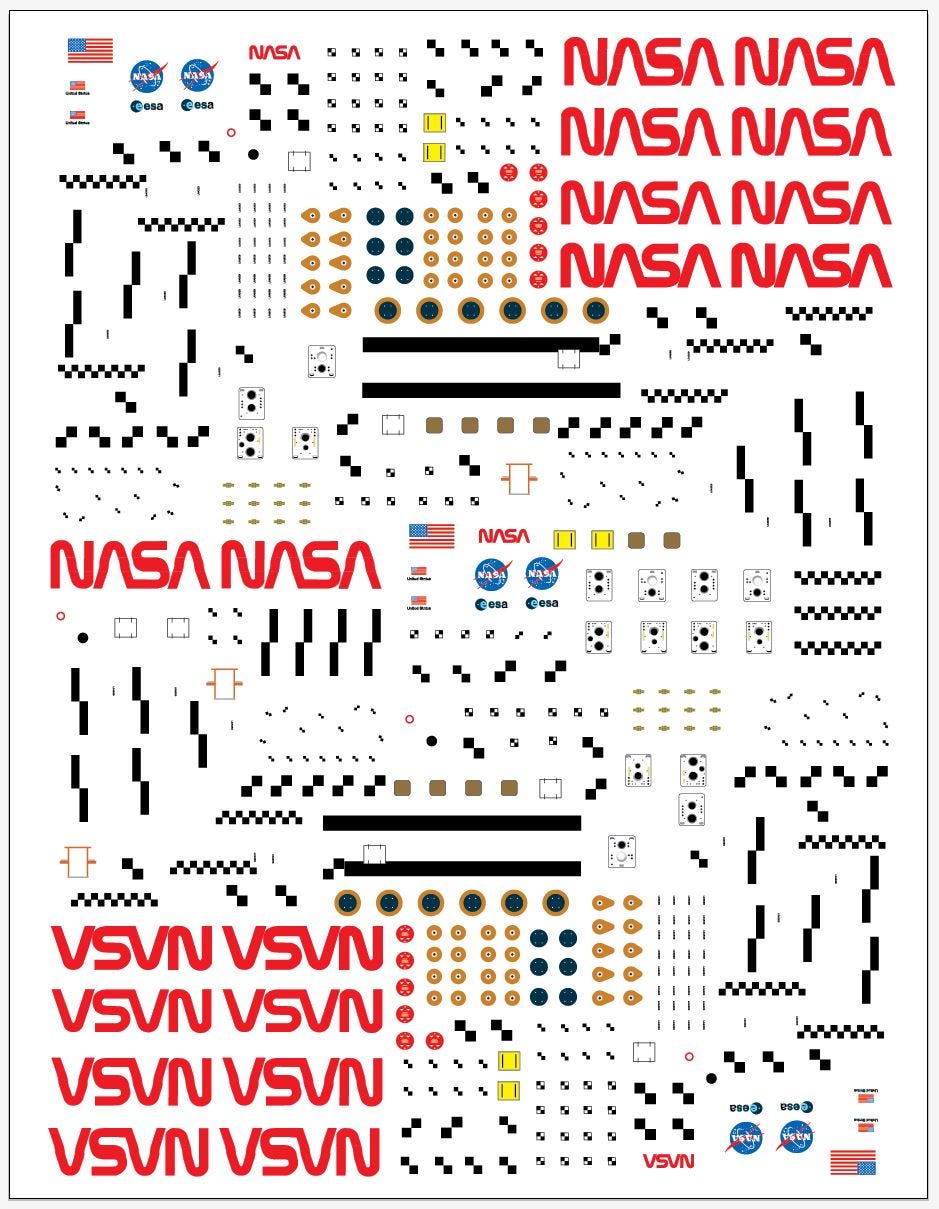
First, I had to do a lot of research in how it was painted which was more difficult than one might think. Many pictures and some videos were sent to me by Jamie and many pictures of the ship are available on the Internet, but studying all that information revealed that the ship was changing in appearance all the way through development. R2 wanted to have the model decorated as close as possible to the way it looked on its first launch. Because the pictures of the spacecraft at launch were relatively limited, it took a lot of work to try and figure out what markings went where at that time. Decal art was provided for by Round 2 which also had to be printed. I laid out the art so that multiples of all the decals were also made to do two models as well as have enough extras in case I messed up.
Studying all the photos and videos, two shades of white automotive lacquer were airbrushed on after priming the entire model and a specially mixed colour of orangey brown representing the main fuel tank insulation similar to that applied to the Space Shuttle’s fuel tank, was sprayed onto the model to start. Other colours of yellowish tan and similar shades were mixed, sprayed and brush painted after masking the main brown colour.
After all the paint was applied, the decals could be cut out and applied one at a time, paying attention to the photos and videos available. It took several days to apply the decals to two models, since you have to wait a significant amount of time between each session to allow the applied decals to dry before moving on.
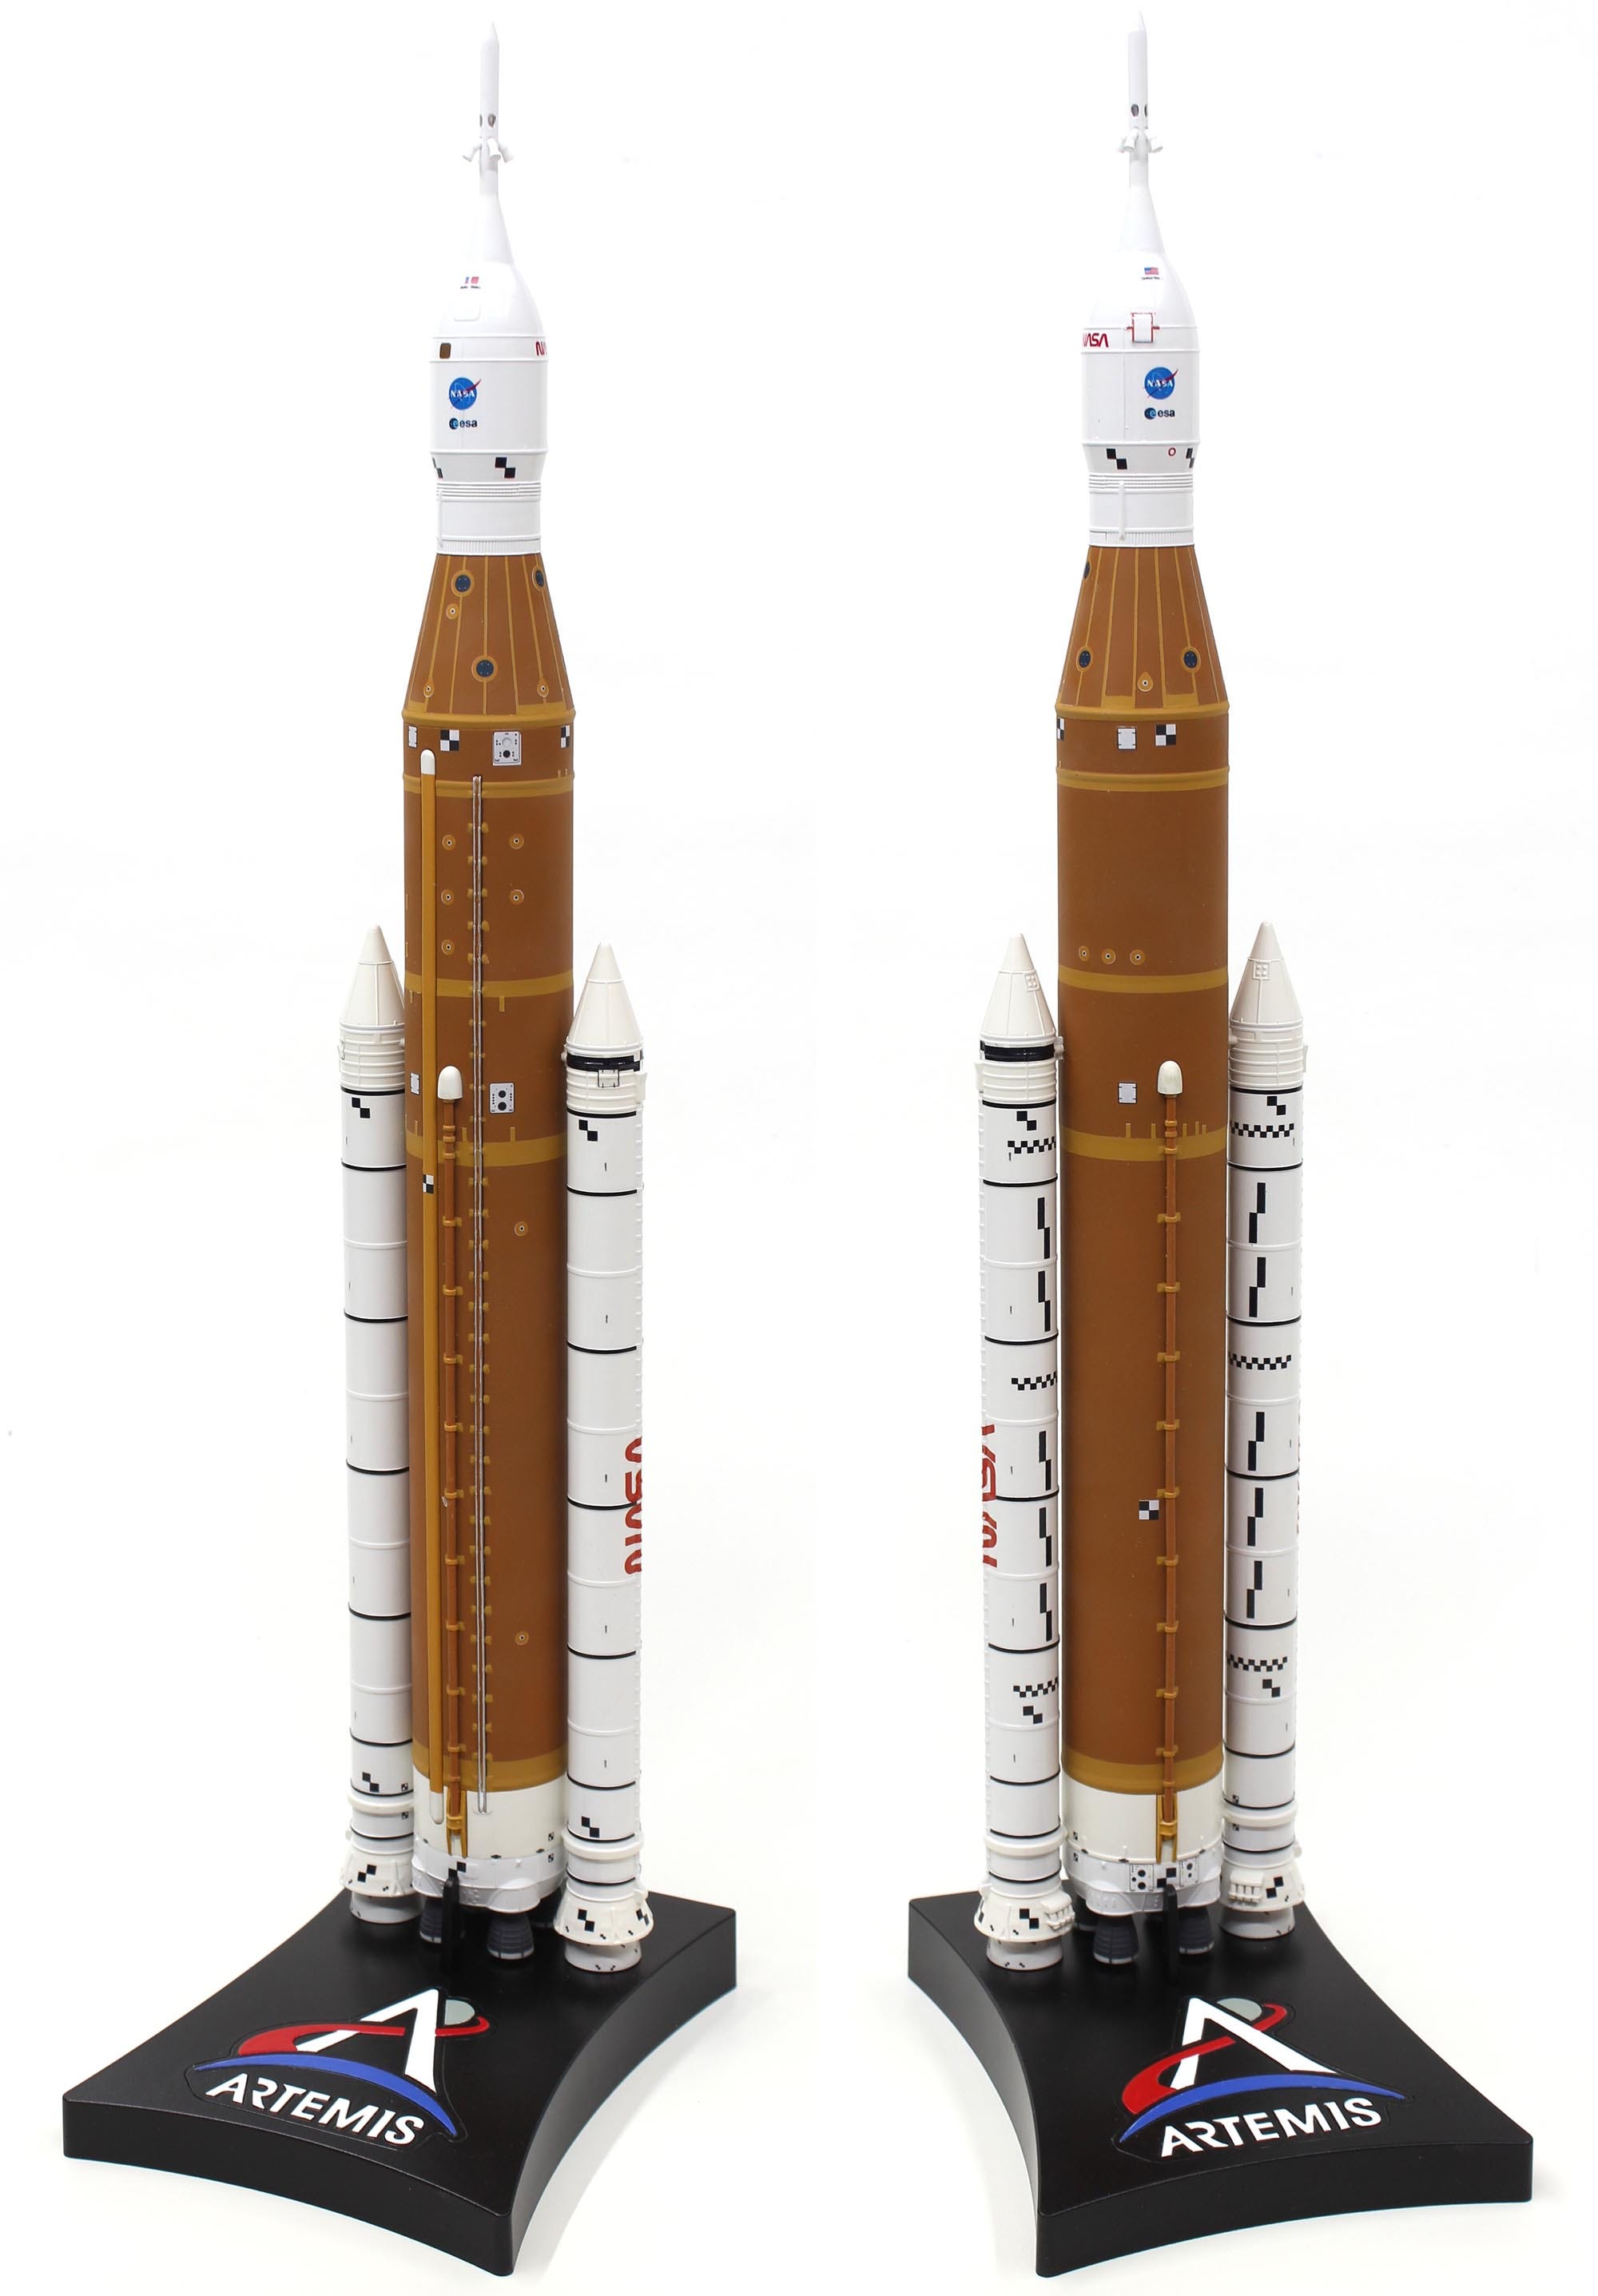
After the decals had dried, a dull-coat was sprayed over the brown tank and a semi-gloss clear was sprayed onto the white areas. I think the end result is very close to the way the real rocket looked when it launched for the first time. The photo below shows both sides of the model, as it’s not actually symmetrical.
Thanks for reading Small Art Works Newsletter! This post is public so feel free to share it.
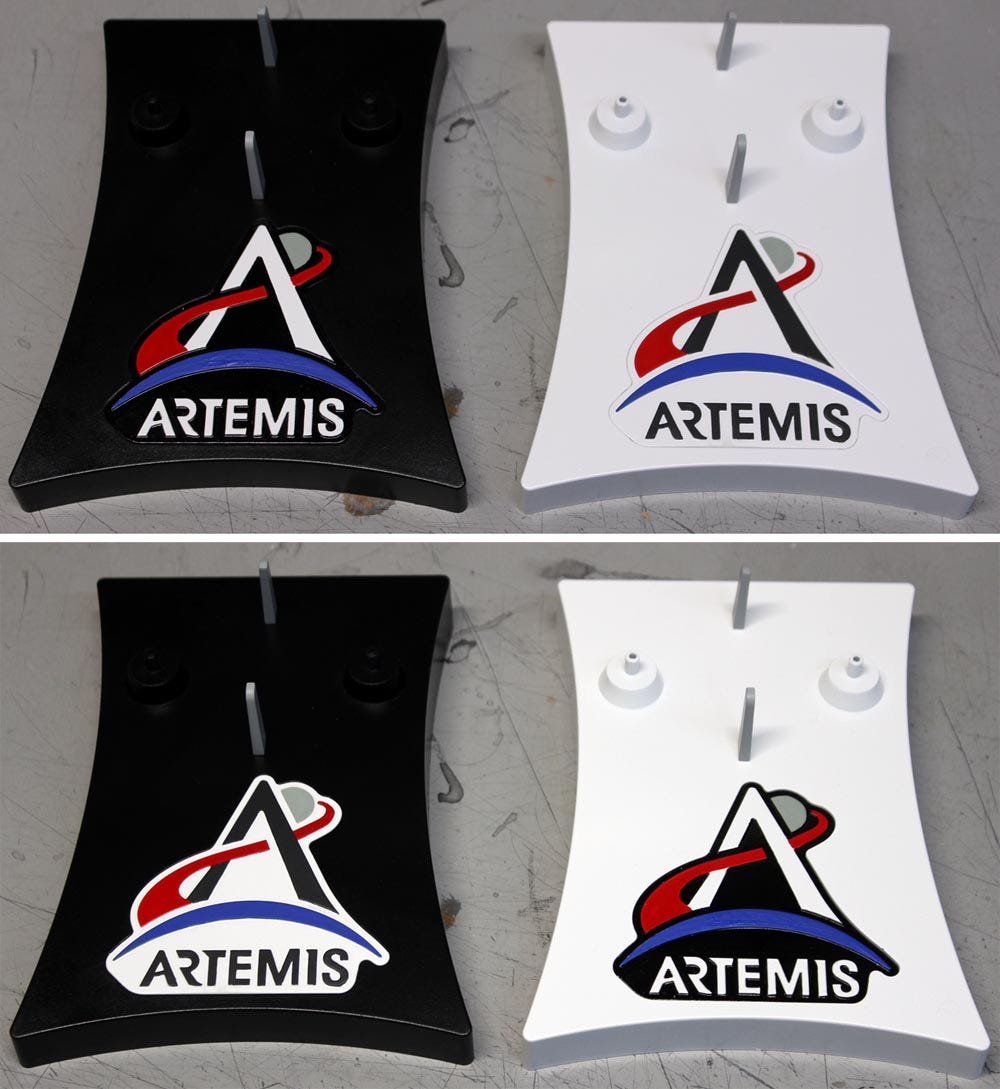
The stand that base comes with the kit has the novel idea of having the logo molded as a separate insert piece, which allows you to be more creative with the painting as shown below:
Following is a sample of the dozens of pictures of the finished model shot against black velvet. Some of the shots, but not the ones shown here, were used for the box art.
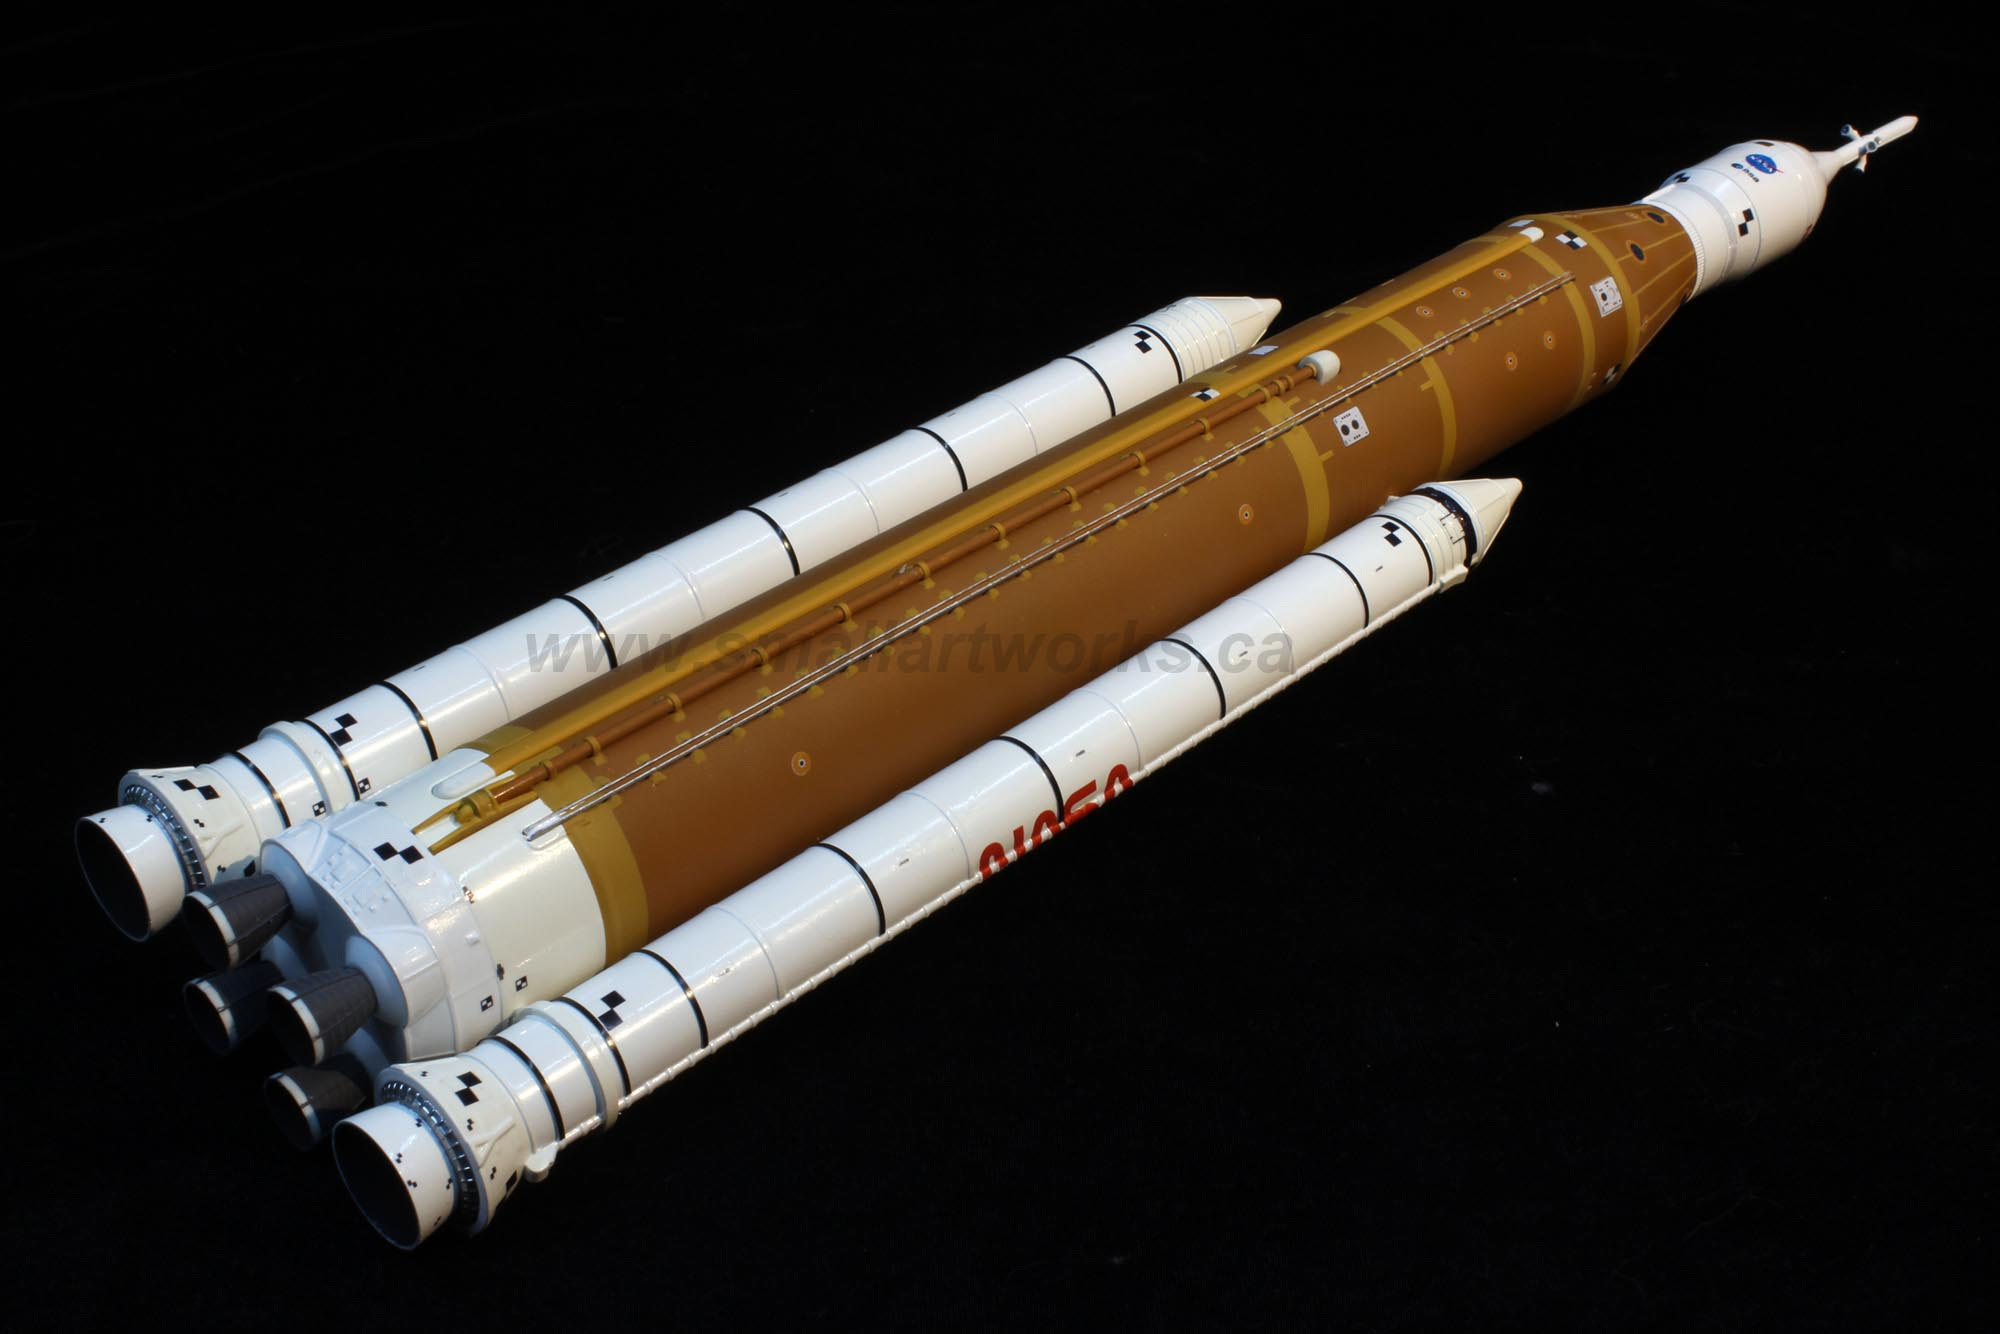
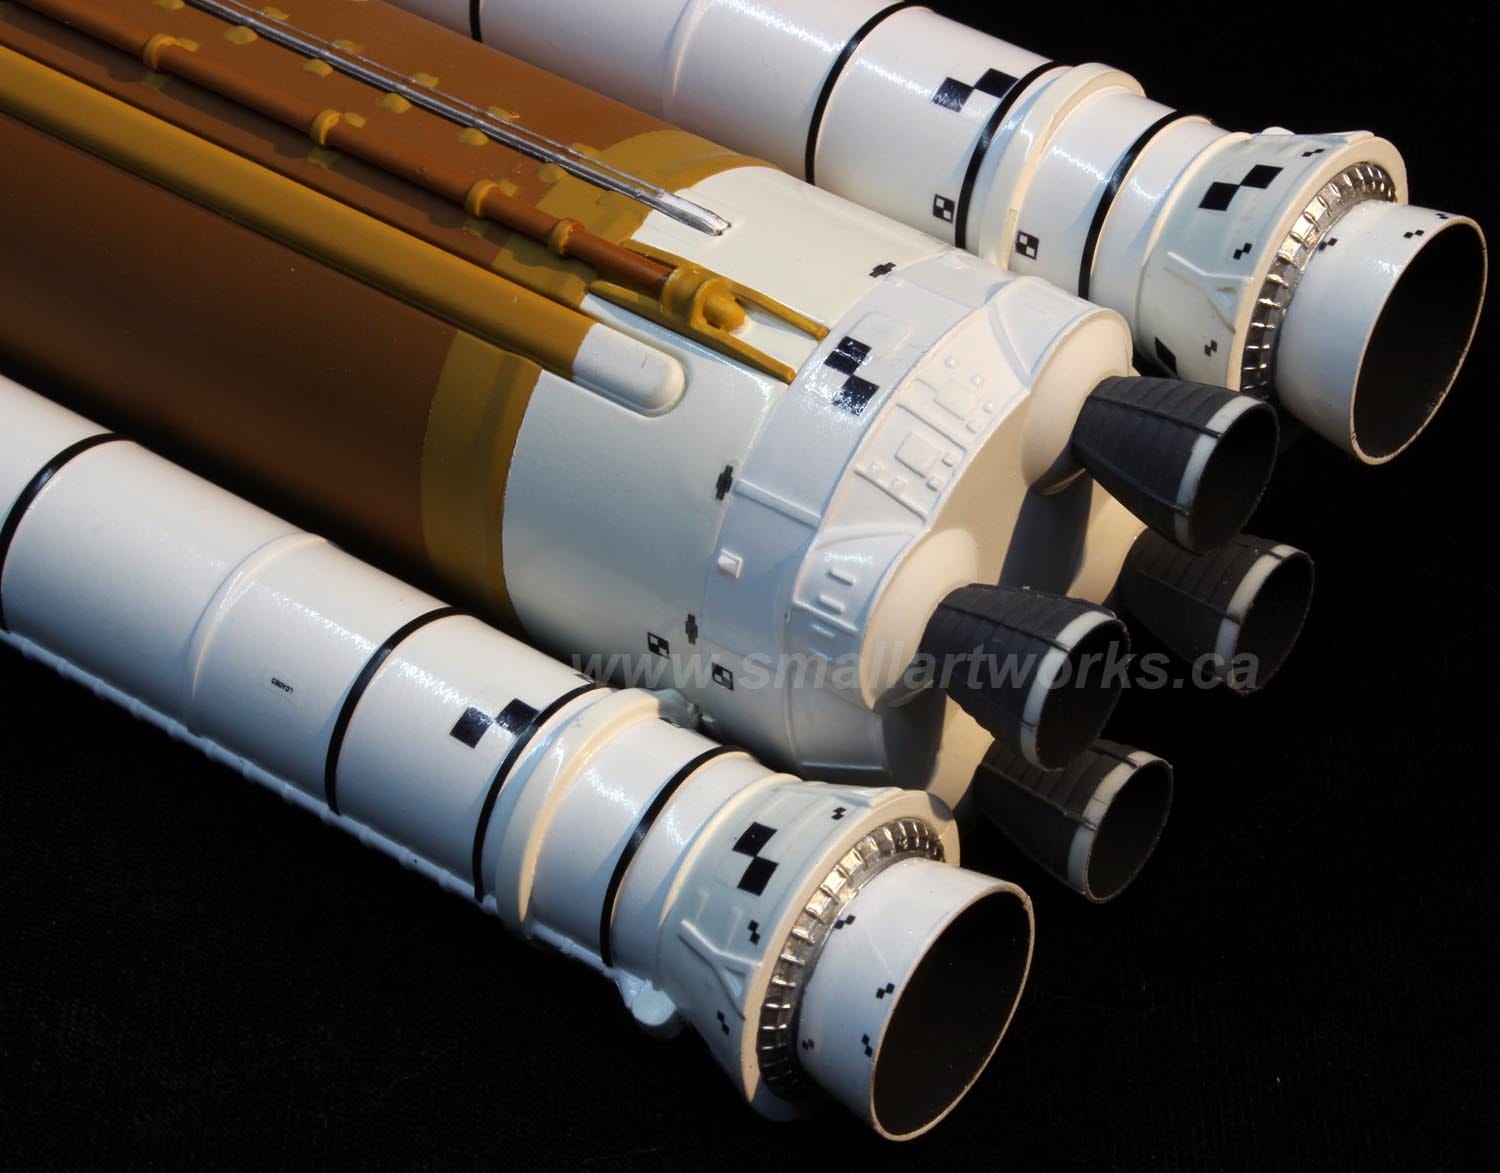
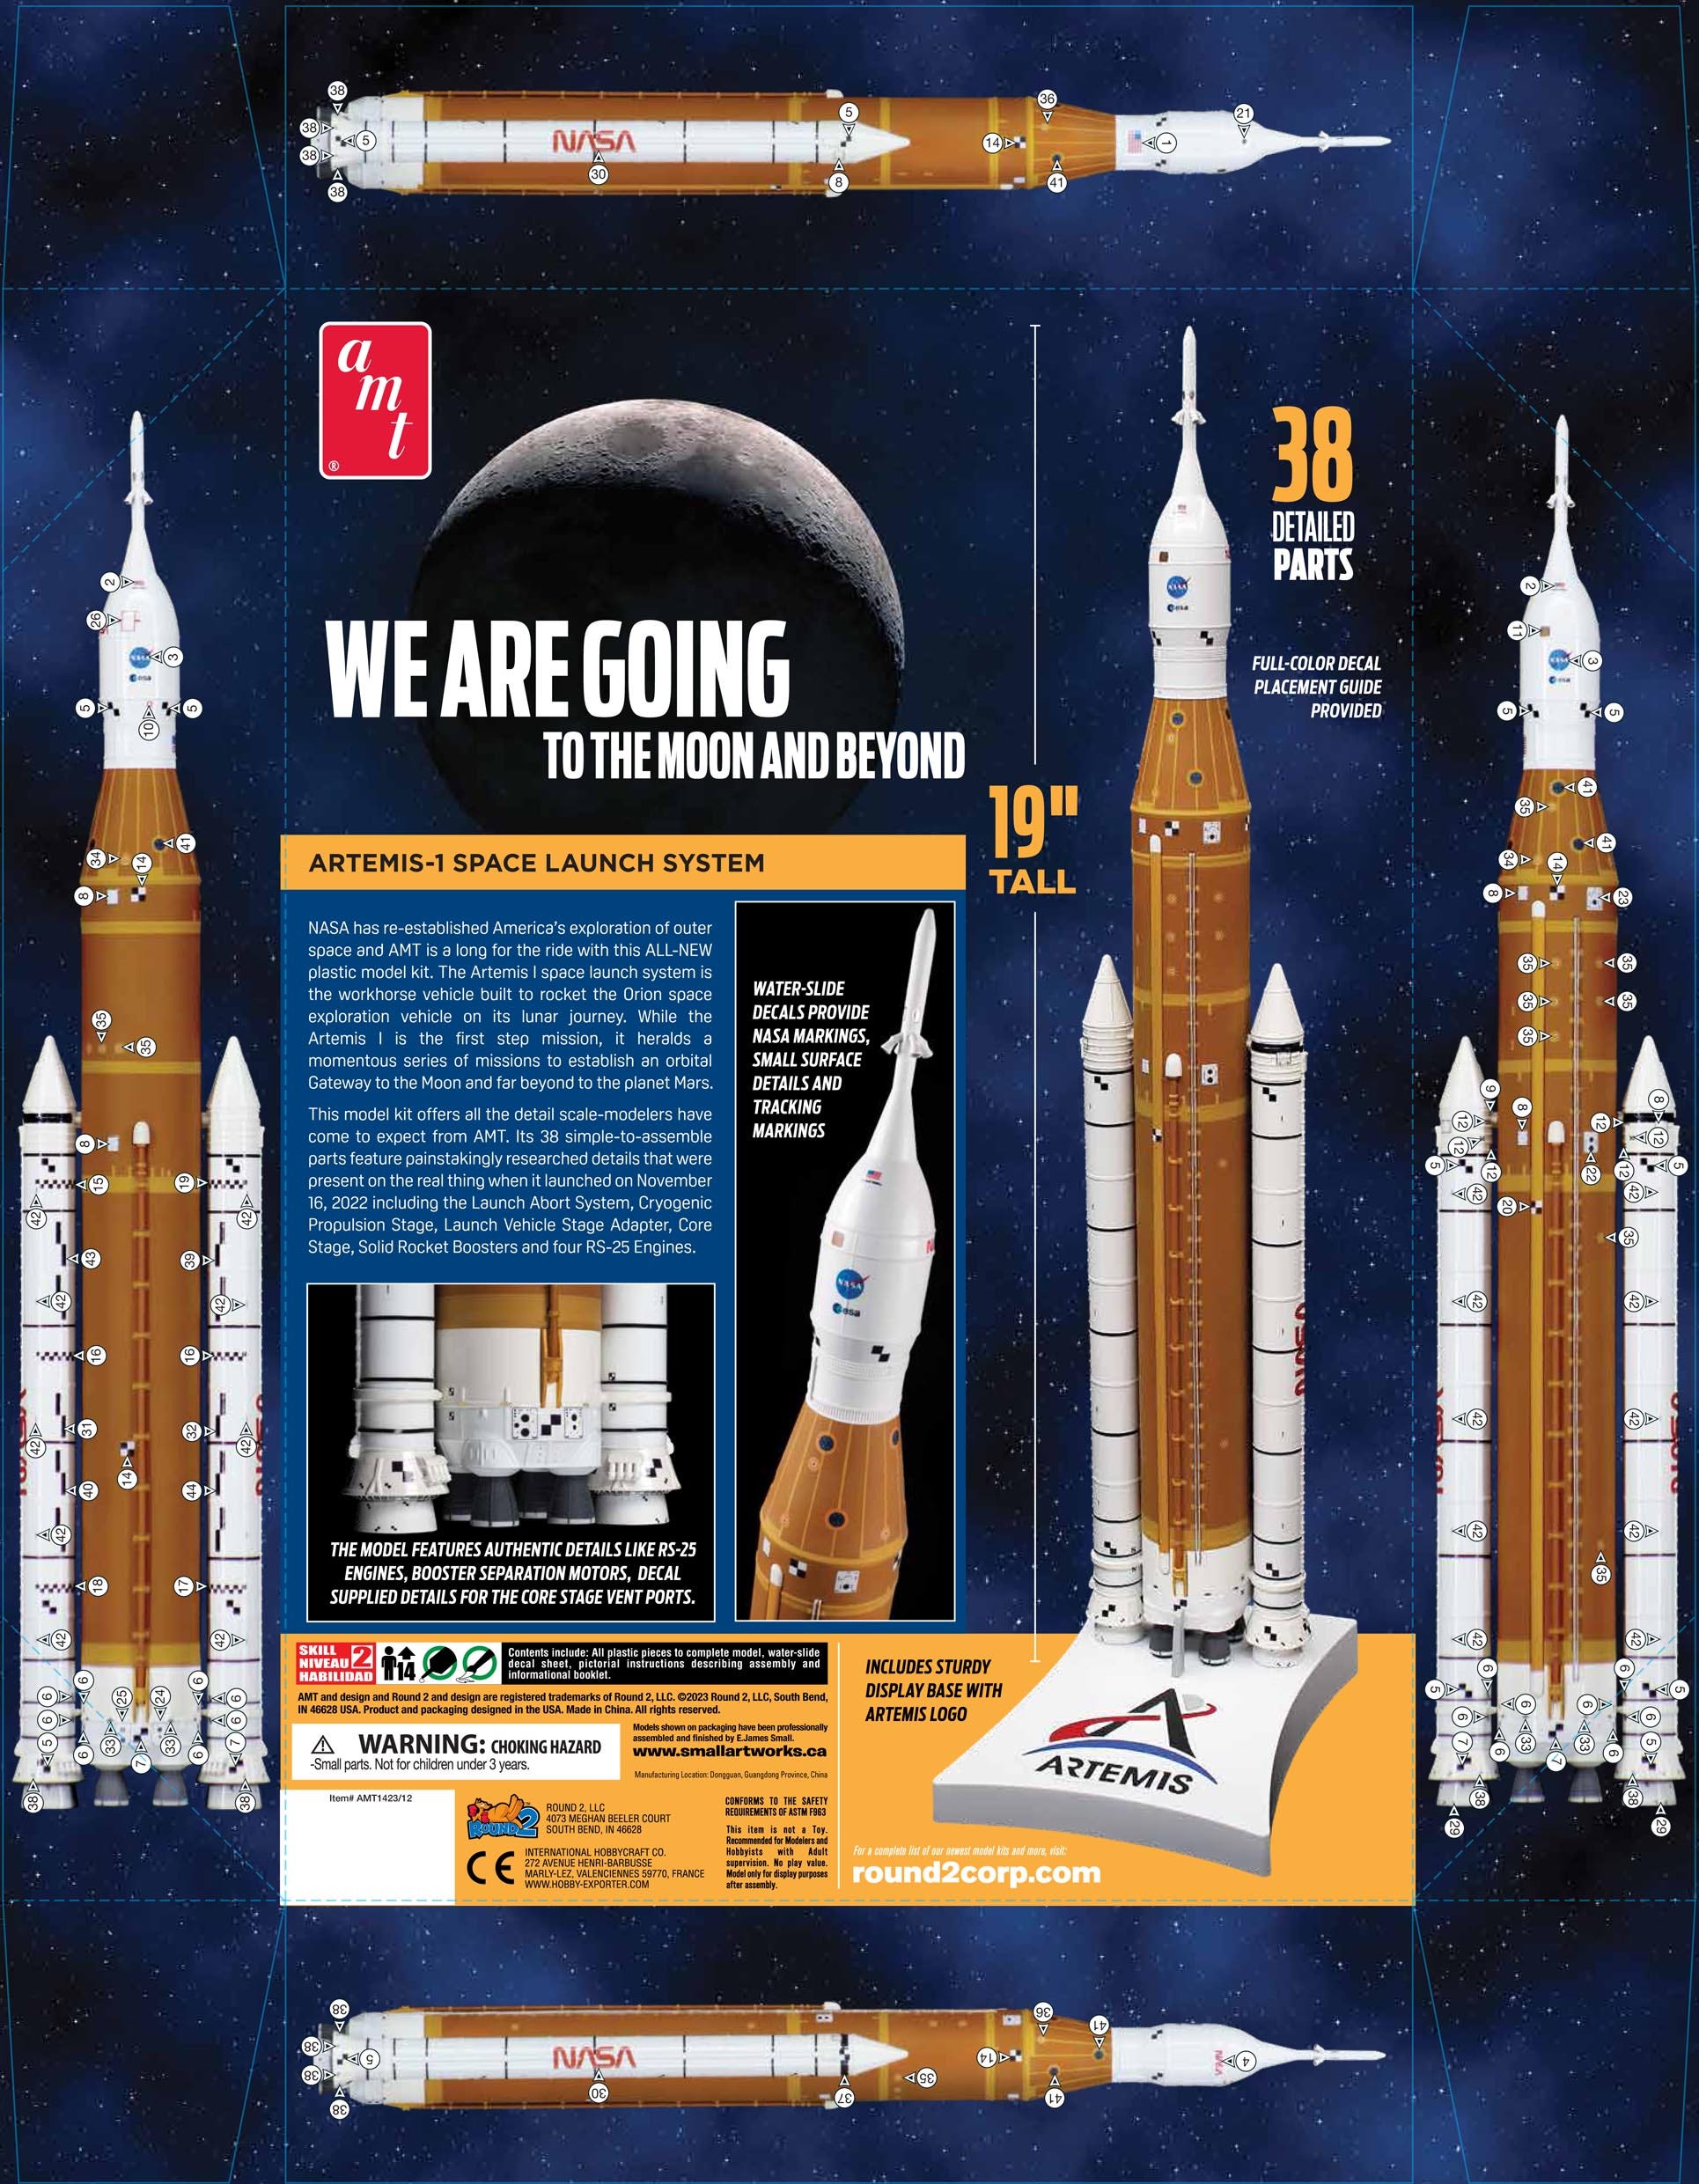
Here is the art using my buildup and photography seen on the box tray for the final kit as composited by Round 2’s crew. Orthographic shots, revealed when the box top is removed, were also taken to aid in painting and decal placement for the builder. I took the orthographic shots zooming in with a 300mm lens from a distance of about 25 feet to help eliminate most perspective error.
I hope you enjoyed reading this article. Please subscribe and share this page and the entire site to anyone you think might be interested in model building projects.
Thank you for reading. More model building projects will be posted soon.
No posts
Comments
Nothing yet. Say the first thing.
Sign in to join the conversation.