
I’ve been workshopping this recipe since January. Grueling work, but someone’s gotta do it. In the beginning, they spread too much into pools of crispy cookies with lacy edges—delicious, but no chewy center and that simply won’t do. The next round was too caky. subsequent rounds were unevenly mixed or inconsistent in other ways. But I think I finally have the recipe down pat.
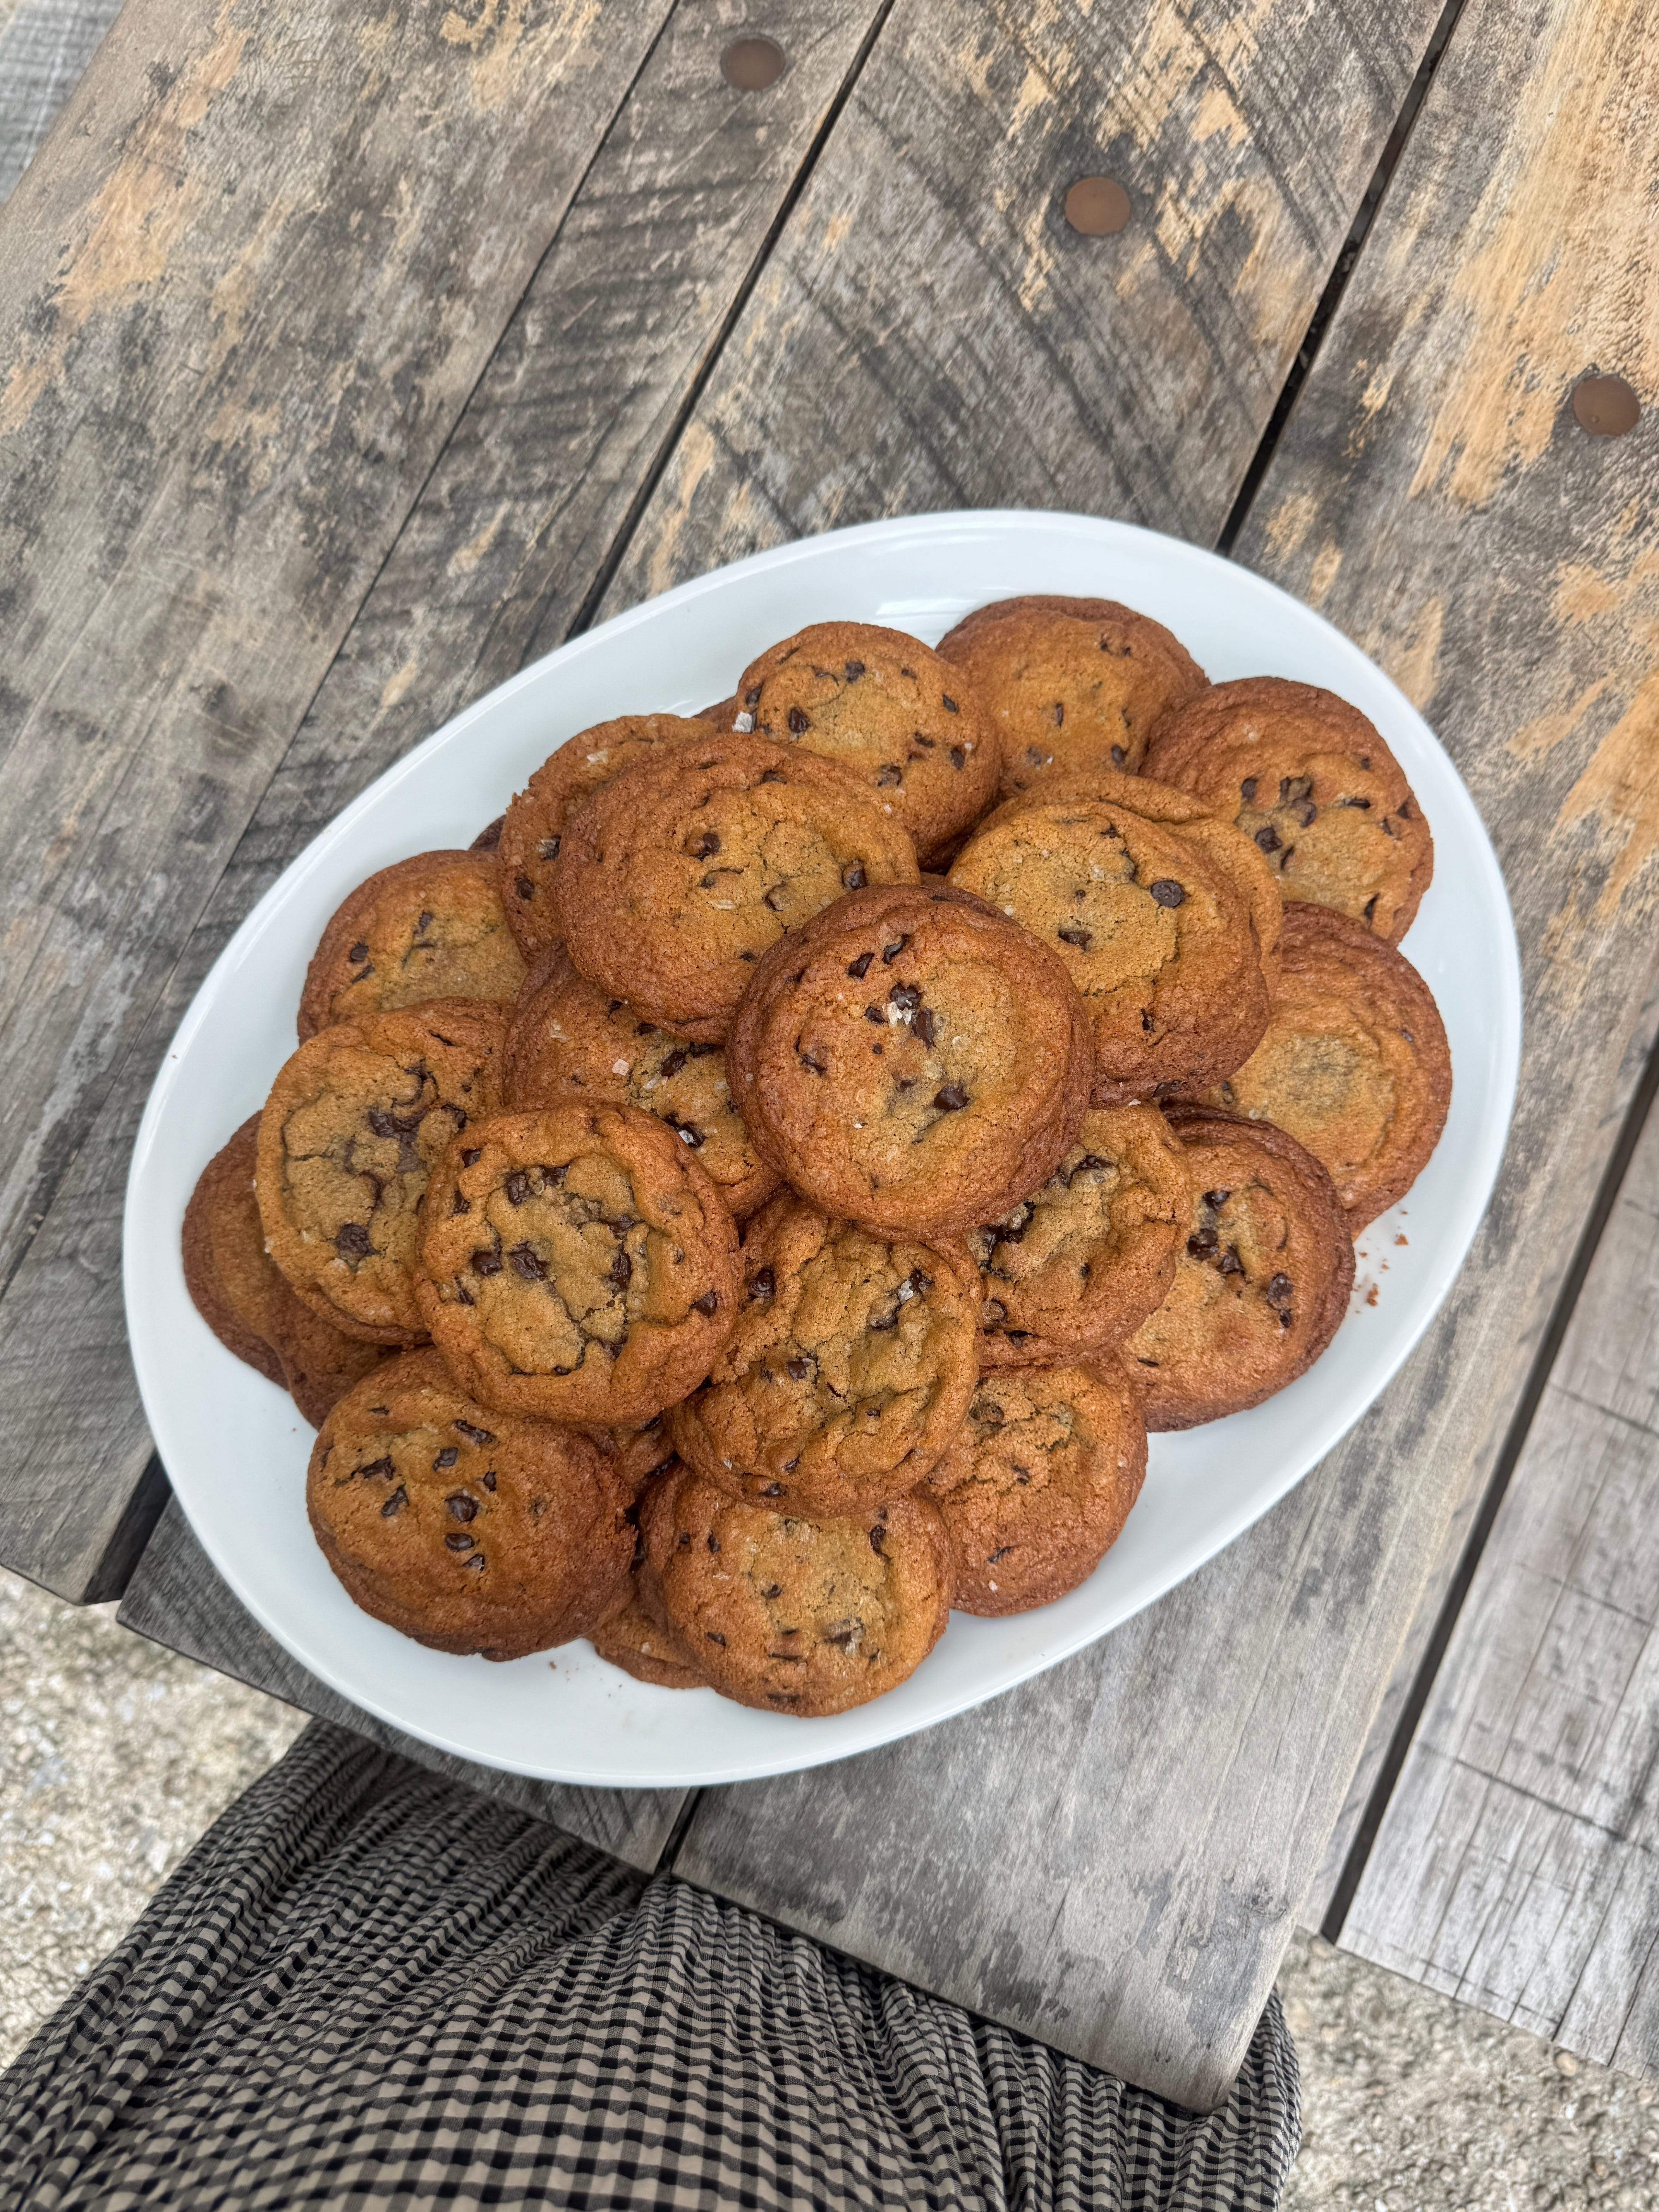
The recipe below makes 10 big bakery style cookies, but when I make them at the kitchen, I mix a 25x batch of the dough. If you are also making these at scale, this recipe will work for you too (I included the ingredients in grams as well as in at-home measurements for that reason!). To ensure that large batches are evenly mixed, transfer the mixed dough from the mixer to a large mixing bowl or bus tub and hand-mix it again, making sure that whatever was at the bottom of the bowl (usually sugar and butter) is evenly incorporated into whatever was at the top (usually flour). Otherwise, the top half of the batch will turn out caky while the bottom half turns into melty puddles because the flour didn’t work its way all the way down.
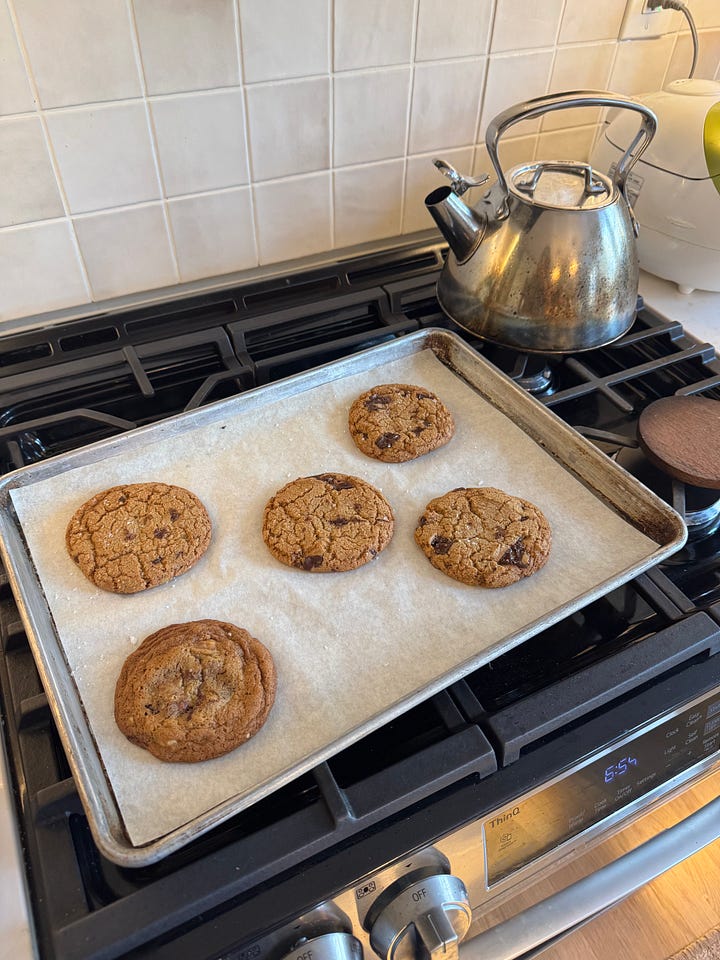
Whether you’re making 200 cookies or 10, here are my top tips for navigating this recipe:
This recipe calls for brown butter, but you can’t mix it in while it’s hot (it will melt the sugars and ruin the texture). Brown the butter first, then let it sit until it’s room temperature or just barely warm. If I’m feeling impatient (which is almost always the case), I pour the warm butter right into the bowl of my stand mixer and run it on medium speed so it cools rapidly while I measure the rest of my ingredients.
Don’t be afraid to really brown the butter! It should be a deep, dark caramel color.
The milk accounts for the liquid that evaporates out of the butter during browning. Adding a splash of milk to the dough adds just enough liquid and milk fat back to the dough, which creates a slightly chewier texture, encourages the dough to spread uniformly, and prevents the cookies from drying out. If you don’t have any on hand, the recipe will still work without it.
I use a 2 oz scoop (a standard #16 blue disher) to portion the dough.
Always, always top the dough with Maldon flaky salt (the tub version is a particularly satisfying thing to own). If you don’t have it, add an extra pinch of fine salt to the dough itself. At work, we sell the dough frozen and sprinkle the balls with salt ahead of time so they’re ready for our customers to pop into the oven. Typically recipes recommend that you sprinkle cookies with Maldon salt after baking to preserve the crunch, but I find that you’ll still get that satisfying burst of salt once baked!
I use these specific dark chocolate chips because I love how evenly distributed they stay once baked. However, different chocolate styles give the final cookie a totally different vibe! Bigger discs give you big, pool-like pockets of chocolate (when I use disks, I like milk chocolate). Chopping up chocolate bars creates tiny flecks throughout the dough. When I chop chocolate, I like to break one bar into larger chunks and press a piece onto top of each dough ball before baking for a picture-perfect pool on top.
I like to mix the chocolate chips into the wet ingredients before adding the flour. That way, the chips get evenly distributed without risking over-mixing the dough once the flour goes in.
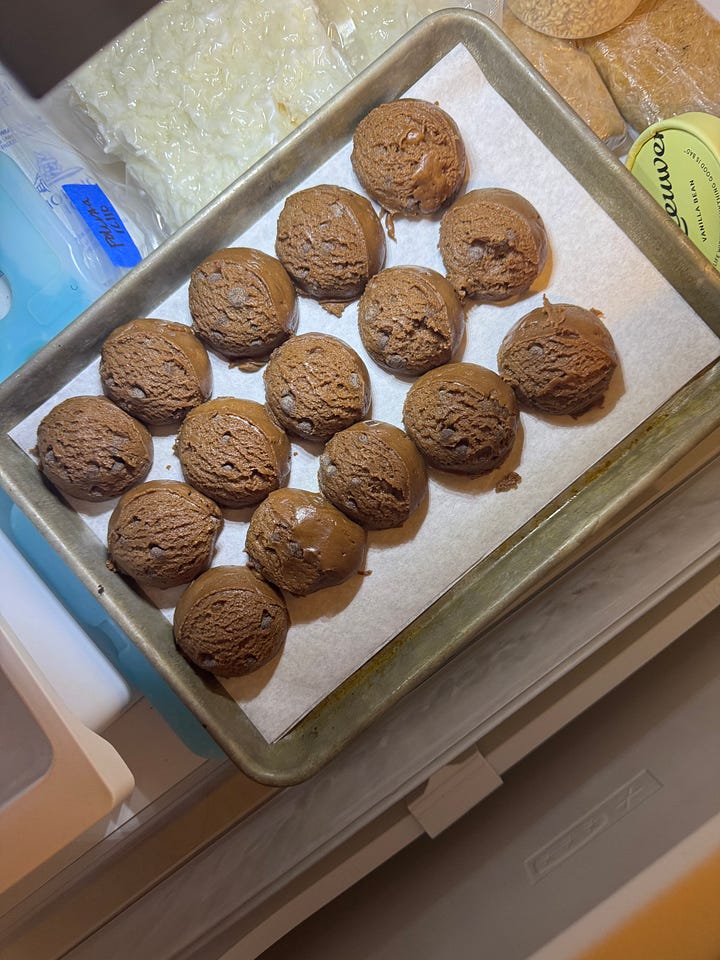
You simply must freeze the dough before baking. It creates a much denser, chewier cookie. If you bake them unchilled, they’ll spread out thin and flat.
Portion the dough into balls while it’s freshly mixed, then freeze. Scooping cold, hardened dough is a workout you don’t need!
When I make these at work, I use this local flour from Pennsylvania, but at home I usually make these with King Arthur’s AP flour and they’re almost indistinguishable. I would say that the local flour yields a slightly nuttier flavor and the cookies spread ever so slightly more.
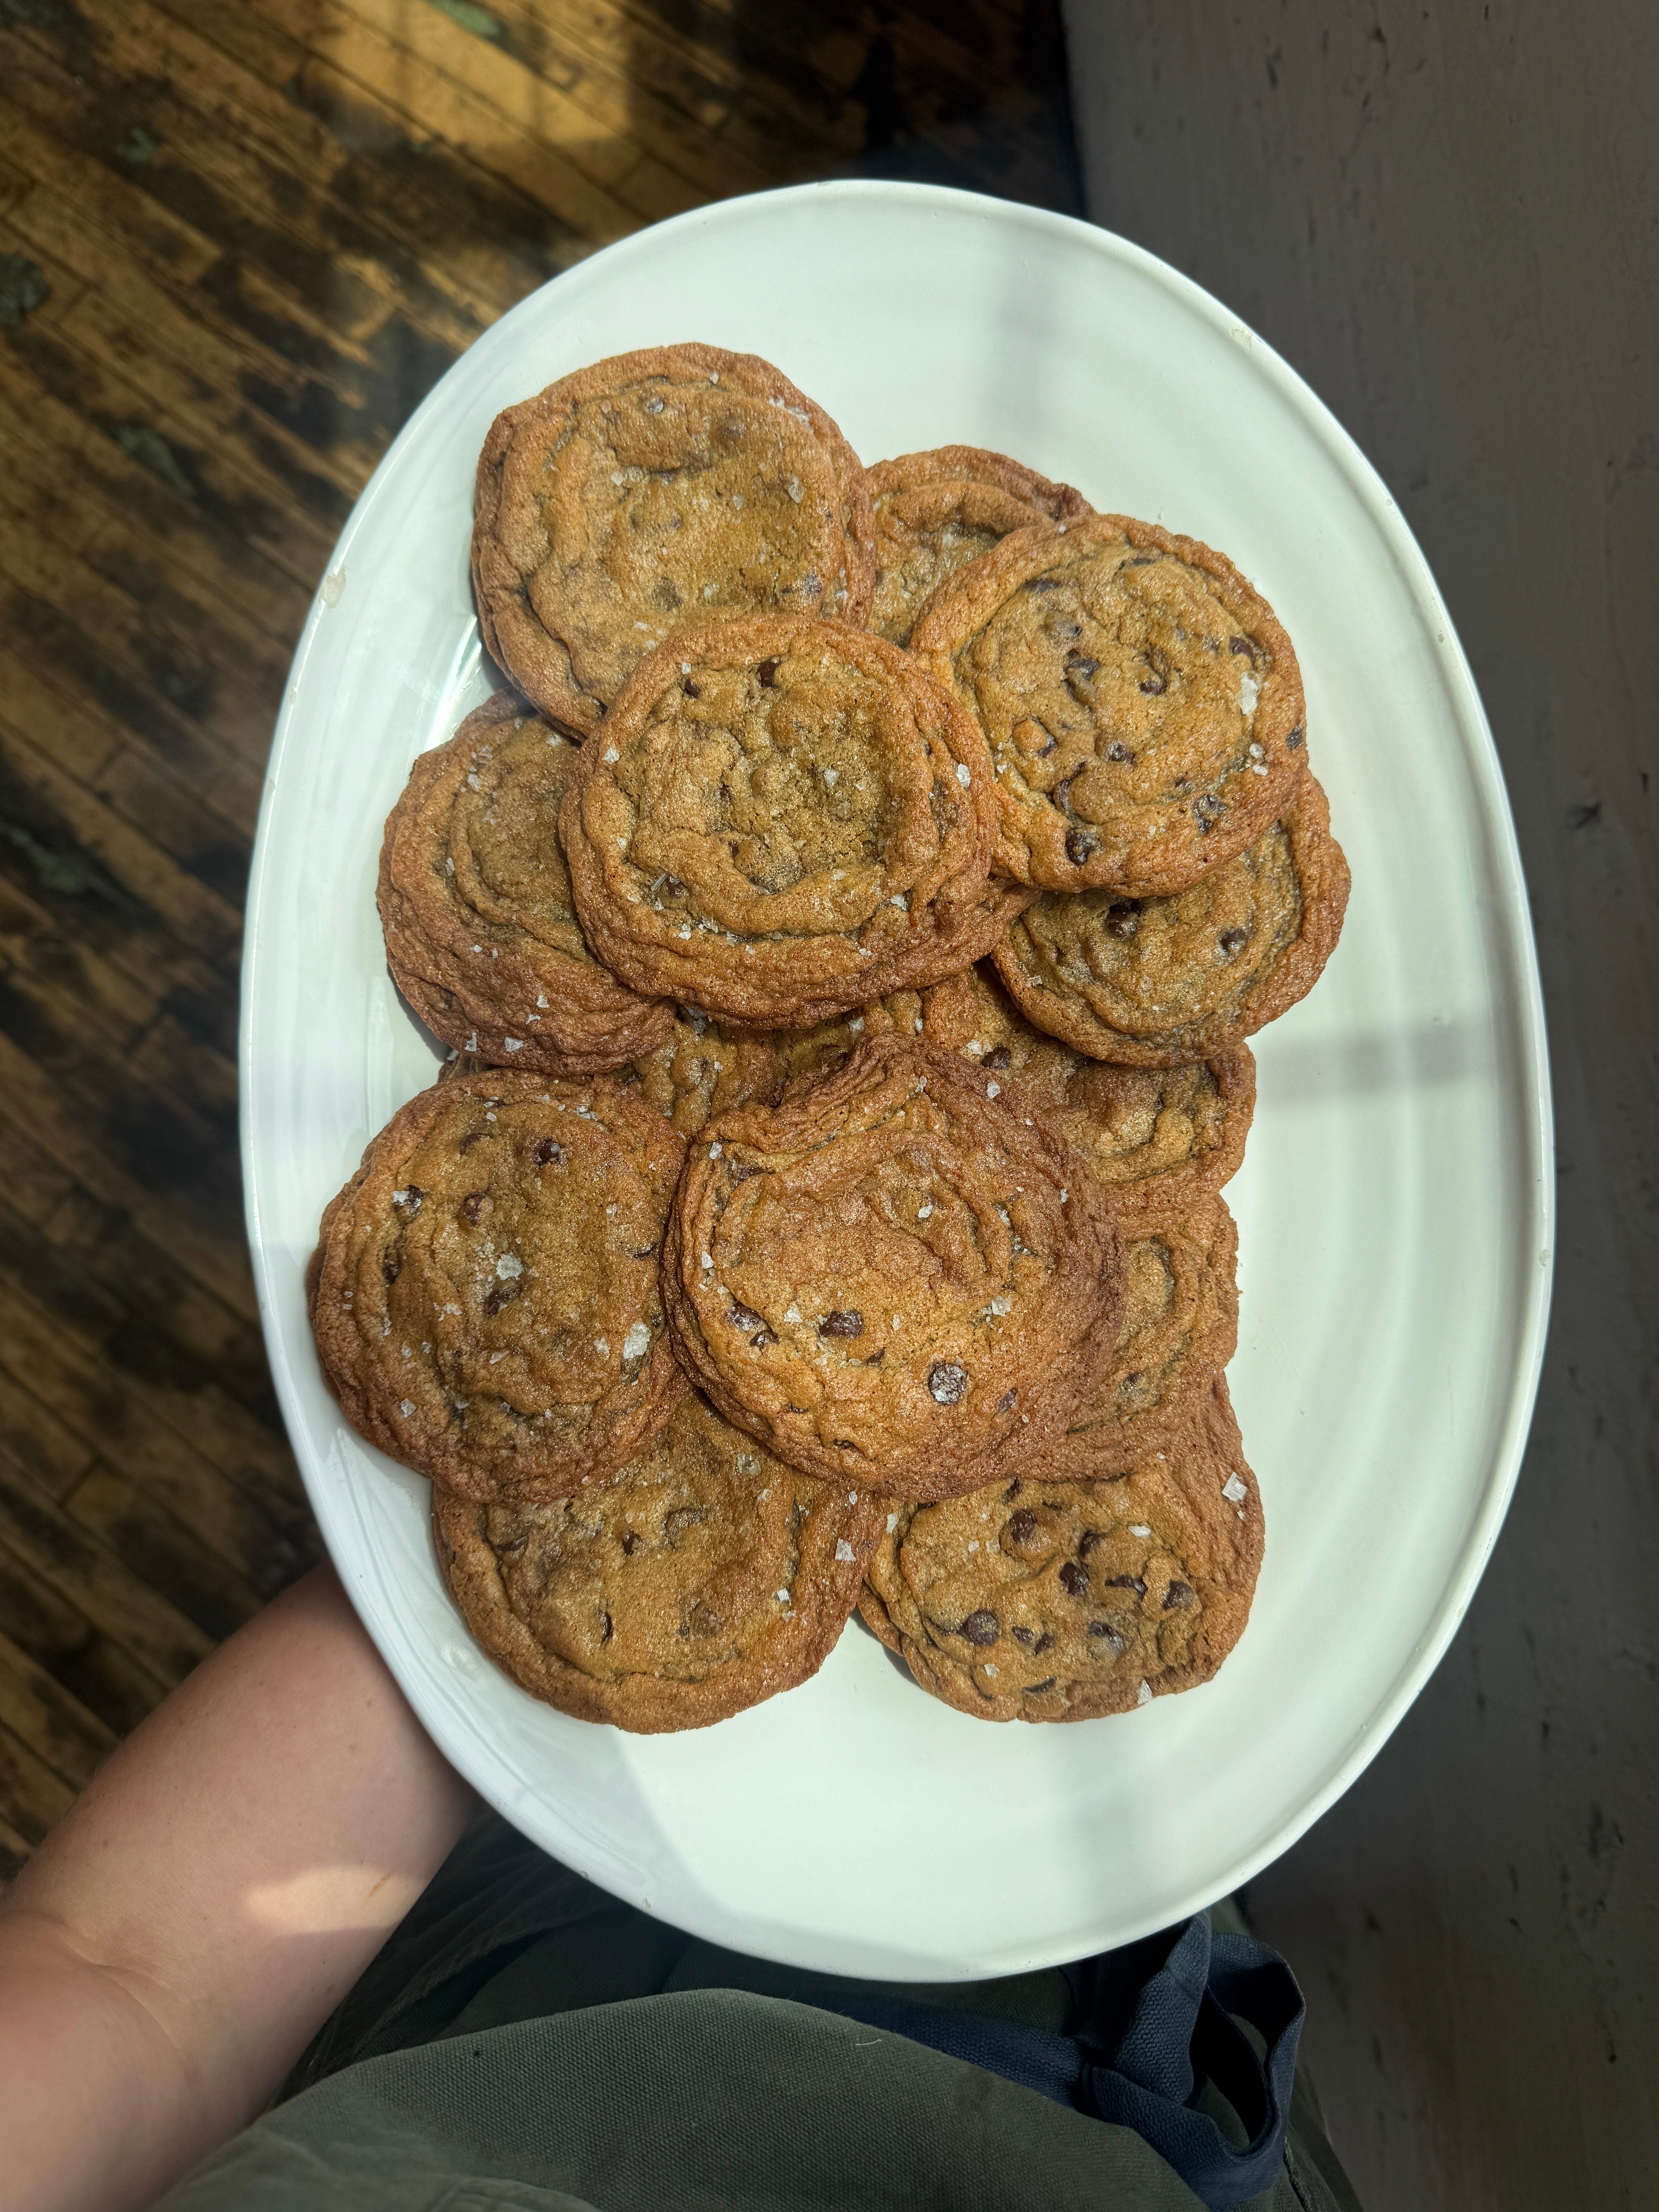
Yields ~10 large bakery-style cookies
Comments
Nothing yet. Say the first thing.
Sign in to join the conversation.