
In today’s video you’ll get to see the piece I couldn’t get done before last week’s tutorial….if wishes were fishes I’d have squeezed all this in!
Every once in a while (ok more than just once in a while!) my inner graphic designer wants to come out and play. As I was working on the seashells courses (more on that in a minute), it was rising….I was looking at so many large vintage art pieces that I couldn’t stand it and had to make a “poster” for dip pen drawing!
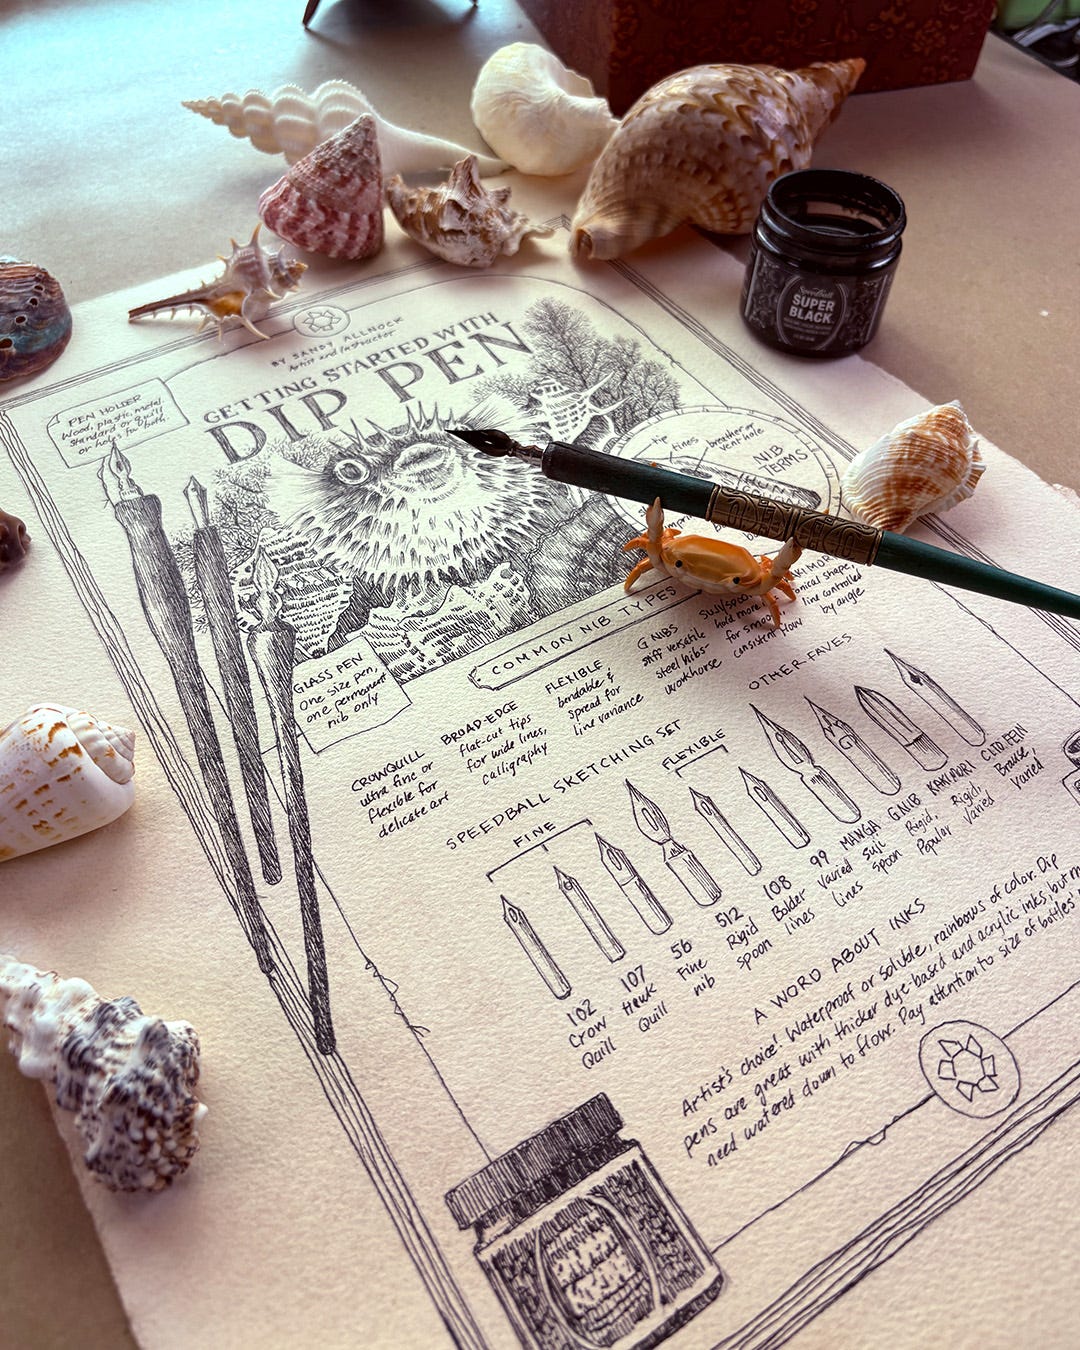
This piece has been dye-d in the same way as in one of the seashells class….the paper turns out both looking vintage as well as sparkly! It was super fun to figure out how to make a puffer fish look right in black and white. A bunch of the tips relate to the fish, but also apply to pretty much all subjects!
Watch the video below - and if you could, pop over to YouTube to leave a thumbs up to feed the algorithm! If you’re reading this in time, join us here in chat during the 8am Pacific Premiere.
Supplies (affiliate links provided at no cost to you; thank you for using my links and supporting my work!) Arches Natural White CP 22x30 sheet BLICK } JACKSONS Speedball Sketching Dip Pen Set BLICK | AMZ Speedball Superblack India Ink BLICK | AMZ | JACKSONS Speedball Hunt Pen Nib 512 BLICK | AMZ | JETPENS
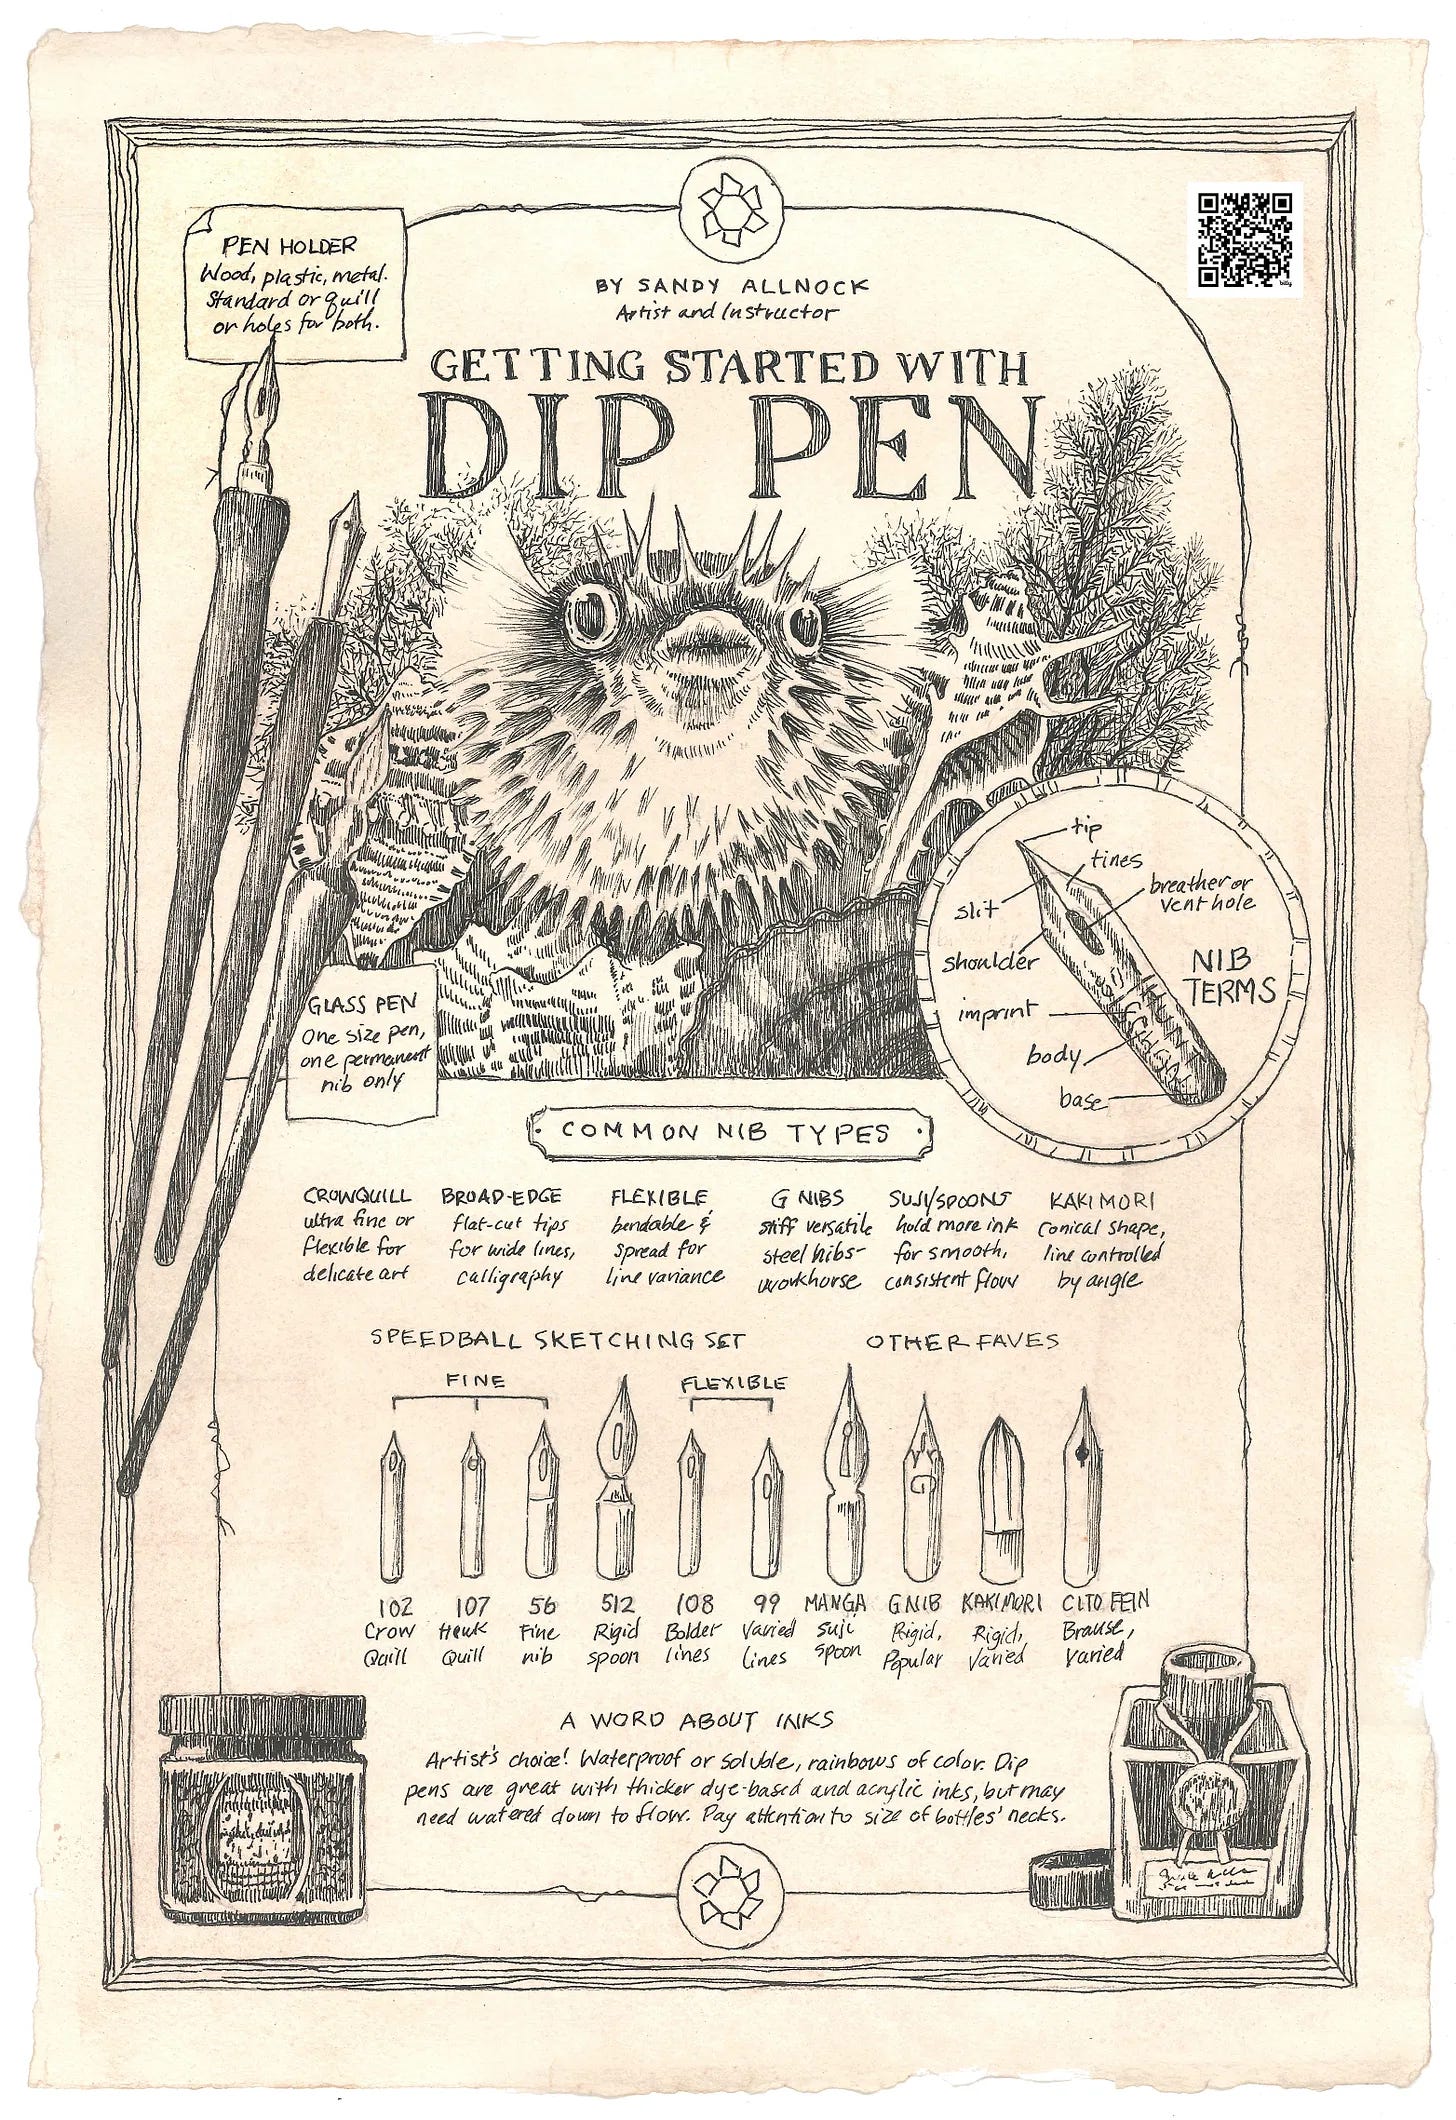
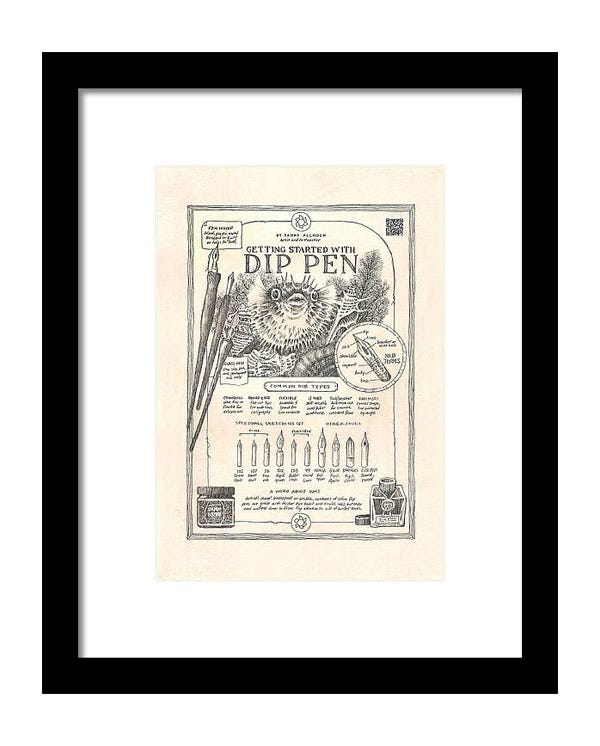
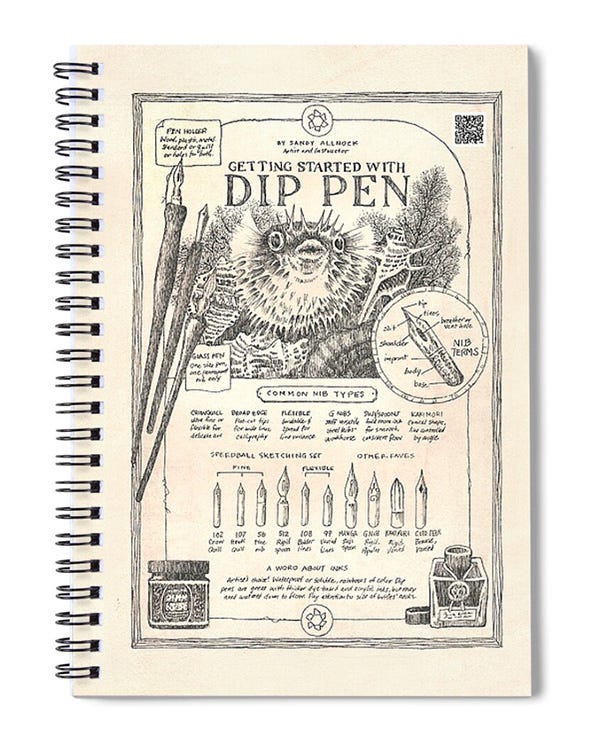
Cool poster, eh? If you’d like a print, head over to Fine Art America for one — there’s no ragged edge over there. The framed or regular print is great, but just look at the cuteness of the notebook! I don’t think it’s great paper, but I gotta get one :)
Thanks for reading Sandy's ArtStack! This post is public so feel free to share it.
Give yourself grace in drawing. I know some folks want a “perfect” and more clean and simple ink drawing style, but that takes time. If it goes wonky, lean into it!
Practice consistency with your lines. Don’t try all the patterns at the same time, or a drawing can become visually unglued. Pick one to try, maybe add one as an accent, and you’ll get better at the main technique faster.
Clean thick inks often. Dye inks, india inks, and anything thicker than normal water-based inks should be cleaned off the nibs every once in a while. I use whether I can see the breathing hole or not as my cue - it’s part of the capillary action that draws ink down to the nib.
Try “faking” the lettering. I do recommend drawing your art supplies - since that’s what we love, why not practice sketching them? Learn to just fake the lettering so you don’t get bogged down in trying to write thing that aren’t crucial to the drawing.
Create value range differences. When squinting at your work, see if it splits into black vs white or if there are also at least a few values of grays.
Create shape differences. Arrange elements in the drawing that have interesting shapes. That puffer fish’s spines were perfect to stick up out of the frawing portion near the empty space by the text.
Create texture differences. Choose subjects with different textures - or use different techniques for rendering. Not all the techniques (see tip 2!) but altering techniques can help differentiate the subjects’ shapes.
Draw with an upside down nib. This will often give you a thinner line to create a more delicate line. You can swap out a nib but try this first and save a few seconds trying to figure out which nib to pull out.
This being the first big piece completed with the Speedball ink, I do have a couple tips I didn’t include in this video….this may apply to other india inks too:
This ink is thicker than others you might be used to, like Platinum Carbon Black. Working with it showed me that it won’t ever be good in a fountain pen, you can sense how much thicker it is, and it dries harder on the nib than other nibs.
It’s india ink, which means it’s both dye and shellac - and shellac is…..bugs. Just to creep you out like it did me. ha.
When watercoloring over it, the paint does “pull away” a bit, but does seem to settle down. More experimentation required to see if that’s a regular thing.
Clean the edges of the bottle from time to time. My big spill came because I hadn’t tightened the cap because the ink on the edges had dried enough that it wouldn’t seal. Taking a baby wipe to the edge of the bottle and inside the cap fixes that.
The new courses are available - and I’m extending the pre-registration discount until every lesson is uploaded; right now there’s 1 or 2 for those ready to get started immediately….and today I’ll be working on voiceovers and writing up classrooms. Should all be done by the weekend at the absolute latest.
Ink Drawing Jumpstart (level 1)
Sparkling Seashells Class (level 2)
Inked Seashells Class (level 3)
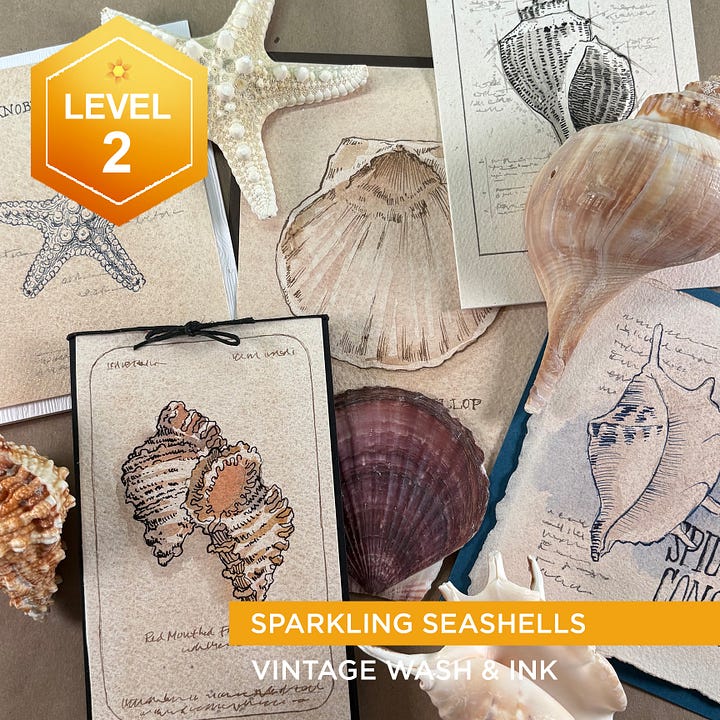
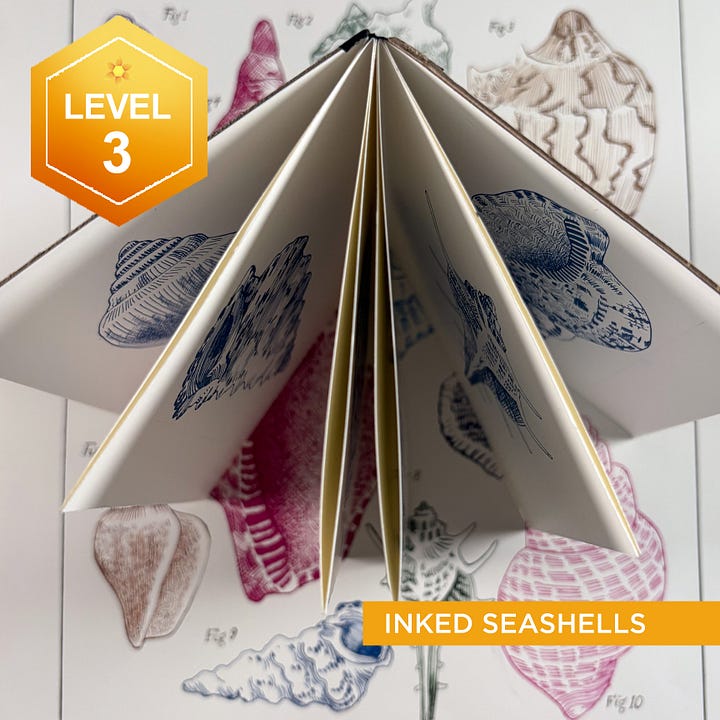
We’ll have a Friday night zoom party —-chill out in your PJs if you like, bring an adult beverage if that suits you…and we’ll hang out and work on our art projects! I’m happy to answer art questions, or we can just shoot the breeze and hang out! It’ll be at 5pm Pacific - join us!

I almost forgot to include a joke in the video…but I gotcha covered here as always:
What do you call a puffer fish that takes way too long to inflate?
A buffer fish.Why do puffer fish hate arguments?
Because they always get too defensive!How can you tell a puffer fish ate too much salt at dinner?
He is looking a little blow-ted!Why are puffer fish so bad at keeping secrets?
They always end up spilling the air.Why did the puffer fish go to the doctor?
His inflation mechanism was feeling a bit swell.
Comments
Nothing yet. Say the first thing.
Sign in to join the conversation.