
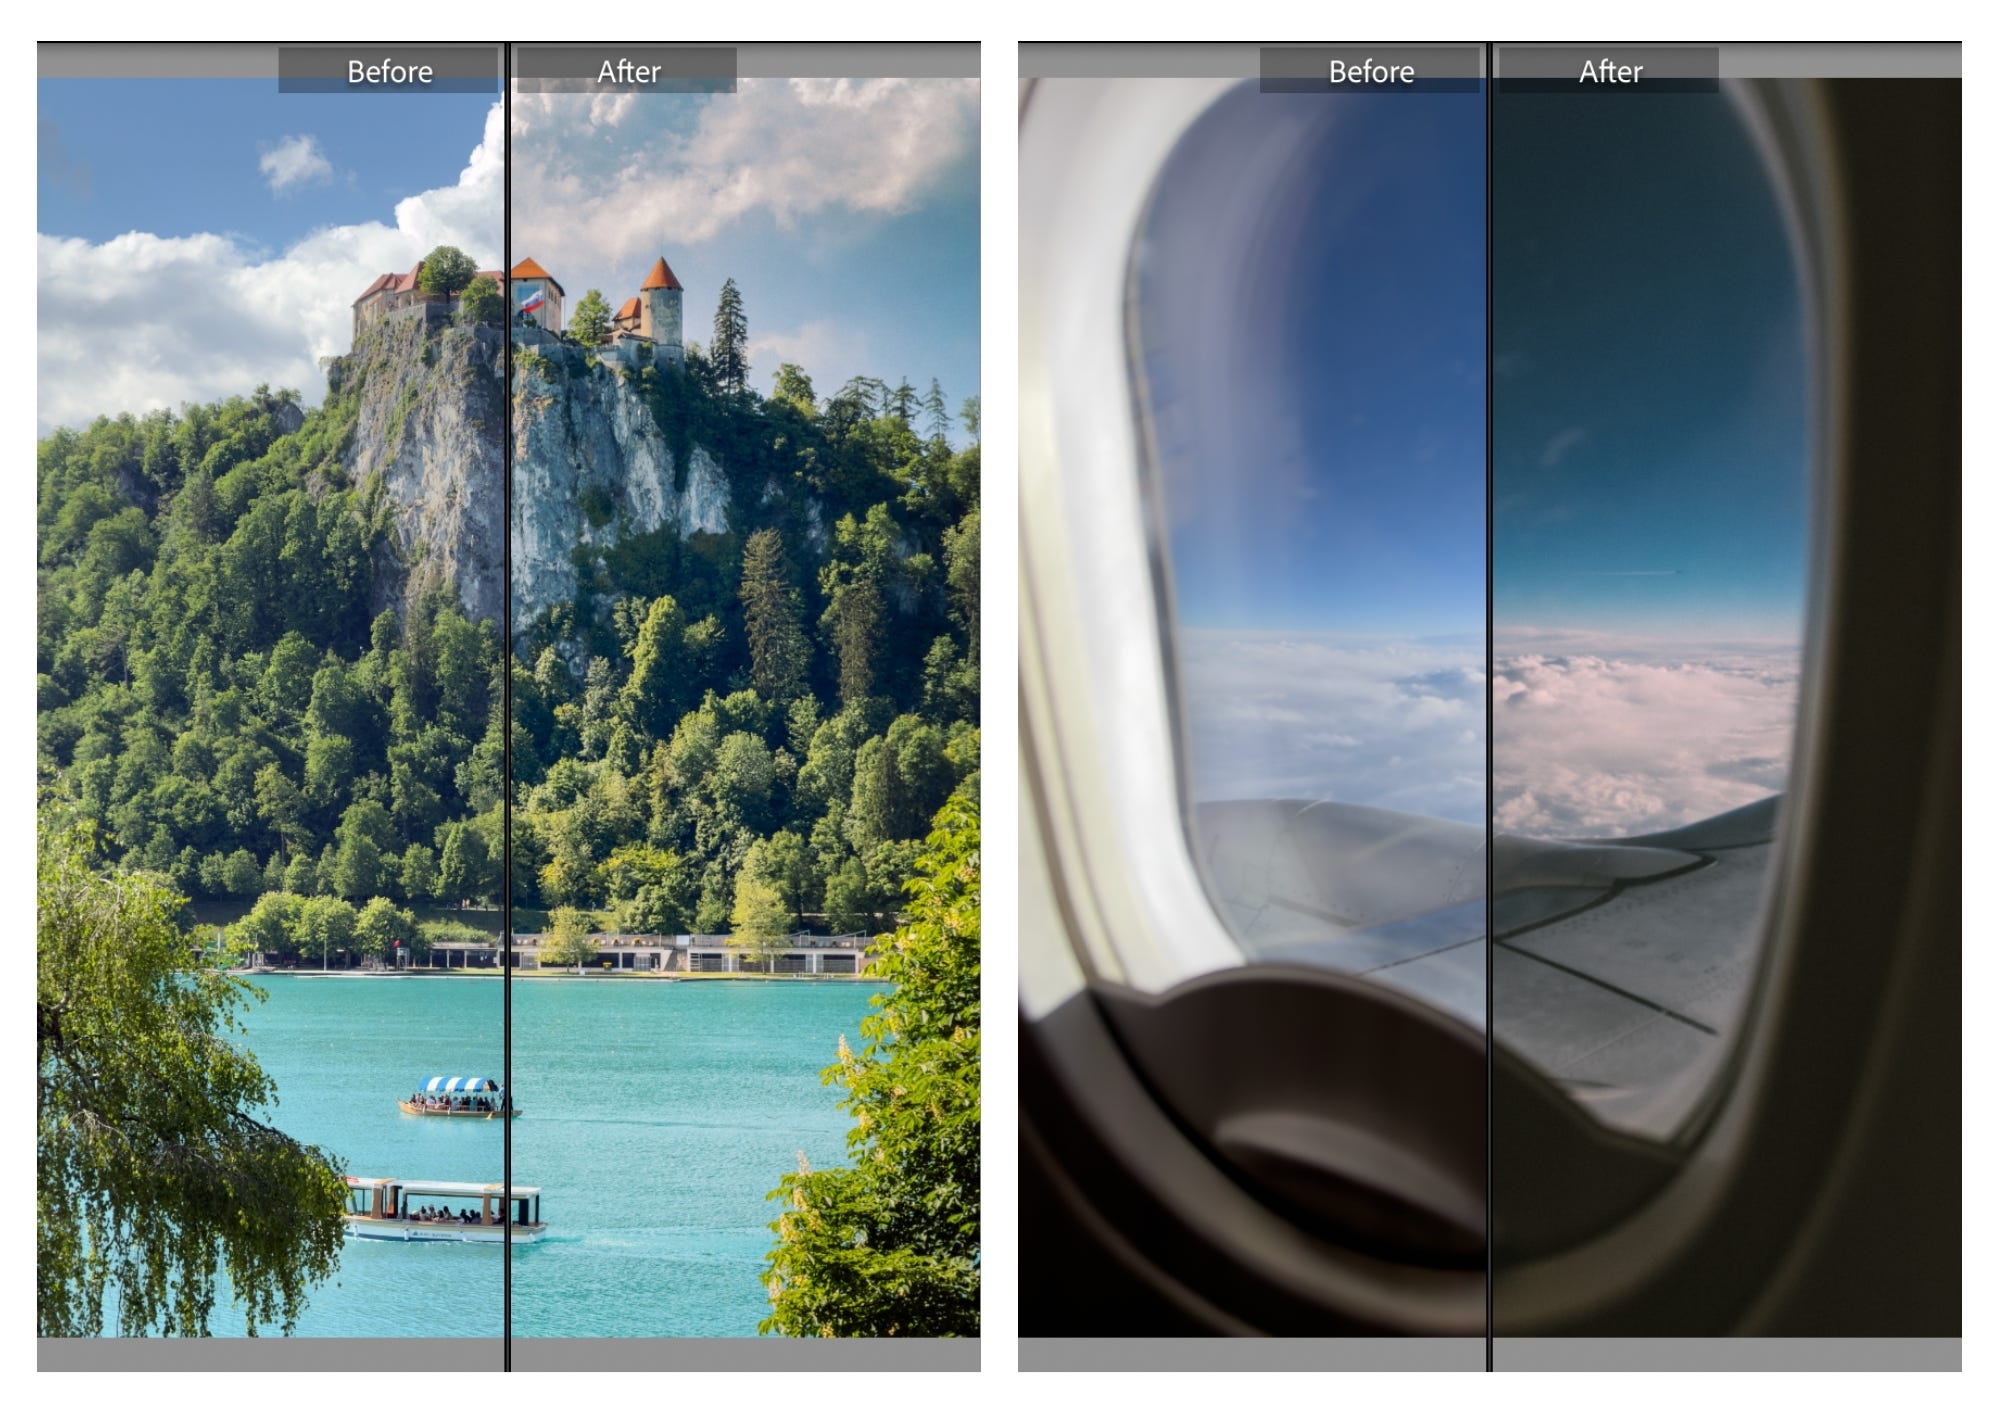
When shooting on an iPhone, the editing process couldn’t be easier: there is no transferring files or cables & SD cards to get lost. Editing photographs is the last step in bringing your images to life, and in this article I’m going to talk you through some tips and tricks for editing your iPhone images on your phone.
This process should be about enhancing what is already there, tweaking the colours to suit your signature style, or simply adding that last layer of dimension. Though it can seem overwhelming for beginners, it doesn’t need to be an intense or confusing process.
In this article, you will learn the best file types for editing, ways to fine-tune your colors, and how to get creative with edits. There are many apps and software you can use to edit your photographs, and today I am going to show you how I edit in my signature style in both Lightroom and the iPhone’s native Photos app.
Buy my prints or buy me a coffee.
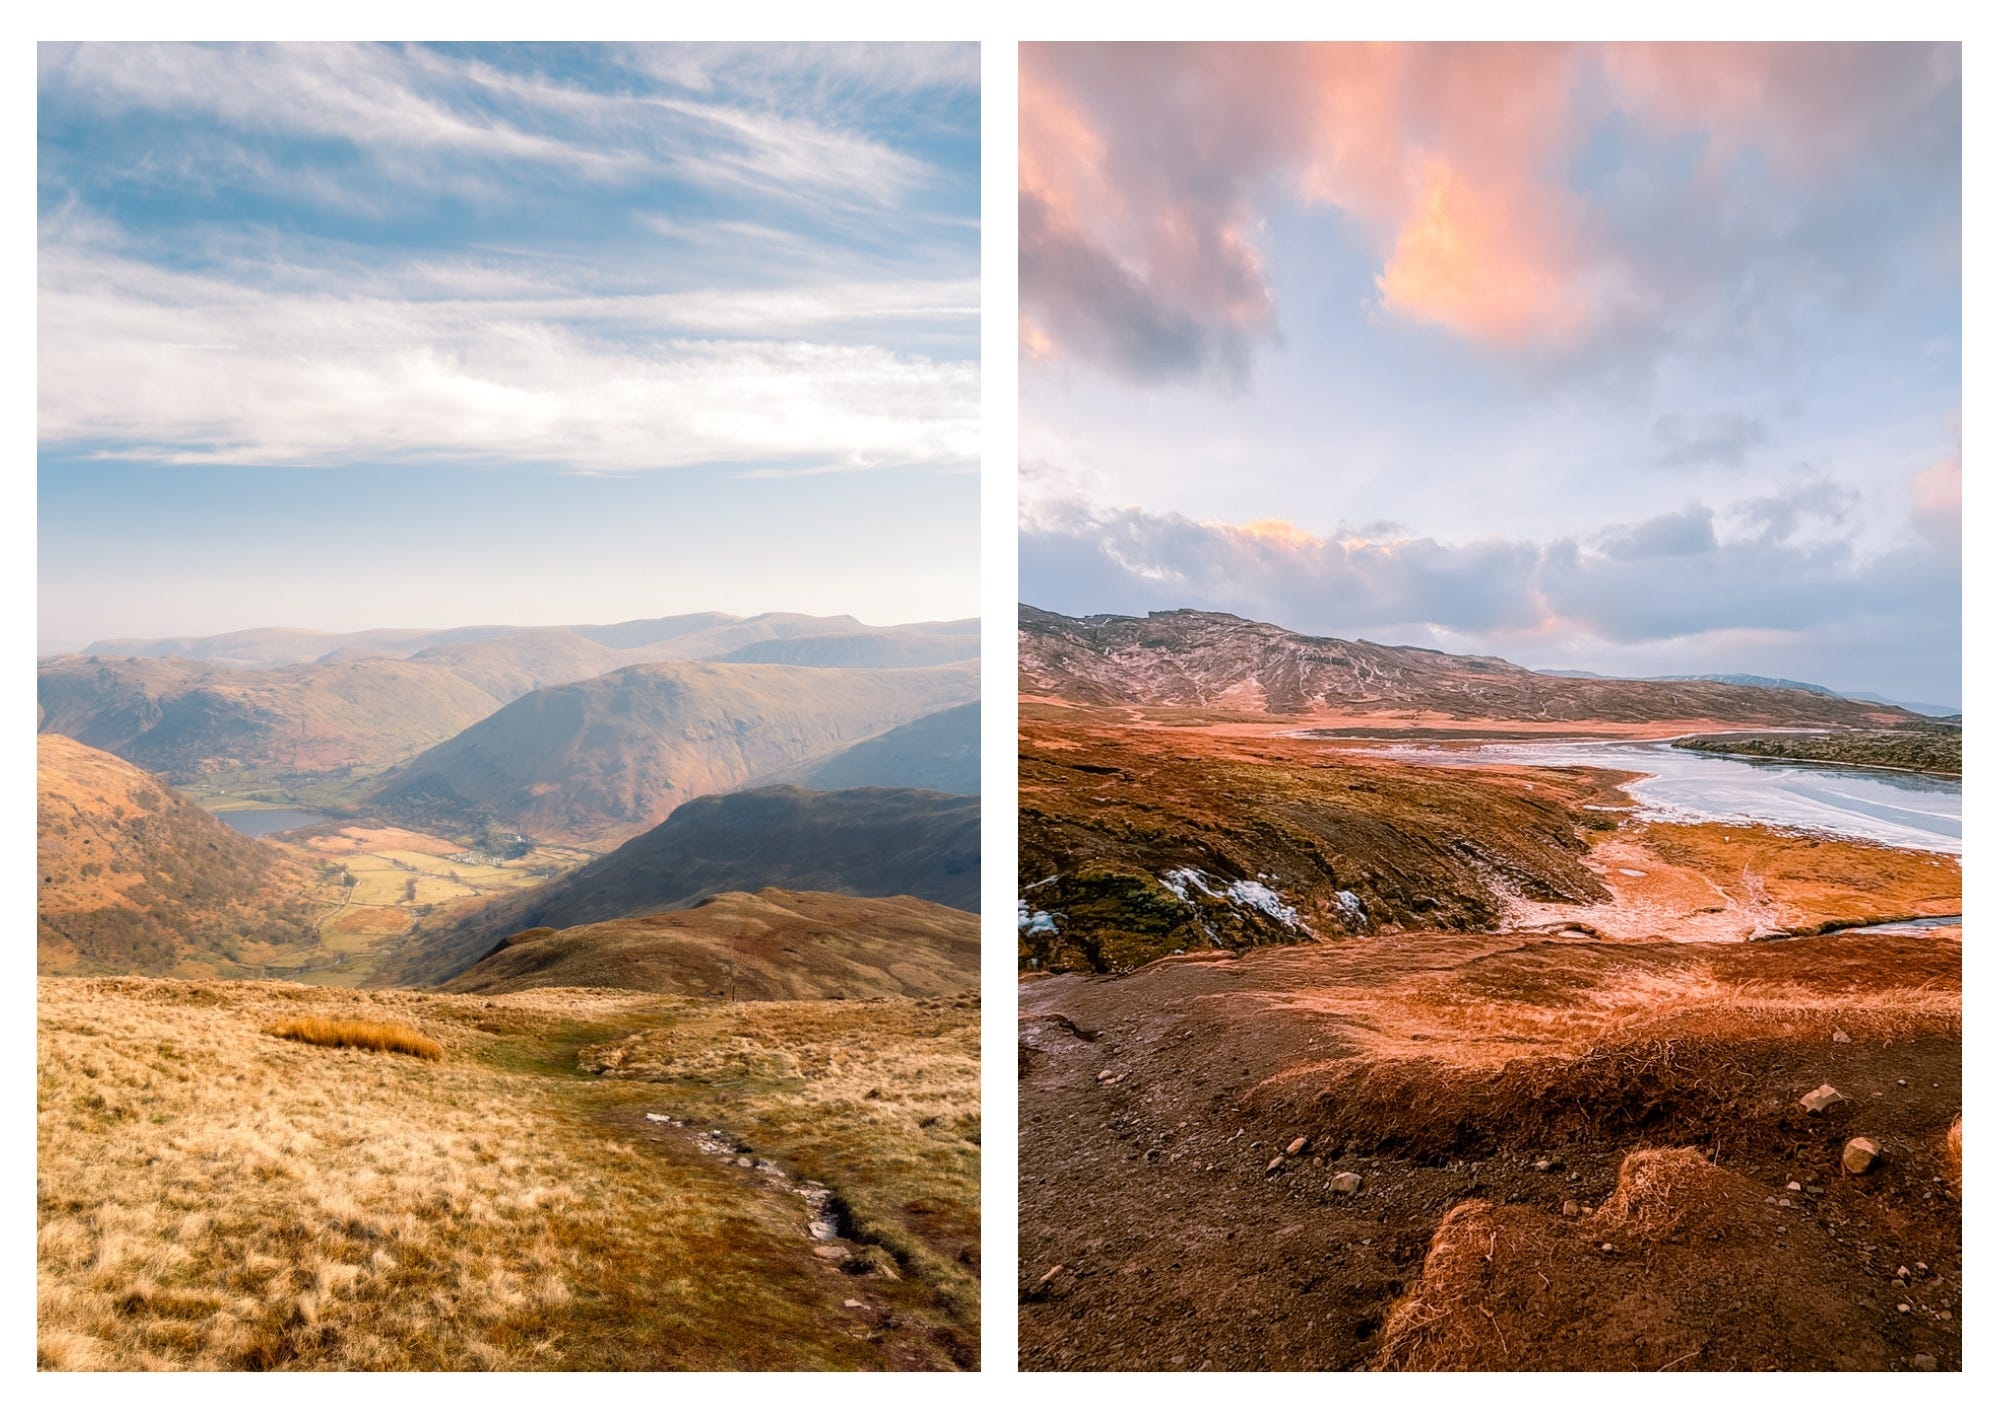
My signature colors are usually warm golden tones with rich greens, and though I mostly achieve this look through editing, there are other factors to consider. The time of day you shoot, the outdoor light, and the gear you use.
But before we begin pressing the shutter button, we have a decision to make:
This is a choice you make in camera/on the phone before you even shoot photographs, but it’s an important decision.
A RAW file contains much more detail and produces a higher quality file, which subsequently gives you much better dynamic range and more flexibility to play with when editing. Though this can be a frustrating point for storage because the file sizes are large, you will get much more out of your photographs when you edit them, as they contain much more information. This is especially true if you are shooting in more challenging lighting conditions, as JPEGs cannot recover as much data from blown-out highlights or underexposed images. Shooting RAW also gives you more options for printing your images or getting creative during editing.
JPEGs can be great; they’re smaller in file size and brilliant for beginners who just want to practice as much as possible without filling up their cloud storage. I always shoot RAW as it gives me the option to downsize the file to whatever I need or want to store it as.
In the Moment Pro Camera App, you can choose to include a JPEG-processed file as well as shoot RAW (most cameras do this too), which is great if you want to get a preview story up for Instagram but edit the RAW photo and post it to your main feed later.
Comments
Nothing yet. Say the first thing.
Sign in to join the conversation.