
Posted on . Filed under Development
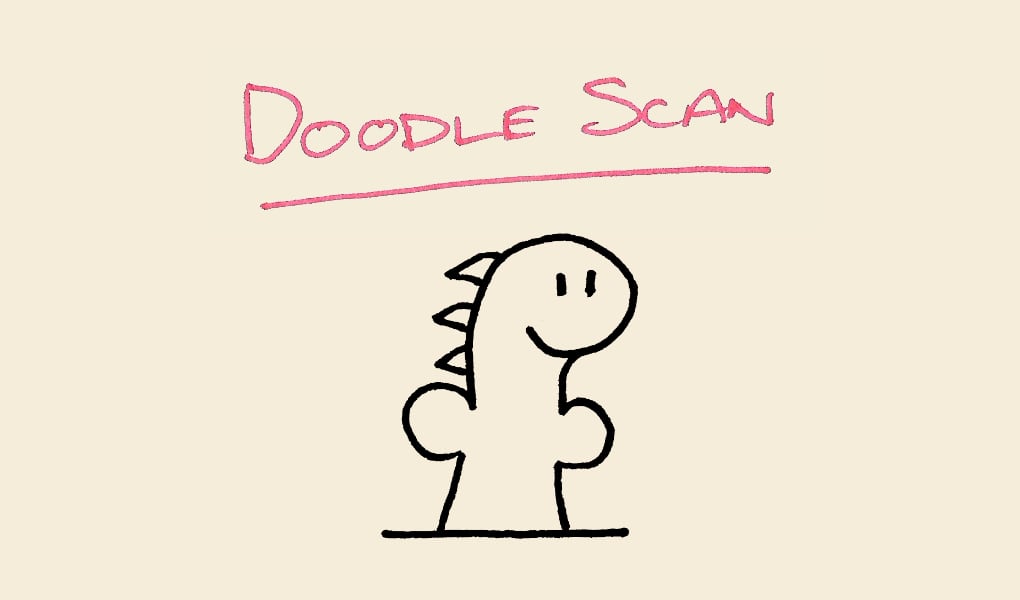
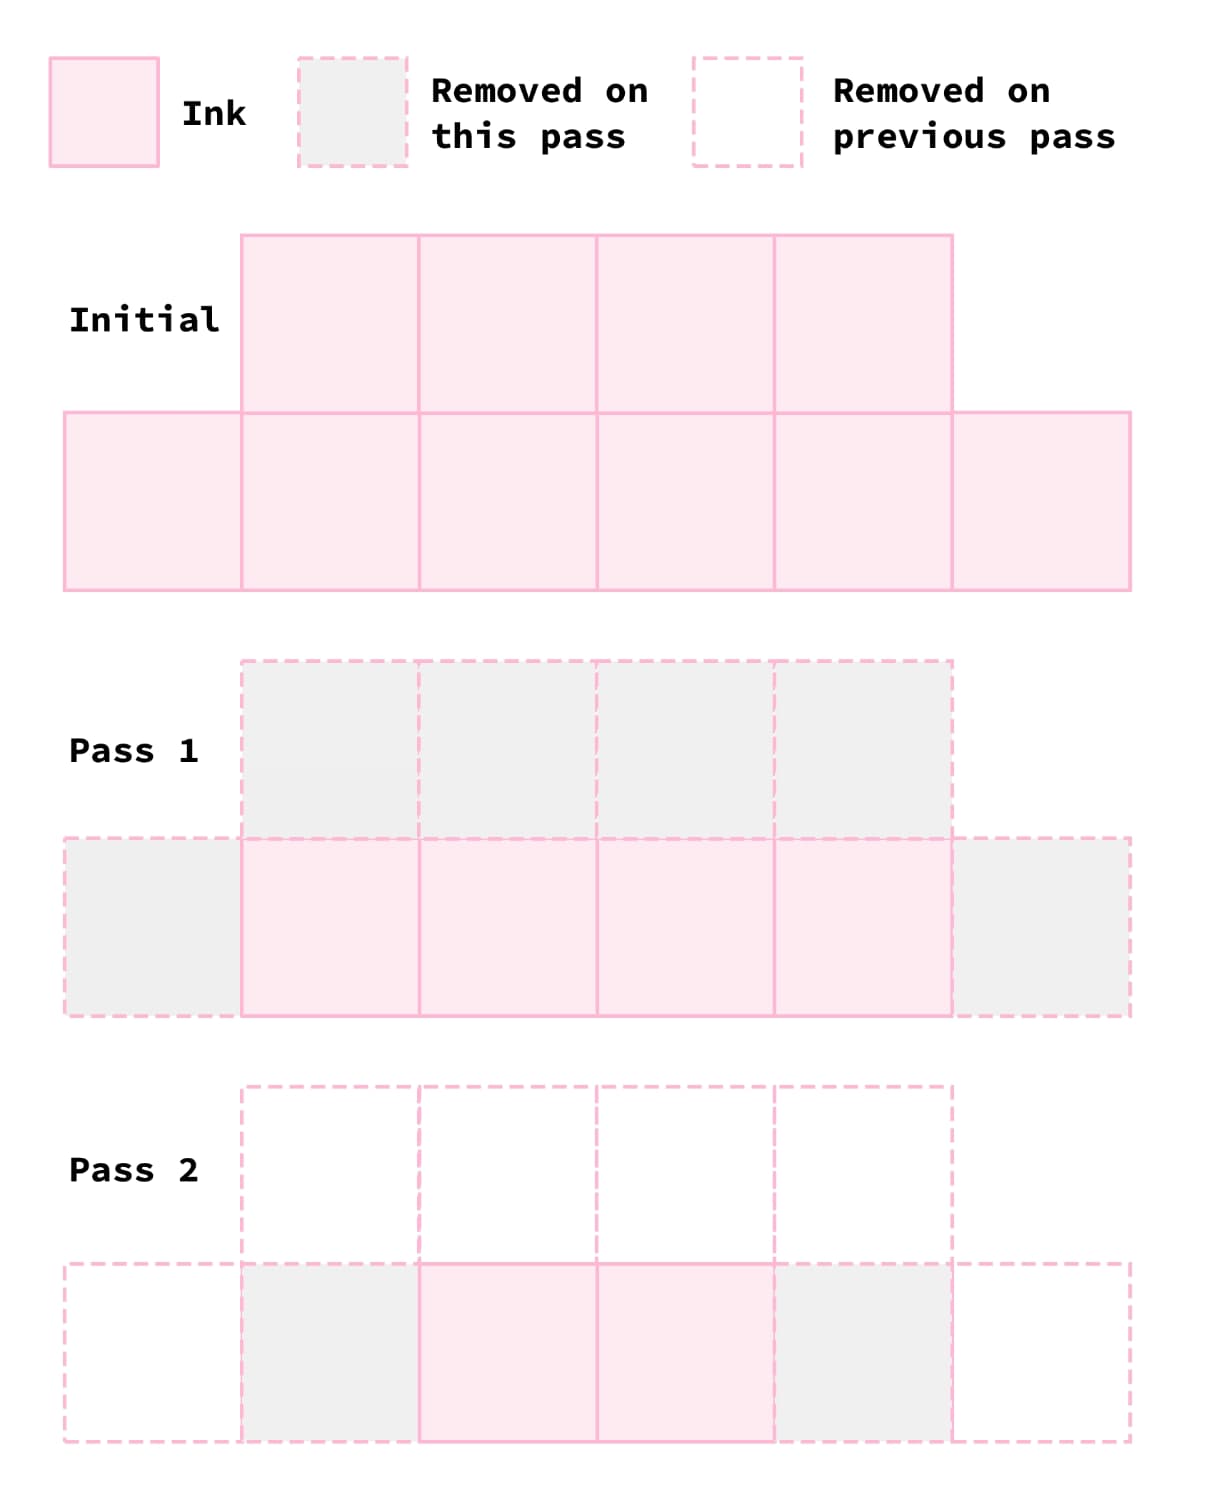
While scanning my time travel zine I thought it would be nice to include some drawings I've done as part of my website, similar to how Ana has on her site. Whenever I've tried in the past, removing a background to standard that is good enough to put on another colour background is near impossible without spending a long time in Pixelmator fixing all the edge artifacts. I came across a couple of websites that do this and I noticed that they do it all in-browser so I started digging around — they convert the uploaded image to a bitmap with tl;dr: The website is up at doodlescan.rknight.me — read on for the technical nonsense. Also Jeff is back. Update mere hours after this went live Apparently Jeff looked like a penis so I redid him "Relative luminance" is the key to this part as defined by WCAG 2.x. Take the RGB values and do the following calculation to get the relative luminance, a single value to compare against. I can't find where I read this now but green and blue are weighted higher because the human eye are more sensitive to those colours. An easy example is a grey where all the values are the same — given an RGB value of const r = g = b = 51 const r = 130 getLuminance(r, g, b) // 186.7064 This example range of six colours from pure black to pure white gives an easy to understand example of how the threshold affects what gets removed. The default I set of So for each pixel, get the relative luminance value, then compare it to the threshold. If it's lower than the threshold, it gets kept, otherwise it gets set to fully transparent. I'm also checking if it's transparent already and if it is, ignoring it. for (let i = 0; i < data.length; i += 4) { const isNotTransparent = data[i + 3] > 0 if (ui.controlBW.checked) { I wanted a black ink only mode where it would set all kept pixels to black (or a colour of my choice) which is what that A bonus of the threshold control is how much it helps in removing backgrounds on uneven scans or photos, like the example below. With the default threshold nothing gets removed but if I drop it to ~100 and switch to black and white mode, I'm able to remove most of the background while not losing too much detail on the drawings themselves. If this were more important I would use a proper scanner or light the image better but this will be handy for quick doodles. I looked through how this worked on the other websites I found, read the code, made some notes, had a little cry, drew some diagrams, read more code, then I finally understood it. It looks at every pixel and if it has a transparent neighbour, then set it to transparent and do the same for each pass up to five times. This diagram I made explains better than I can about how it works over two passes. This was the the part where I really had to focus to understand what this was doing. The darken lines slider sets a percentage which is then used to determine how much to darken the ink by. It involves getting the darkness or inverse luminance of the pixel, then calculating the amount to darken by by multiplying the darken value by darkness squared, multplied by the alpha level divided by 255 — as best I can tell this last bit reduces the effect on semi-transparent pixels. So yeah, maths. This feature is only useful when using colour mode. data[i] = Math.round(r * (1 - amountToDarken)) Now I'm "done" with this I can loop back around to where I started which was making some illustrations for my new website design and all I had to do was build an entirely new tool to do it. This will also be handy in September when where I'll be doing drawings for St Jude again.
createImageBitmap and then going over every pixel and it's rgba values to determine if it should be kept, or made transparent. It was time to do some maths which I am famously not good at - most of what is below is my best estimate at explaining how this works.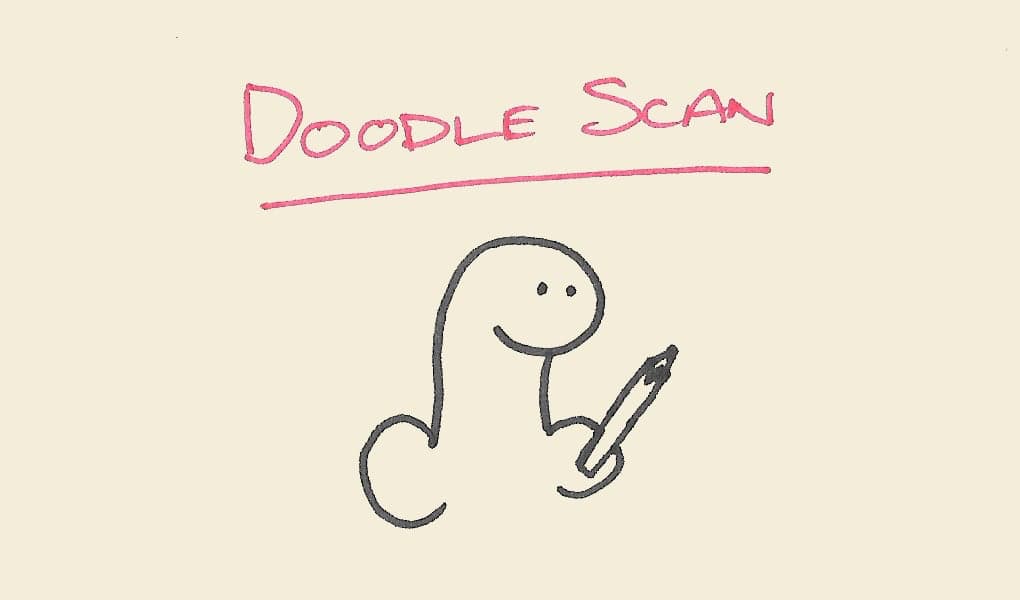
Removing the Background
51,51,51 the output will be 51. For something like sky blue the RGB is 130,200,222 we get 186.7064.getLuminance = (r, g, b) => {
return 0.2126 * r + 0.7152 * g + 0.0722 * b = 5154.213
}
getLuminance(r, g, b) // 51
const g = 200
const b = 222235 will only removed the pure white one but the lower than threshold gets, we only keep colours closer to black.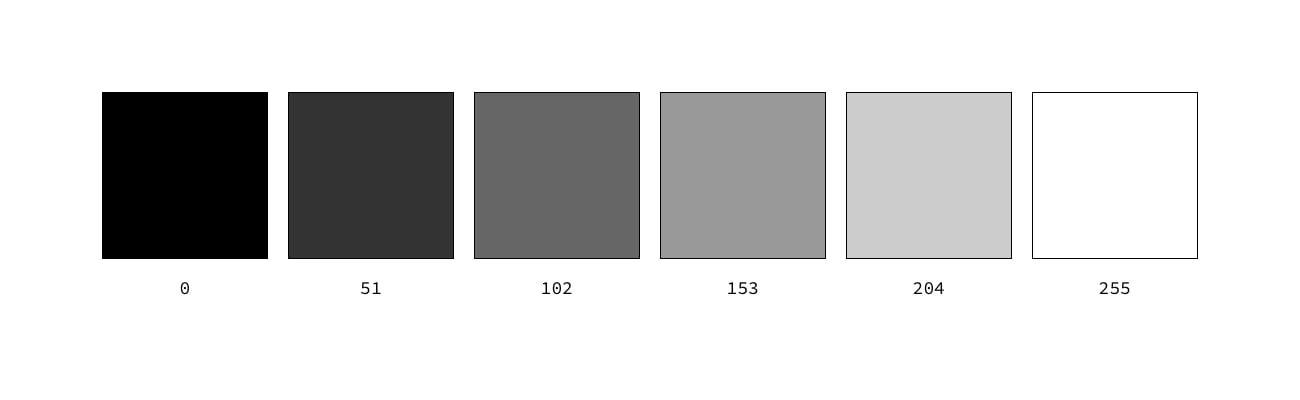
const { r: inkR, g: inkG, b: inkB } = hexToRGB(settings.inkColour)
const { r: paperR, g: paperG, b: paperB } = hexToRGB(settings.paperColour)
const alpha = settings.transparent ? 0 : 255
let lum = 0.2126 * data[i] +
0.7152 * data[i + 1] +
0.0722 * data[i + 2]
const keep = lum < threshold && isNotTransparent
// For black and white/single colour
// set the ink colour
data[i] = keep ? inkR : paperR
data[i + 1] = keep ? inkG : paperG
data[i + 2] = keep ? inkB : paperB
data[i + 3] = keep ? 255 : alpha
} else {
// when keeping colour, keep the pixels colour
data[i] = keep ? data[i] : paperR
data[i + 1] = keep ? data[i + 1] : paperG
data[i + 2] = keep ? data[i + 2] : paperB
data[i + 3] = keep ? 255 : alpha
}
}if/else is doing above. I also added options to set the paper colour because why not. I actually ended up using that feature to make the logo for the site.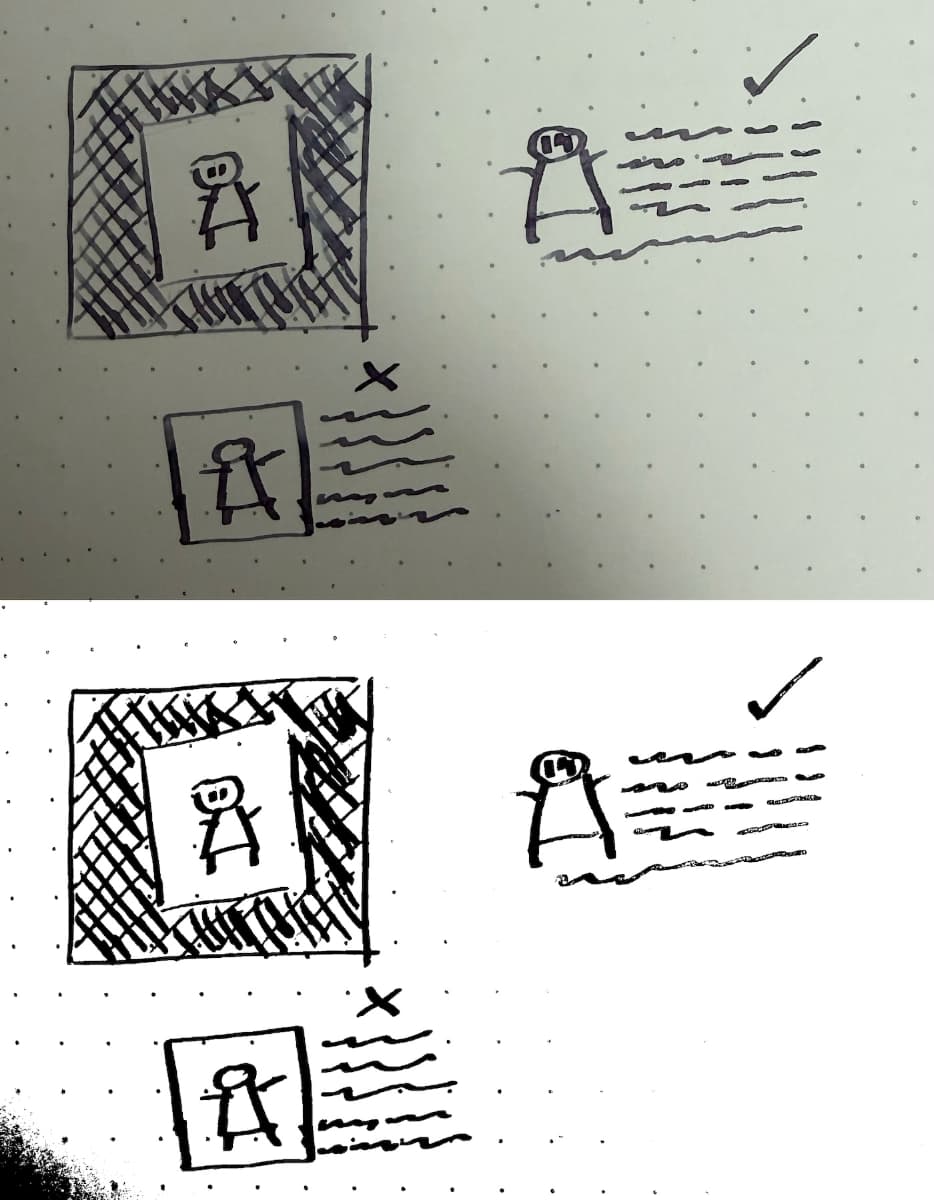
Edge Shrink
Darken Lines
const darkness = 1 - (0.2126 * r + 0.7152 * g + 0.0722 * b) / 255
const amountToDarken = strength * darkness * darkness * (alpha / 255)
data[i + 1] = Math.round(g * (1 - amountToDarken))
data[i + 2] = Math.round(b * (1 - amountToDarken))Out of the rabbit hole

© 2026 Robb Knight
I have the honour to be, your obedient servant, r dot knight
Comments
Nothing yet. Say the first thing.
Sign in to join the conversation.