
Cold–moist stratification is a foundational skill in native plant propagation, and it also is very accessible to beginners. If you have access to play sand, plastic bags, and a refrigerator, you can cold-moist stratify seeds. This post will be focused exclusively on the cold–moist variety of stratification, but there also exists a warm–moist flavor, which is a topic for another post.
Before I begin the technical portion of this article, it’s worth dwelling for a moment on the word stratification. In any other context, the word stratification would carry a sense of layers (i.e., strata): take—for example—geology, where it refers to the process by which layers of rock are formed; or sociology, where it refers to the hierarchical layering of society by class, status, and power; or music, where it refers to the layering of musical texture. So why do we use this word to describe cold-moist pretreatment of seeds?
As is often the case, the answer is history. The earliest usage I could find of the word stratification in the context of pretreating seeds in damp media comes from Robert Thompson’s 1859 publication The Gardener’s Assistant, in which he describes stratification as a process “which consists in placing a layer of seeds on the surface of the ground, then a layer of sand or light soil from 1 to 2 inches in thickness, then another layer of seeds, and so on.”1 So in this early usage, the process of pretreating is in fact a process of layering. To complicate matters, Thompson clarifies that “it is immaterial whether the seeds are placed in alternate layers, or simply mixed with the soil.”2 So why call it “stratification” at all, if the layers are immaterial to the process? Thompson makes no claim to have coined the term, so it’s likely he’s just reporting a term already common in horticultural circles. At any rate, 150 years later, the process of stratification no longer involves layers, but “stratification” is the word we’re stuck with.
Assuming you already have a refrigerator, you only need two things to stratify seed:
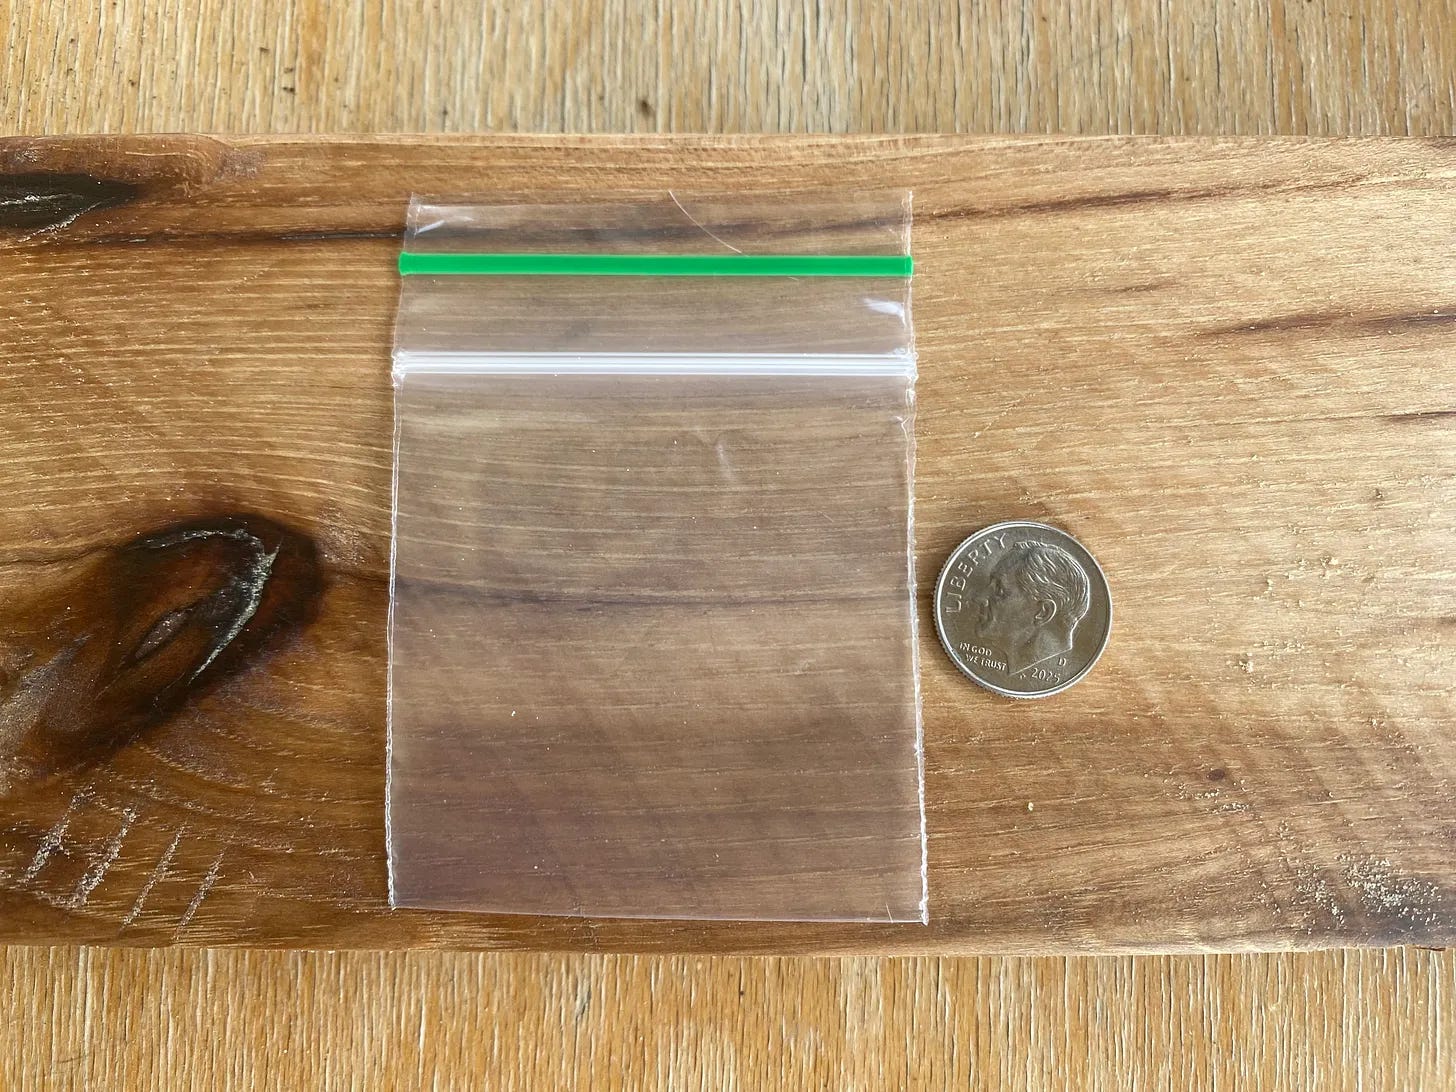
Plastic bags. Any small reclosable plastic bag will work. For any given species, I tend to stratify about one-packet-worth of seeds, so I favor 2-in. × 2-in. plastic bags (see figure 1). So for folks buying seed packets from vendors like Prairie Moon—or folks trading packets with friends—this is a great size. If you’re doing larger quantities than that, you’ll need bigger bags.
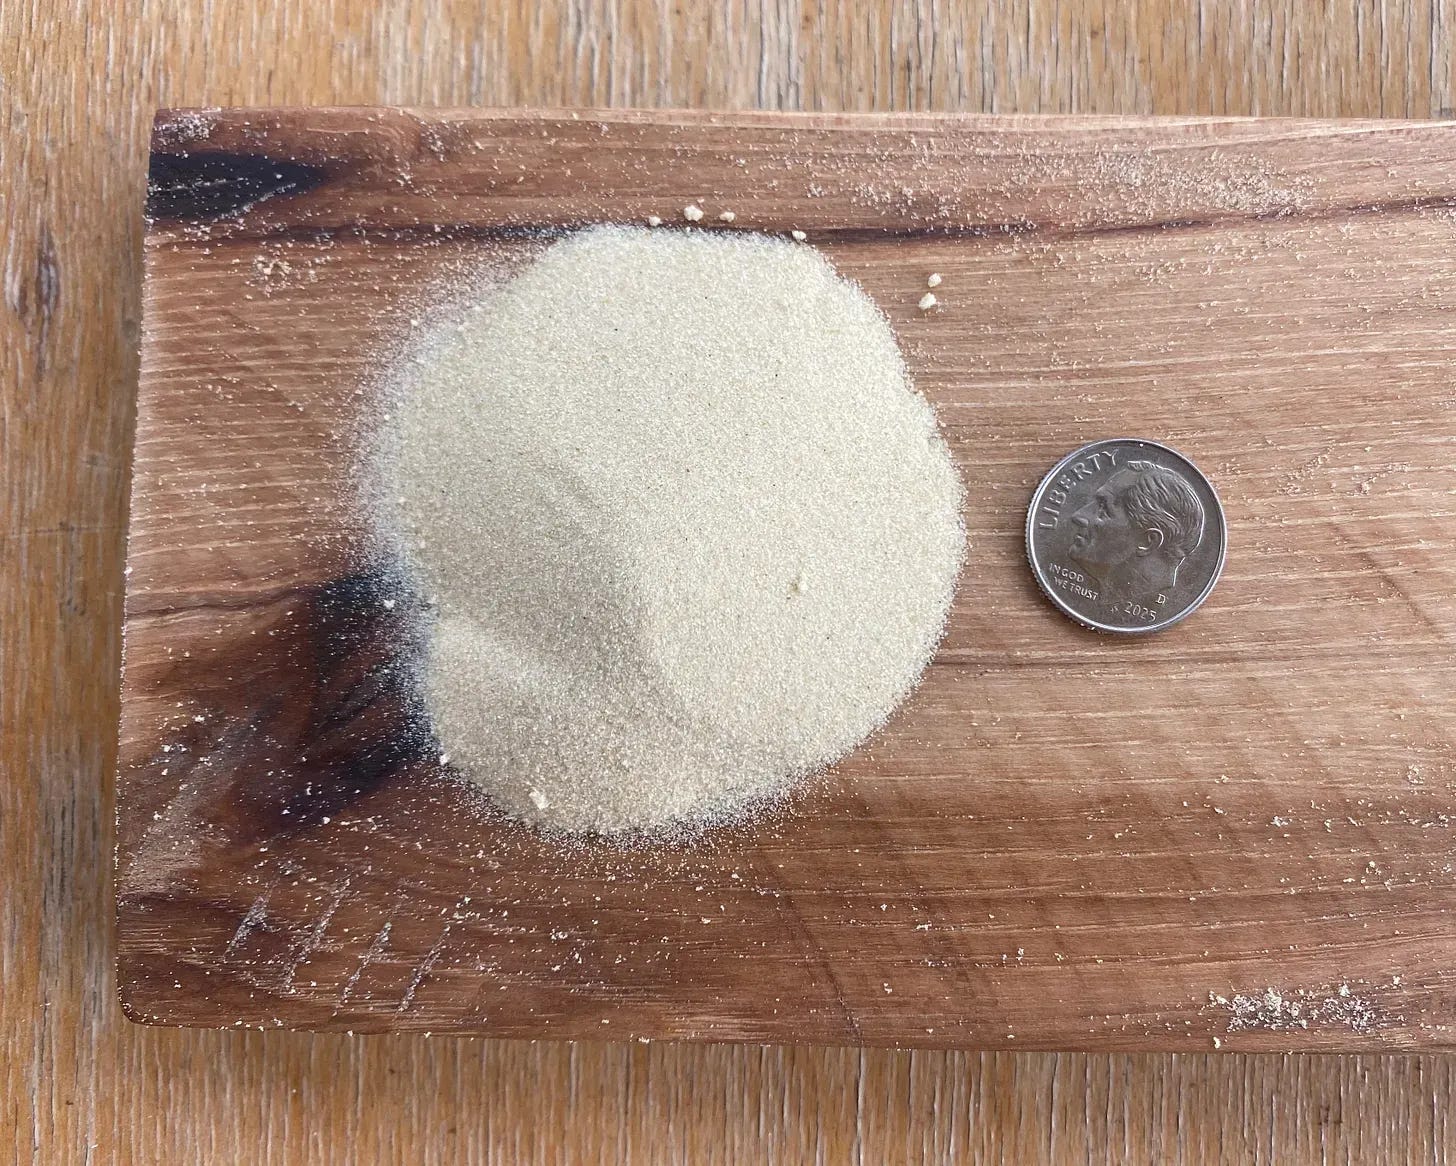
Play sand. Just buy play sand at your local hardware store. If you have multiple play sand options, choose the option with the smaller particle size. The sand I use has a very small particle size, which I can best describe as the type of sand you would expect at a luxury tropical resort (see figure 2). Ultimately the seeds don’t care that much how fine your sand is, but for my exact process, fine sand is better. Just make sure it’s not something gritty like paver’s sand. I would strongly advise against trying to collect your own sand; the play sand sold at hardware stores is washed, and is unlikely to introduce pathogens or organic material to your seeds.
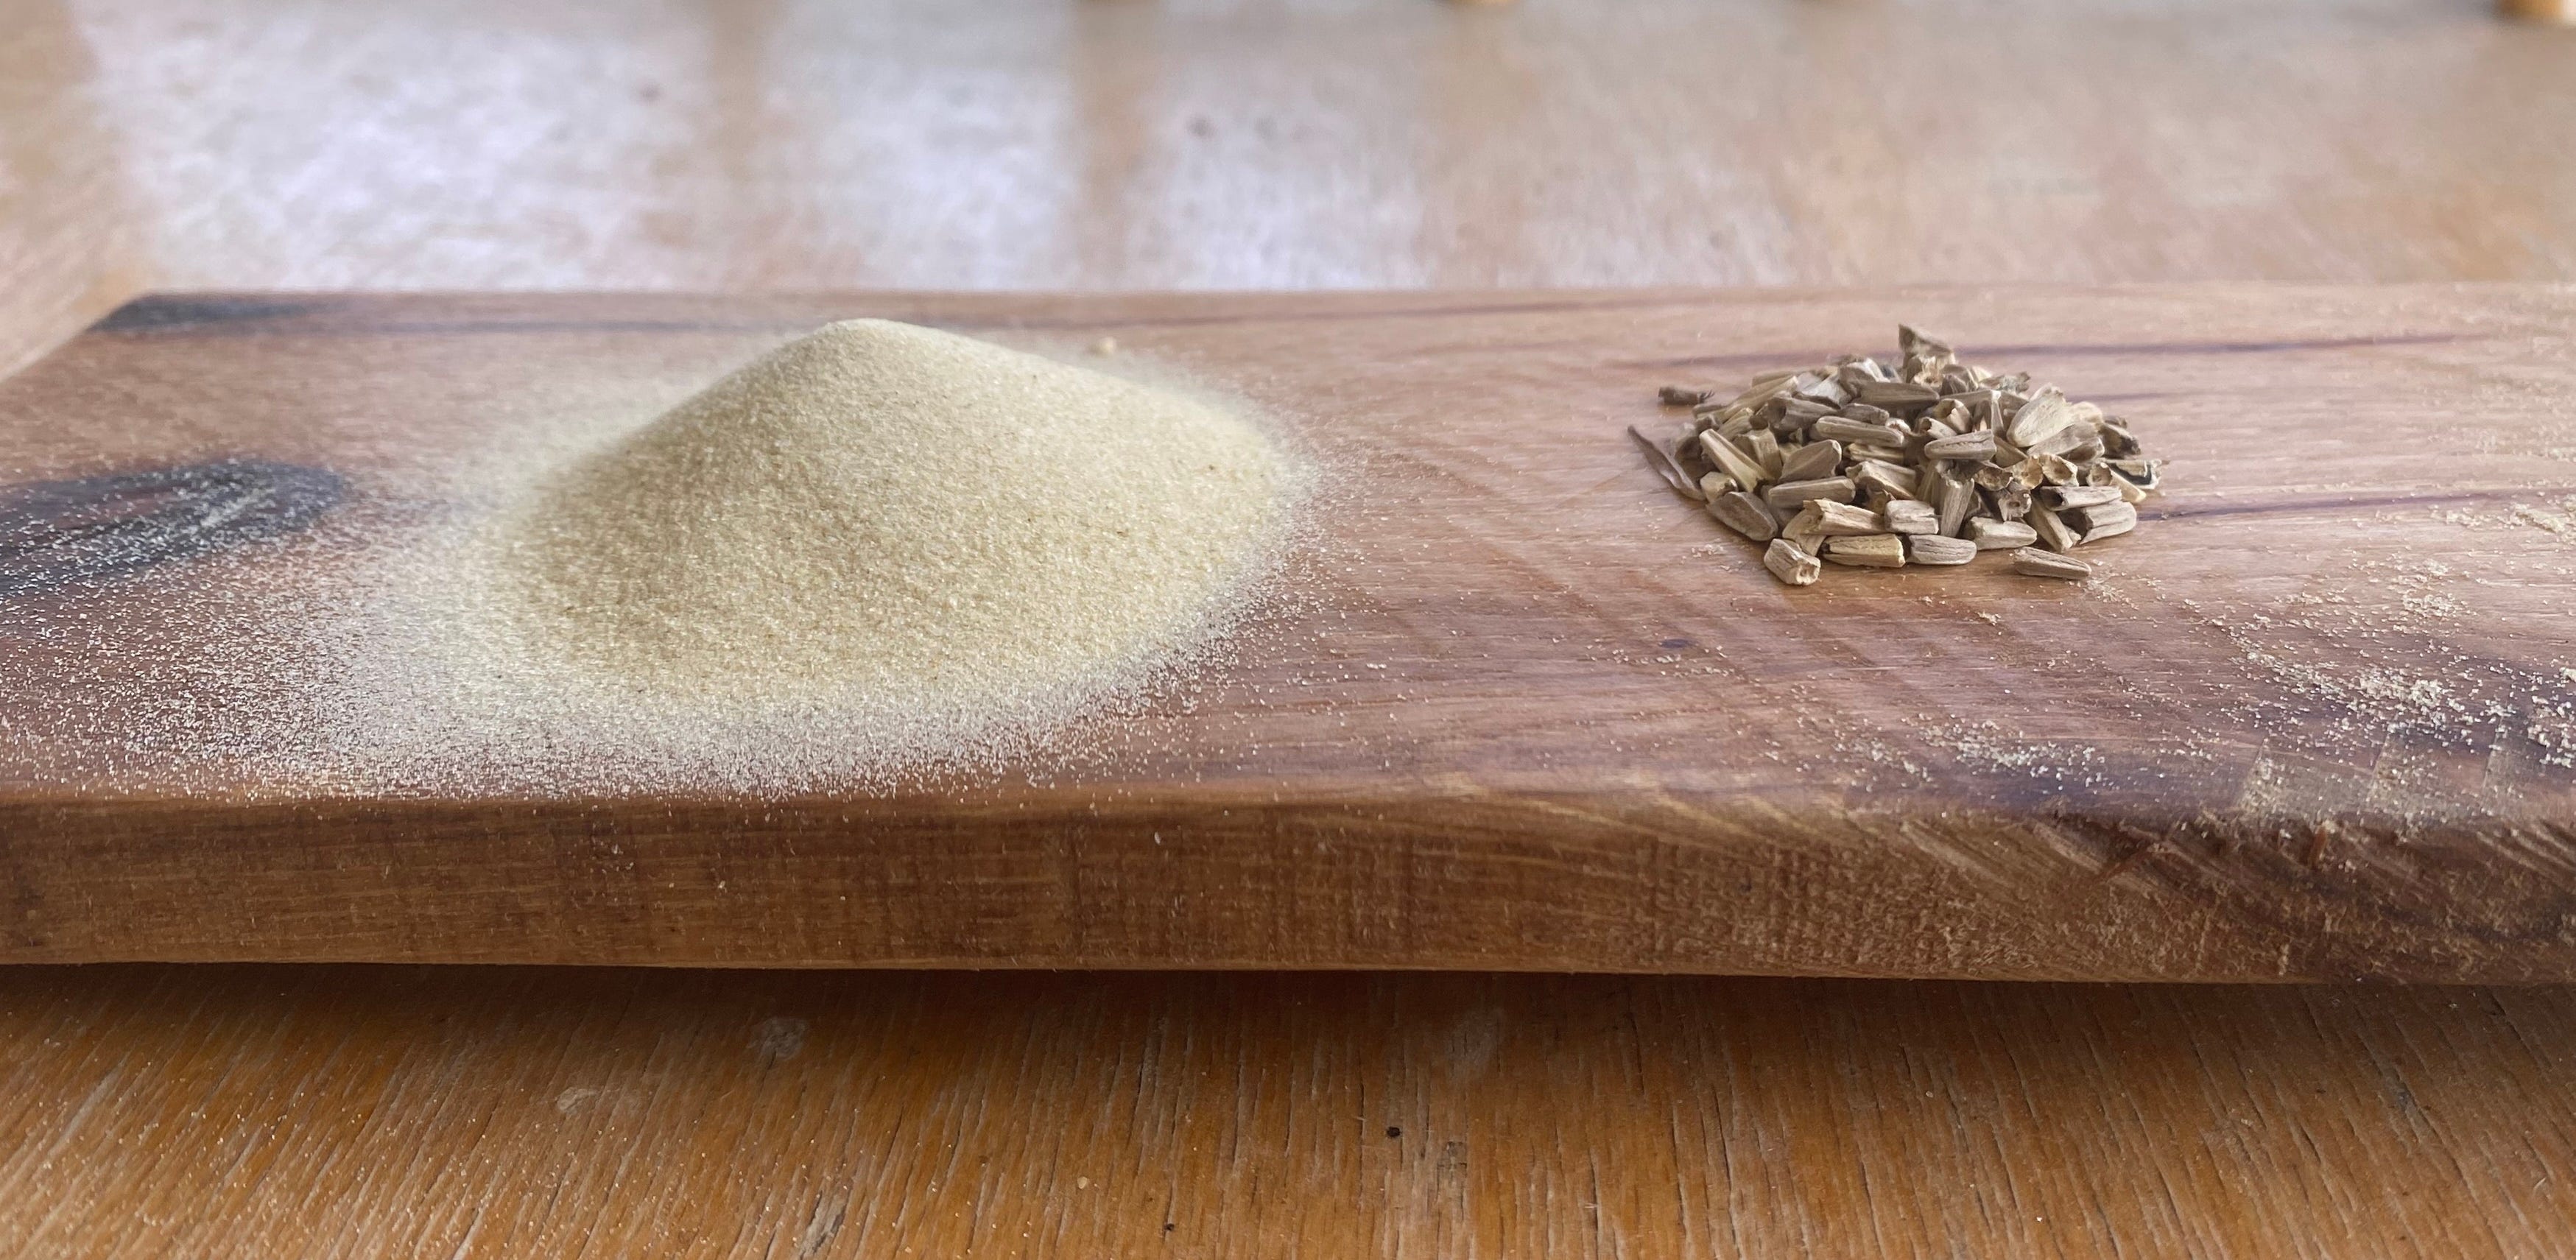
I like to use a ratio of at least 4 parts sand for every 1 part seed (see figure 3). So if you have 1 teaspoon of seed, use approximately 4 teaspoons of dry sand, or more. There’s no major disadvantage to using too much sand, as long as you’re being reasonable (don’t use a 100:1 sand–seed ration). Precision does not matter here, this is just a rough guide. You should aim to use at least 1 teaspoon of sand, no matter how little seed you have. So if you’re working with tiny seeds, even if you only have ⅛ teaspoon of seed, still use 1 teaspoon of sand.
To be totally transparent, I never measure my sand. I simply whip up a big batch of damp sand, and then take scoops of it for each species of seed I’m growing. The measurements presented here are intended to give beginners a solid footing to stand on.
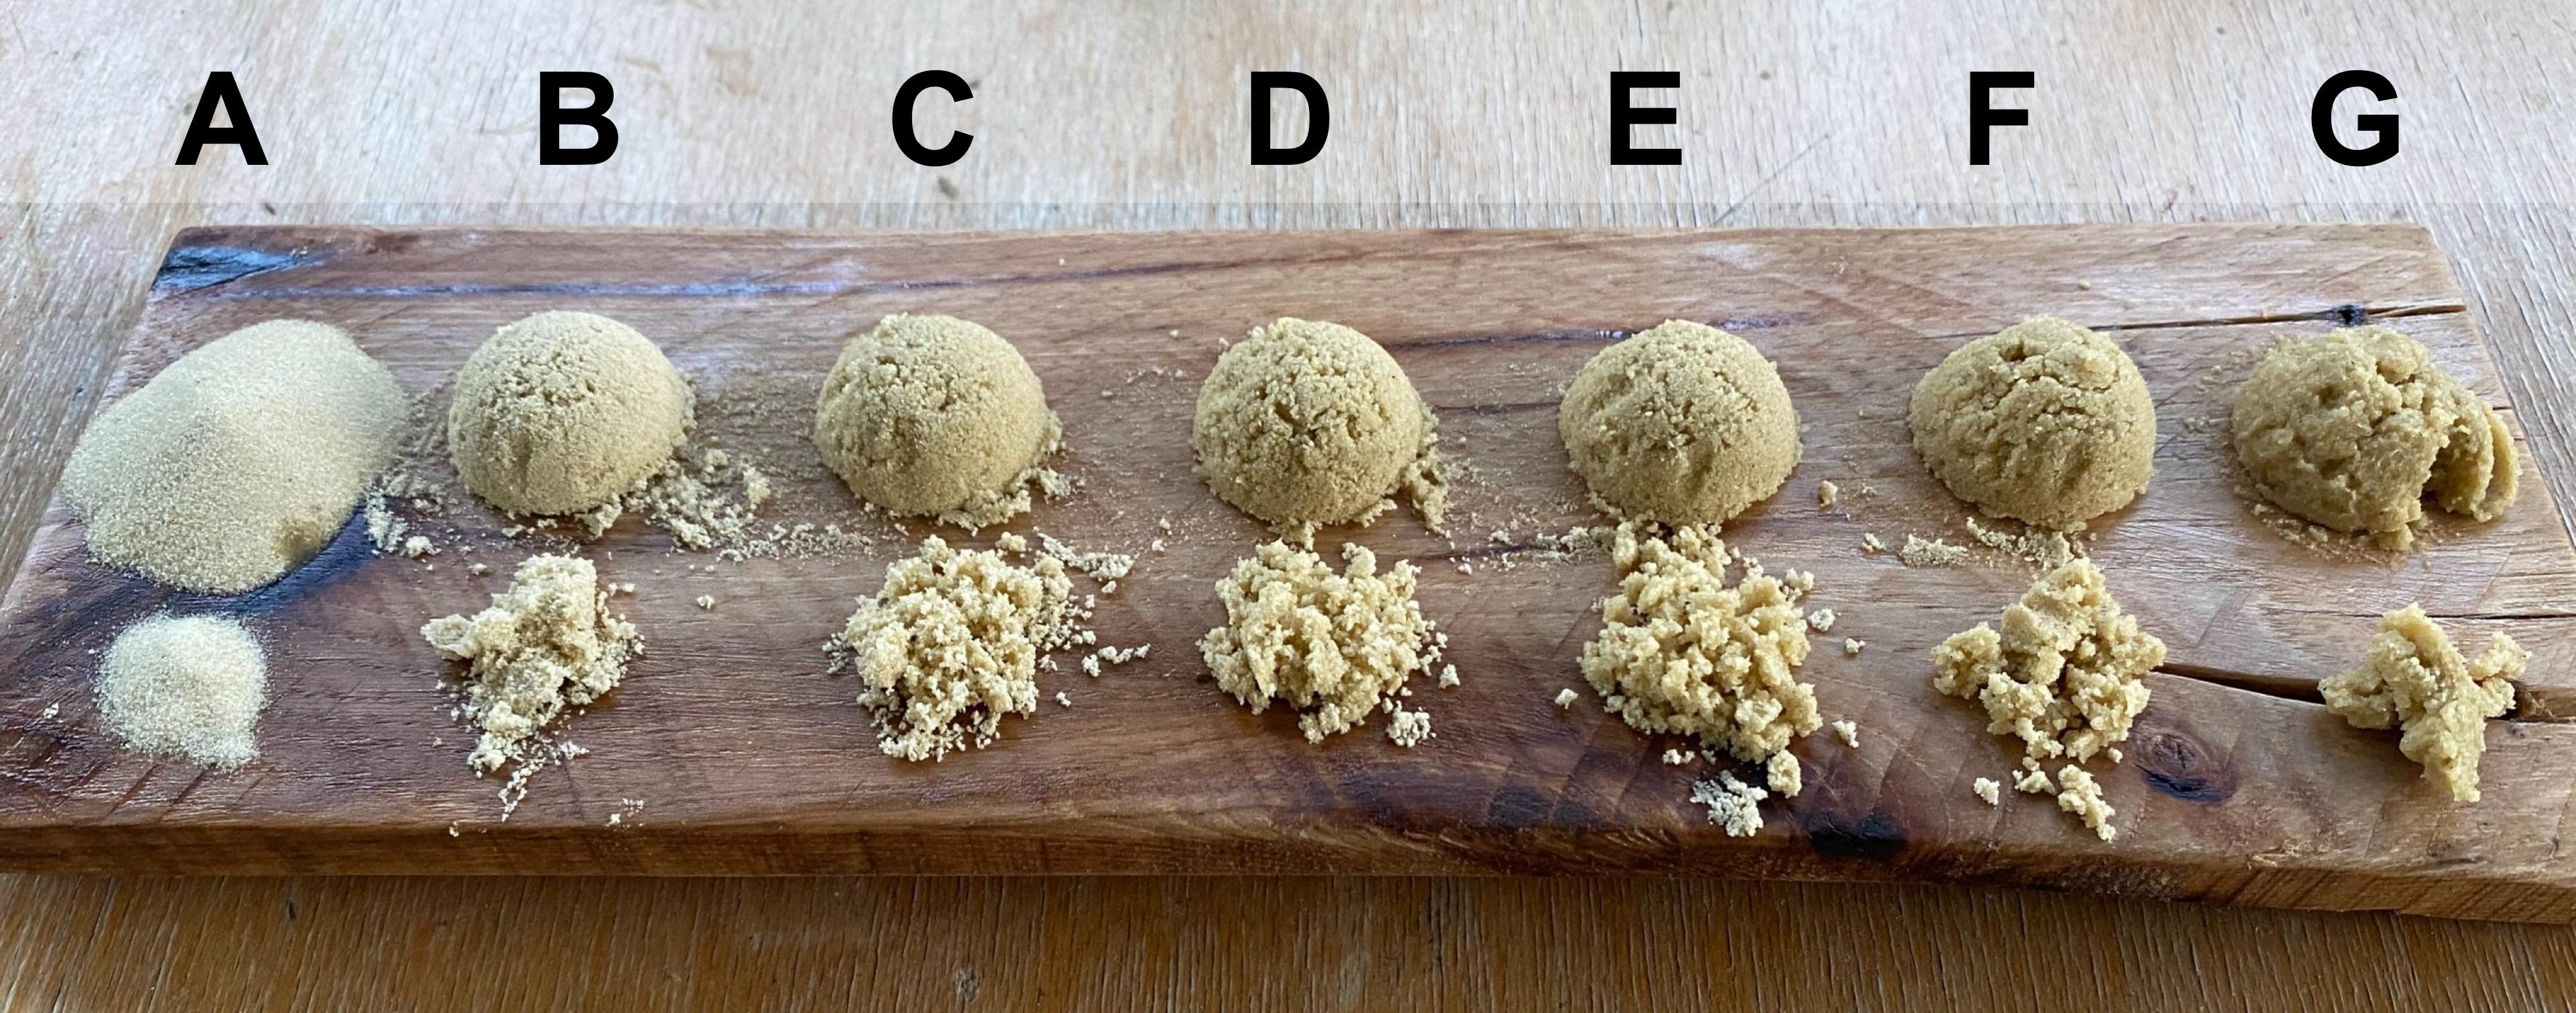
It’s now time to moisten your sand. In figure 4, I show seven levels of hydration ranging from bone dry (A) to sopping wet (G). For each hydration level, I show what it looks like molded into a dome (along the top), and also what it looks like loose (along the bottom). My recommendation is to aim for something like D or E. But if you used something more like C or F, your seeds probably won’t care.
As your seeds absorb moisture from the sand, the sand will dry out slightly. So the risk of using a hydration level comparable to B or C is that, after a few weeks, it may be bone dry like A. But if you start with sand at hydration level E, even after the seeds fully hydrate, the sand will be at level C or D, which is sufficient.
Nothing hard here, just mix your damp sand with your dry seeds (see figure 5).
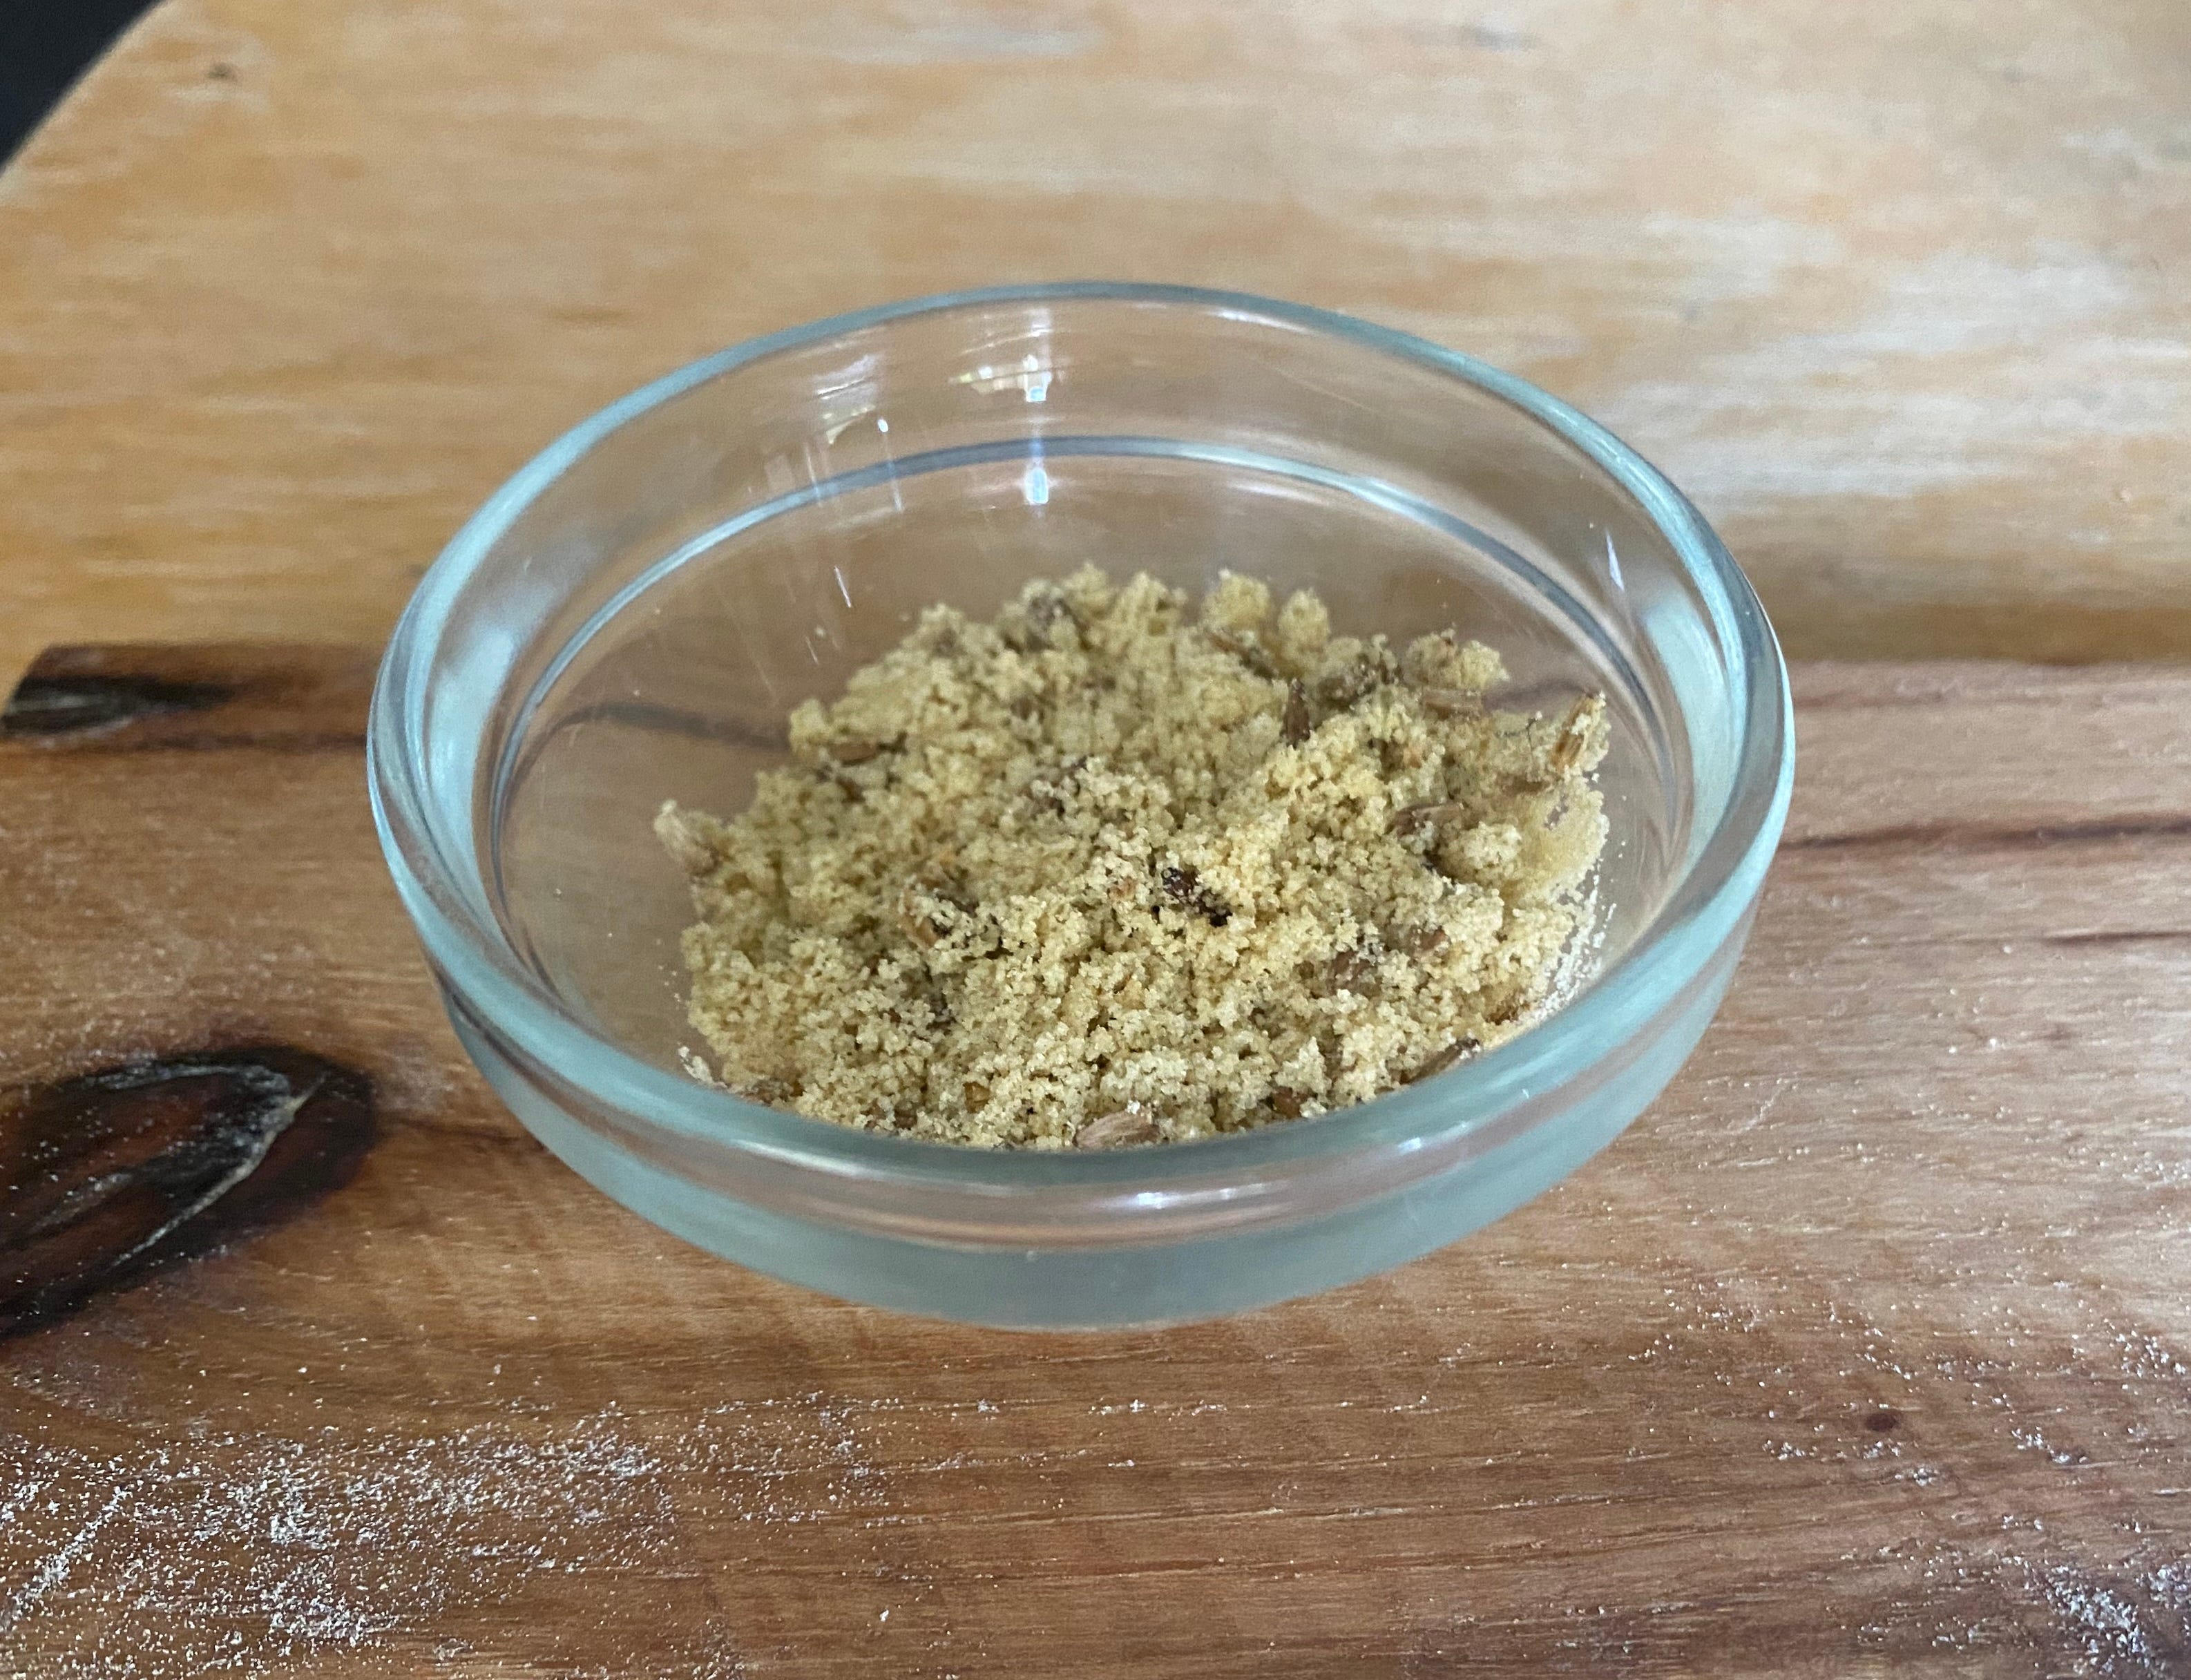
Now put the mixture in a plastic bag (figure 6). Make sure to label your bag!
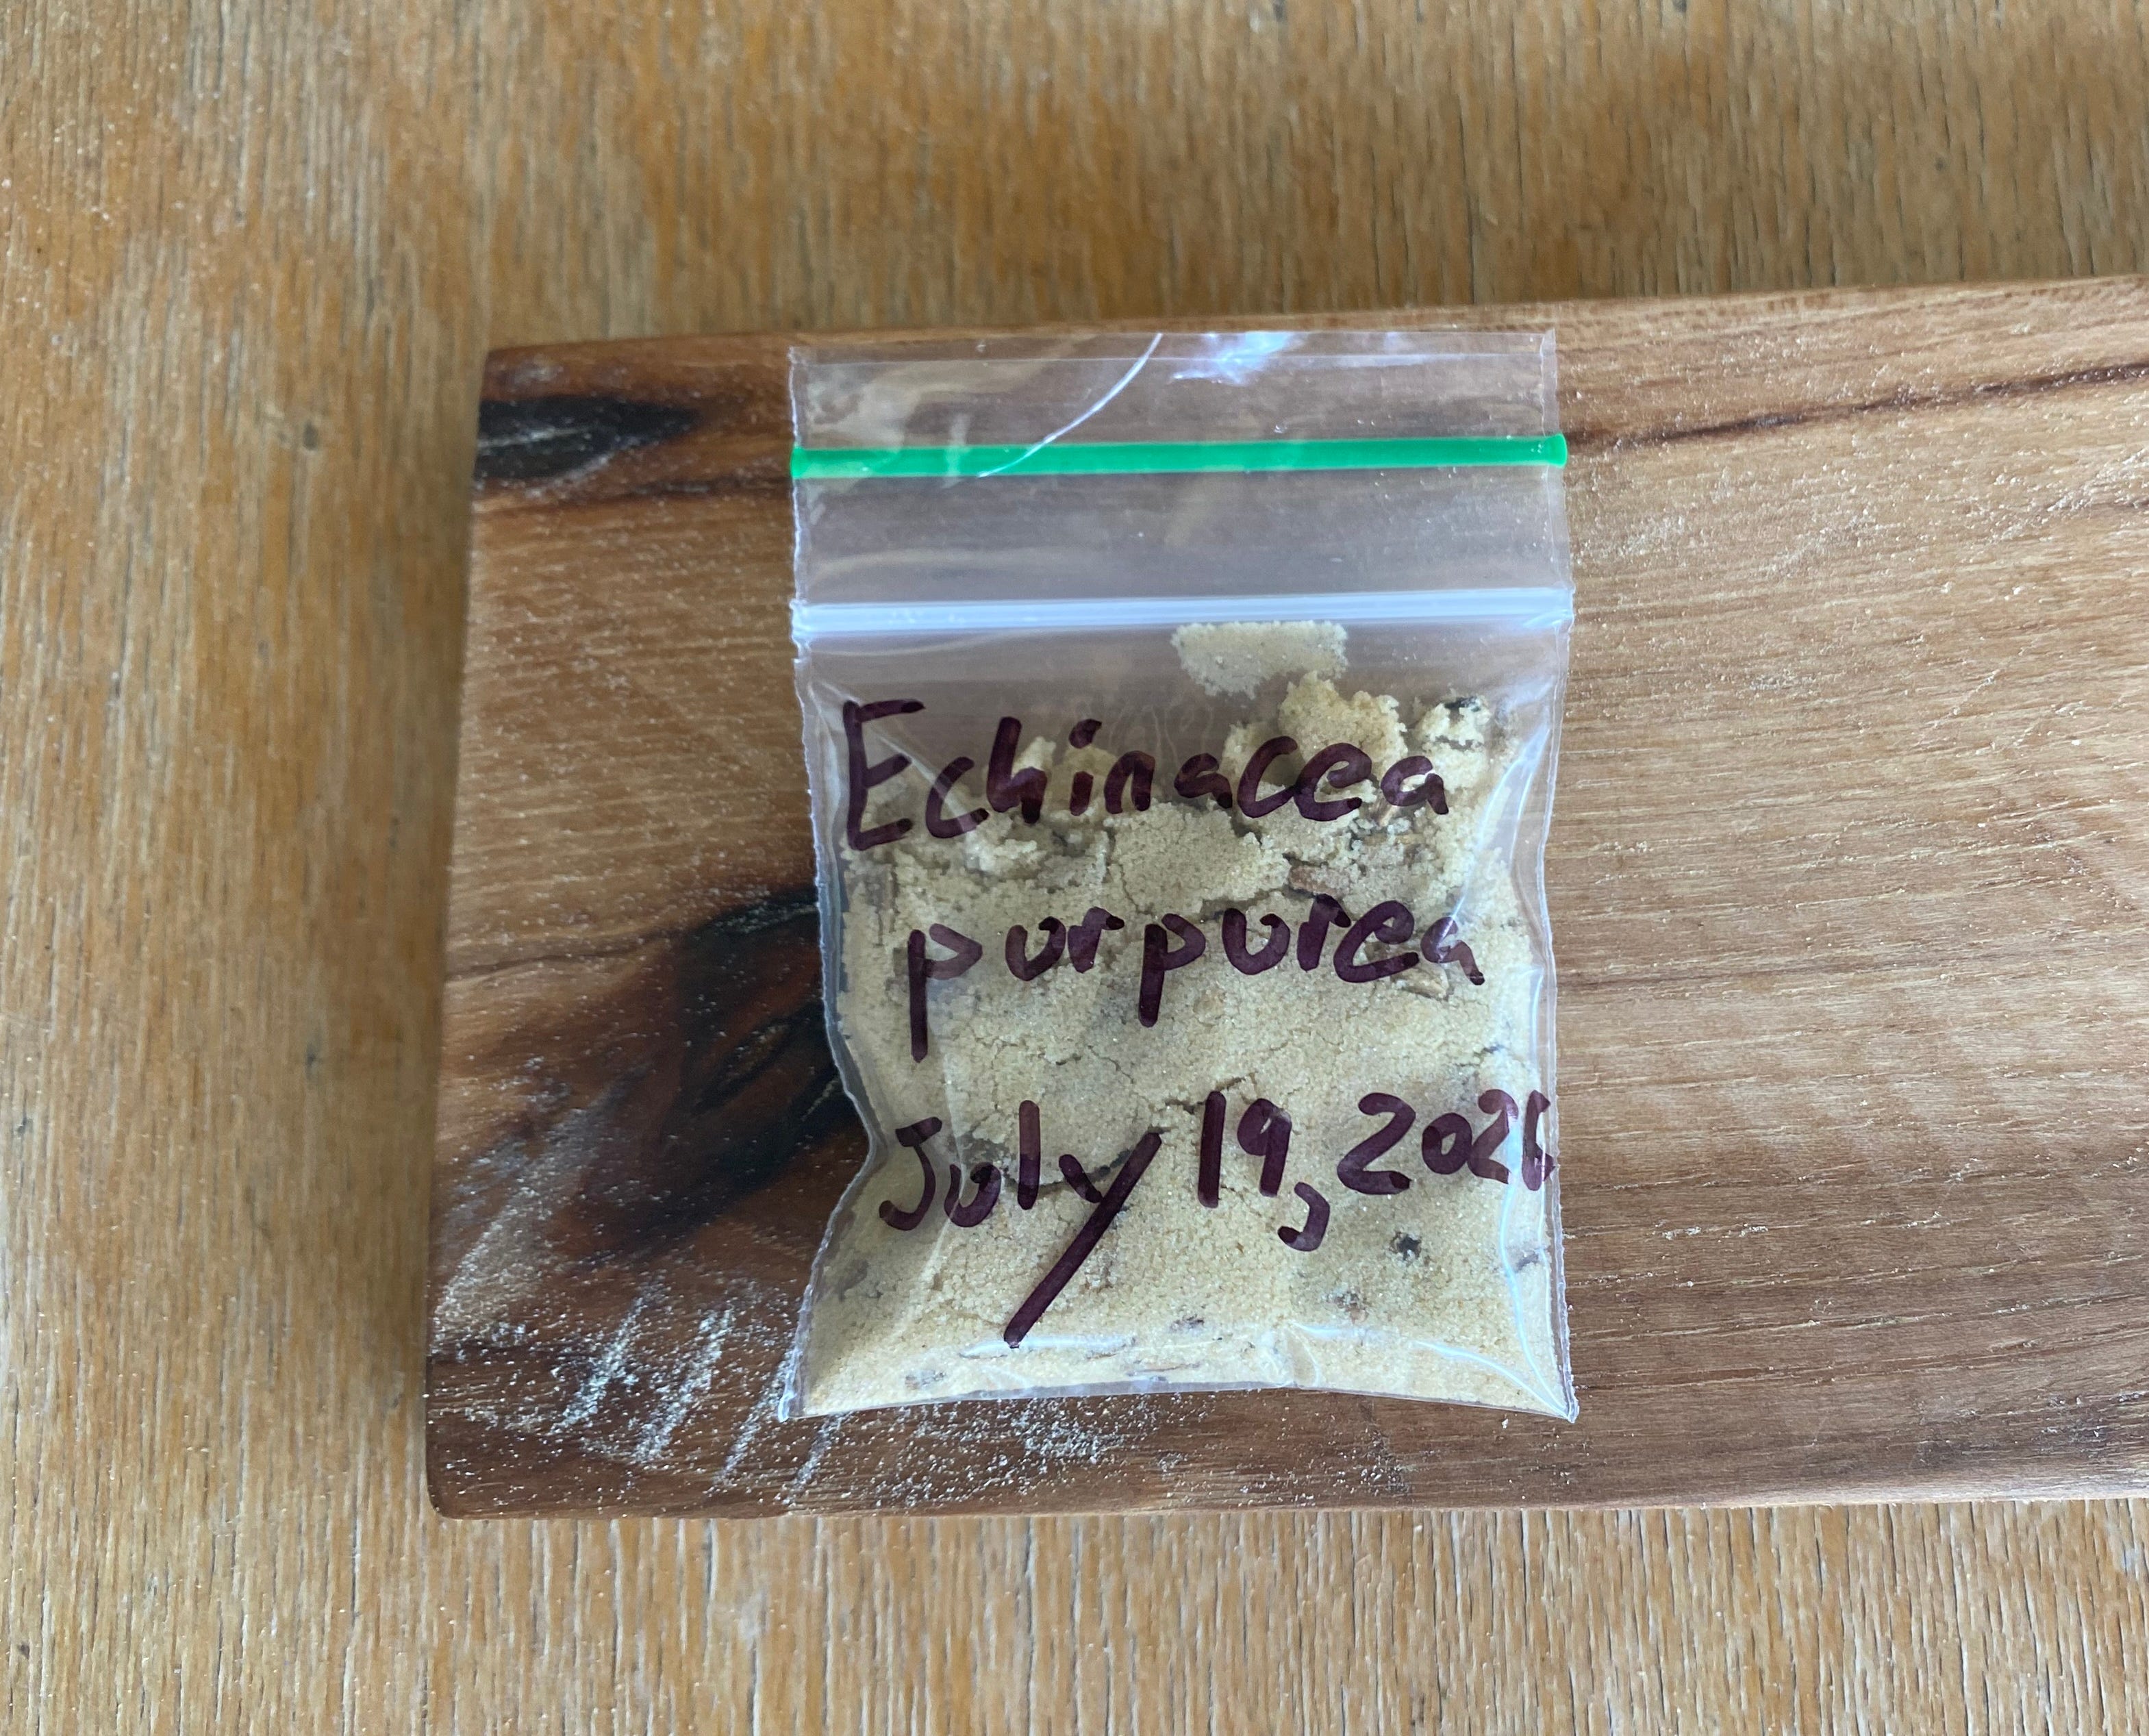
We’re aiming for a temperature of approximately 40°F (4°C), which is the standard fridge temperature. A little higher or lower is fine, but avoid temperatures below freezing. Especially for first-time stratifiers, check your baggies after about a week to make sure the moisture level looks correct. If you’re seeing dry sand, add water (just a drop or two at a time).
As for timing, know that there is no perfect source of information on ideal stratification durations. Prairie Moon is perhaps the most comprehensive source of recommended stratification durations in that they list a time for every species they sell, but their information is not always accurate. Generally speaking, for plants that require only cold stratification to germinate, 8 weeks is sufficient to get a reasonable amount of germination. Sometimes germination peaks at some point after 8 weeks, and sometimes it peaks before 8 weeks—it depends on the species. But if you’re at a loss for timing, just try 8 weeks and see what happens. Or search Google Scholar for peer-reviewed protocols. Or leave a comment on this post and I’ll do my best to answer!
If you’ve not grown a particular species before, and are not sure how much time in the fridge it requires, check your baggies every few weeks to inspect for germinating seeds. If seeds have germinated in their bags, they are still totally fine to sow, but the longer you leave germinated seeds in their bags, the higher your risk that the germinants start to rot (and they also get more difficult to work with as they get larger).
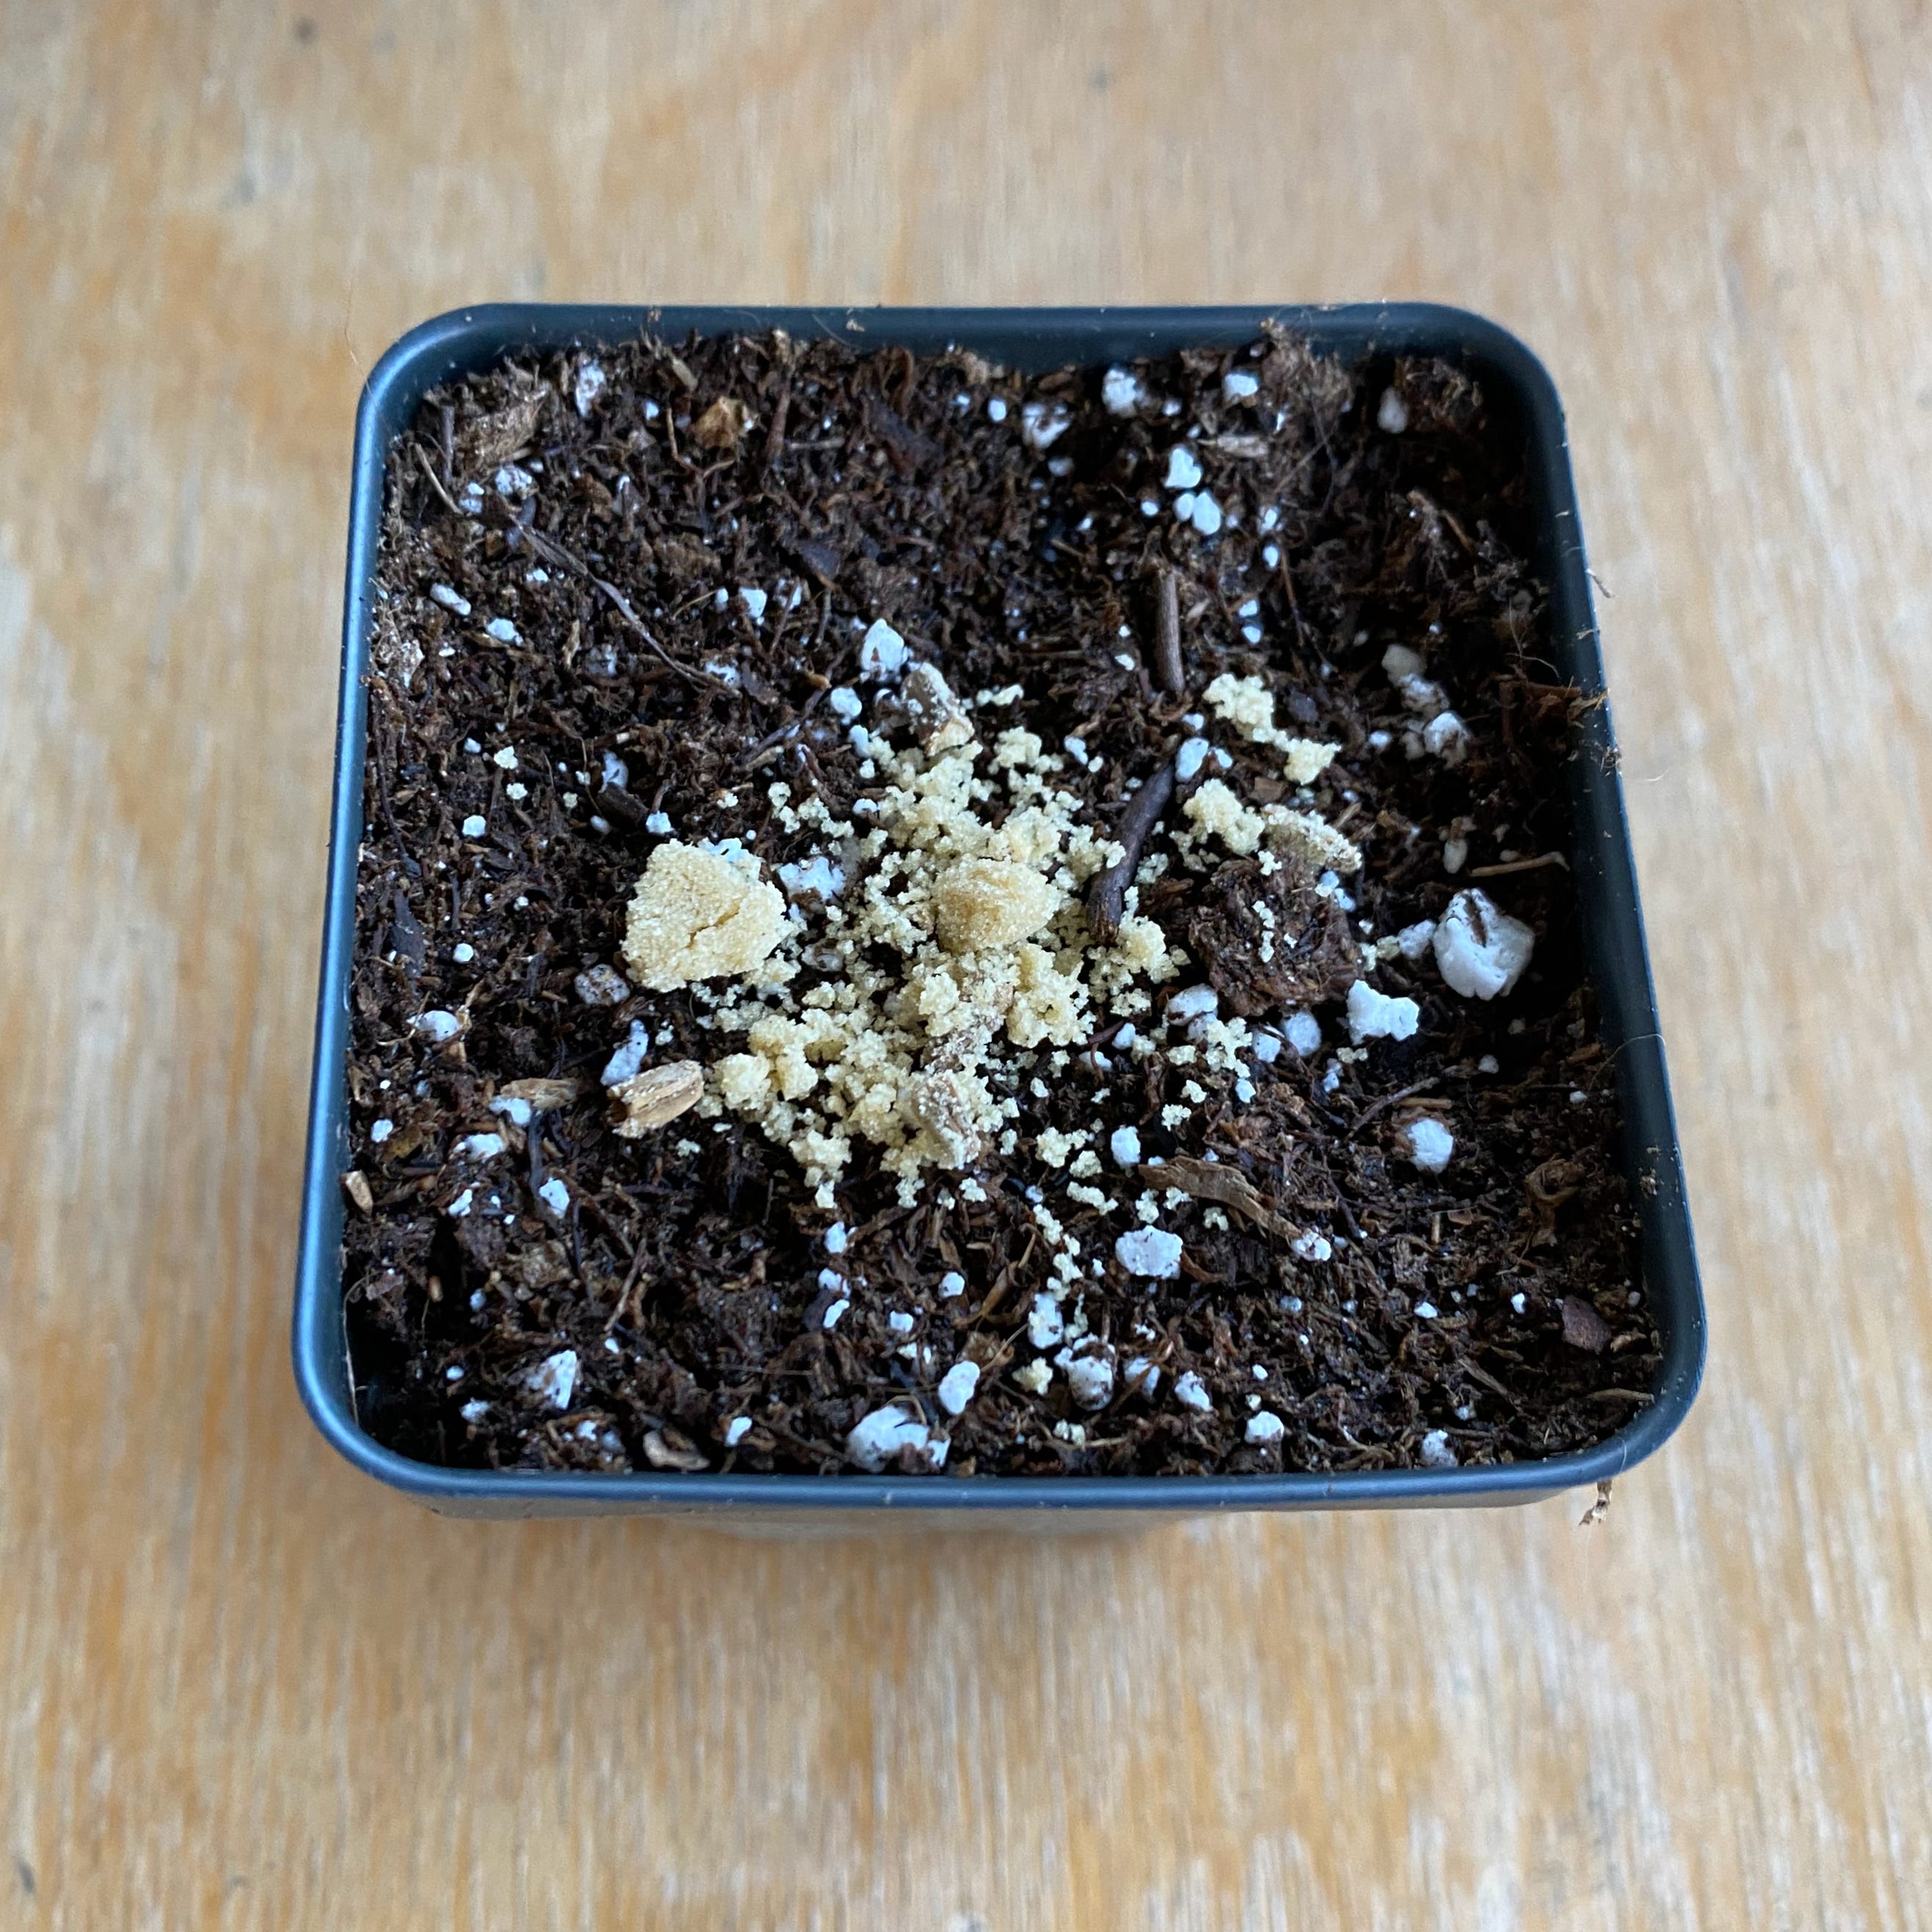
After your seeds have been sufficiently pretreated, it’s time to sow them. I don’t like potting up, so I usually sow my plants in whatever container I plan to grow them to maturity in. Gently tap out a small aliquot of sand–seed mixture into each container (see figure 7). Depending on the species, I aim for about 3 to 10 seeds in each pot or plug.
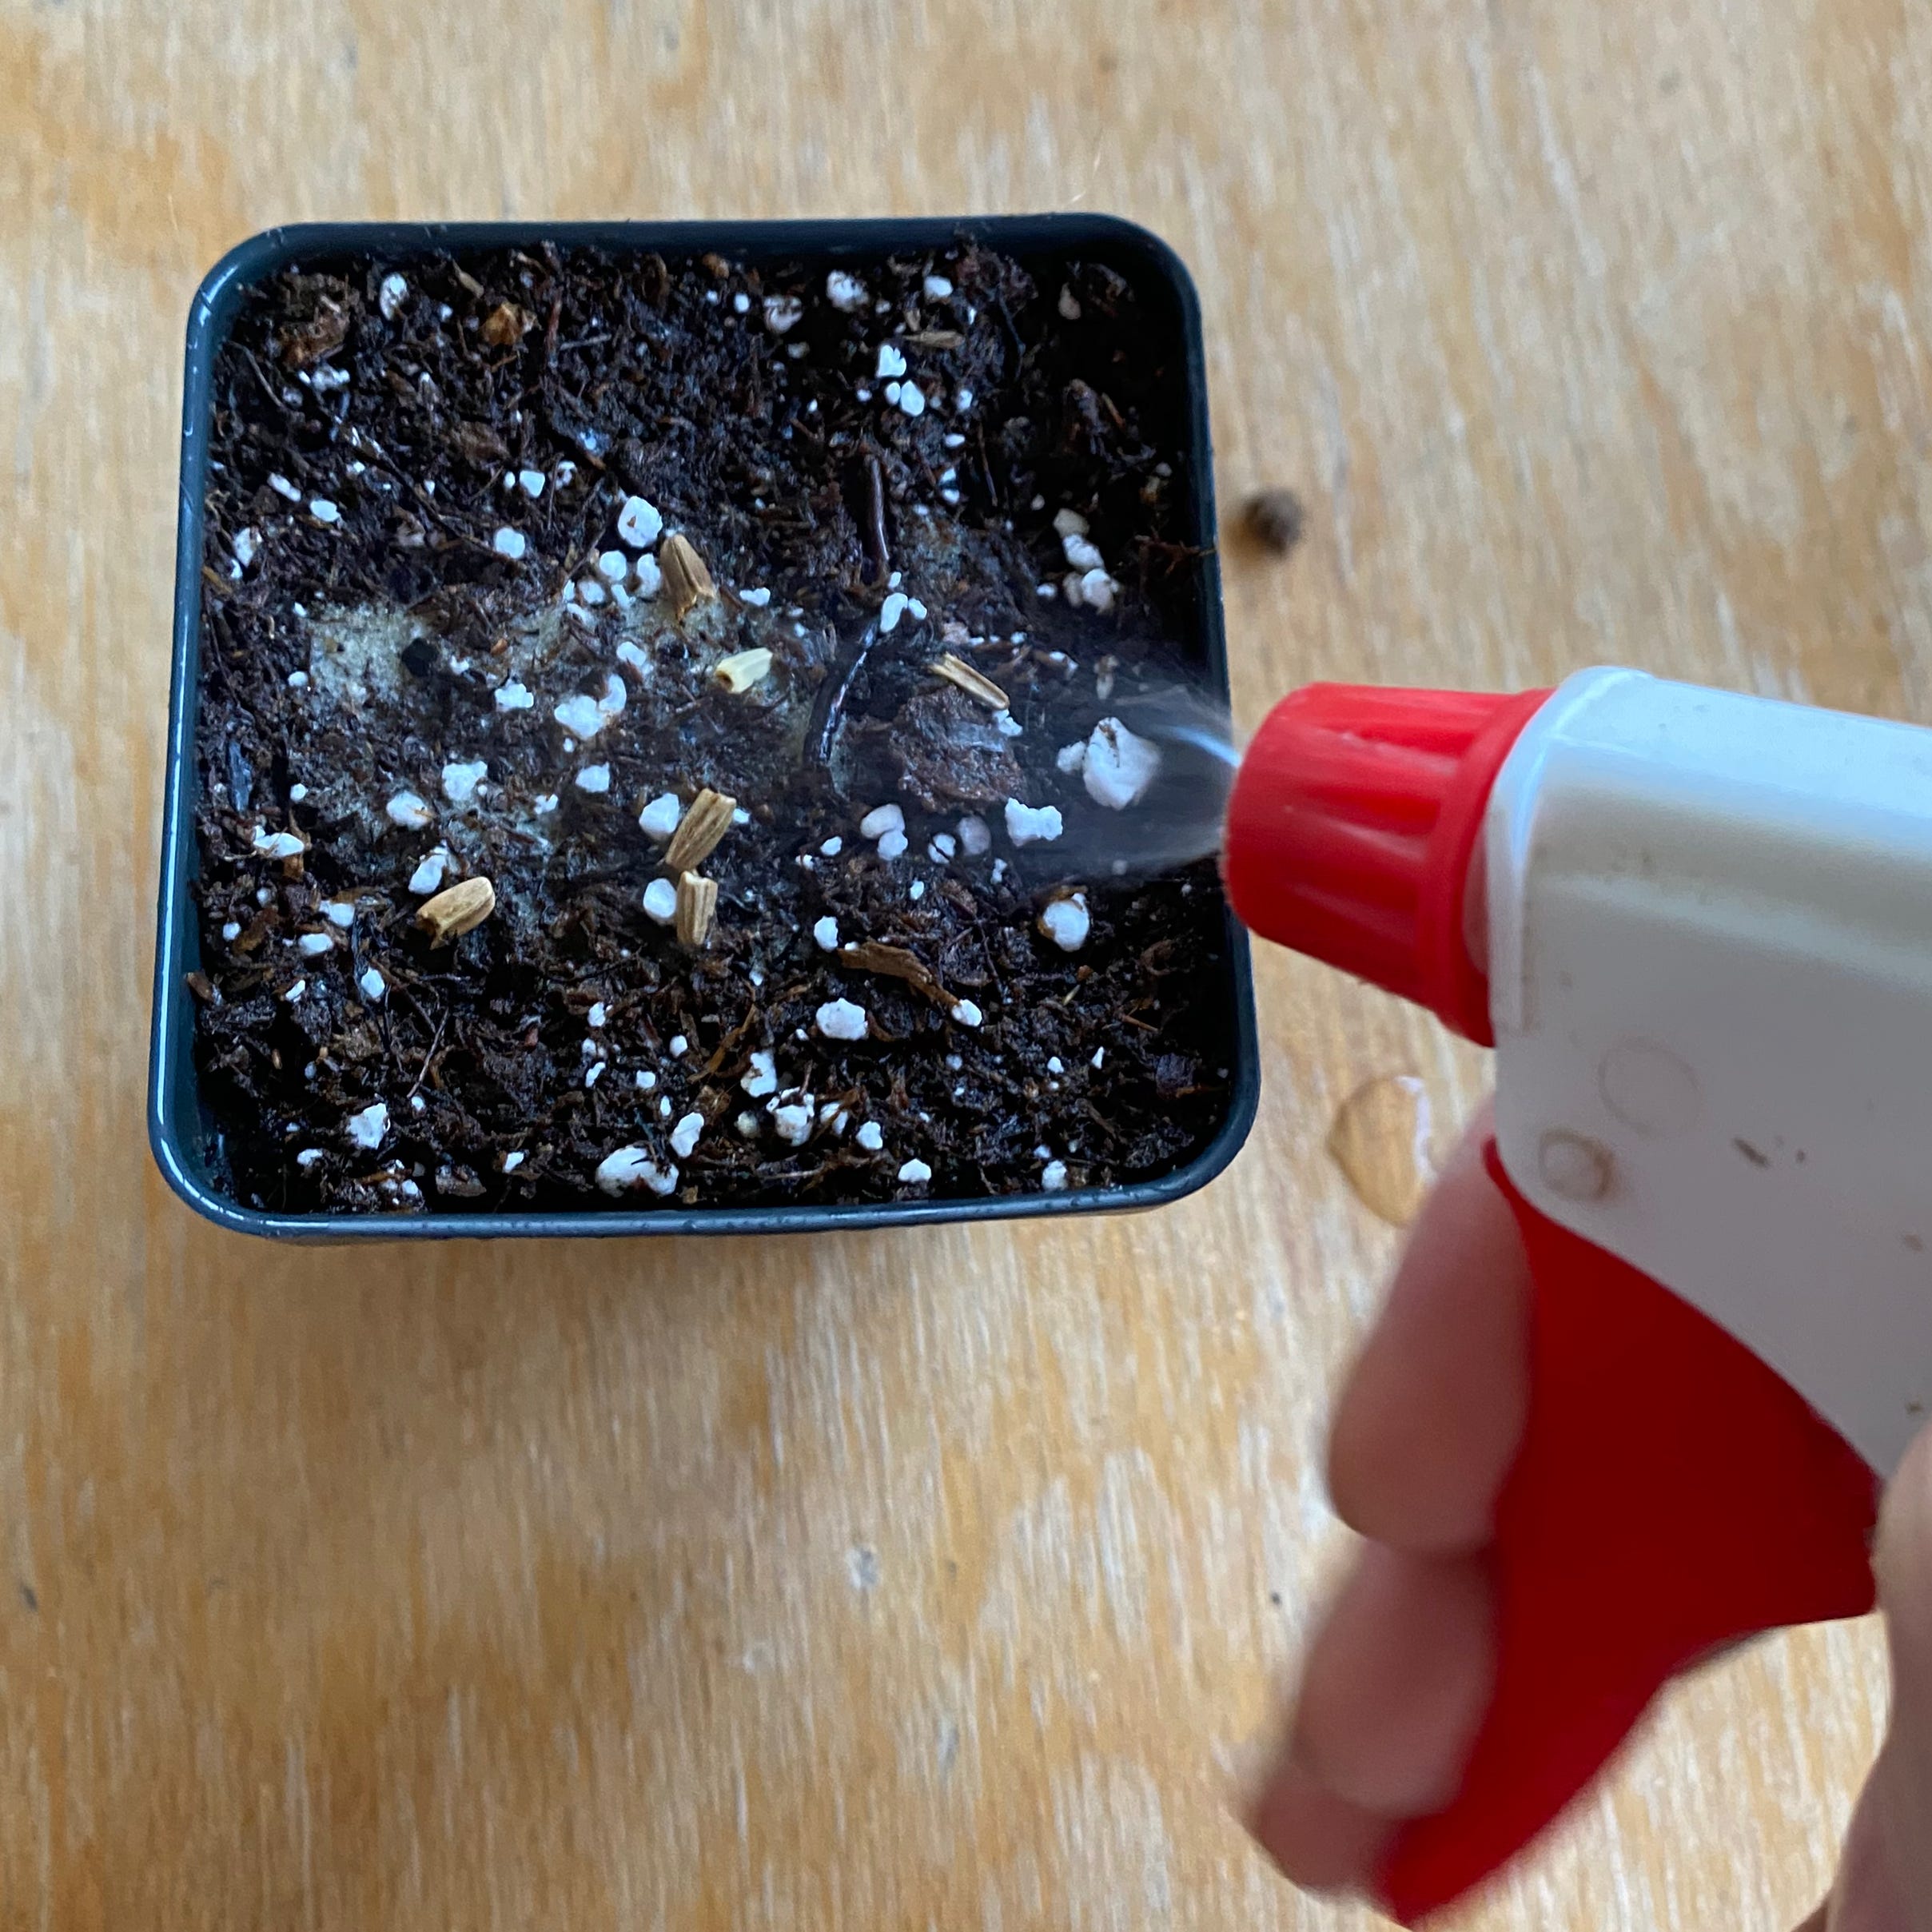
I then use a spray bottle to mist the sand–seed mixture such that the sand washes off the seeds and disappears into the substrate, ensuring good seed–substrate contact and allowing me to inspect how many seeds are present (see figure 8). At this point, you’re ready to cover the seeds with vermiculite/grit/peat (or not, depending on the species) and set the container in your germination area. Generally speaking, if the seeds were viable and received a suitable length of pretreatment, you should start seeing sprouts within about 2 weeks.
That’s all! In future posts I’ll explore some common stratification mishaps, but for now, just leave a comment if something has gone terribly awry with your seeds. ■
Have a question? If you have questions about Midwestern native plant propagation that you want answered in a future post, I’d love to hear from you! Shoot me an email at plantpropagationproject@gmail.com
Want to support this work? Buy me a cup of coffee (or a bag of potting medium)!
Robert Thompson, The Gardener’s Assistant: Practical and Scientific. A Guide to the Formation and Management of the Kitchen, Fruit, and Flower Garden, and the Cultivation of Conservatory, Green-House, and Hot-House Plants. With a Copious Calendar of Gardening Operations (Blackie and Son, 1859), 372.
No posts
Comments
Nothing yet. Say the first thing.
Sign in to join the conversation.