
I came back to the shop today, feeling refreshed after a short break, planning on assembling the prototype birdcage side chair and making a video for a post. Then the new “DrillSharp” arrived and all hell broke loose. This is an adjustable jig for grinding drill bits I designed and had manufactured. I couldn’t help but spend a few hours indulging my inner child putting it through it’s paces.
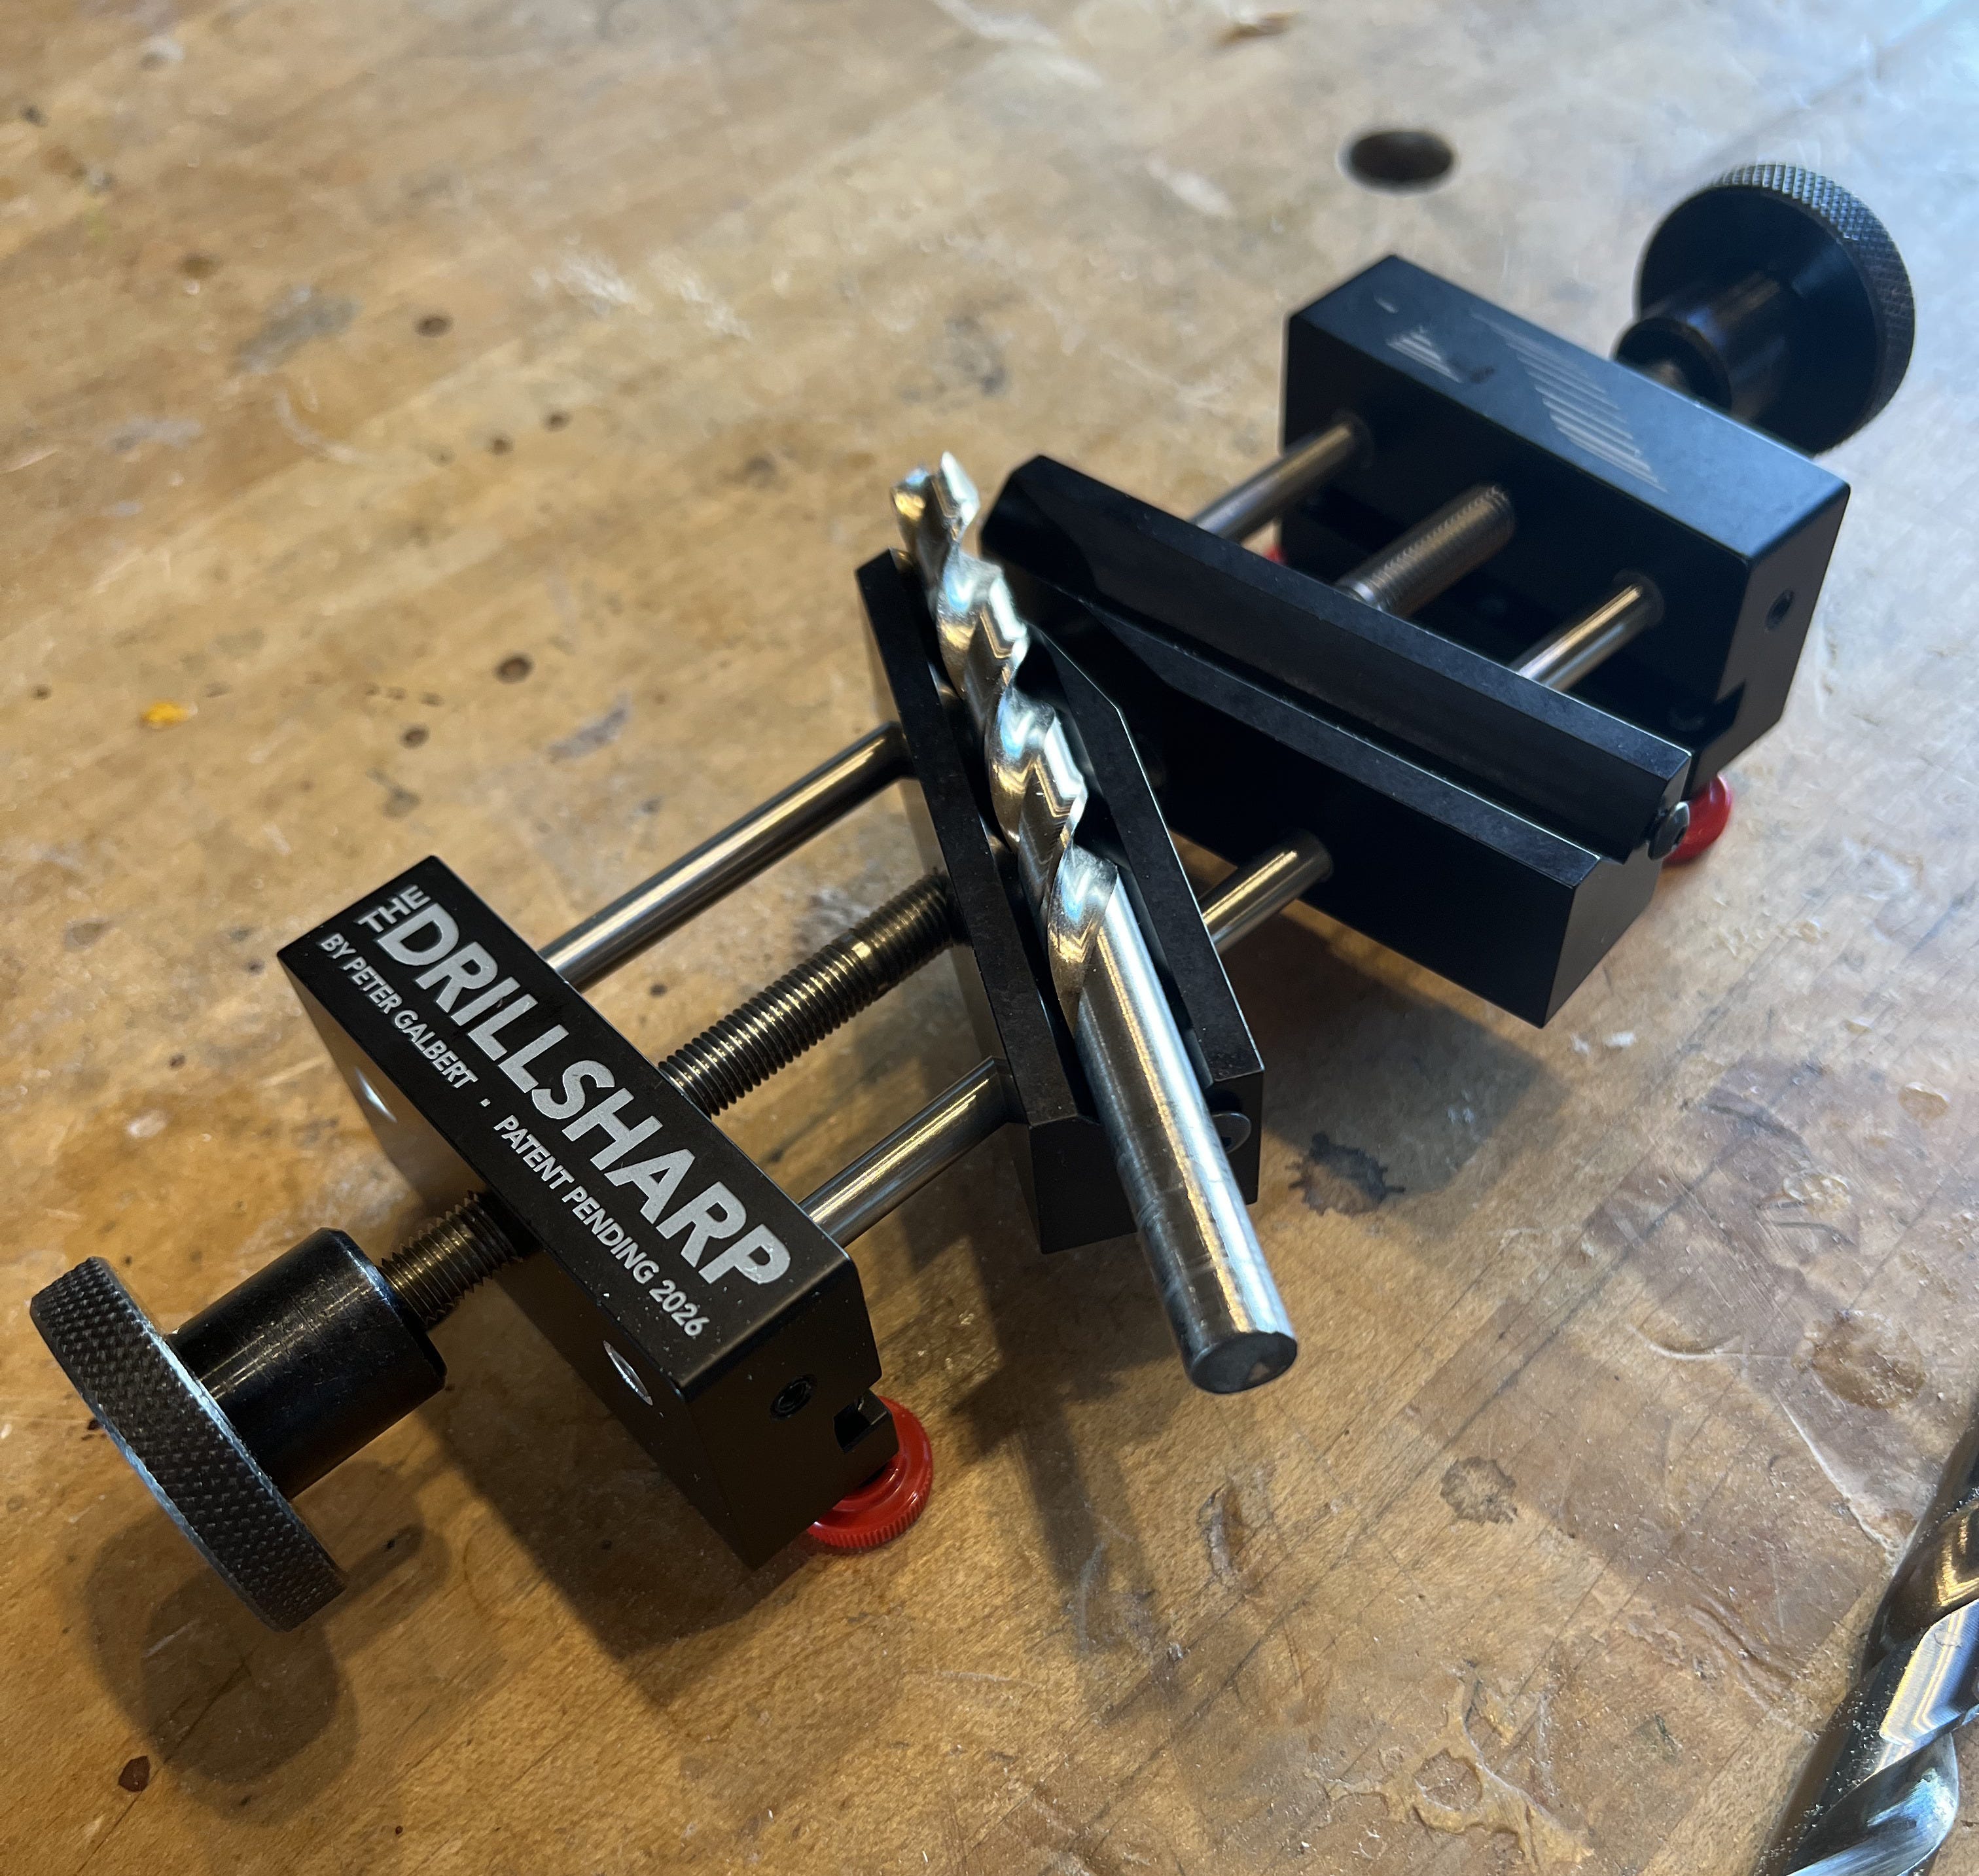
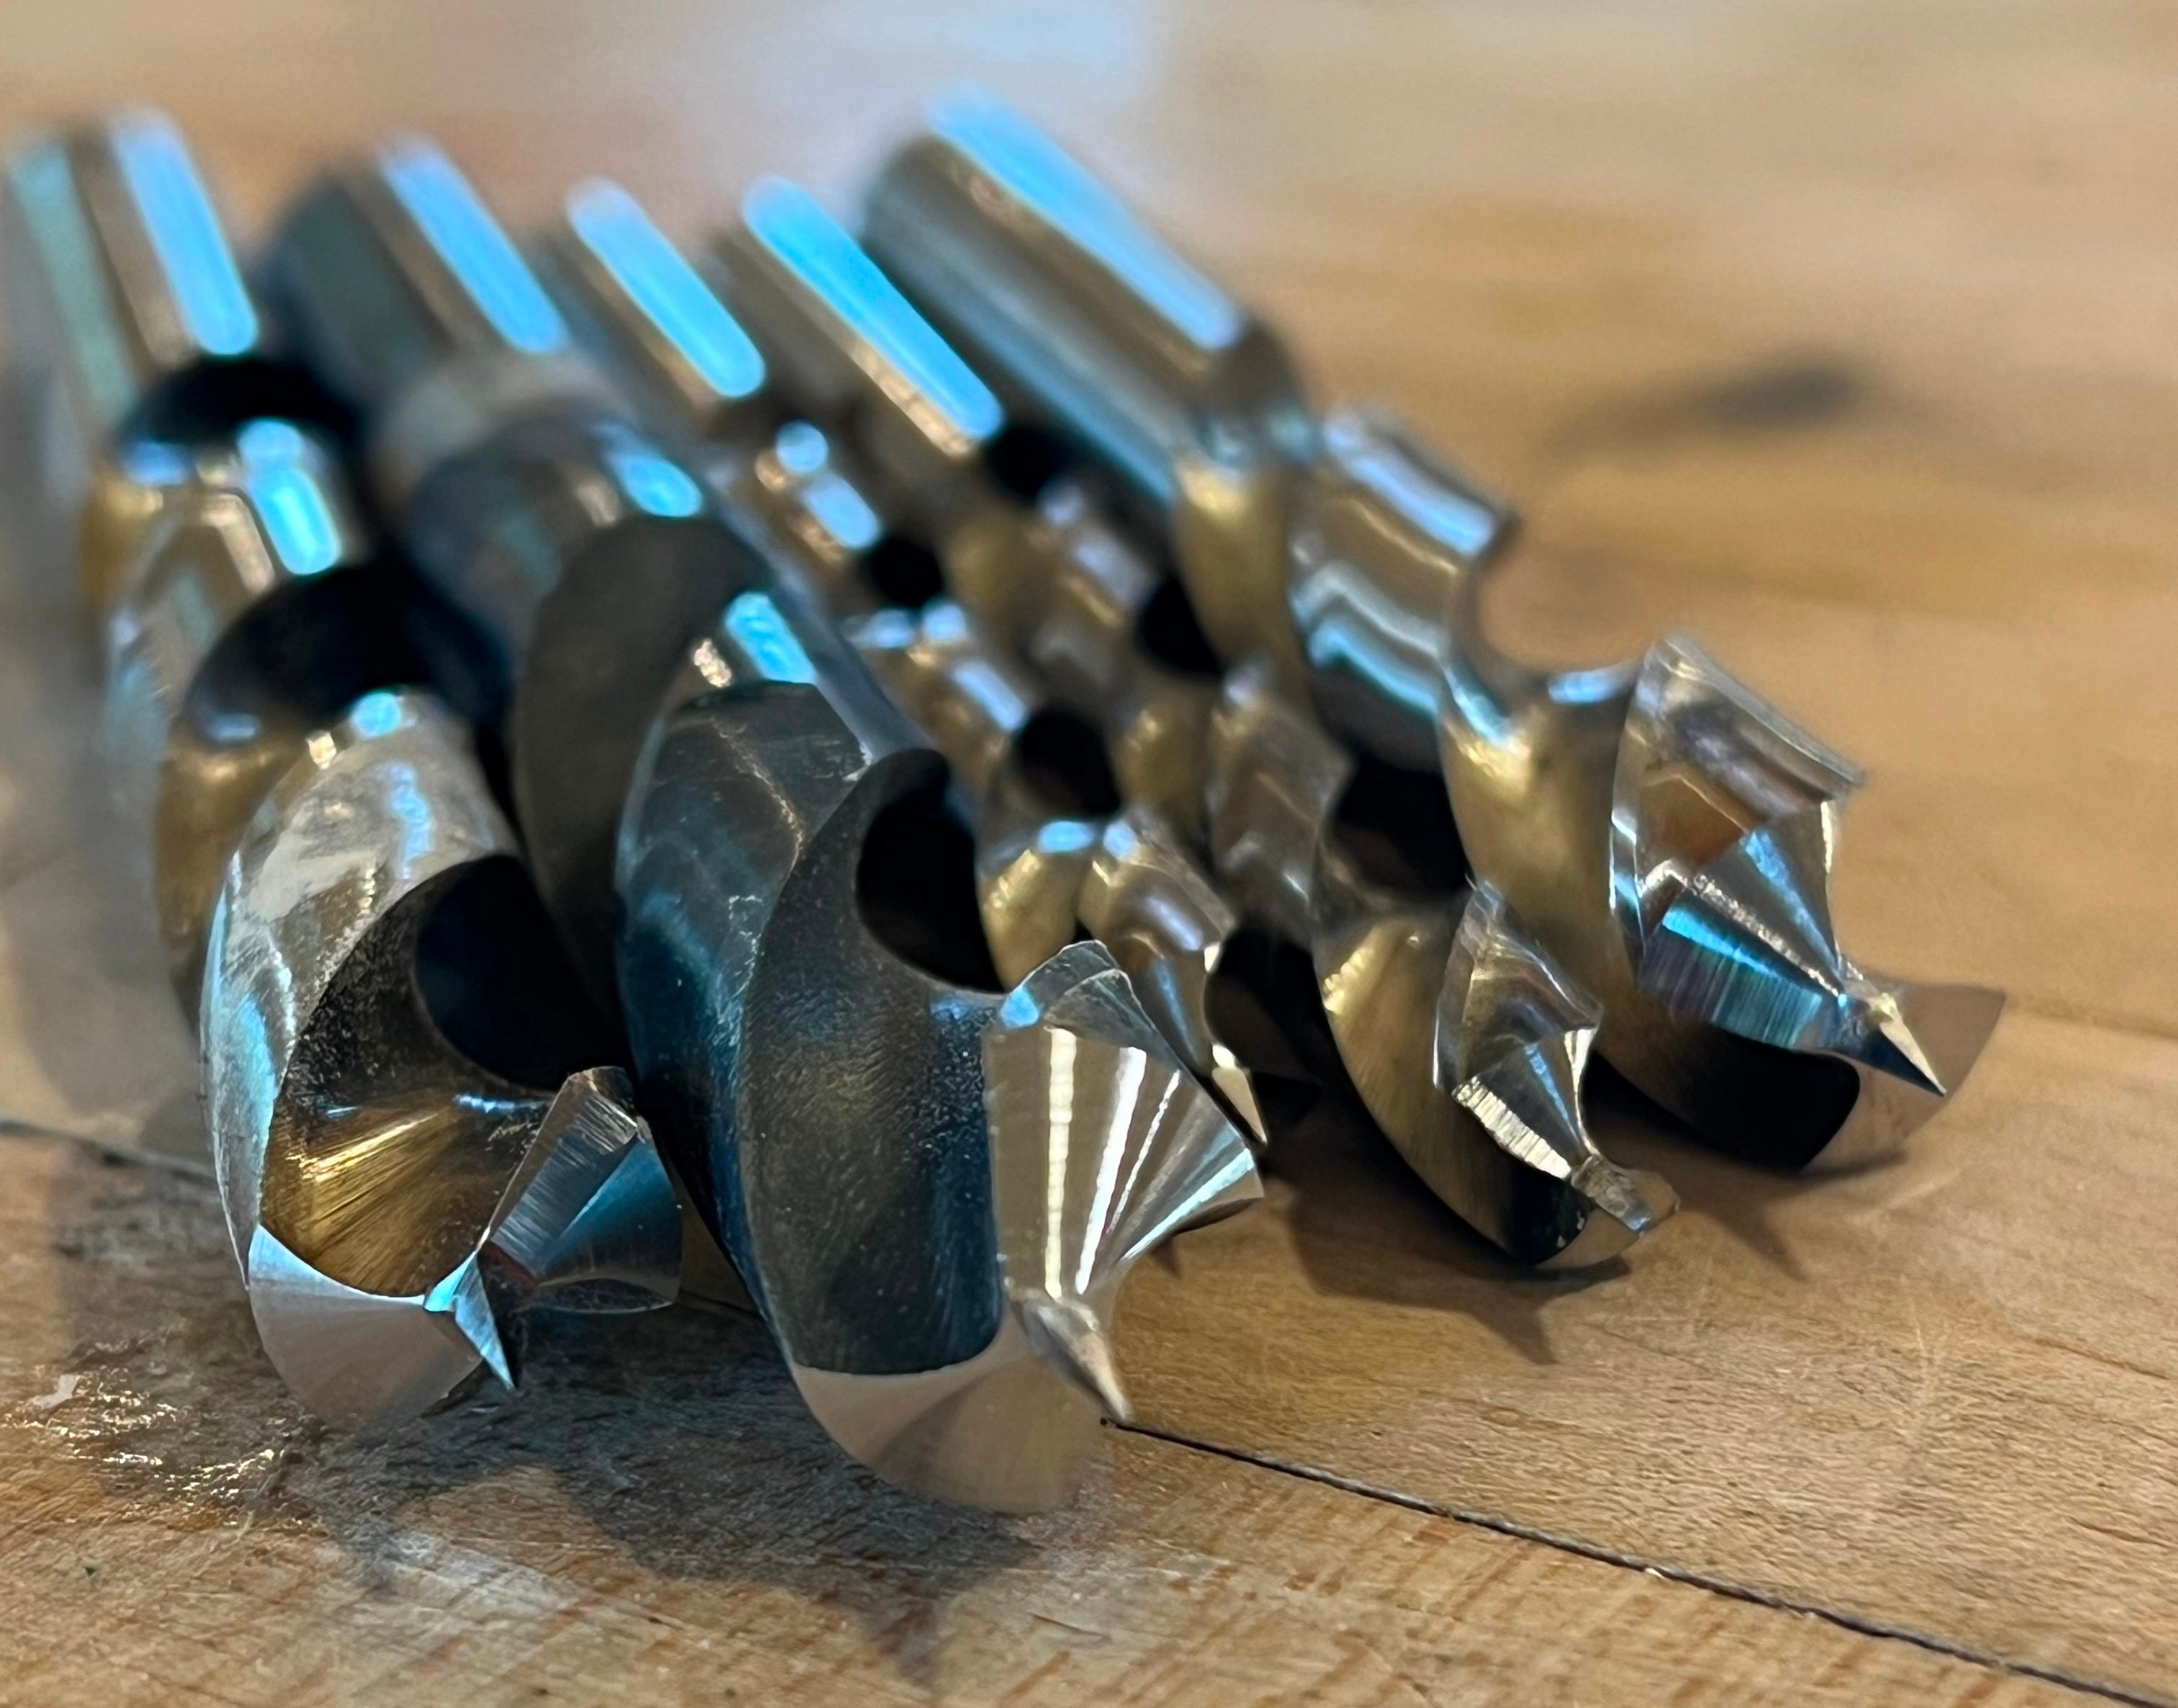
Here is the finished tool with it’s predecessors. Taking a tool from concept to final product is a long, arduous and expensive process. If I could help myself, I would avoid it, but it’s too interesting and once I love using a tool, I want others to have the option to have one. I did a short run of 200 and will see how that goes. It’s hard anodized aluminum and stainless steel
.I posted here about the “fixed” version on the top of the photo, but I’ve been working with an adjustable model (in the middle) for a couple of years. My students did a good job keeping it under wraps so no knuckleheads with a 3-d printer and a penchant for pinching ideas could throw it up on Instagram with “inspired by” in the small print.
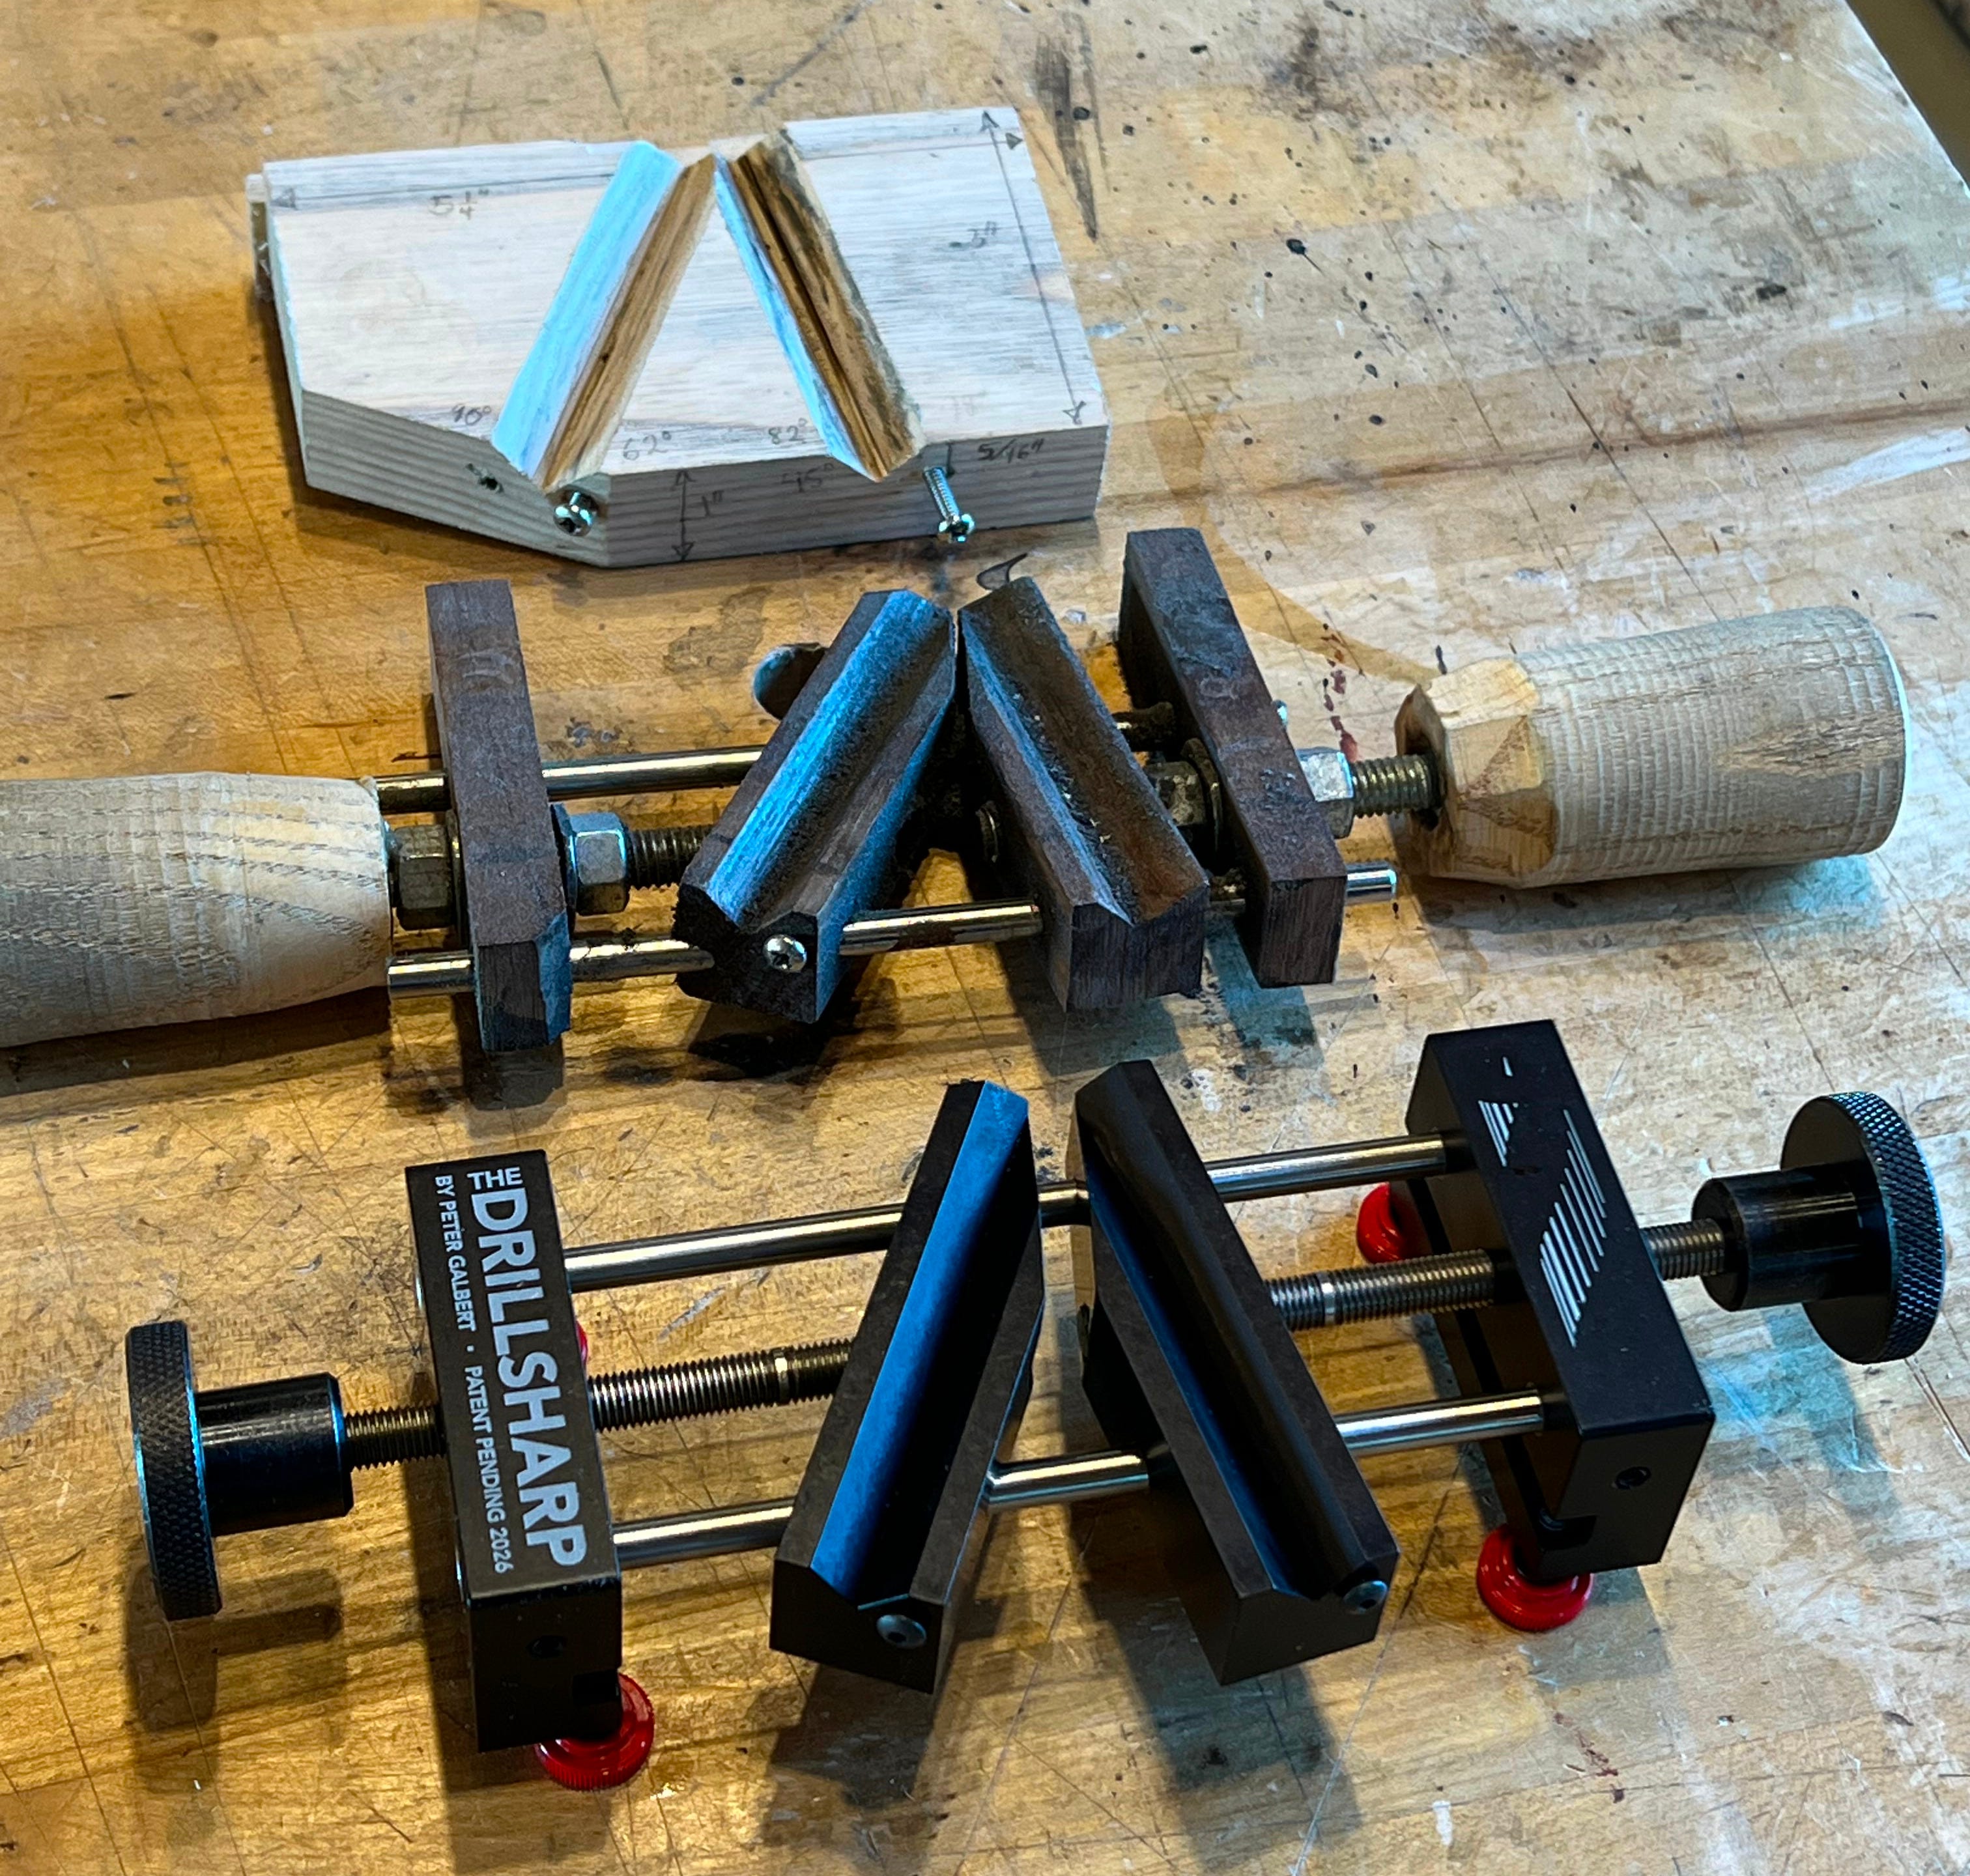
I worked with NTM out of Newport Pennsylvania for the manufacturing. It took a while, but the fit and finish is so good it made me rethink my whole approach to grinding bits. I was able to get a precision I couldn’t get before with my janky wooden model.
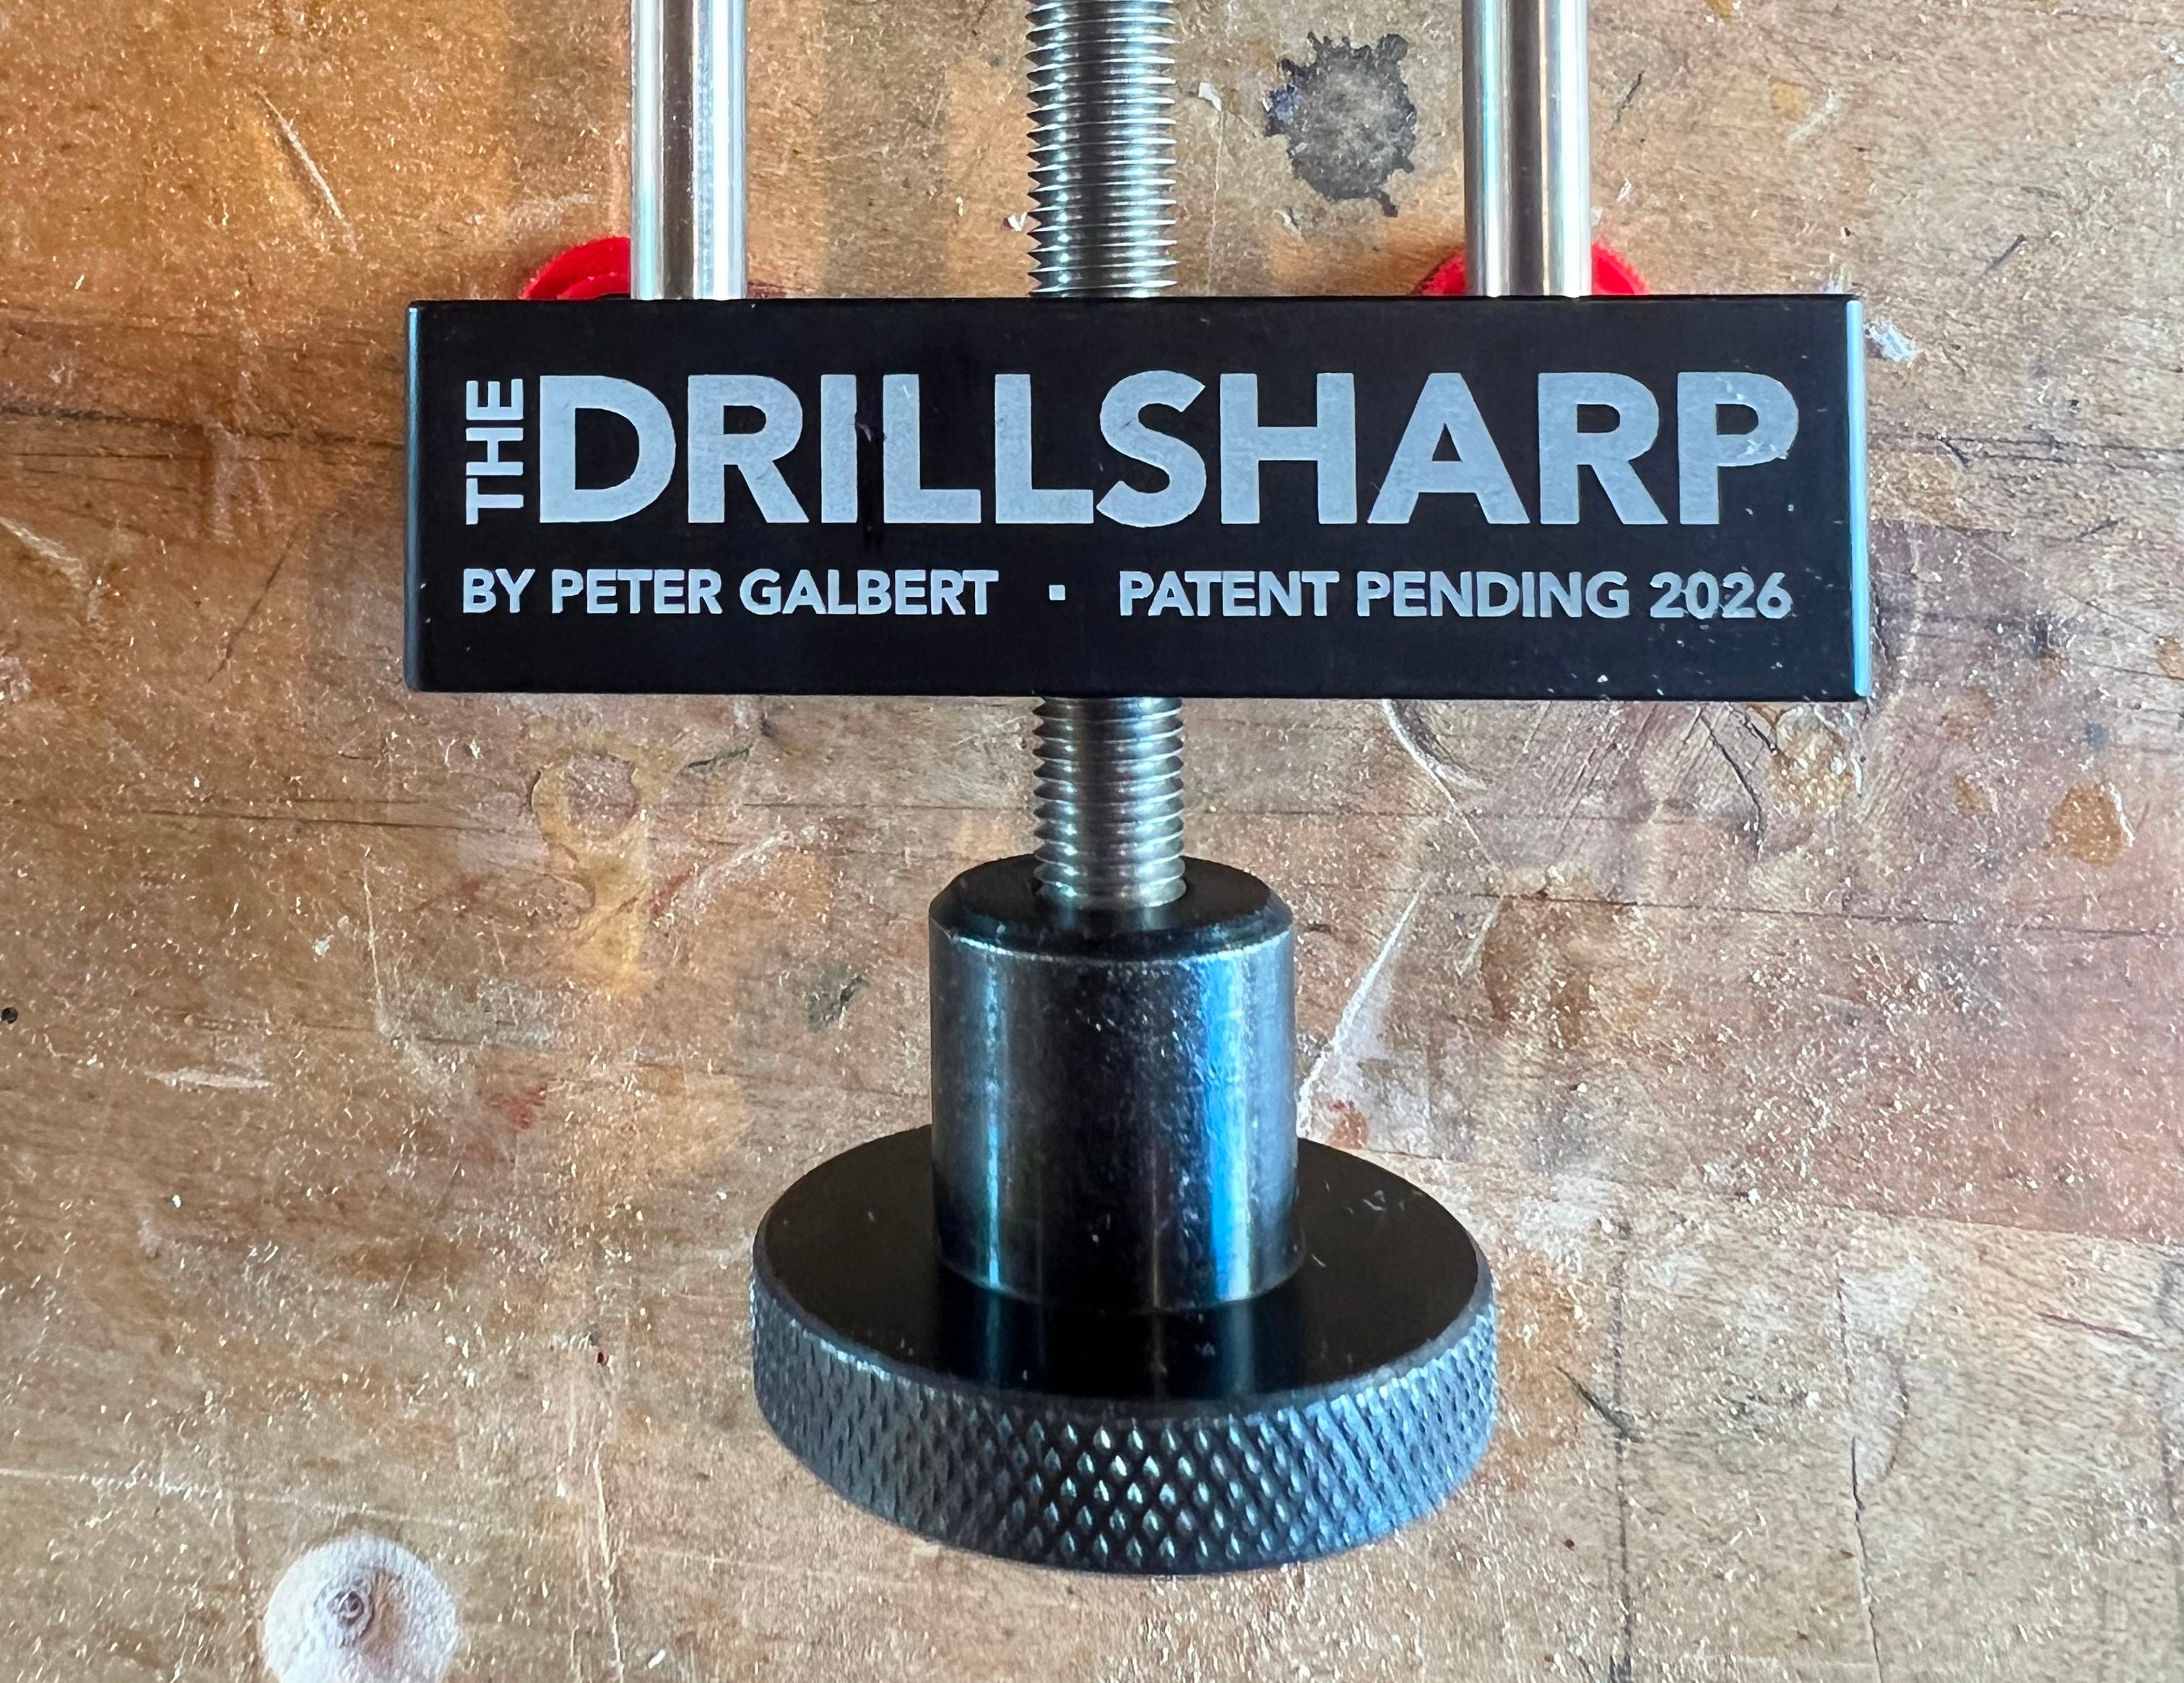
Here is the action on the movement. The fixed version can get the job done, but making very small controlled adjustments makes the geometry much easier to nail.
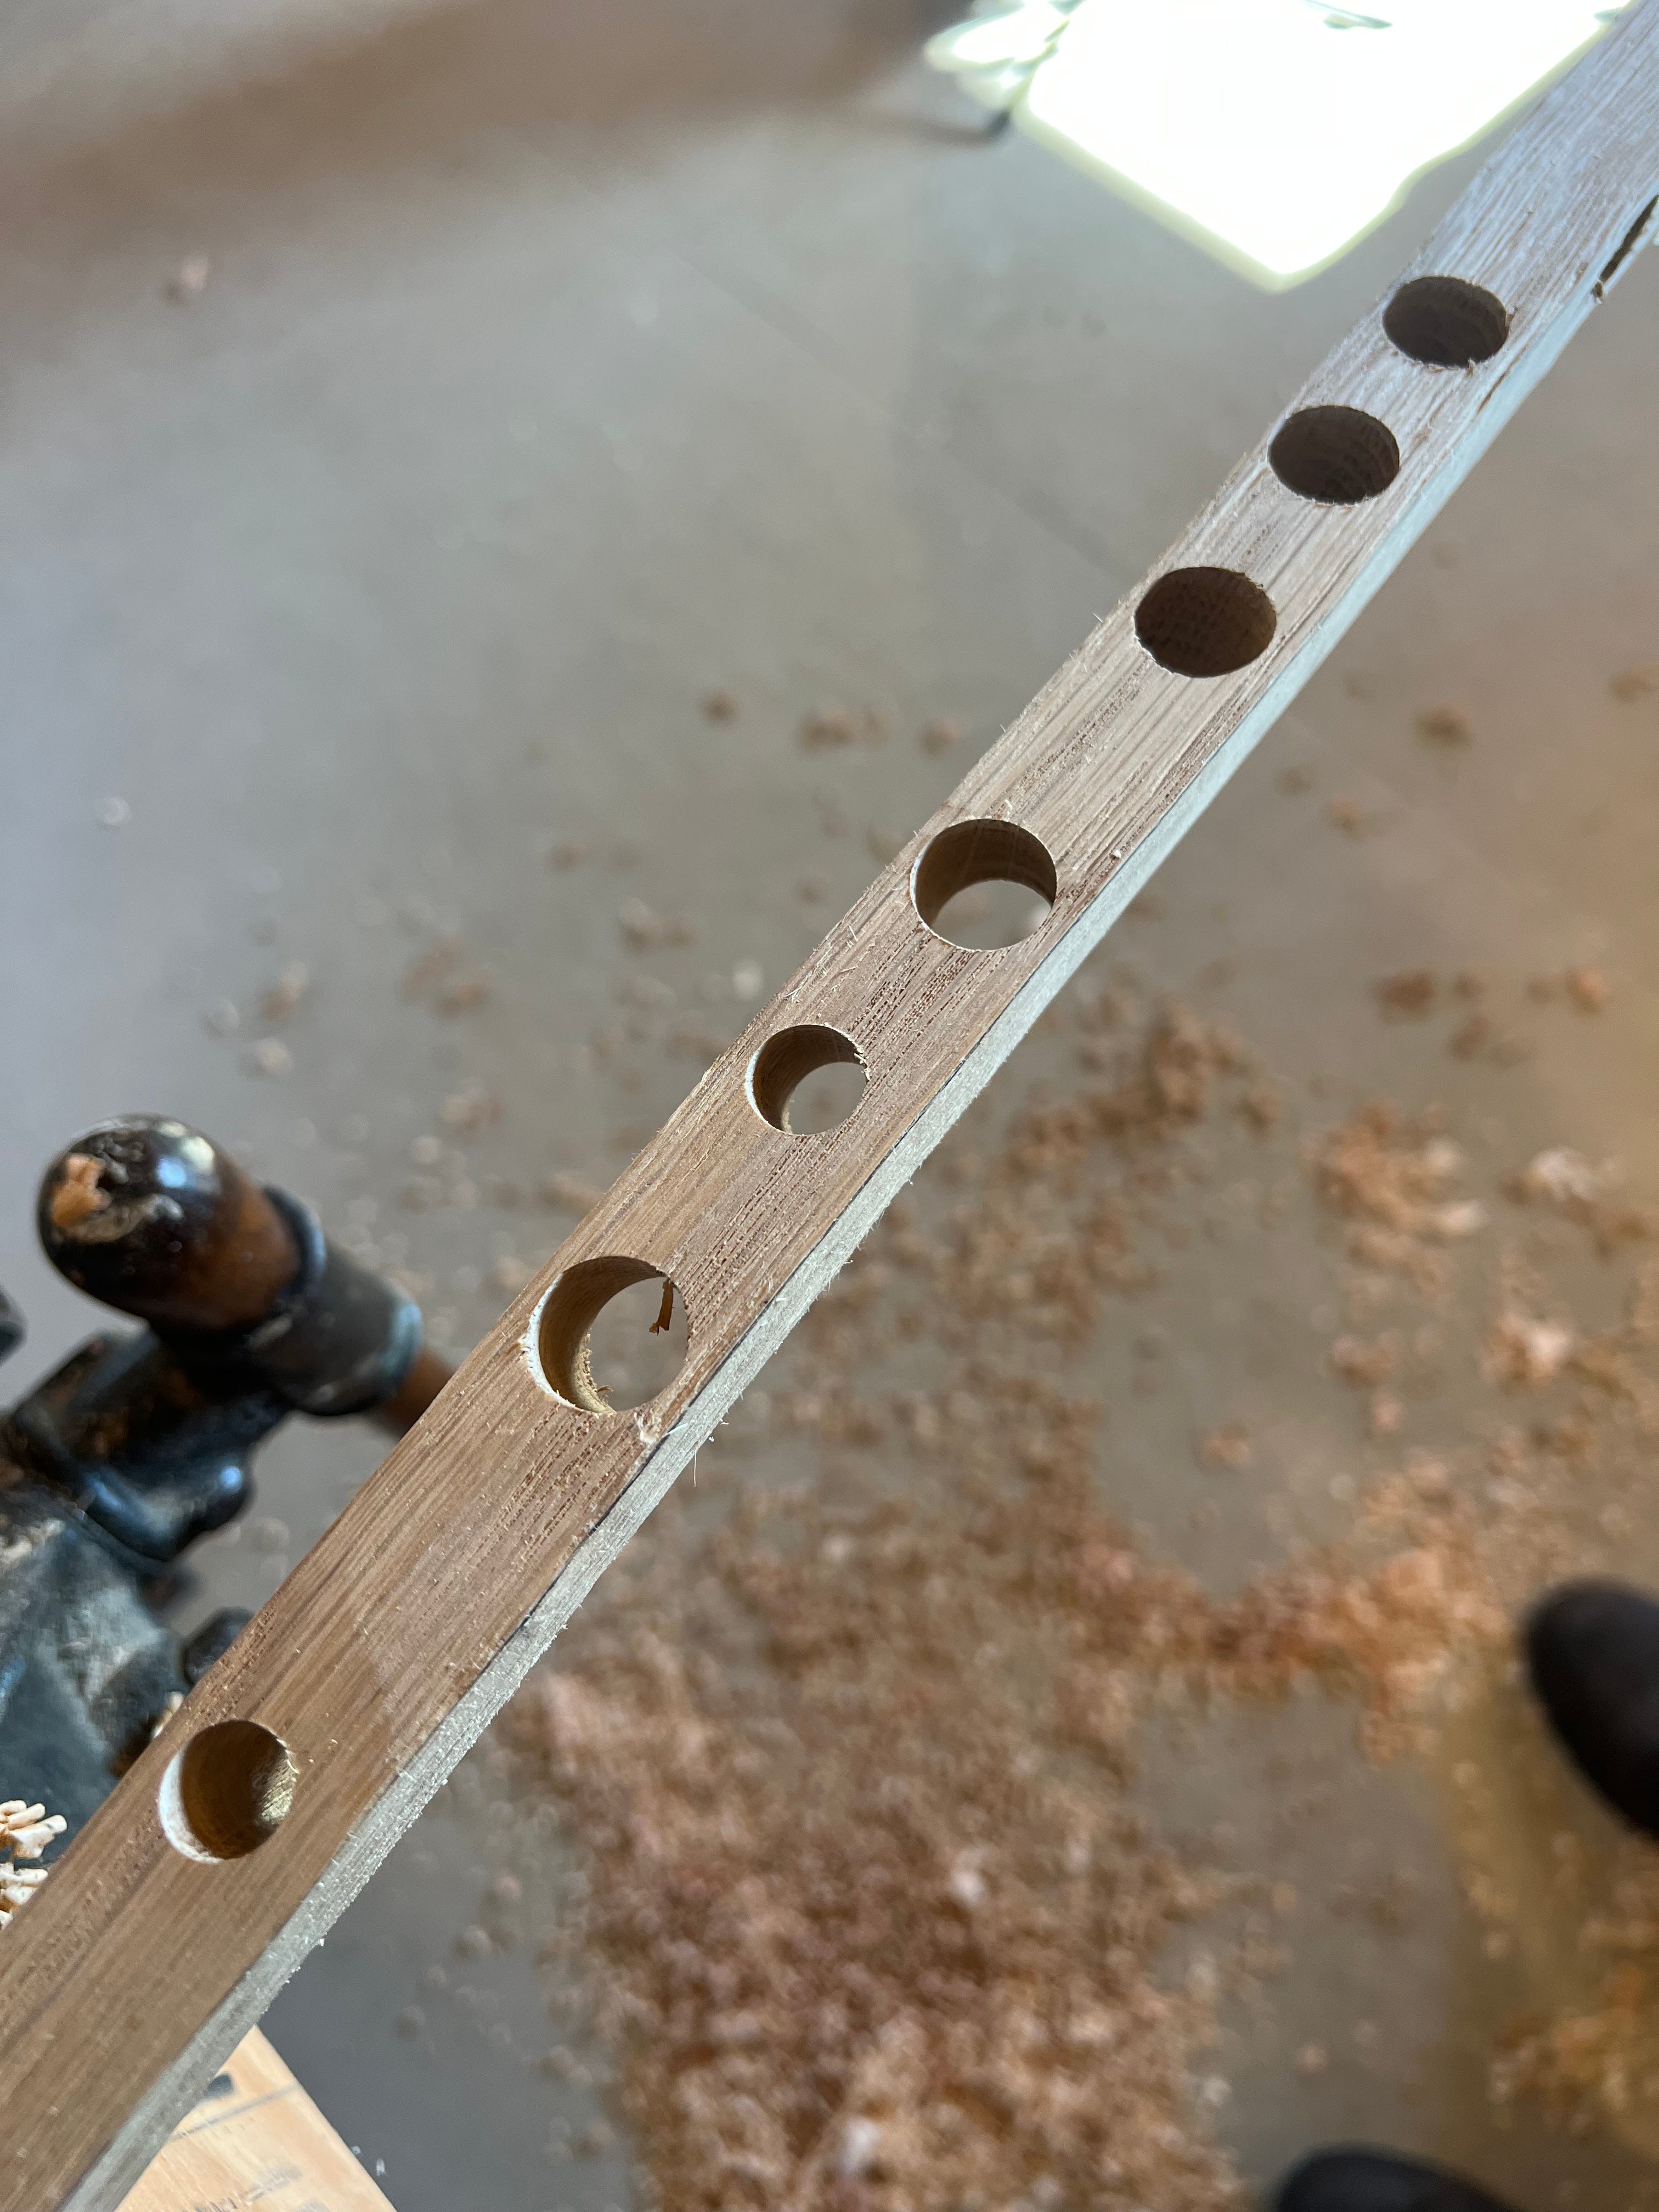
I’ll go into all the ins and outs of using the tool and tips on getting great results soon. Here are a bunch of test holes I drilled today, these are the exits of 5/8th and 1/2” bits. I hope you understand, I am not trying to sell you on this, I’m just so excited to see it come to fruition, I can’t help but nerd out.
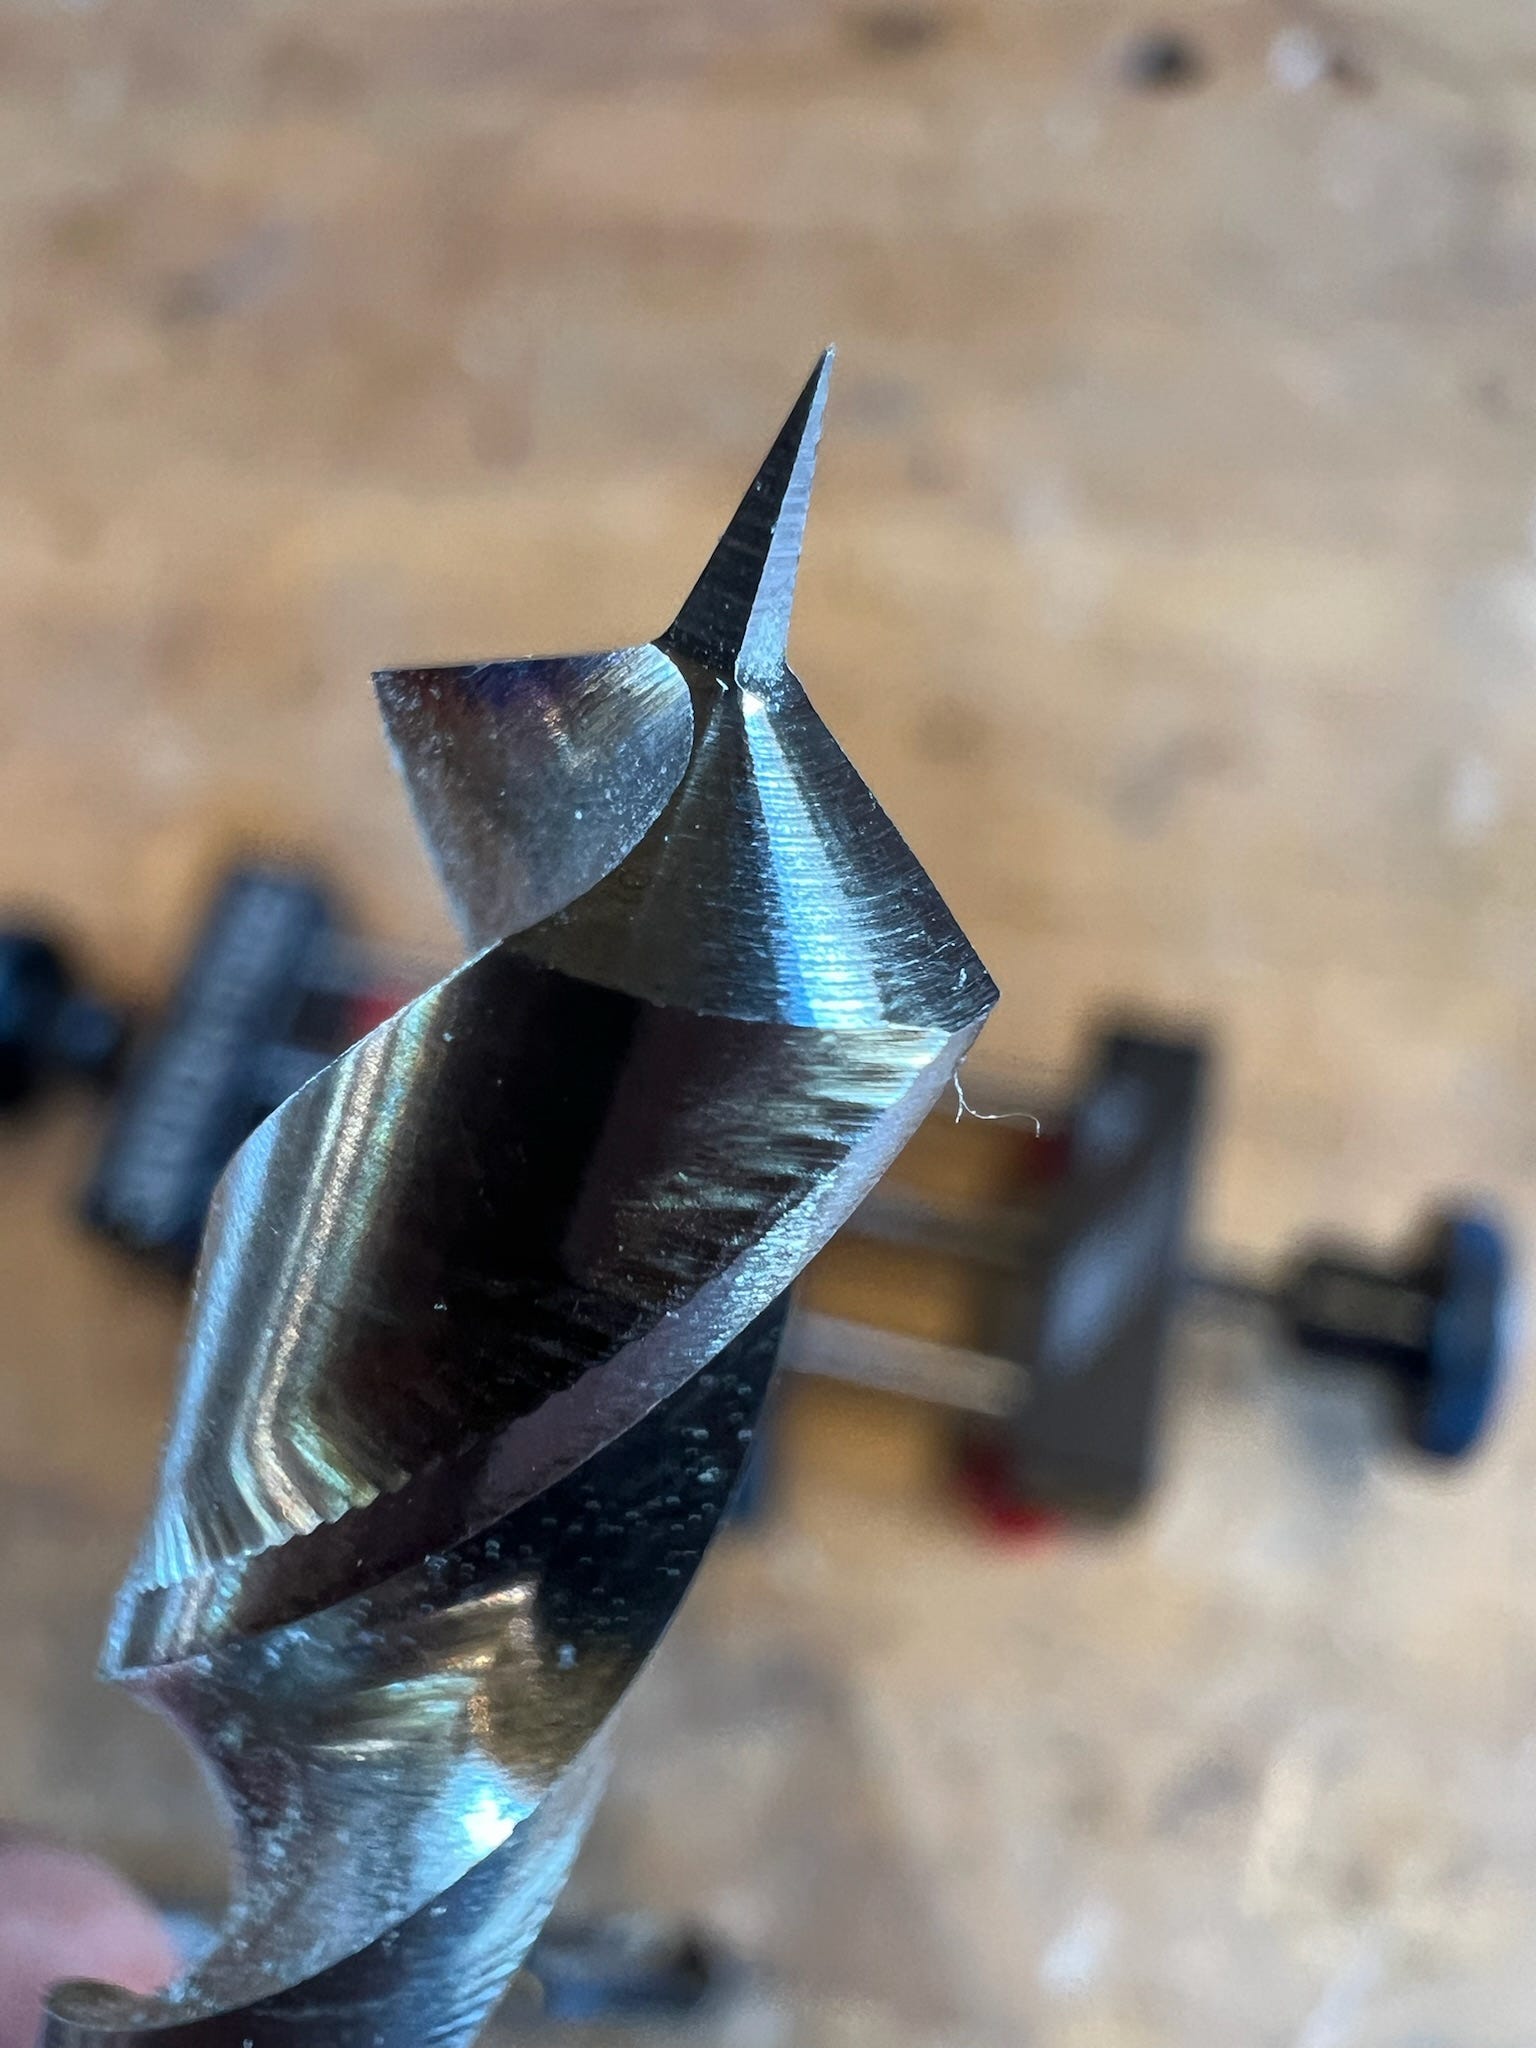
Here is a close up of a freshly ground bit. This design is an evolution of my Bismarck bit. Patrick Brennan combined the geometry with that of another bit to make a very smooth drilling bit with clean exit holes. He produced them for a while then stopped. Neither Patrick or I want to be in the drill bit business, but helping you grind and maintain the bits you have…that I can do. You can make the bits I show in my book on the “DrillSharp”, but I use these modified Bismarck bits exclusively now.
I know this will seem like a stretch for lots of folks, I totally understand. Drill bits are like saws, making or maintaining them seems as though it would be too hard and it’s better left to the pros. But that leaves you with expensive tools that only get worse in your hands. I recall sharpening a saw for the first time. Yes, I did a crappy job, but it cut so much better I was shocked. It turns out each tooth doesn’t need to be perfect, it’s a bunch of teeth that produce a cut. The same goes for drill bits. They are spinning fast and if you can manage a few key properties of the shape, there’s lots of room for success.
Like most things, I went deep into this to understand and develop a tool and process, but my goal is always to come back up for air with an approachable solution. I’ve ground hundreds of bits and drilled thousands of test holes to get to a place where I am ready to share this tool. I’m still waiting on a few things to shake out before I can price the tool, but I hope to offer an introductory price below $250.
I’ll be shooting instructional videos on this and getting the tool up on the site for presale soon. I should have the tools in house in a few weeks. Thanks for sticking with me, I live for these days.
Soon, I will also be shooting the video I was supposed to make today, which will wrap up my drawknife sharpening series and show how I prefer to sharpen my drawknives. Yes it involves a tool I made, but the concept is simple and you have a 3-d printer, right?
No posts
Comments
Nothing yet. Say the first thing.
Sign in to join the conversation.