
[I have 2 classes left this year, a “carving-only” class coming up later this month, then in October a carved box class. The August class is full, but there’s room in the October one. That class is a two-fer, the first 3 days are carving, first some practice, then the real thing. After that, it’s building the box with its till and wooden hinges. Details here:https://www.petergalbert.com/schedule/2020/7/13/make-a-chair-from-a-tree-with-peter-follansbee-8brcj-7b62n-xafjp-mglkm-lrd5m-swyzh
next year, we’ll fix that link so it actually reads “carved box”…]
Thinking about these carving classes coming up, I dug out some oak I split & planed in May and started in on some carved boxes. The photo below is 2 different boxes - the large panel at the bottom of the photo is a “typical” sized box, the other 2 boards are ready to cut into 4 pieces for a small box. I carved these today and shot some photos of the larger one.
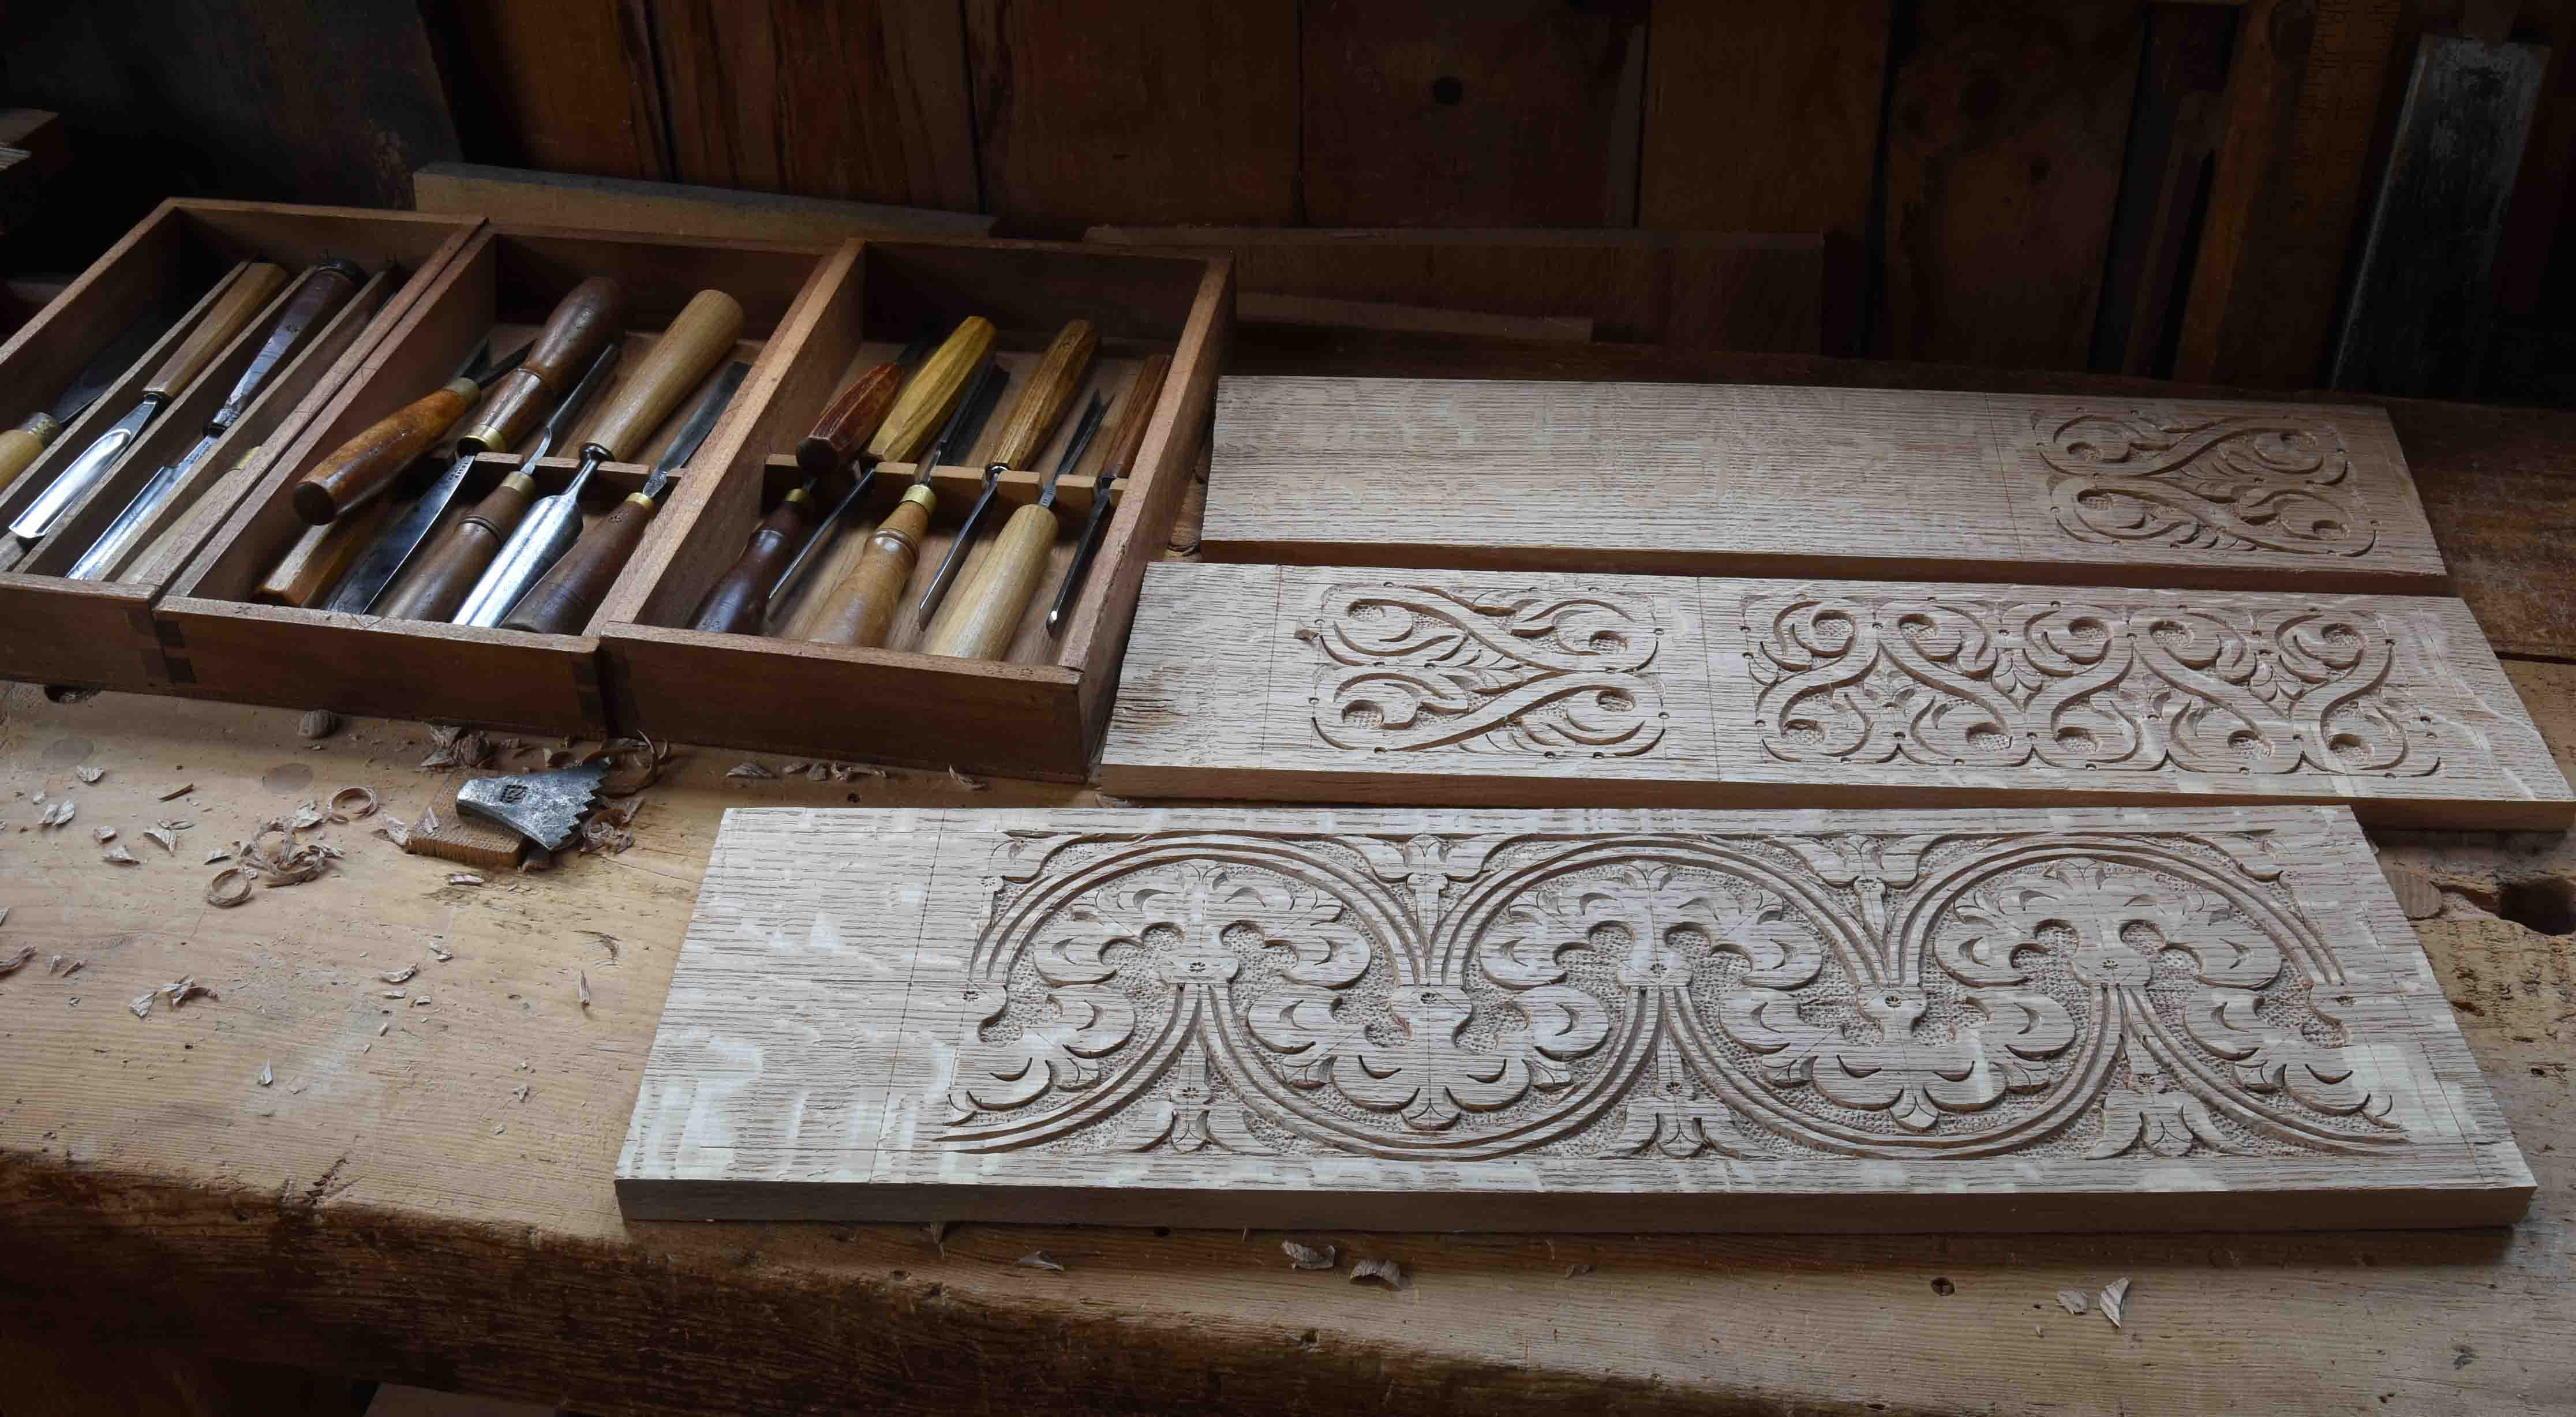
This pattern is loosely based on one single small photo in Victor Chinnery’s book Oak Furniture: The British Tradition. I’ve carved several versions of it, none of them copying the English box verbatim, but following much of its format. This board is 7 1/2” high - so once I struck the top & bottom margins, I knew I had 6 1/2” to work in. I dug out some paper and a compass to work out some spacing. The pattern repeats so much there’s only a small section that you need to map out - in this case a 3 1/4” square.
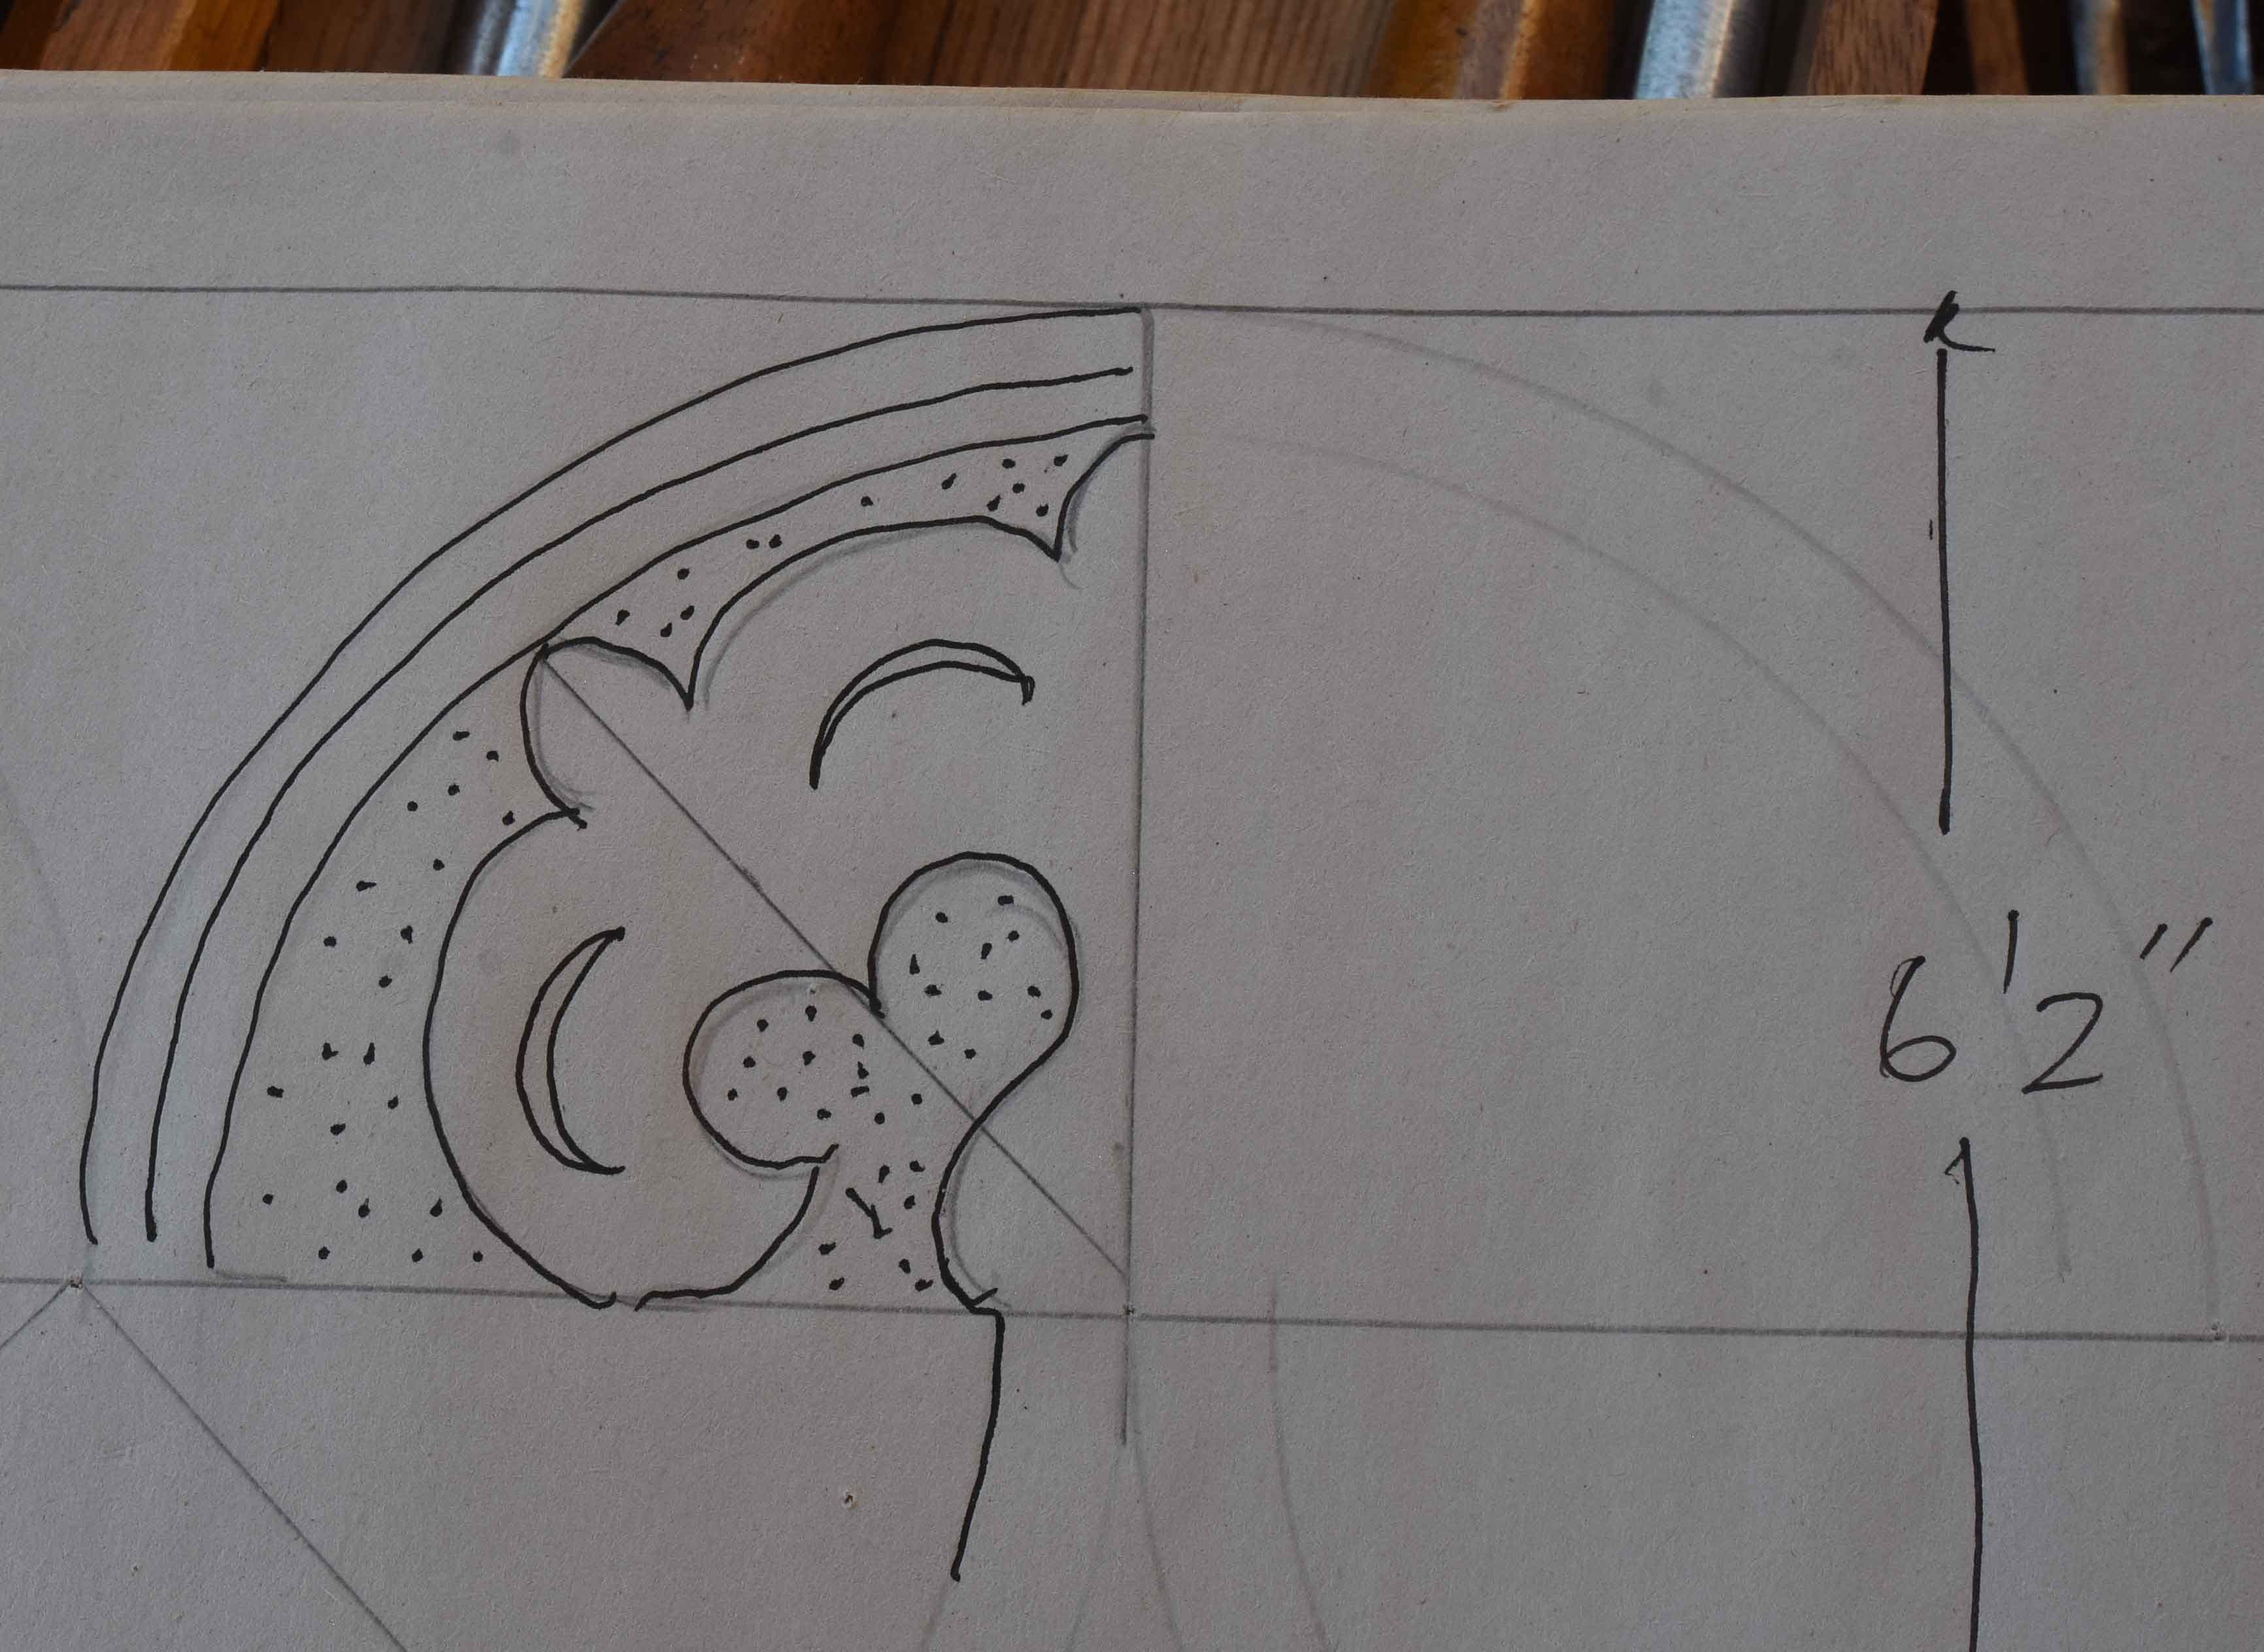
Once I struck those arcs, I dropped vertical lines through the middles/between the arcs then a diagonal line left & right. Those 90° and 45° lines are targets for a pointed “leaf” struck with a narrow gouge left and right of each line. Then a large curved gouge defines the spaces between the diagonal and top leaves. Same gouge outlines the droopy bit from the diagonal line down to the middle horizontal line.
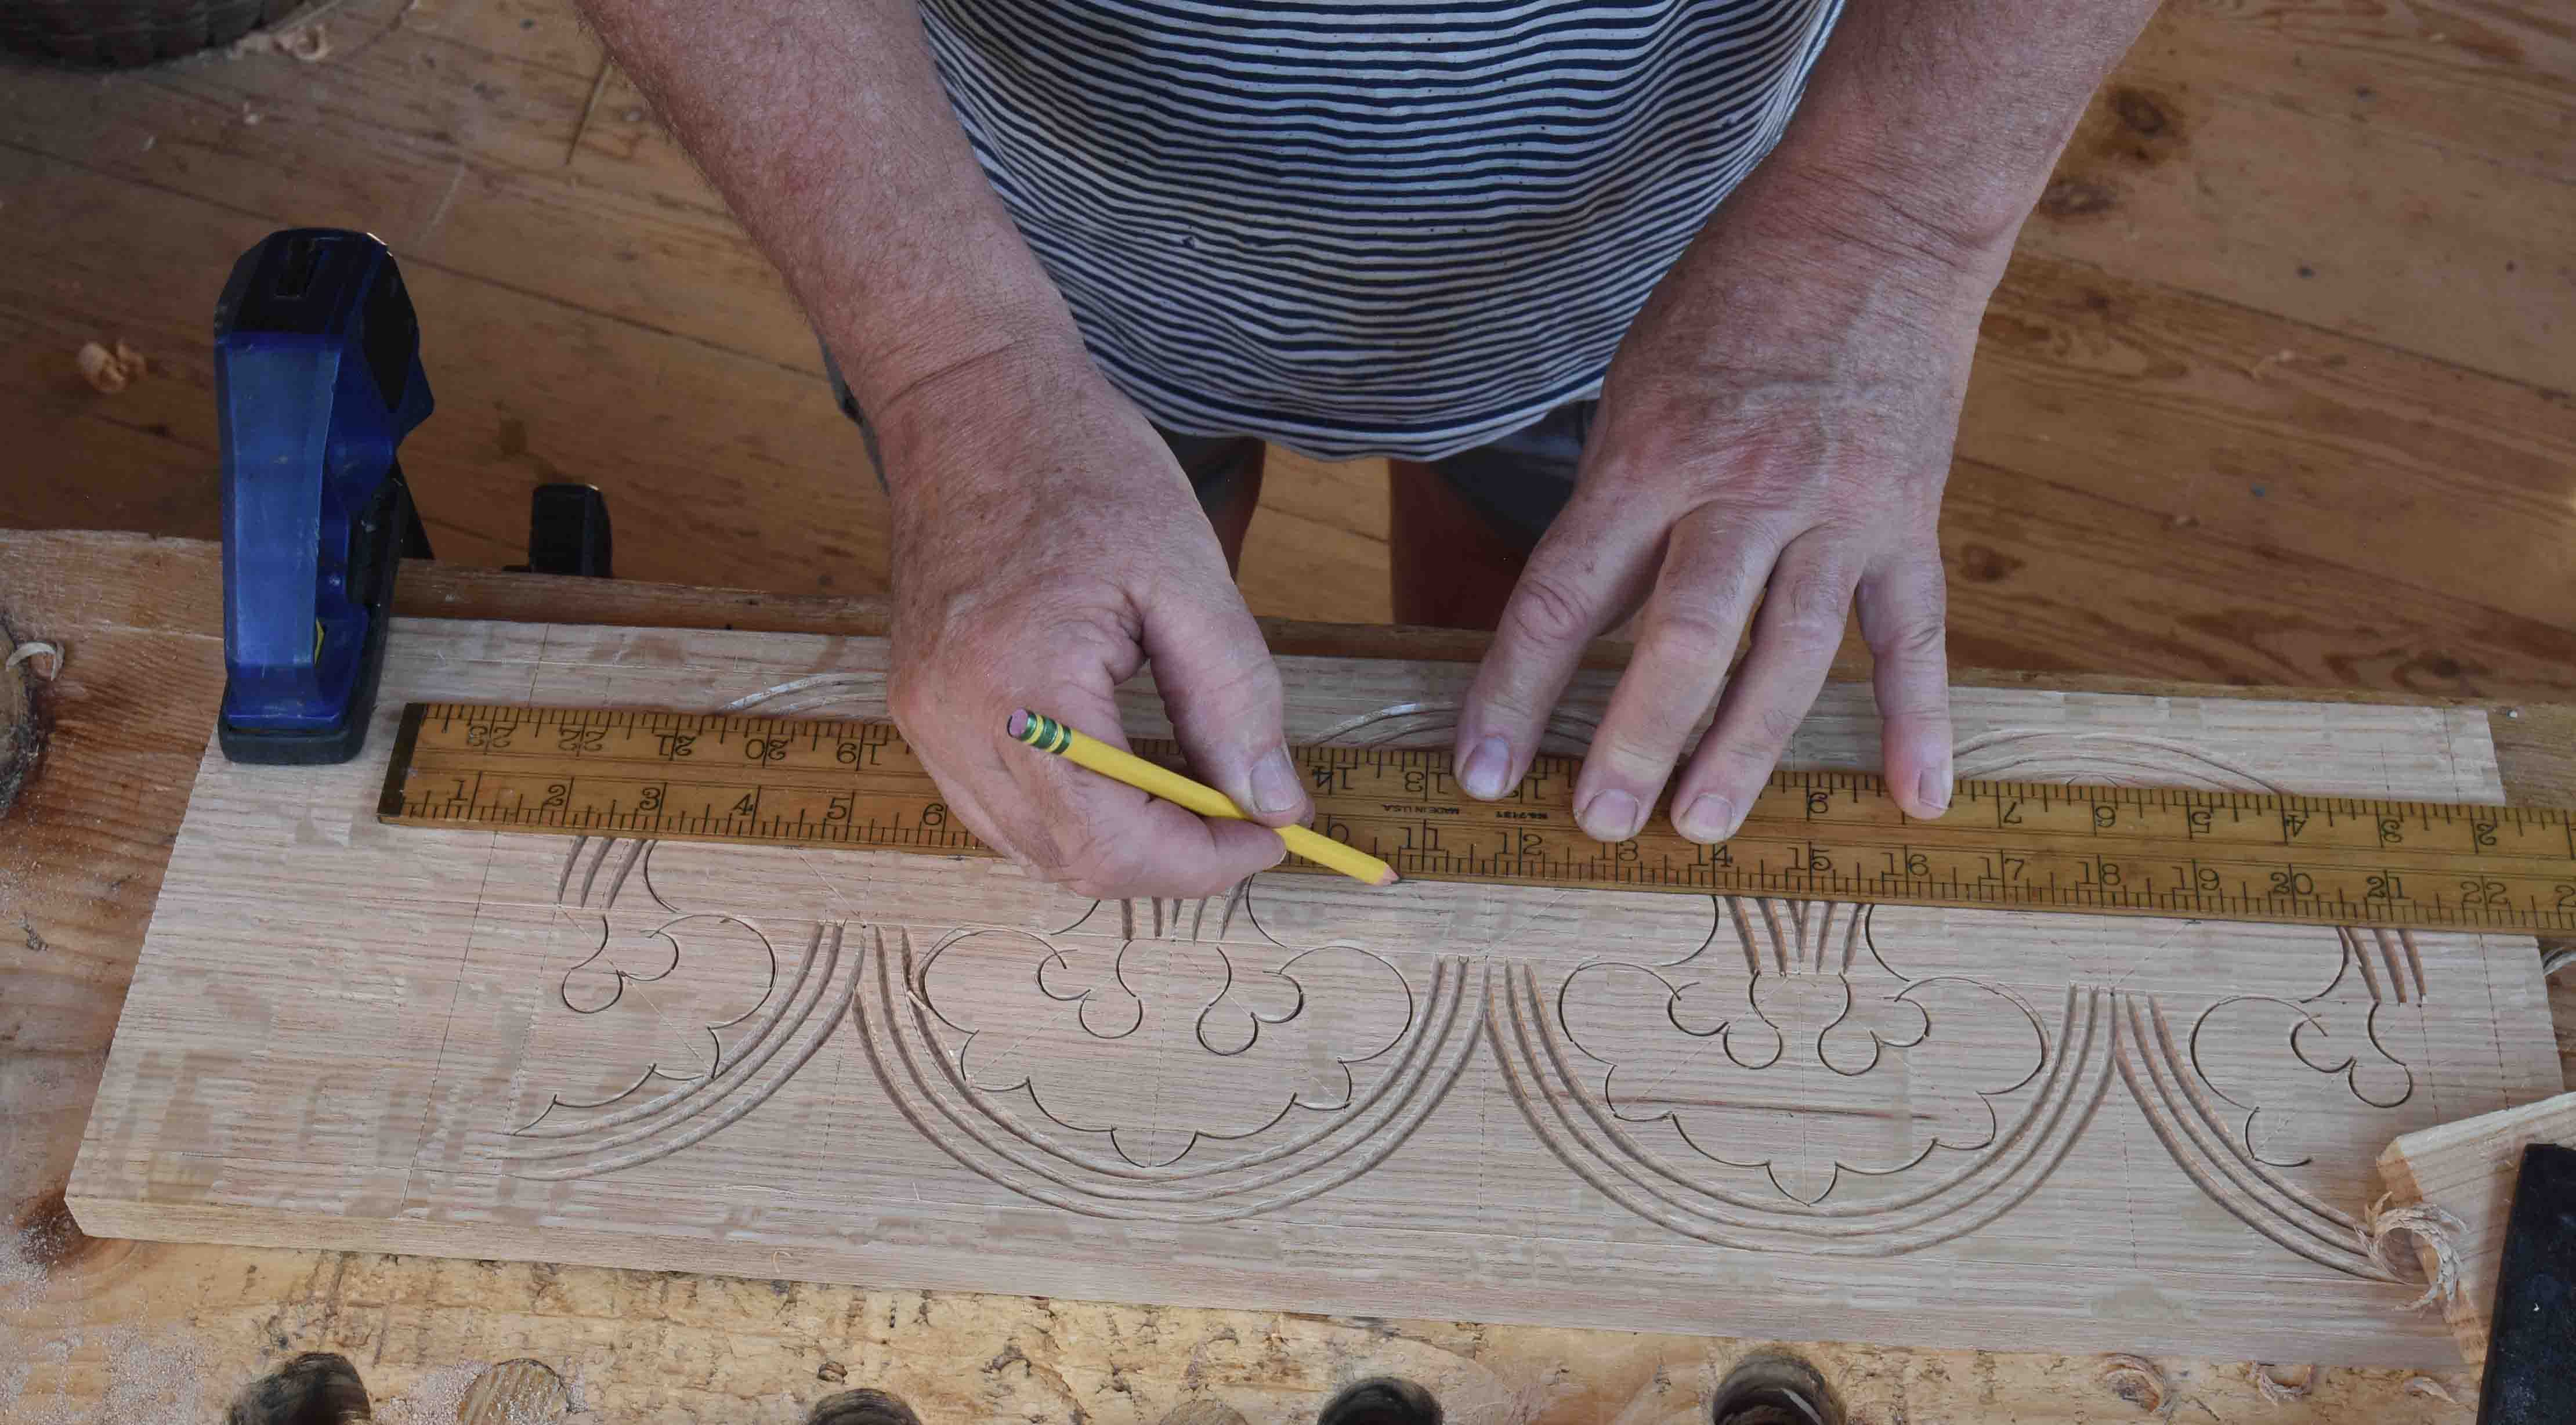
I traced a couple different gouges to get the shapes I wanted. There’s a pair of rounded shapes that almost form a heart shape - the point of which hits the diagonal line. I wasn’t sure about the size of the gouge I started with to define those shapes. Tracing the tools on paper is one thing, but the V-tool outline is wider than a compass-penciled line. So I quickly struck an outline with the V-tool on a piece of white pine scrap and sure enough, those shapes needed a narrower gouge.
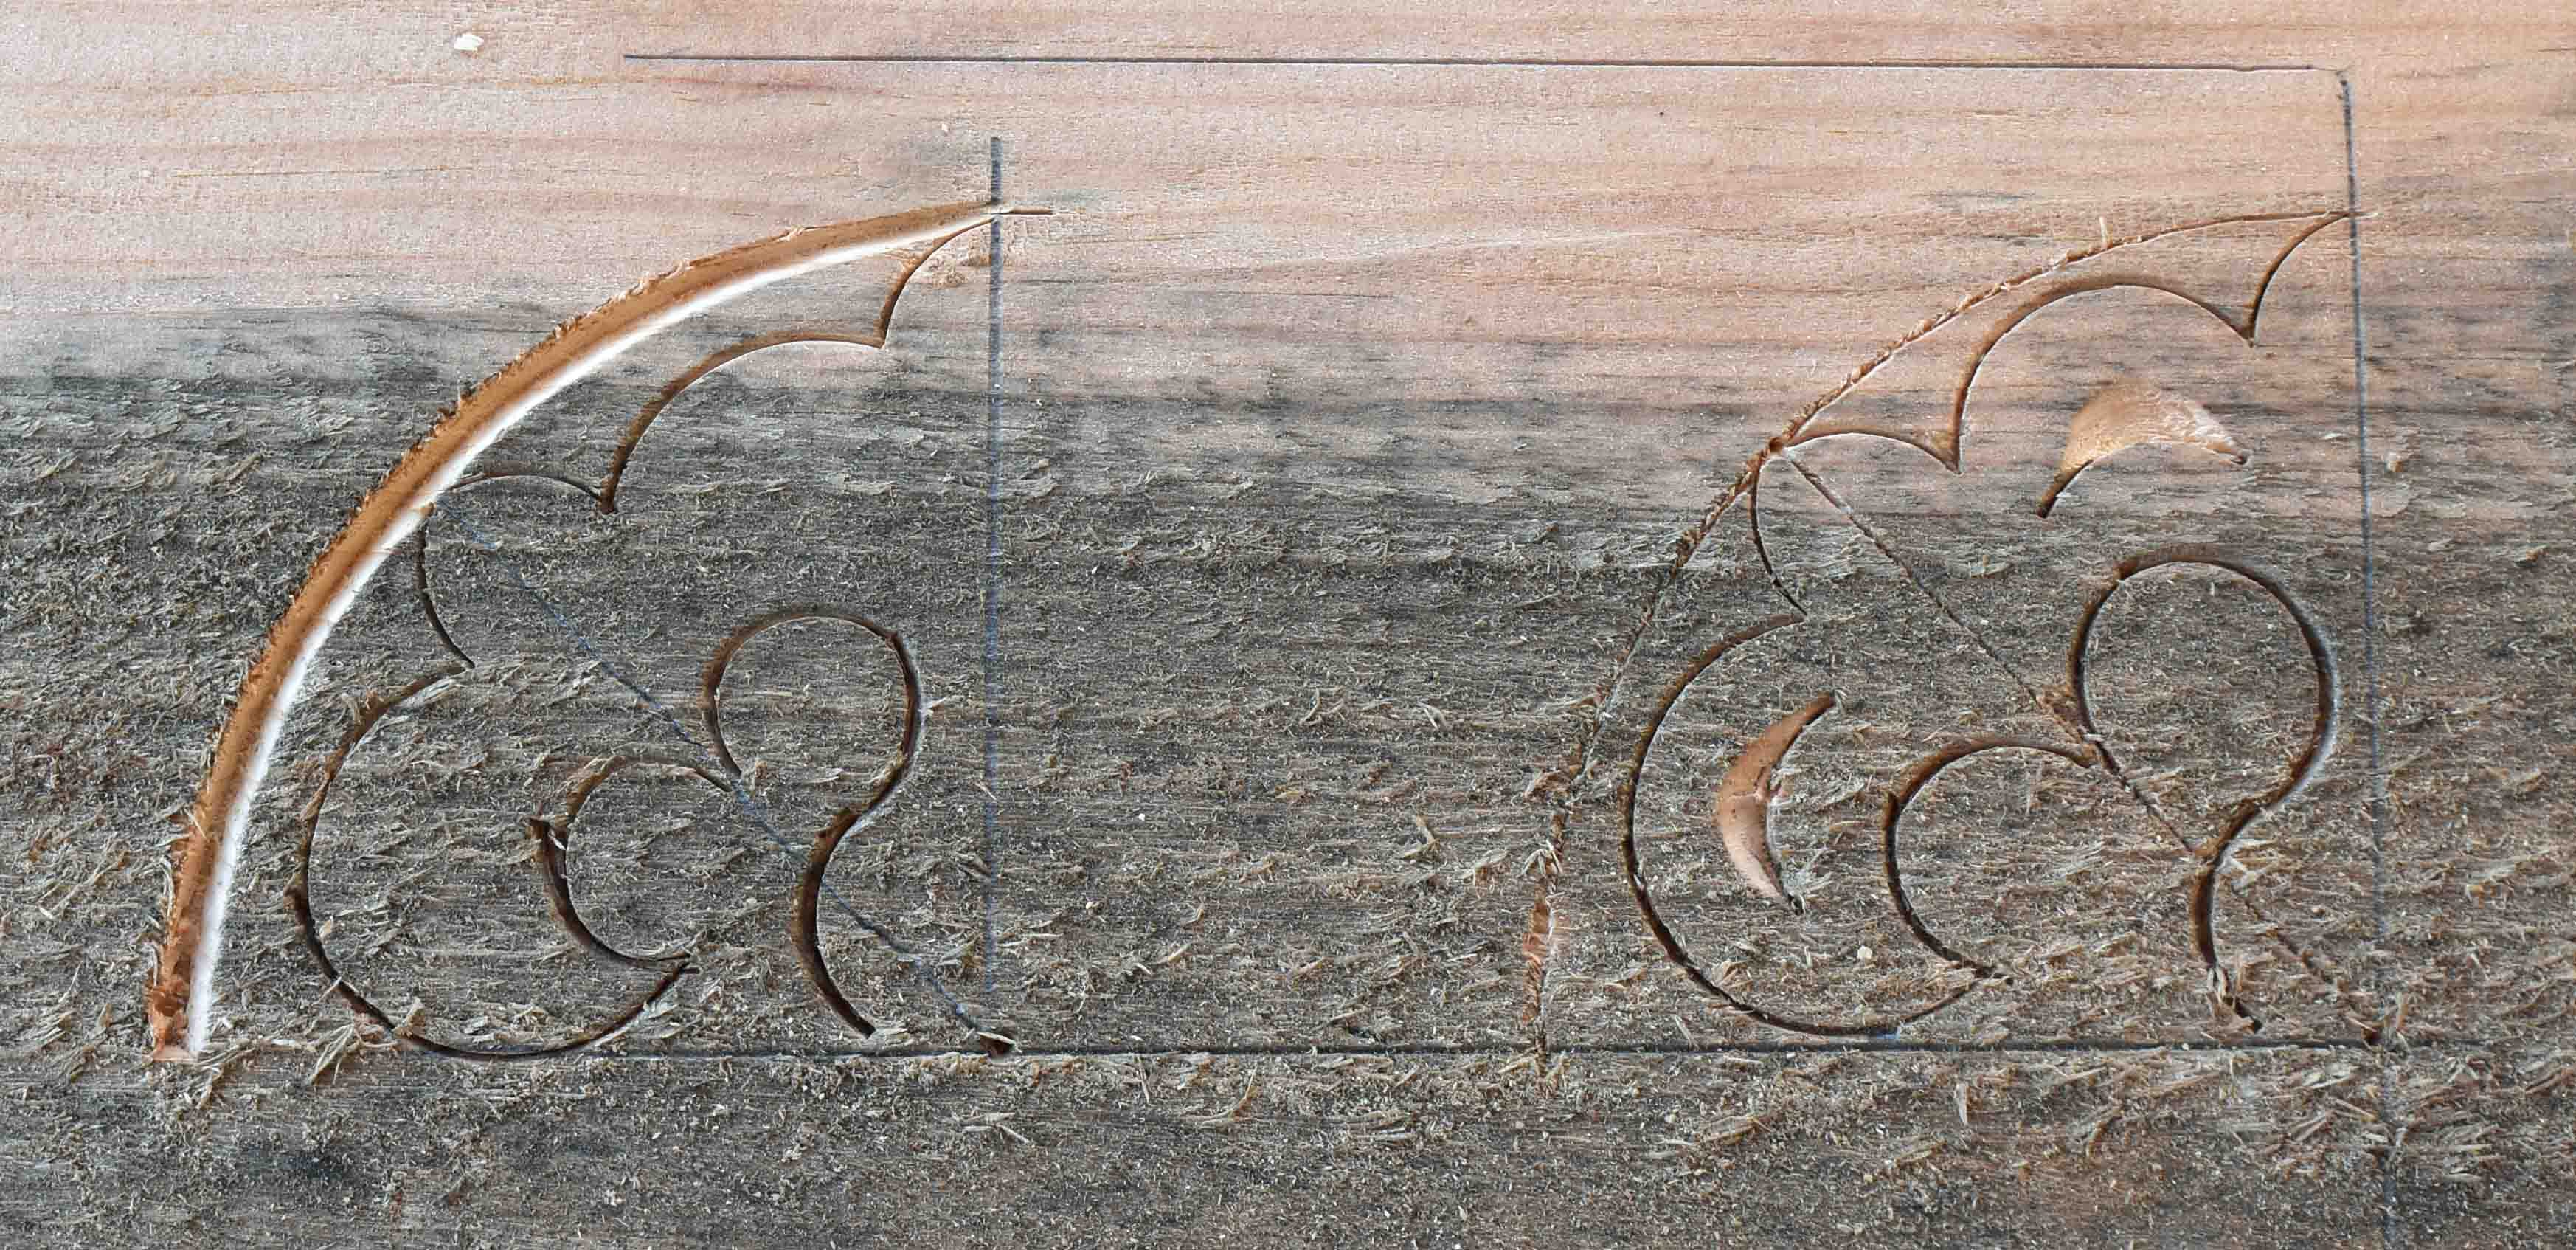
That’s all I needed to know. From there I could go to the oak board and not have to guess about anything. So the first step is all the V-tool work to outline the arcs.
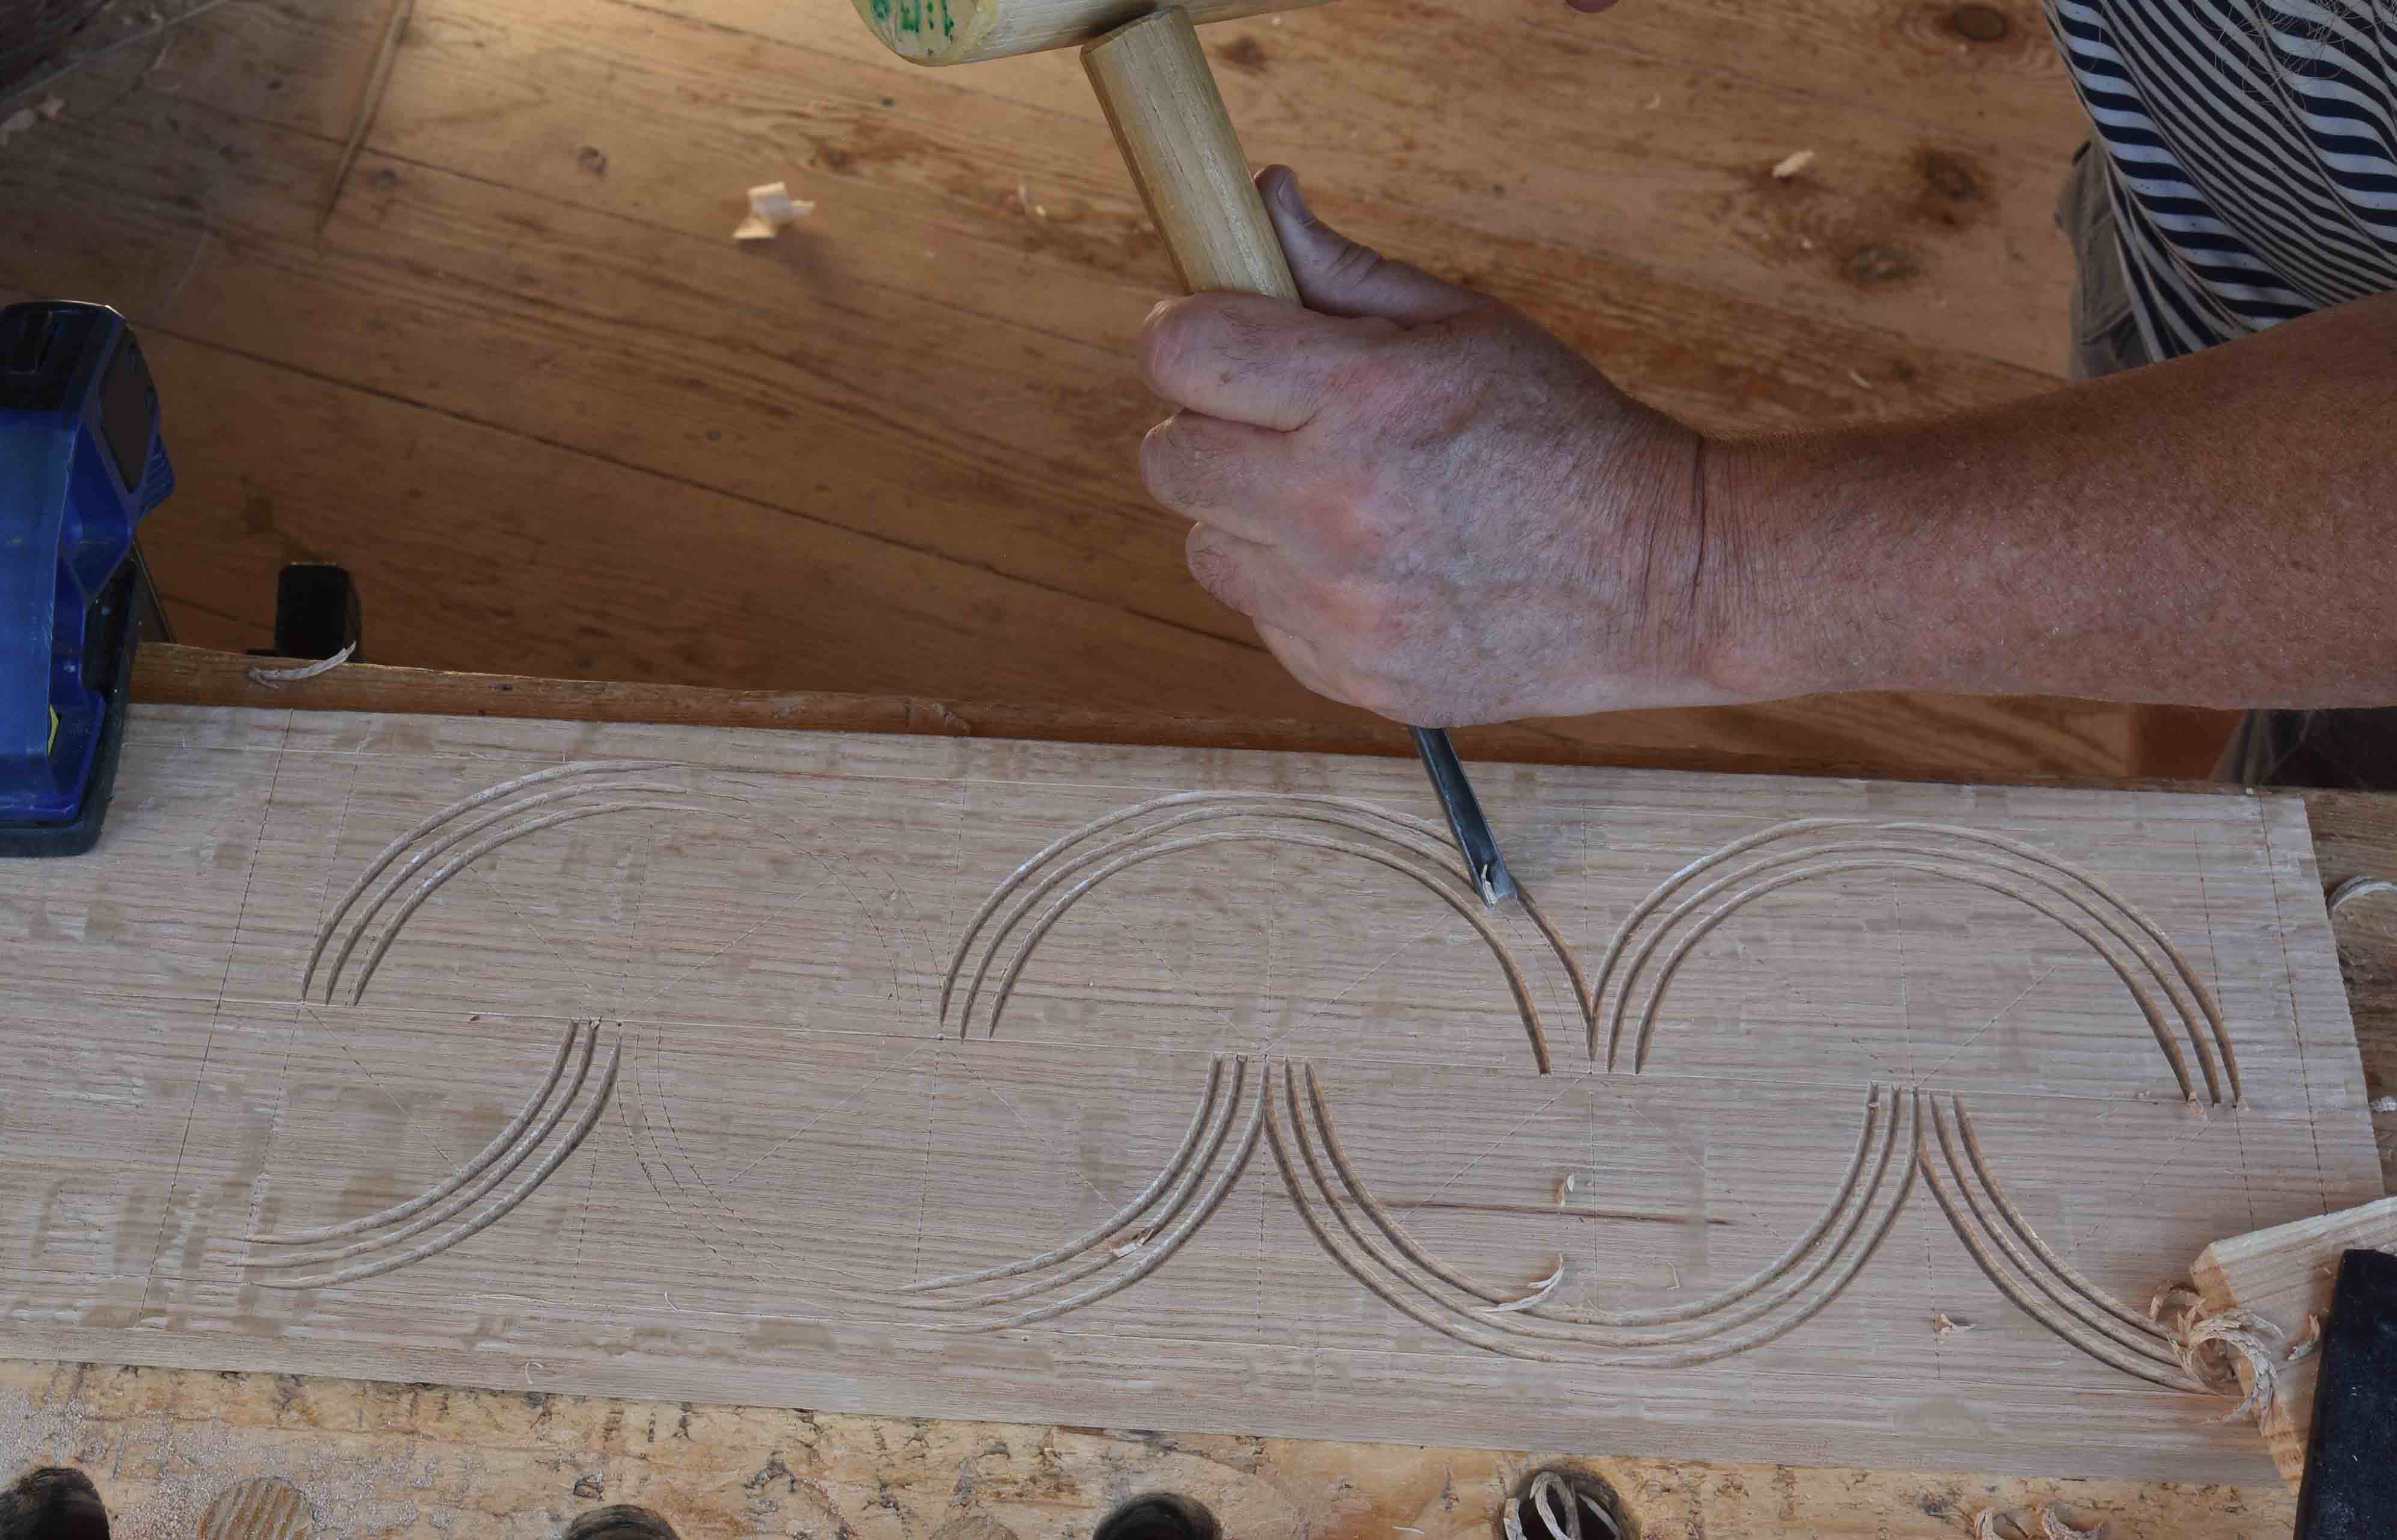
Then the leaves around those 90s and 45s. You want those to hit the marks, then what falls between them has some leeway.
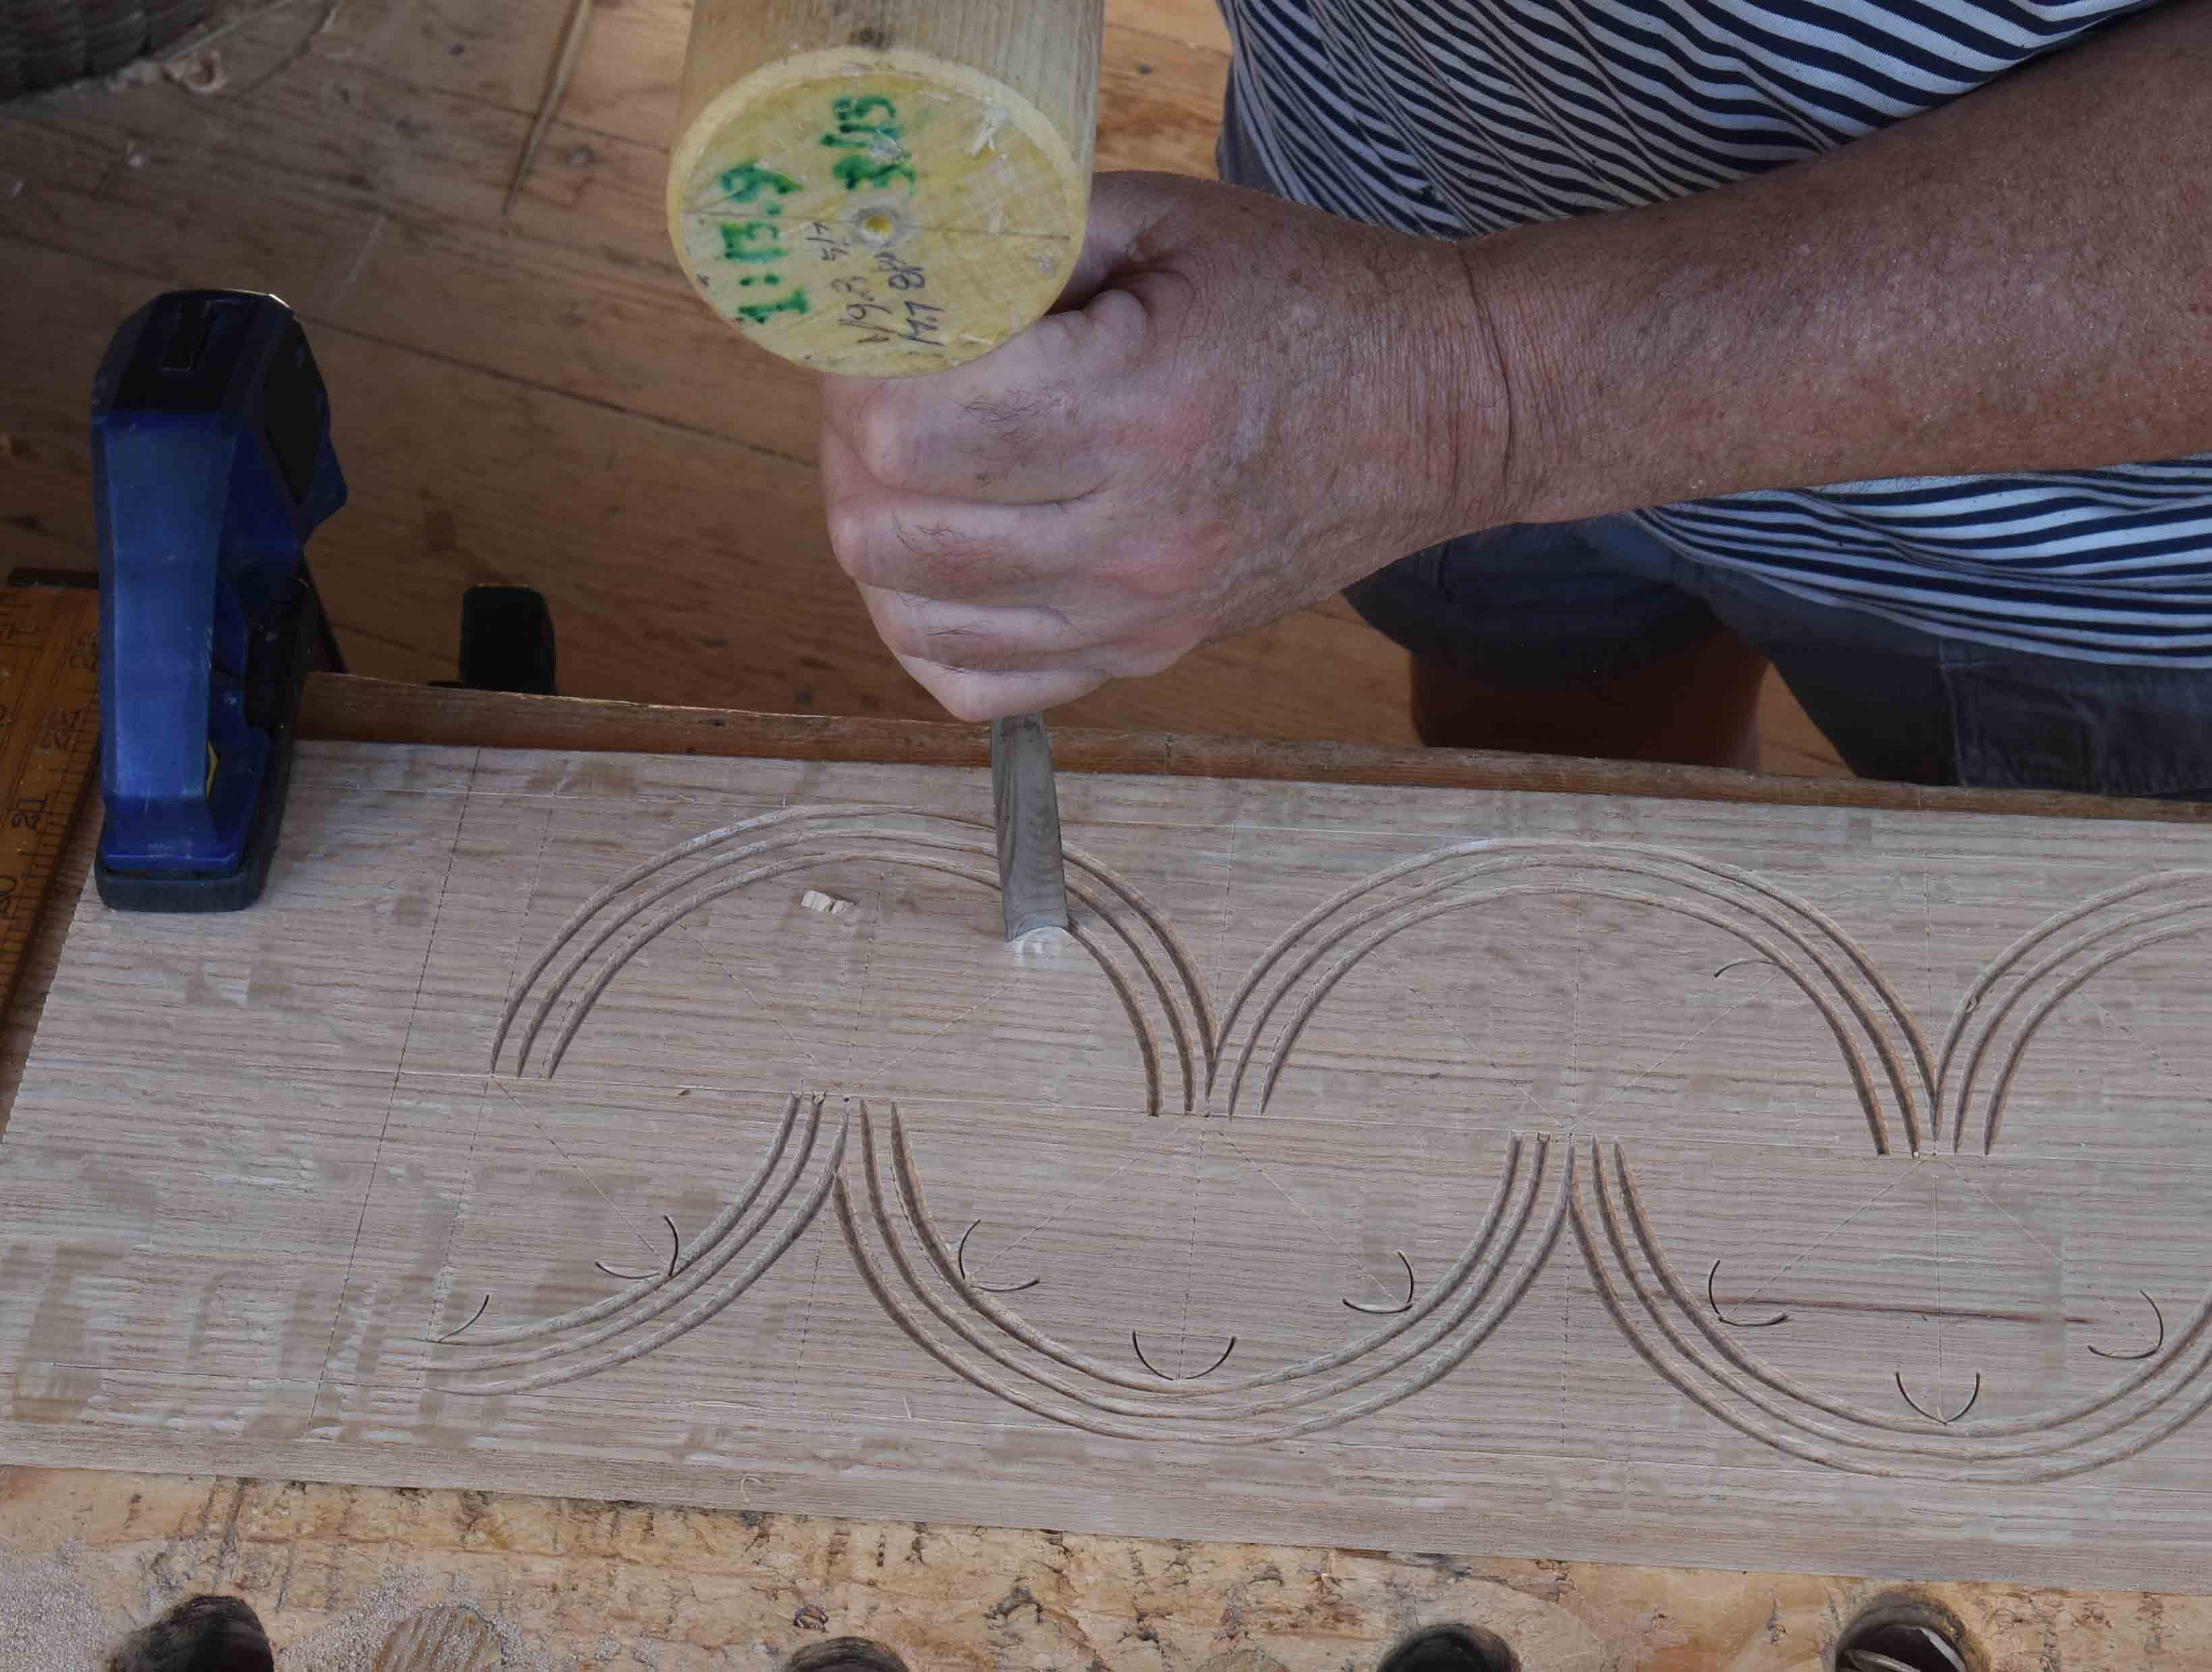
I made a mark on each diagonal line to serve as the tip where those two rounded shapes touch. This made the pattern all the more consistent.
Comments
Nothing yet. Say the first thing.
Sign in to join the conversation.