

We spent the morning decorating Christmas cookies in our PJs next to the tree. It was dreamy and also required plenty of prep and clean up by mom :) But I’m just over here trying to create core memories. If you’d like to bake & decorate cookies with your kids but you’re not sure what’s the best recipe to follow or need some guidance, I’ve got you. This is a simple dough and even simpler frosting. This is not intended to make intricately decorated cookies. This is a guide to cookies that won’t lose their shape in the oven, will taste good and be easy for your kids to decorate. PLEASE PLEASE send me photos on IG of you and your kids decorating cookies - I LOVE seeing that :)
Bake the cookies without your kids: Hear me out… If your children are young like mine, the mixing, rolling, cutting and baking will likely be too long of a process to keep their attention. And it’s not really the fun part like decorating. I baked these cookies the day before I wanted to decorate. You can make the dough up to 2 days before you plan to bake them too.
Wrap the dining room table in paper: I always have a big roll of kraft paper around for just this. I taped down the paper to the whole dining room table that way there’s no stress about green food coloring getting on my antique pine.
Use squeeze bottles for the icing: After making the icing I put it into squeeze bottles. It makes it really easy for kids to frost their cookie and it’s a lot less messy than using a spatula and bowl or a piping bag. It’s an extra step but I think it’s worth it.
Keep it simple: You don’t need to go overboard with colors and different decorations. Kids are just happy to make it rain with the sprinkles. I did white and green icing. And for sprinkles I found a mixed holiday one at Target and I already had some pre-crushed peppermint candies.
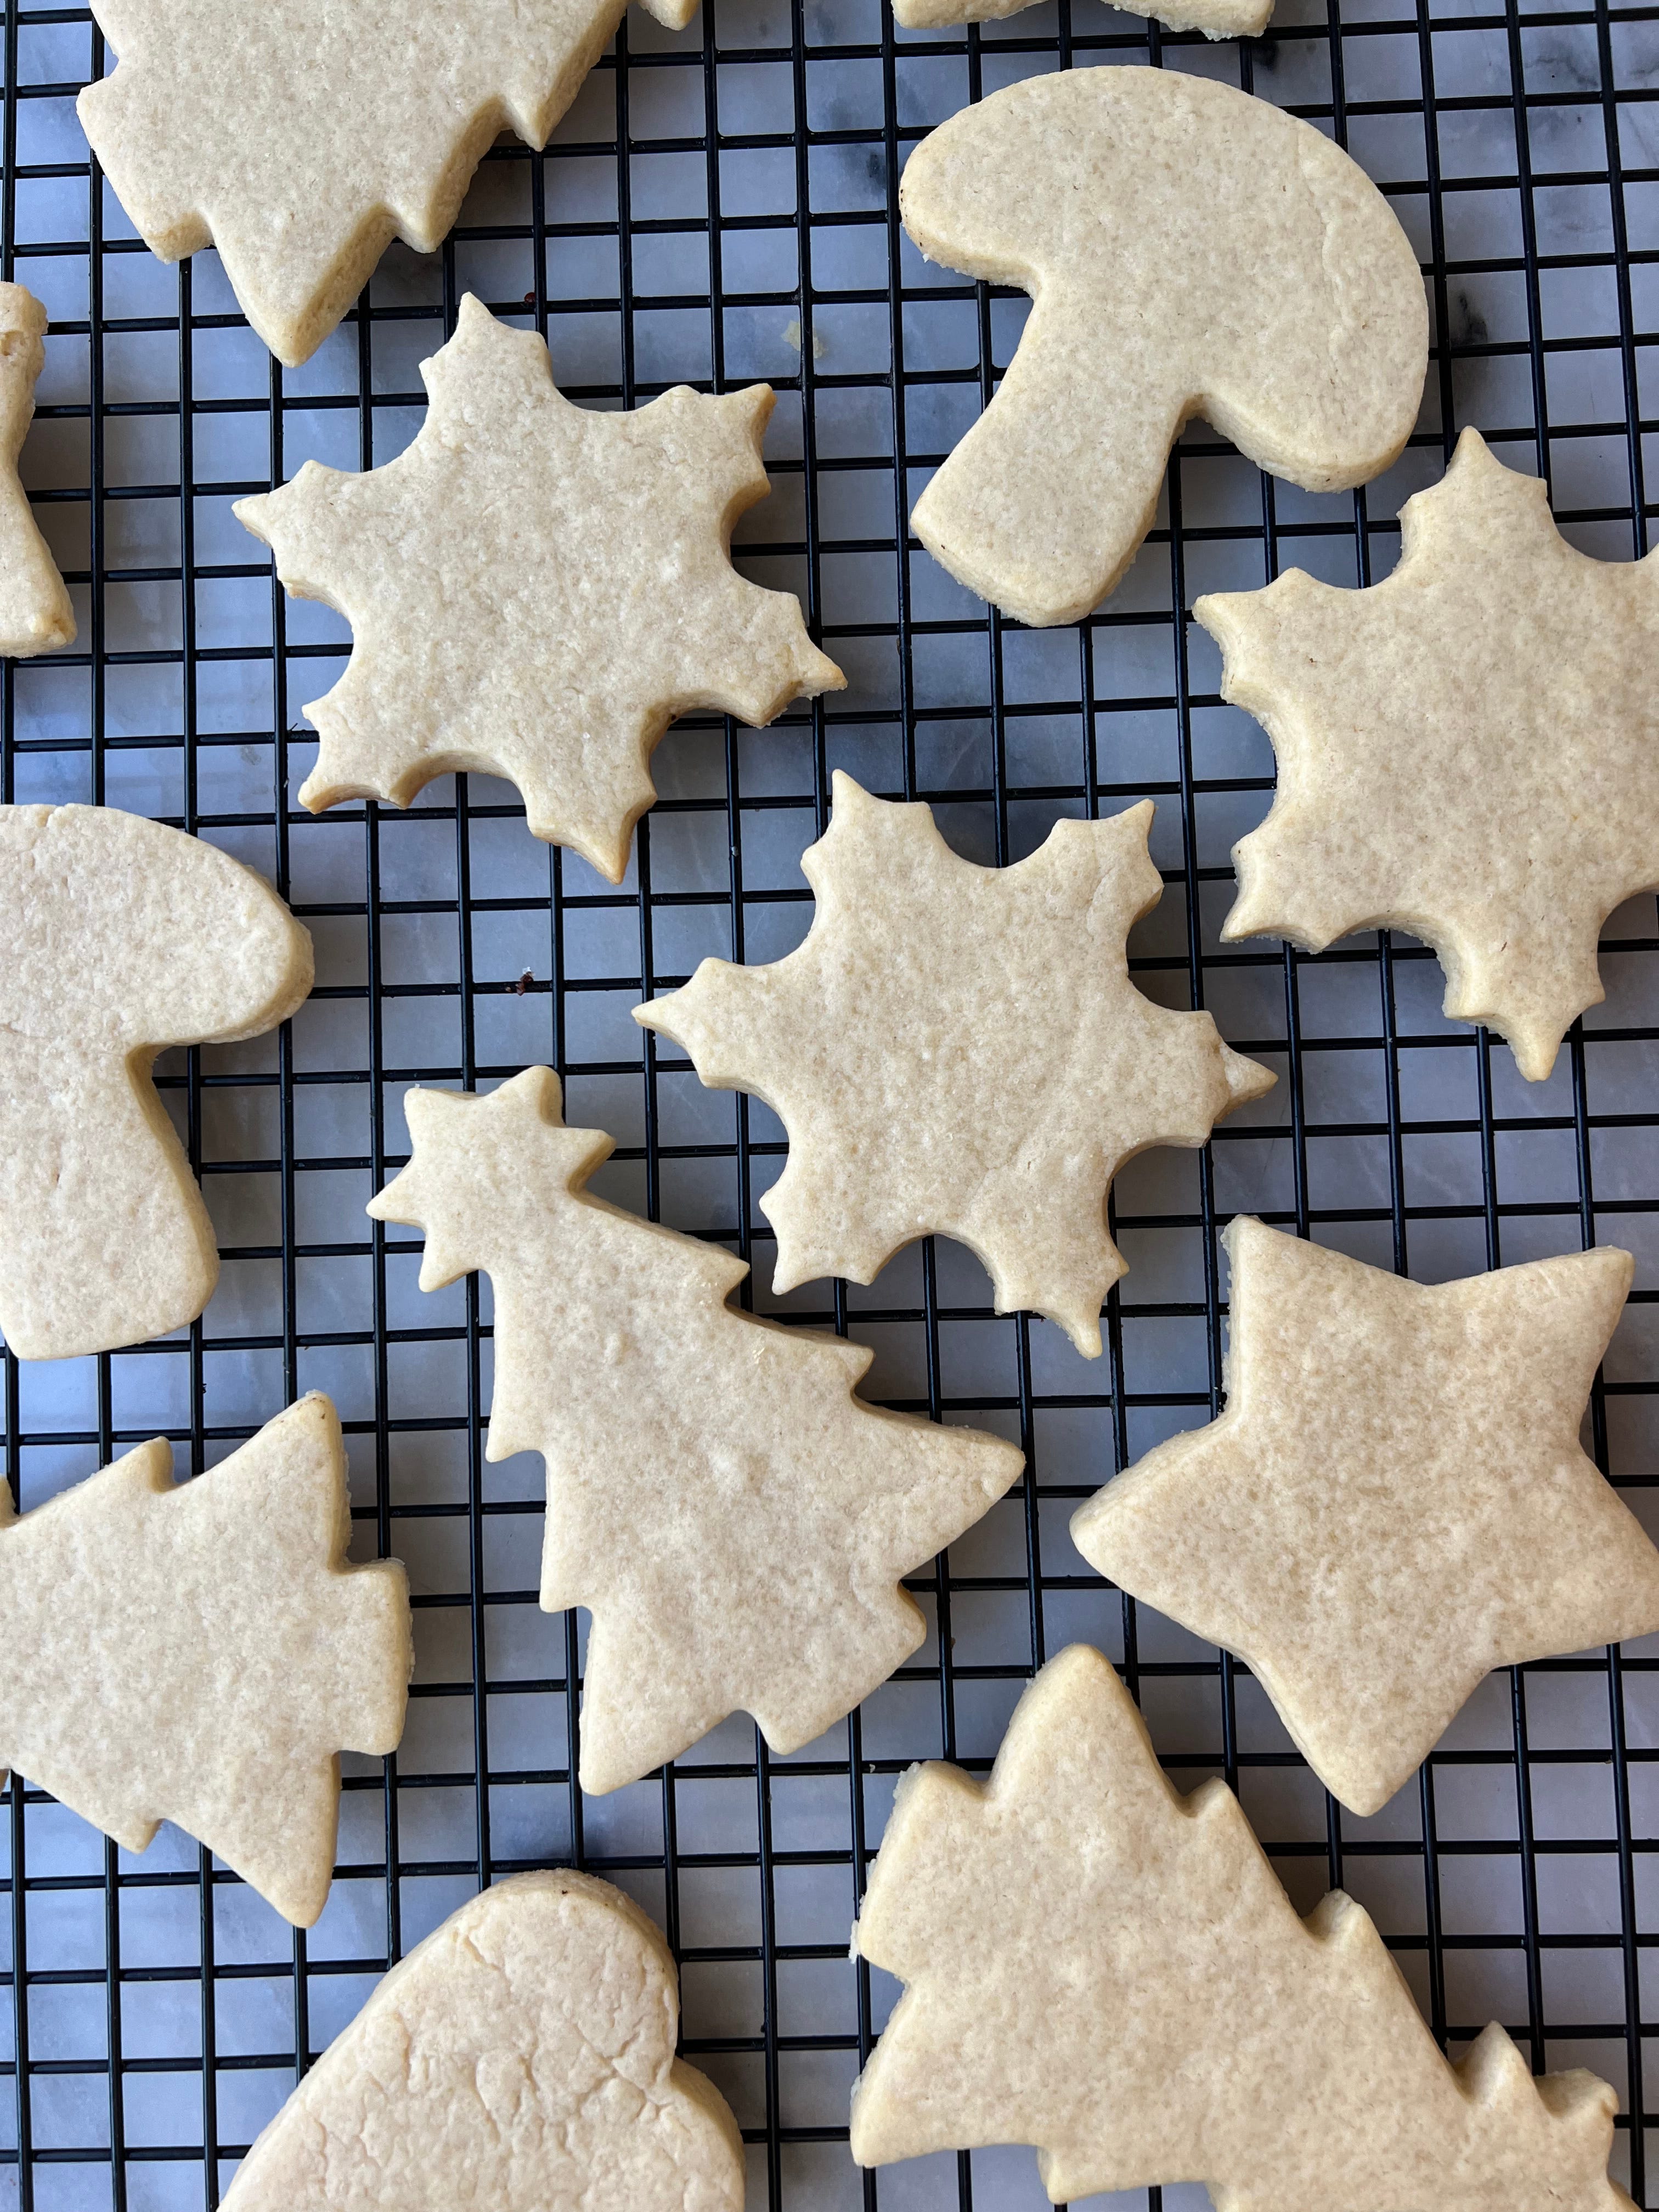
Cookie dough can be made 2 days ahead and kept covered in the refrigerator. Just let it come to room temp for 30 minutes before rolling.
The icing can be made 2-3 days ahead of time and kept covered in the refrigerator.
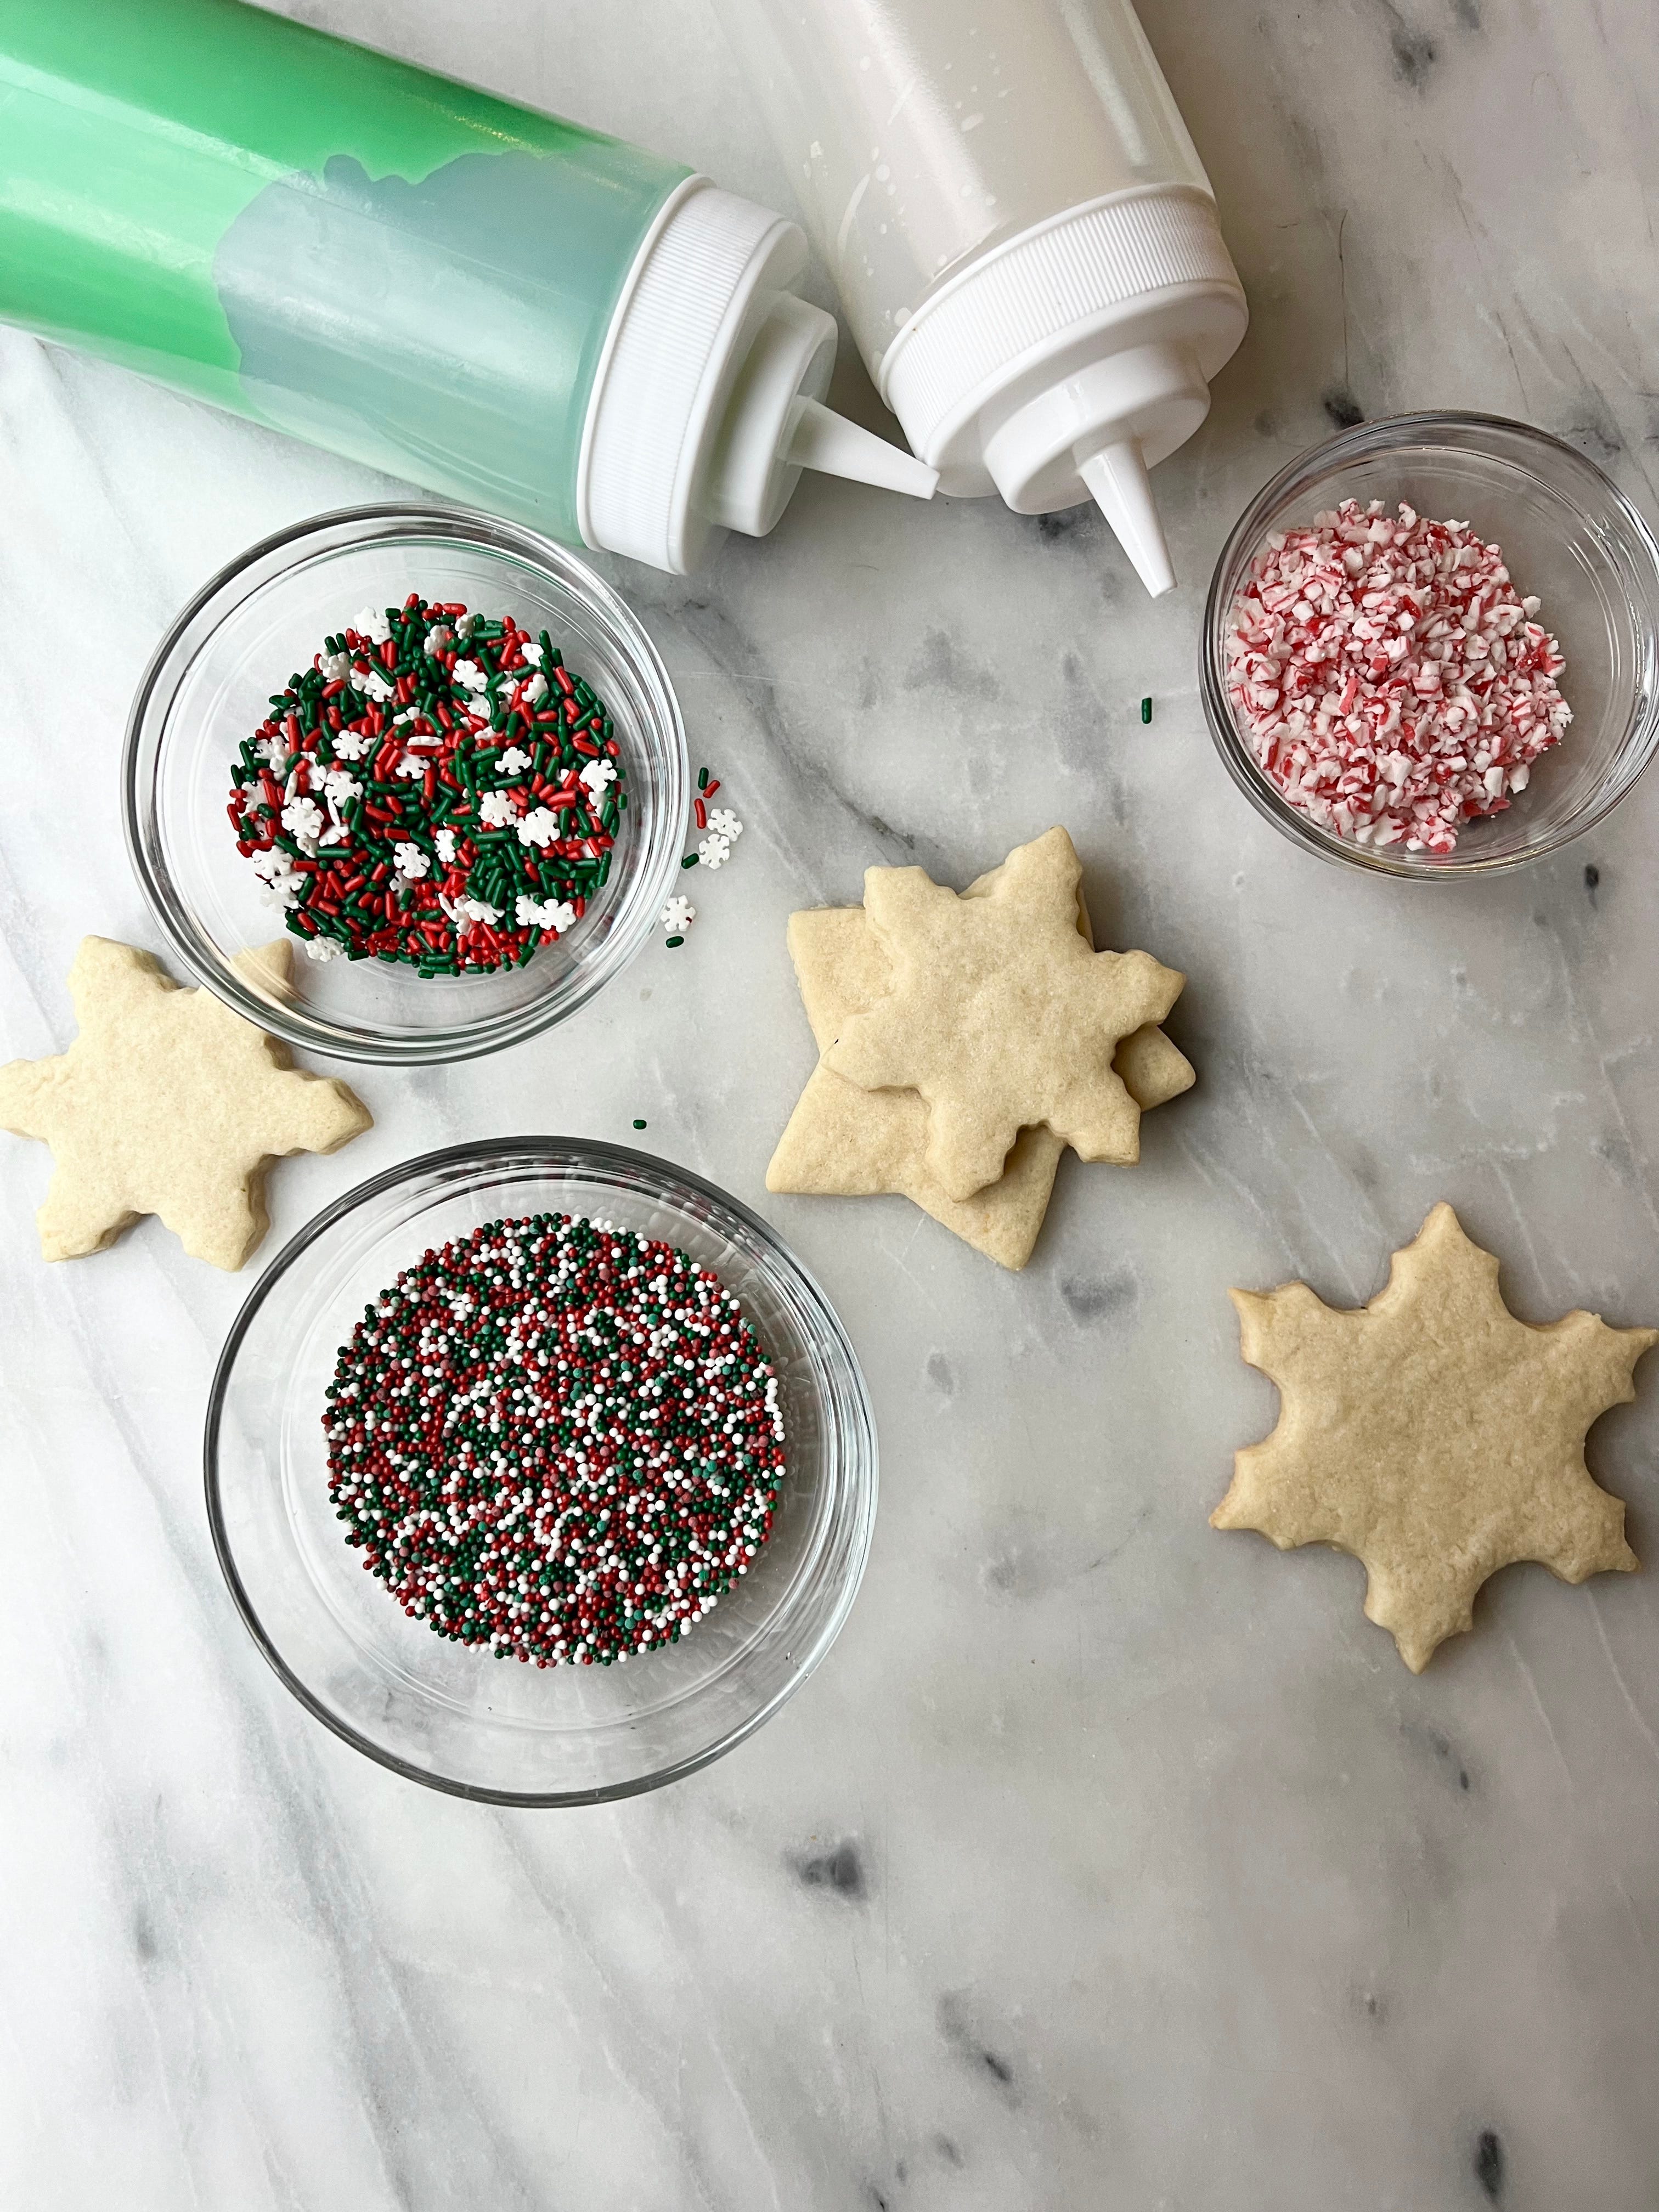
I’m adding links all over this post to the equipment and ingredients that I ACTUALLY use and like.
Stand mixer or handheld electric mixer
whisk
measuring spoons and cups
sheet pans
Squeeze bottles (my preferred method) or piping bags
Plastic deli container (optional but I think it’s best to scrape the finished icing into these THEN pour from them into a squeeze bottle. They are also great for storing if you make the icing ahead of time.)

makes about 2 dozen cookies
1 1/2 sticks (12 tablespoons) unsalted butter, room temp
3/4 cup granulated sugar
1 large egg, room temp
2 teaspoons vanilla extract
1 teaspoon almond extract
2 1/4 cups all purpose flour
1/2 teaspoon baking powder
pinch of salt
Either in the bowl of a stand mixer fitted with the paddle attachment or in a bowl using an electric handheld mixer, beat the butter and sugar together until light an fluffy, about 1-2 minutes. Add the egg, vanilla and almond extract and mix until combined. Scrape down the sides and up the bottom of the bowl and beat again as needed to combine fully.
Add the flour to the bowl and sprinkle over the baking powder and salt, distributing them around the bowl. Mix on low until a thick dough forms. If your dough seems too soft to roll, add one more tablespoon of flour.
Scrape down the sides using a rubber spatula and using your hands, bring the dough together into a ball. If you are not going to roll it out right away, cover and refridgerate until you’re ready. If you chill the dough, it needs 30 minutes at room temp beofre you roll it out.
When ready to roll: Line 2 sheet pans with parchment paper and preheat the oven to 350°. Divide the dough in 2 equal pieces. Lightly flour your work surface and the top of the dough. Roll out until it is evenly 1/4” thick. Using a cookie cutter, cut the dough into shapes. Re-roll the remaining dough and continue cutting until all is used. Repeat with 2nd piece of dough. (Note: It doesn’t seem like a lot of dough, but you get a lot of cookies from the dough scraps you re-roll.)
Place cookies on the prepared baking sheets giving each cookie 2 inches of room. You may need to bake these in batches if you end up with a lot of cookies. Bake for 12-14 minutes, rotating halfway through, until the edges are just barely golden brown. Let the cookies cool COMPLETELY before decorating.
makes enough to decorate 24 cookies. I split this quantity between 2 colors, if you’re doing more than 2 colors you may want to scale up the recipe so you have more to work with.
Note about the corn syrup: this makes the icing glossy and makes it stick well to the cookie. If you don’t care about those two things and you don’t want to buy corn syrup, you can skip it. It’s only 1 tablespoon :)
4 cups powdered sugar
1 tablespoon light corn syrup (the clear kind)
1 teaspoon vanilla extract (if you’re really committed to having SUPER white icing then find yourself some clear vanilla extract)
4-6 tablespoon water
food coloring of choice (you could use natural food dyes too!)
Place the powdered sugar, vanilla, corn syrup and 4 tablespoons of water in a large bowl. Using a whisk, start to combine. It will be super thick at first. Keep at it. When you lift the whisk, icing should drizzle back into the bowl like a ribbon. This is the right consistency. If it’s too thick, add some more water slowly. If it’s too thin you can add more powdered sugar.
At this point you can divide the icing into bowls and tint it using food coloring. GO SLOW. A tiny bit of coloring goes a long way.
I personally find it easiest to scrape the icing into plastic deli containers, then pour from those into squeeze bottles. But YOU do whatever works for you here. If the icing stays covered, it will be fine in the fridge for 2-3 days. If it has thickened up a bit, simply whisk in a tiny bit of water.
Your decorated cookies will need 12 hours to become completely dry. But of course you can eat them before then!
No posts
Comments
Nothing yet. Say the first thing.
Sign in to join the conversation.