

Why PLOT GRIDs matter: Your corkboard, index cards, and red yarn are doing exactly one thing: not writing your book. They look and feel productive. They are not productive. A Scrivener plot grid will do what your conspiracy wall never could do. What is that? Get the thing to a final draft.
The 3 things you must know:
Build your metadata columns. Track only what you keep losing (i.e POV, setting, subplot threads, plot beats). Not all 47 fields. Just the ones that stop your specific brand of creative chaos.
Set up your Outliner. Project Settings > Custom Metadata. Build your fields. Configure your columns. Stop touching it after that.
Use the grid to make hard decisions. Subplot column is a wasteland for six chapters? You abandoned a storyline. Three scenes happening simultaneously in different locations? Your timeline is drunk. The grid’s entire job is to expose weakness. Let it do its job.
Here’s THE BOTTOM LINE: The grid won’t write your book. Nobody said it would. What it will do is stop you from losing your subplot under a coffee mug, derailing your timeline, or ghosting your own protagonist for 80 pages.
Close the tabs. Write the book. We’re done here.
Unless you want to go deeper? Then by all means keep reading ⬇️
A plot grid is useless if your core structure is a dumpster fire. Your binder needs to mirror the vertical axis of your plotting grid. So if you haven’t figured that bit out yet. Do it now!
Beating Scrivener's Binder into Submission ⛓️🖤👠
·
Jun 2

You bought Scrivener ages ago. The muse was hot, the writing was lightning, and in a whirlwind of emotion, you transferred everything into the app, completely disregarding reason and basic human decency...
Here is a step-by-step blueprint to engineer your Scrivener Outliner so you can actually finish a solid draft that readers will love.
A traditional plot grid uses columns and rows to track the moving parts (metrics) of your story. In Scrivener, we replicate this using metadata in the outliner.
Your plot grid is your custom dashboard for targeting weaknesses in your novel.
A few smart questions to ask before creating metadata fields:
What do I repeatedly forget while drafting?
What do I struggle to see when I zoom out?
What usually breaks during revision?
What information would help me spot and fix story problems faster?
Focus your effort on tracking the things your brain keeps dropping!
⬇️ EXAMPLES ⬇️
👉 Constantly losing control of character movement? ➡️ Track POV character and setting.
👉 Subplots vanish for 80 pages? ➡️ track your subplot threads.
👉 Timeline turns into soup ➡️ track timeline.
👉 Middle acts sag like wet cardboard ➡️ track plot points or beats for each chapter and scene.
🚨Pitfall: Less = more! A plot grid should not become a museum of useless columns.
Scrivener is the perfect environment for testing things out. That’s why I love it!
Start tracking FOUR new metrics to see what’s working for you, then Add or subtract from those metrics as needed.
Also - evaluate story at the scene level, not just the chapter level.
Why? Because your grid can and should track more than just the larger plot. Weaknesses appear in your novel at all levels, and plot grid will reveal them to you.
👇Looking for ideas for metrics to evaluate your novel? Below is a link to a list of metadata I’ve used in my own projects.
Look, I can’t cover every single metric in a single article. That would be insane. Instead, I’ll give you a quick-and-dirty overview of how to create metadata and use it effectively in Scrivener’s outliner.
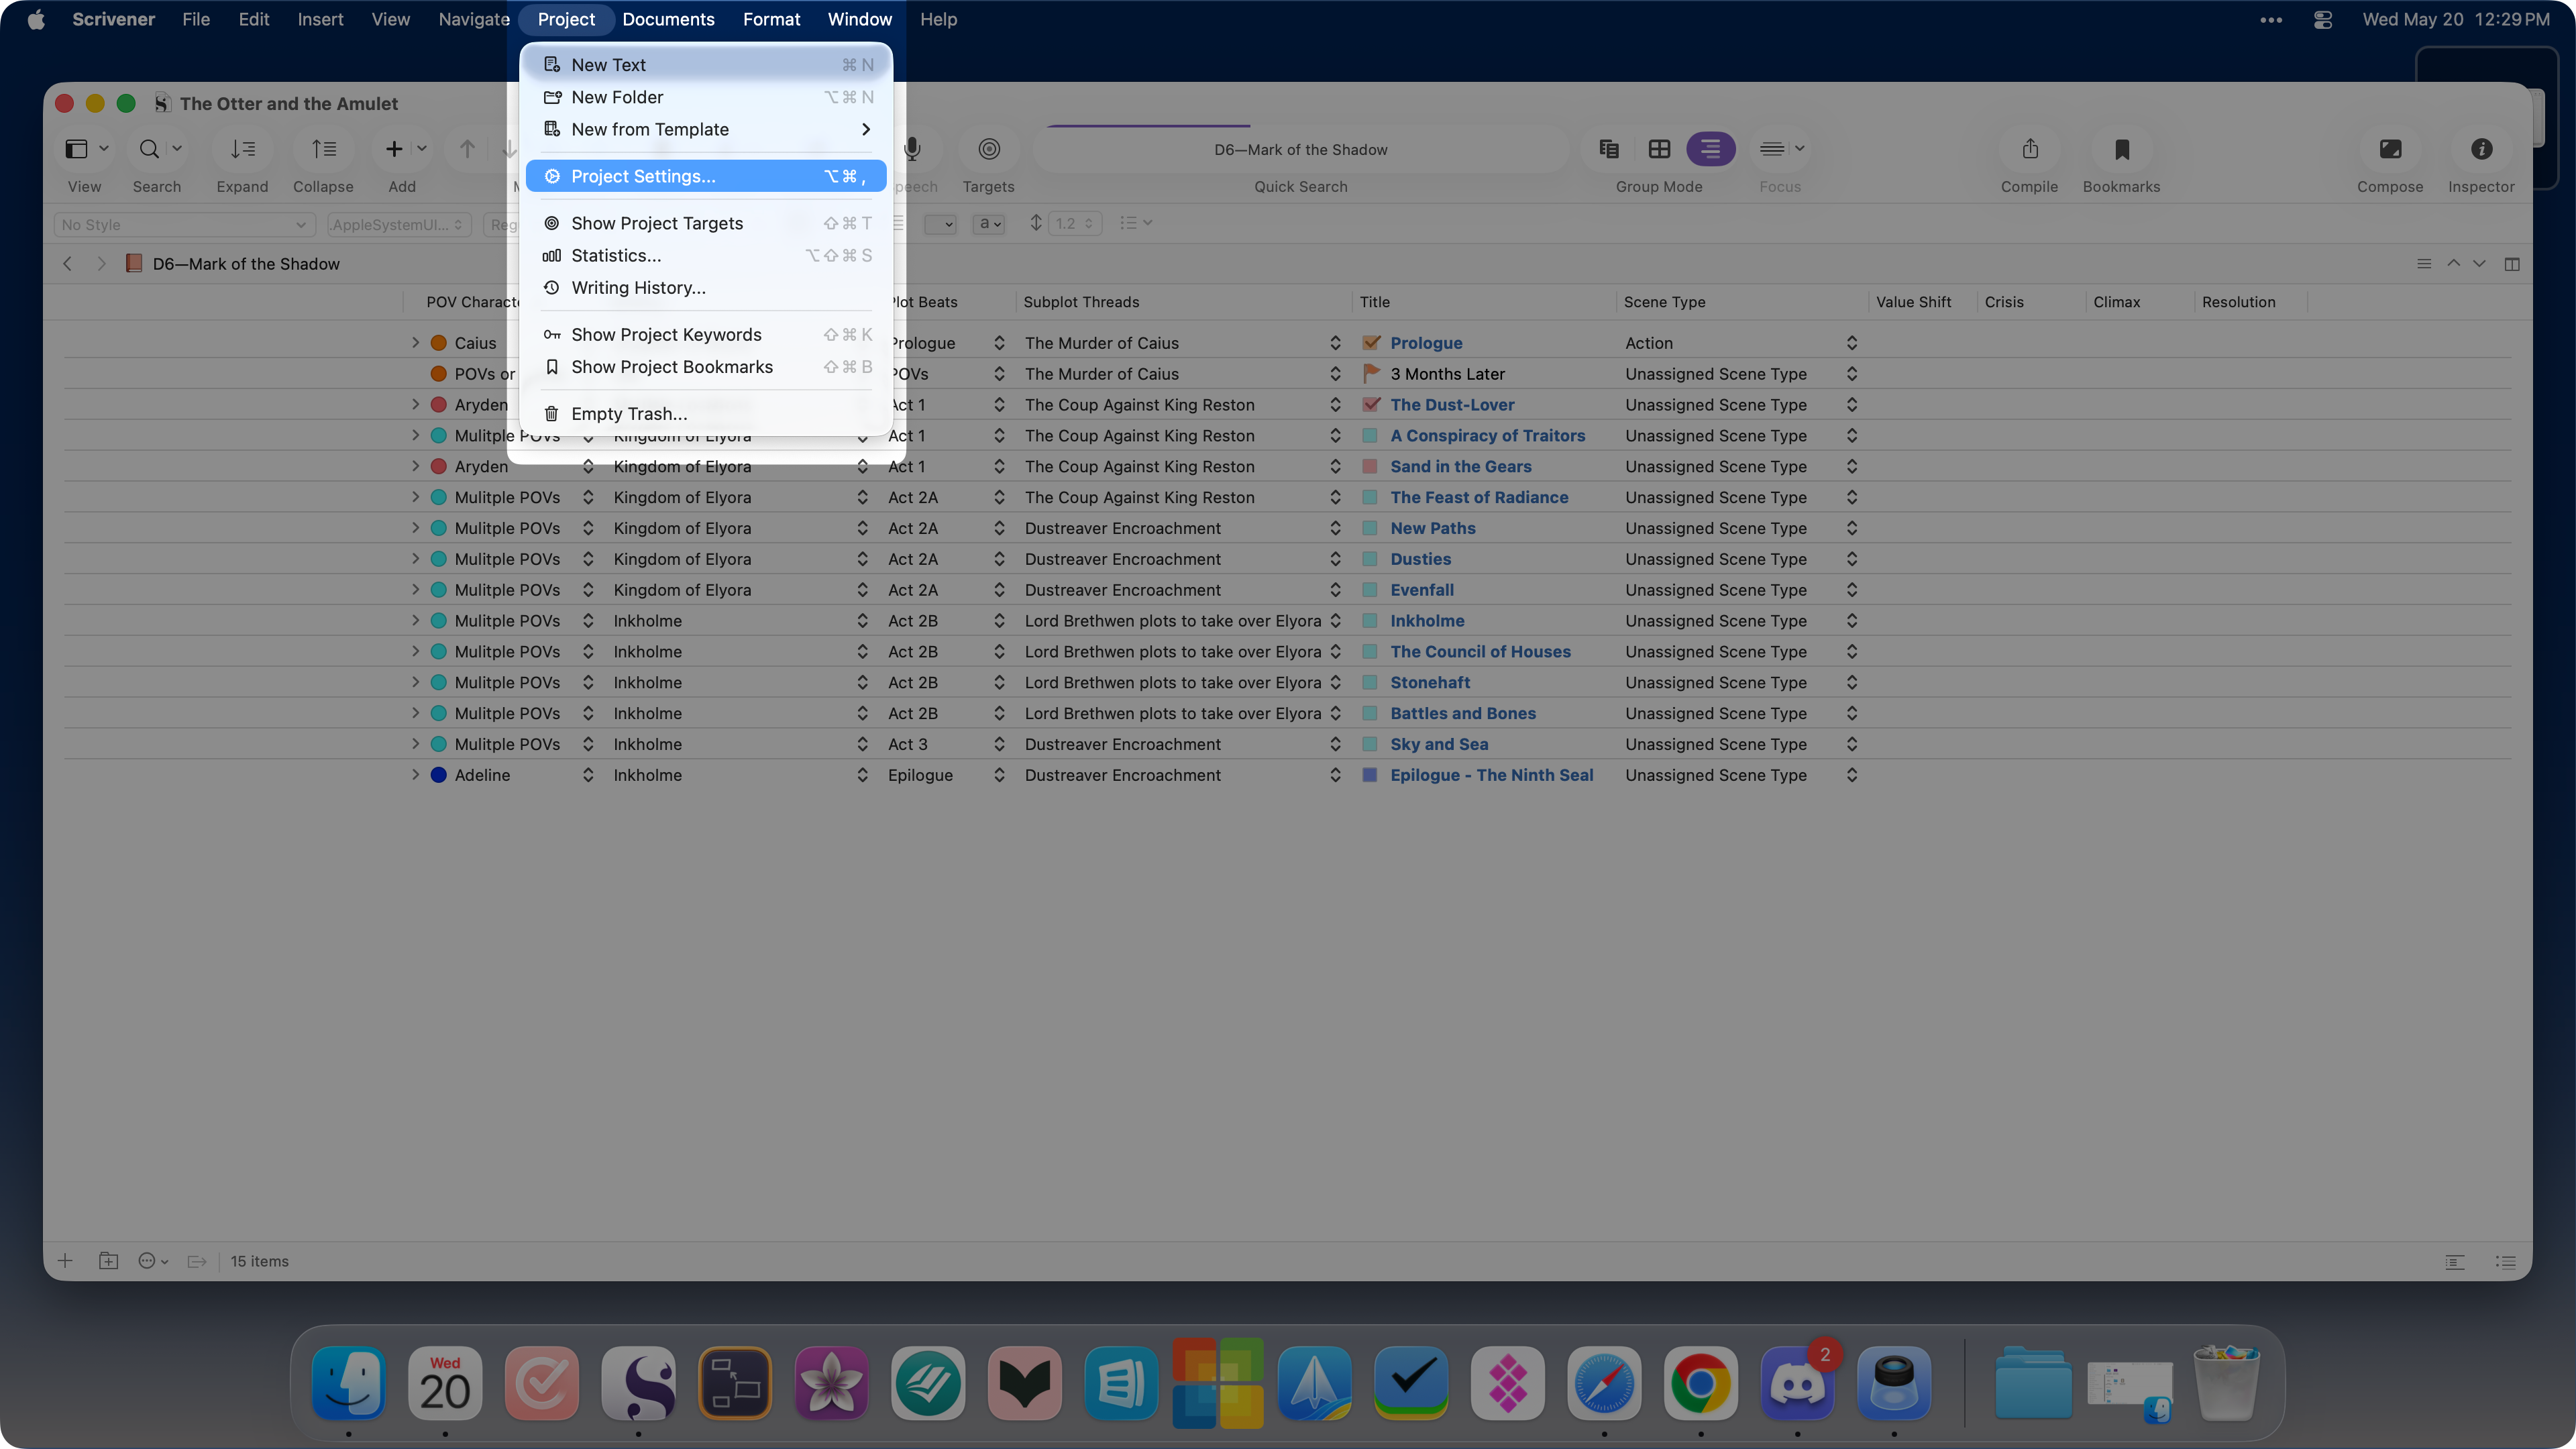
Open your Scrivener project and go to Project > Project Settings.
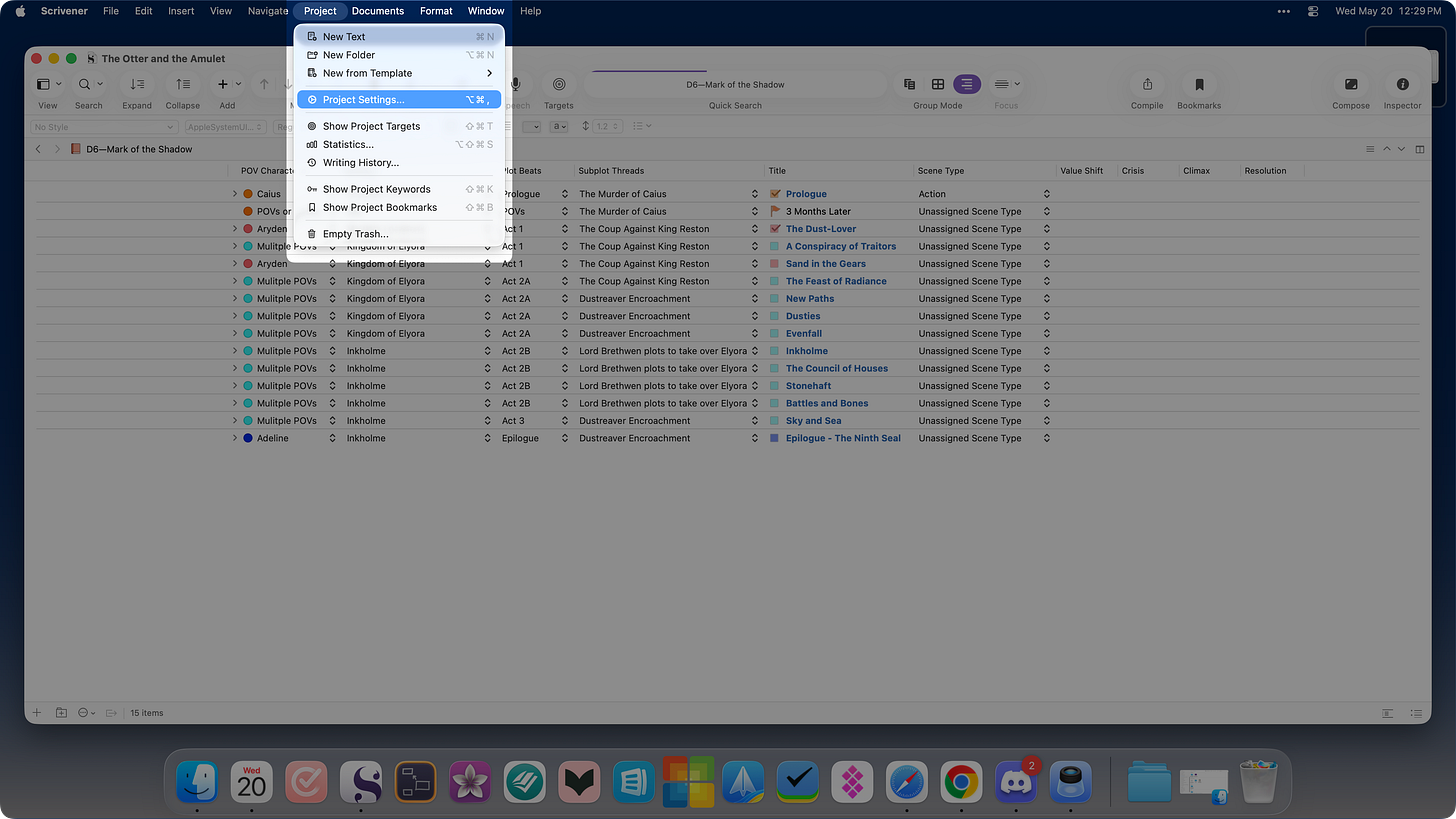
Select the Custom Metadata tab.
Comments
Nothing yet. Say the first thing.
Sign in to join the conversation.