
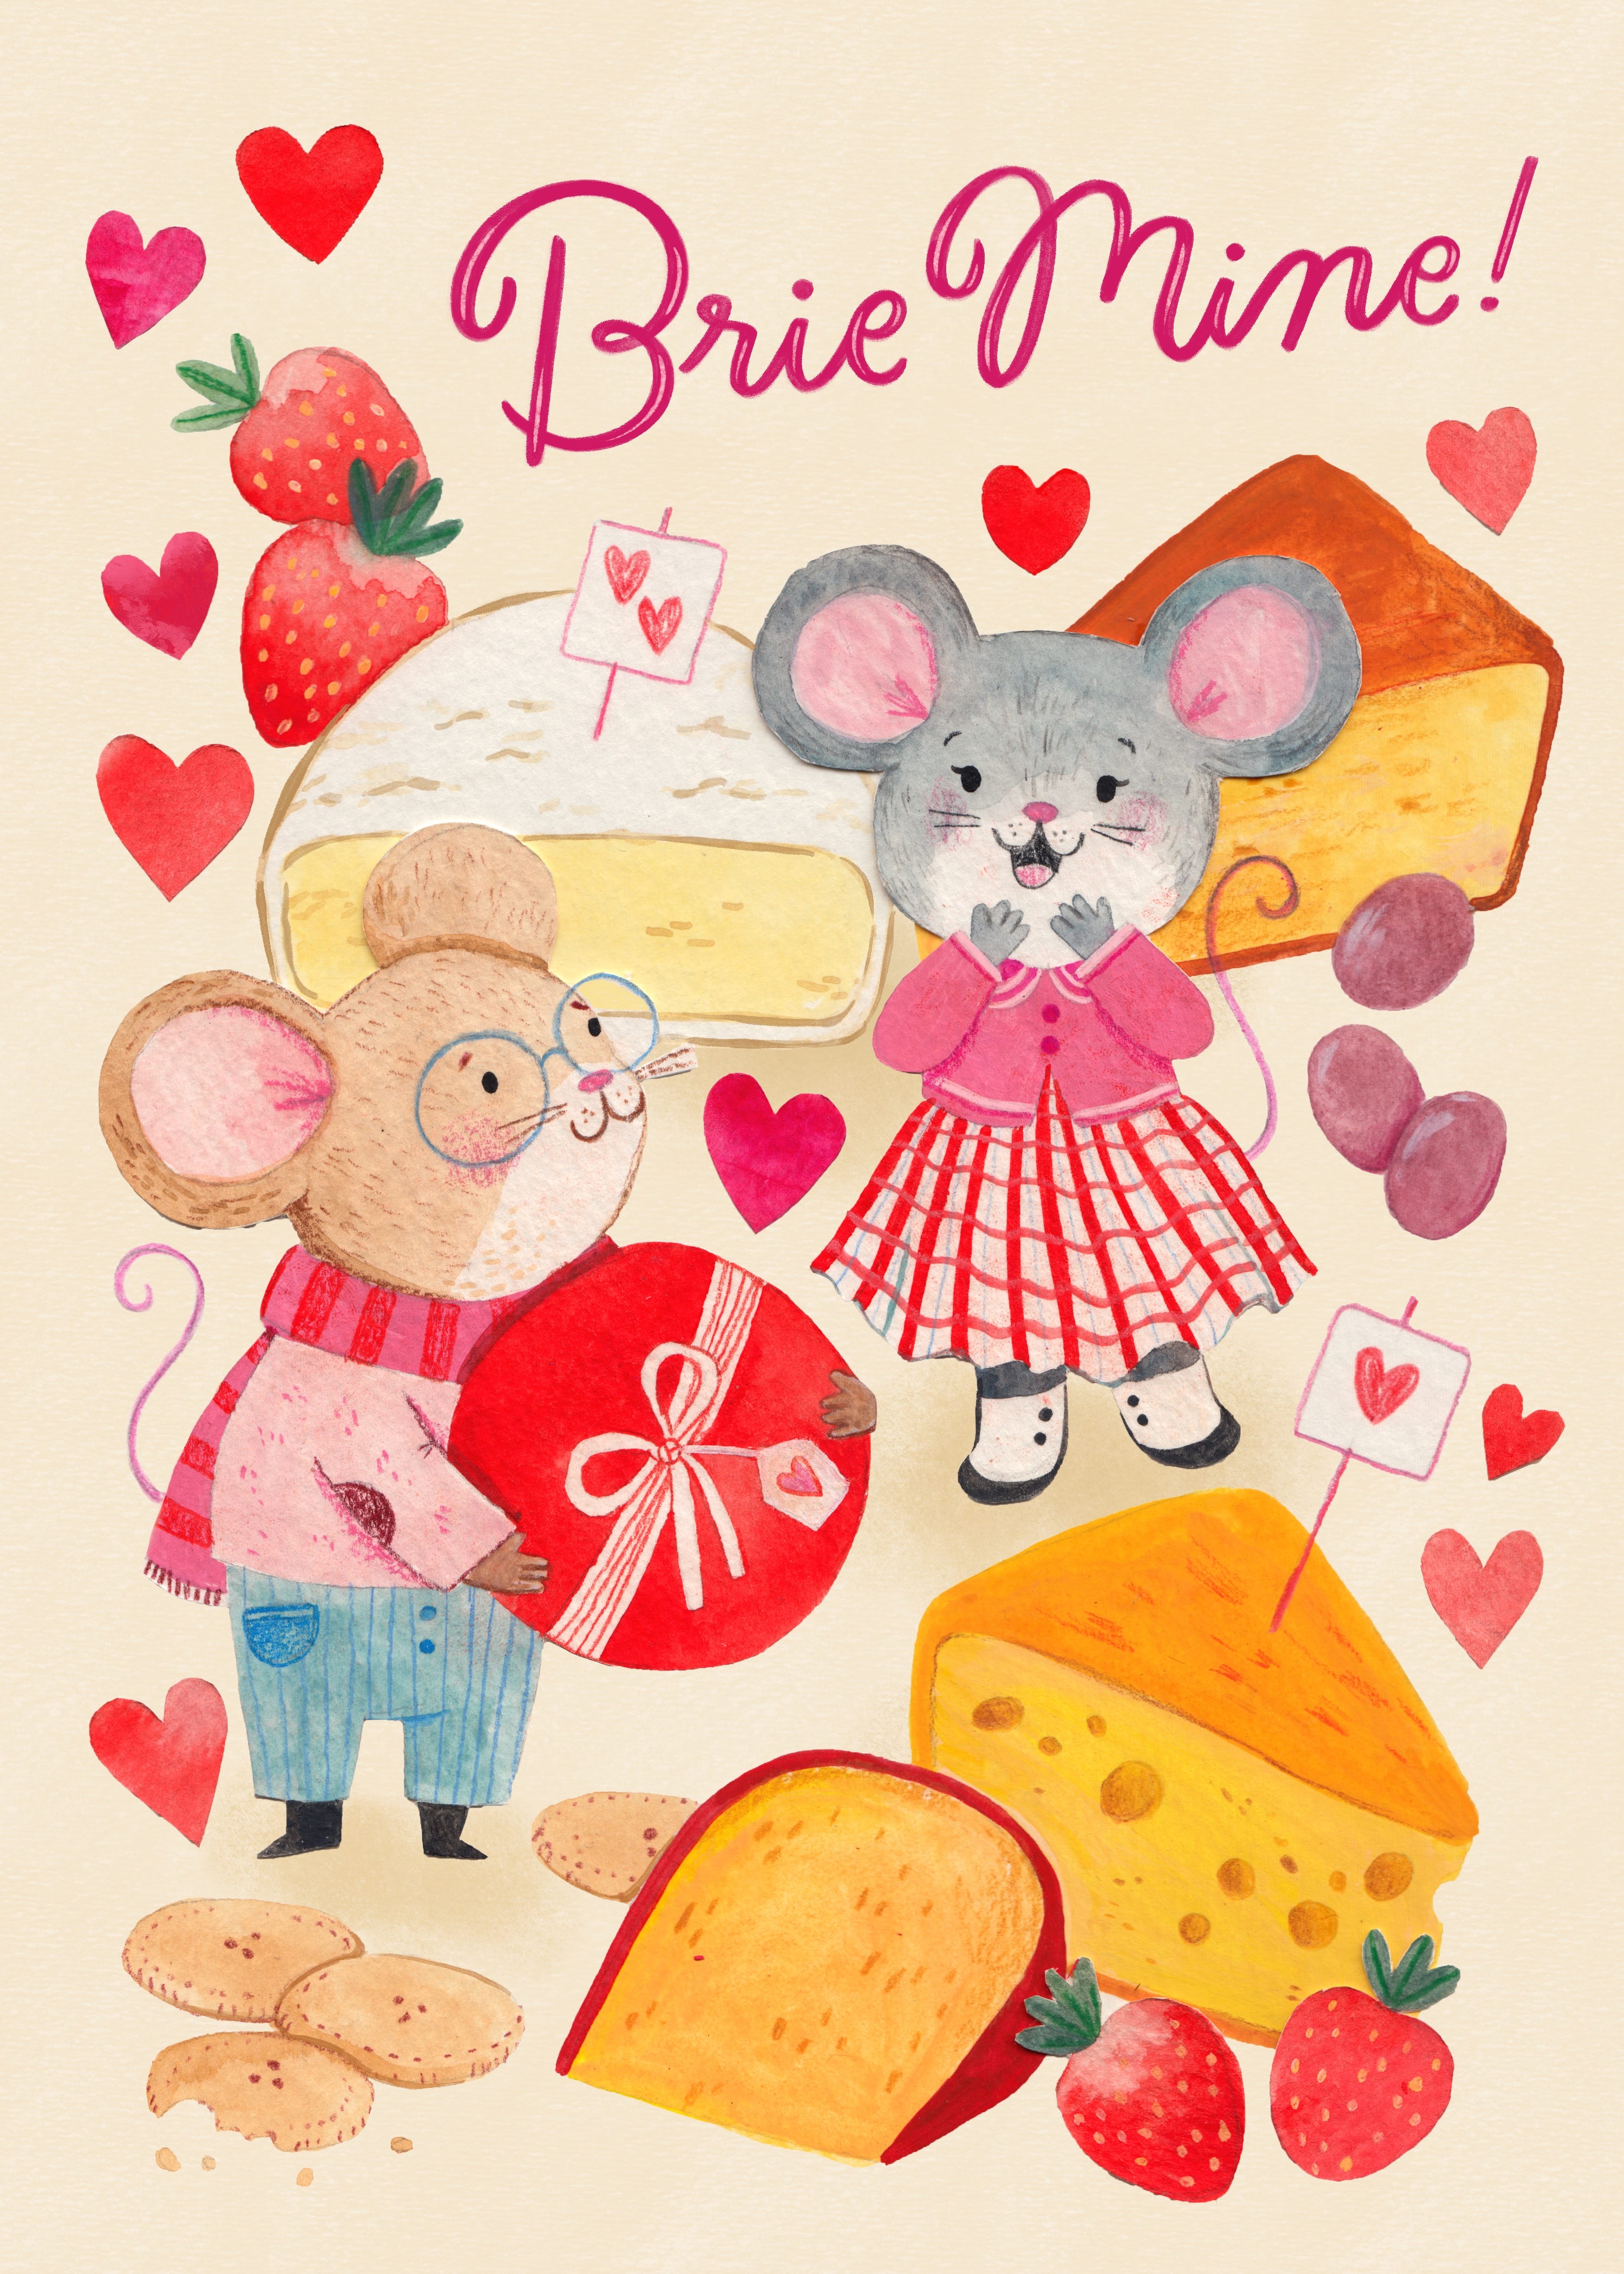
Today I’m walking you through my process to create this collaged Valentine’s Day Card. This piece had me feeling pretty nostalgic and the process reminded me of my childhood when I would create handmade cards for my family or classmates.
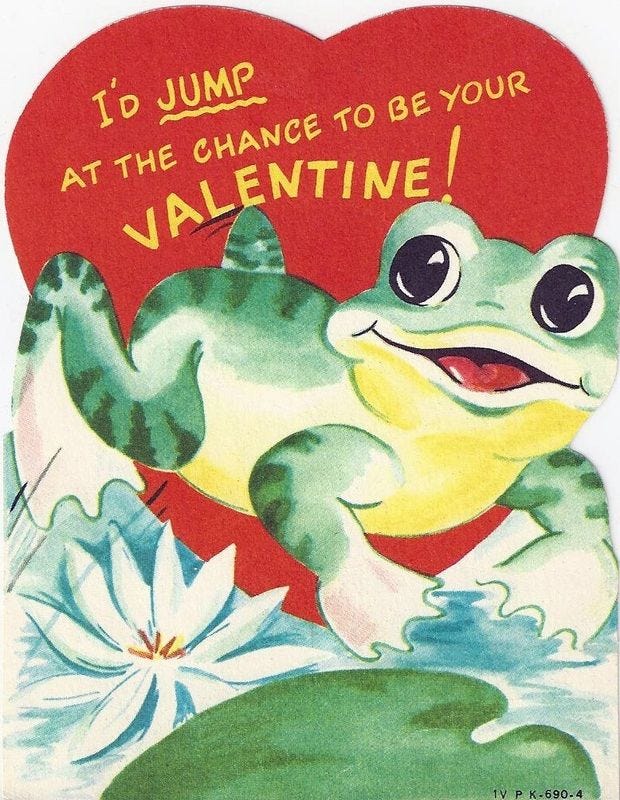
Leaning into the nostalgia, I gathered inspiration from vintage valentine’s day cards from the 1950-60’s. I love the limited color palettes with the super vibrant reds and the sweet animals characters in vintage clothing.
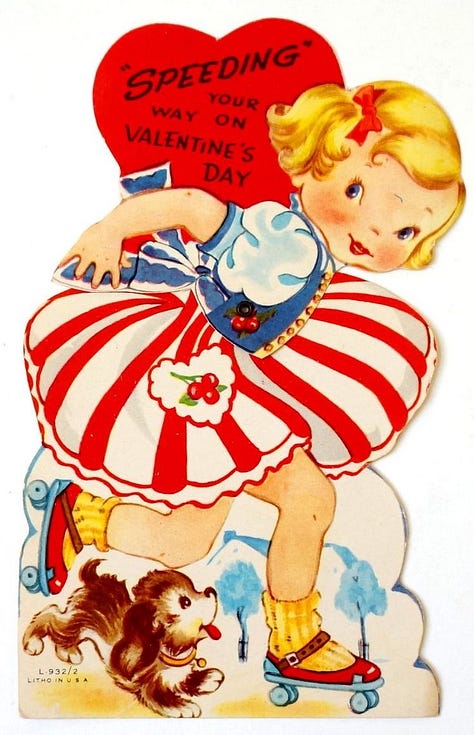
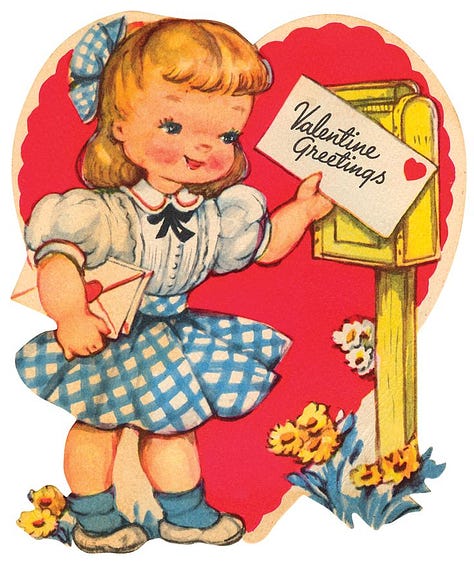
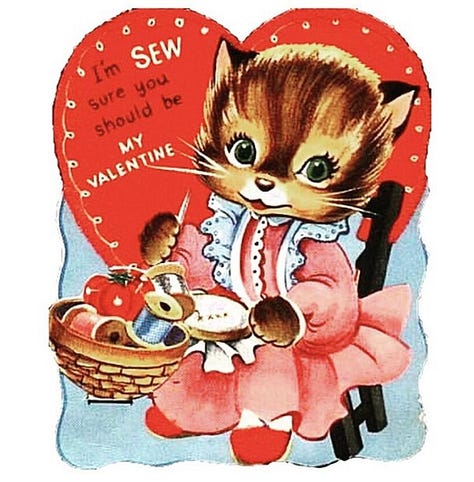
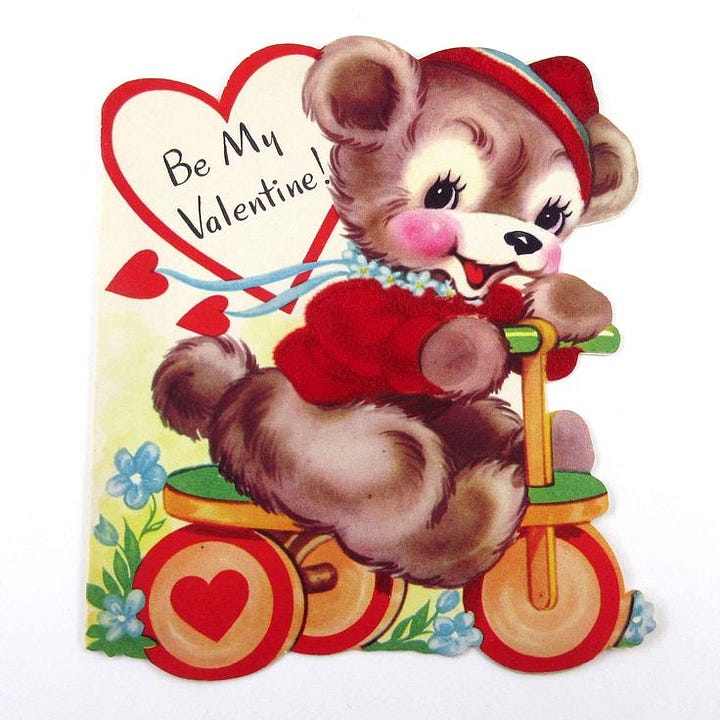
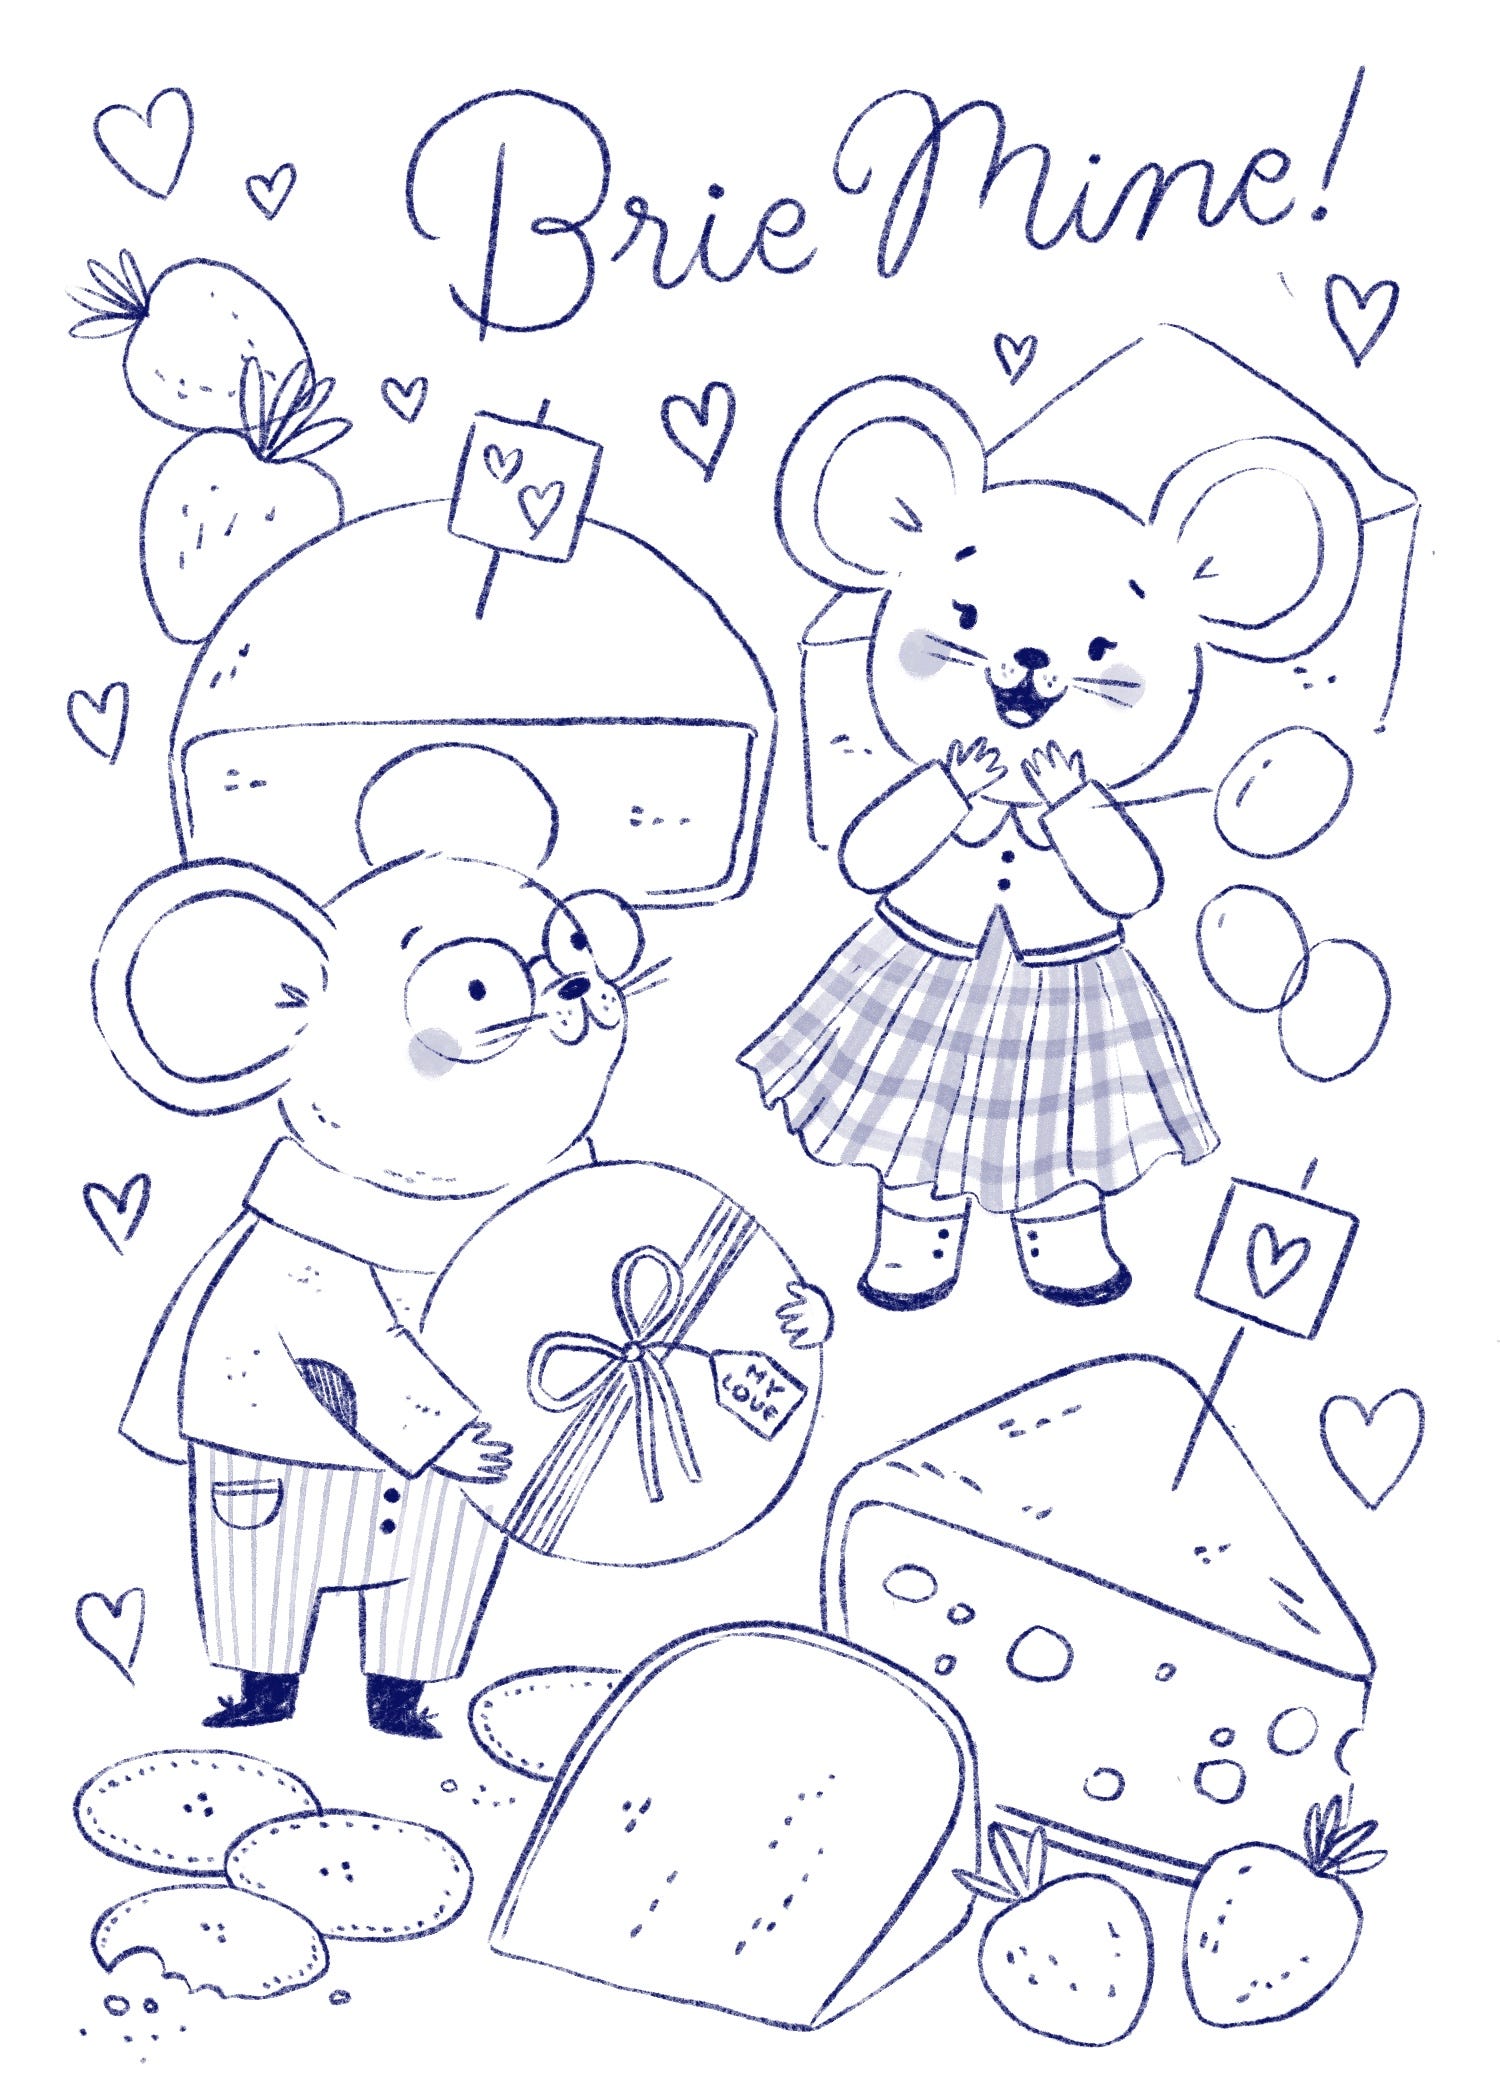
I started out sketching the piece digitally:
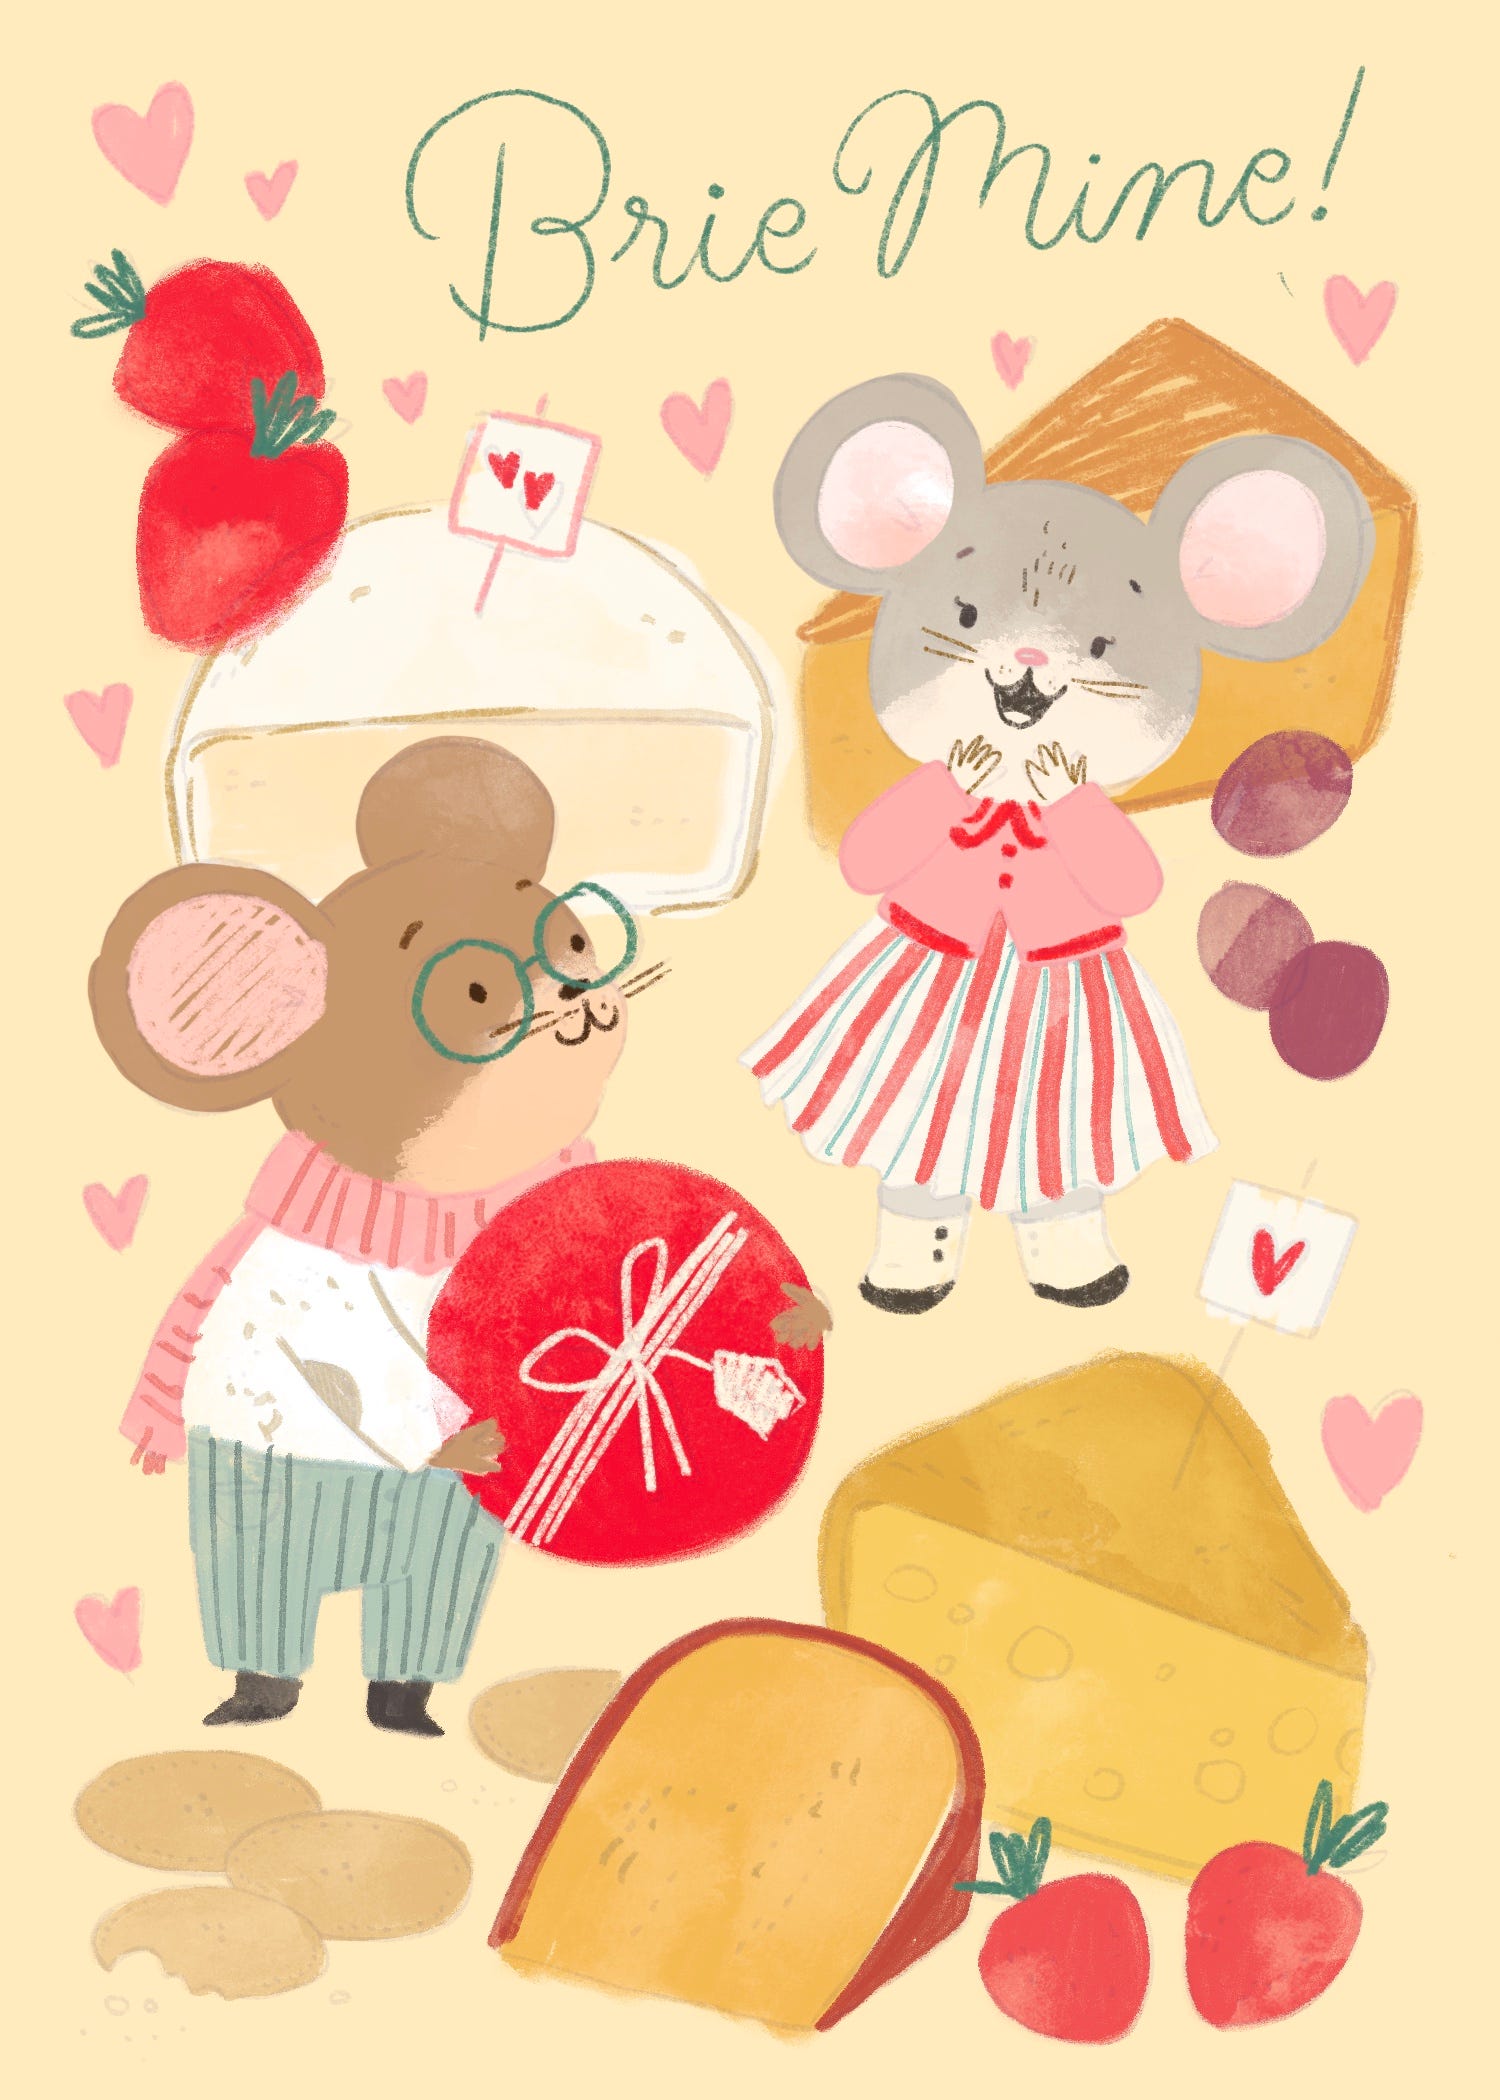
Something I also love about Valentine's day cards is the shameless use of puns so I had to make it extra cheesy :D (see what I did there?). Once my design was nailed down, I created a color rough. The colors in my final piece ended up looking pretty different from the rough, but I find making color roughs provides jumping off point for when I needed to make those decisions while painting.
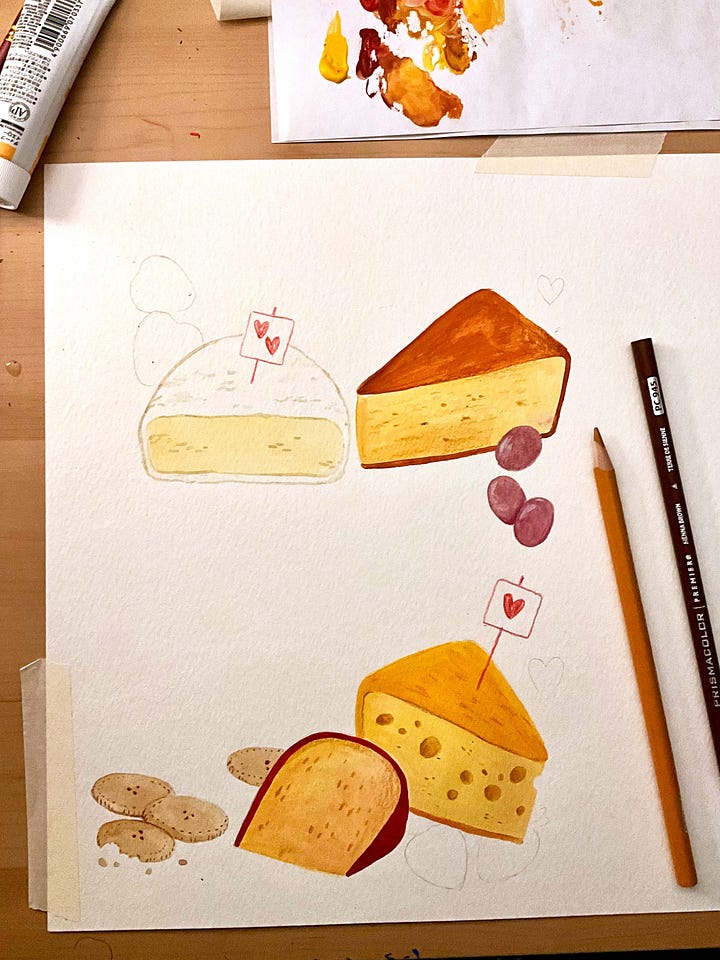
Next, I printed the design out traced the art onto a sheet of bristol board using a light board. I chose a pretty heavy weight paper so it would withstand the cut-out collage aspect of the project. I painted the cheese and strawberries on one sheet of paper and the mice and hearts on another sheet. After practicing using analog materials over the past year, I’ve found I really enjoy layering colored pencil details on top of textured areas of gouache and watercolor.
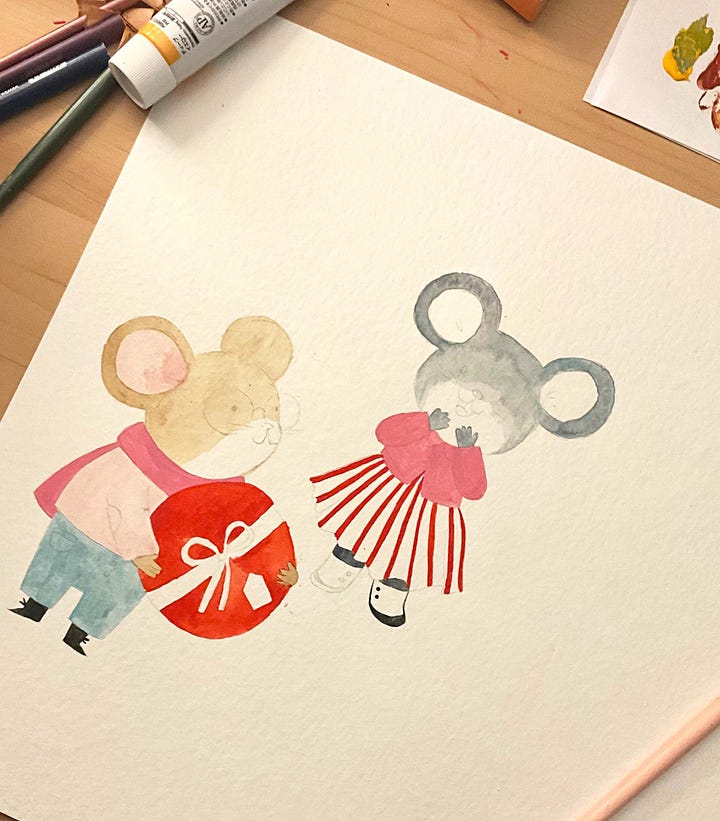
I had the most fun part painting the little mouse couple! I really leaned into the clothing style of the midcentury cards, especially in the lady mouse’s big striped poodle skirt.
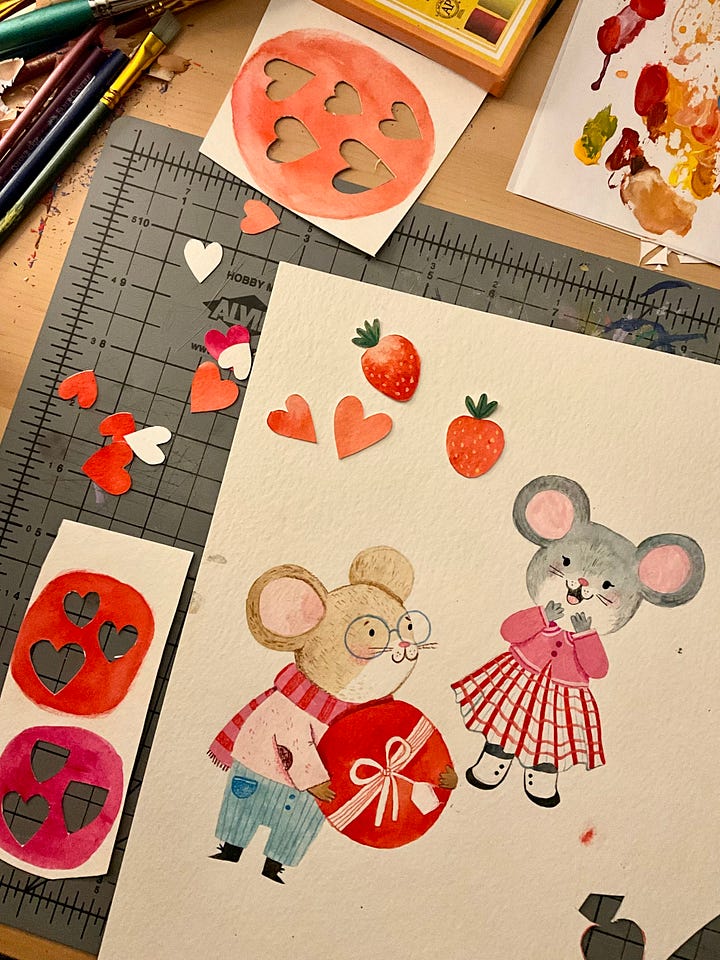
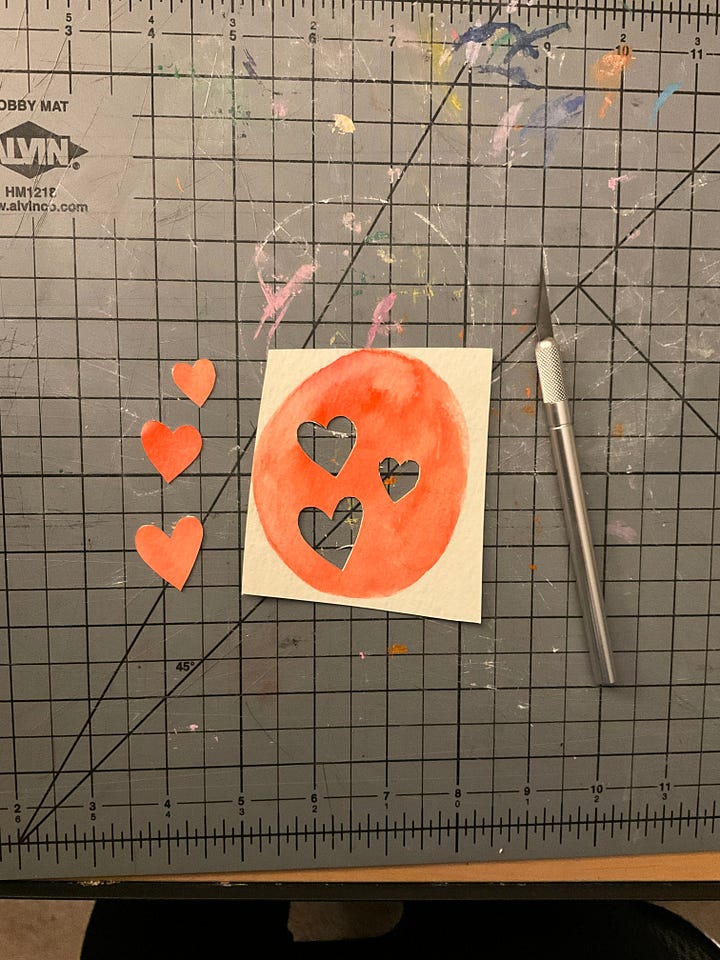
Next, I painted a few pink and red blobs which I would use to make the hearts and cut out various shapes. I didn’t do much planning for this part and I just played around cutting out various heart shapes.
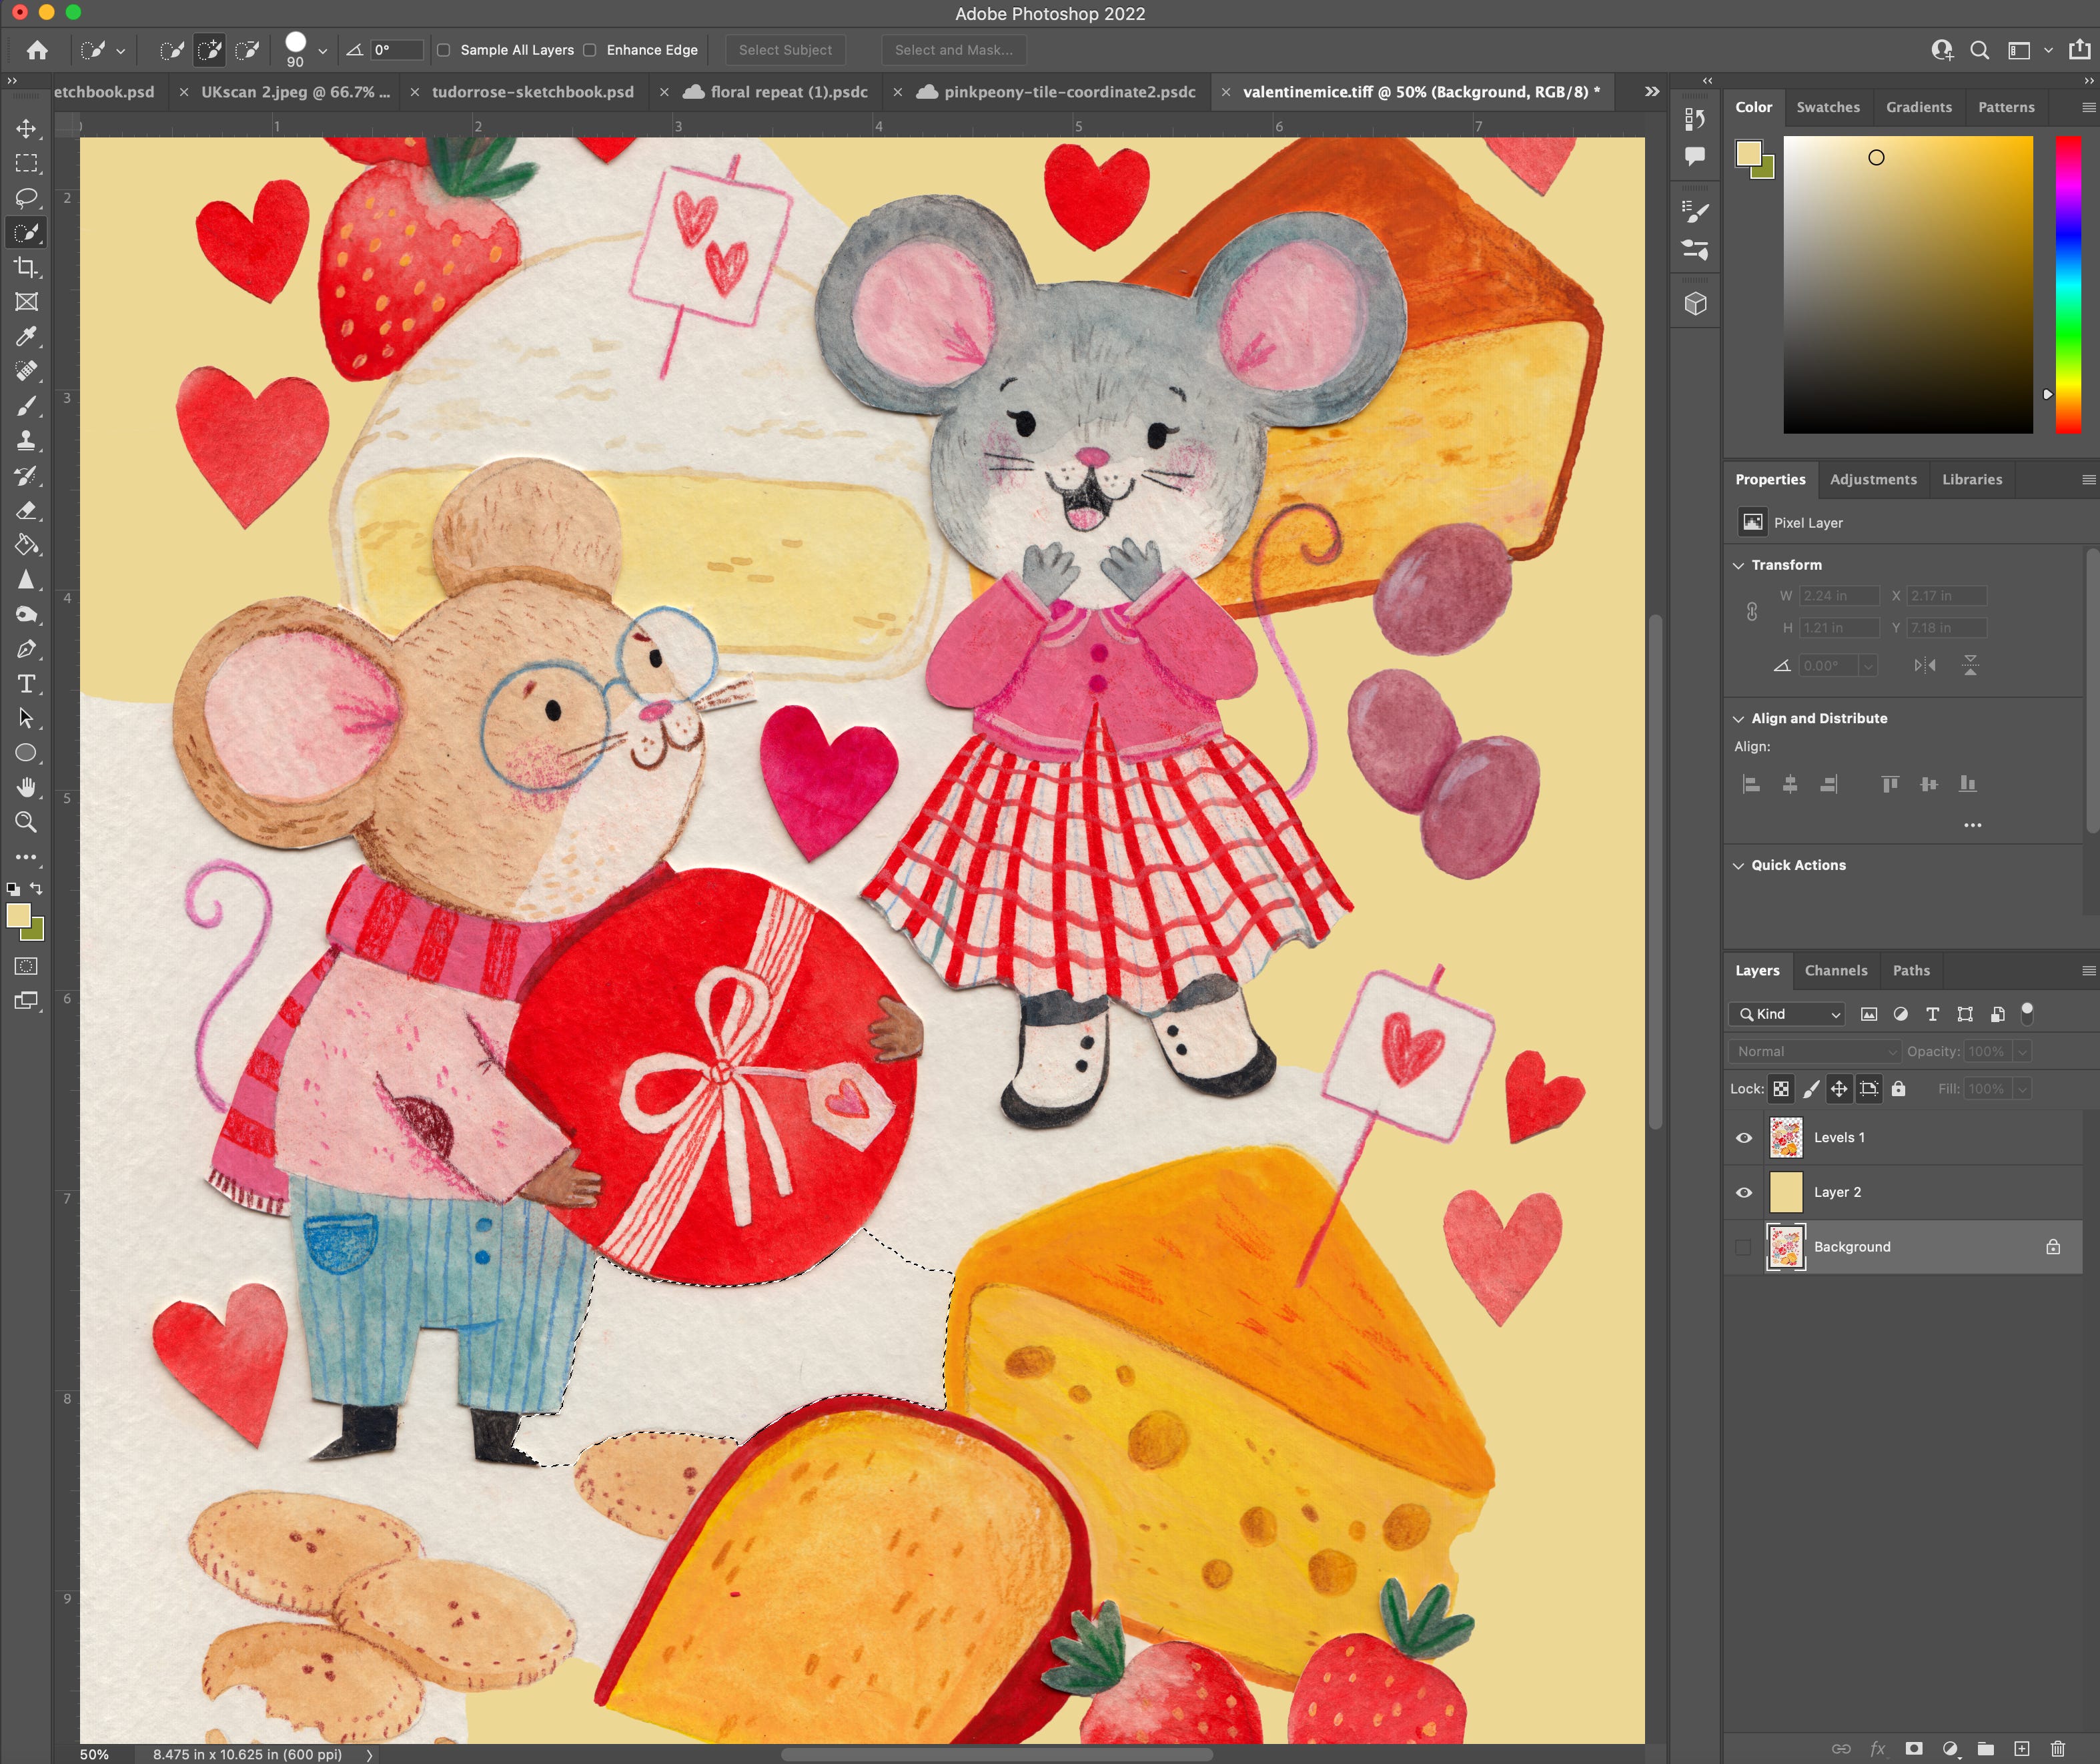
Once I glued the piece together, it was time to make the art into a greeting card. I scanned the collaged piece and brought it into photoshop. I played with the color values a bit and then removed the paper background in Photoshop. (I’ve mentioned this video tutorial before in a previous post, check it out if you want to learn how to remove backgrounds, I found it very helpful!)
Lastly, I added the lettering in procreate, made a tweaks and ta-da! A valentine’s day card!
Thanks for reading this month! I hope you all are having a lovely weekend with your love or practicing some self-love with a restful weekend <3 see you next time!
No posts
Comments
Nothing yet. Say the first thing.
Sign in to join the conversation.