
Your oven is lying to you. And it's costing you cookies.
I know—that sounds a little dramatic. But if you’ve ever followed a recipe to the letter, set your timer exactly as instructed, and still wondered why your cookies didn’t look anything like the picture, there’s a very good chance your oven had something to do with it.
The dial says 375°F. The oven beeps to tell you it’s preheated. You confidently slide your cookies inside, set a timer for eleven minutes, and pull them out at exactly eleven minutes because... well... that’s what the recipe said.
It feels like baking should be that simple.
Unfortunately, your oven didn’t get the memo.
Here’s what’s actually happening.
The average home oven runs somewhere between 15 and 25 degrees off its set temperature. Sometimes even more. Calibration drifts over time, heating elements wear out, thermostats become less accurate, and almost nobody ever checks to see whether their oven is actually telling the truth.
Then there’s that cheerful little “preheated” beep.
I hate to ruin the illusion, but that beep usually goes off when the air inside the oven reaches the target temperature—not when the oven walls, the rack, the baking stone (if you’re using one), and the floor of the oven have actually absorbed enough heat to become thermally stable. That process takes longer. Usually another 20 to 30 minutes after the beep.
And then there’s the timer.
That eleven-minute bake time? It wasn’t written for your oven. It was written using someone else’s oven, someone else’s sheet pan, someone else’s cookie size, probably at a different altitude, and possibly even with different ingredients.
None of that means the recipe is wrong.
It simply means the timer was never meant to be treated as the final authority.
Understanding that changes the way you bake. You stop treating the timer as the answer and start treating visual doneness as the answer. The timer is simply a reminder to go check on your cookies. Your eyes—and eventually your instincts—become the real instrument.
If I could convince every baker to buy exactly one inexpensive tool, it wouldn’t be another mixing bowl or a fancy spatula.
It would be an oven thermometer.
Seriously.
They’re usually somewhere between eight and fifteen dollars, they hang right on the center rack, and they might be the best investment you’ll ever make in your baking. Leave it in there permanently. Don’t treat it as something you pull out once every six months to check calibration. Let it become part of your oven.
Check it every single time you preheat.
You might be surprised by what you find.
A 25°F offset is incredibly common.
A 50°F offset isn’t unusual in older ovens or less expensive models.
Some ovens run consistently hotter on the left side and cooler on the right. Others bake hotter toward the back than the front. Some are warmer at the top than the bottom. Every oven develops its own little personality over time, and once you start paying attention, you’ll begin noticing those quirks.
Some ovens also cycle dramatically during baking.
Here’s what that means.
The heating element turns on until the target temperature is reached. Then it shuts off. The oven begins cooling. Once it cools enough, the element kicks back on, bringing the temperature back up before shutting off again.
That cycle is completely normal.
What’s surprising is just how wide that temperature swing can be. It’s not uncommon for an oven to fluctuate 30 to 40 degrees throughout a single bake cycle. That’s a pretty significant range when you’re trying to create consistent cookies.
Once you understand your oven’s actual behavior, though, you can compensate for it instead of fighting it.
If it consistently runs 25°F hot, simply set the temperature 25°F lower.
If you know the back-left corner always browns cookies faster, rotate your pans accordingly.
If your oven cycles dramatically, understand that your bake times will naturally have a little more variation than someone baking in a particularly stable oven.
None of this is difficult once you know what’s happening.
You’re simply learning your equipment, the same way a carpenter learns their tools or a musician learns their instrument.
One more thing—and this is the habit that probably made the biggest difference in my own baking.
Don’t trust the beep.
I know we’ve already talked about it, but it’s worth repeating because it’s such a common mistake.
When your oven announces that it’s preheated, give it another 20 to 25 minutes anyway.
I know.
Waiting is annoying.
Especially when you’re staring at sixteen beautiful dough balls on the counter just begging to become cookies.
But those extra twenty minutes allow the walls, racks, and every piece of metal inside that oven to fully absorb and stabilize their heat. A tray of cookies going into a freshly-beeped oven simply doesn’t bake the same way as a tray going into an oven that’s been fully stabilized for half an hour.
It feels like a tiny detail.
It absolutely isn’t.
This is one of the most concrete—and most controllable—variables in cookie baking, yet it’s something most home bakers never really think about.
We tend to buy sheet pans because they fit the oven, because they came in a set, or because they happened to be on sale. Very few people stop and ask what that pan is actually contributing to the bake itself.
Quite a bit, as it turns out.
Pans absorb and reflect radiant heat based on both their material and their color.
Light-colored aluminum pans—the shiny, bare half-sheet pans you’ll find in professional bakeries—reflect a significant amount of the oven’s radiant heat. That means the cookies bake primarily from the ambient hot air surrounding them and the conductive heat coming through the surface of the pan itself. The result is even, controlled browning and a bake that’s surprisingly forgiving.
That’s exactly why you’ll see stacks of bare aluminum sheet pans in just about every commercial bakery.
It isn’t because they look professional.
It’s because they behave professionally.
Dark pans tell a very different story.
Whether they’re nonstick, heavily coated, or simply darkened from years of use, darker pans absorb radiant heat much more aggressively. That extra heat goes straight into the bottom of the cookie, causing it to brown and set much faster than the top and sides.
If you’ve ever baked cookies where the bottoms looked almost burned while the tops still appeared pale and underdone...
...this is usually the culprit.
At 400°F, the difference between baking on a light aluminum pan and a dark pan becomes noticeable within the first few minutes. The bottoms simply develop at completely different speeds.
That’s why baking on dark pans can sometimes feel frustrating. You start adjusting bake times. Lowering temperatures. Wondering if the recipe is wrong.
Most of the time, it isn’t.
You’re simply fighting physics.
The solution usually isn’t adding another minute or pulling them out sooner.
It’s changing the pan.
Bare aluminum half-sheet pans became the professional standard for a reason. They’re inexpensive, easy to find, virtually indestructible with proper care, and they produce incredibly consistent results from batch to batch.
Insulated—or air-cushion—pans swing in the opposite direction. They’re designed to slow heat transfer, which makes them wonderful for delicate baked goods like meringues, macarons, or pavlovas where gentle bottom heat is beneficial.
Cookies, however, usually don’t benefit from that extra insulation.
Because the bottom browns so slowly, the finished cookies often end up with pale undersides, softer structure, and less overall caramelization. They’re perfectly usable for certain applications, but they aren’t the right tool if you’re chasing that classic bakery-style drop cookie with crisp edges, a beautifully browned base, and a chewy center.
Like everything else we’ve talked about so far, this isn’t a trick.
It’s simply understanding what your equipment is doing before you ever turn the mixer on.
Your oven has two primary heat sources: the bottom element (or gas burner) and the top element (or, in most electric ovens, the broiler element). Heat radiates from both, creating a temperature gradient throughout the oven cavity. Even though the entire oven feels hot when you open the door, not every part of it is experiencing the same intensity of heat.
That’s why the center rack has earned its reputation. It places your cookies in the sweet spot between those two heat sources—roughly equidistant from both the top and bottom—allowing them to receive balanced exposure throughout the bake. For almost every drop cookie recipe you’ll ever make, this is the correct rack position. It’s the most forgiving, the most predictable, and the one that gives you the best chance at a beautifully even bake.
The bottom rack is a different story. Baking this close to the lower heating element causes the bottoms of your cookies to set and brown much faster than the tops. It’s very similar to baking on a dark sheet pan, only amplified. Unless you’re intentionally aiming for an especially crisp bottom—certain shortbreads or wafer-style cookies come to mind—it’s generally a position worth avoiding.
The top rack creates the opposite problem. Being closer to the upper heating element encourages the tops to brown before the bottoms have fully set. You can end up with cookies that look finished on the surface while still being underbaked underneath. They’re deceptively done, which can be even more frustrating because they look perfect until you pick one up.
If you’re baking two pans at the same time—and let’s be honest, we’ve all done it when holiday baking gets a little out of hand—don’t simply put them in the oven and hope for the best. Place one pan on the upper-middle rack and one on the lower-middle rack. Halfway through baking, rotate each pan 180 degrees and swap their rack positions. The pan that started on top finishes on the bottom, and the bottom pan finishes on top. That simple rotation helps equalize the heat each pan receives and produces much more consistent results across both trays. Skip this step, and chances are one pan will almost always outshine the other.
One of the biggest mindset shifts you can make as a baker is realizing that when the timer goes off, the question isn’t, “Are they done?” The real question is, “What do they look like?”
This took me longer to learn than I’d like to admit.
For years I’d hear the timer, immediately open the oven, and pull the cookies because... well... the timer said so. It never occurred to me that the timer was simply reminding me to start paying attention. Once I began baking with my eyes instead of my stopwatch, my cookies became dramatically more consistent.
Here’s the visual roadmap for a standard MBS-style, large-format cookie baked at 400°F.
At 8 minutes, the edges will have set and just begun turning golden. The shiny, wet appearance of raw dough will have disappeared, leaving a matte surface, while the center still looks soft and may even appear slightly puffed. For most bakery-style cookies, this is still a little early. Pull them here only if you’re intentionally chasing an exceptionally soft, almost underbaked center.
At 9 to 10 minutes, everything starts coming together. The edges are clearly golden and fully set. The surface has developed slight cracking or texture. The center still looks underdone—soft, perhaps slightly sunken, and not completely set. Ironically, this is exactly where you want it for a thick, chewy bakery-style cookie. The center is going to continue baking from the residual heat in the pan for the next five to ten minutes after it comes out of the oven. Trusting that carryover heat is one of the hardest lessons for new bakers because every instinct tells you to leave them in “just one more minute.” Resist the urge.
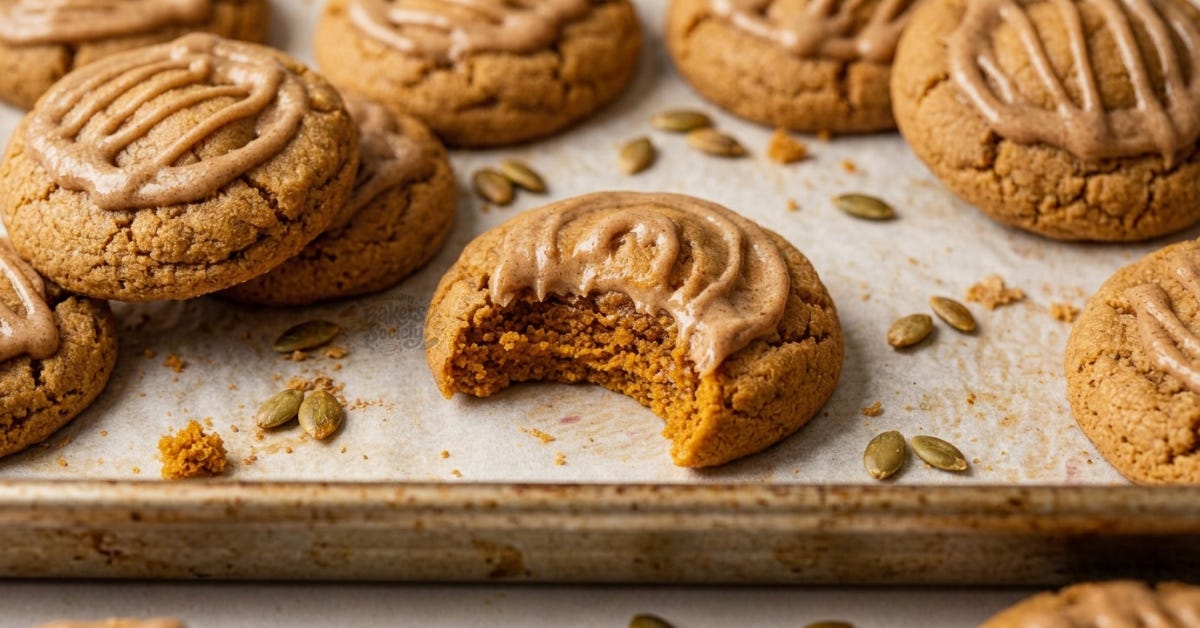
At 11 to 12 minutes, the edges have become a deeper golden brown, the surface is fully matte and textured, and the center looks nearly set while still remaining soft. This produces a cookie that’s baked through while still retaining plenty of moisture in the middle. If you’re baking cookies that need to travel well, sit on a dessert table, or maintain their structure for a longer period, this may be your preferred pull point.
Beyond 12 minutes, the cookie is approaching fully baked throughout. There’s nothing inherently wrong with that if a crisp cookie is your goal, but you’ve largely sacrificed the soft-center contrast that defines a bakery-style cookie. The texture becomes more uniform, the center dries a bit more, and you lose some of that magic that makes people reach for a second cookie before they’ve even finished the first.
The most important takeaway is this: you’re almost always pulling bakery-style cookies before they look completely done.
If a cookie looks fully finished while it’s still sitting in the oven, there’s a very good chance it’ll be overbaked by the time it cools.
The oven isn’t the finish line.
The pan is.
Carryover heat from that hot sheet pan continues setting the center for several minutes after the cookies leave the oven. Learning to trust that process is one of the biggest differences between baking good cookies and consistently baking great ones.
If there is one texture combination people ask me about more than any other, it’s this one.
“How do bakeries get cookies with crisp edges and gooey centers?”
The answer isn’t a secret ingredient.
It isn’t a fancy mixer.
And it definitely isn’t luck.
It’s physics.
The crispy edge forms because the thin outer perimeter of the cookie heats faster, loses moisture faster, and sets before the thicker center has a chance to catch up. As the sugars around the outside caramelize and the structure firms, you get that slight snap on the first bite before giving way to the soft interior.
The center behaves completely differently. Because it’s thicker, it stays cooler longer in the oven. It never fully dries out, never completely firms while baking, and retains much more of the butter and moisture that create that rich, tender bite everyone is chasing.
The beautiful part is that you can intentionally design your cookie to create this contrast.
Use a tall, round dough ball. The greater the height difference between the center and the edges, the greater the thermal difference during baking. More thermal difference means a more dramatic contrast between crisp edges and soft centers.
Bake hot. Higher oven temperatures allow the edges to set quickly while the center remains protected by its own mass. That’s exactly why the MBS base recipes are calibrated around 400°F. That temperature wasn’t chosen randomly—it supports the texture we’re trying to achieve.
Pull the cookies early. By the time the center still appears slightly underdone, the edges have already developed everything they need. Leaving the cookies in until the center looks finished simply pushes the edges further than they need to go.
Let them rest on the pan. I know... this is the part everyone hates because your kitchen smells incredible and waiting feels borderline impossible. But those 15 to 20 minutes on the baking sheet aren’t wasted time. Carryover heat is still gently finishing the center. Moving the cookies too soon interrupts that process and can leave the middle gummy or cause the cookie to collapse before its structure has finished setting.
Finally, chill the dough.
We’ve already spent an entire article talking about why chilled dough matters, but this is another place where it really shines. Cold dough enters a hot oven with a much wider temperature difference between its core and the surrounding environment. That larger temperature gap gives the edges more time to brown and set before the center catches up. Warm dough shortens that window considerably, reducing the contrast between the two.
None of these are little bakery tricks.
They’re simply the mechanics of how cookies bake.
Once you understand the mechanics, you stop relying on luck and start creating the exact texture you wanted from the beginning.
If there’s one operational habit that will immediately improve your cookies—without changing your recipe, ingredients, or technique—it’s this:
Bake one pan at a time on the center rack.
I know it isn’t always the fastest option.
Believe me, I’ve stared at a counter full of cookie dough before a market and wished my home oven could suddenly transform into a commercial deck oven.
But home ovens simply perform their best when they’re focused on a single tray.
When two cold pans go into the oven at the same time, they compete for heat and airflow. The oven temperature drops more dramatically than it would with a single pan. Each tray partially blocks the other’s exposure to radiant heat from the elements. Air circulation becomes less even. The result is longer bake times, less predictable browning, and usually one tray that’s just... better than the other.
Whenever possible, keep it simple.
One pan.
Center rack.
Fully preheated oven.
Every single time.
If your production volume has reached the point where one tray at a time simply isn’t practical anymore, that’s no longer a conversation about technique—it’s a conversation about equipment. That’s where deck ovens, true convection ovens, and commercial baking equipment begin earning their keep.
Until then, don’t ask your home oven to do something it was never designed to do.
Learn how it behaves.
Work with it instead of against it.
Because once you understand your oven, it stops feeling unpredictable.
It becomes another tool you know how to use.
Comments
Nothing yet. Say the first thing.
Sign in to join the conversation.