
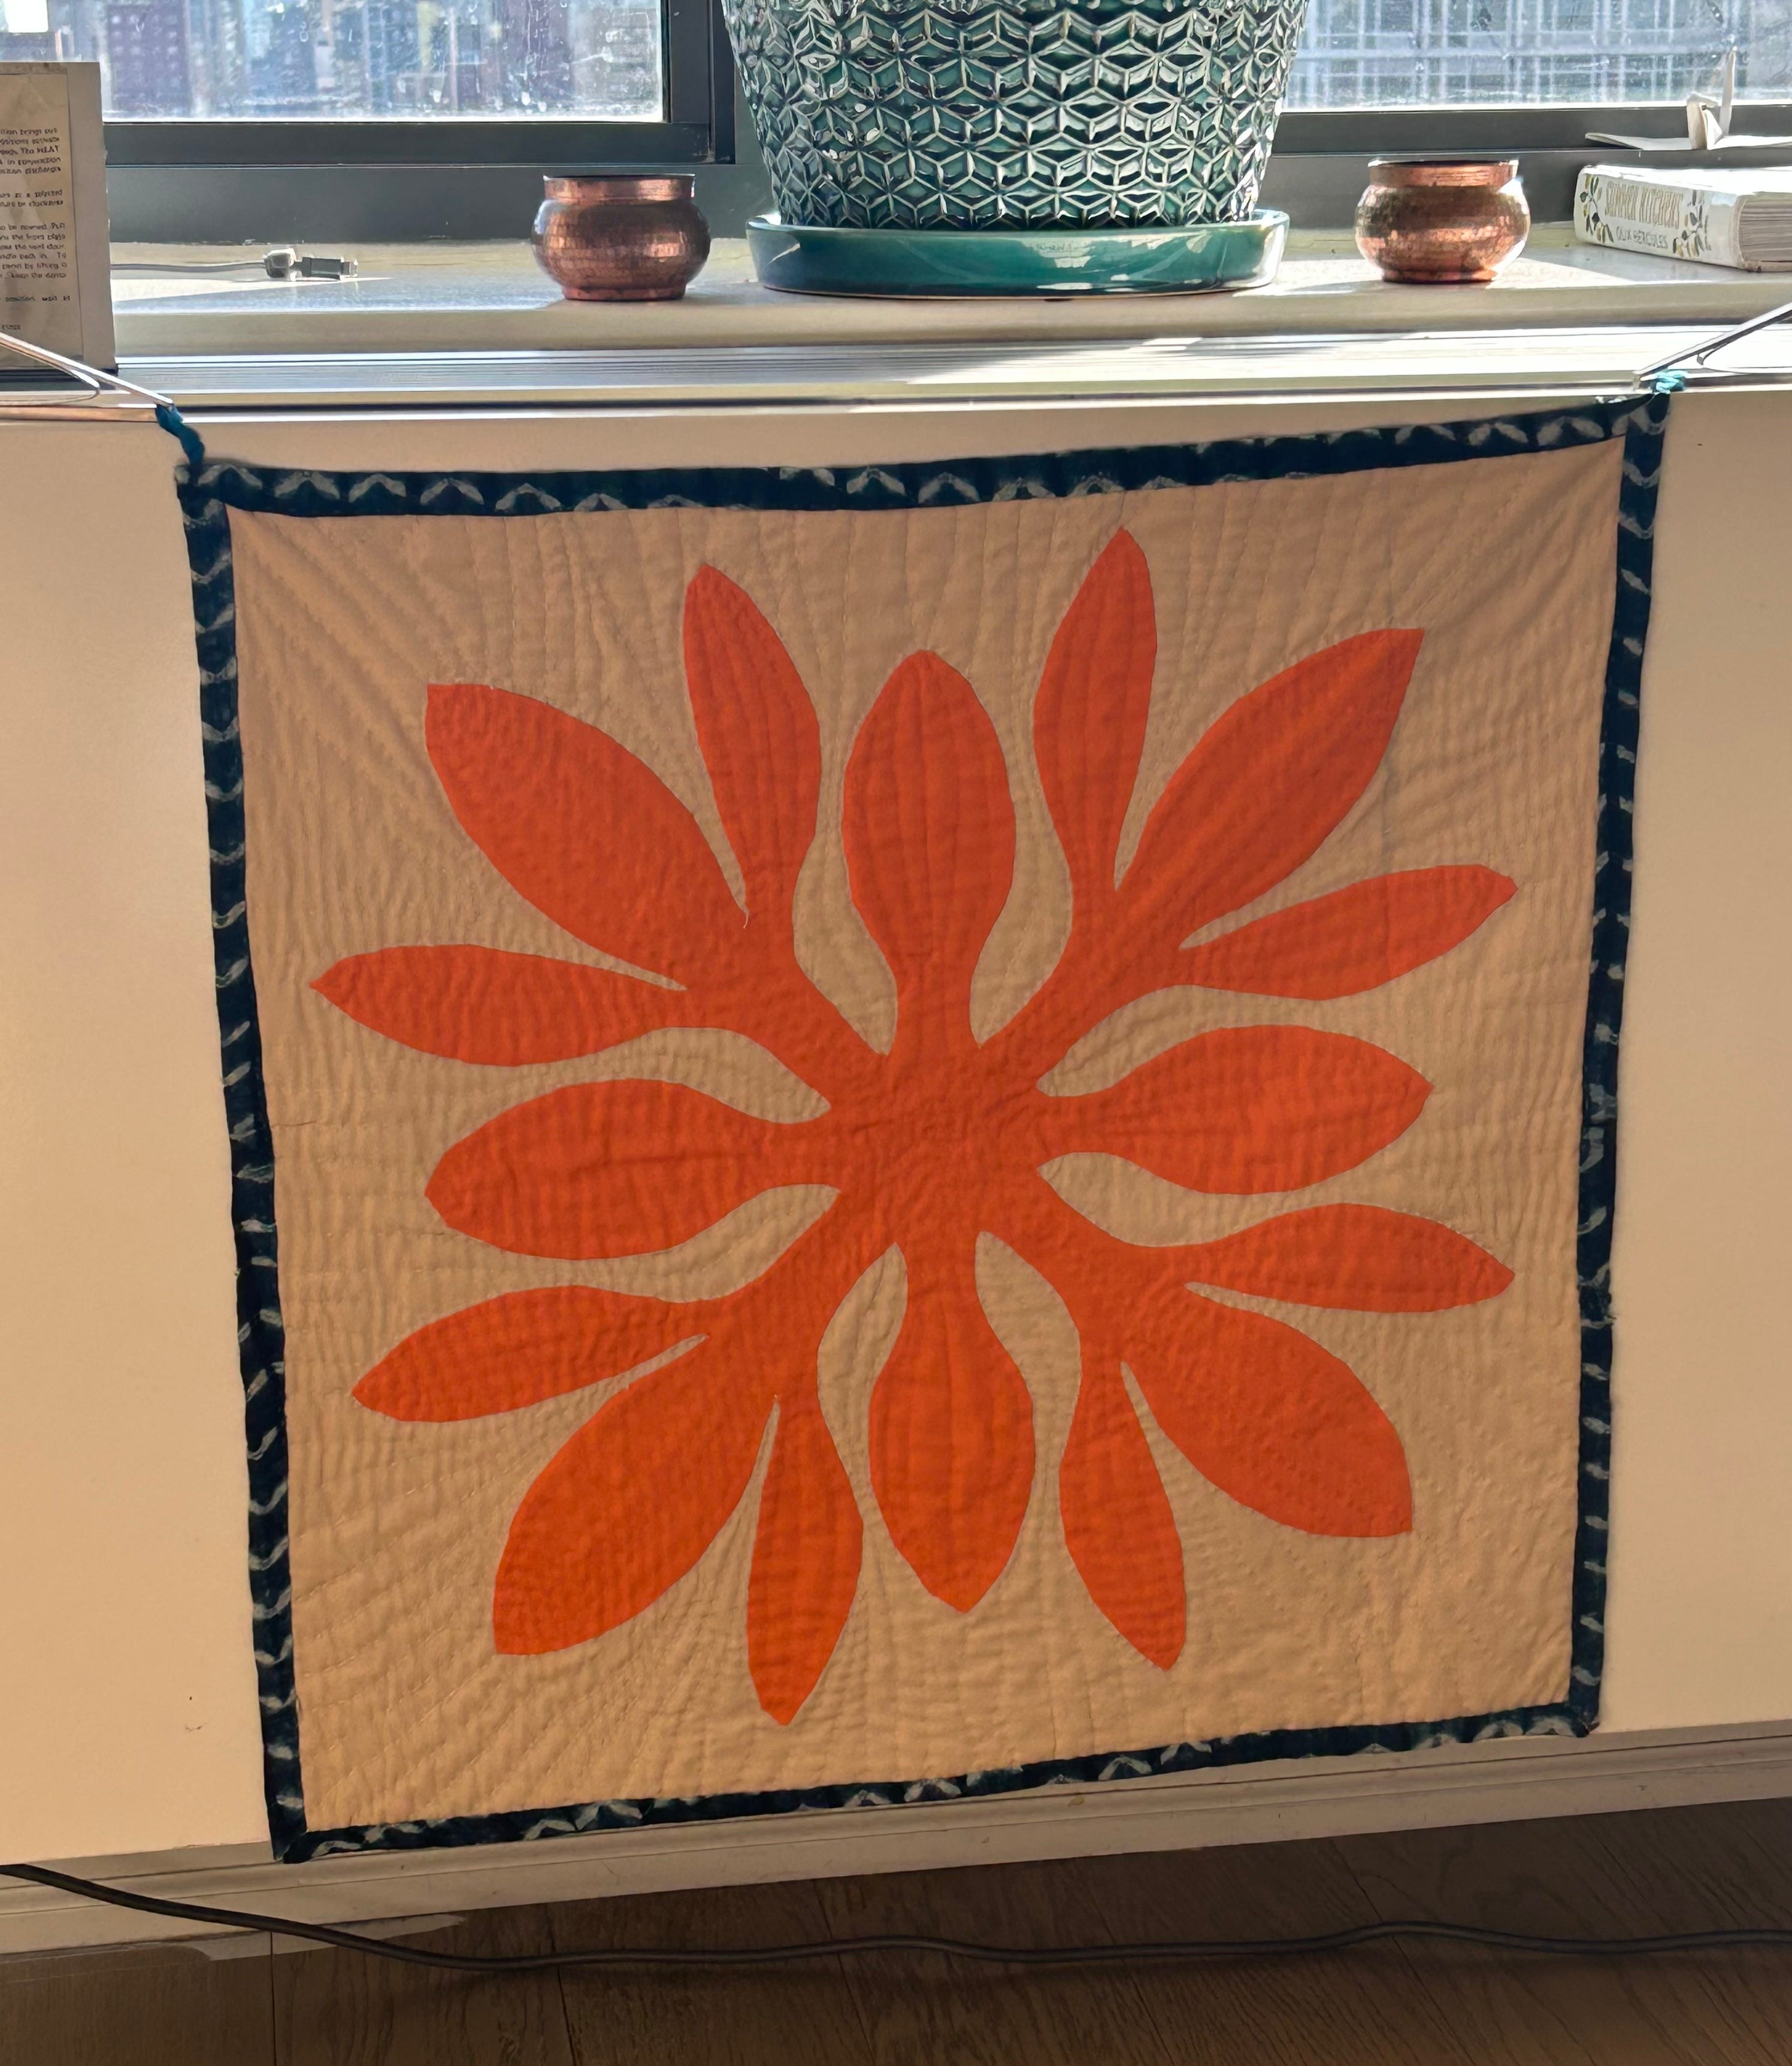
Last year I wrote about my textile adventures in Hawaii and I’m following up today with all the details of my finished wall hanging, a brief history of Hawaiian quilting, and a roundup of resources if you want to try this gorgeous style of quilting - even if you can’t make it to the islands!
This project started last year when I took an in-person class with the Poakalani quilters. I have a detailed write up of that experience here!
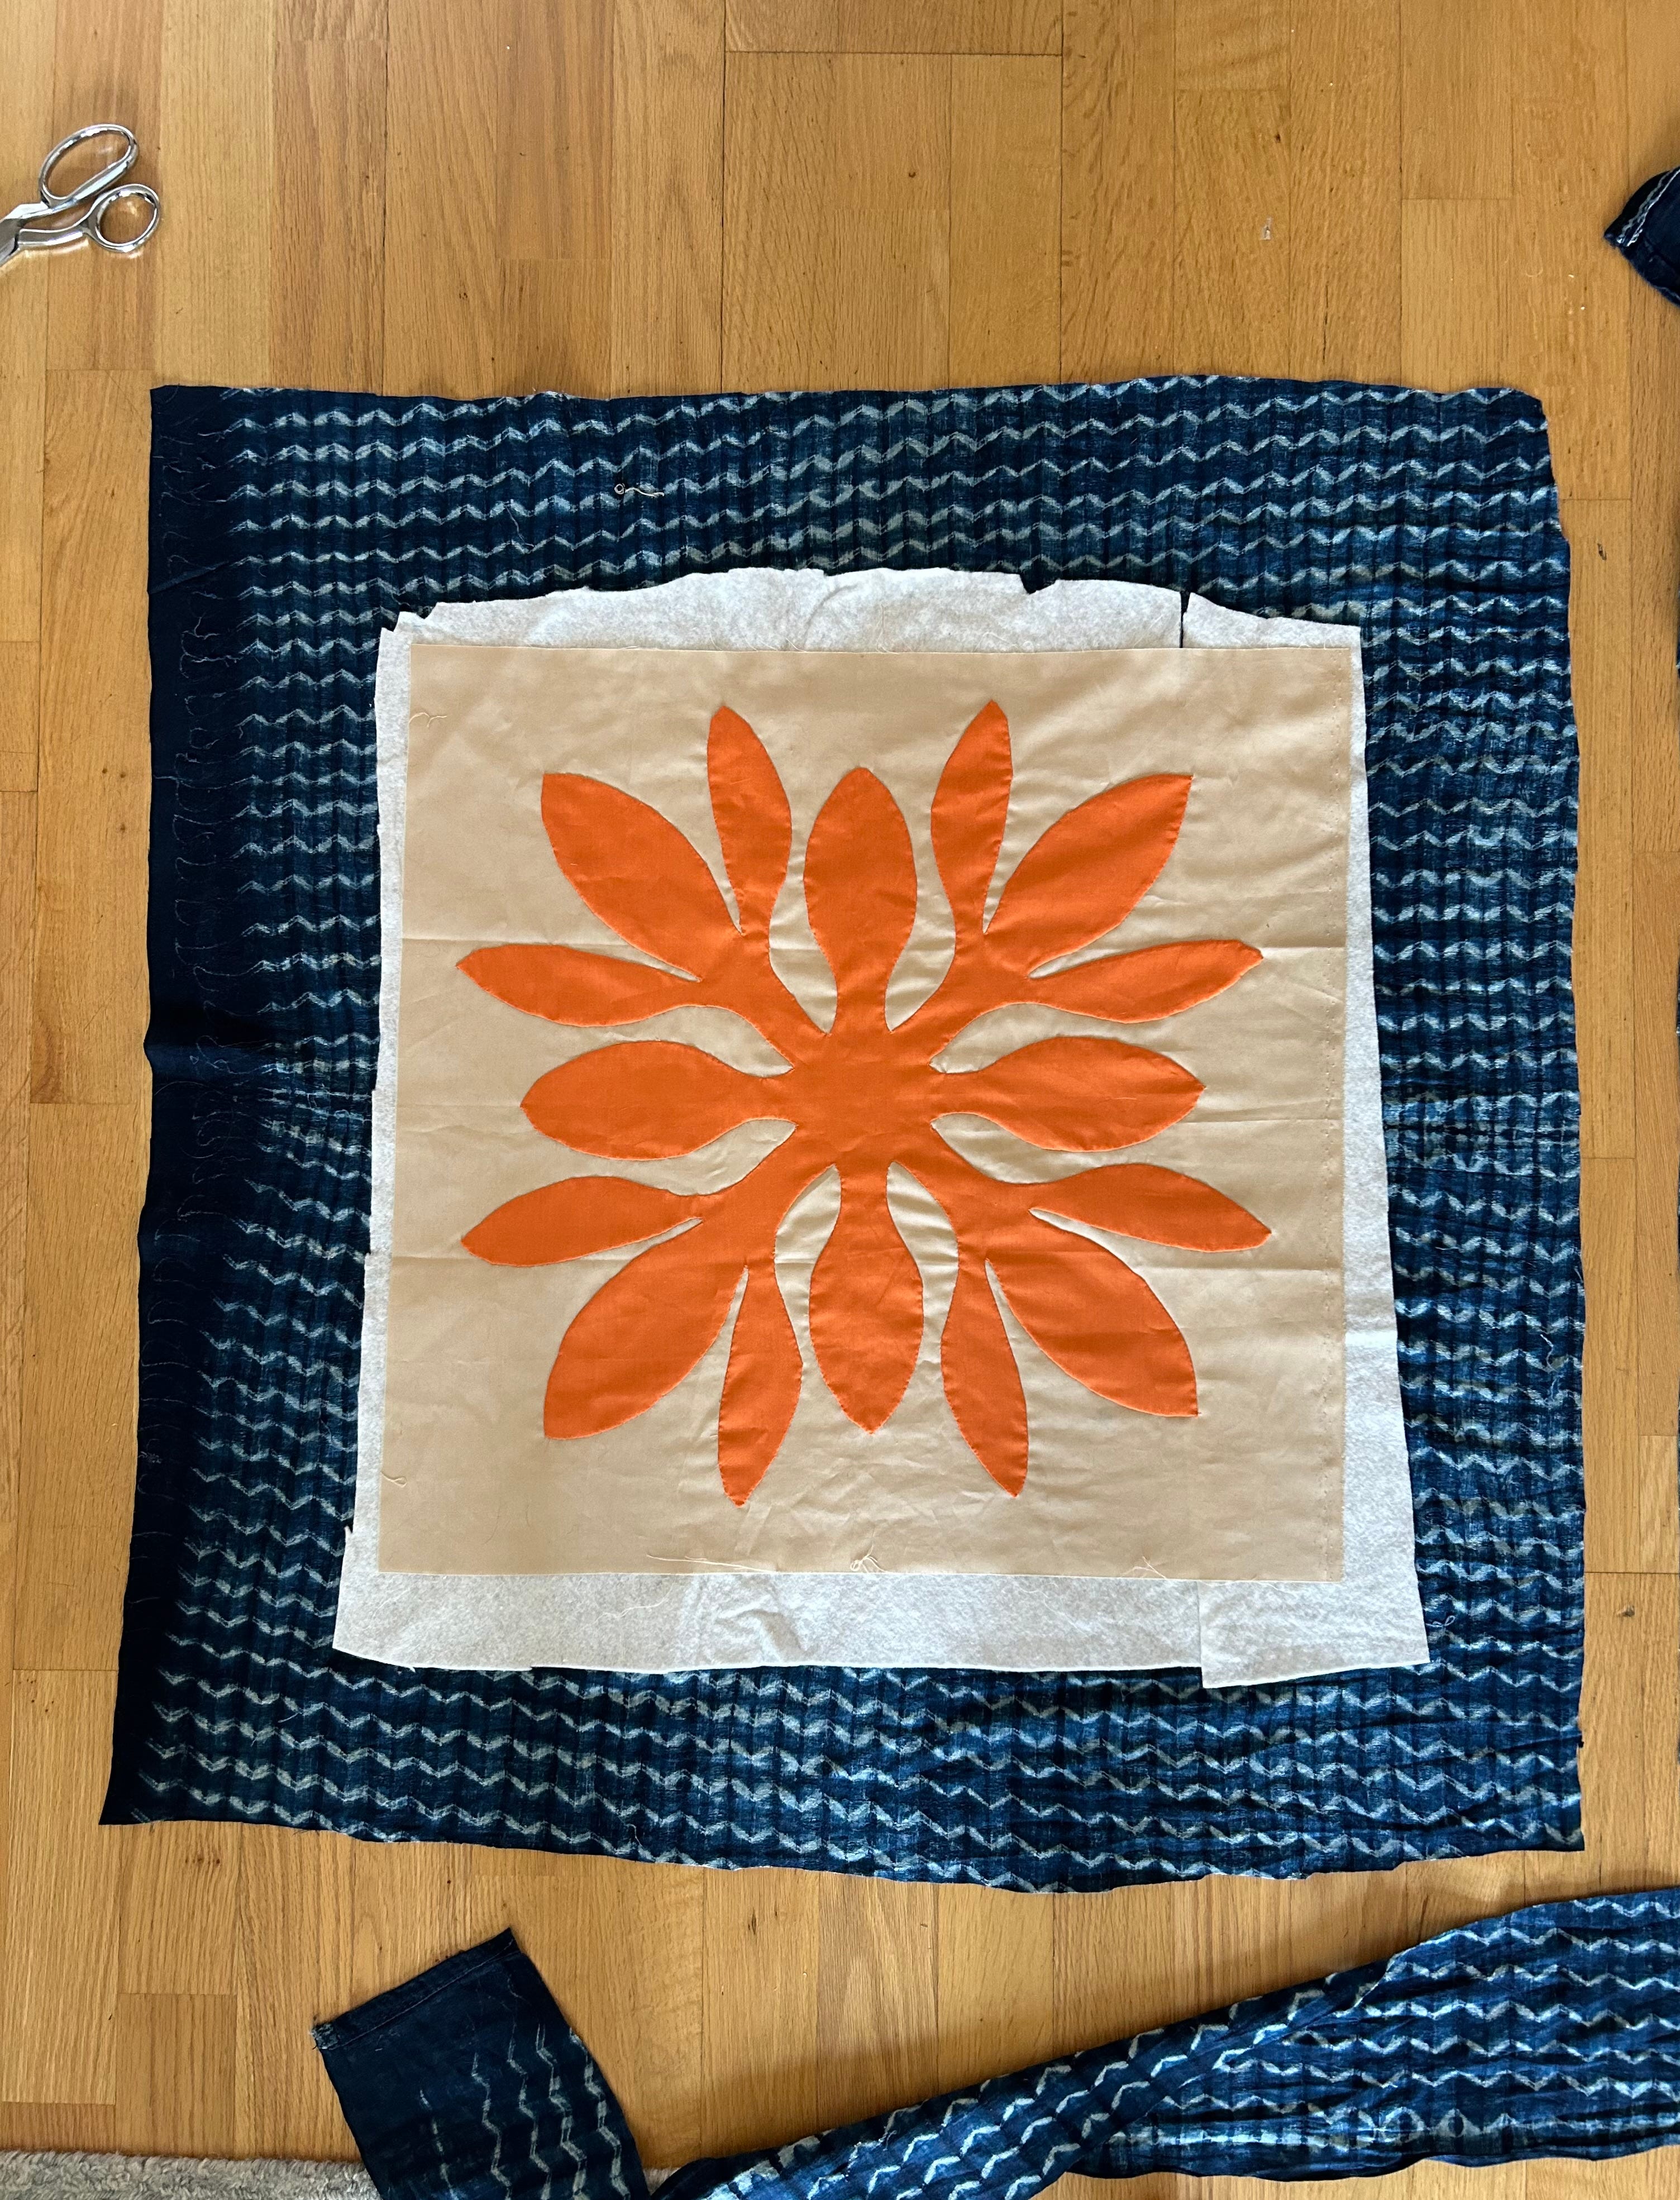
Once home, I slowly stitched away at it over the following months. Before we moved to New York last fall, I created the quilt sandwich. I used one of the oldest pieces of fabric in my collection for the backing, some sort of indigo-dyed wrap I bought at a Goodwill in St Louis manyyyyy years ago, before I even knew how to sew.
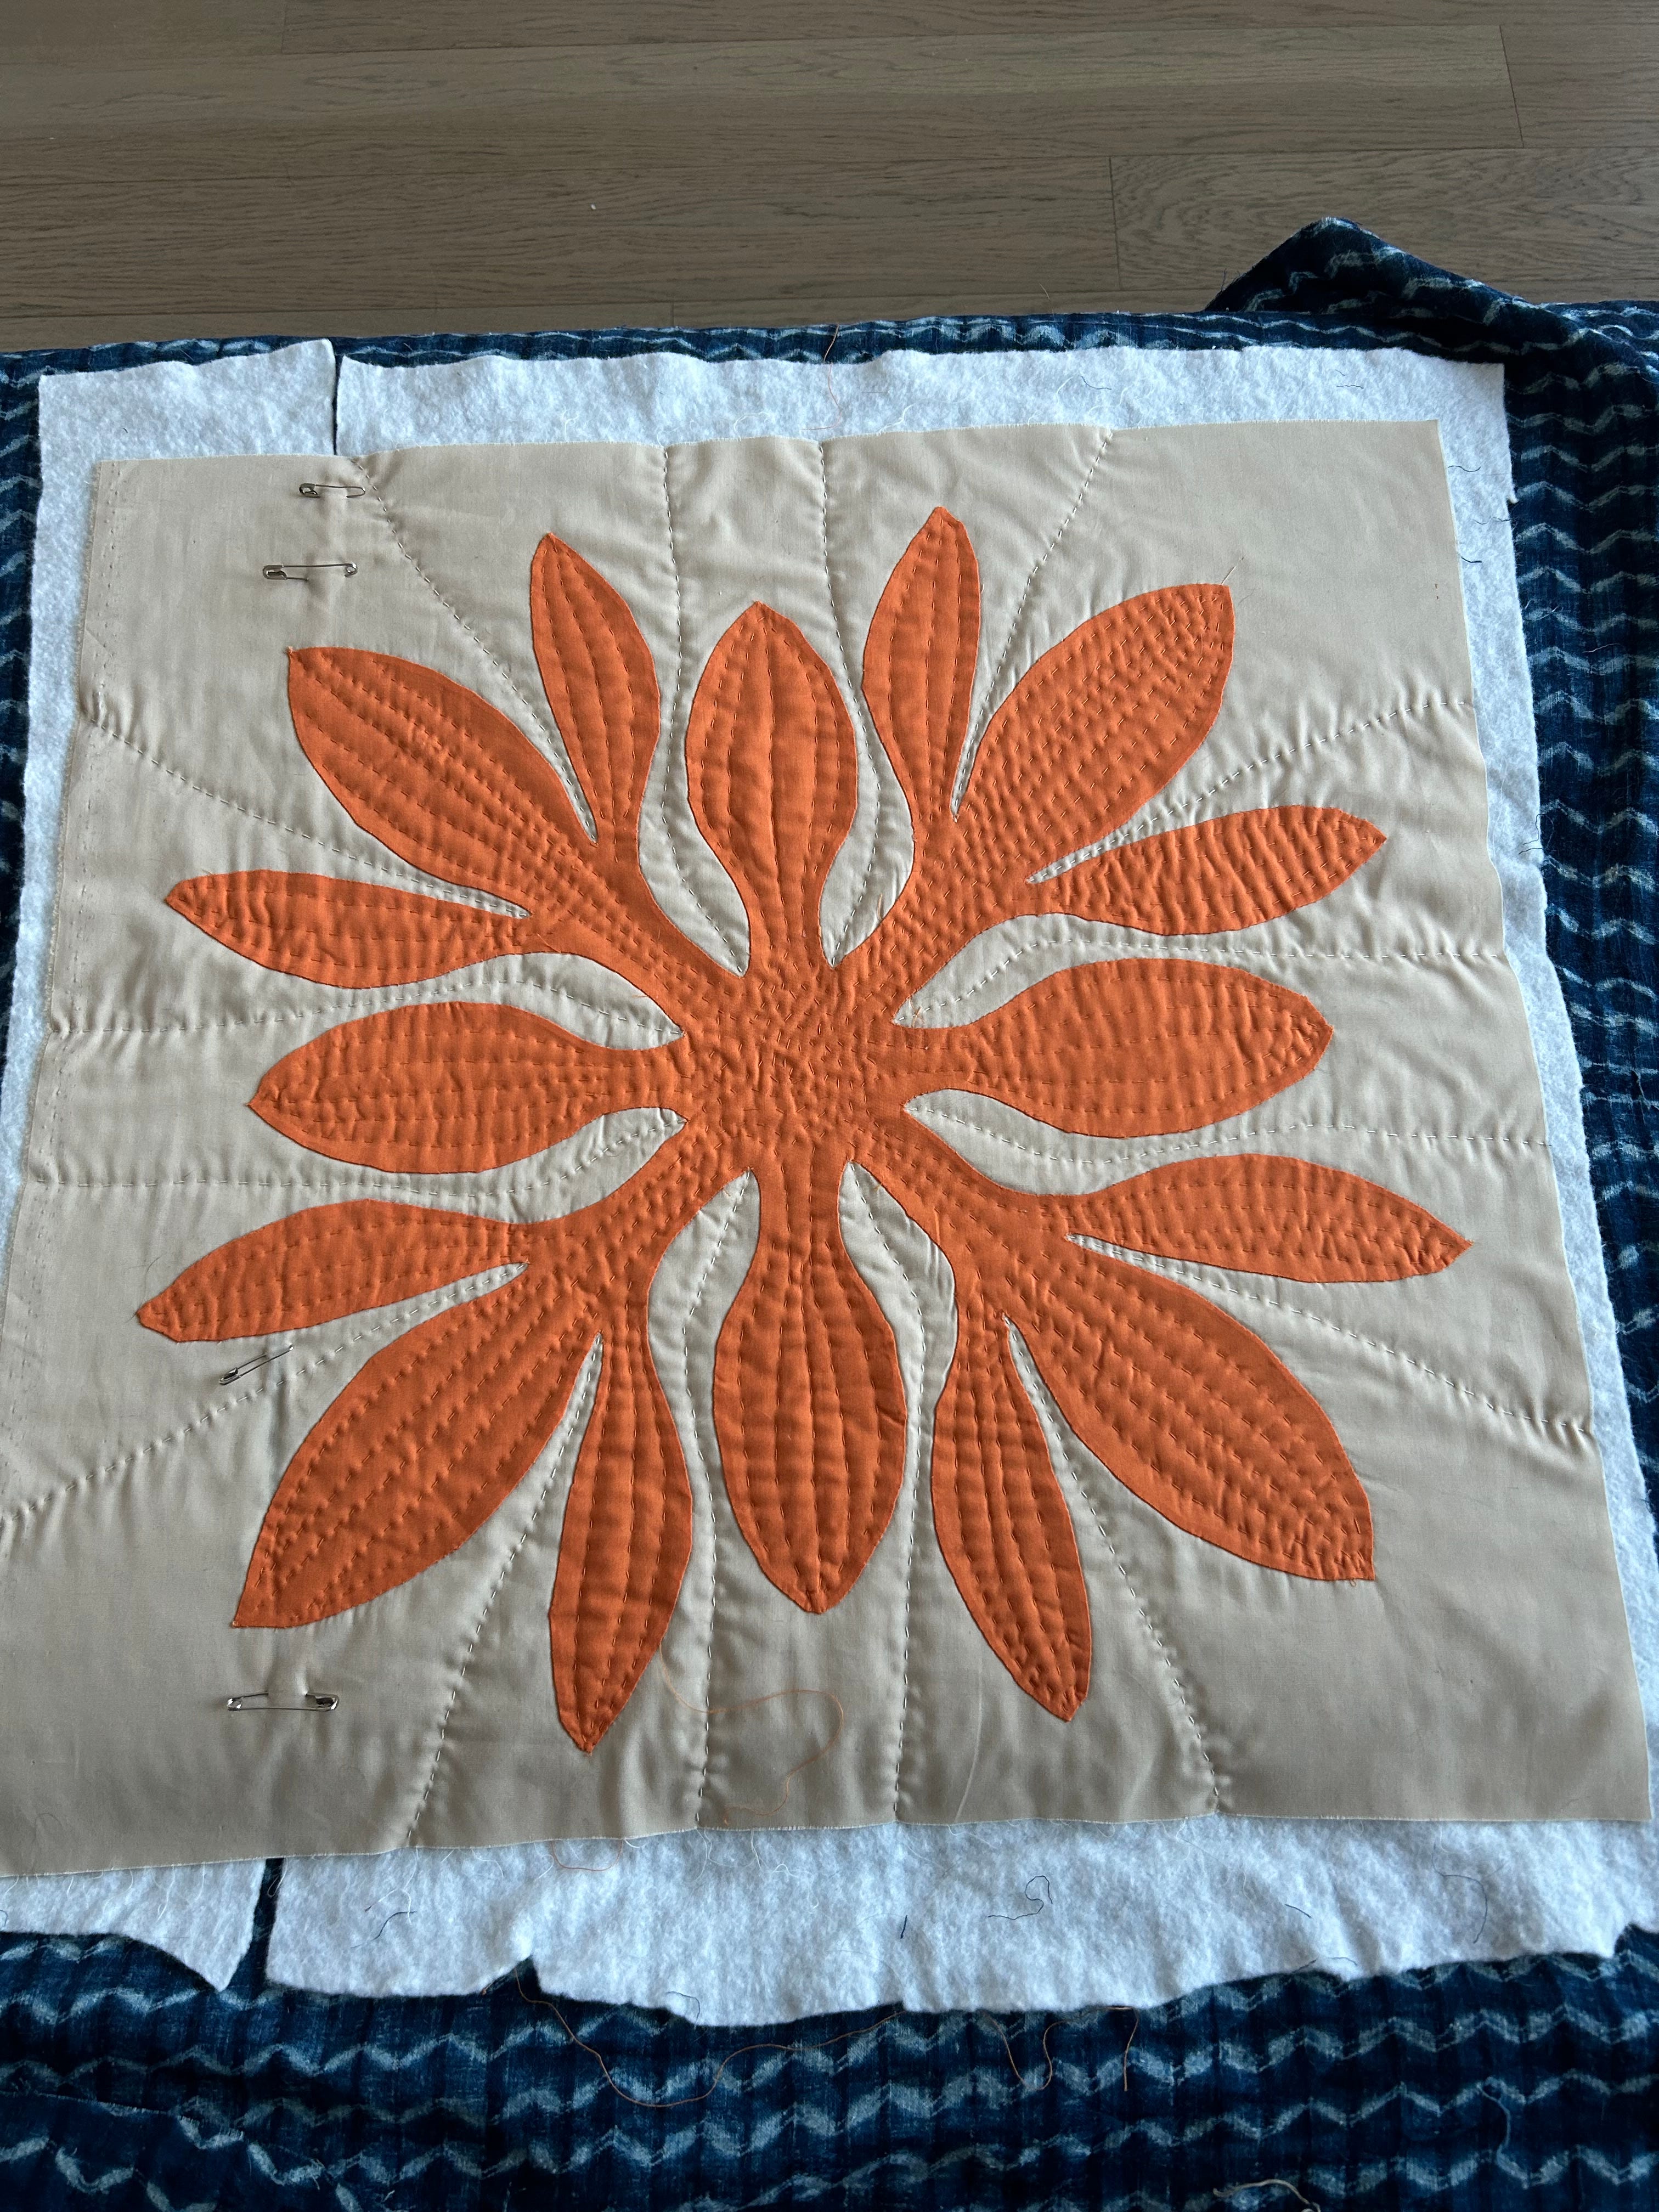
Trying to quilt it in the traditional Hawaiian way was just not working for me, even with my thimble, so I switched to my version of a running stitch and aimed for a lively, organic look. I used matching thread for each part I quilted, although I considered using blue thread to quilt the cream background. In the end, I kept it the same shade and I do love how that looks!
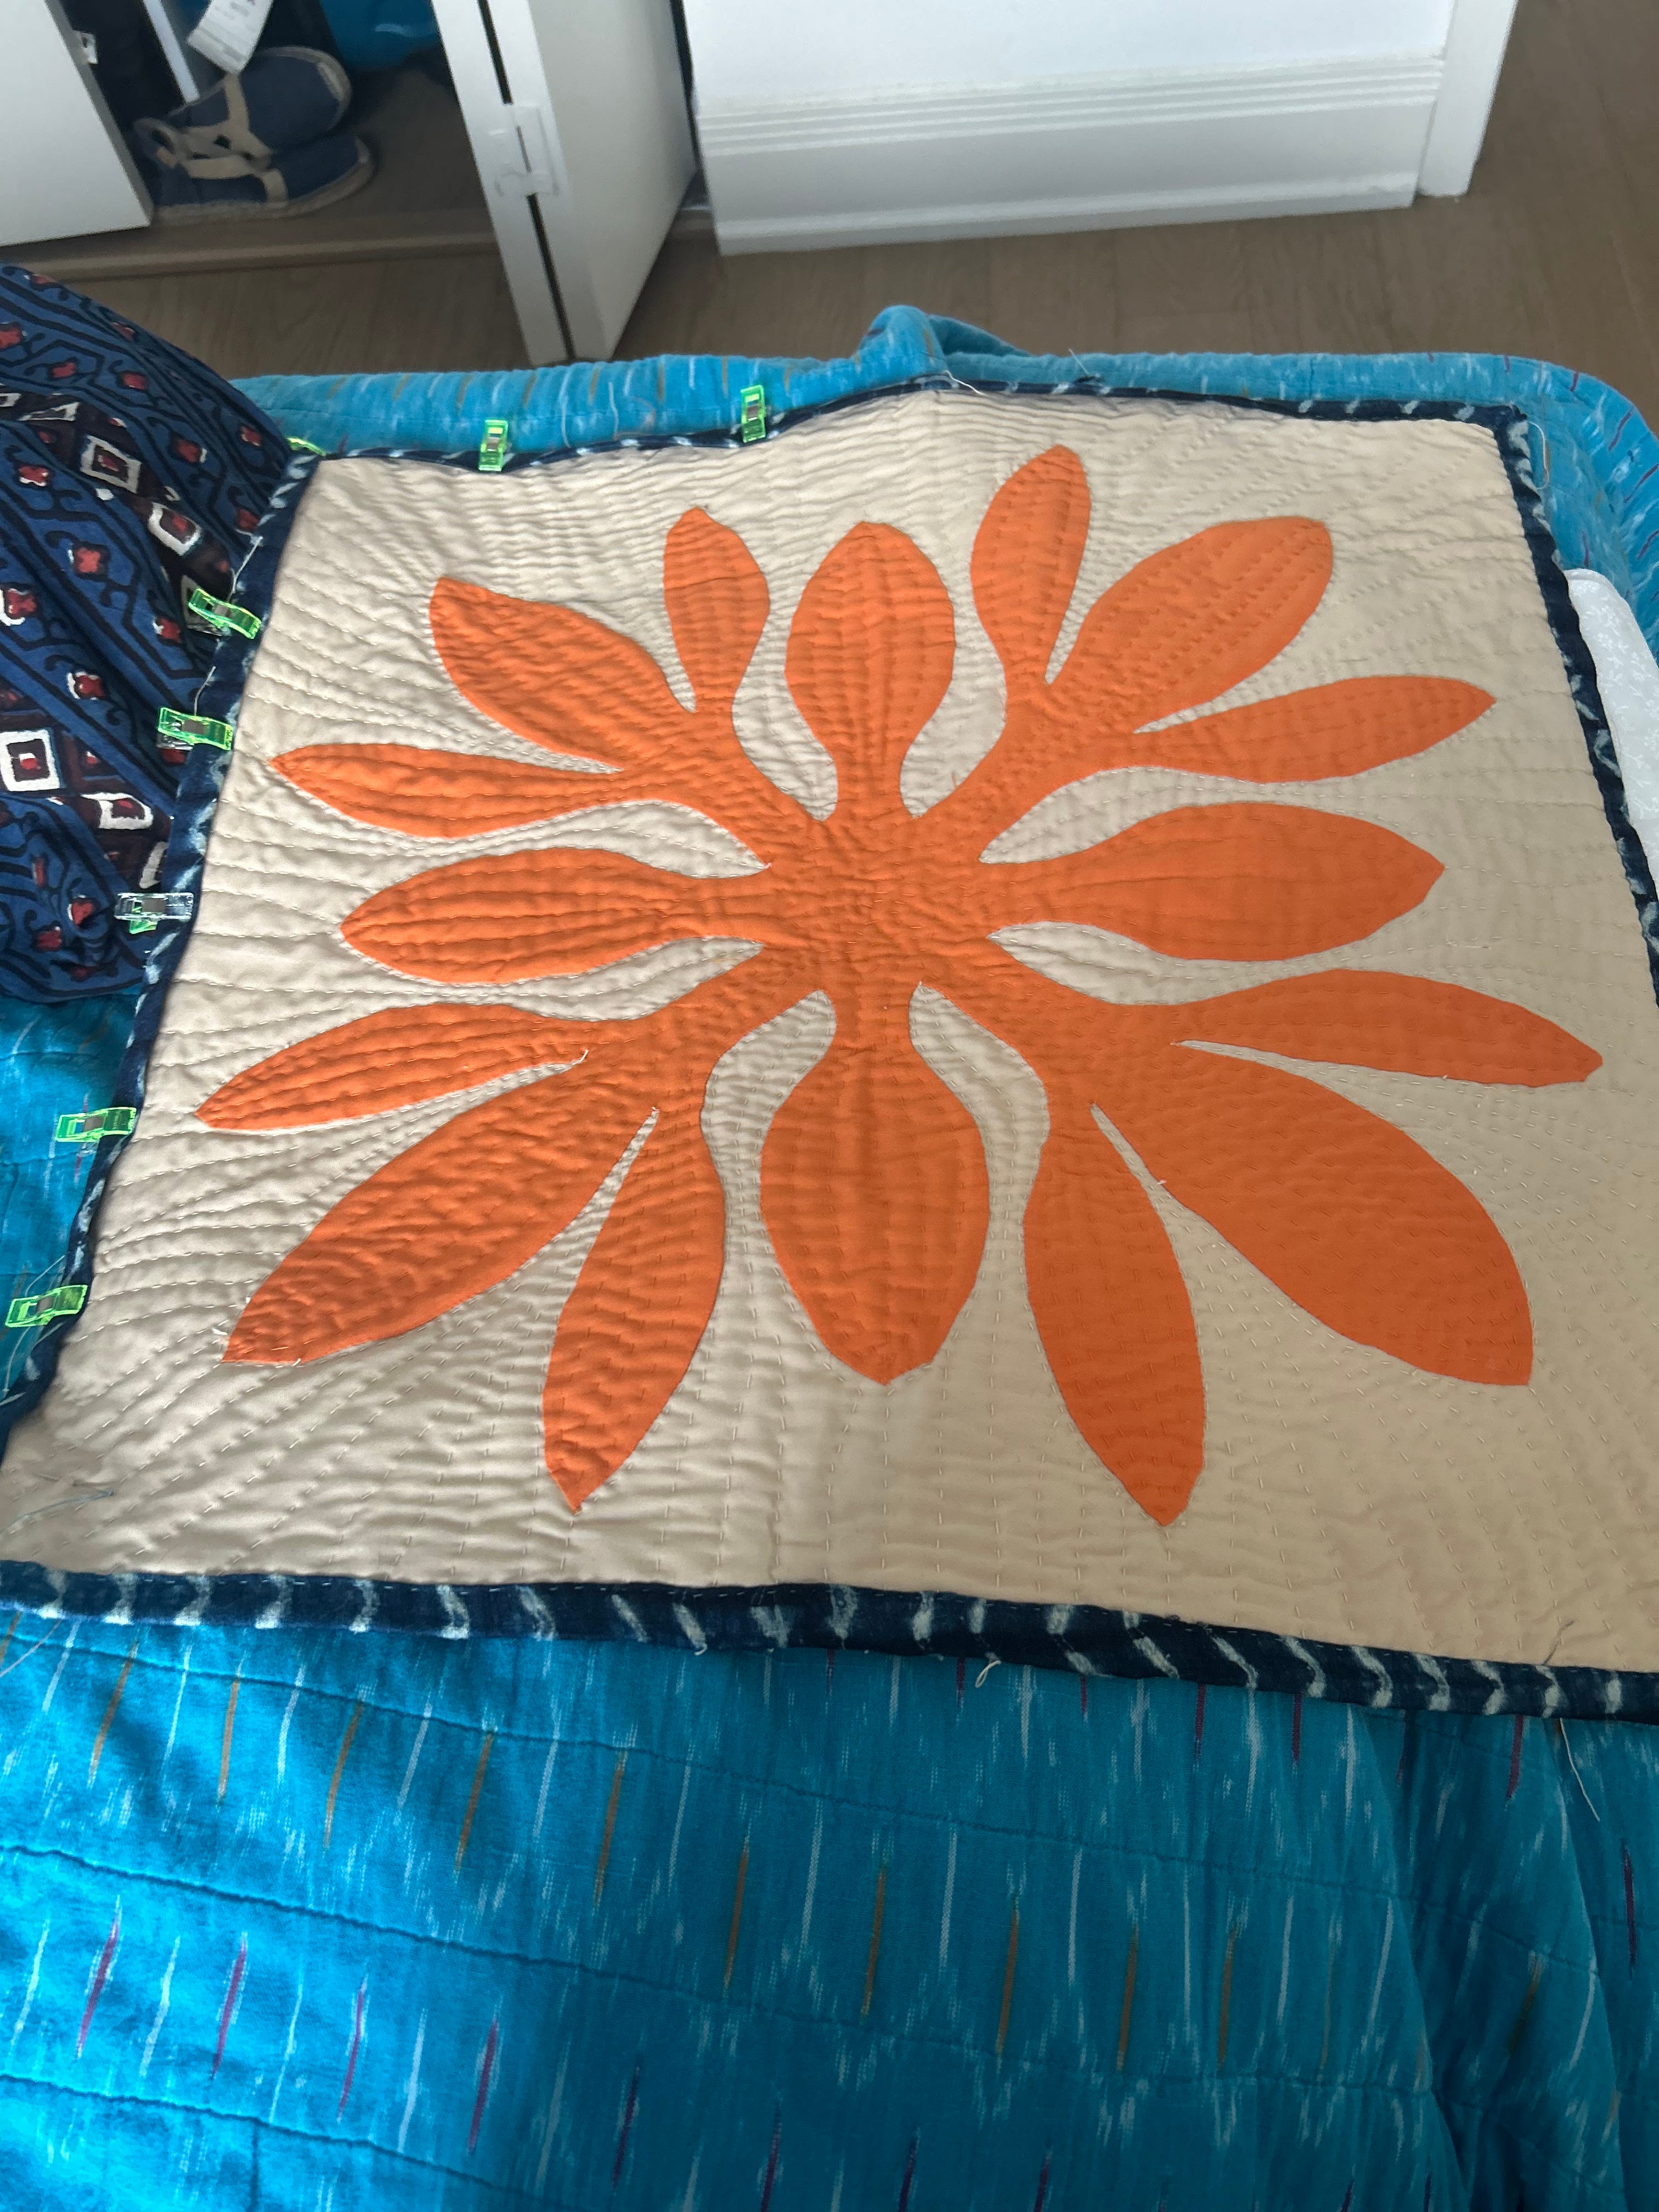
I wanted to try a new-to-me binding technique, so I cut the backing larger with the plan to fold it over and create a binding from the back. I thought with a smaller quilt, it could be easier… well, I was wrong.
Trimming the excess batting proved difficult and I ended up snipping through the backing, ugh! Lesson learned, I took my time cutting the rest of the excess batting and trimmed the backing to be 1 inch all the way around. If I use this method in the future, I think I will cut the backing to the size I need and not mess with trimming after the fact. Folding and creating tidy looking corners also did not work out as well as I envisioned but after several foldings, refoldings, pressings, and clippings, I got the edges to look… decent. Then stitched it down with a visible running stitch instead of my usual invisible stitch.
The plan for this quilt is to hang on a to-be-determined wall, so in preparation for that, I added two loops to the top corners using some blue ric-rac I had in my stash. It is currently mounted on our living room A/C unit with magnetic clips until it finds its final home.
While this project did take a fair amount of time, I completely fell in love with the Hawaiian quilting style. The motifs are beautiful and I love that the whole piece is constructed completely by hand. It is definitely nice to be able to pull out a project and work a few stitches, without having to pull out my whole sewing machine set up. It’s very relaxing and much better than swiping through my phone to keep my hands busy. I’m already planning my next Hawaiian-style project…
The first Hawaiian quilts were actually created from pounding tree bark into a blanket and then block printing a design onto it. After missionaries came to the islands in the 1820s-30s bringing fabric, needles, and thread, Hawaiian women began creating fabric quilts. Apparently they were baffled at cutting up pieces of fabric only to sew them back together, so they developed the technique of using larger fabric pieces, with one piece folded and cut using the “snowflake” technique to create a design. Solid colored fabrics were typically used, especially red and white, as those were the most commonly available. Hawaiian women also reportedly preferred the more organic look of echo quilting their designs instead of the geometric quilting patterns more prevalent on patchwork quilts. This approach also complimented the natural designs appliqued to the quilts, which were traditionally plants and flowers important to the maker.
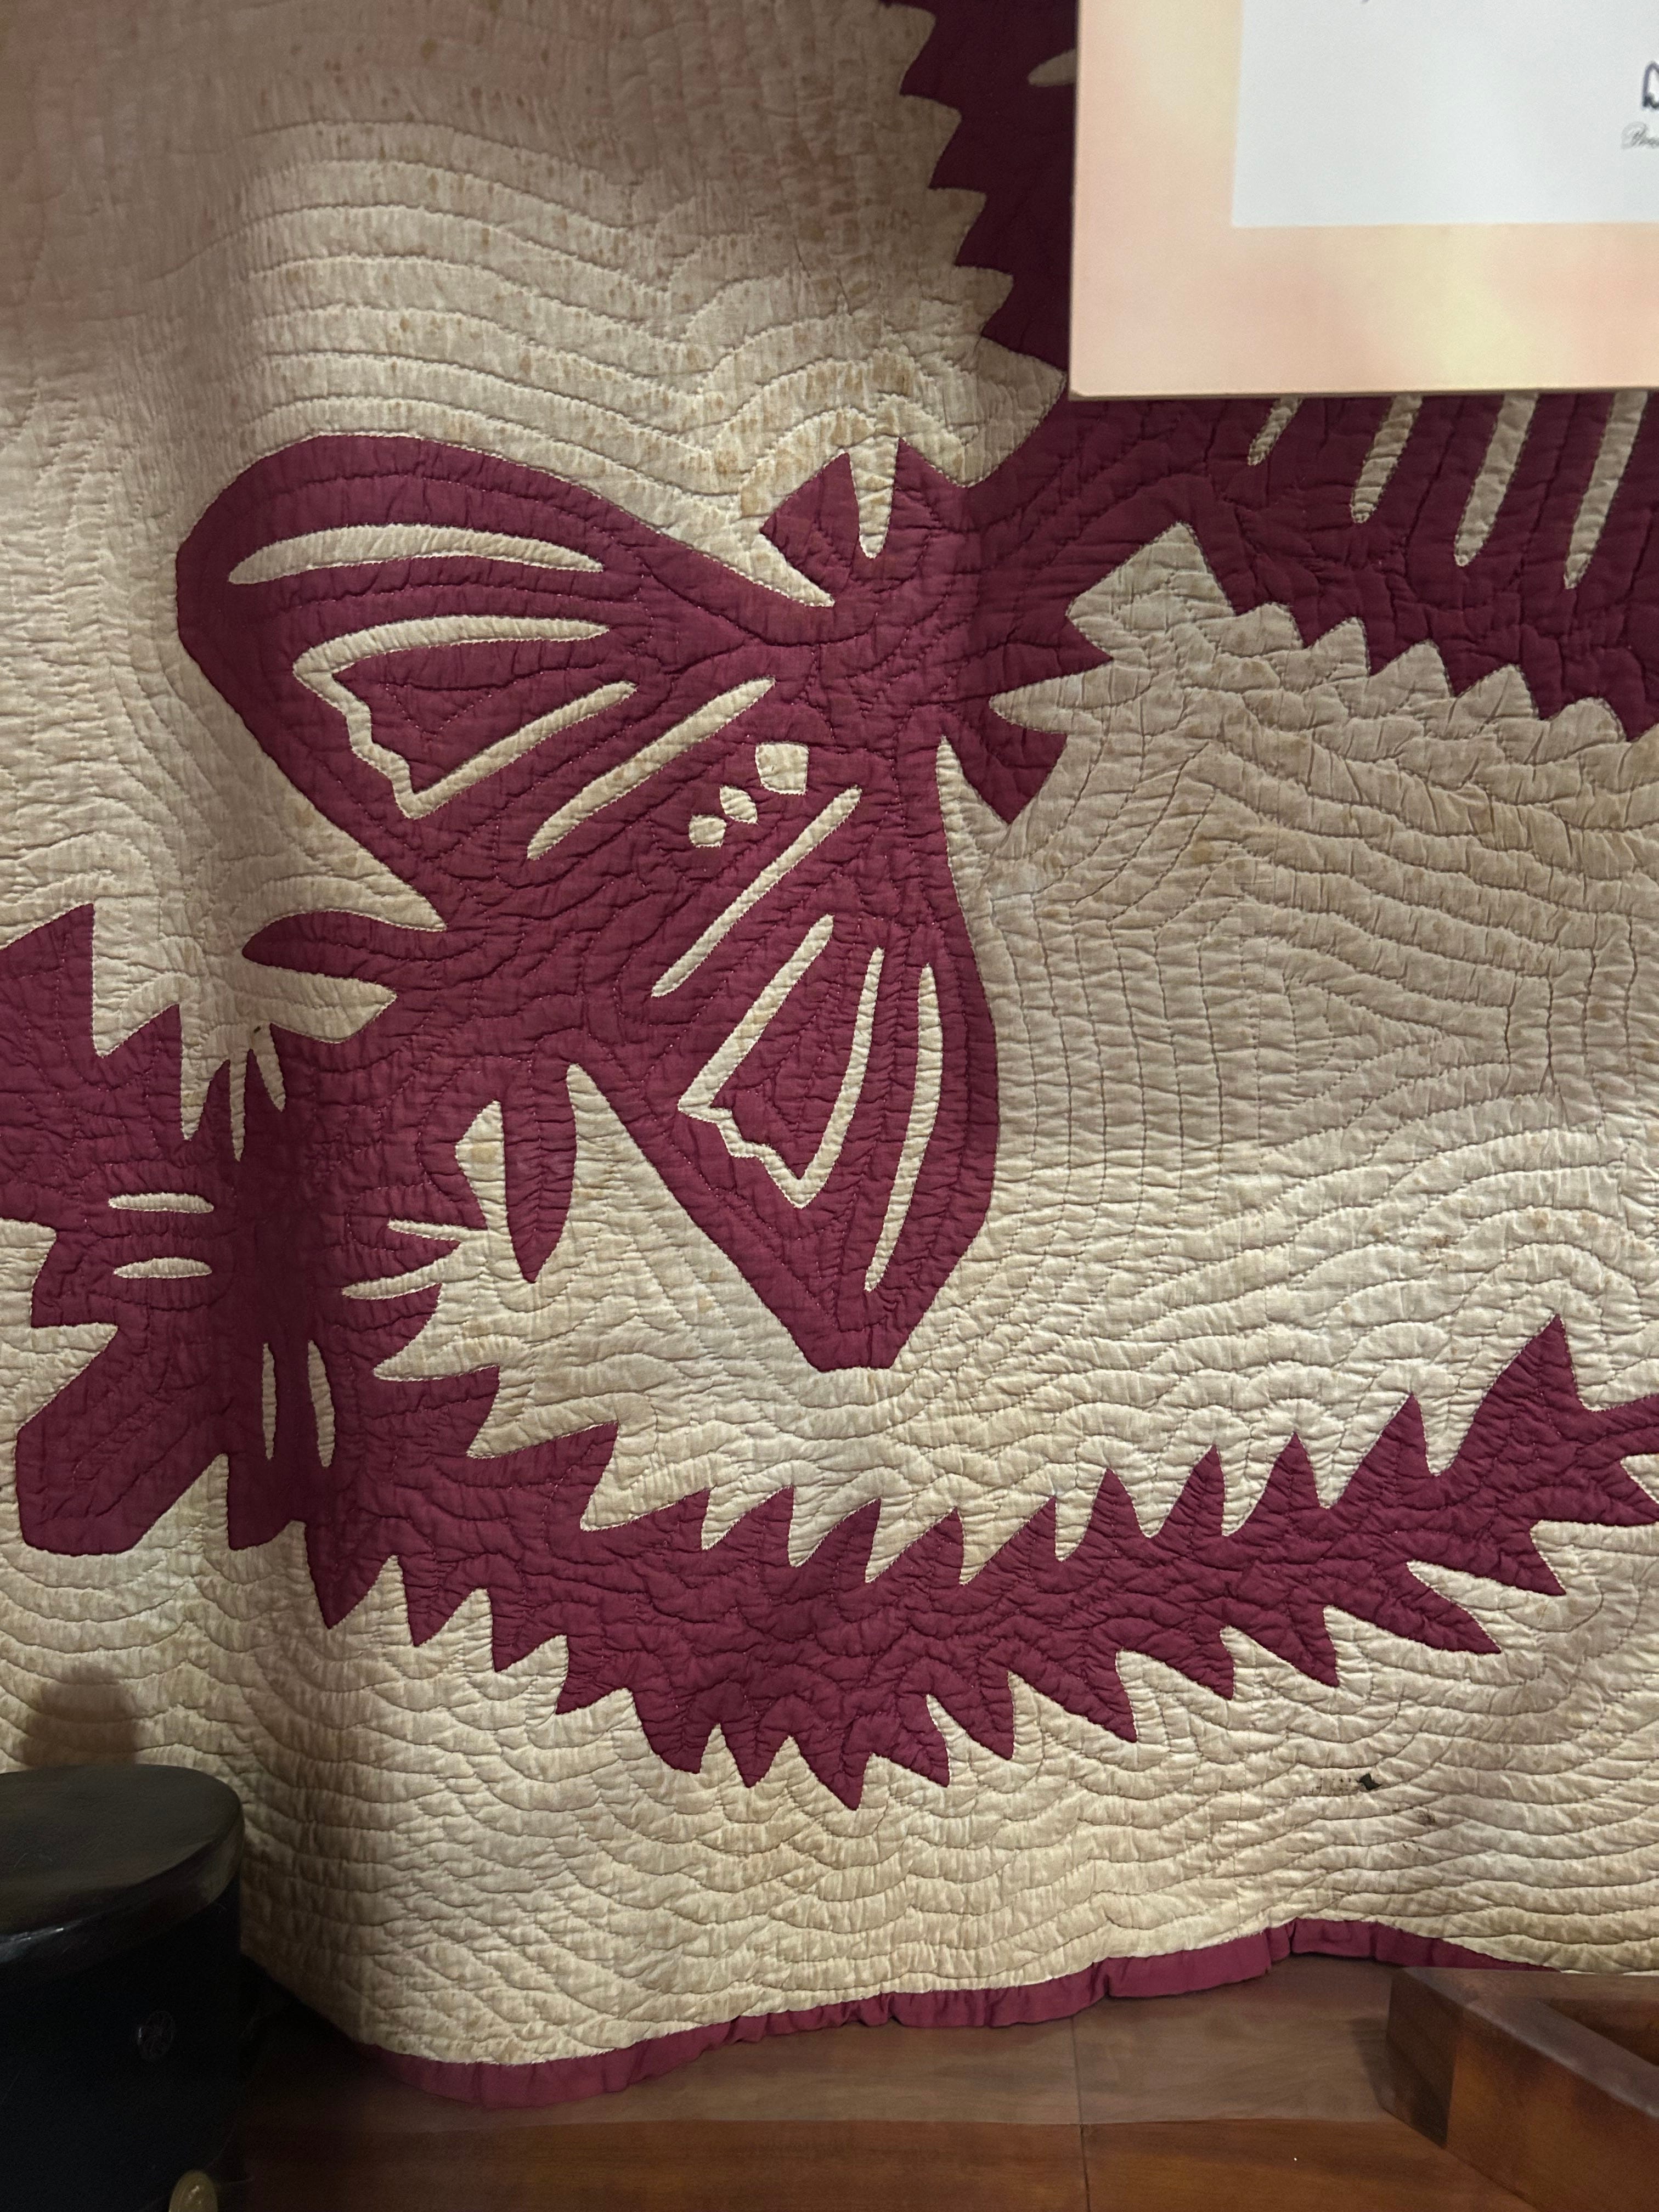
This background provides a unique insight into the four characteristics that define a traditional Hawaiian quilt, as explained by author/quilter Elizabeth Root:
Whole cloth- The appliqué design is cut from a whole piece of cloth and the backing is a second, separate whole piece.
Cutting method - The snowflake method of folding a piece of fabric into eighths and then cutting out the design all at once to create a fully symmetrical appliqué piece.
Two colors - The appliqué is usually a bright solid color and the background is often a lighter neutral.
Echo quilting - The whole piece is quilted in the echo style, meaning the quilting lines flow out from and “echo” the appliqué design. Quilt lines are not marked ahead of time, but typically measured out using the width the quilter’s finger.
If you want to create a Hawaiian quilt, but aren’t able to travel to Hawaii to learn in person, there are plenty of great resources to learn from home.
Classes
Pokalani has a few videos on YouTube to walk you through the process as well as in-person classes most Saturdays in Honolulu.
Poakalani member Pat is teaching an upcoming workshop through Tatter on October 10th! I’m hoping to tune in if my schedule permits :)
Pacific Rim Quilts has some video courses available for purchase.
Books
Poakalani has a few volumes of books that contain the patterns designed by founder John Serrao.
Common Threads Press recently published a book in conjunction with Poakalani’s exhibition at the Pitt Rivers Museum in Oxford, England.
I learned a lot about the history of Hawaiian quilting from the books of Elizabeth Root.
If you enjoyed this newsletter, please share with a friend!
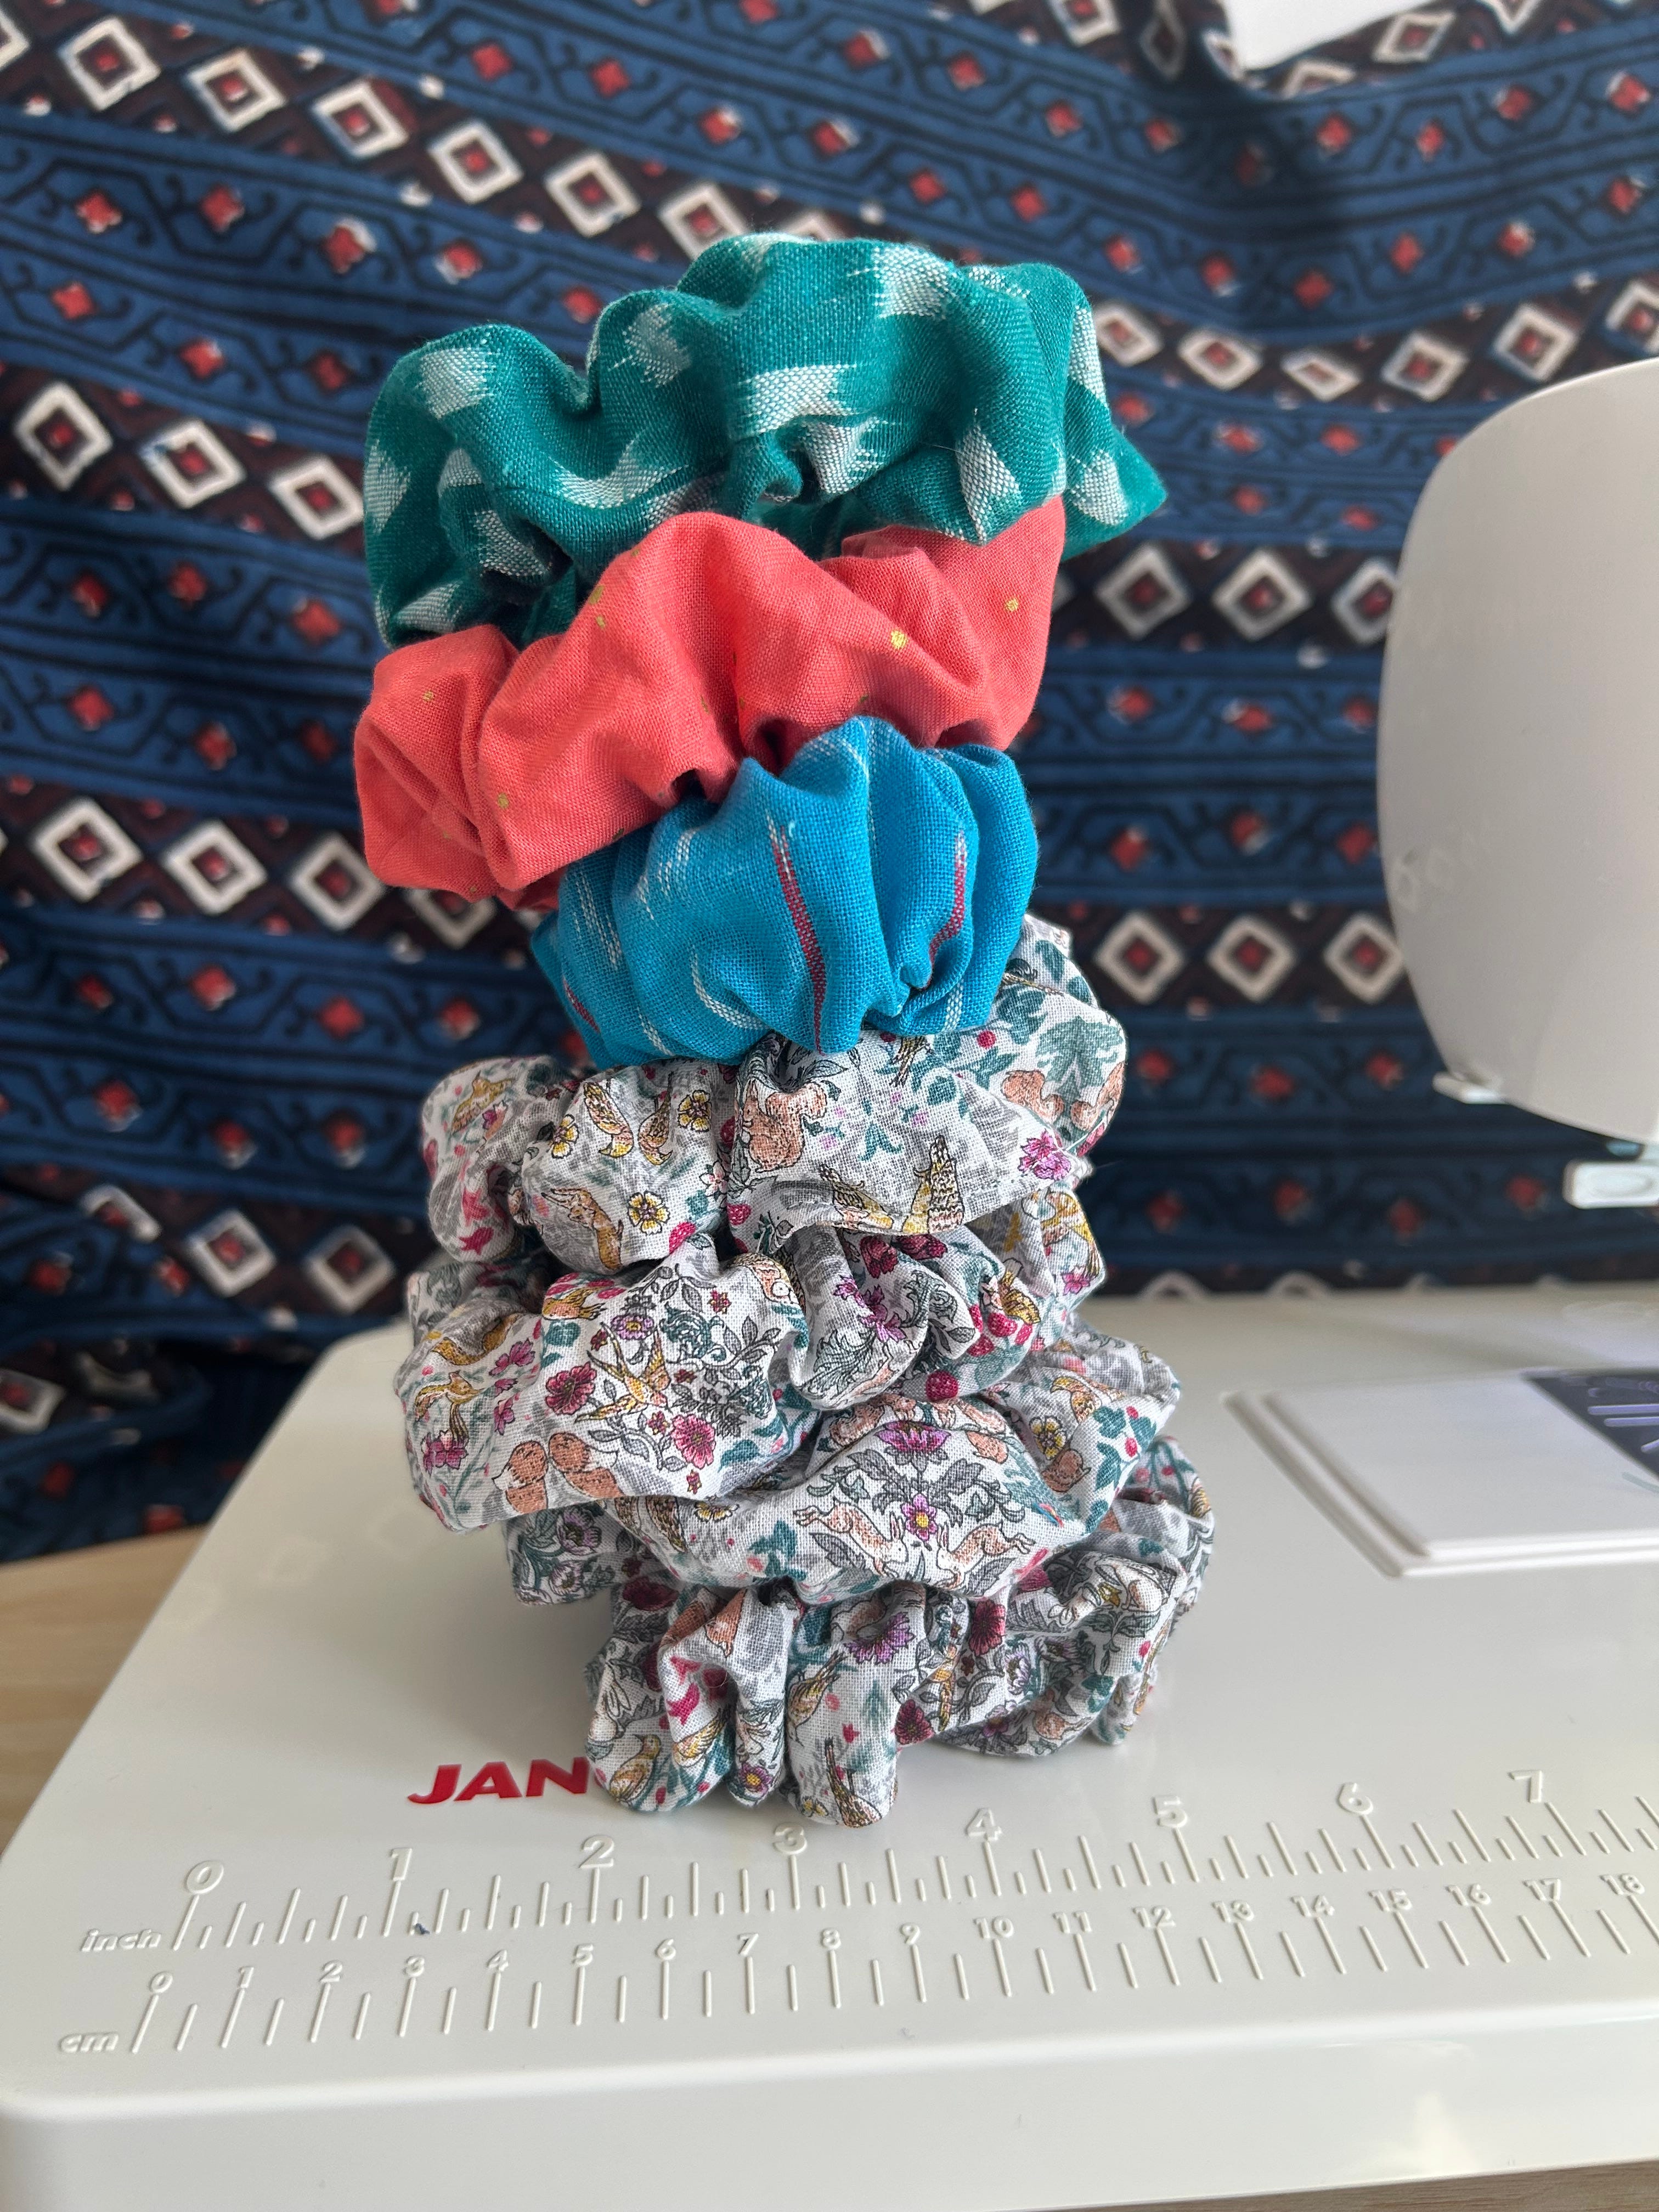
The other week I realized I was down to one usable scrunchie, so I decided to make a batch. I intended to make 2-3 but then figured, why not use some leftover fabric to make matching scrunchies for my New York family!?! I’m sort of in a scrap busting mode right now because my fabric drawers are currently overflowing! I desperately need to make some room so I felt like this was a good start. I also used up a bunch of elastic I had in my stash as well.
Have you ever made a Hawaiian-style quilt? Let us know in the comments or reply to this email!
Comments
Nothing yet. Say the first thing.
Sign in to join the conversation.