
One trait that I really loved about my grandma is that she was always an early adopter of new technology. I was playing Carmen San Diego on her computer before my family even had a desktop. She was the first to get an iPad and she had all sorts of online knitting friends before ravelry was a thing.
I try to keep her in mind when I learn about new technologies or gadgets. While I like to think of myself as being open-minded, I’m also very skeptical of any gizmo that claims to be life-changing. Do I really need an air fryer? Or can I just spritz some potatoes with olive oil and turn up my oven really high to make some fries?
That was my opinion when I first heard about “projector sewing”. Meh, I shrugged it off, just another way to trick sewists into spending more money on something, have to buy new patterns, take up space, yada yada. But recently, I’ve changed my mind.
It all started when I decided to sew a dress for my niece. I found a super cute pattern online, but then I faced that tough decision - how do I actually get the pattern from screen to fabric?
I don’t have a printer anymore so print at home was out. Plus I hate taping all the pieces together. I could have made a copy shop version, but I don’t have good storage for rolls of paper. That leaves one option left for a digital pattern- using a projector.
Which I now happen to own. Instead of getting a TV when we moved, we opted for a small but mighty projector to watch movies and shows at night. I wondered if it would also work for projecting sewing patterns.
I spent the next few days in research mode, but every tutorial I saw involved permanently mounting a projector to the ceiling of a dedicated sewing space and projecting down onto a large cutting table. That would not be possible in my situation.
I wondered, can’t I just aim the projector at the wall and tape up some paper to trace? So I gave it a chance.
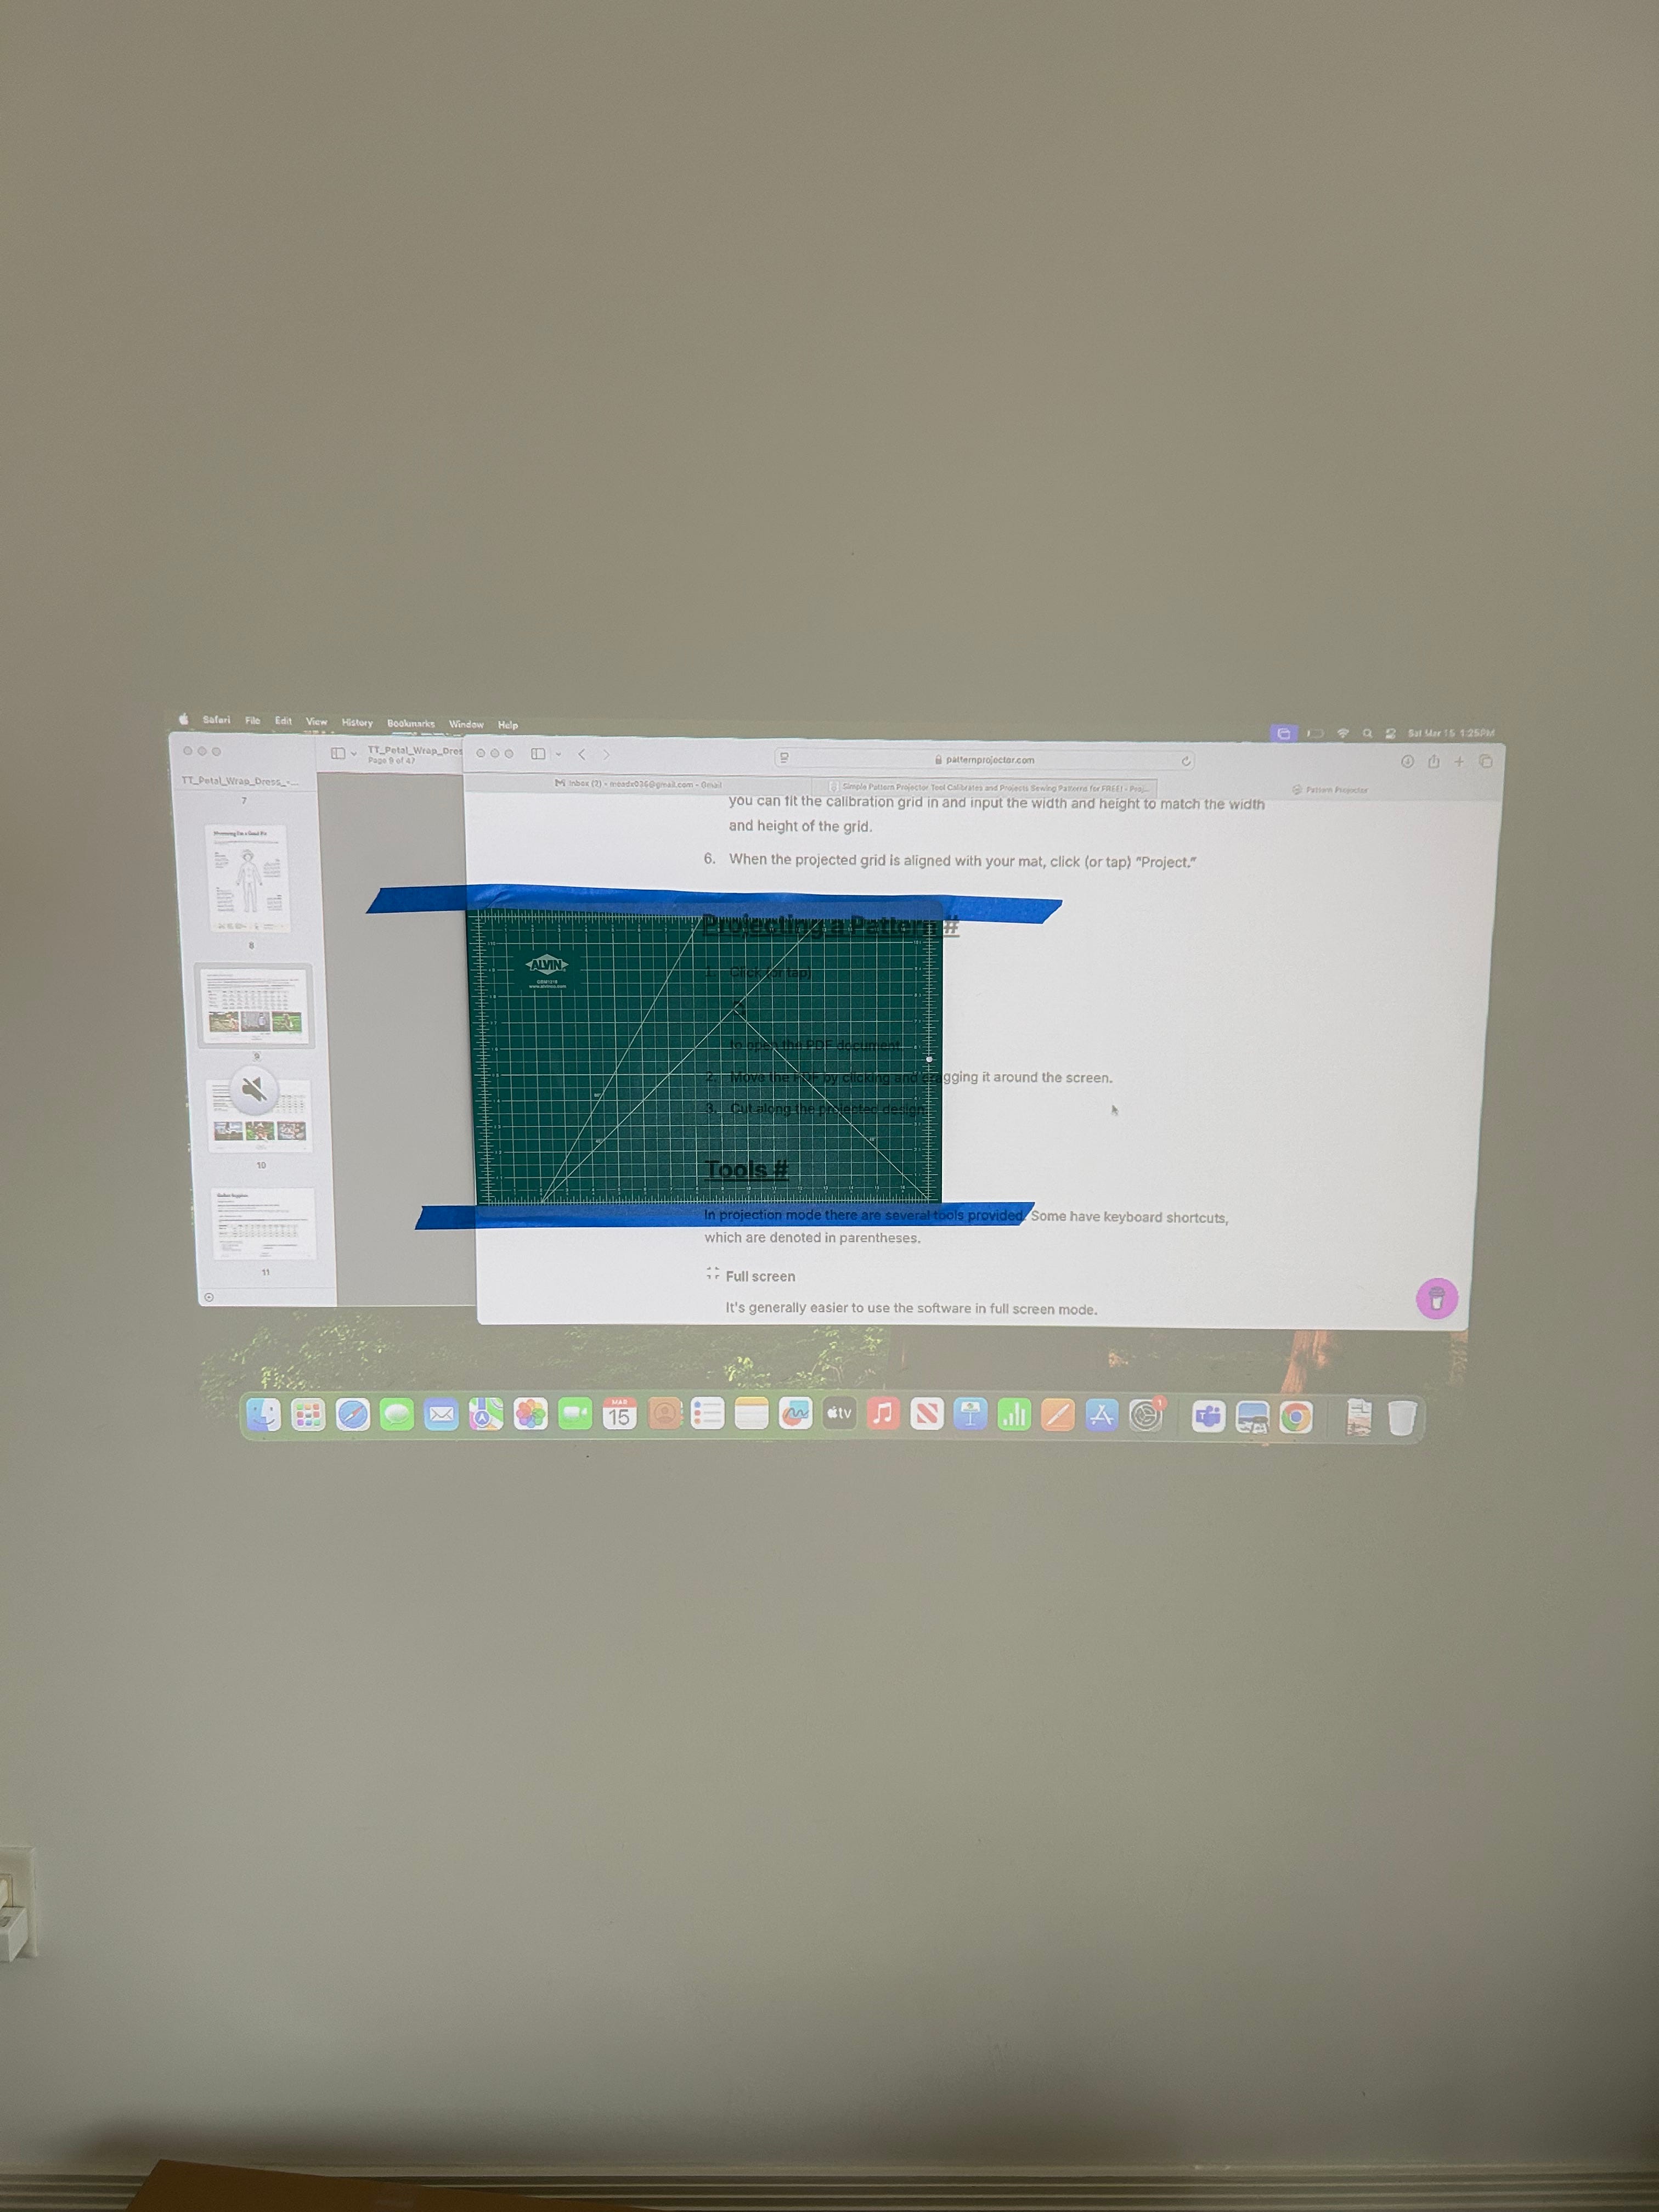
Using instructions from Projector Sewing, I taped my cutting mat to the wall in preparation for calibrating my projection. Don’t laugh, but I only have an 18x12 inch cutting mat right now.
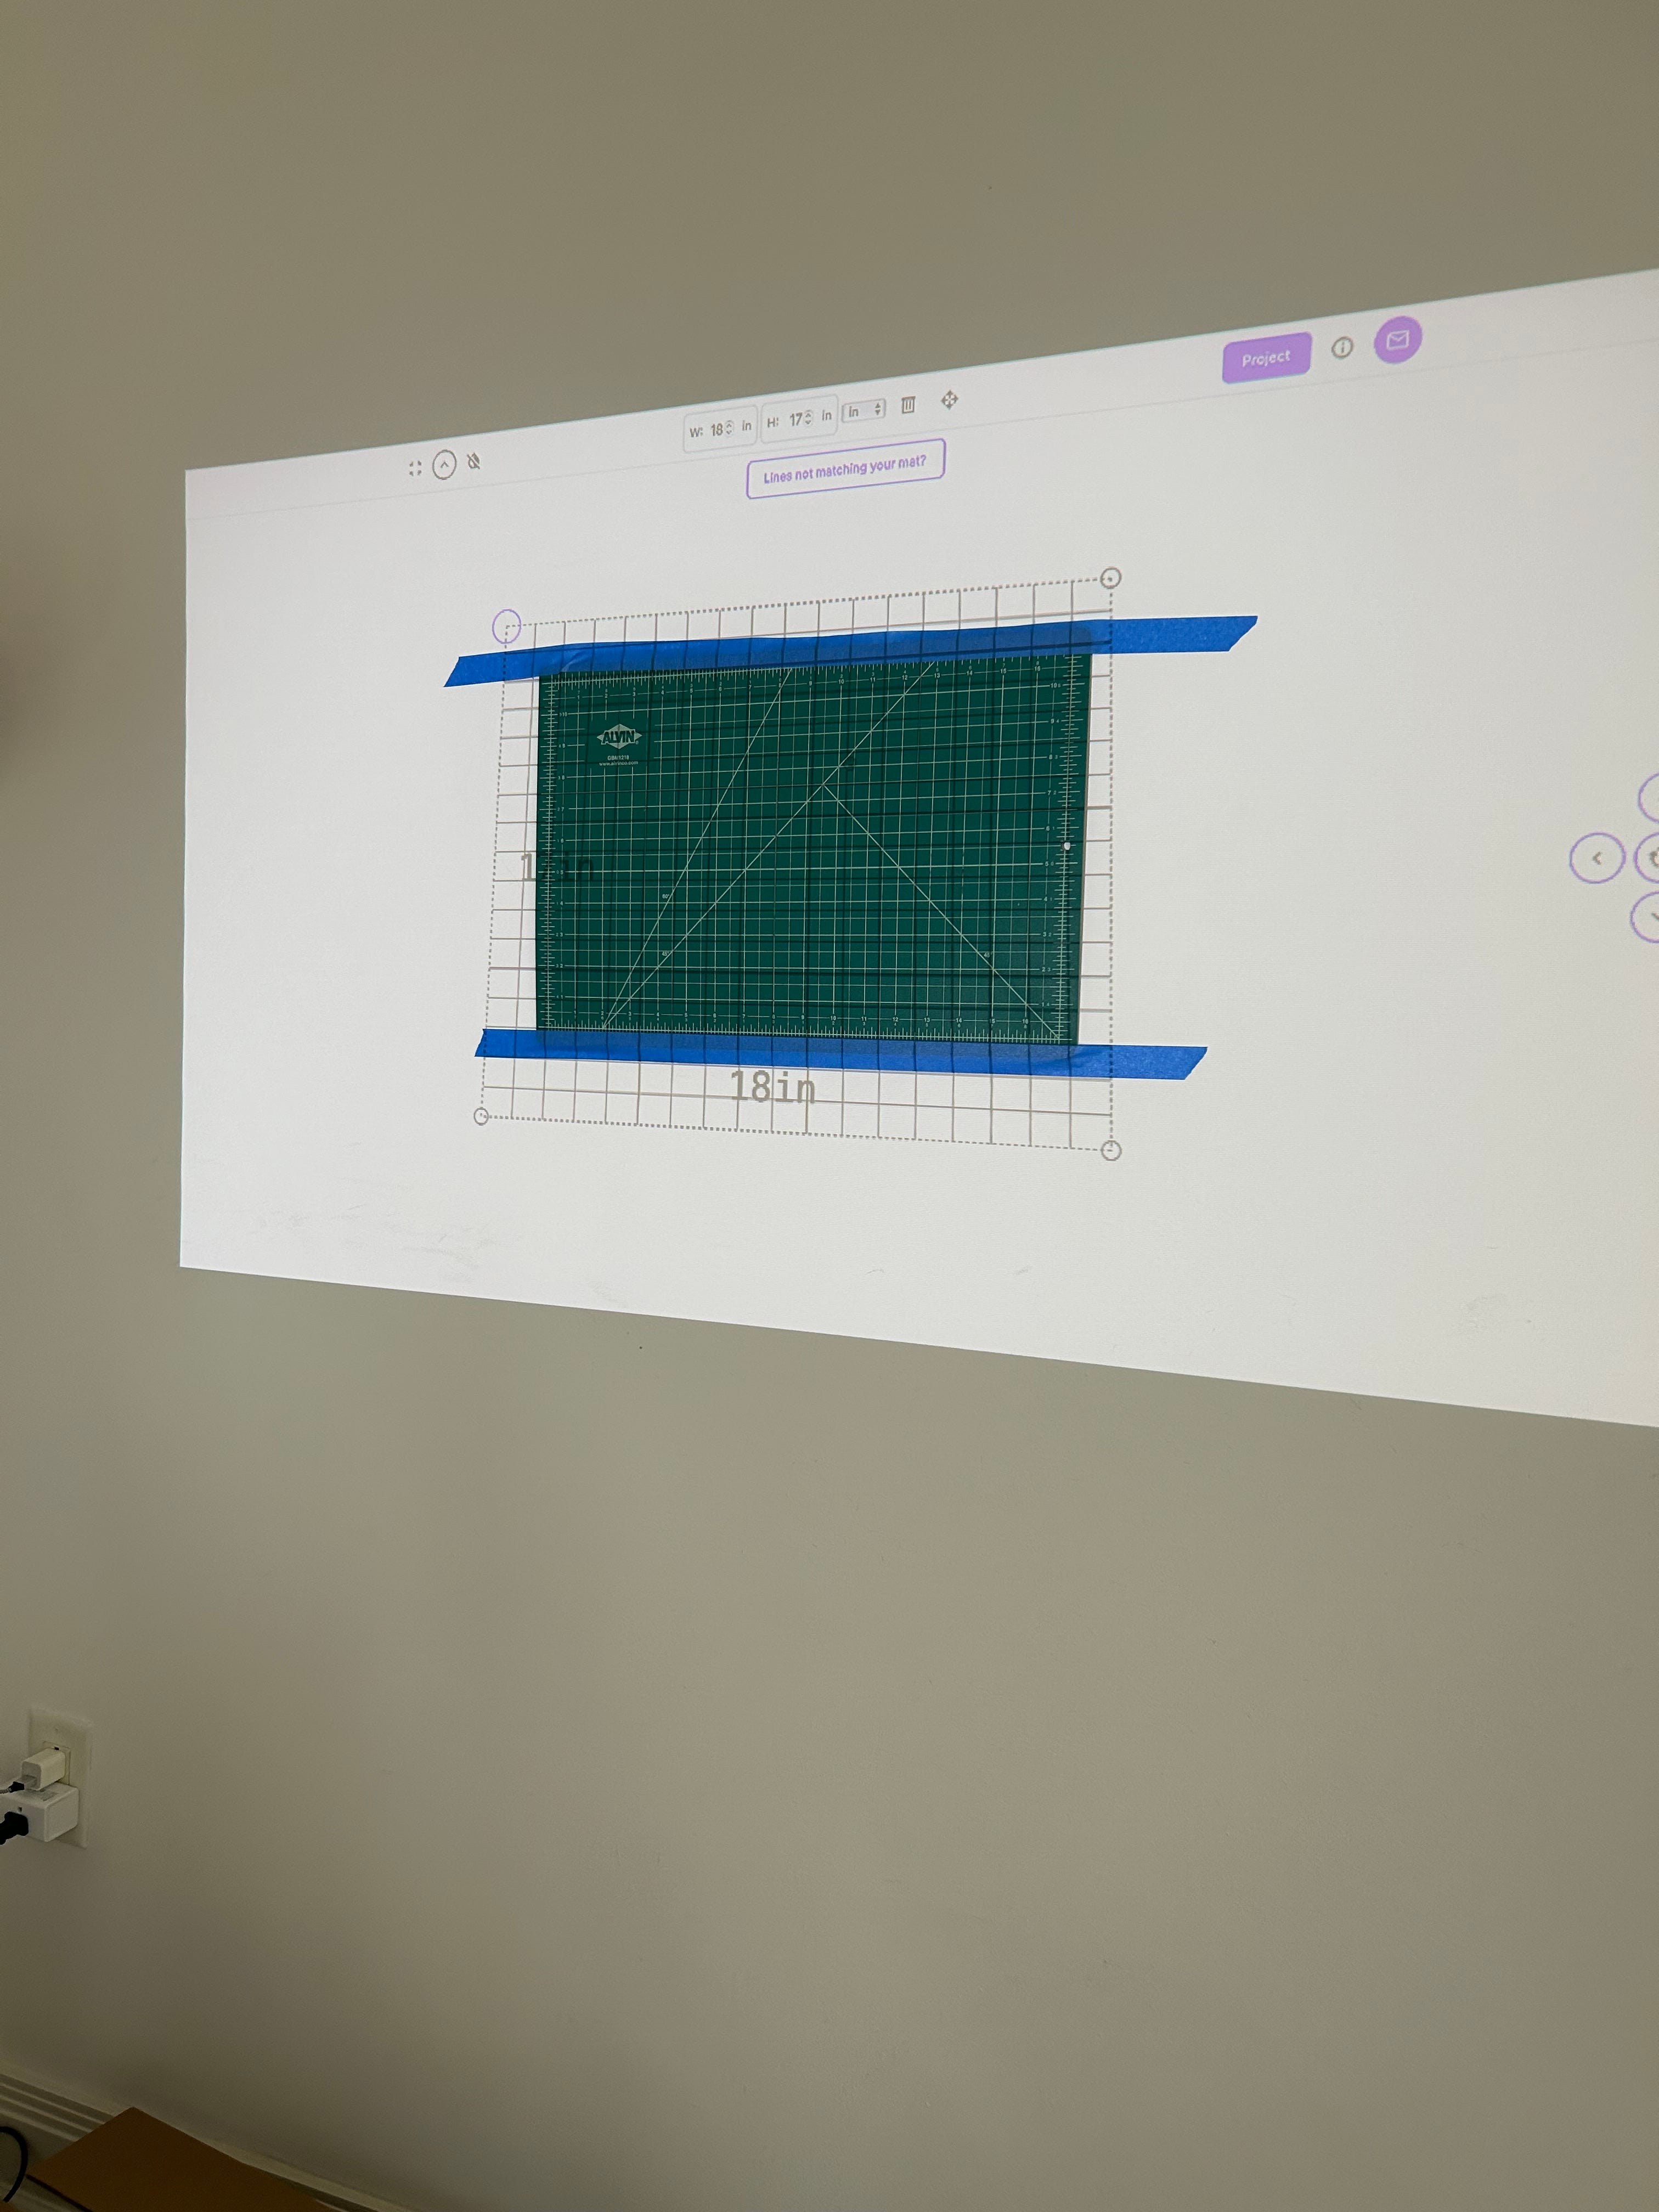
Then I went to PatternProjector.com for the actual calibration. This is a free site that allows you to calibrate and then project your PDF pattern. It also lets you manipulate your pattern, for example hiding size layers you don’t need.
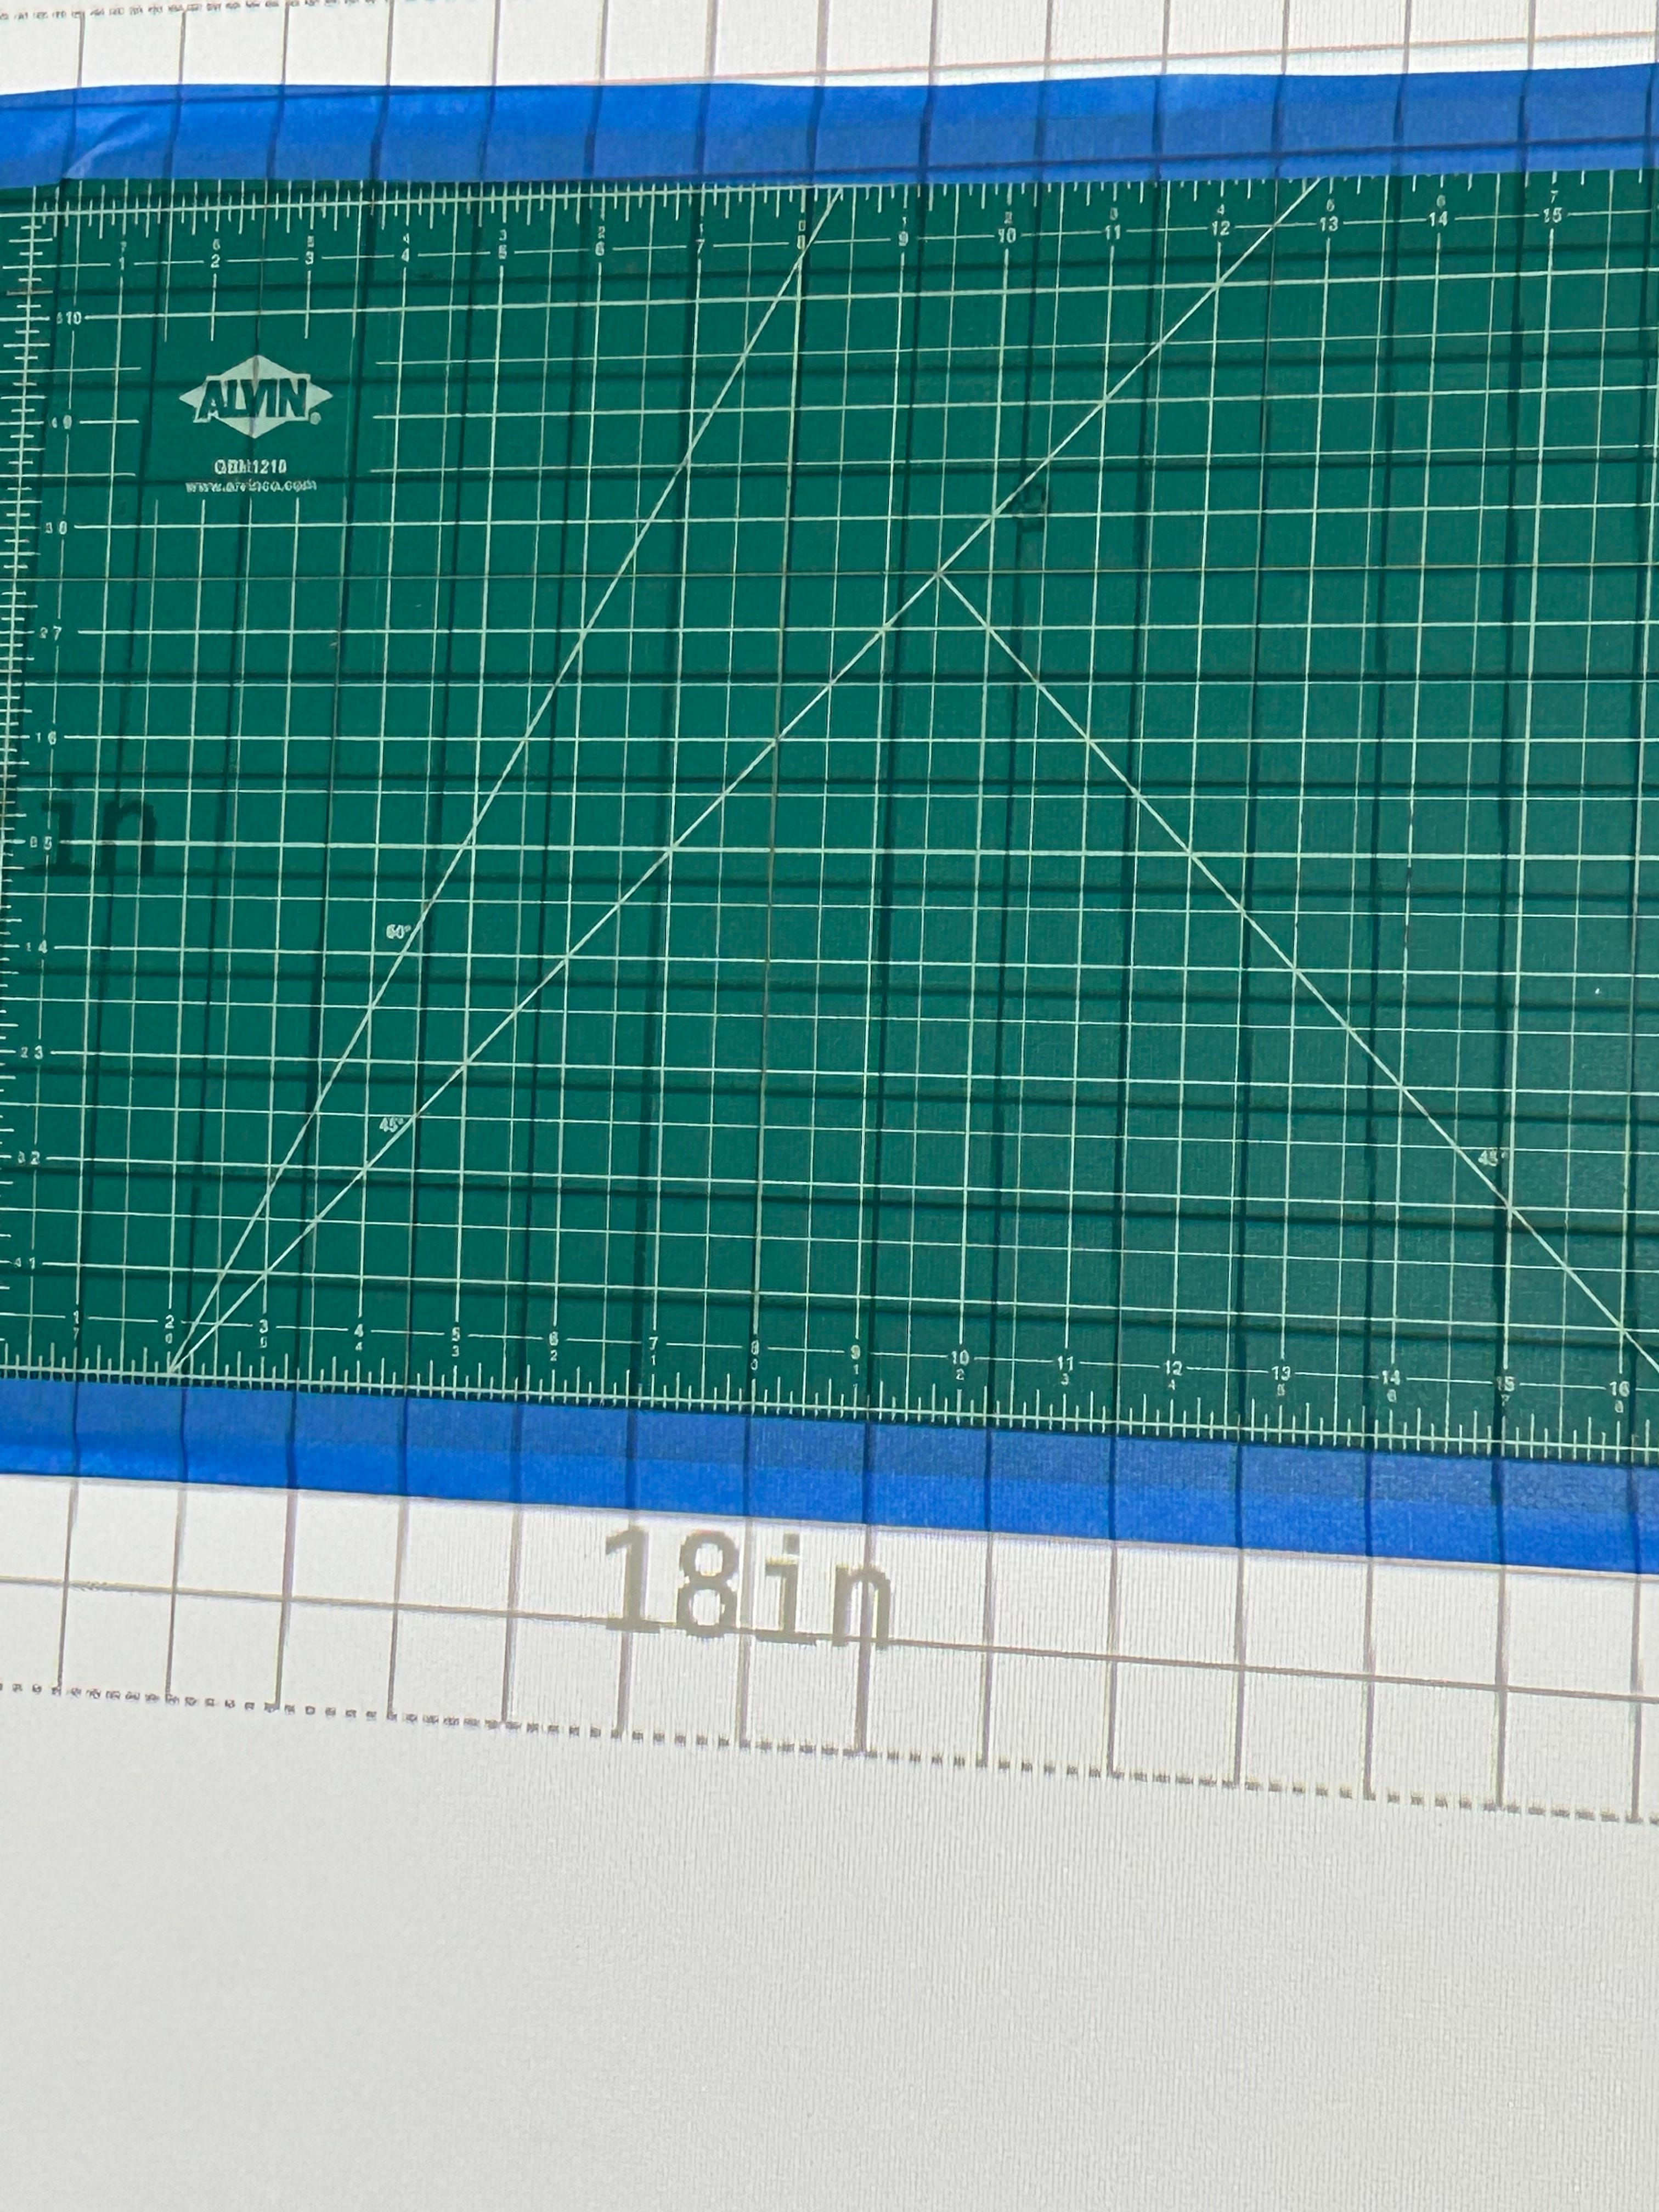
At first, I was really struggling. I was trying to manually move the sides of the calibration grid and I just couldn’t get consistency across the grid. For a few minutes, I almost gave up and resigned to just ordering a copy shop pattern. But I decided to give it one more go. This time, I got it to calibrate immediately! The trick was to size the projected rectangle exactly to the size of the mat, then tweak from there. I didn’t do that at first because the directions said you need at least a 24 x 18 inch mat to get an accurate calibration. I spot measured my calibration and it seemed accurate, so I just went with that!
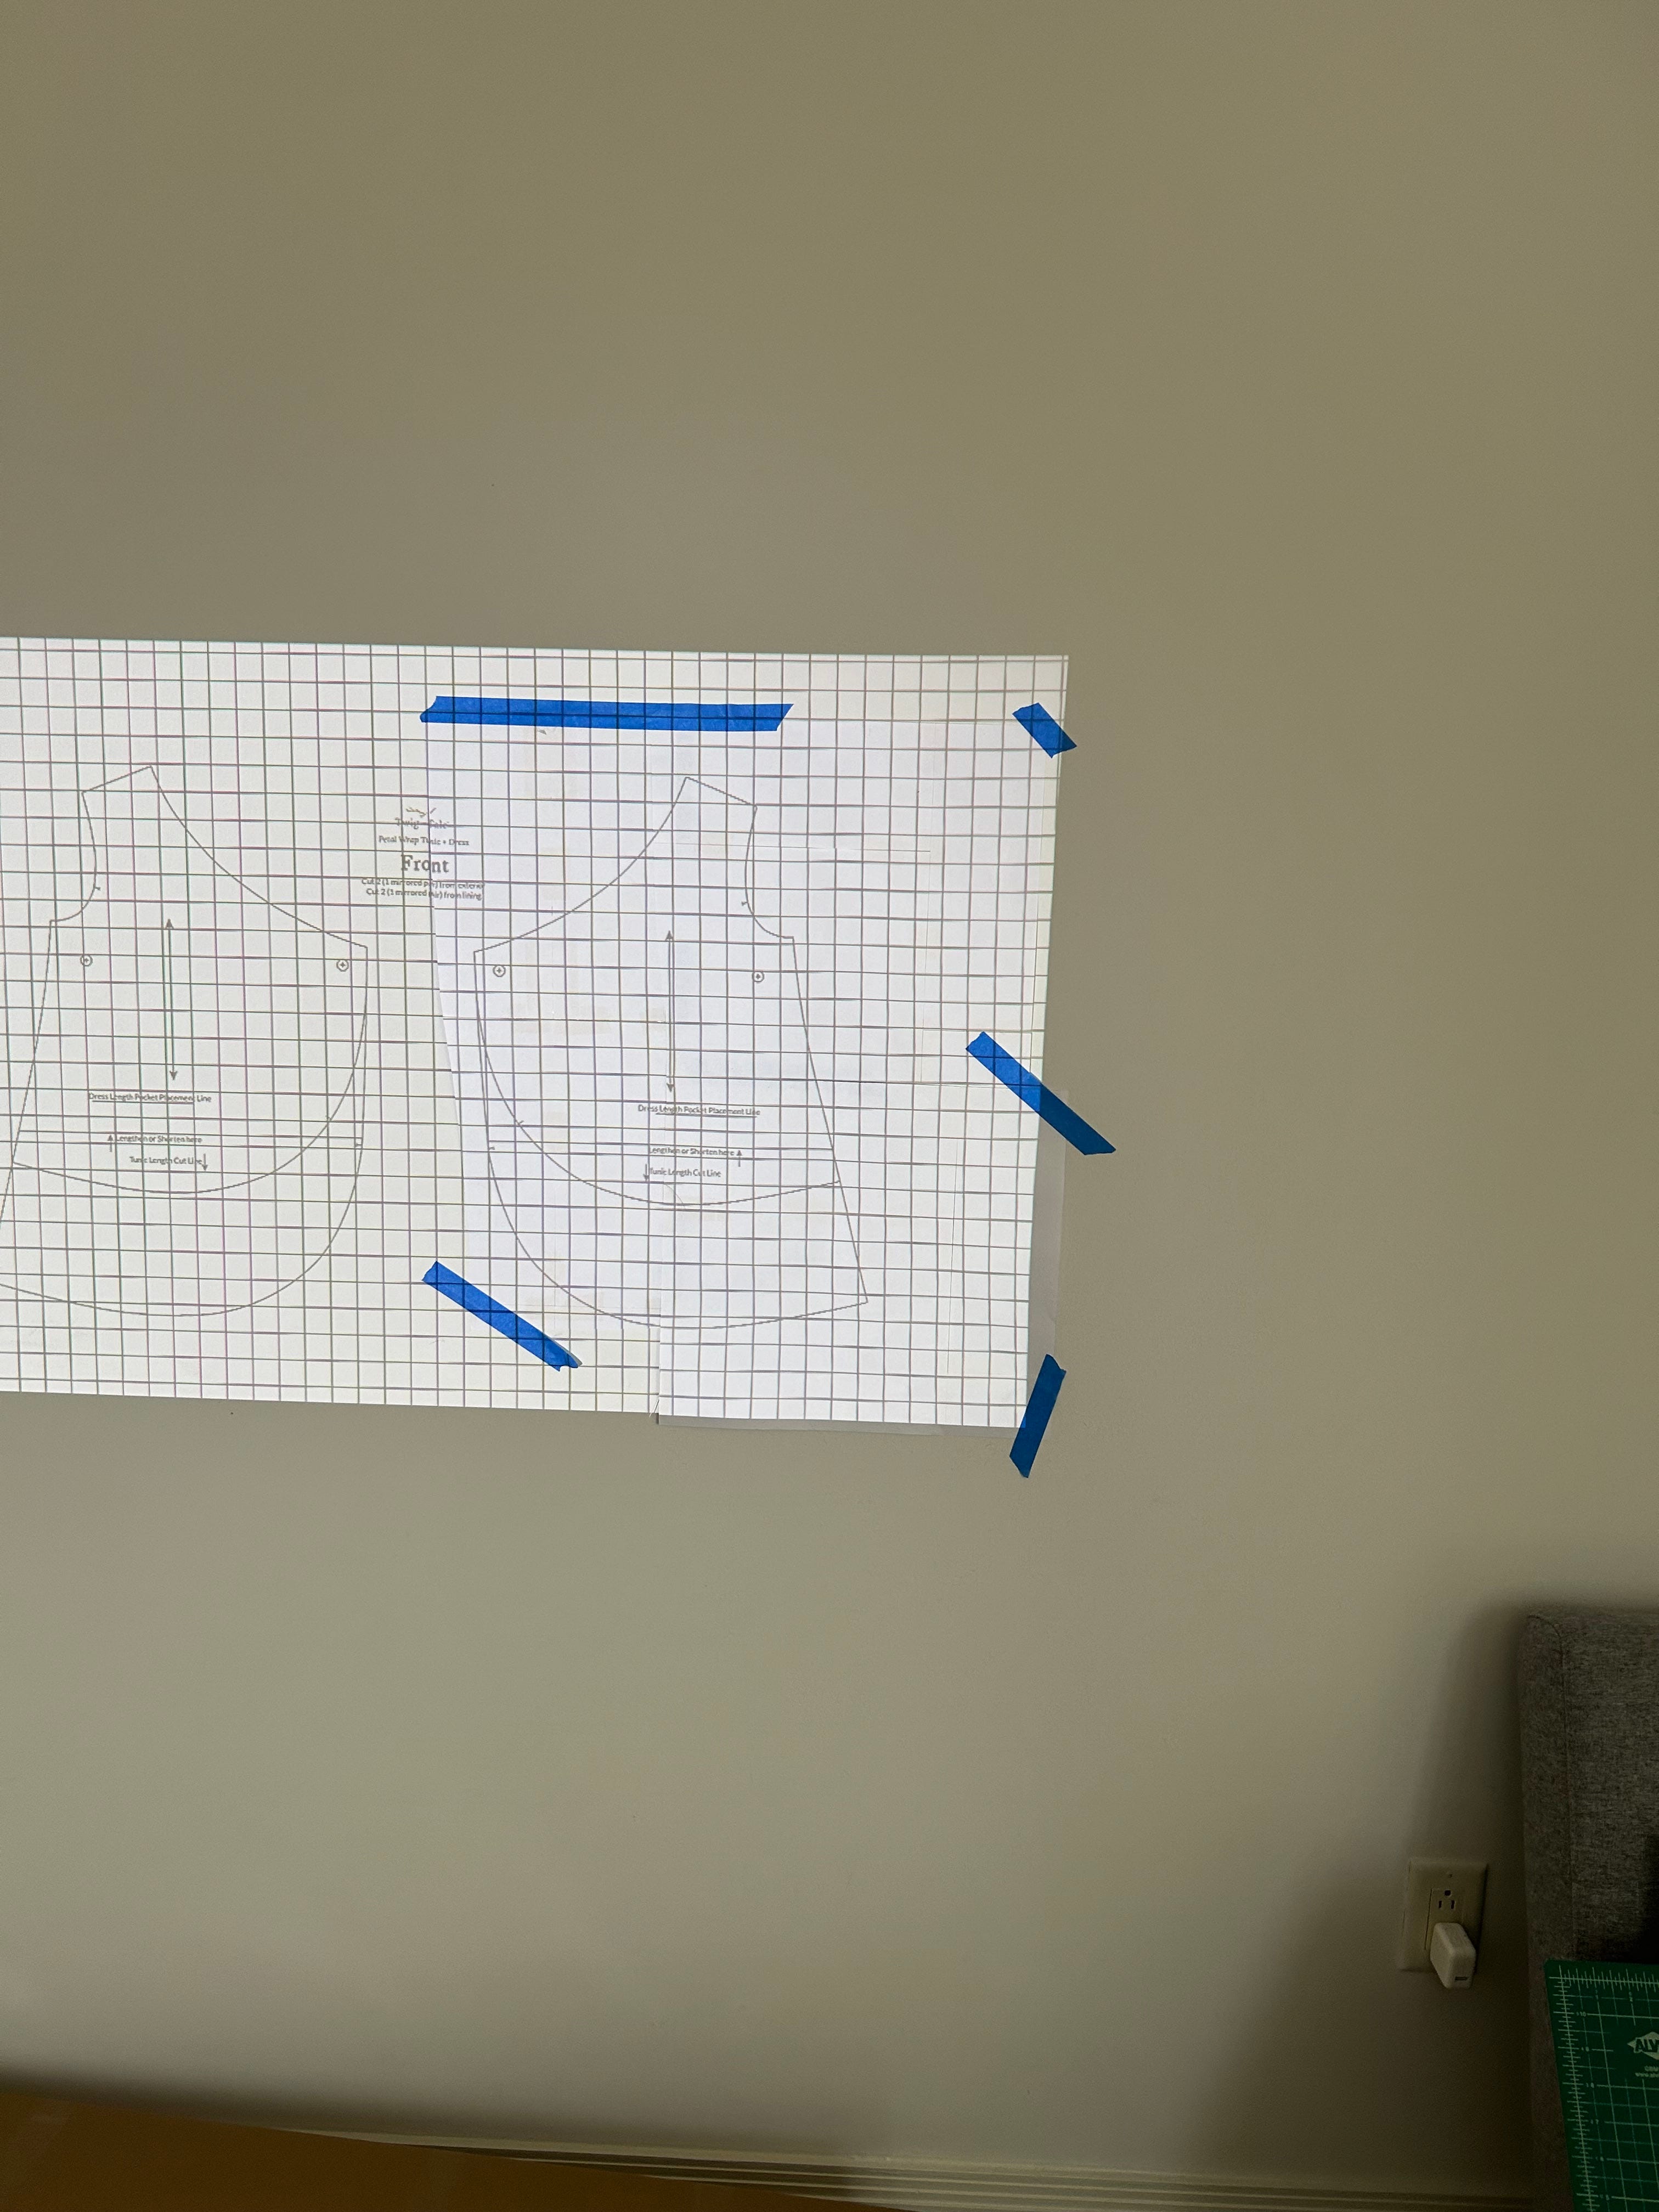
Next, I taped up some paper I had leftover from another pattern drafting project and started tracing. I love that Pattern Projector hid all the extra sizes! I didn’t play with the other features, but I think you can also change line width too.
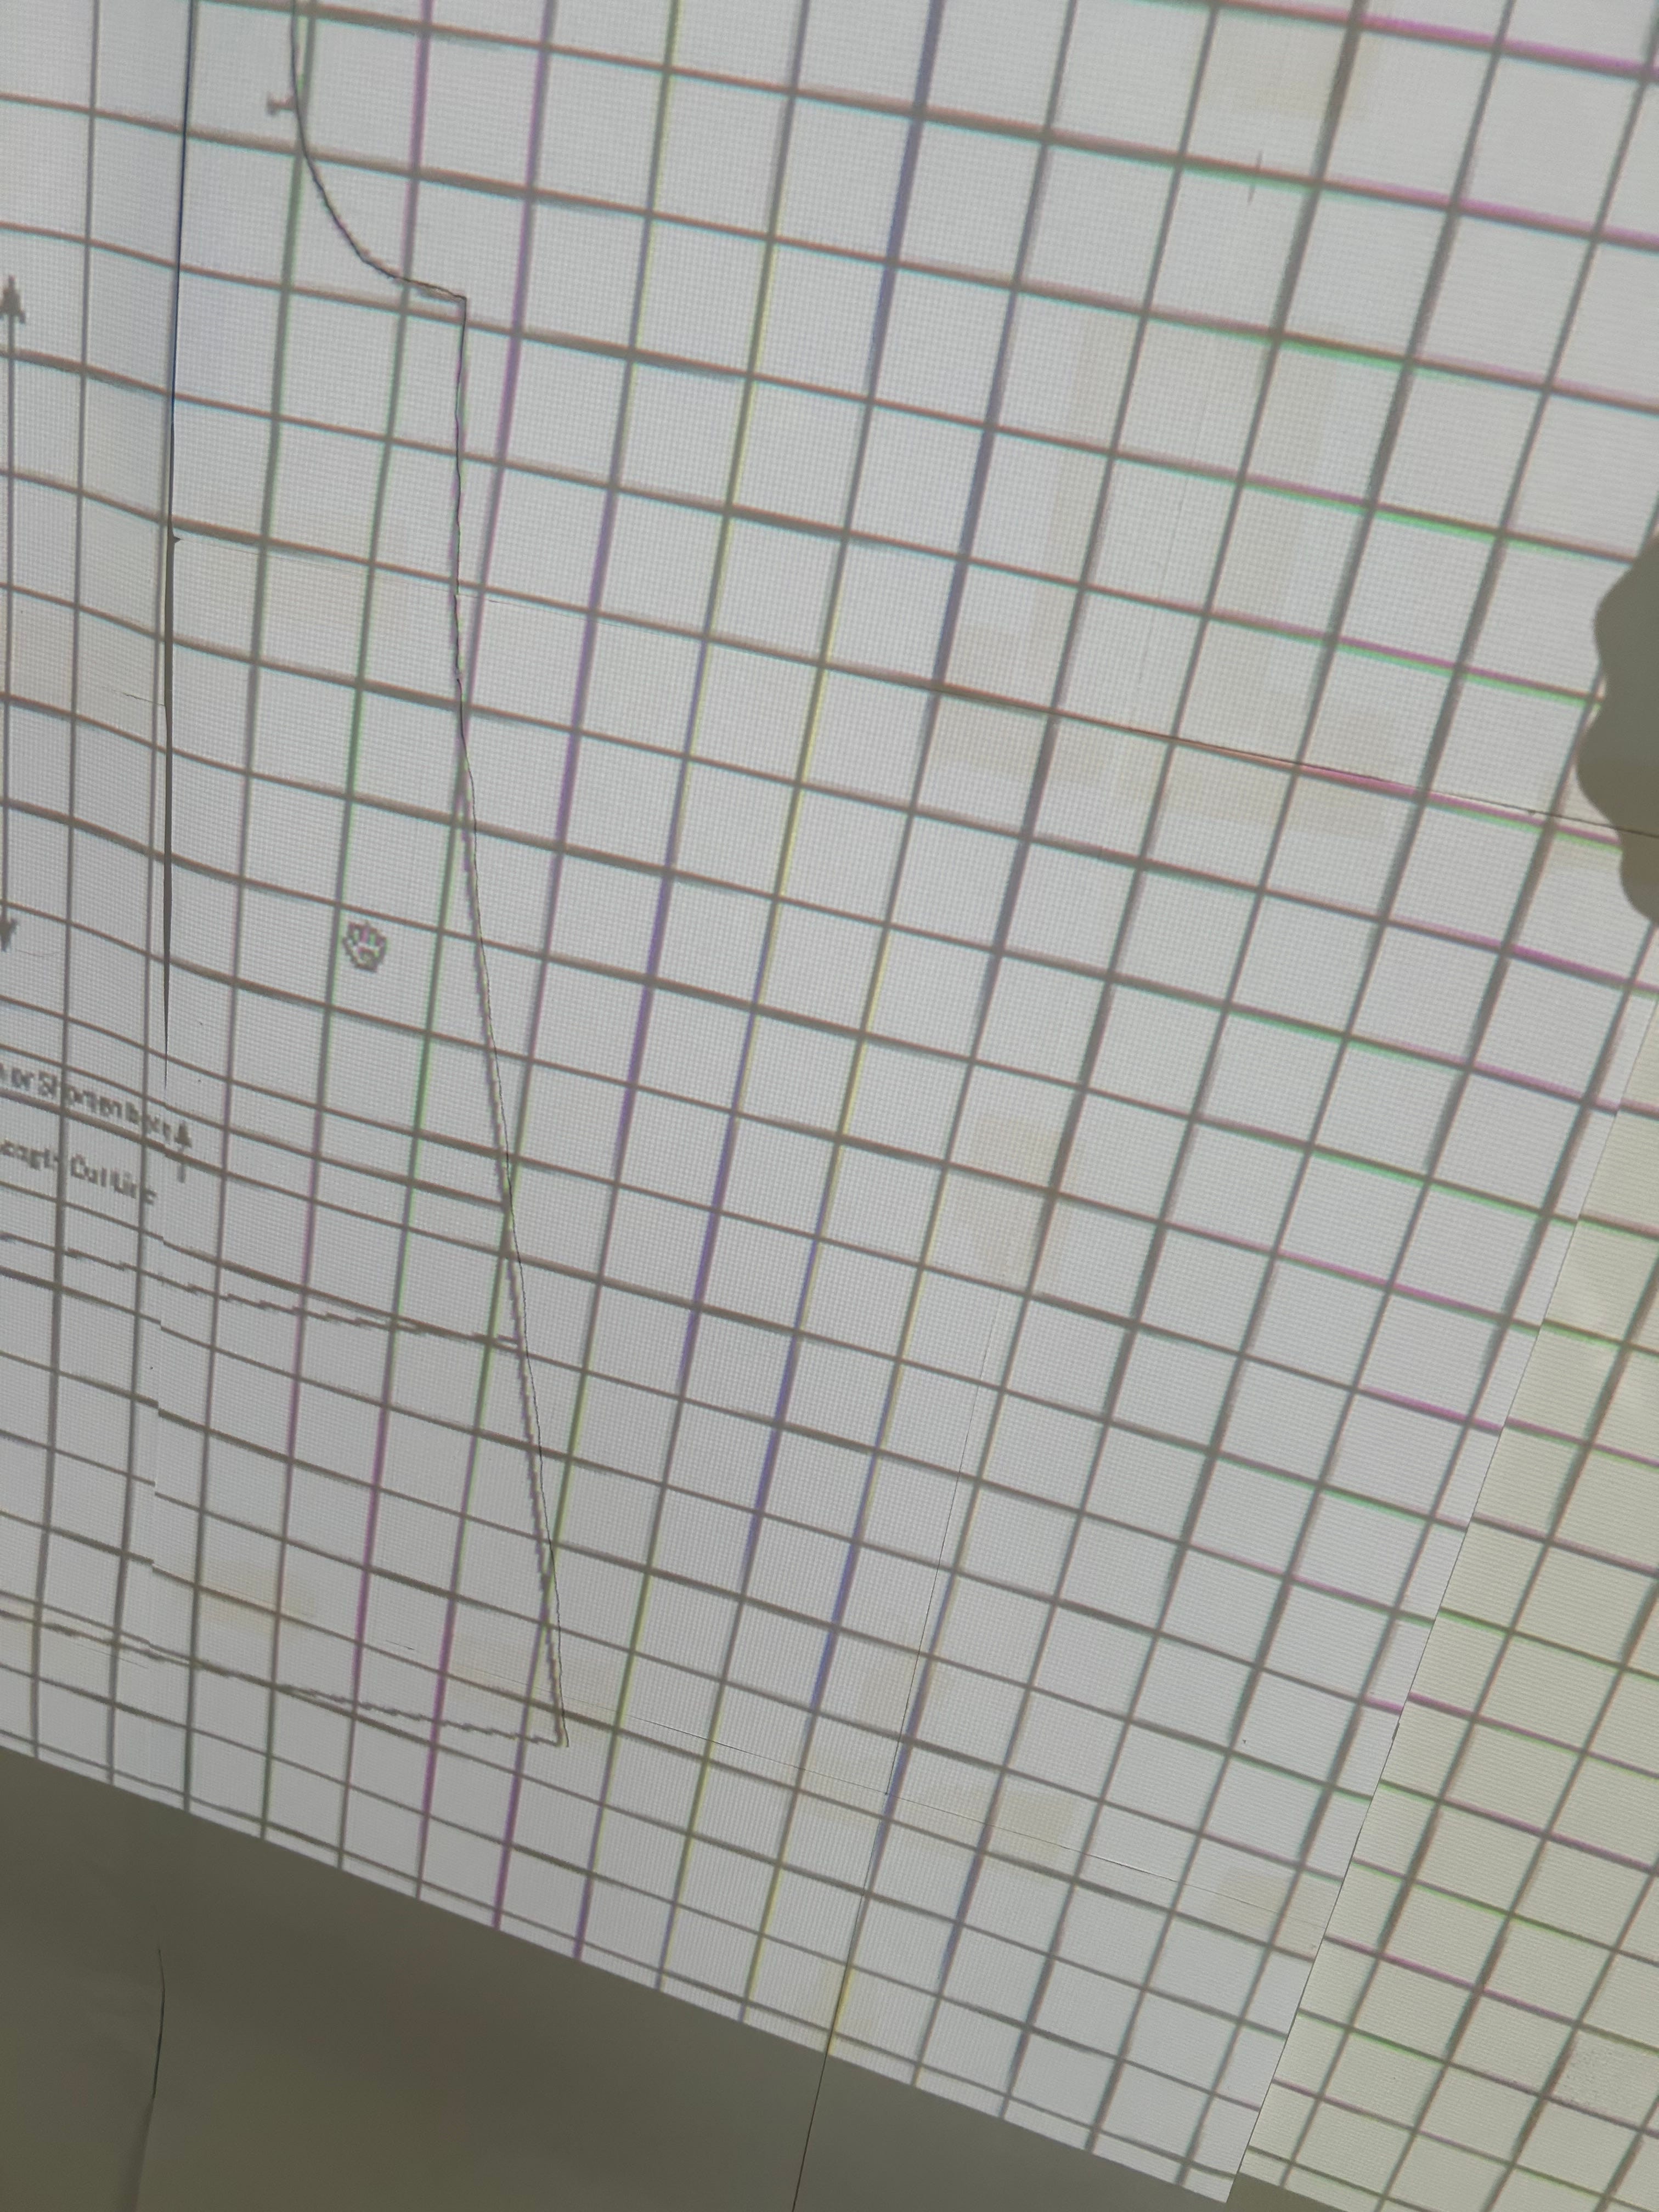
My projector is great in that it will auto-adjust to size, but every time I stepped in front of it to trace, it would resize. Luckily when I moved out of the way it returned to the calibrated state but it was still a learning curve. If I moved the PDF in my computer to be closer to the edge of the projection, I could trace without upsetting the auto-adjust.
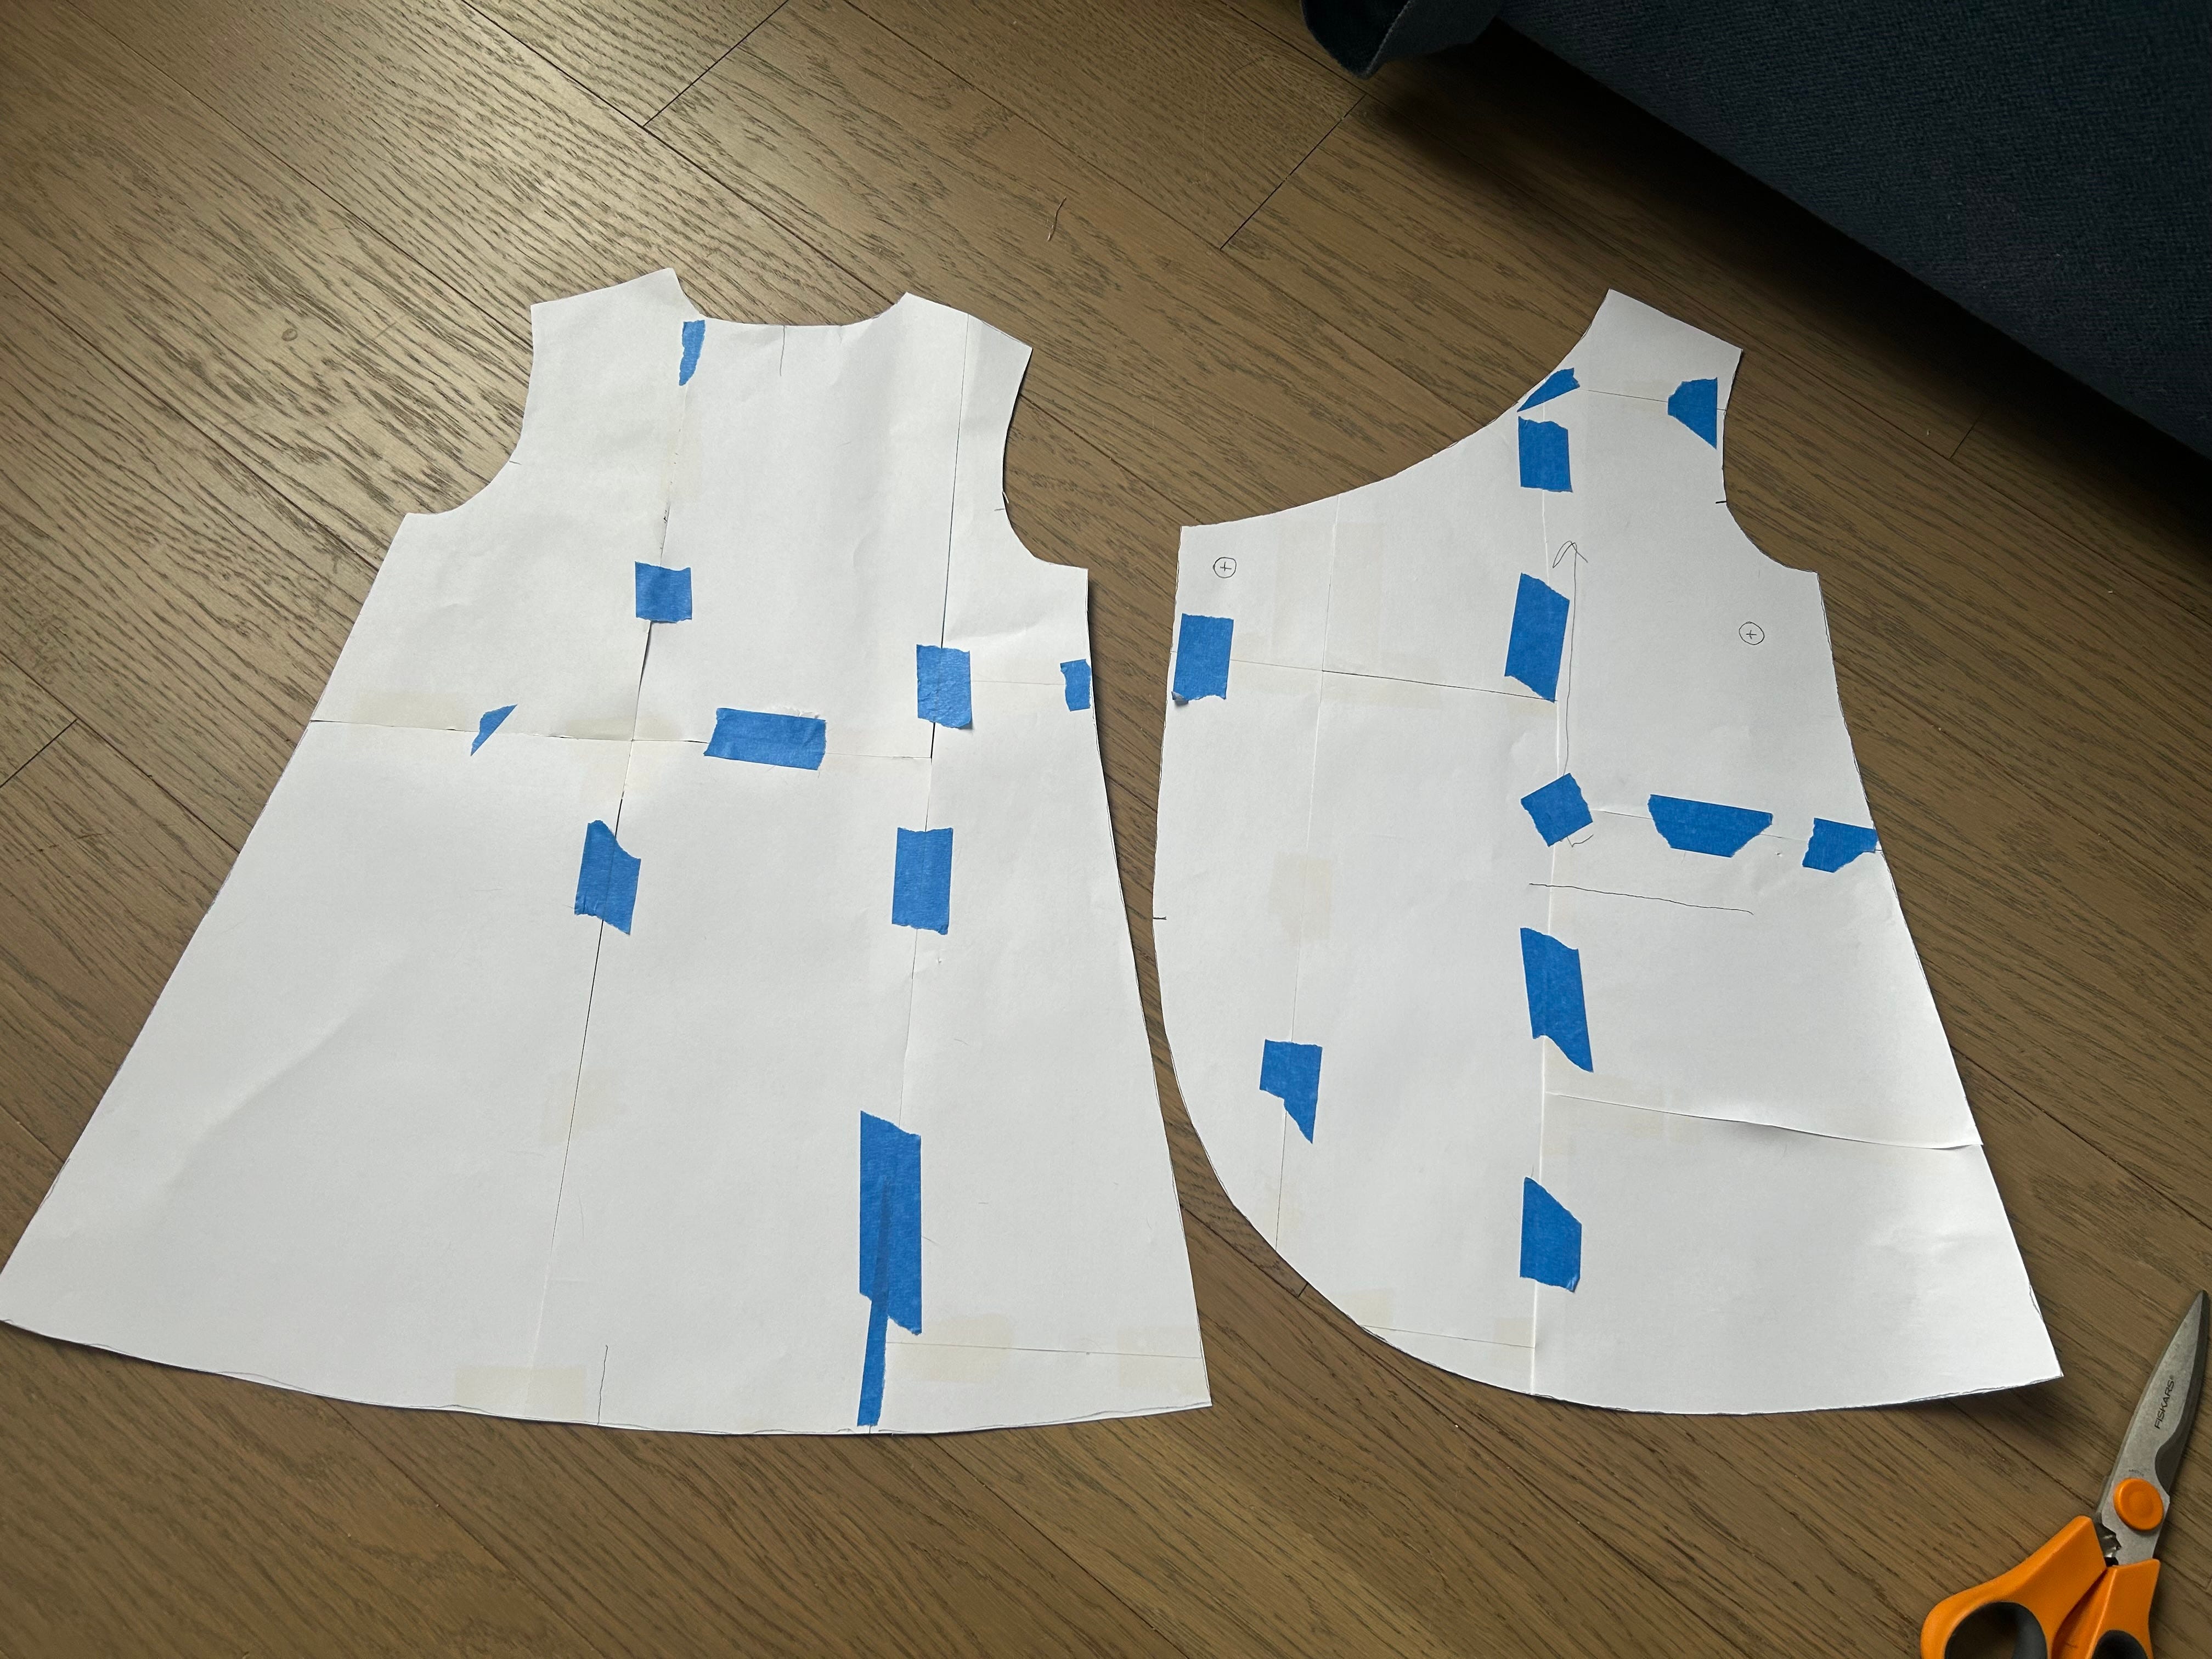
Before I knew it, I had my pattern pieces cut out! And I am now a projector sewing convert! One of my big pain points with sewing is the pattern prep and I feel like this method makes it so much easier. I’m thinking the next time I do it, I might get some wrapping paper with the grid in the back so I can calibrate and trace in one step.
If you’re interested in trying out a projector on a wall for sewing, I have a few tips.
Use painter’s tape to attach your cutting mat and tracing paper. Or fabric if you want to trace straight on there. I personally prefer to make a paper pattern piece first.
Don’t fret too much if you don’t have the “right” size cutting mat or other grid surface. Mine was smaller and it calibrated just fine.
Trace the pattern lines with a pencil. The white paper I used looked very similar to my wall with the projector and I didn’t want to worry about ink marks.
If your projector auto adjusts, try to position the pattern pieces toward the edge of your dominant hand so your tracing arm doesn’t affect the projector’s focus.
Start with a simple pattern to get used to tracing vertically, it was a bit of a new experience for me and I was glad to have a simple outline to follow.
I traced this project on a cloudy day with a shade pulled, but if you’re projecting in a sunny spot you may need to wait until a lower light situation because it could be hard to see the lines.
Projecting on a wall solves a lot of issues other tutorials discuss because you have a lot more flexibility with moving the projector closer or farther away from your wall as needed. When you mount on a ceiling, you are limited in how far away you can be.
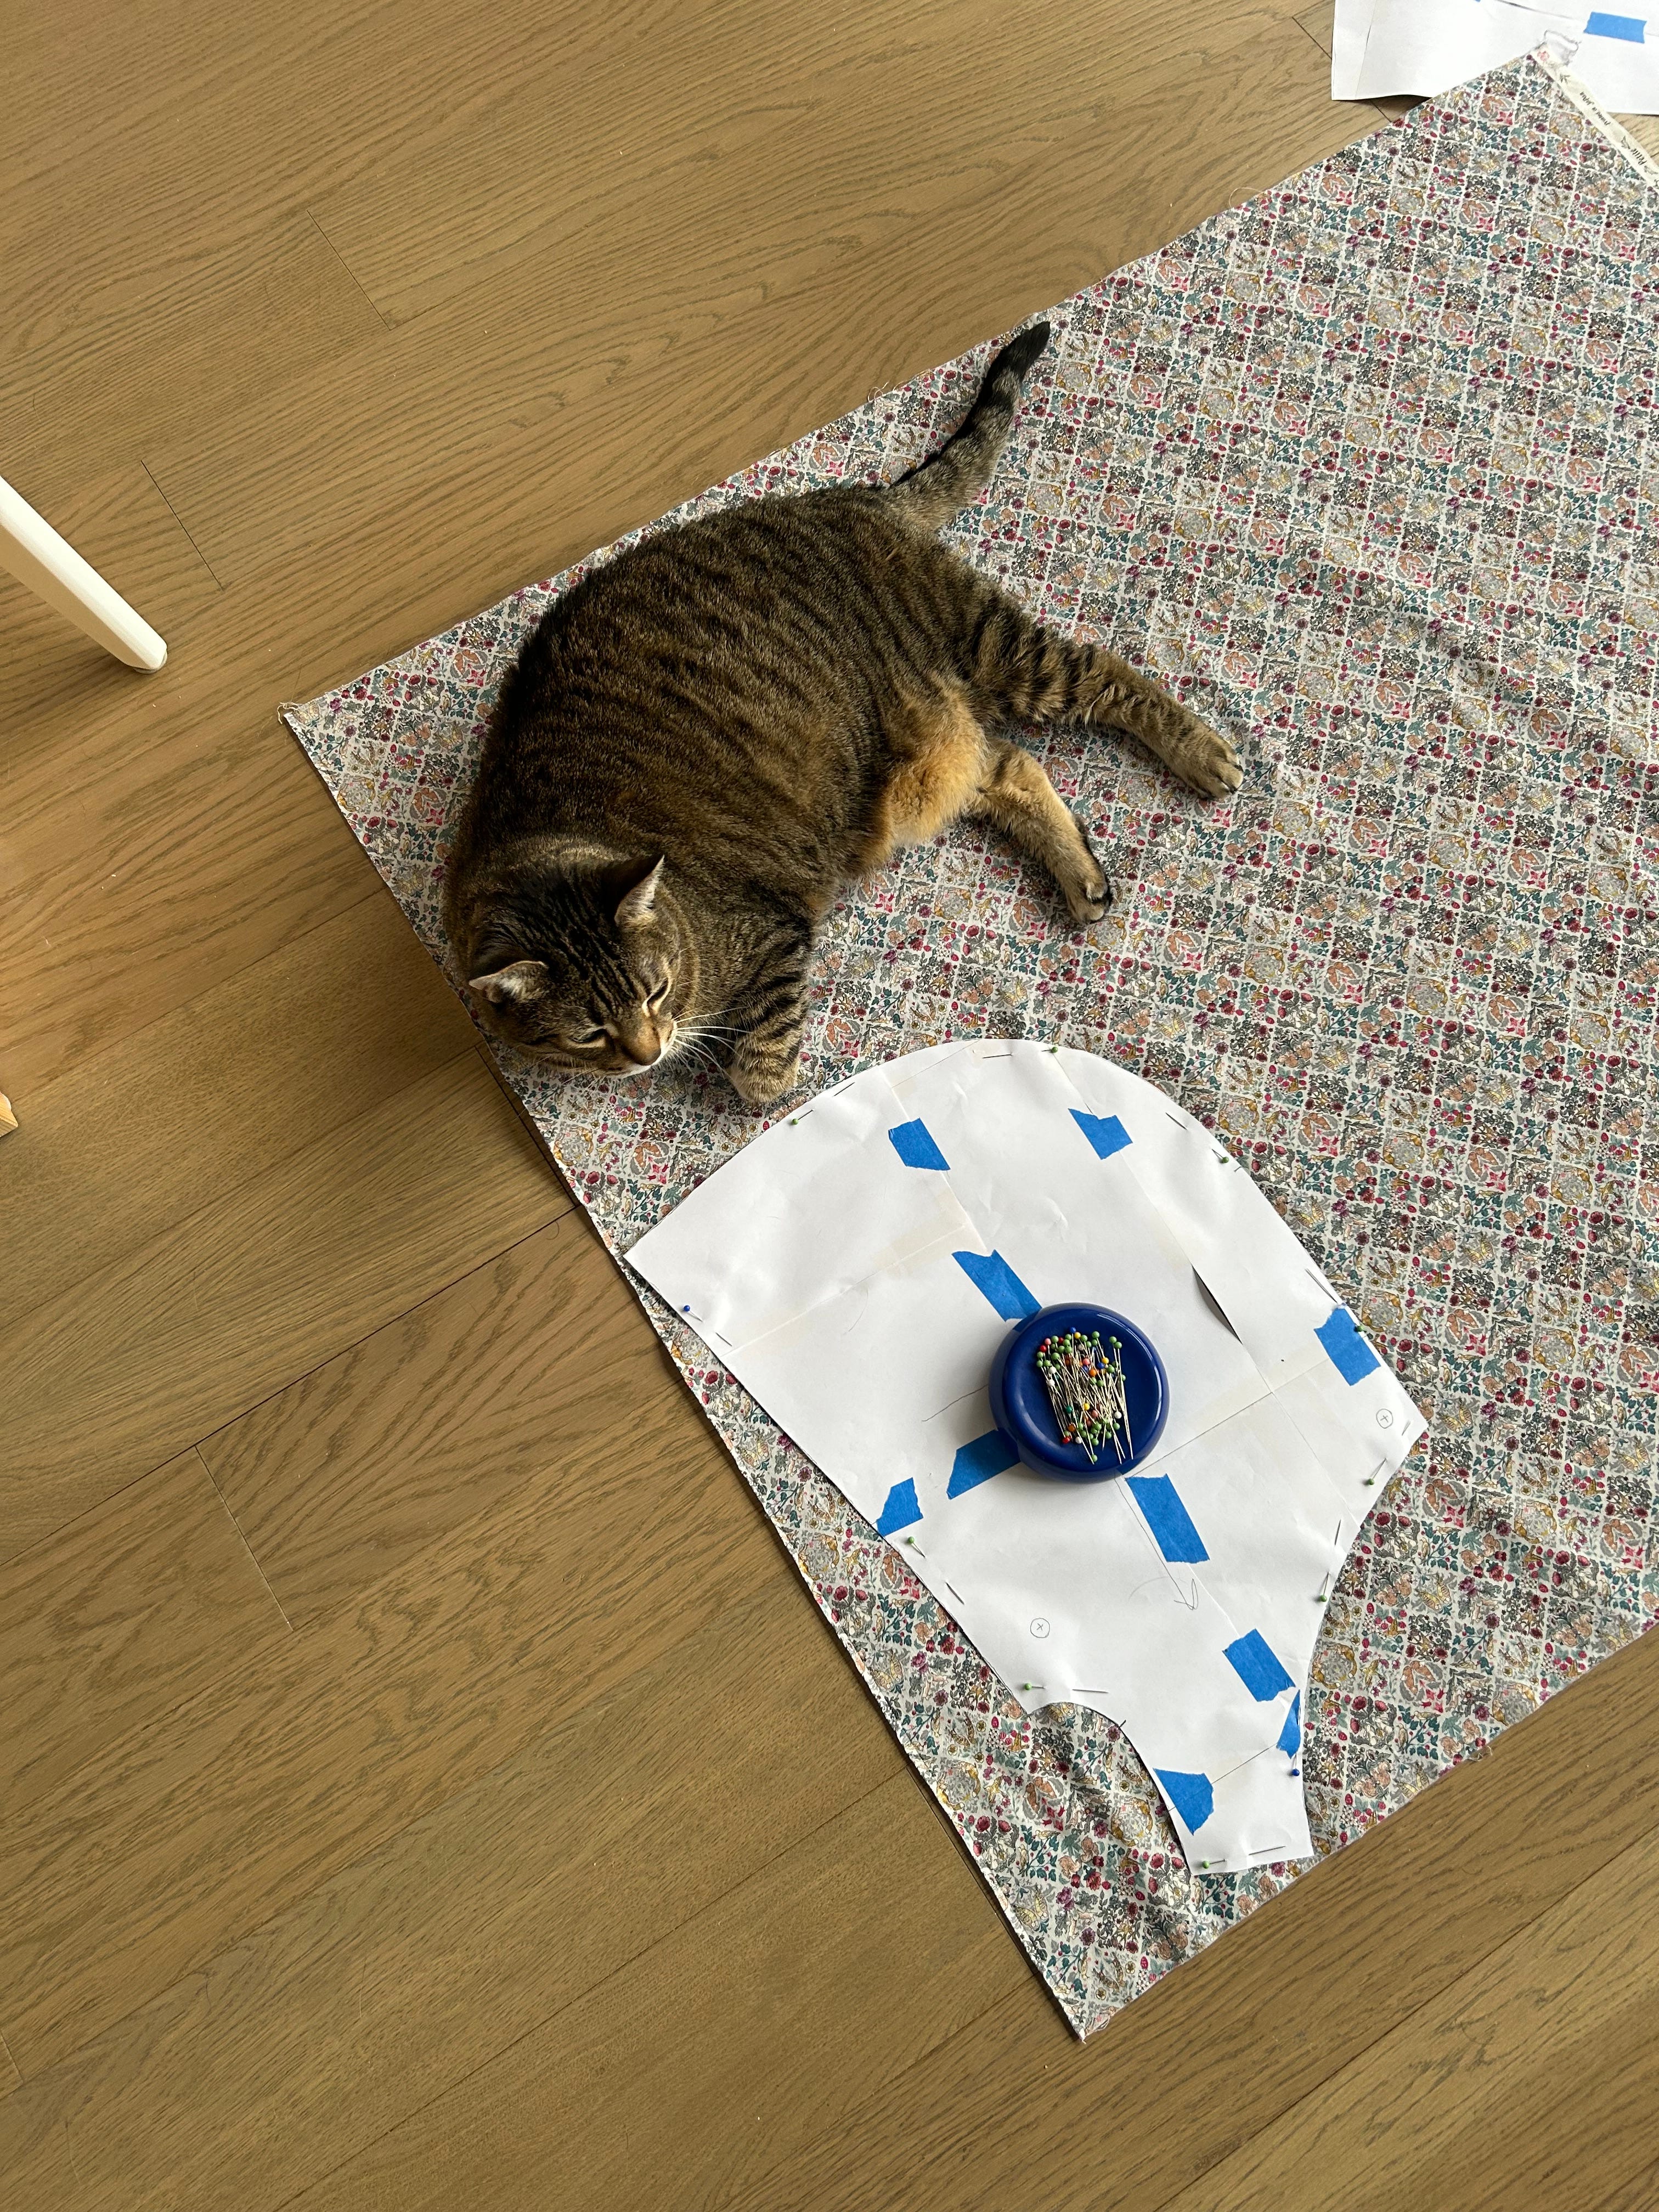
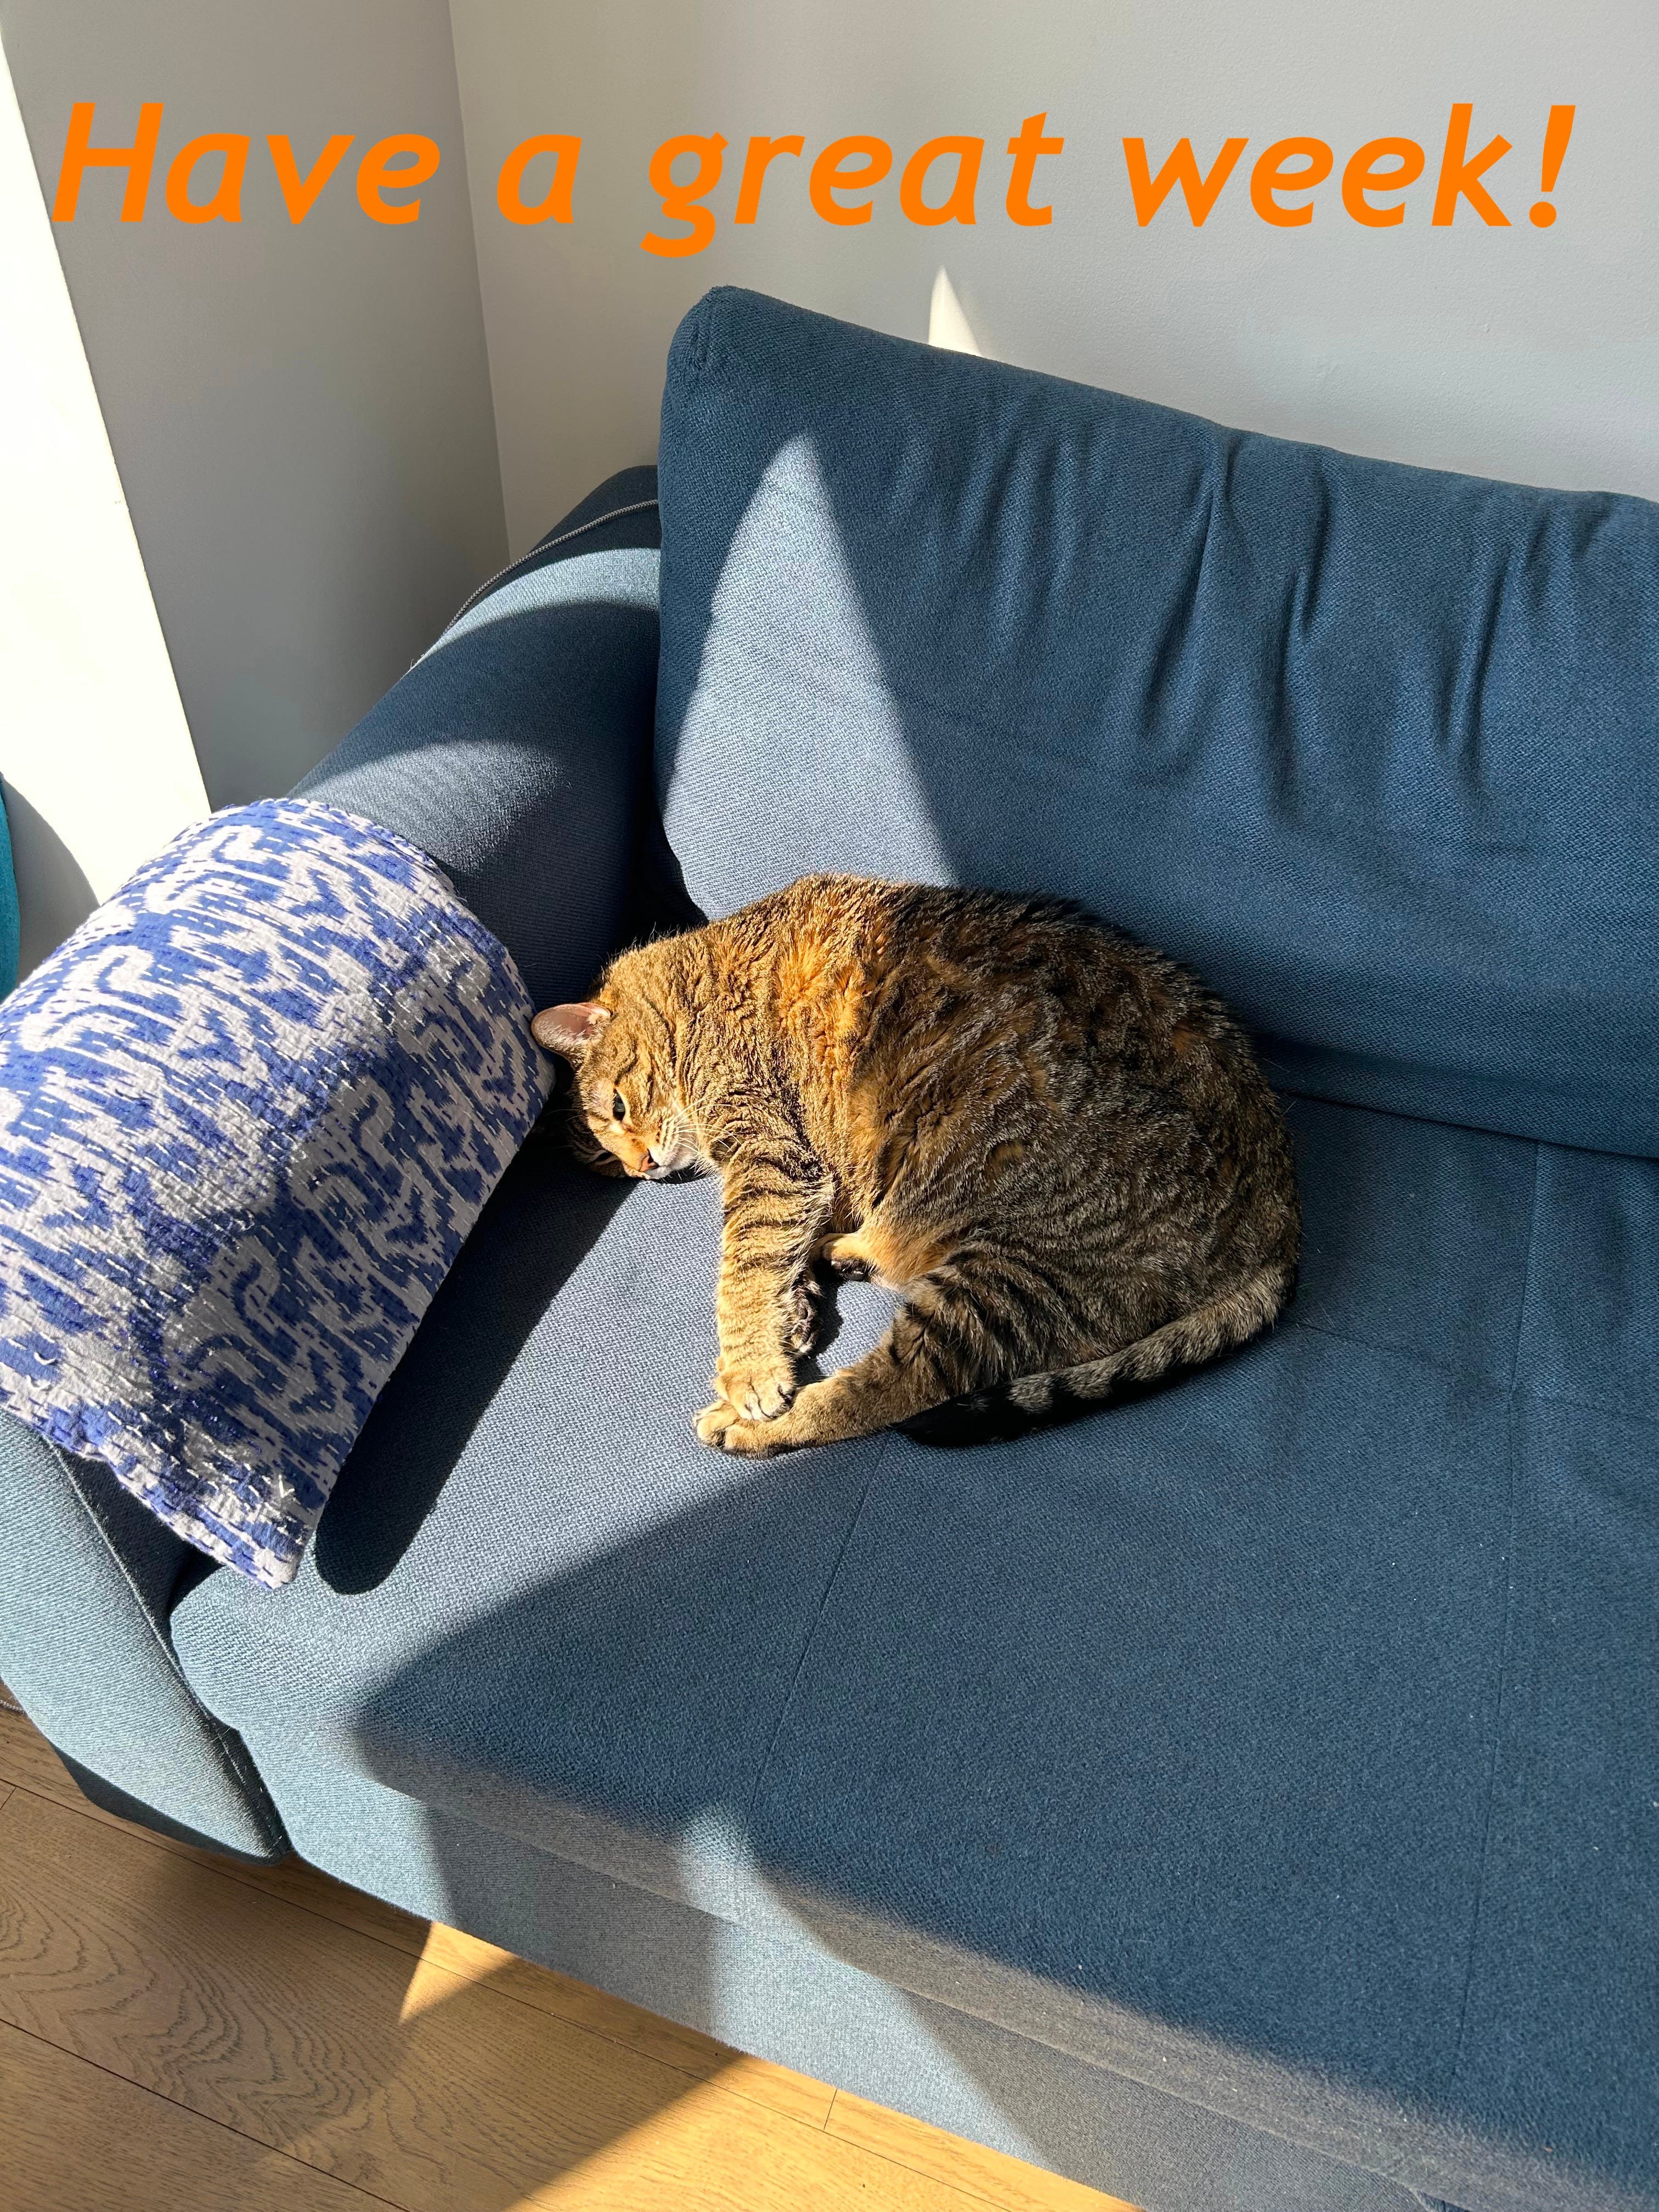
Olive and I are working on the dress for my niece using my projected pattern pieces! So far, all of the fabric is cut out and I hope to start sewing it together soon.
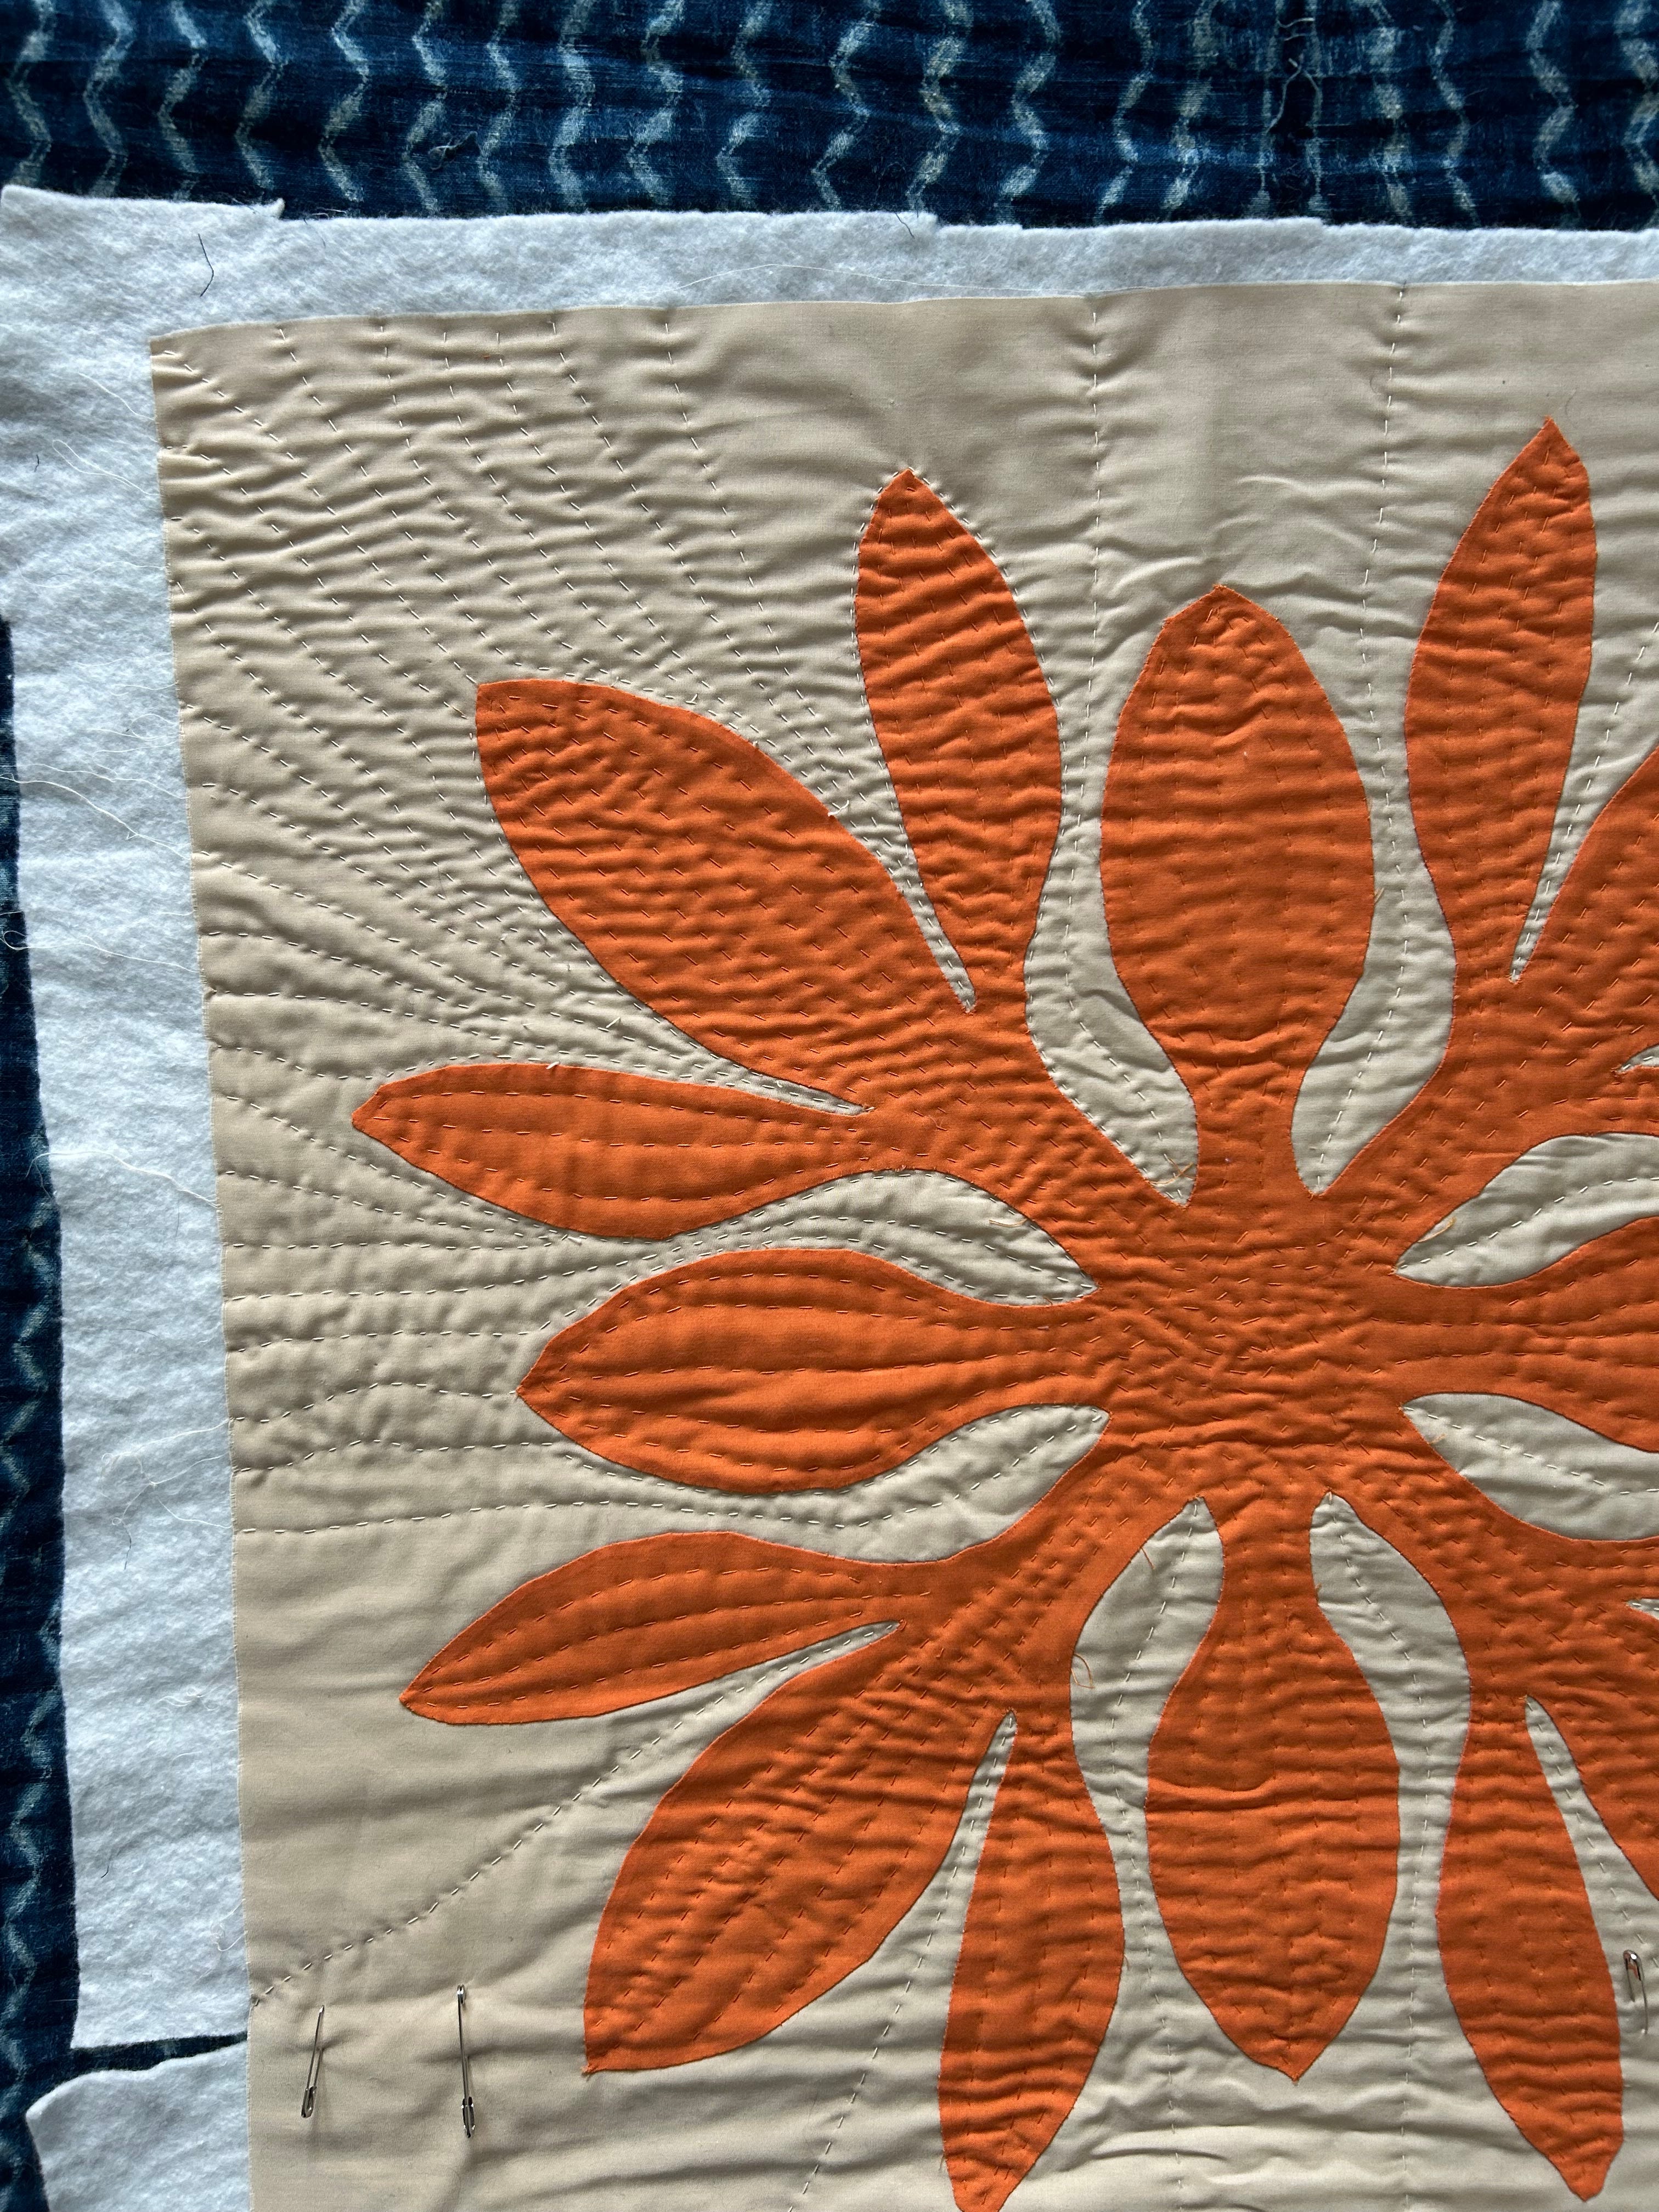
In my downtime, I’ve also been hand-quilting the background of my Hawaiian quilt project. I’m basically just winging the stitch placement but I love the organic look of it so far.
Have you embraced any new technologies for your crafting lately? Let me know in the comments or reply to this email!
Comments
Nothing yet. Say the first thing.
Sign in to join the conversation.