
A few years ago I was talking gear with a photographer I’d worked with a lot. His name was Sam.
He was certainly more seasoned than me… not just in his kit, but in his whole portfolio.
I was going on and on about new lenses and new cameras when he stopped me and said: “Matty, don’t you still need to buy a flash?”
It was a question I didn’t want to hear, because he was right. I’d been avoiding this (necessary) investment purely because artificial light at that time intimidated me.
I had no idea how to properly light a scene, work a flash, or (like him) walk into a room and know how to get the shot I wanted.
So I decided to listen. I postponed the wishlist for yet another camera and bought my first on-camera flash instead.
It’s safe to say that delayed gratification paid off with something a little better than a new camera body:
An understanding of how to shoot with artificial light.
So today I want to hand over a brief intro to it all, for anyone who’s where I was, being a bit avoidant.
Let’s dive in.
It’s fake.
It’s an additional light source designed to either replace or enhance natural light.
And honestly, it’s how a lot of incredible photographs you’ve probably seen are shot.
Even the images that look completely natural often involve some type of artificial lighting (or diffusion).
And while the photos you walk away with will look different, an understanding of artificial light gets you to the point where Sam was: confident in lighting any scene.
I used to think flash was exclusively used in dark scenes.
Low-light shoots, nightlife events kind of thing.
But honestly, that’s just a small part of it.
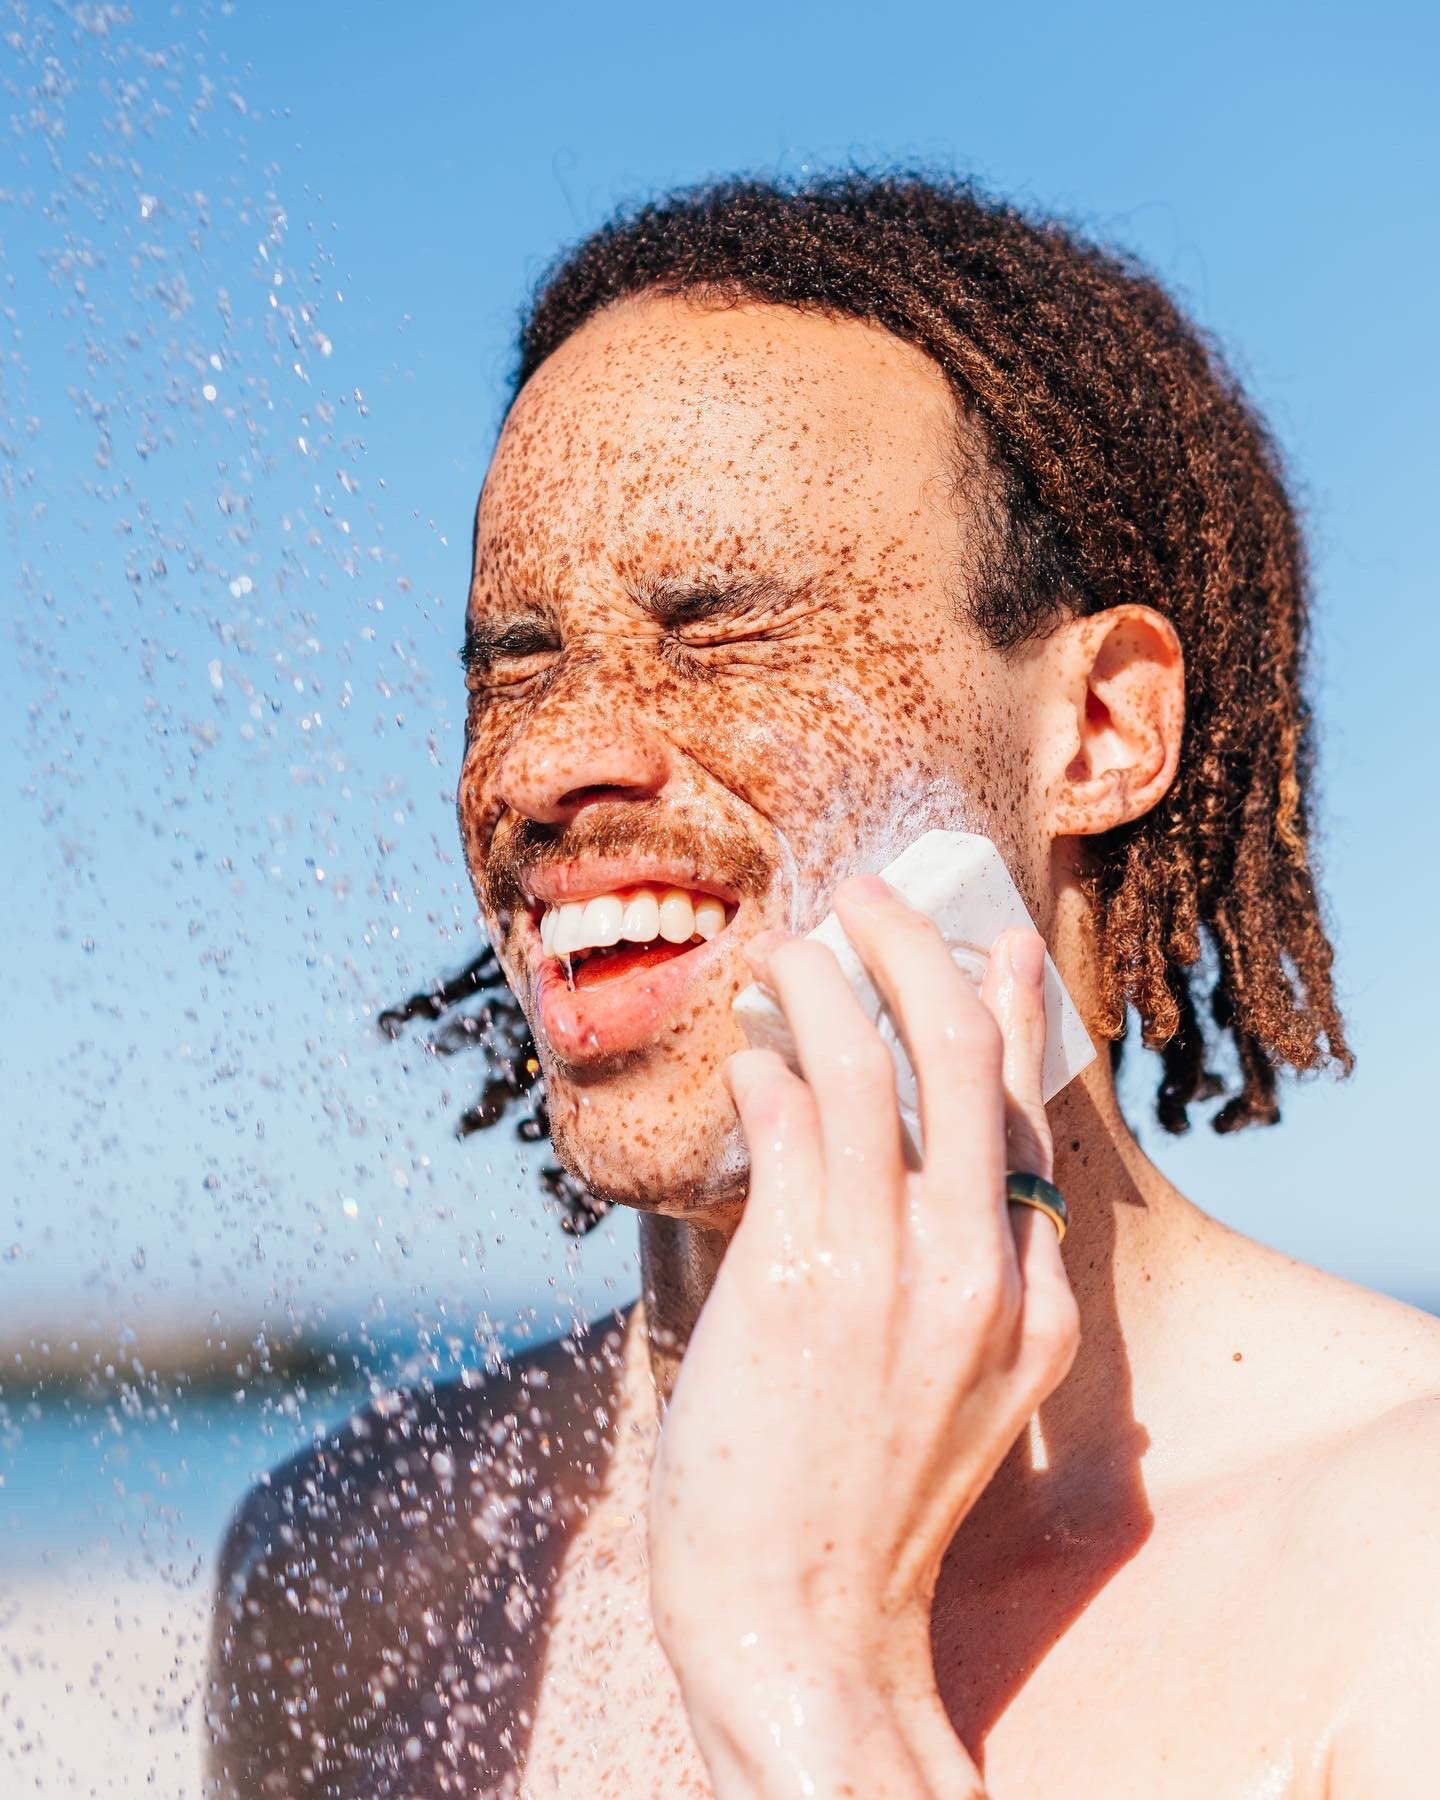
The real change came when I realised that flash lets you shape light that’s already there.
For example:
A little flash under harsh midday sun can help lift the shadow off a face
A burst of light through a window can mimic sunset inside
A direct strobe of light to help light up a background on a cloudy day
The scene doesn’t have to be dark for you to start using flash.
So here’s how you can do it too.
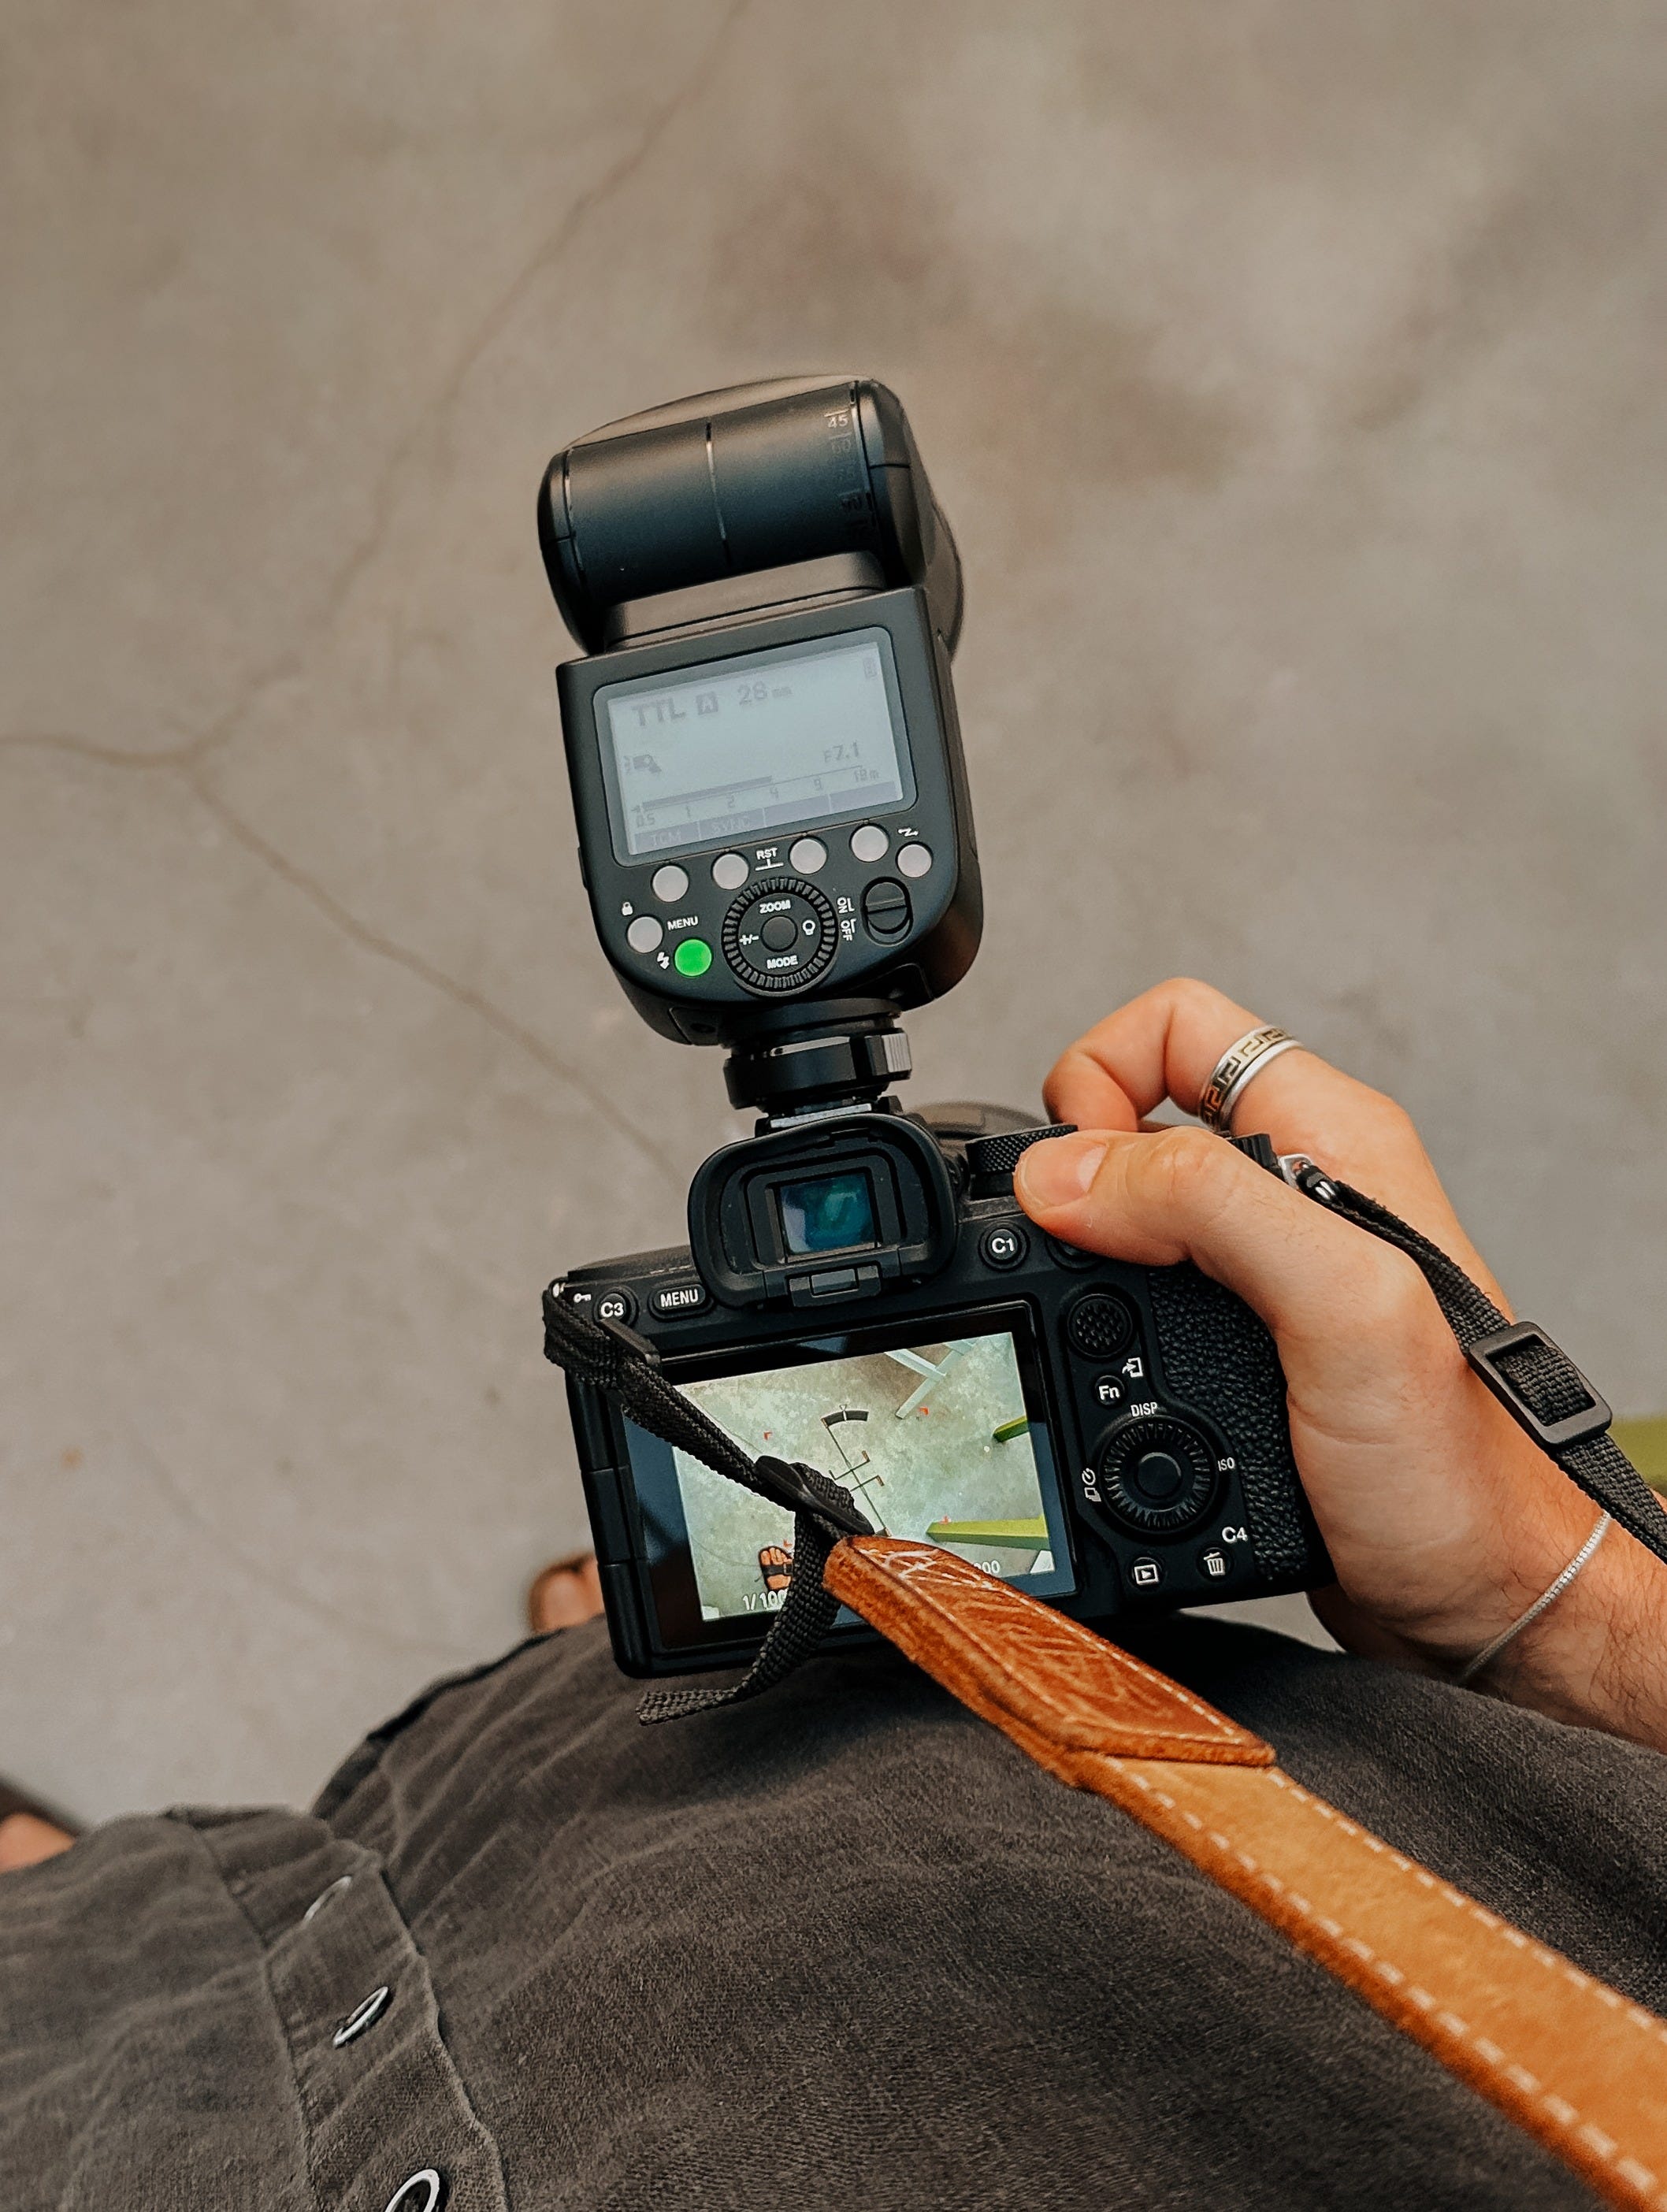
Like me, you can start with an on-camera flash. One of these won’t set you back much, and it’ll help you light those darker scenes with a bit more control.
On-camera flash is essentially mounting a flash to your camera’s hotshoe (typical paparazzi vibe you would’ve seen before).
The best approach with these, I’ve found when starting, is to set the flash to TTL.
That’s essentially auto for the flash: it reads your camera settings and gives you a burst of light that matches the scene.
Alternatively, play with Manual and decide the fraction of light you want yourself (1/1 being the most powerful).
It’s a great way to learn what’s actually happening.
From there you’ve got a creative decision to make: bounce or direct your light.
Unlike the sun, artificial light gives you the power to point your flash for different effects.
Here are the two ways to do it:
Bounce is where you aim the flash at the ceiling or a wall.
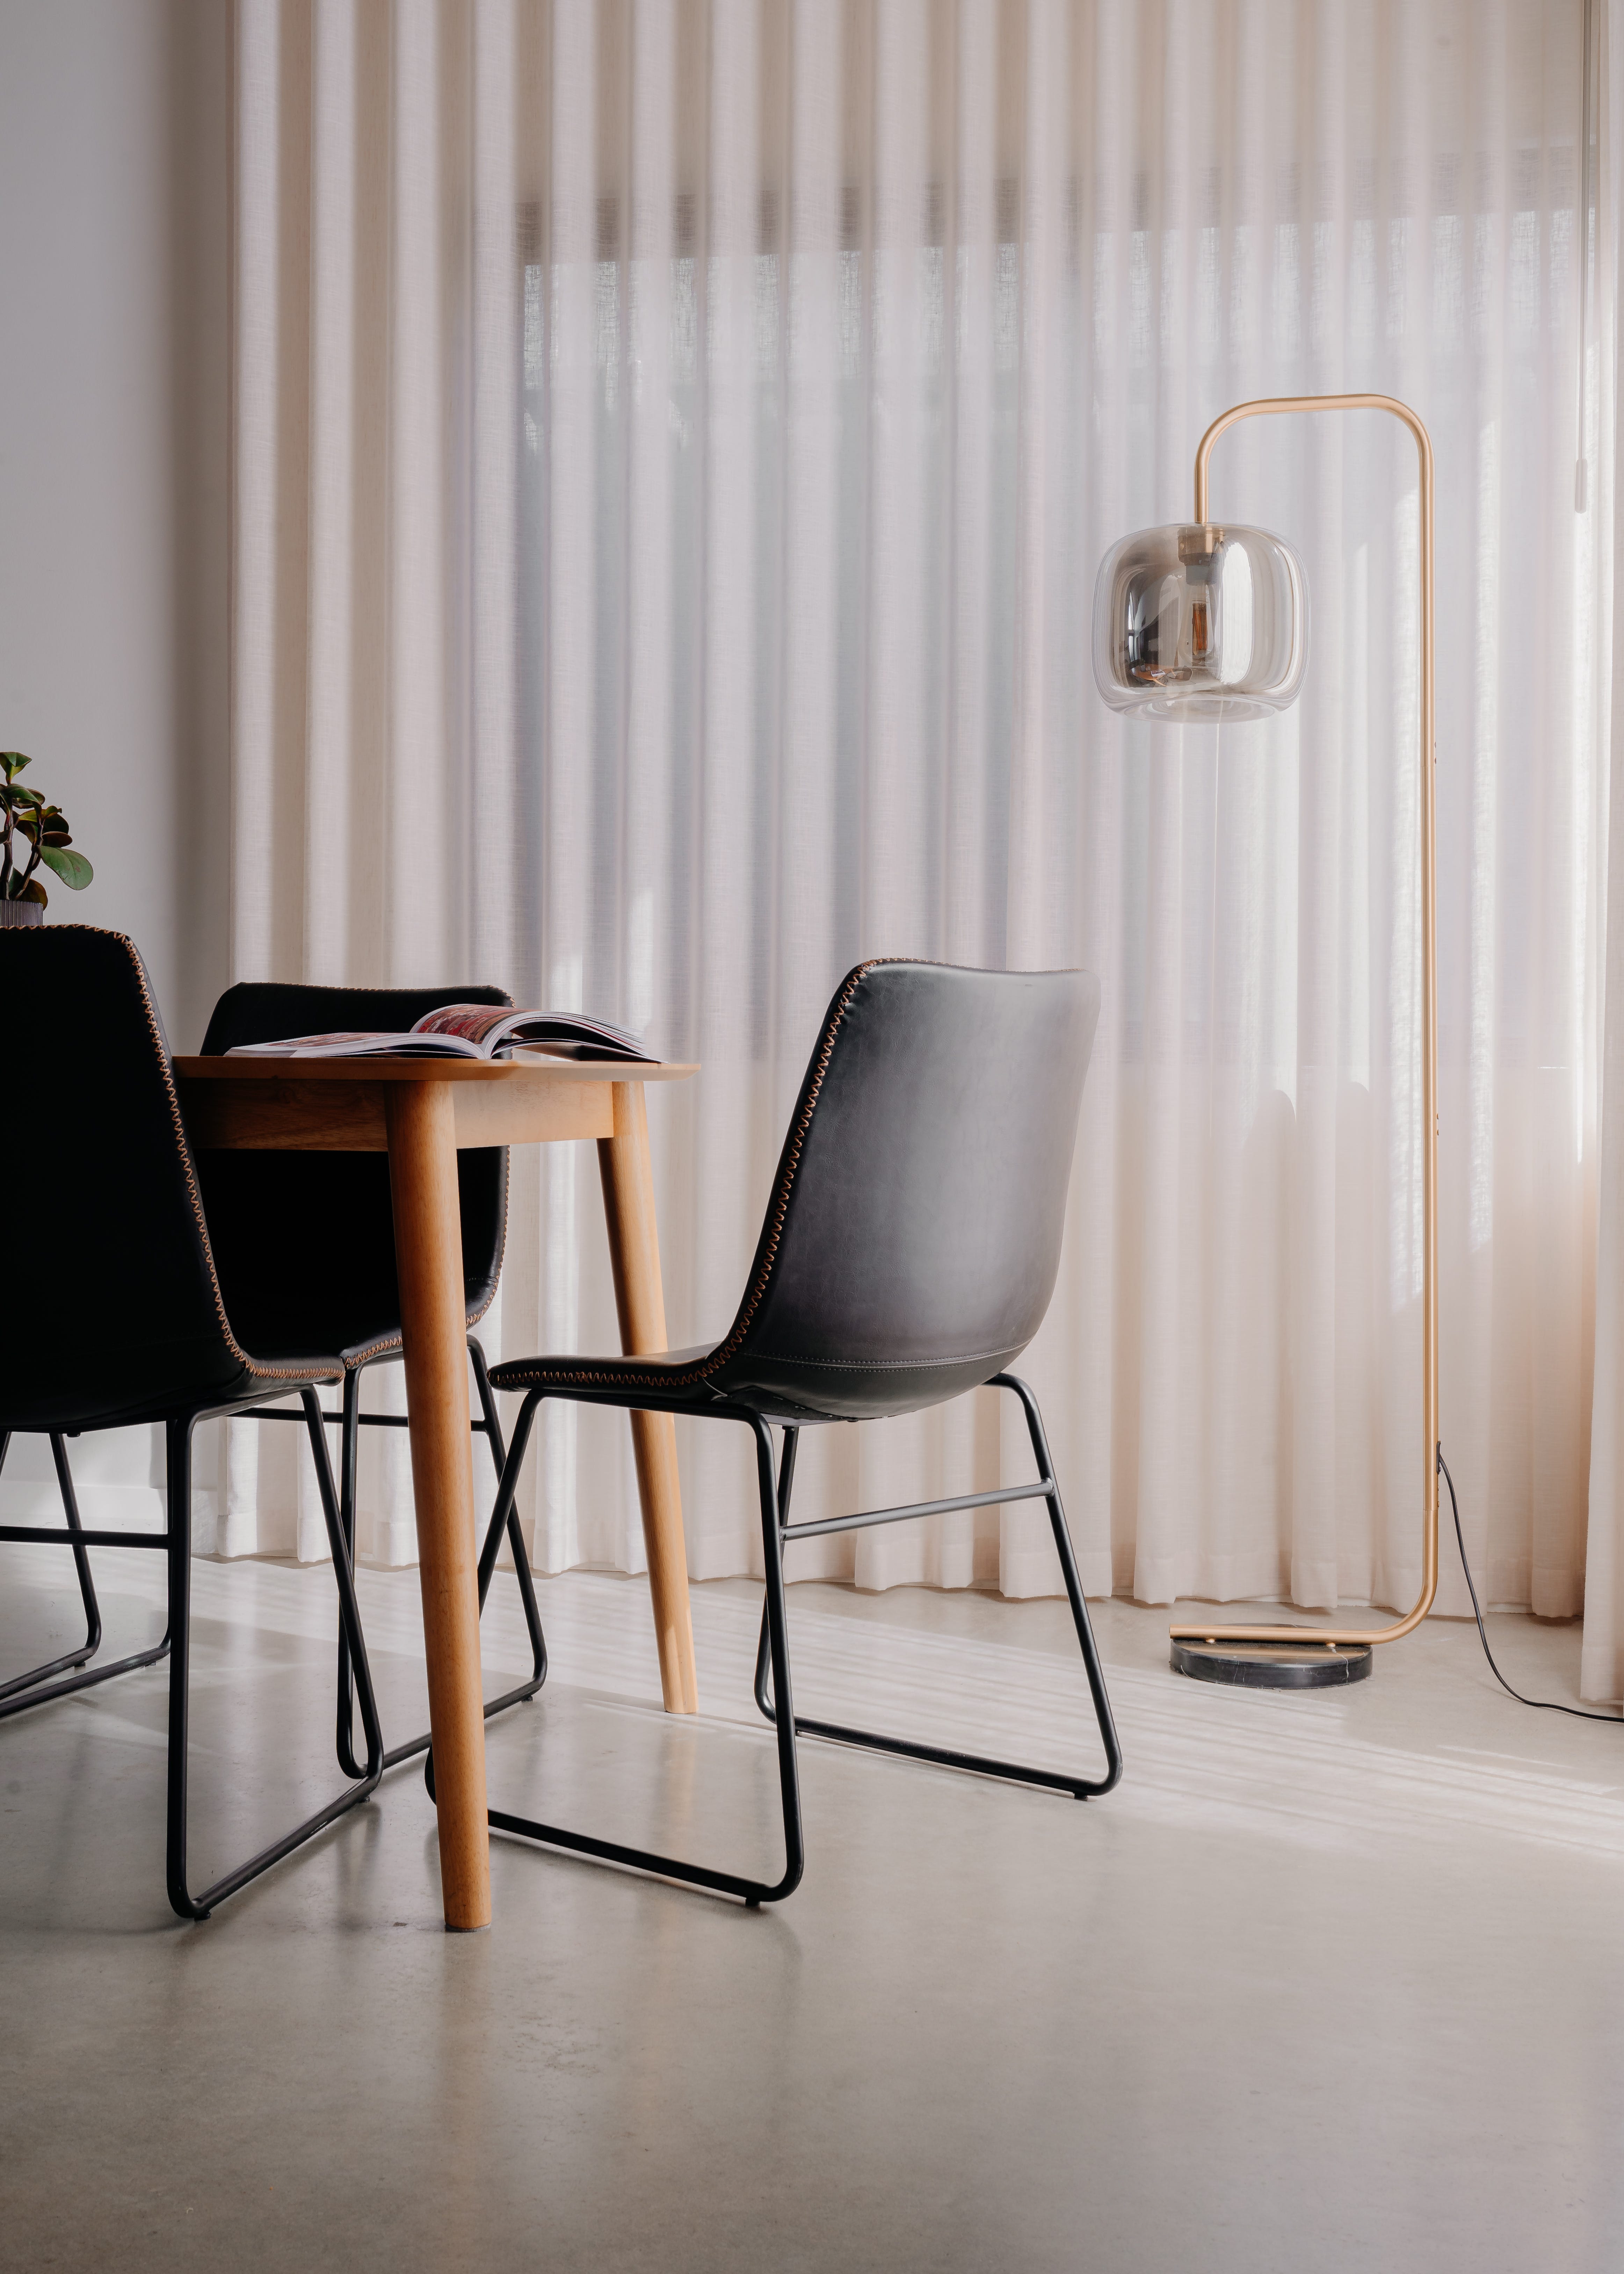
The light hits a large (preferably white) surface and bounces back into your scene for a soft, diffused look.
This is especially great for events, weddings, or any run-and-gun situation where the light is low.
It does have its limits, however, as you’re at the mercy of your environment.
But overall it’s a reliable way to get well-lit images.
Directed is where you point the flash straight at your subject.

This approach creates a beautiful, subject-focused look that I love.
Great for people, details or getting that vintage on-camera flash look.
But take care, because forward-directed flash in a larger space will only flatten your scene with a bright burst of light.
Unless you actually want the whole image brightened (and you’re not shooting subjects), I’d stick with bounce.
Once you’ve got a handle on the on-camera flash, you can move into off-camera.
Here’s another chance to push your creative eye.
To do this, you’ll need a trigger that sits on your camera and fires a flash you’ve mounted somewhere else in the scene.
You’ll need a light stand to mount the flash to, but the same theory applies.
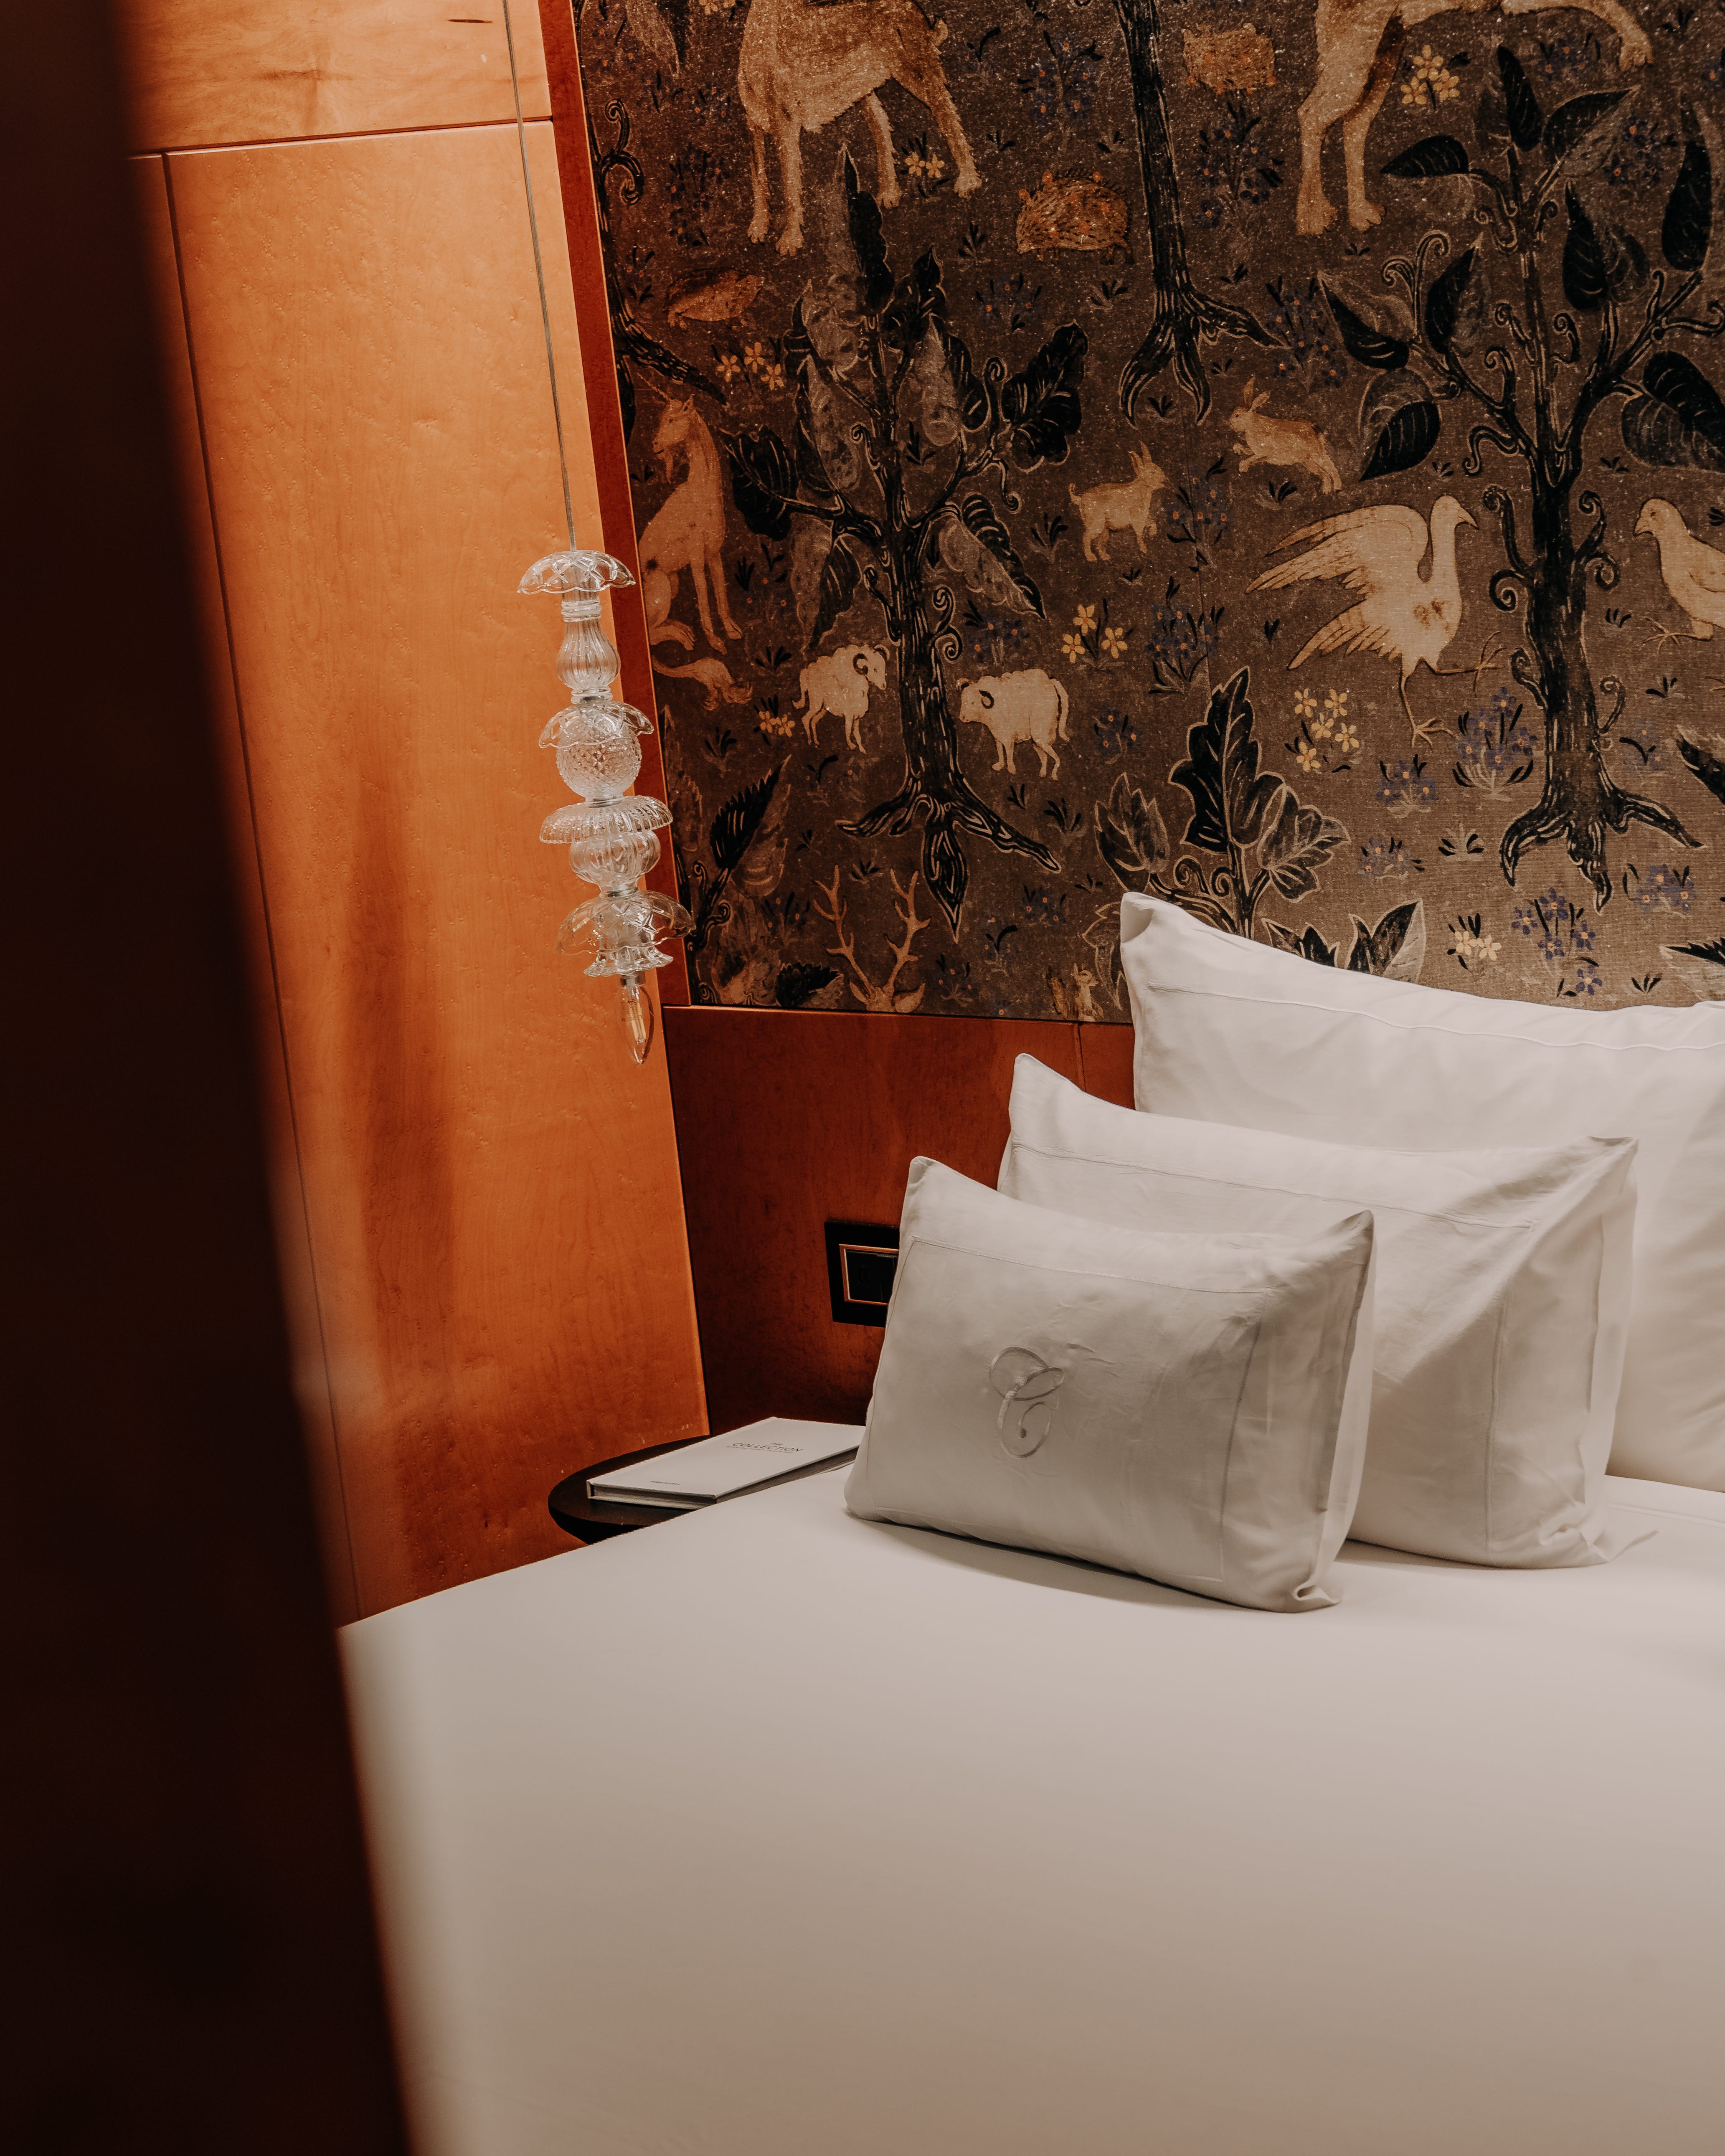
Off-camera is really where the creativity begins, because light coming straight from where you’re standing is limited and can become a little ‘expected’.
It’s hard to get that cinematic, directed feel with it, so moving off-camera is the way.
The flashes I’ve been talking about are what you’d call strobes.
Strobes fire a burst of light when you hit the shutter.
Continuous lights, on the other hand, are just… lights. Always on. These are the ones I’ve started using in my professional work.
Personally, I’ve found that I work better seeing a scene with how the lighting looks - instead of firing an image and checking my camera.
And since I’ve been working with a lot of videographers, continuous lights are often the only option anyway, so it’s quickly becoming the norm.
There’s a client benefit too: they get to see their scene lit in the room, not on the back of a screen. It brings them into it.
Now, this isn’t right for everything. For events or weddings, you need more speed, more control, and a lot more discretion than a continuous setup allows.
So finding your ideal artificial light will become a personal choice based on your style + what you’re shooting.
Just remember, neither is ‘correct’.
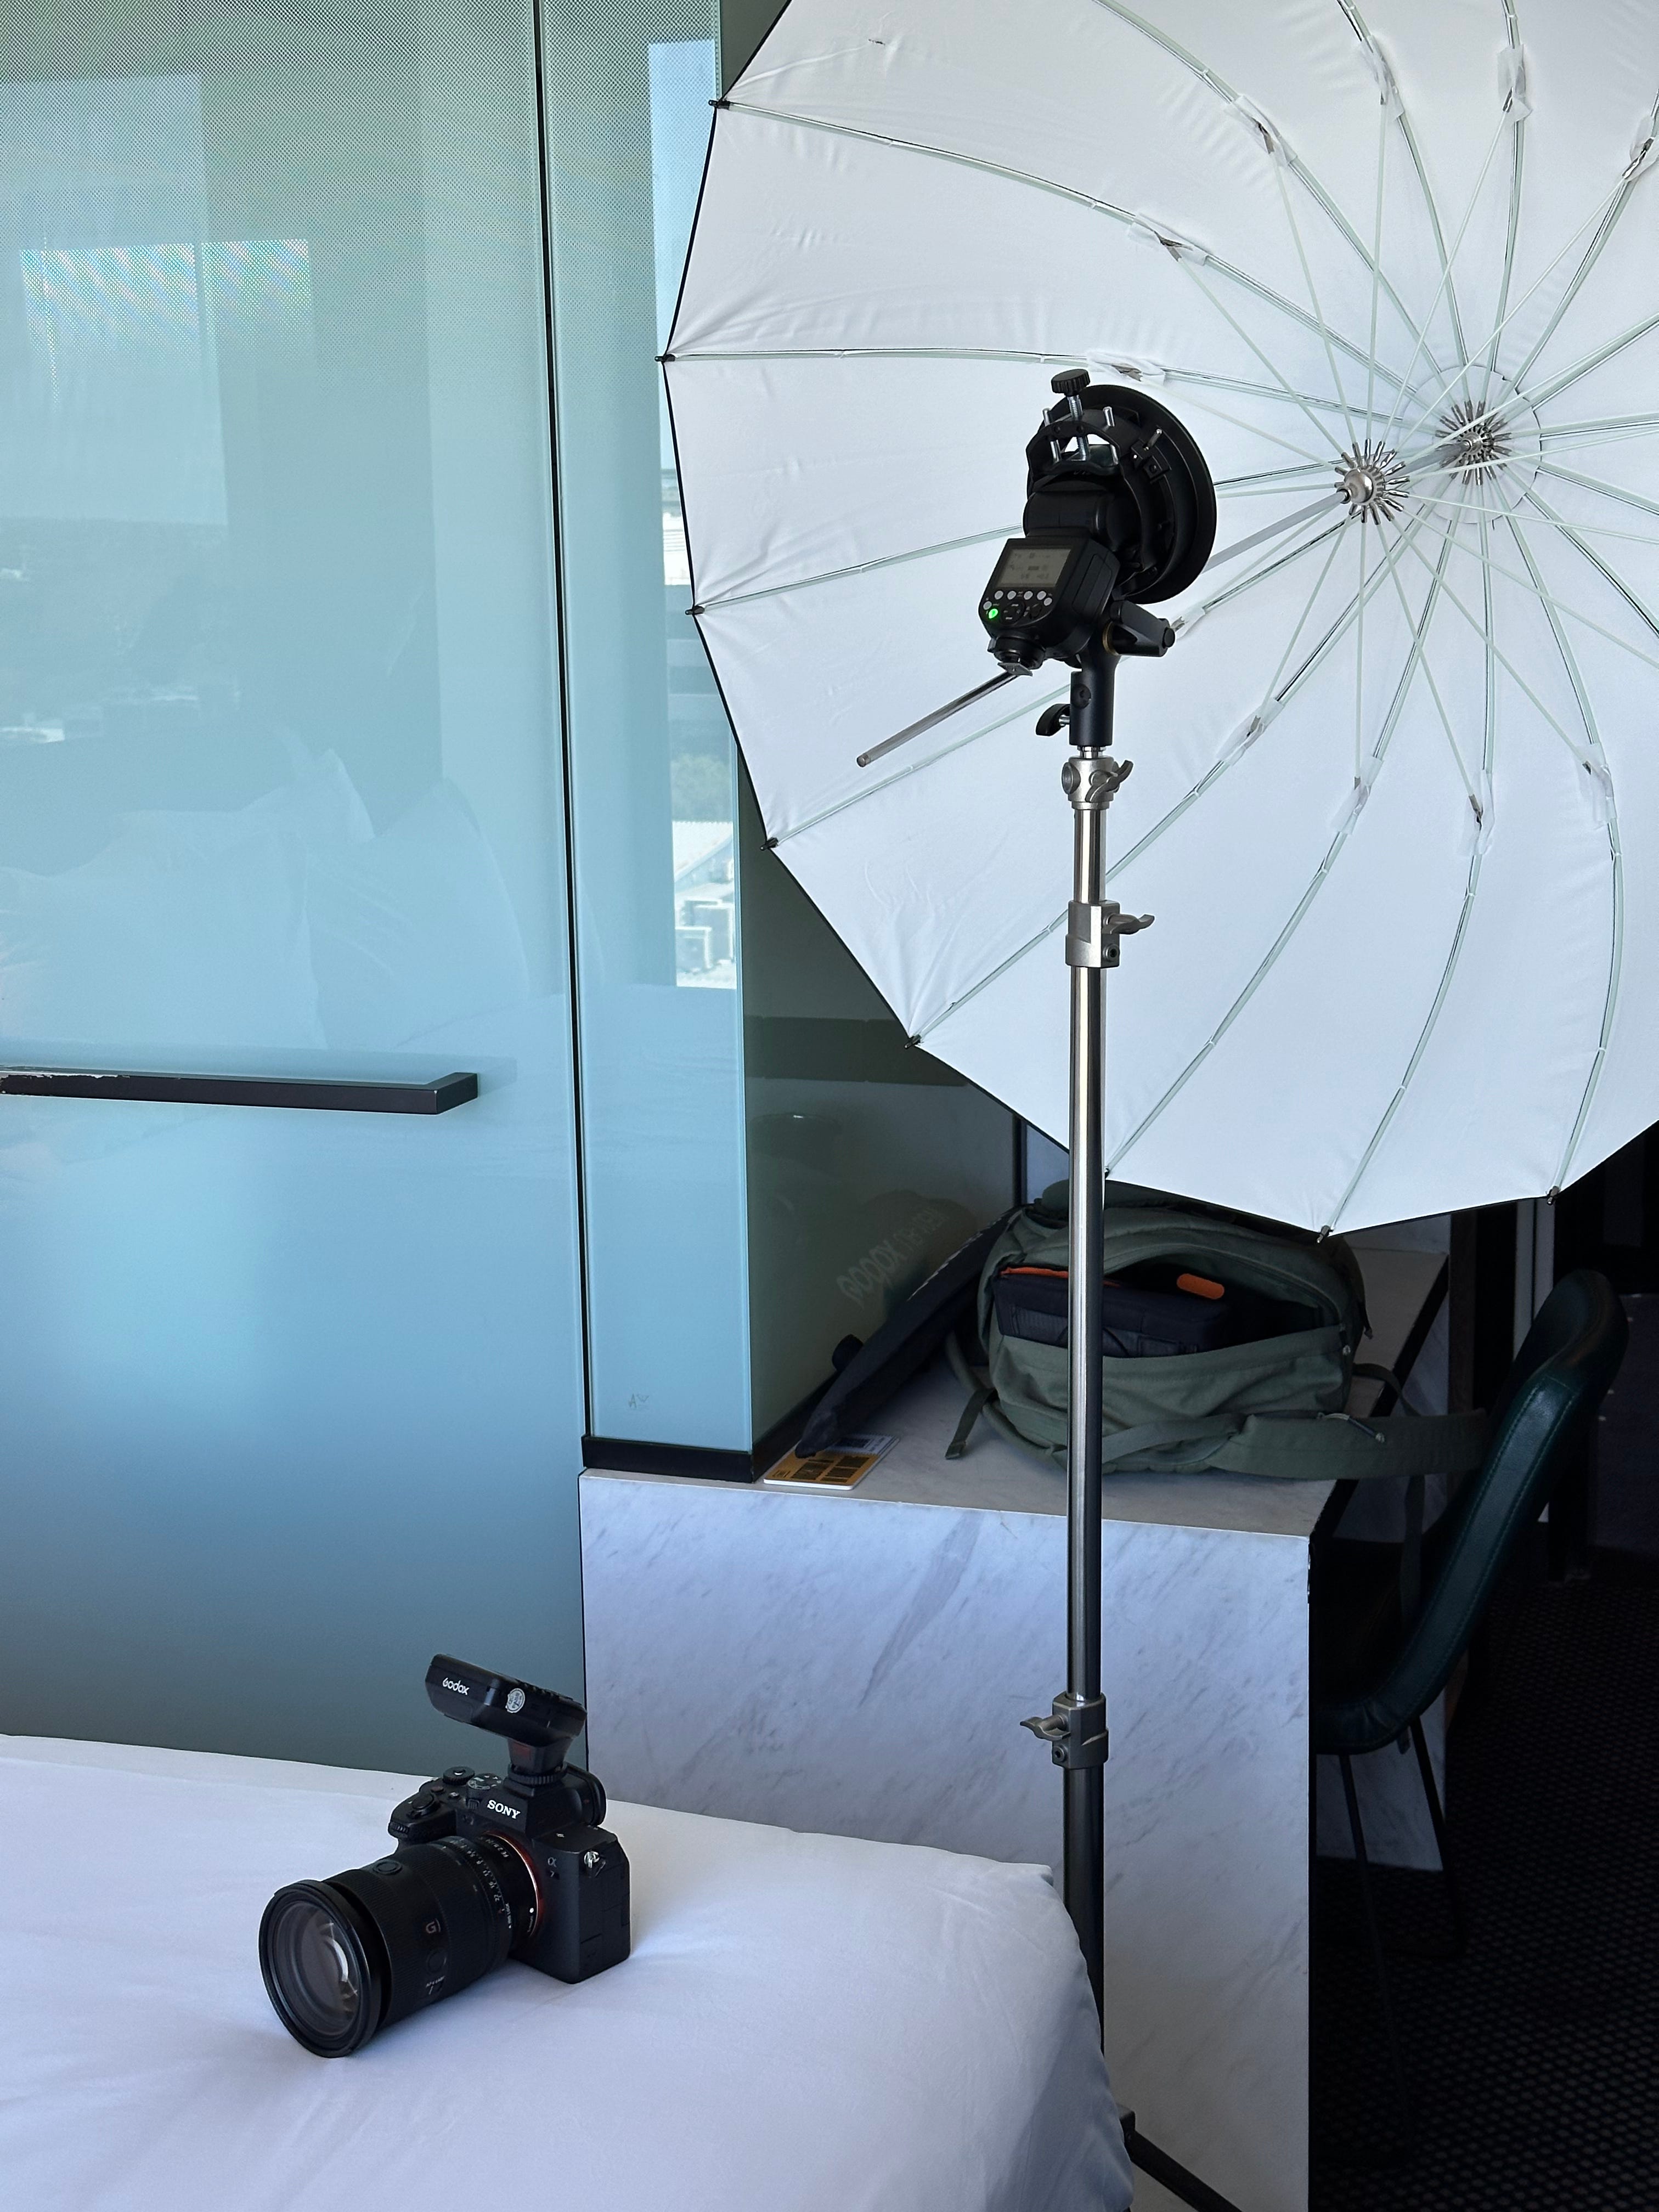
I can’t talk to you about artificial light without mentioning diffusers.
A diffuser is anything that alters, softens, directs or enhances a burst of light.
As I said earlier when talking about bouncing a flash off a ceiling, that white wall or ceiling is really a diffuser.
It’s spreading the light into the scene. A few other diffusers worth familiarising yourself with:
White diffuser sheets
Softboxes
Fresnels
Spotlights
Umbrellas
Which one you invest in depends entirely on the work you do (much like the strobe vs continuous decision).
But it’s a purchase to make once a raw burst (or bouncing) starts to feel exhausting to look at.
Brands like Amaran, SmallRig, and Newwer are great places to start when it comes to diffusers (and lights, mind you).
Artificial light intimidated me for years.
I let it hold up a purchase I clearly needed, all because I didn’t understand it.
But once I stopped relying on just the sun to capture images and learned to shape my own light, my work elevated.
You don’t need every piece of gear on this list. Start with one on-camera flash, learn to bounce it, and build from there.
Happy shooting,
Matty.
p.s. If you have any questions on artificial light, drop a comment, and I’ll get back to you!
No posts
Comments
Nothing yet. Say the first thing.
Sign in to join the conversation.