
Well, we’re not physically unboxing a kit yet. It’s still under heavy development. Nevertheless, I wanted to give you a sneak peak into what the experience will be like.
As you read, put yourself into the shoes of an absolute beginner to DIY pedal building (if you’re not already), and leave comments below if you have any ideas or suggestions.
Unfold a 11x17 glossy poster to find an illustration of the guts of a completed pedal, a QR code and link to take you to the comprehensive build guide and accompanying video (each broken into chapters and linked between one another), and a selection of pre-sorted parts.
Printed on the sheet is an illustration like the following, with the pre-sorted physical components taped over each of the drawings. Update (2023): We’re still pre-sorting the components, but they will be in a cute, eco-friendly, practical cardboard tray. Sneak preview of a similar one here (on our VU meter kit).
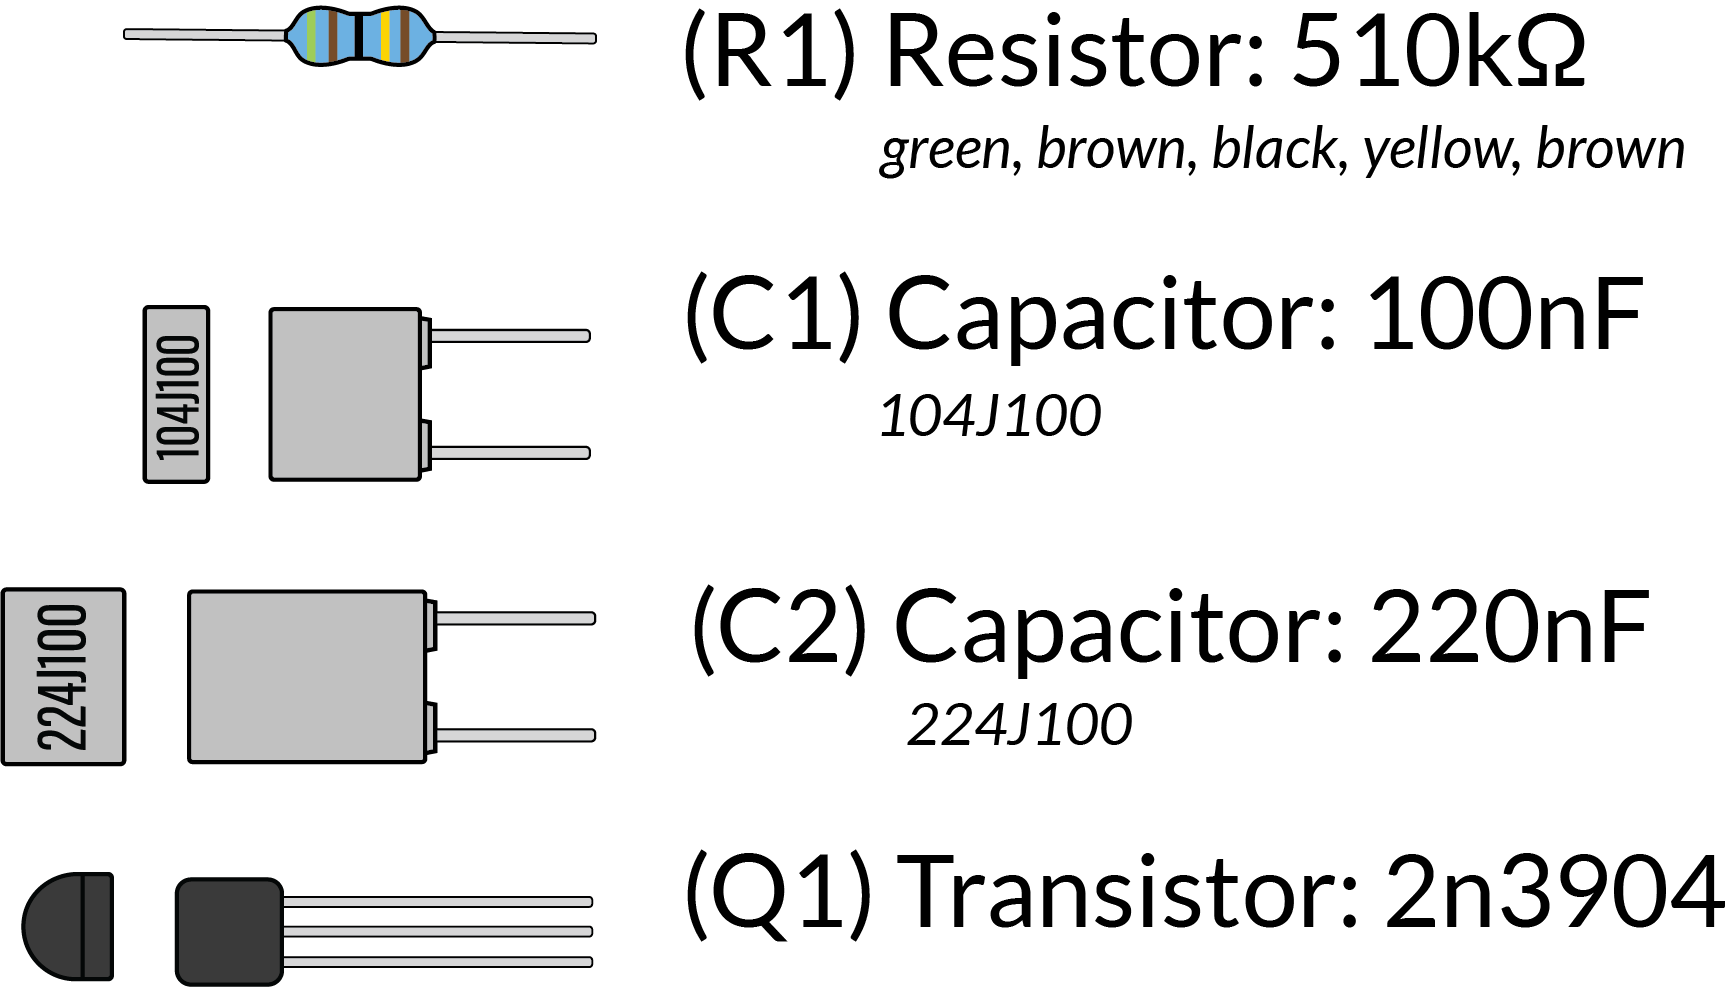
A cute little mylar bag holds the rest of the parts. These are the bigger, bulkier ones that are incredibly simple to identify by simply looking at the documentation (think: jacks, foot switch, knobs, etc).
In another mylar bag is the circuit board and parts for the included practice kit. People who are new to both pedal building and soldering (and even and especially those people who have soldered once or twice) and up getting their first real practice on a pedal build, and many fail because of bad solder joints.
Not a day goes by that I don’t see somebody trying to salvage a (often costly!) pedal kit after plugging it in and finding it doesn’t work due to one of the many bad solder joints.
This eliminates that headache and cost by giving you a low stakes, low cost, and fun way to improve your technique and gain some confidence.
A step-by-step video teaching you how to solder and how to build this kit, along with a comprehensive, illustrated build guide are being developed. It’s a full kit within a kit. More on this in another post coming soon (so subscribe now!)
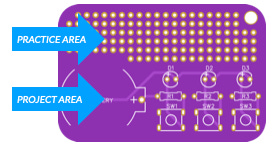
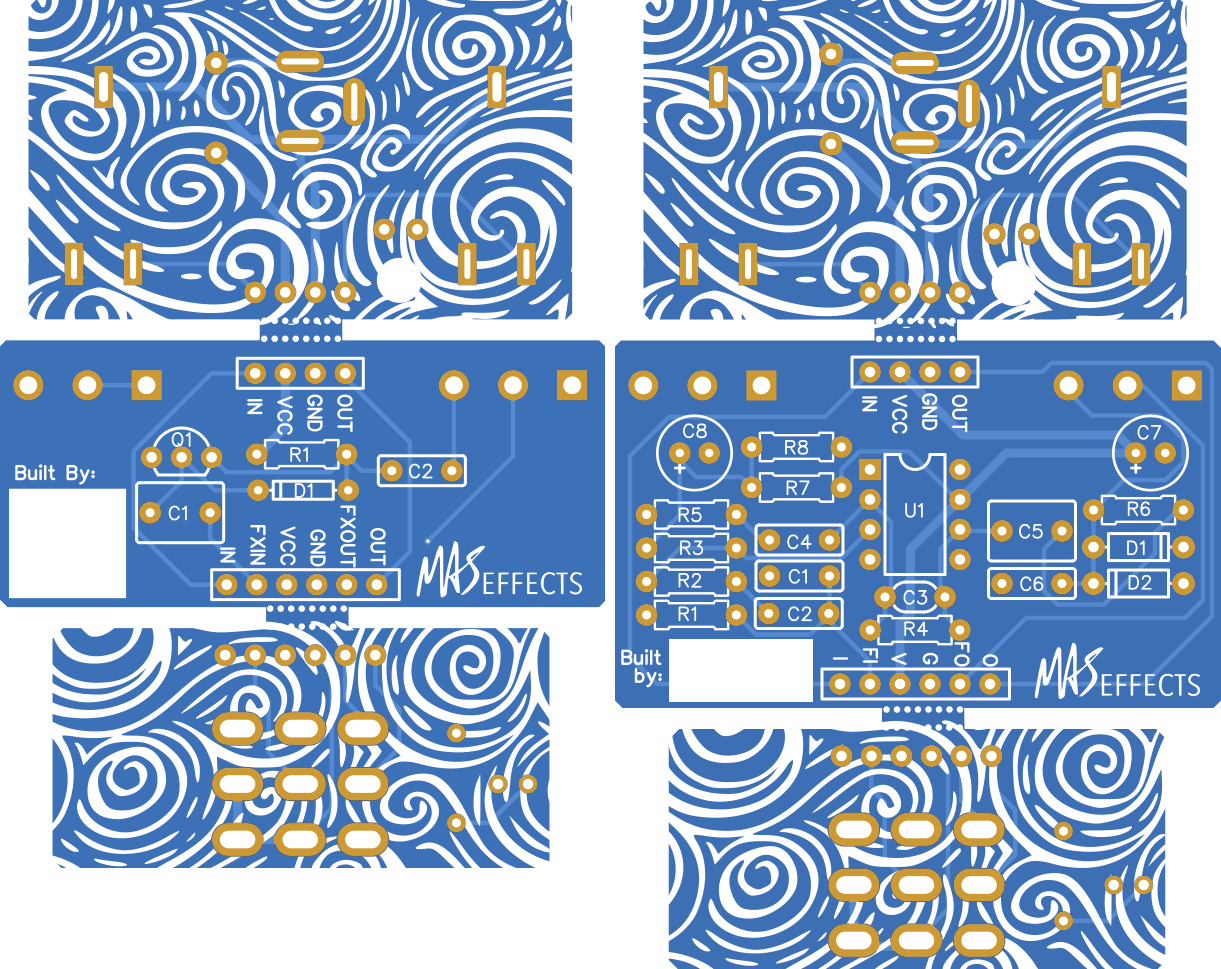
Tucked in the folded poster sheet is this 3-panel PCB. When you order you’ll also choose between the 16 part Quick Fuzz, or the 30 part Distortion+.
Shout out to PCBWay for extremely affordable prototyping boards, by the way. Quick too, which is important when you make a bunch of dumb mistakes on the first version and need some revisions quick (see first pic here).
To keep the tooling costs as low as possible for the builder, the kit is designed to require only flush cutters and a soldering iron.
No wire strippers since we’re providing pre-stripped ribbon cable. No tiny screwdriver or hex wrench for the knobs because we’ll use push-on knobs.
And no wrenches or sockets because we’ll give you this handy dandy, trusty (but not rusty) wrench tool for the potentiometers, foot switch, and the phone jacks:

And finally, a merit badge you can earn and proudly show off to all your friends. We’ll probably tape this to a card with directions along the lines of:
Finish and test your pedal build
Take a pic or two and post it to reddit.com/r/maseffects
Post to share with others at r/guitarpedals, r/diypedals, The Gear Page, TDPRI, or your favorite gear forum
This series walks through the why’s / what’s / how’s going into the creation of a MAS Effects Ultimate Beginner Pedal Kit
Part 2 [this post]: Unboxing the Beginner Pedal Kit
Part 3: This LED Flashlight Will Save You From Darkness and Failure on Your First DIY Pedal
Part 4 [coming soon]: You WILL Succeed in Your First DIY Guitar Pedal
Part 5 [coming soon]: How Many Enclosure Options is Too Many for the Beginner Pedal Kit?
More? Let me know what you want to see
No posts
Comments
Nothing yet. Say the first thing.
Sign in to join the conversation.