
You’ve probably seen salt spread on icy sidewalks and roads in winter. Why? It’s the same reason we use salt to make ice cream!
Salt makes ice melt. When salt mixes with ice, it lowers the temperature at which the ice freezes. The more salt you add, the colder it has to get before that saltwater turns solid again.
Plain water freezes at 32°F
A 10% salt solution freezes at 20°F
A 20% salt solution freezes at 2°F
Here’s the cool part: melting ice needs to get heat from somewhere. That heat mostly comes from the warmer cream mixture inside the inner container.
By lowering the ice’s freezing point, you create an environment cold enough for your cream mixture to freeze, turning it into ice cream as you crank!
When salt hits the ice, it starts bringing the ice’s freezing point down, but that comes at a cost. The colder something needs to be to melt, the more energy it has to soak up to do it. So when you add salt, the ice-and-water mixture actually drops below the freezing point and starts pulling heat in from everything around it.
Scientists call this an endothermic reaction, a reaction that absorbs heat rather than releasing it. In fact, salty ice water can get as cold as -15°C and that’s way colder than your freezer!
This is why your bag of ice cream cools down so fast and the icy water surrounding it is colder than plain ice would ever get on its own, so it pulls heat out of your ice cream mixture quickly, with no machine required!
For extra for curious minds: liquid water is great at moving heat around, but frozen ice is more like an insulator and it doesn’t transfer heat well at all. The salt keeps the water in its liquid form even at very cold temperatures, which is what lets it pull heat out of your ice cream so efficiently.
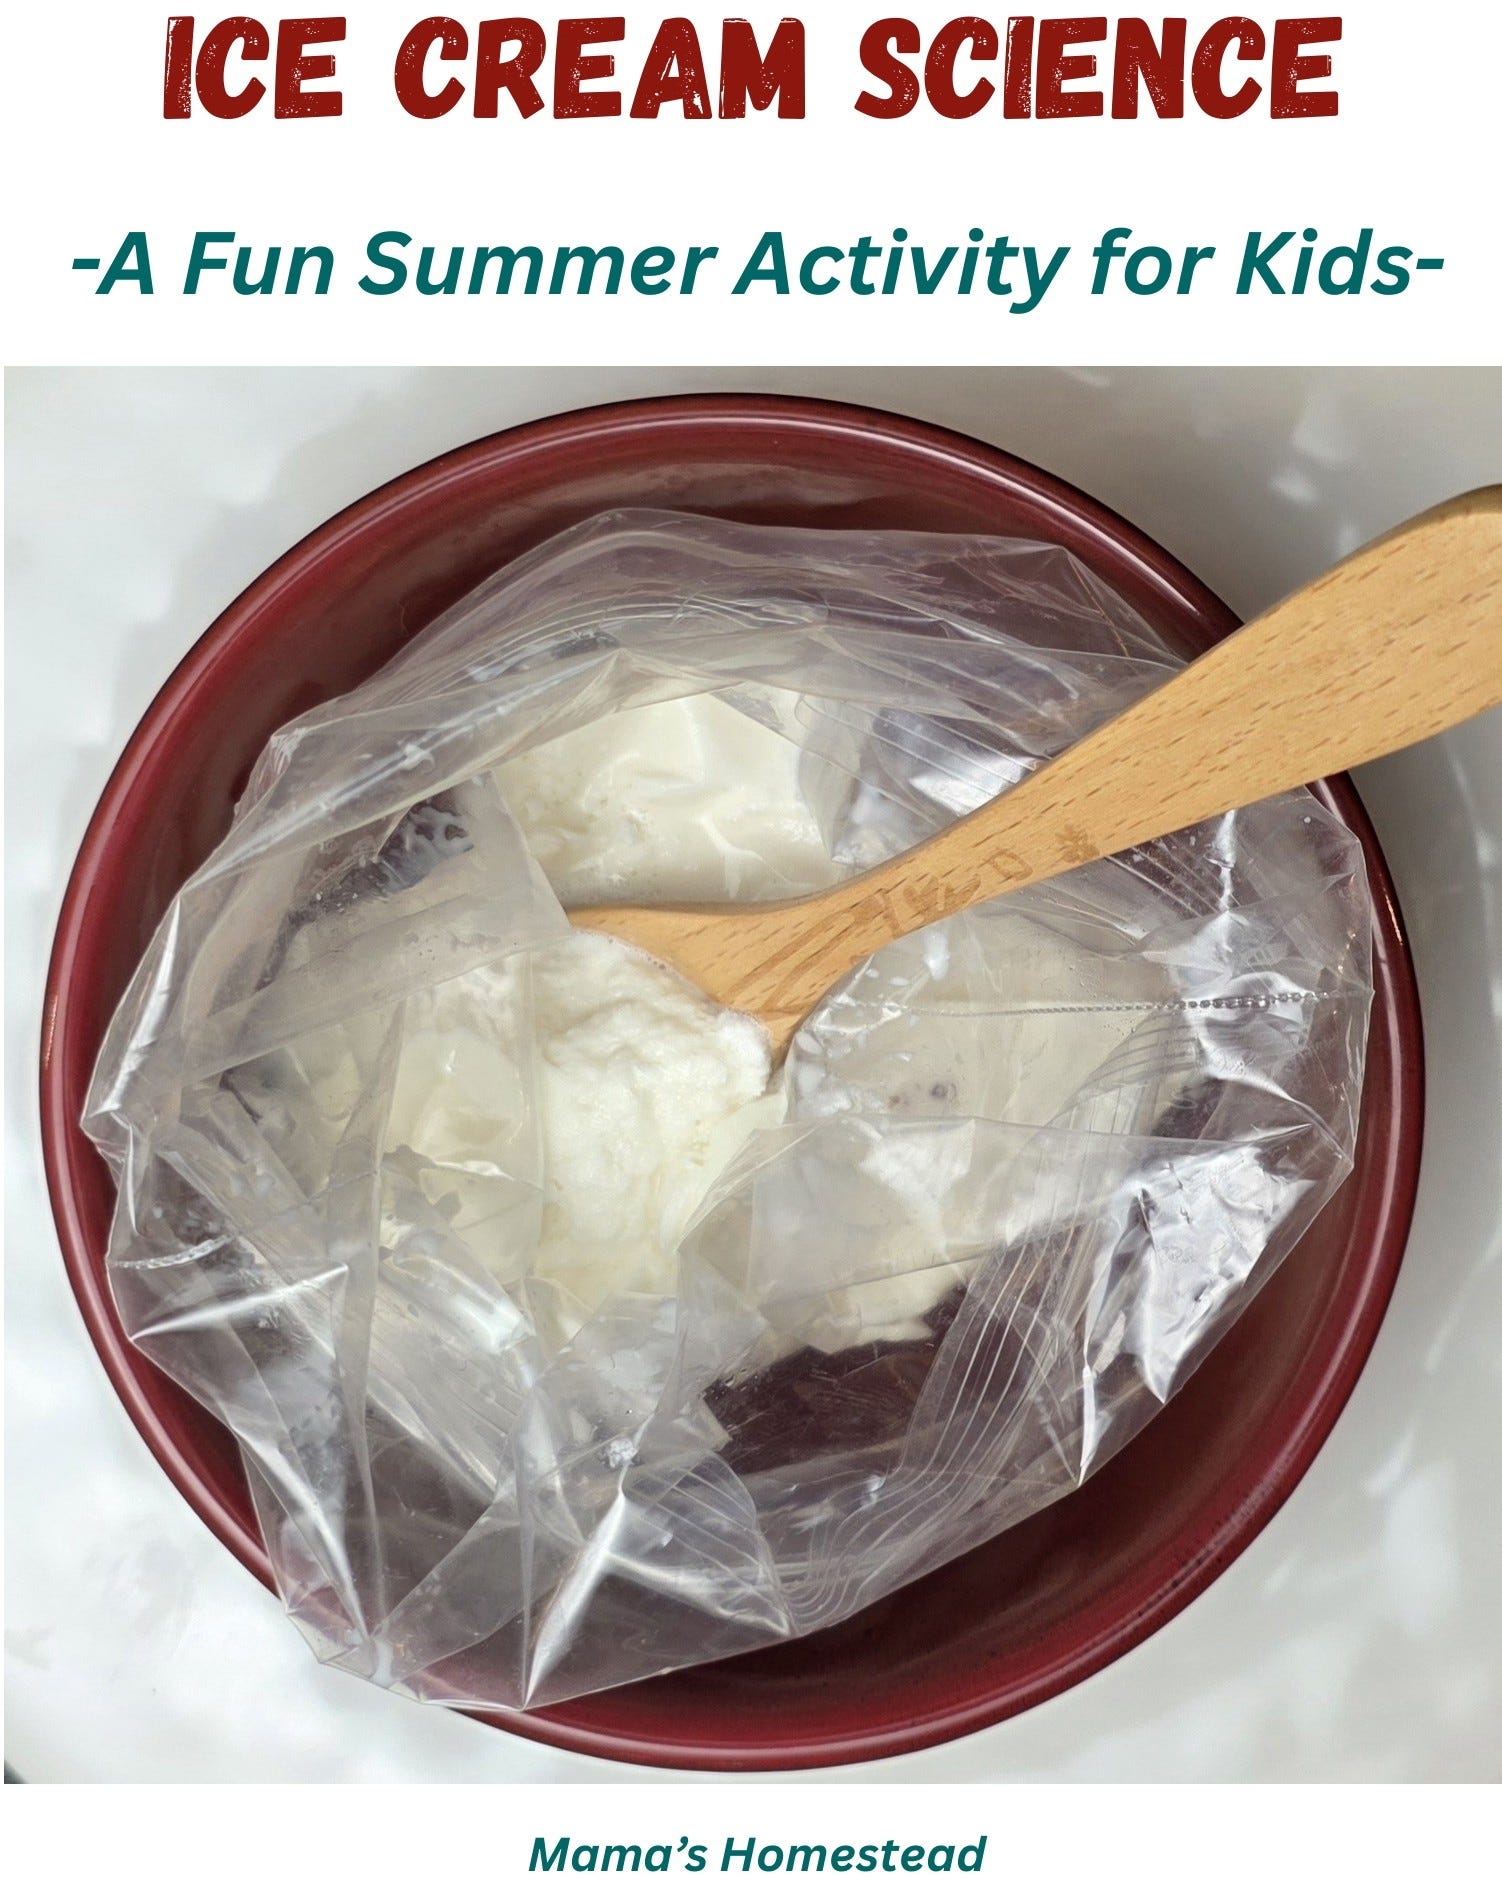
In this experiment, you will explore the science behind freezing and discover how salt influences the melting of ice, all while making your own delicious homemade ice cream.
Homemade Ice Cream in a Bag - no machine required. Combine cream, sugar, and vanilla in a small bag, seal it inside a bigger bag of ice and salt, then shake and knead for 5–10 minutes until it freezes into real ice cream, right in your hands.
1 cup half and half
2 tablespoons cane sugar
Pinch of salt
½ teaspoon pure vanilla extract
1 quart-size resealable freezer bag
1 gallon-size resealable freezer bag
4 cups coarsely crushed ice
¾ cup salt
Gloves, oven mitts, or tea towel
In the quart-size freezer bag, combine the half and half, sugar, pinch of salt, and vanilla. Press the air out and seal.
In the gallon-size freezer bag, combine the ice and ¾ cup salt, then add the sealed quart-size bag.
Seal the gallon-size freezer bag.
⚠️ Wrap it in a towel or wear gloves/oven mitts during the kneading process — the bag gets much colder than regular ice, and bare hands can freeze fast.
Shake and knead for 5–15 minutes, or until the ice cream is frozen and thickened.
Serve immediately, or store in the freezer.
Shaking (or stirring, if you’re using a machine) does two important jobs:
Moves the cream mixture around so it freezes evenly, from the inside to the outside — giving you a smoother ice cream
Adds air to the mixture, which fluffs it up a little. That’s what gives ice cream its light, scoopable texture!
Start with your ingredients cold (or even room temperature) and watch what happens as they cool down and turn into ice cream. What do you notice changing along the way?
Fun Fact: Ice cream is an emulsion—a mixture of two liquids that normally don’t mix together?
Salt doesn’t slow down melting, it lowers the temperature at which ice melts and freezes. This means the ice can pull in more energy (in this case, from your ice cream mixture) before it turns solid again.
Every good bowl of ice cream is really a mix of five ingredients working together:
Ice Crystals: form as the water in your mixture freezes. They give your ice cream its “ice” and its solid structure. The smaller the crystals, the smoother and creamier the ice cream!
Fat: usually from milk or cream, makes ice cream rich and smooth, plus it helps hold everything together.
Sweeteners: like sugar, honey, or syrup do more than make things sweet. They also lower the freezing point of your mix, which keeps the ice cream soft and scoopable instead of more solid.
Air: is the secret ingredient you can’t see! Tiny air bubbles are whipped into the mixture and give ice cream its light, fluffy texture. Ice cream with lots of air whipped in can seem like it’s more creamy than it really is. One big scoop of airy ice cream might only have as much actual ingredients as a much smaller scoop of the dense kind!
Other Solids: like milk proteins, minerals, and flavor bits, like cookie crumbles or chocolate chips. These help give ice cream its texture too little, and it turns icy; too much, and your ice cream can feel sandy.
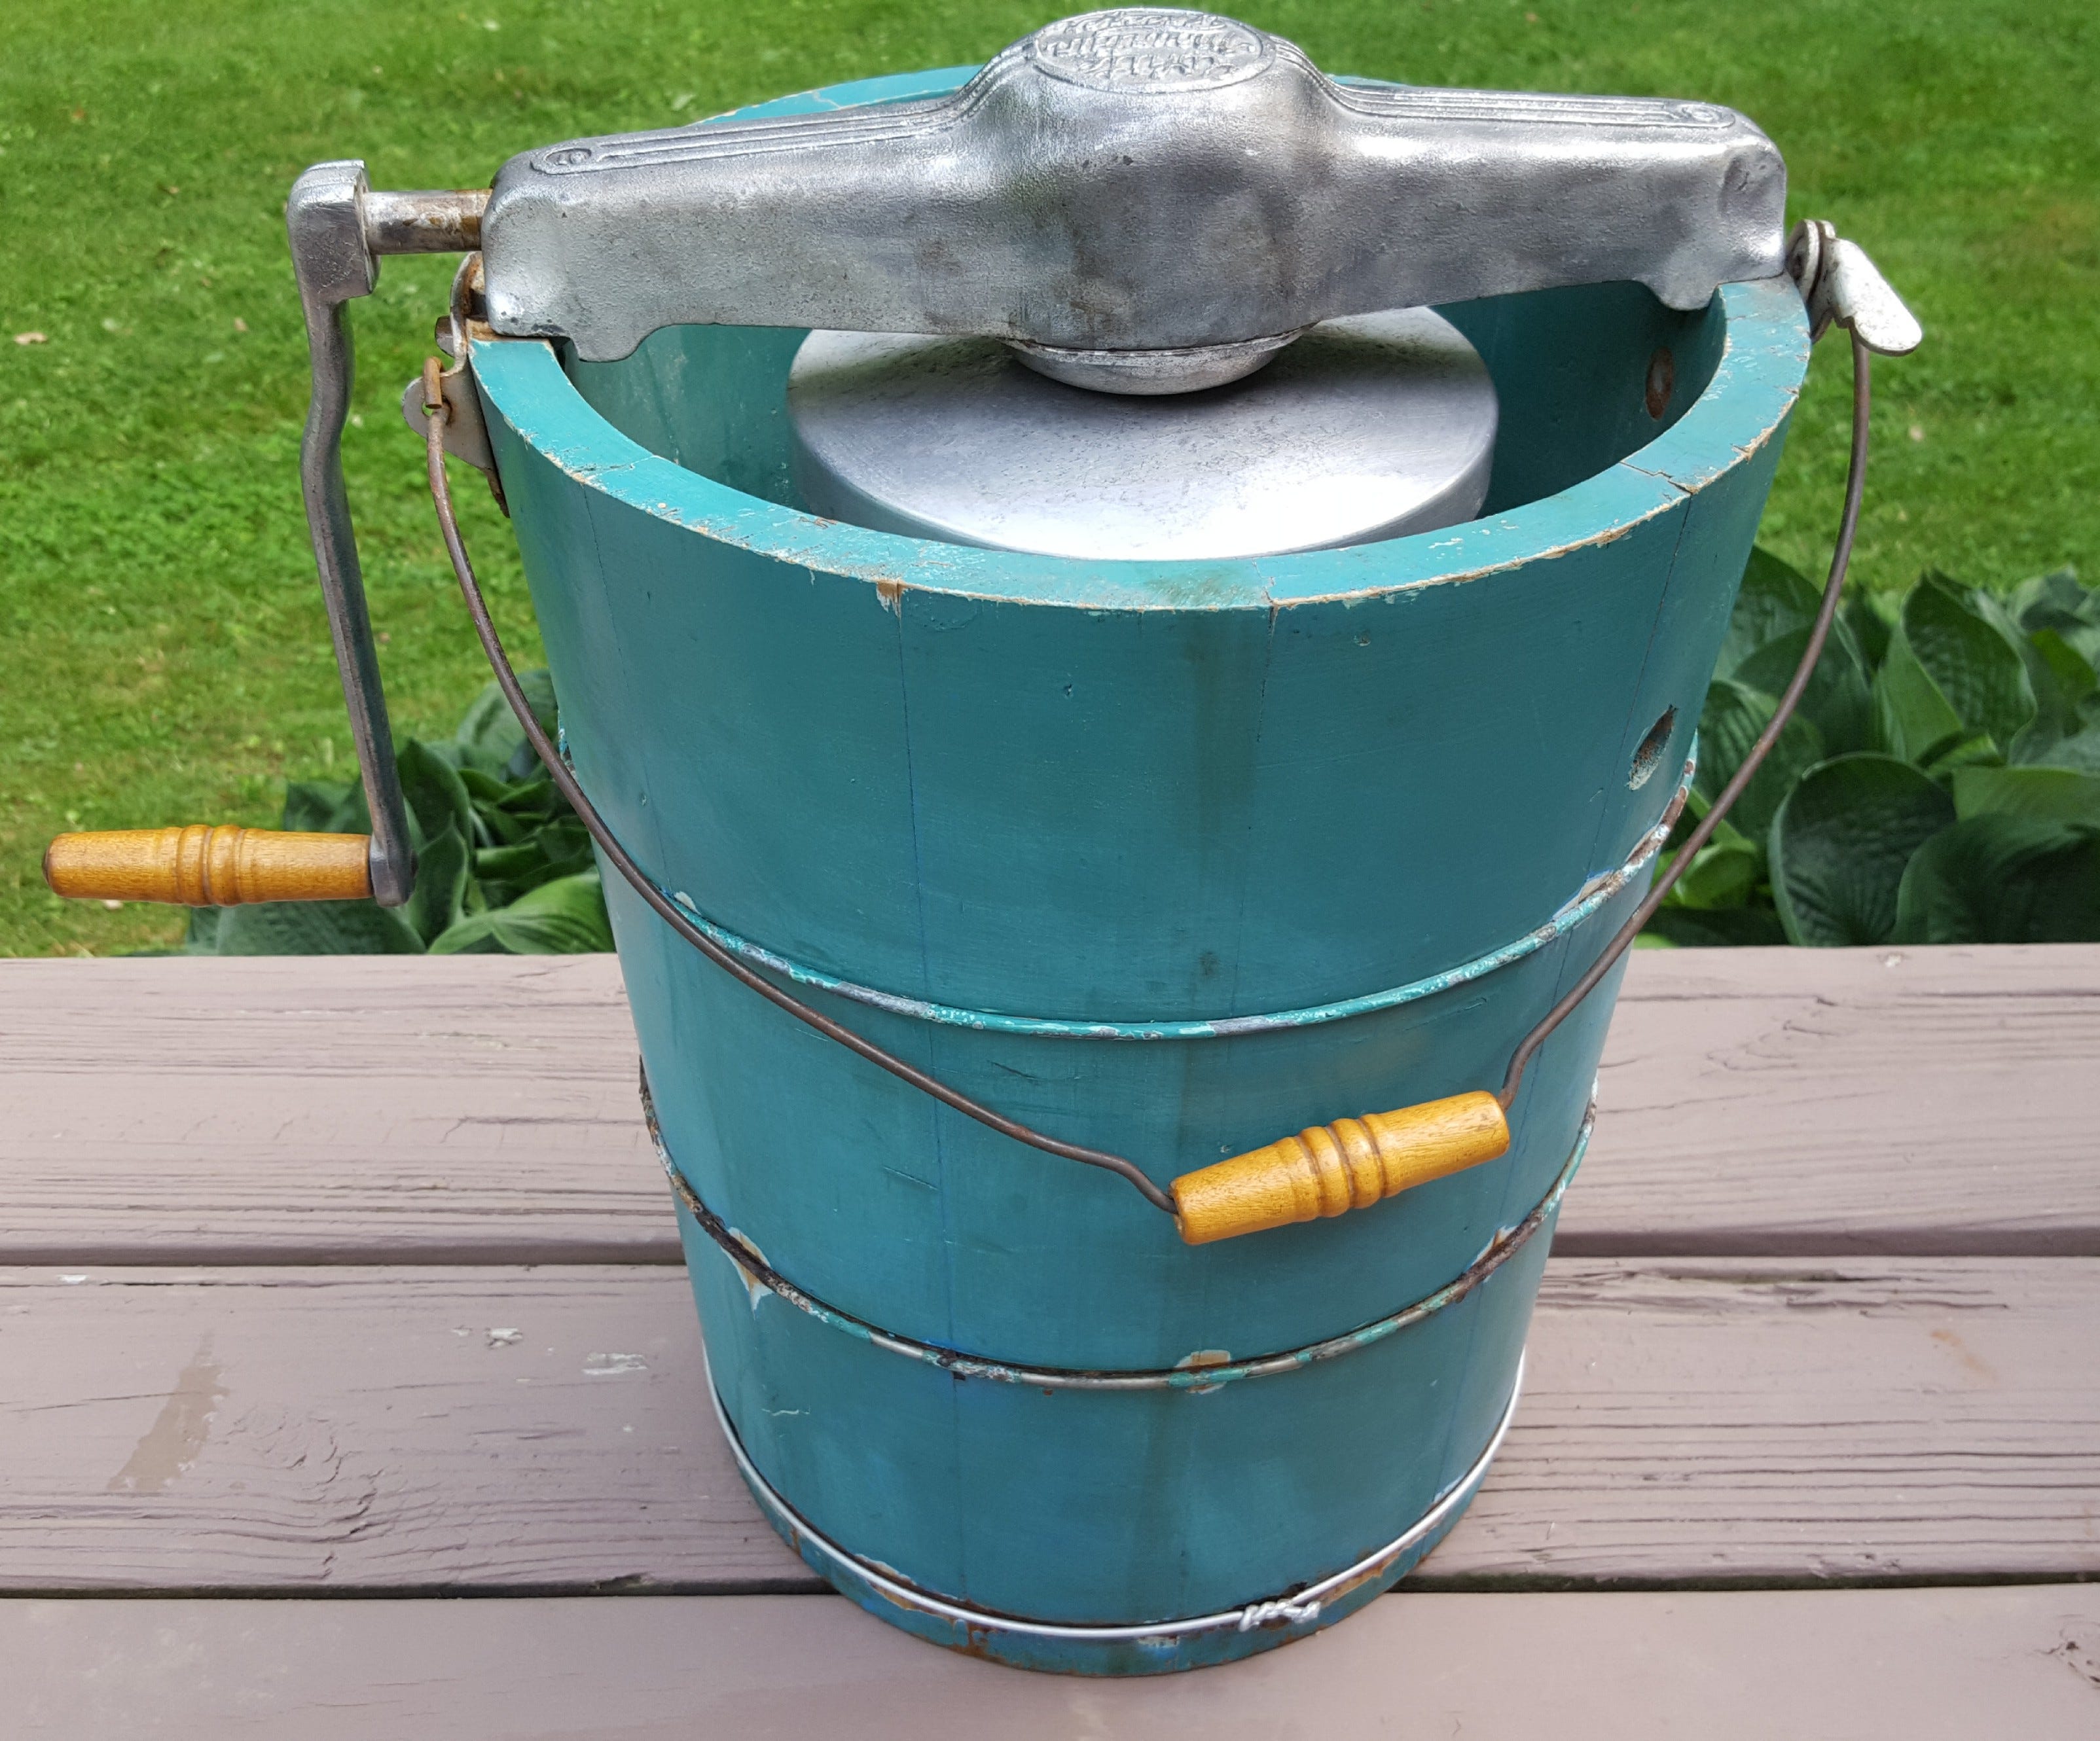
Believe it or not, humans have been making ice cream for hundreds of years, long before electric ice cream freezers existed!
Before anyone understood why salt and ice worked together, people could only use whatever natural snow and ice they could find. Once they discovered freezing point depression (that’s the science of lowering ice’s freezing point with salt), everything changed. They could freeze tasty liquids solid, and ice cream as we know it today was born!
Yes! And here’s why it matters!
For smooth, creamy ice cream, you want lots of small ice crystals spread evenly throughout your mixture. If your mixture starts out warm, it will take longer to freeze and it gives larger ice crystals time to form. That will make your ice cream taste icy instead of creamy.
If you chill your ice cream mixture first, it freezes faster once it hits the cold salt-and-ice mixture, forming small crystals instead.
Once you’ve made your ice cream, how you store it matters:
Keep your ice cream in a tightly sealed container; plastic, or a cardboard carton lined with thin plastic, works best
A layer of plastic wrap pressed on top can help it stay fresh a little longer and decrease the chances of ice crystals forming on top
For the best taste and texture, try to enjoy your ice cream within a week
Now for the experiment itself! Here’s what’s really happening inside that bag:
We usually say water freezes at 32°F (0°C), but that’s actually a balancing point. At that exact temperature, water freezes just as fast as ice melts. So to make more ice, heat has to keep being pulled away.
When you add salt to the ice, things change. The salt particles get in the way of water molecules trying to link up into ice crystals and this disruption is exactly what lowers the freezing temperature. Pretty cool, right? Enjoy your ice cream!
Warmly,
— Nelle, Mama’s Homestead
Rooted. Gathered. Passed Down.
Here’s the full Homemade Ice Cream Experiment Sheet (downloadable PDF):
Thanks for reading Mama's Homestead by Nelle! This post is public so feel free to share it.
P.S. — If someone you love has been quietly longing for this kind of life, will you share this with her? Forward this email. Send her the link. Sometimes all a woman needs is for someone to say — there is a place for you here.
P.P.S. — Thank you for being here! We are just getting started. The best is ahead. Stay close.
Comments
Nothing yet. Say the first thing.
Sign in to join the conversation.