
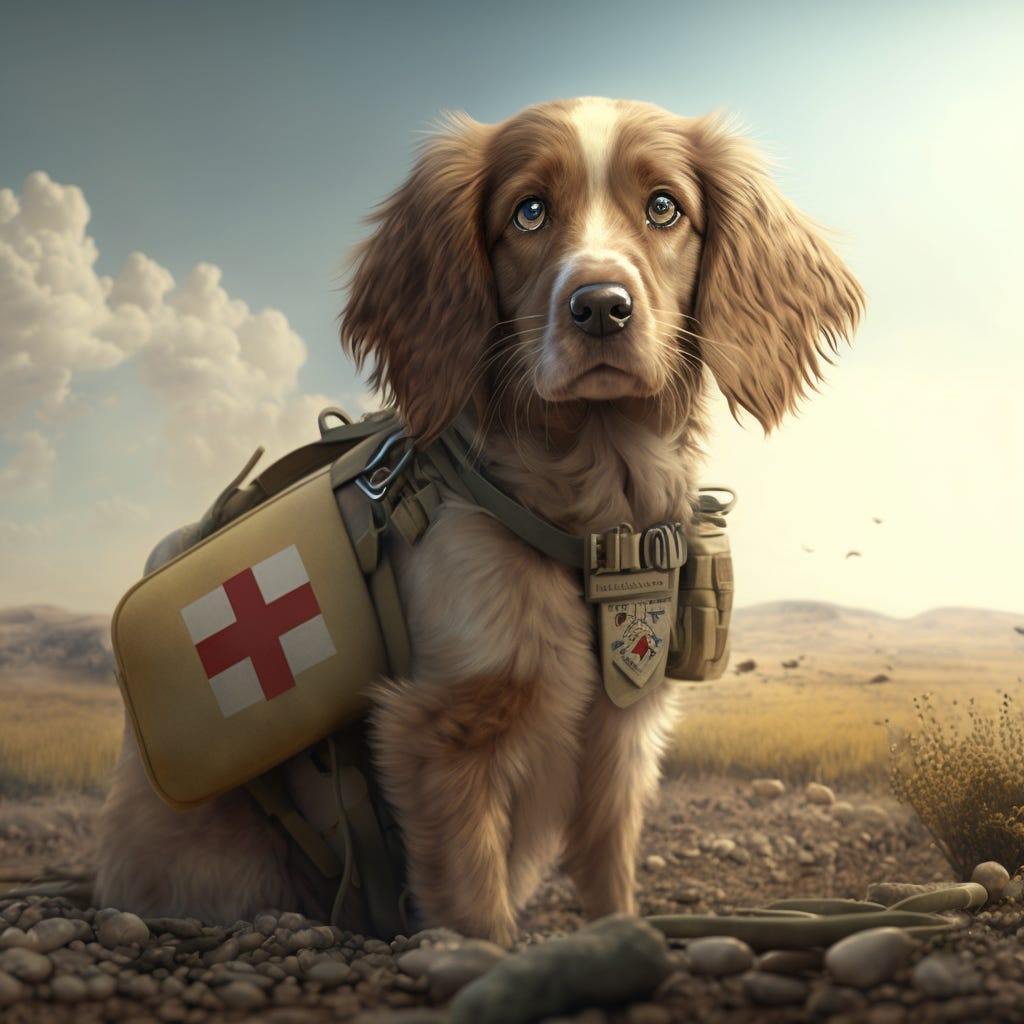
A good, well-trained dog can make any hunting experience more pleasurable for the hunter. They are often used to track wild game, dead and wounded, retrieve dead birds and animals, and flush out smaller game species, all leading to better success odds in the field.
As can be expected, dogs used in the field are more prone to injuries than your typical family pet. Everything from sprains to cuts to bites can happen while hunting with your dog, and it is important to know how to handle things should an injury come up.
Fortunately, the Jungle has an expert to lean on when dealing with animal injuries. Bowtied Veterinarian (@bowtiedDVM on Twitter) lays out everything you should know about any type of injury a dog may experience in the field. If you hunt with a dog, you should have a general understanding of the below and refer back to this article should the situation arise.
Precondition your dog to wearing a basket muzzle. There are also large mesh type basket muzzles available. Cloth type muzzles generally restrict panting, and cannot be used for long periods. Bite wounds from injured dogs are extremely common, and caution is advised if your dog is injured.
Make sure your dog is current on flea/tick prevention, and current on vaccines, especially Rabies. Lepto vaccine along with the Distemper/Parvo vaccine are recommended.
1) Pulse Rate and Strength. Count the femoral artery pulse in the groin area using your fingers (not thumb) for 15 seconds and multiple by 4. Get used to feeling the strength of that pulse (shock or dehydration can cause a weak pulse). Know your dog's resting heart rate. Pulse rates may run 60 to 120 BPM (beats per minute). Larger dogs may have slower resting heart rates. Smaller dogs may have pulse rates over 120 BPM.
2) CRT (Capillary Refill Time). Learn to check your dog's gum color as a nice pink (vs pale pink or white). Some dogs do have black gum pigment, but look for any pink area. The CRT checks your dog's blood perfusion. Press on your dog's gum to blanch the skin, and note how long the pink color returns (should be less than 2 seconds). Delayed CRT can be indicative of shock, dehydration or hypothermia.
3) Respiration. Count breaths for 15 seconds and multiply by 4. Normal respiratory rates may be 15 - 30 breaths per minute. Rapid heart rates or labored respiration can be secondary to hypothermia, pain, dehydration, shock or extreme exertion. Slow respiration may be indicative of hypothermia, severe internal trauma, or nearing the onset of cardiac arrest.
4) Body Temperature. Take a rectal temperature. Normal should be 99 F to 102.5 F (or 103.5 if overly excited). Body temperatures over 105 F can be indicative of a heat stroke, or severe fever or an infected wound or abscess.
Consider in advance how you may need to carry your dog out of the field. Safely transporting your dog also requires the handler to be safe from a bite injury.
A harness with a handle may help, or using a towel, blanket or jacket under the abdomen, may help you walk out a dog that is 3-legged lame. There are also new types of backpacks that may be handy to carry your dog depending on his weight (and type of injury). https://www.k9sportsack.com/collections/xx-large-sized-carriers
For more severe injuries, you may have to use a backboard or stretcher of some type. Severely injured dogs may need to be laying on their side for transport. If nothing is available for a backboard, a blanket stretcher (or large jacket) may help, rolling in some large branches or sticks for side supports.
Besides the bandage materials and routine items you may carry in your first aid field kit, consider adding the following items for your dog's care. Toe nail trimmers, quick stop (for nail injury), muzzles and leash, skin glue, surgical stapler, large safety pins, mylar blanket, thermometer, benedryl (allergic reactions/bee stings), honey/nutrical (hypoglycemia/low blood sugar in tired dog), vented chest seal, tourniquet.
Larger First Aid kits can be stored in your vehicle.
Bleeding and Shock
1) External wounds and lacerations - Apply direct pressure with gauze pads or a triangular bandage. Larger sanitary pads or diapers can be used for severe bleeding. Multiple layers may be needed. Don't disrupt any blood clots. If bleeding from a limb and control of bleeding is difficult with direct pressure, then try elevating the limb above heart level along with direct thumb or finger pressure on the main artery to the limb (femoral artery in inner thigh/groin area or the brachial artery in the armpit area). Continue with bandaging and holding the pads in place.
Tourniquets are rarely needed, and should only be used as a last resort to save a life. Using a tourniquet will usually mean loss of the limb. A RATS (Rapid Application Tourniquet System) is a good choice for your First Aid Kit. Another option would be to use 2-3" strips of cloth around the limb, place a tight knot, incorporate a stick into the knot to tighten further, and bandage in place. A tourniquet can be loosened every 20 min for about 30 seconds, then re-tightened.
2) Internal bleeding and shock - Shock can result from internal bleeding and organ damage from a fall, trauma from a HBC (hit by car), or from other type of penetrating injury to the chest or abdomen. Severe bleeding from a femoral or hip fracture can also cause shock.
When in shock, your dog may appear weak and lethargic, have pale gums, a rapid heart rate and weak femoral pulses. Abdomen may look bloated or may appear bruised. Blood may be evident from the mouth, nose, rectum, or in the urine. Respiration are usually rapid, unless slowing while nearing cardiac arrest.
Shock can also develop from an allergic reaction to a bee sting, a snake bite, hypoglycemia (low blood glucose), or extreme vomiting and diarrhea.
Keep your pet warm and still (use blankets), minimize handling and transport to Veterinary facility immediately. Hot water bottles covered in towels can be placed in the groin or armpit regions. Socks can be applied to the feet to help stay warm.
Bandages will help protect the wound until you are able to provide veterinary care. Bandages or splints may also help support an unstable limb.
1) Clean superficial wounds. For superficial wounds, cleanse away dirt, blood and obvious debris with saline (or water and mild soap) and pat dry. Can also cleanse with a dilute betadyne solution and apply antibiotic ointment.
2) Telfa pad. Use a telfa pad (or sanitary pad/diaper) as the first layer close to the wound. We don't want a pad that might stick to an open wound. If there is a huge skin flap, consider a few staples applied to the end of the flap to help keep flap in place (Large safety pin may work). A few staples are just to help keep the flap in place, then apply the telfa pad .
3) Roll Gauze. The next layer of a bandage would use roll guaze or cast padding to hold the intial pad in place. Don't bandage too tight! If the wound is on a limb or tail, wrap all bandaging from toes upward, or tail tip upward without constricting blood flow. Tight bandaging of a limb can cause loss of blood flow to distal foot, and even contribute to the need for an amputation. Too tight of an abdominal wrap or chest wrap can constrict breathing.
4) Vetwrap or Elasticon. These two products provide a somewhat waterproof outer layer around the bandage. Best to unwind and prestretch these wraps off the roll, then reroll and apply. Must wrap from toes upward to prevent constriction.
You may need to change the underlying telfa pad and bandage several times during the day until you get to the Veterinarian. You may also need to change a bandage if you notice a foul odor, excess drainage or bleeding, or the bandage is becoming wet or slipping.
5) Broken toenail. You may or may not be able to trim back the broken edge of the nail. Use quick stop as needed for bleeding, then apply bandage to the foot. This can be a very painful injury if the nail is broken clear back to the base of the toe. Your Veterinarian may need to check the toenail and even trim the nail back further depending on the injury. Antibiotics may be needed.
6) Bleeding from ear flap . There can be excess bleeding from an ear pinna injury. You may be able to place a head wrap. Put affected ear over top of the head, and bandage down around head. There are also 'no flap ear wraps' available commercially. (https://www.amazon.com/Breathable-Anxiety-Calming-Thunder-Cleaner/dp/B0BF63M2MG/ref=sr_1_7?crid=2FSF2NNZ44NMM&keywords=no%2Bflap%2Bhead%2Bwrap%2Bdog&qid=1673804458&sprefix=no%2Bflap%2Bhead%2Bwrap%2Bdog%2Caps%2C188&sr=8-7&th=1
Penetrating injuries may include impalement from a stick or arrow, or a bullet, dog bite or fence injury. Penetrating injuries can extend deeper than you expect and cause a significant amount of internal damage.
1) Loose superficial objects. For a small stick or object that is not embedded deeply in a general area of skin, you may be able to remove the object, cleanse the area and place your bandage. Be prepared to stop bleeding. Sometimes it is best to trim the object back and pack in with bandages if there is a large object near a major artery.
2) Deep wounds to chest or abdomen. For deeper penetrating objects especially to the chest or abdomen, It may be best to leave the object in place, but trim it back to a few inches if able. This will allow you to bandage the object in place, decreasing movement of the foreign body and prevent causing further injury. You may apply petroleum jelly or antibiotic ointment if needed to seal the wound prior to a chest wrap. You may wrap everything in with your bandage material.
3) Sucking chest wound. With some chest injuries, you may hear air sucking around the wound. Vented chest seals (Hifyn vented chest seal), would first be applied, and will help in case of a tension pneumothorax (when air or fluid needs to escape from the chest). If a vented chest seal is not available, use other available waterproof cellophane or plastic wrap over the wound, and tape in place on 3 edges. The 4th edge can be left open for any air/blood leaking from the chest.
Then continue wrapping the chest seal in place with roll gauze or cast padding around the chest. You may criss cross the bandage around the neck/front legs to help keep the chest wrap from slipping.
Orthopedic injuries may include open fractures (wound evident by fracture site), closed fractures, or a dislocation or severe sprain. With a severe orthopedic injury, the dog usually cannot bear any weight at all on the limb, and the limb may be 'dangling'. Use a basket muzzle for treating and transporting.
Open fracture wounds should be cleansed of any dirt or debris, but keep the rinse external and don't allow any fluid to enter the wound itself. Cover the wound with a telfa pad and continue the bandaging. Do not try to reduce fracture or push the bone back beneath the skin.
A splint might be helpful just to stabilize and help prevent movement of a dangling lower limb fracture. Apply plenty of gauze or cast padding over the wound and around the fracture. You may then Incorporate a splint or stick along the outside, or perhaps a rolled magazine around the limb. Continue applying gauze or cast padding to hold in place. Apply a loose layer of vetwrap or elasticon. Duct tape may be helpful to hold things in place. Bandage from toe, upward. It can be difficult to splint an awake, injured dog, and you might not be able to complete the process.
Fractures involving the thigh or upper arm or shoulder may not be easily splinted, so just clean and bandage any open wound.
Consider your best method of transport out of the field. If walking out, you can help along with a sling under the abdomen or a harness with a handle.
Be cautious with your injured dog and don't get bit!
Think of scenarios in advance. What will you carry in your First Aid Field Kit, and in your vehicle First Aid Kit? How far will you be from your car? How will you carry your dog out of the field if needed?
Learn to take your dogs vitals, and to utilize First Aid techniques. Have your dog pre-conditioned to a basket muzzle.
Have good control of your dog, and keep him calm. Keep your dog warm and minimize handling to prevent further injury.
Always seek Veterinary care as soon as possible after an injury. Wounds can become infected very quickly, and blood poisoning or gangrene can develop. Internal injuries can quickly become life-threatening.
Preload any Veterinary information to your cell phones (address and phone number of the local Veterinary ER in your area and area in which you will be traveling).
Do a thorough exam on your dog when you exit the field and arrive home to make sure you haven't missed a cut or laceration.
No posts
Comments
Nothing yet. Say the first thing.
Sign in to join the conversation.