
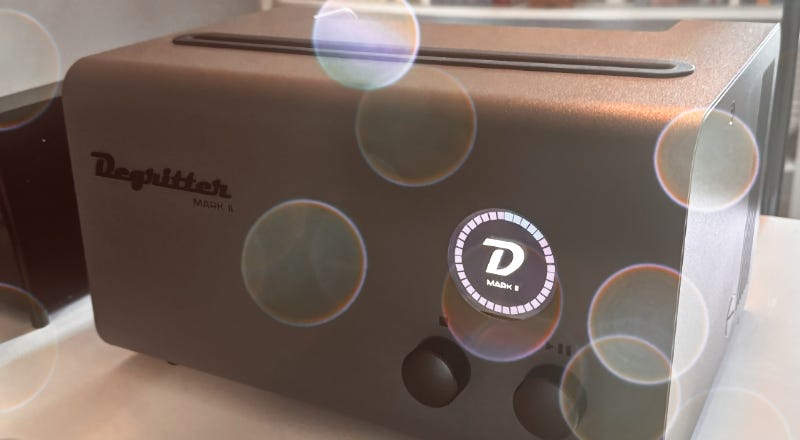
It’s here.
The Degritter.
You’ve either wanted one or told yourself you didn’t once you saw the price.
Thirty-six hundred dollars.
There are numerous ways to clean records. I’ve even written a guide that touches upon many of the methods. There’s “spray and wipe,” vacuum machines, and ultrasonic devices. There are also hybrid approaches that use a mix of solutions. Combining solutions has always been my approach, and I’d rank it among the best. It’s time-consuming though, and I’m always looking for ways to tweak it.
I may have found the ultimate tweak in the Degritter.
Many of today’s ultrasonic record cleaning machines use a 35-40 kHz frequency (think Kirmuss, Humminguru, Vevor). The cavitation bubbles they create are large and aggressive. Machines like the Degritter that use 120 kHz create smaller cavitation bubbles that are numerous and evenly distributed. They are gentler and more precise.
I’ve always been intrigued by what 120 kHz would bring to my cleaning process. So I reached out to the folks at Degritter and asked if I could review a unit.
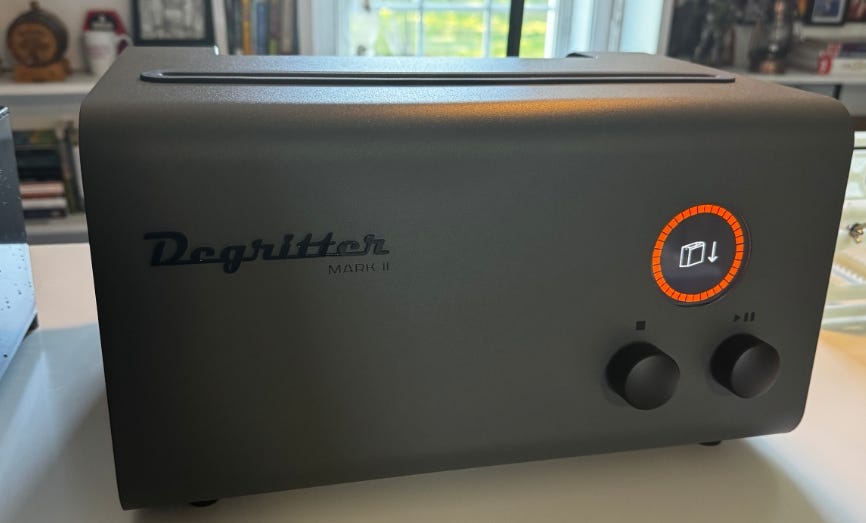
Degritter sent me a spare water tank for a rinse cycle. I appreciated that. It’s not standard and has to be purchased separately. As well as championing the use of a surfactant, I’m also a broken record when it comes to rinsing it off. It’s essential. If you use a surfactant and don’t rinse it off, what you’ll end up with is a thin film of residue that will negatively affect playback (and end up coating your stylus!).
The day after it arrived on my porch, I unpacked the Degritter and set my two 40 kHz ultrasonic machines aside. In my personal “Vinyl Time” web app, I tag records that need to be cleaned, and they sit on that list until I can carve out a large enough block of time to tackle them. I ran through the list and grabbed a few off the shelf.
The process I use starts with a two-step manual clean using Liquinox and then Citranox. I wanted to hand it all over to the Degritter to see how it would do on its own.
Degritter also supplies their own surfactant, and I love the fact that they include every chemical it contains. I’ve never seen a company list the ingredients of their proprietary solution. Kudos to them for that! I opted to use 0.05 mL of Tergitol 15-S-9 for the wash step. It would be just enough to break the surface tension of the record and allow cavitation to do its thing. Plus, I’ve been using Tergitol for years. I’m familiar with it and know how much to use in the Degritter’s tank, which is slightly over a liter. The trick is to use just enough to avoid excessive foaming. This is a concern with cleaning and rinsing in the same reservoir. Too much foam will stick around for the rinse cycle and will potentially leave a residue after drying.
I plan to publish a video of the features, so I won’t go in depth into all of them here, but I will say that they thought of everything. You can adjust or turn off many of the options. Options include a degas cycle, a presoak, and a drying cycle (of which you can also adjust the speed of the fan). If you have a second tank, you can also select a two-tank wash/rinse cycle that prompts you when to swap the tanks out.
The machine is also very well built. This doesn’t feel like a toy, as some ultrasonic options on the market do. This is for serious collectors and was designed by serious collectors.
Once I had the first tank in place with my cleaning mix inside, I set the control to ‘Degas’ to remove any trapped air and gases. After that was finished, it was time for the moment of truth. I selected a two-tank cleaning cycle (wash and rinse) with three rotations. The time on the screen from start to finish displayed XX.XX to account for both cycles and a two-minute drying time.
I hit the button to start the process and waited.
After the reservoir filled with cleaning fluid, the record began its rotation.
You’ll notice in the brief video that the record rotates slightly back and forth as it turns. This ensures that every bit of the record’s surface is exposed to the 300-watt cleaning power of the Degritter. More wattage means more energy driving those bubbles.
There was a bit of foam at first, but that’s to be expected with initial agitation. After the first minute, it dissipated and left a nice even sheen on the record. This tells you that the surfactant is doing its job; otherwise, it would bead up on the surface.
After a little more than half the time had passed, the unit paused, drained the reservoir, and prompted me to swap tanks. It was time for the rinse cycle.
When the rinse finished, the reservoir drained and the drying cycle kicked in.
After a few days with it, I have to say I’m a bit excited.
I pride myself on the process I use to clean records. Unless the record comes to me with groove damage, the noise floor is inaudible a majority of the time. “Having a black background” is the phrase most often used to describe it. Running a handful of records through the Degritter achieved the same result. This was surprising. I expected it to impress me, but I also felt my process would be hard to match. It matched it anyway.
If I’m being completely honest, it may have exceeded it.
To clean three records with my current process takes around 55 minutes. My first few run-throughs with the Degritter, for three records, put the time at around 36 minutes. That already saves me twenty minutes of cycle time for what appears to be a similar result. But even more, my attention and hands are needed for most of those 55 minutes. The Degritter needs them for less than a minute.
And those two 40 kHz ultrasonic machines I had set aside? They’ll stay where they are.
Pitting one cleaning solution against another is notoriously difficult, if not impossible. No two records will have the same level or type of contamination. You can remove everything there is to remove from a record’s groove and you may still hear pops and clicks if there are manufacturing defects or damage done by a previous owner’s mishandling or turntable setup. Even a before and after listening test is prone to issues. Is the process flawed or is it simply the record itself?
What I judge it on is how my decades-old records sound after cleaning. I’ve taken good care of my records, but they have been through many listens and many different cleaning routines. Some of those methods I am sure left their mark by way of residue or deposits (remember the Discwasher fluid?). A few spins in a Spin-Clean won’t get to it, and neither will a few squirts of GrooveWasher followed by a ride on a vacuum machine.
Here’s a good example: the copy of Black Sabbath’s Heaven and Hell I bought in 1981. It’s seen a lot of chemicals over the years. I know I can remove most of it with my current process. I instead handed it over to the Degritter. What did I hear?
Music. And between the tracks?
Silence.

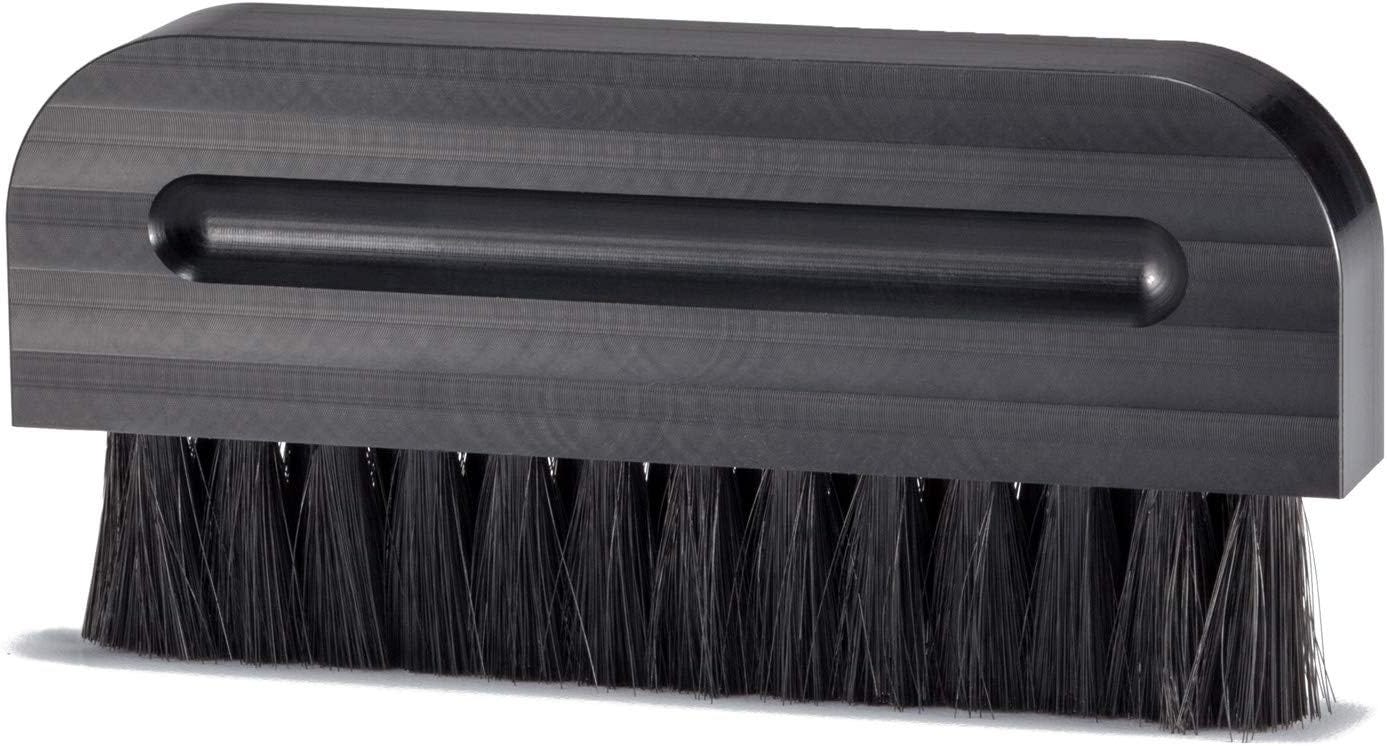
The Clean Sweep brush is without a doubt the best brush for spreading cleaning fluid on a record. Although it’s made by the team that makes the Record Doctor vacuum machines, you don’t need one to use this brush. Easy to hold, and it’s nylon bristles are just right for evenly spreading any fluid over the record’s surface. I always have two on hand.


Enjoy your records!
Some product links are affiliate links. As an Amazon Associate, I earn from qualifying purchases.
No posts
Comments
Nothing yet. Say the first thing.
Sign in to join the conversation.