
There’s a moment in almost every home tour, guided or self-conducted, where someone stops, looks down, and says “oh, I love that.” It’s rarely the thing that took the biggest chunk of the budget. More often than not, it’s the floor threshold, that small, unglamorous strip where one material clocks off and another clocks on.
Nobody puts it on a mood board. Nobody adds it to Pinterest under “dream home.” And yet it’s one of the few details that will make a visitor stop mid-sentence and crouch down to look at the floor like they’ve found a fossil. That’s the power we’re talking about.
It’s easy to overlook because it’s, quite literally, underfoot. But the threshold is doing more work than almost any other junction in a building. It marks the boundary between public and private, wet and dry, loud and quiet, formal and casual. Get it right and a home reads as considered from the ground up. Get it wrong, or worse, ignore it, and even a beautifully finished project can feel like it ran out of budget three centimetres before the finish line.
Here’s how I think about it, whether you’re renovating your own place, building new, or just deciding where the fun bits of the floor plan should go.
Most people experience a threshold before they consciously register it. Your foot feels the change in level, texture, or temperature a fraction of a second before your eyes catch up. It’s basically a plot twist for your feet. That sensory handoff is what makes the detail so powerful. It primes the transition into a new space before you’ve even looked up.
It’s also one of the few places in a build where structure, trade coordination, and design intent all collide in a single line, usually about 20mm wide, usually the last thing anyone thinks about until it’s too late. Waterproofing membranes, subfloor build ups, expansion gaps, and two entirely different trades who may or may not be speaking to each other that week, all have to agree on the same narrow strip. Nail that coordination and the detail disappears into the background, exactly as it should. Botch it and you get lippage, a visible ridge, a grubby line that collects dirt, or just a boring meeting of two materials that never quite shook hands, and eventually, someone’s disappointment.
Changing timber direction between rooms is one of the best low cost, high impact moves you can make. It’s basically a magic trick. Same timber, same budget, completely different feeling, just because the boards decided to turn a corner. Running boards perpendicular from a hallway into a living room, or laying a herringbone insert at an entry before the boards resume their run, immediately signals “this is a different zone” without a single wall.
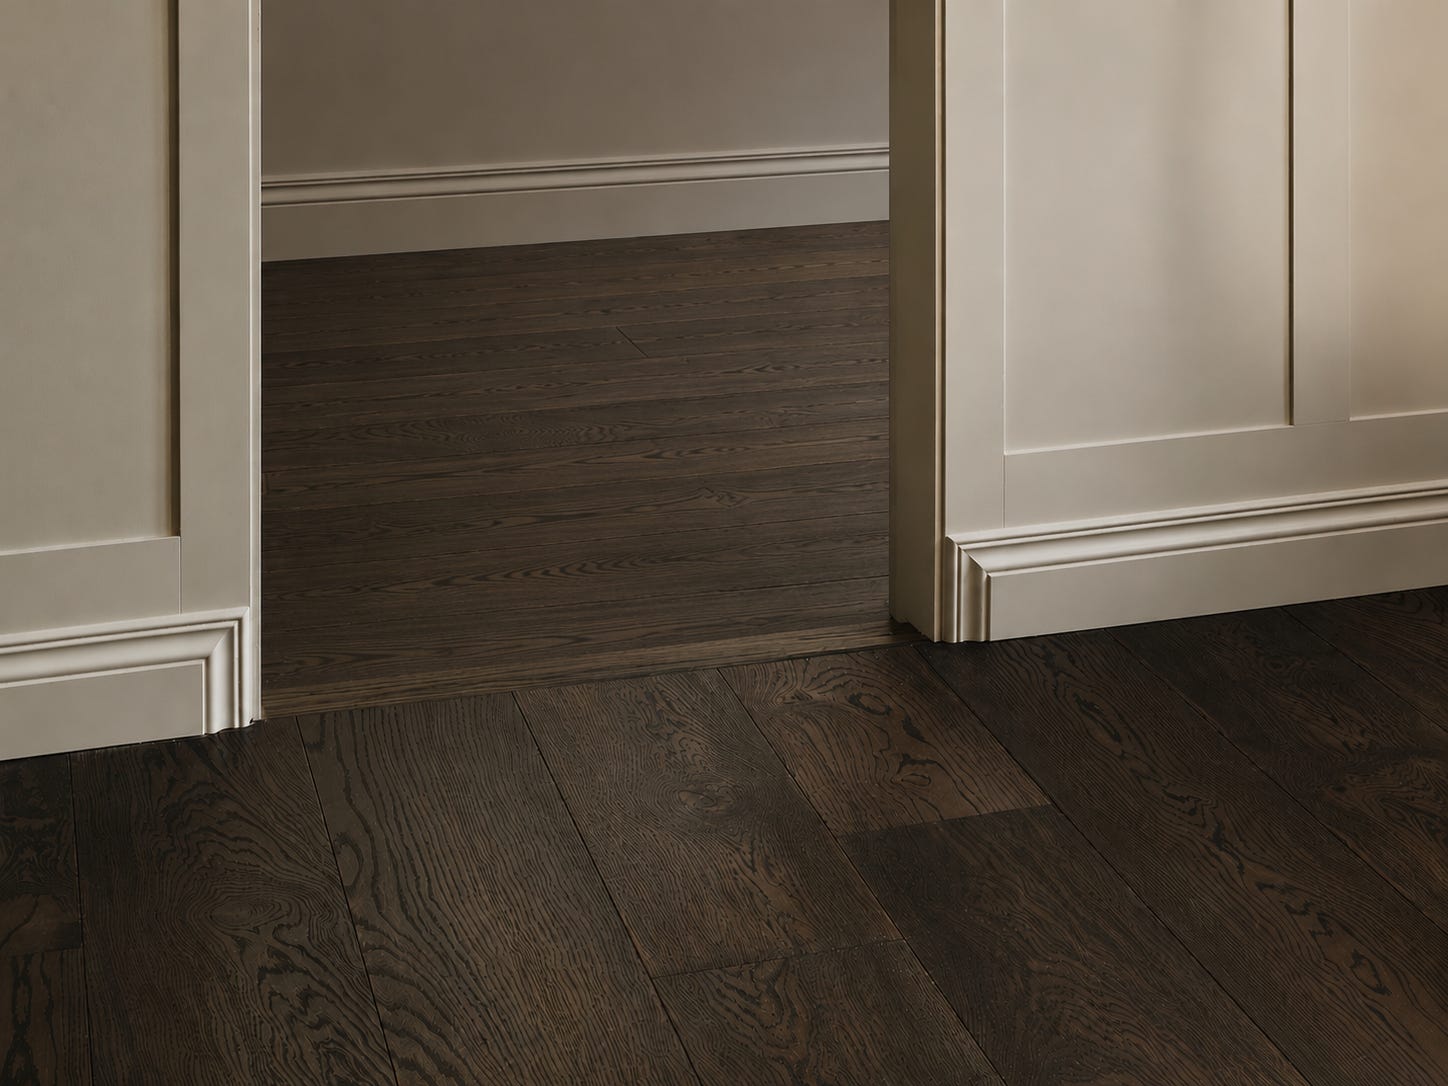
Commit to the change, don’t hint at it. A subtle 15 degree shift reads as a mistake, or worse, as though the installer sneezed. Full 90 degree changes, or a deliberate pattern insert (herringbone, chevron, or a picture frame border), read as intentional.
Use a change in direction to mark arrival, not just difference. Entries, thresholds into primary suites, or the transition from hall to living zone are the moments worth spending on. Save the drama for somewhere it earns its keep.
Match board width and species across the change unless you’re deliberately contrasting tone (say, a darker timber in a study off a lighter hallway). Consistency in material with a shift in laying pattern feels curated; changing everything at once feels like the budget ran out and someone panicked.
This is the trickiest of the lot, because tile and timber build up differently and almost never sit at the same finished height without a very stern conversation between trades.
A level change between rooms is really only something you should allow yourself if just one room is being refurbished on its own, say, retiling a bathroom within an otherwise untouched home. If you’re renovating the whole project, working from scratch, the levels throughout need to be worked out early, well before anyone picks a tile, so there’s no change in height between rooms at all. Even a few millimetres can catch out anyone who shuffles or drags their feet, and a stubbed toe is not the kind of detail you want people remembering the renovation for.
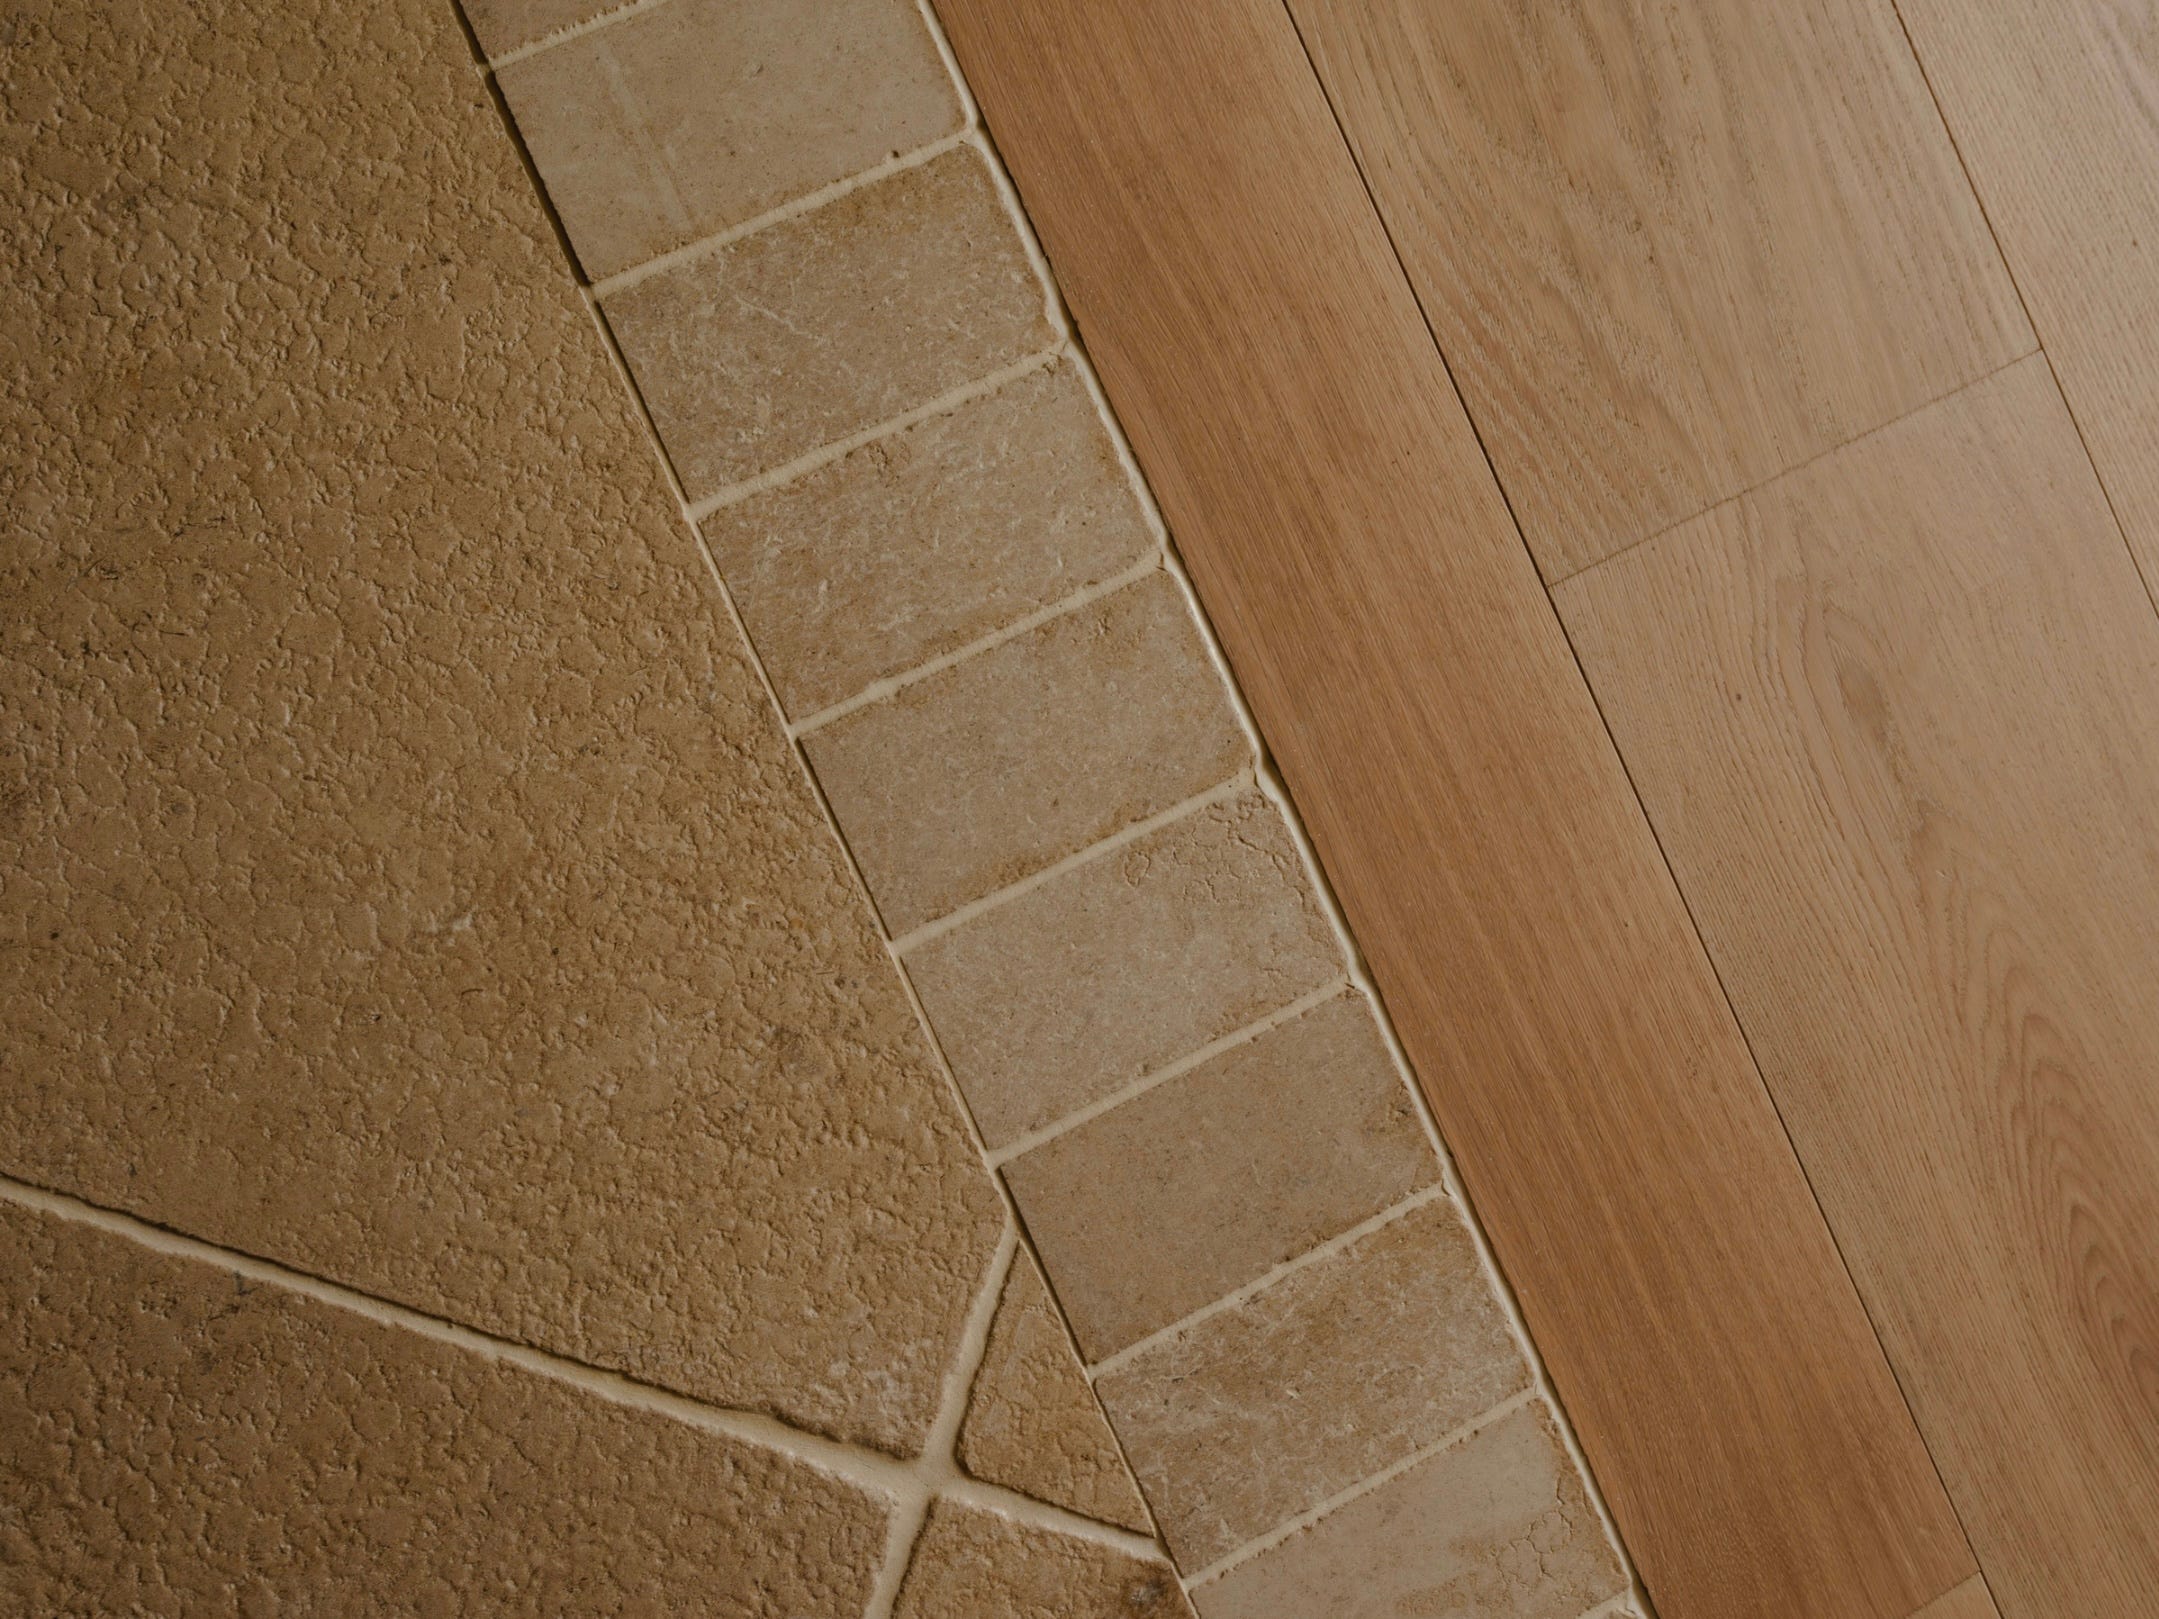
Plan the build up early, not on site, the day the tiler and the flooring installer meet for the first time and neither of them is thrilled about it. Get them talking to each other before either material shows up. This is a coordination issue as much as a design one.
Flush is the goal, but sometimes tile and timber simply won’t sit at the same height, even with careful planning, because one build up is thicker than the other. When that happens, don’t try to force a fudge and hope nobody notices. Instead, leave a small, deliberate gap between the two materials, something like 5 to 10mm wide, and let it read as an intentional groove rather than an accident. This is called a shadow line or reveal. Edge that gap with a slim timber strip or a fine metal trim, never a thick or dark grout line, so it looks crisp rather than like an unfinished join. Done well, it reads as “we chose to do this” instead of “we couldn’t make the heights match.”
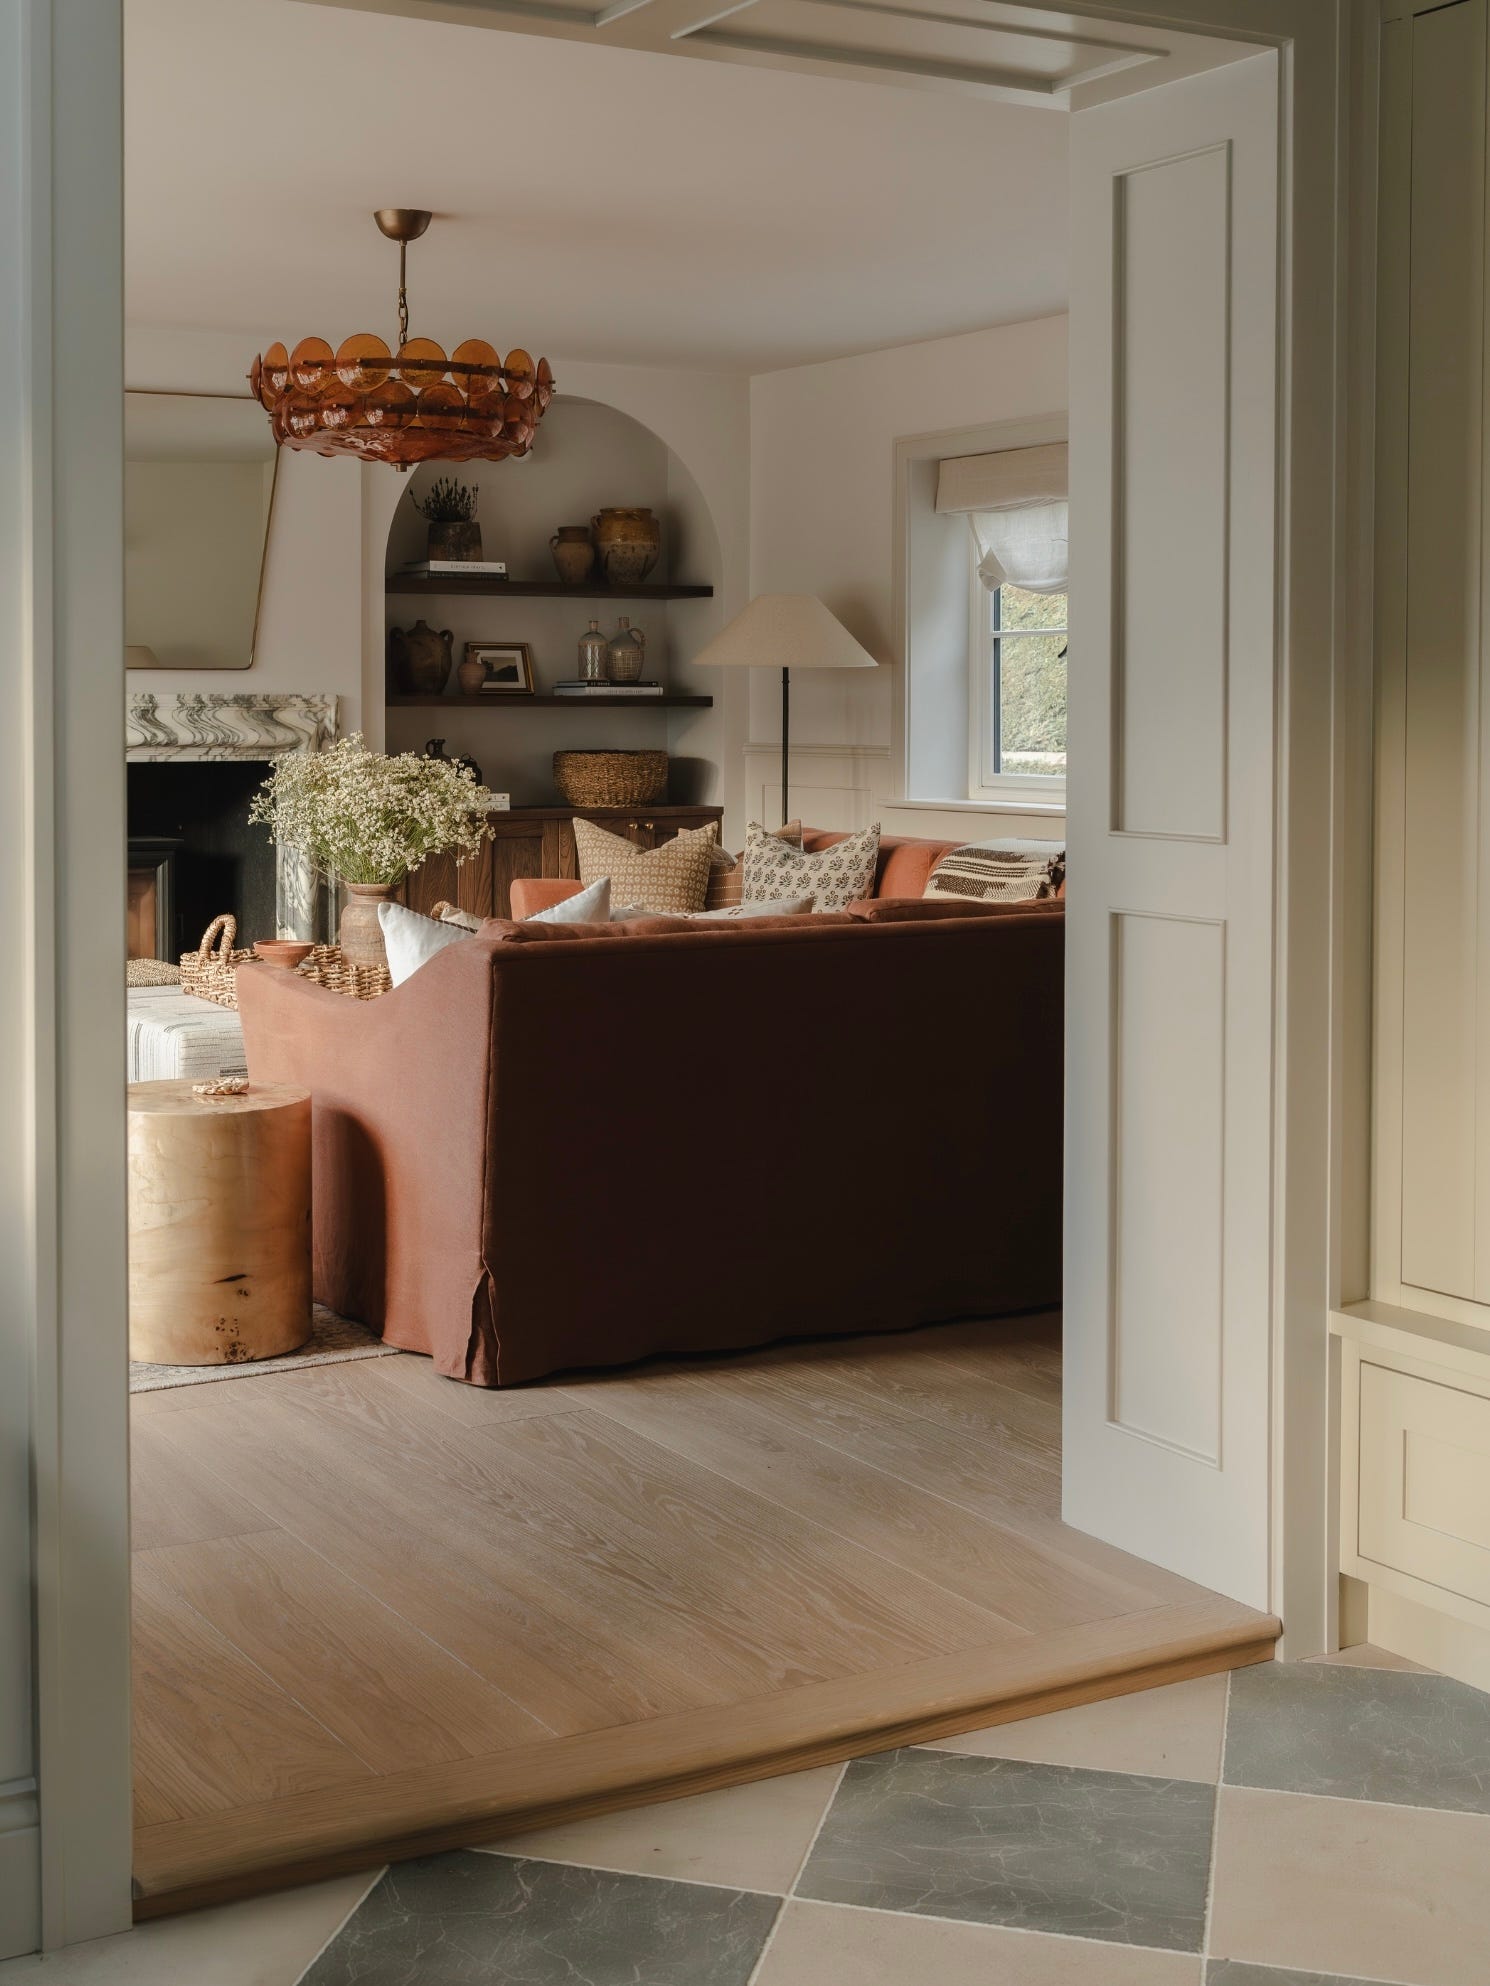
Avoid the standard aluminium capping strip if you can. It’s the single fastest way to cheapen a transition that everything else in the room has been considered for. Think of it as the design equivalent of a beautiful outfit paired with the wrong socks. If you must bridge a level difference, a stepped timber detail or a stone threshold slip (more on that below) will always look better.
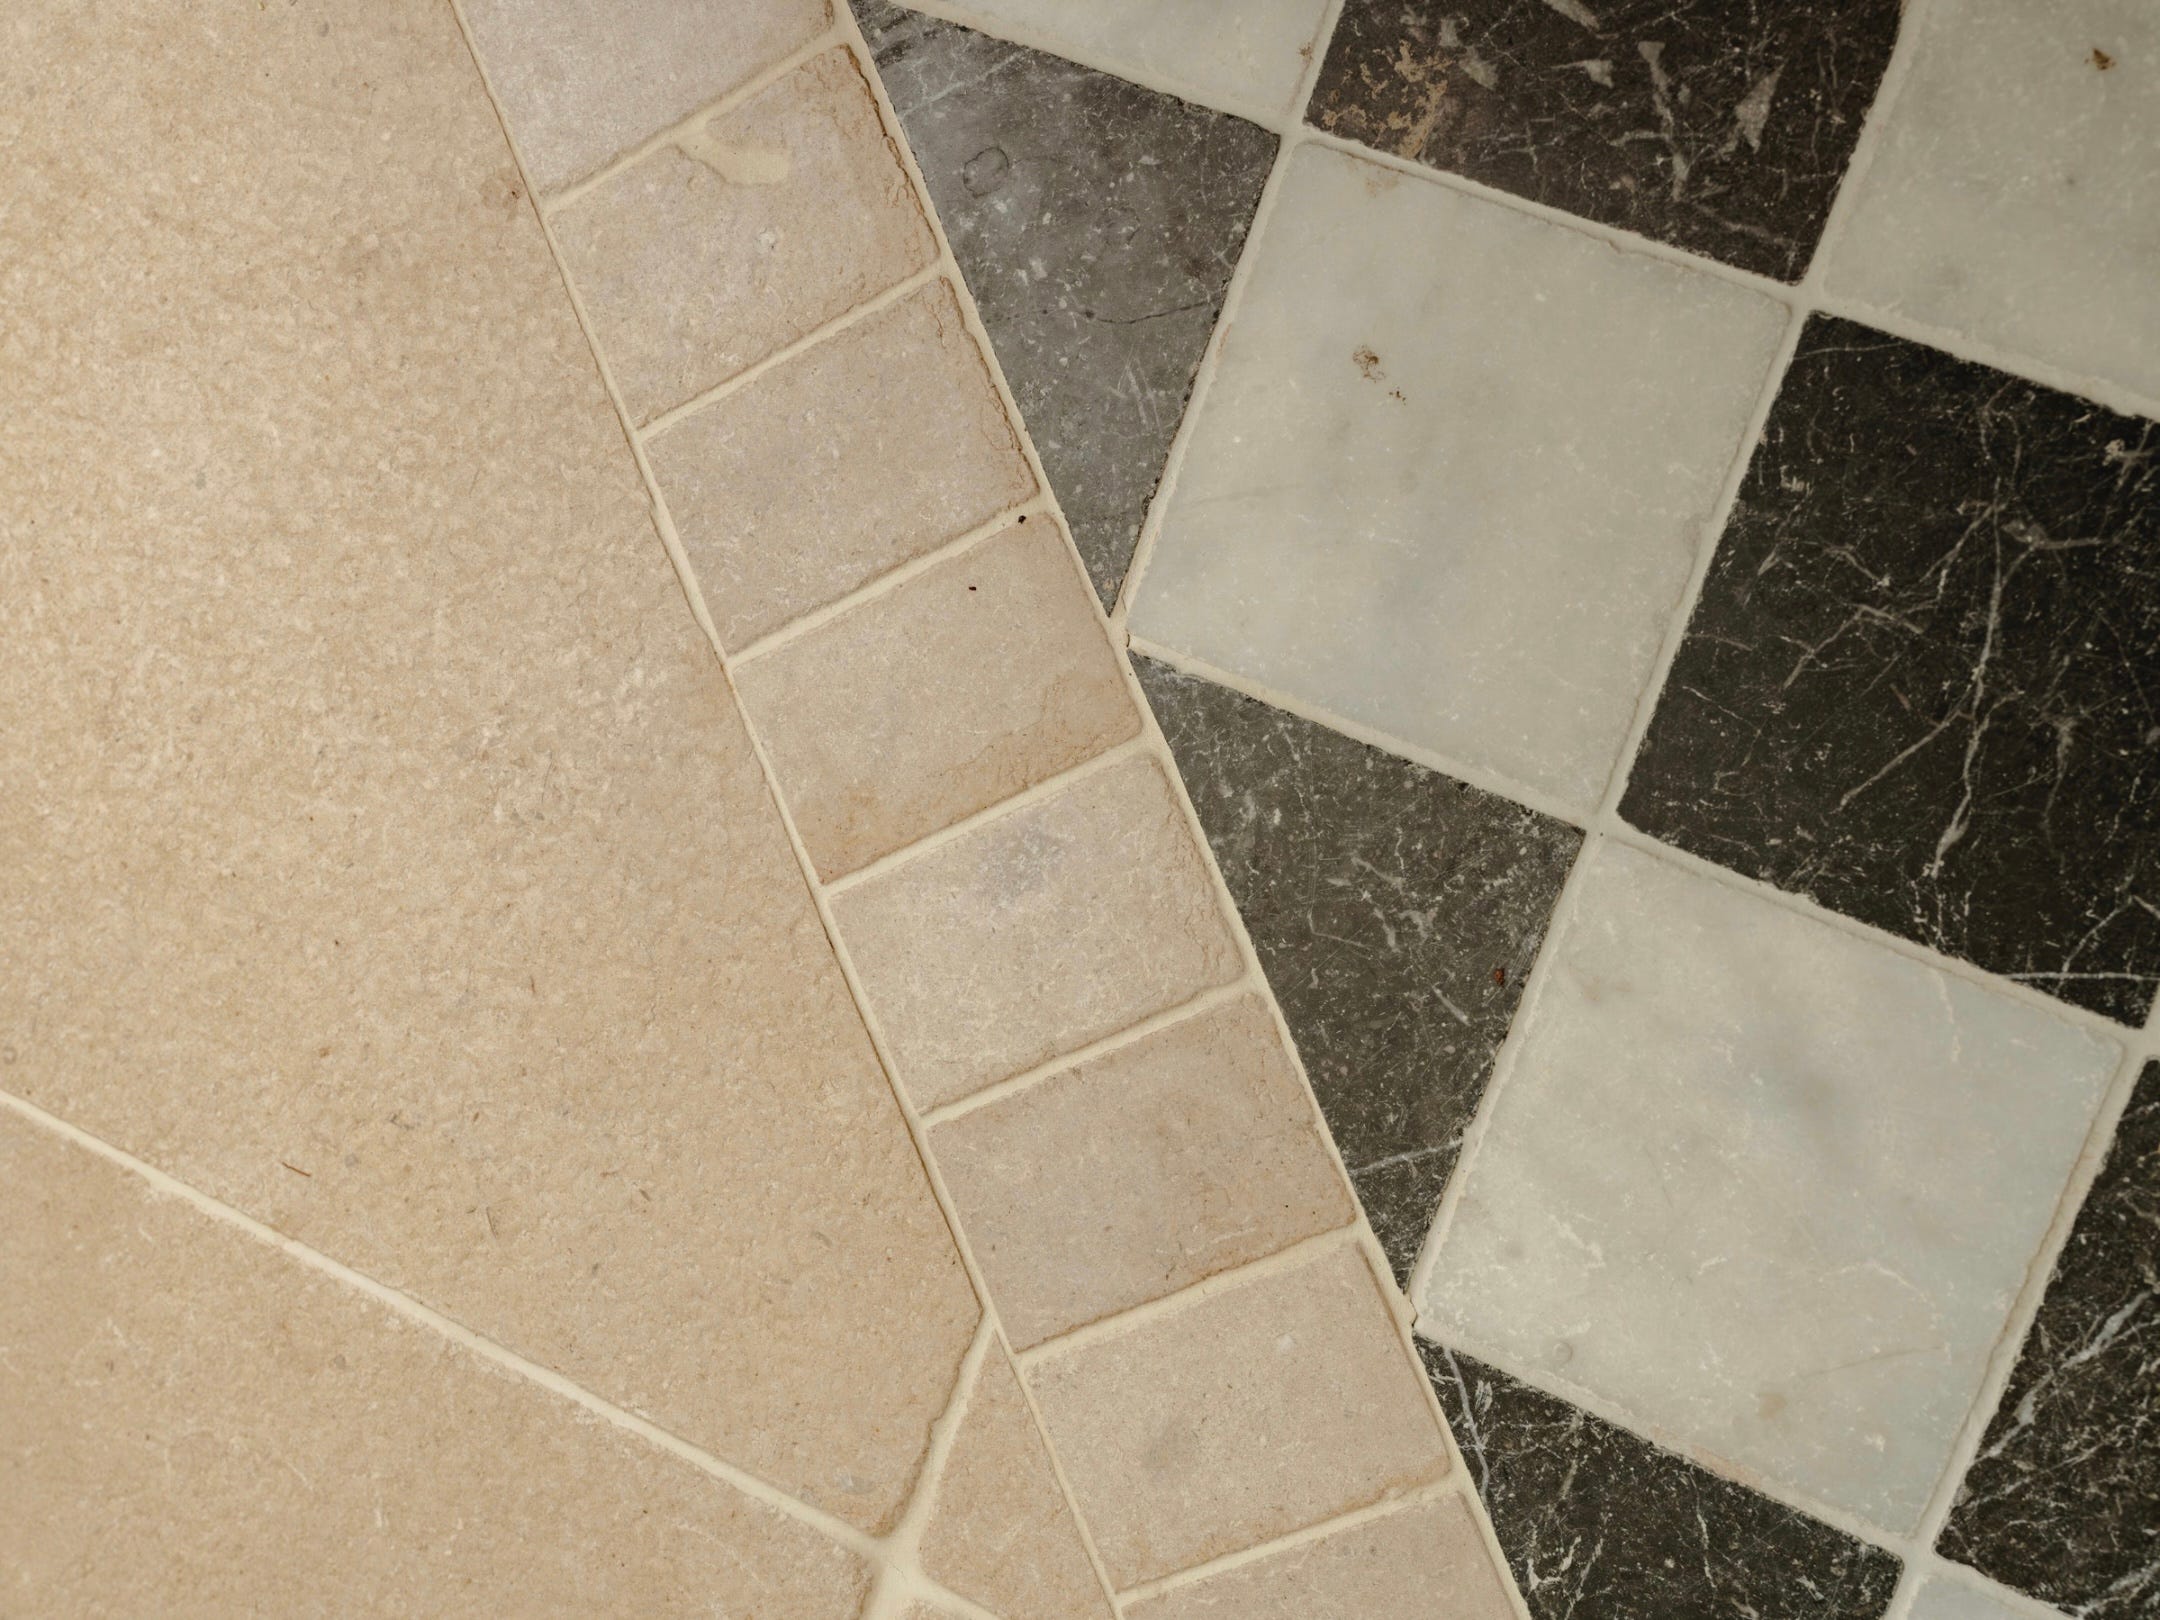
When two tile types meet, say, a large format porcelain in a kitchen meeting a smaller mosaic in a butler’s pantry, the grout line itself becomes the detail. It’s a tiny line with a big opinion.
But grout is only half the story. This is where you can actually have some fun rather than just negotiating a truce between two tiles.
Change the laying direction of one of the tiles at the threshold. Even a straight lay tile can be rotated 45 degrees right at the junction, or run in a different bond pattern for a metre either side of the door. It signals the change without adding a single new material, and it costs you nothing but a conversation with the tiler about setting out.
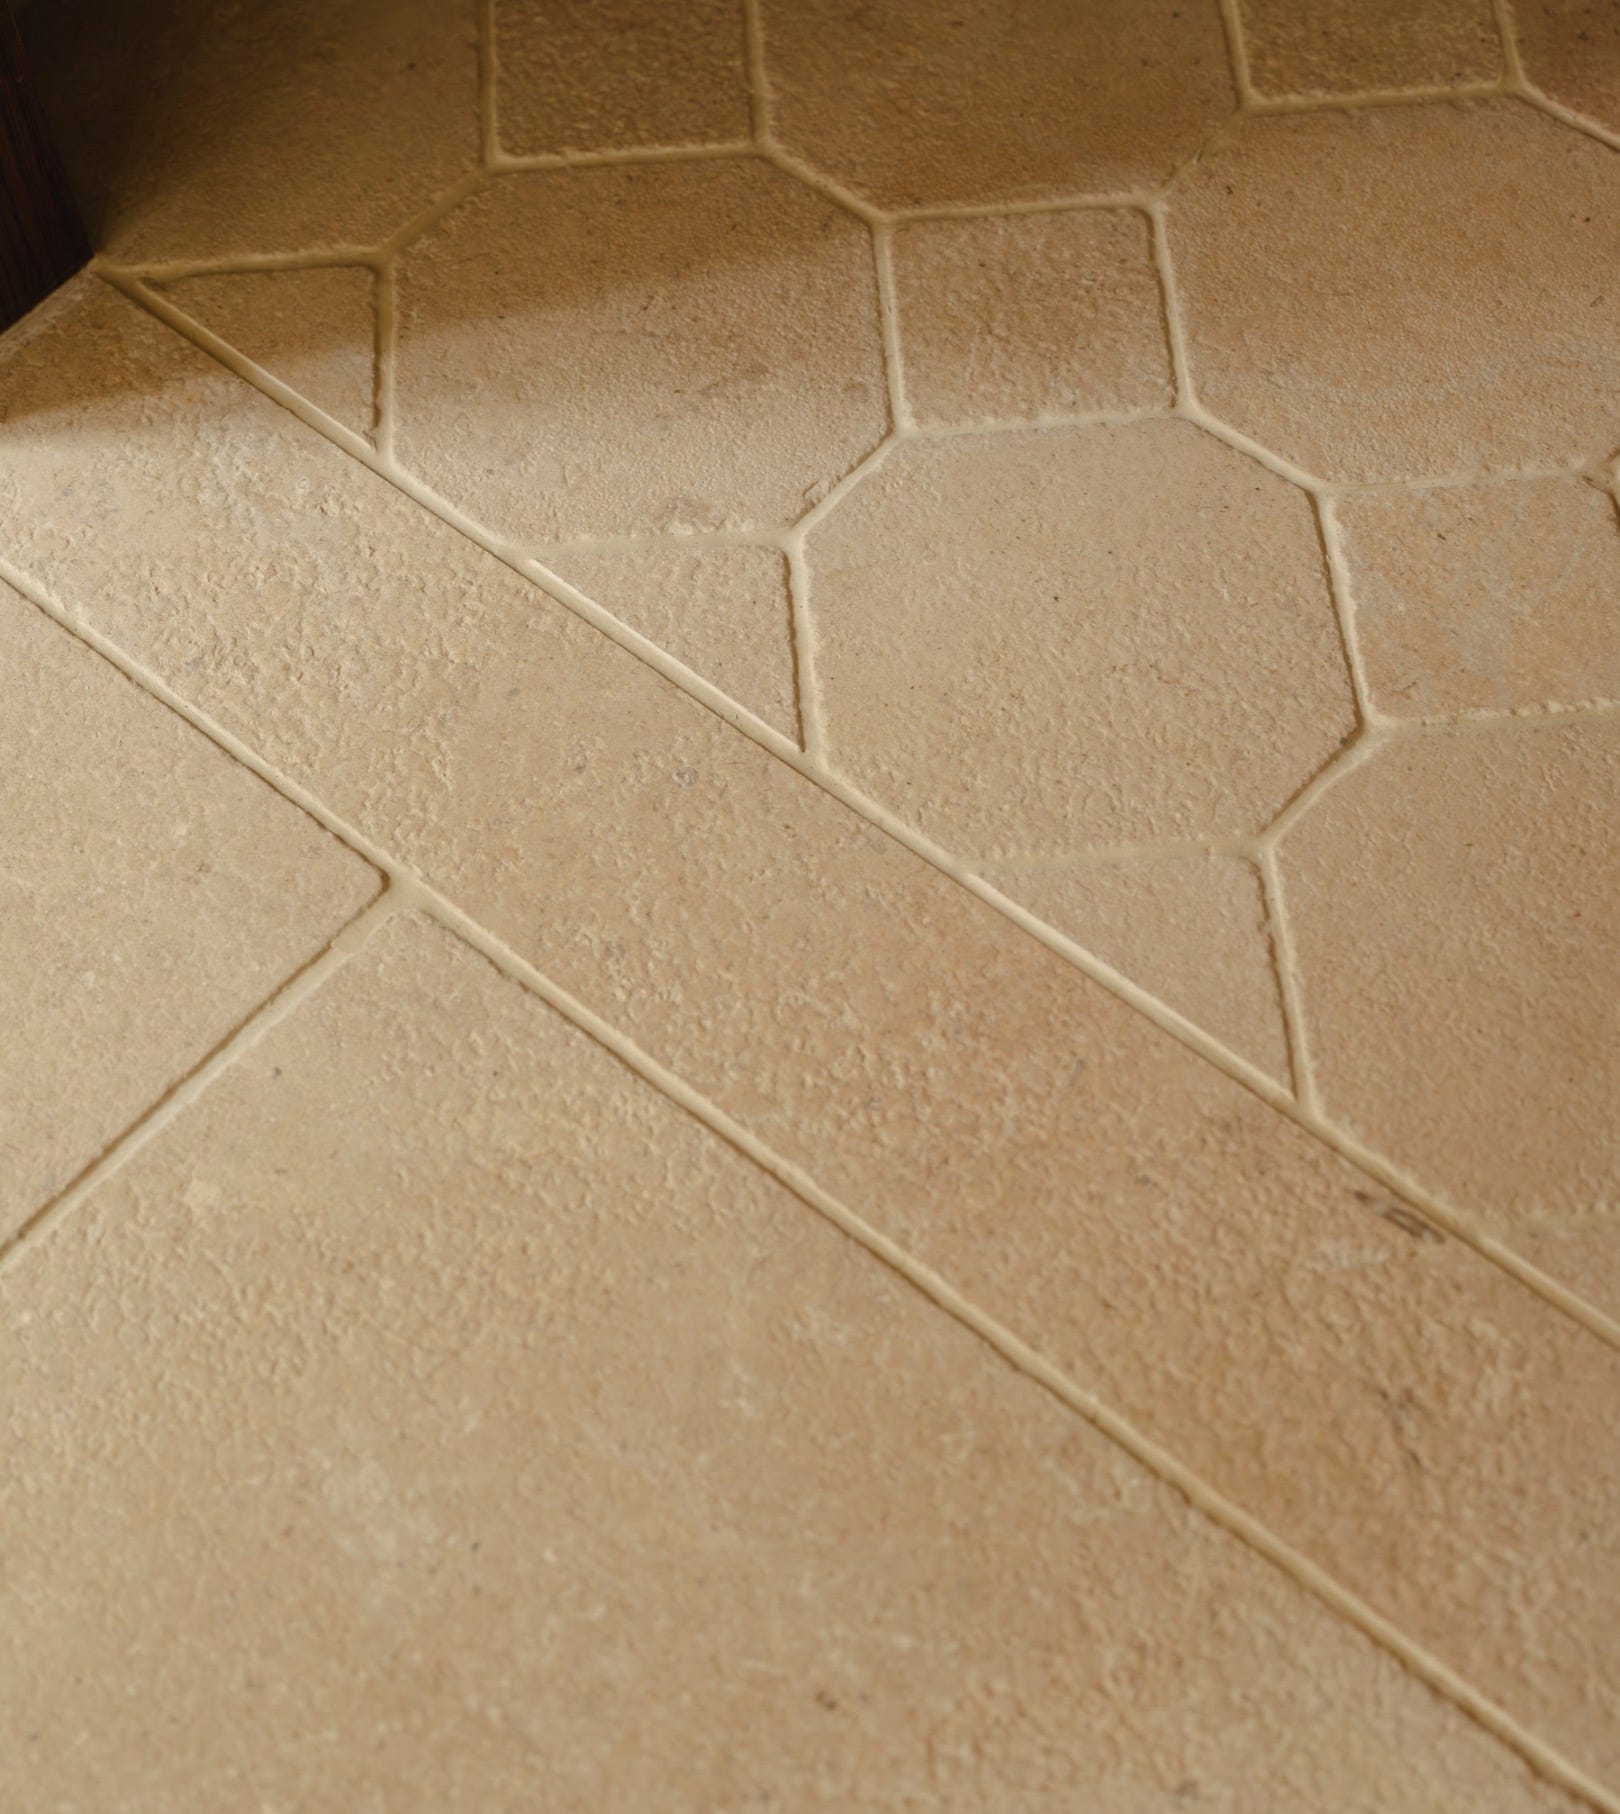
Bring in a third, complementary tile to sit between the two. A narrow band of a different tile, stone, or even a contrasting colour of the same tile, acts as a proper pause between spaces rather than an abrupt handover. How playful you make that middle tile depends entirely on the mood you’re going for. A subtle honed stone reads quiet and considered. A bold contrasting tile reads like you meant it and you’re not sorry.
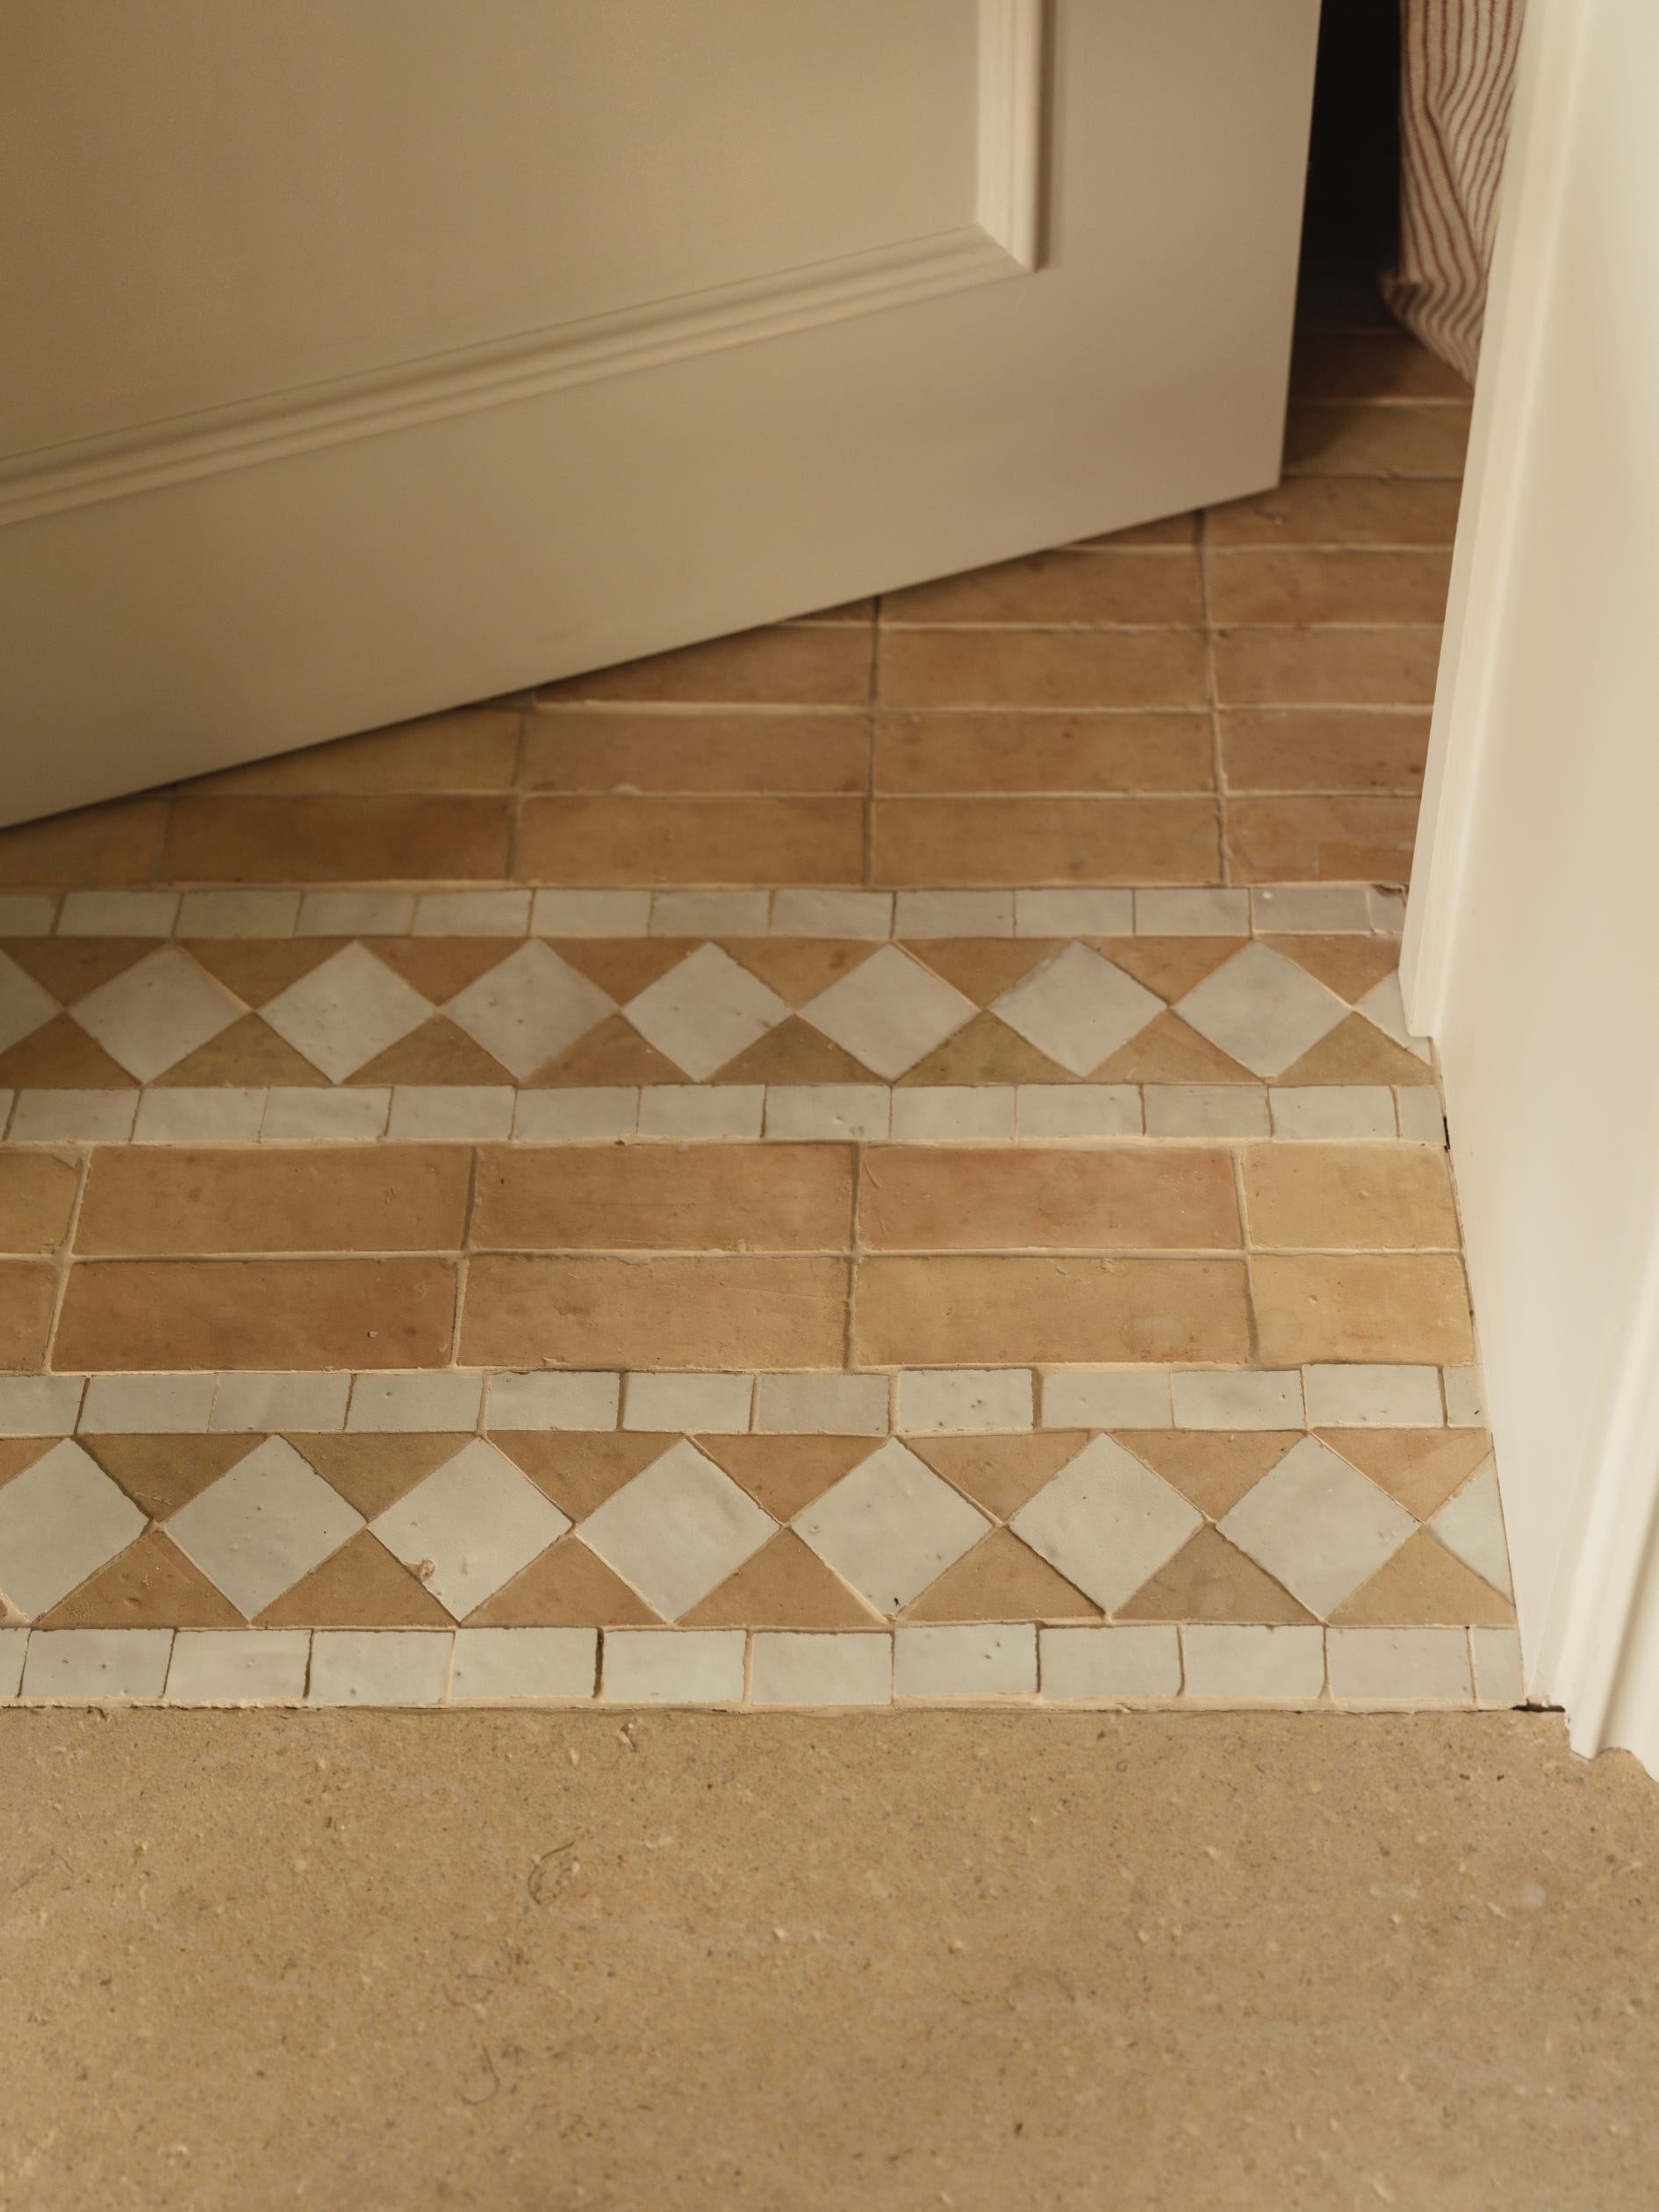
Keep grout joint widths consistent across both tiles where possible, even if the tiles themselves are different sizes. A mismatched grout width either side of the same line is one of those things people can’t name but will absolutely feel in their bones.
Align the joint with something architectural, a door reveal, a change in ceiling line, a benchtop edge, rather than letting it land wherever the tile setting out happens to fall. An intentional threshold aligns with the building; an accidental one just happens to be wherever the tiler ran out of tile.
Always use the width of the door opening to determine the width of your threshold, not the other way around. It’s the single easiest way to make sure the transition looks planned rather than squeezed in wherever it happened to land.
Consider a stone slip threshold (honed marble or a matching stone bullnose) between two tiled zones, particularly wet to dry transitions like an ensuite into a bedroom. It reads as a proper “sill” rather than a repair job.
There’s one more threshold move, though, the one I genuinely save for the special projects. It’s not for every home, and that’s exactly why it works.
Comments
Nothing yet. Say the first thing.
Sign in to join the conversation.