
Requisite announcement: There are five days remaining to reserve a copy of The Land. The book spans the past ten years of our property and projects, community building, and that whole trajectory. Need some validating press? I’ve got you.
There’s a great writeup and Q&A about the book and our property over at Field Mag, wherein I put the whole endeavor into perspective and compare the costs of our builds to Kia’s automotive lineup.
Dwell adapted the first two chapters of the book as a single essay describing our initial desires, searching for land, and what we ultimately purchased.
The New York Times calls it “The most important book of 2026. And maybe 2027.”
Check them out. Peep the book. Share it with a friend. Maybe grab a copy. And if you happen to be in the book-selling world, hit me up for a hefty bulk-order discount before we place the print order next week.

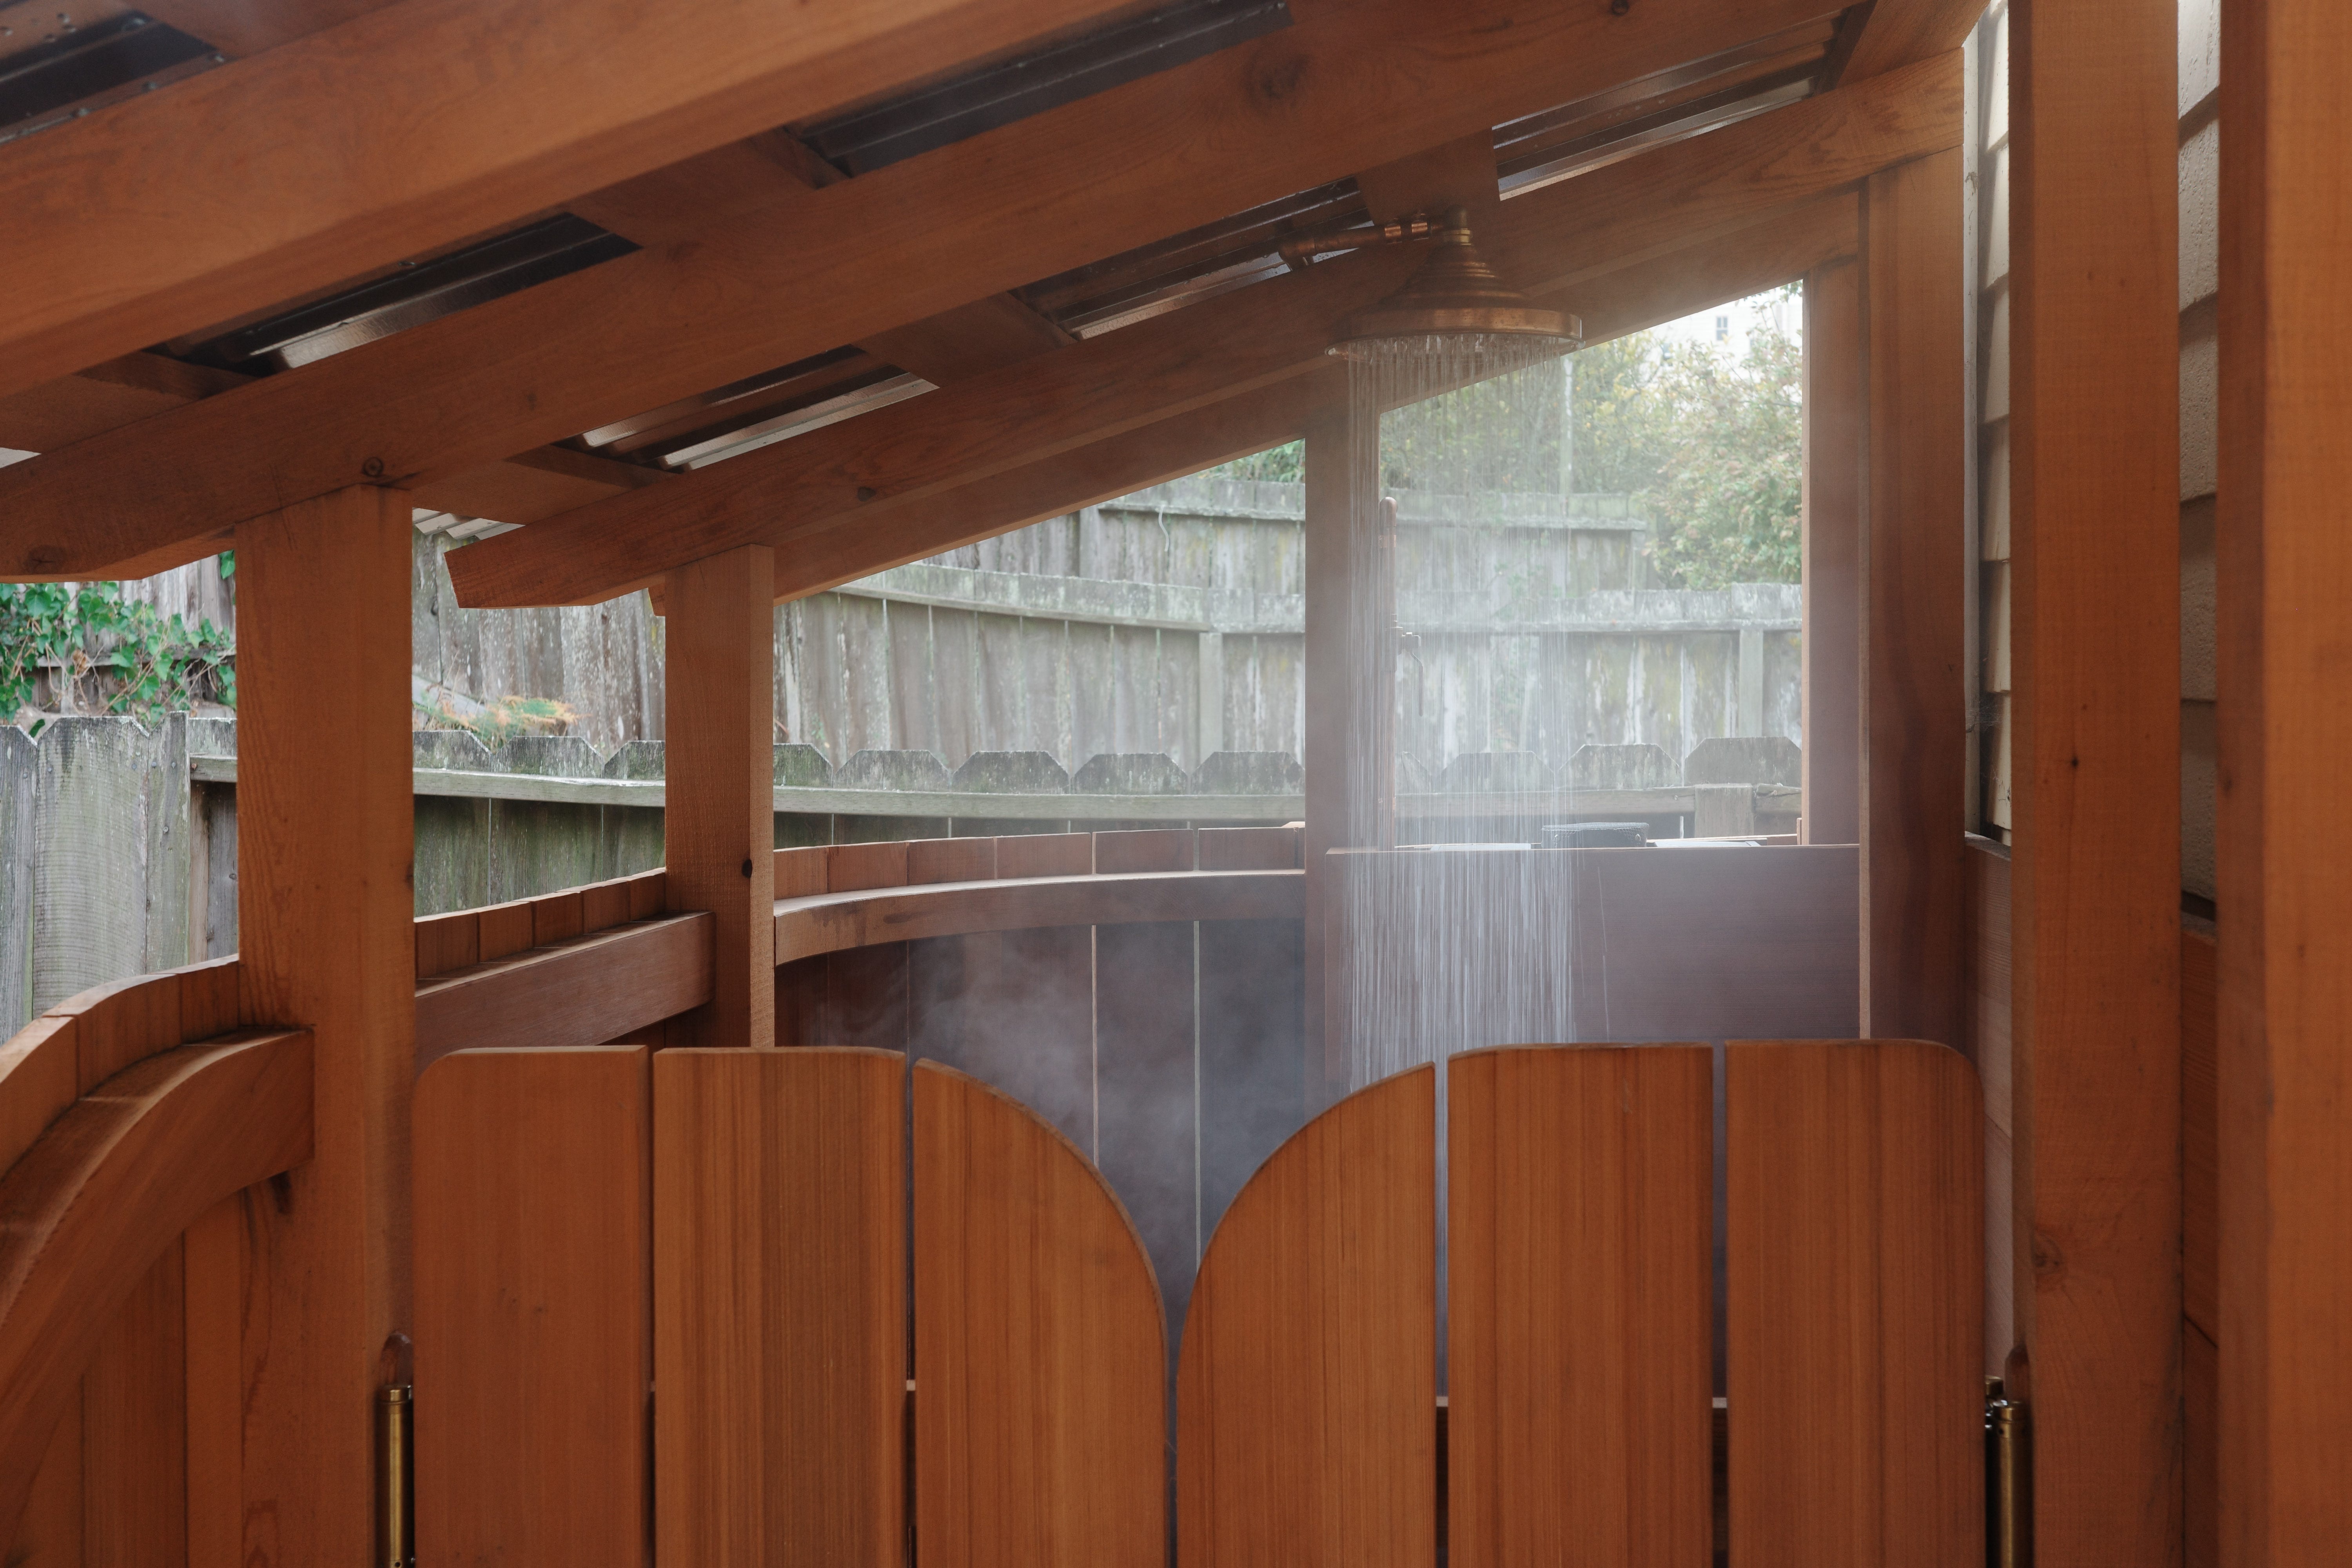
This book project has soaked up much of my time over the past several months. Exiting the laptop-haze I had an itch to build. I mulled over a few projects on my list and settled on a quality of life upgrade: an outdoor shower. Our weekly sauna night has benefited from a cold outdoor shower (really, just a wall-mounted shower head). But many folks also use our indoor shower before heading home, so I’ve long wanted to create a one-stop-shop heated outdoor shower. A nice one.
Here’s some details on that build (and a video of sorts, if you’re on Instagram):
[A note for the unaware, as this is a photo-heavy post: Click out of your email and read the post on Substack and you can open up these multi-image galleries to see the full un-cropped photos.]
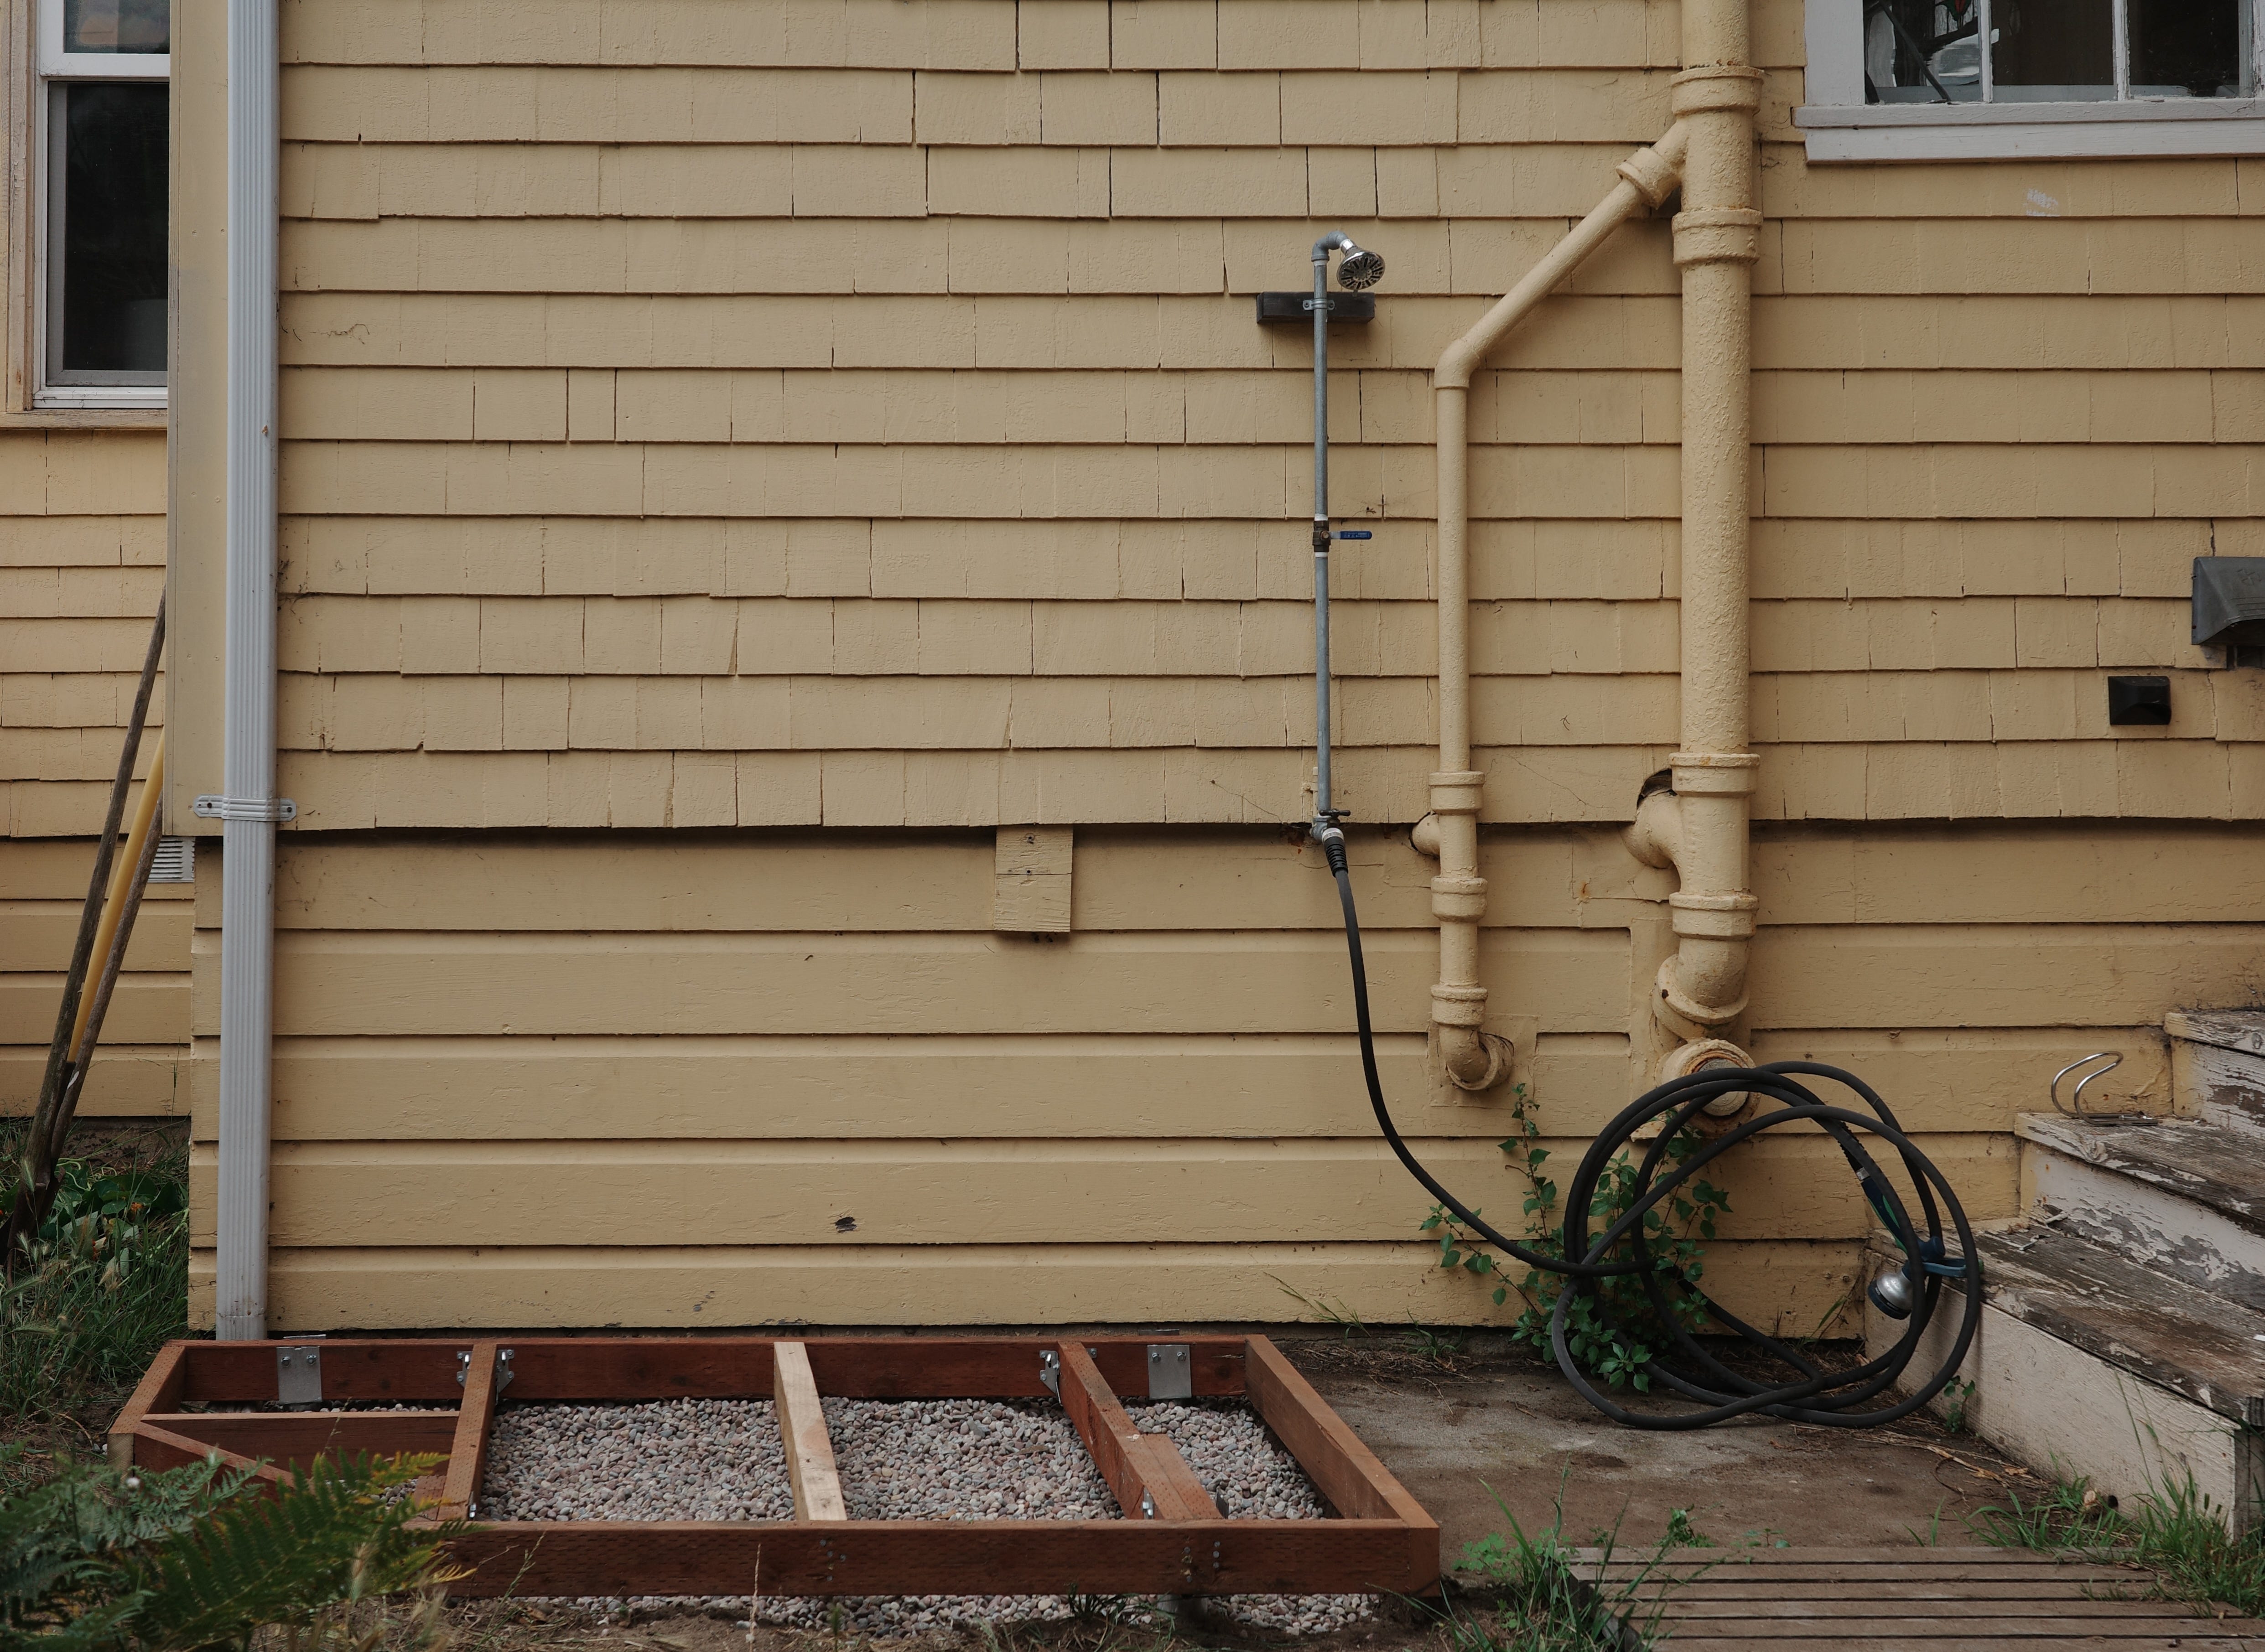
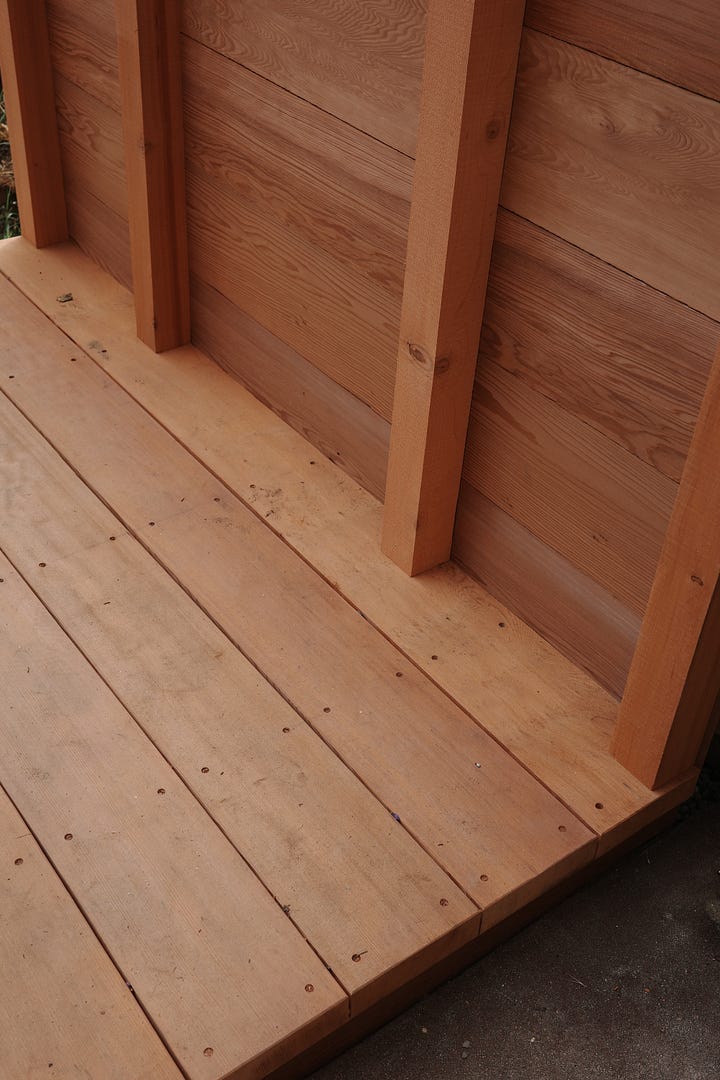
I was making use of some old lumber, so the floor framing got cobbled together. Pressure treated 2x4 and some redwood, sitting atop galvanized ground screw anchors. I sloped the dirt away from the house and laid down plastic and a layer of rock. Our sand drains quickly so this seemed plenty for what largely amounts to once-weekly soaking.
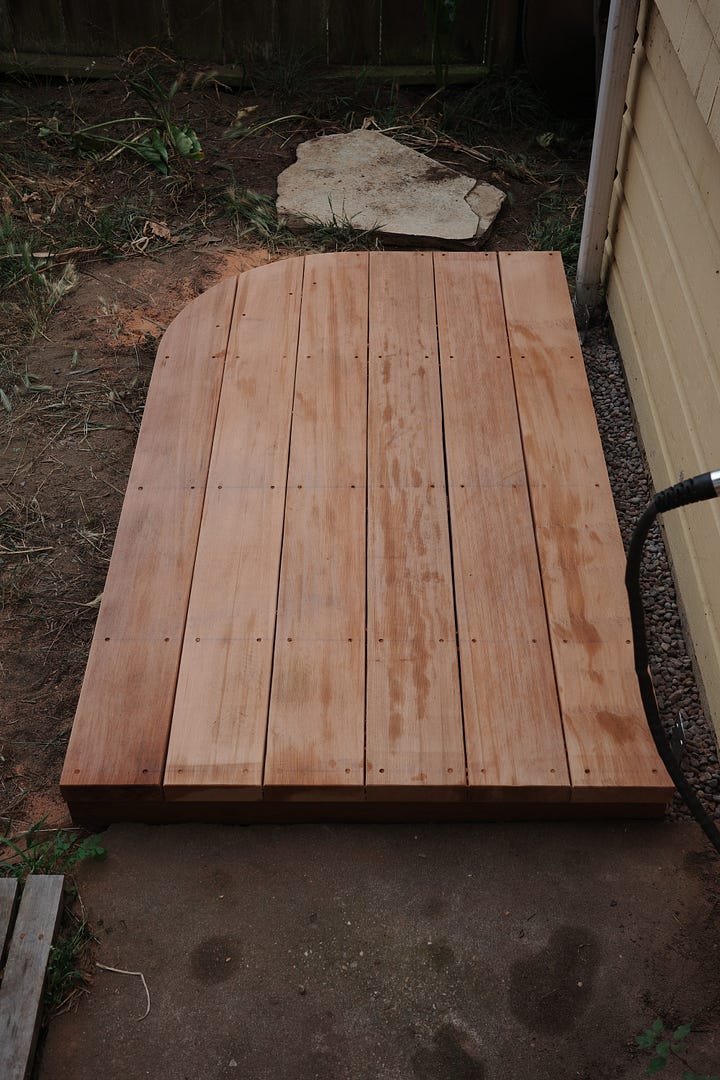
As you’ll soon notice, the corner of the shower is rounded. I’d originally planned to cut a round rim joist to frame that radius, but I ran short on appropriately sized wood, so I ended up just framing the corner at an angle. I was able to get away with this (and some other haphazard floor framing) by using chonky two-inch thick floor boards.
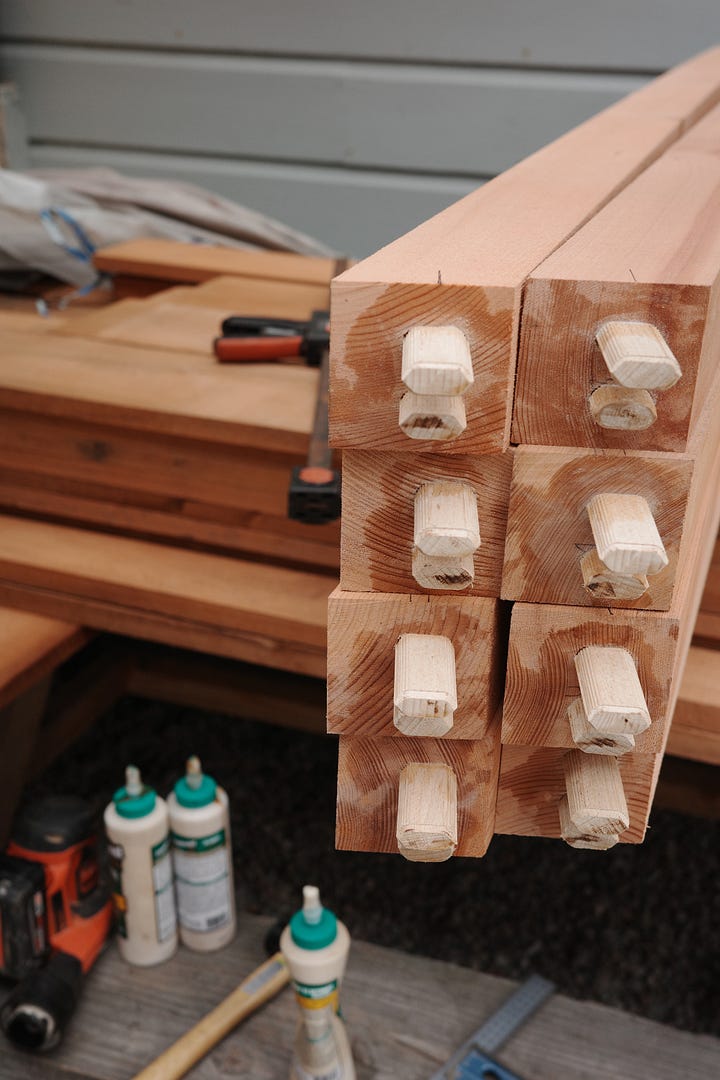
I’d designed the framing as cute lil’ 3x3 timbers but never made a plan for how to join them—only knowing I didn’t want visible hardware. I suppose I could have run some hidden lag bolts, but that wouldn’t be ideal and I was trying to make this nice. Mortise and tenon made the most sense to really do it right, and I was leaning that direction. But then I remembered I have a Domino XL, which is basically a mortise and tenon machine. Much easier. Never used it for an outdoor project but it made sense here given the small size of the “timbers.” Festool sells exterior-rated dominos made from African sipo, but I opted for the standard-issue beech dominos I already had.
Will they hold up? Probably. The most important ones are tucked high under the roof and they’re all encased in redwood, and beech lasts about as long as Doug fir per rot-testing studies in Europe. But, most importantly, I’ve seen what I can get away with here in our backyard. Charlie (he lived here before us) did the sauna framing and it was held together with brad nails and hopes and dreams. His old pergola lasted 10 years with Doug fir posts buried in the ground and hadn’t yet died. The margins are wide and so those dominos are probably fine.
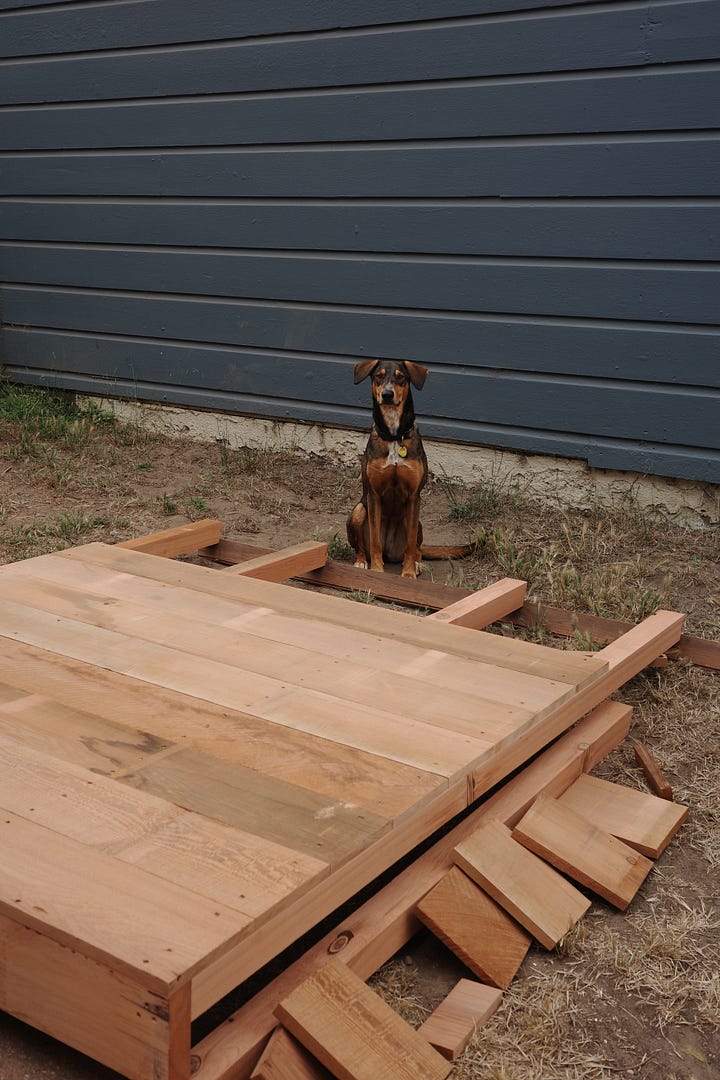

You may have noticed this wood is pretty nice. Let me tell you, it’s exceptionally nice. All old growth redwood. Which is very different than the redwood you’d find on the Home Depot rack. It’s denser. Stronger. Shrinks and swells less than most woods. Also happens to be gorgeous. (And is genuinely rot resistant for decades in the way most folks think of redwood—the newer stuff really isn’t.)
I share this because it matters for this next bit.
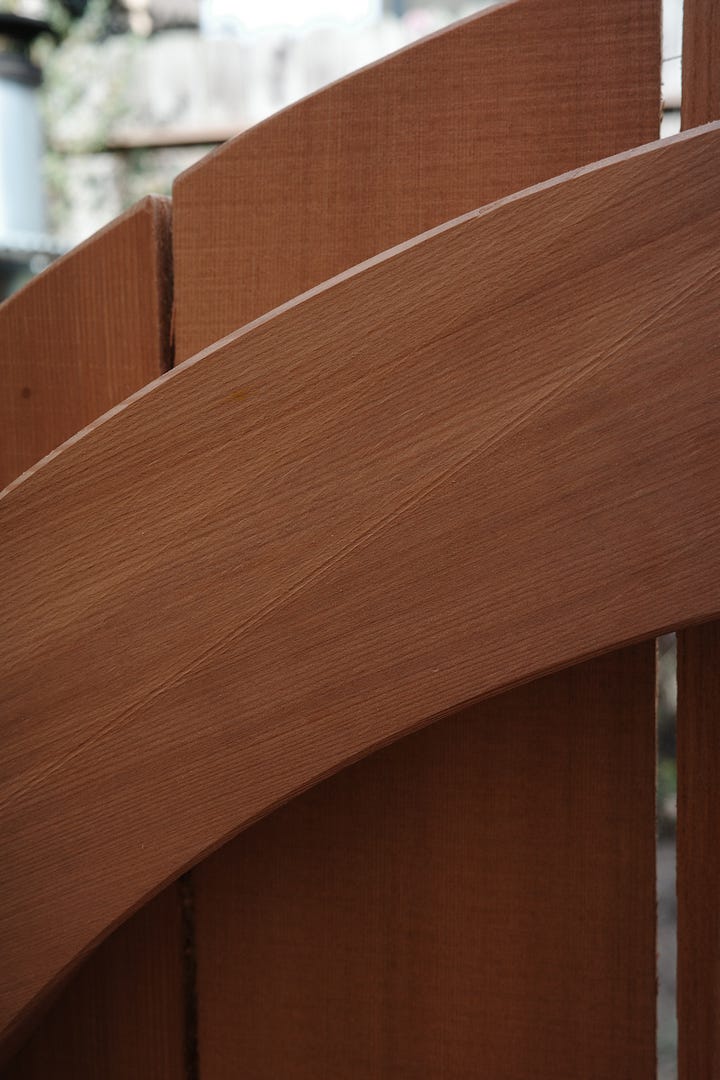
To frame the round walls I (really, Joey) CNC’d curved sections from solid chunks of redwood. This is not the strongest way to make curved wood, as the grain runs out along the curve, which could be a place where the wood eventually splits. Building cross-grain laminated blocks to then CNC, or forming bent glue-laminated pieces, would have been stronger.
But, Joey’s CNC router was hungry and I had the wood and we figured why not just go for it? We did have some factors in our favor: The two longest pieces (where the grain really runs out) see very little water. The four short pieces getting consistently soaked are hardly curved at all and have fairly straight grain throughout. And the wood is clear, dense, two-inches thick, and reenforced by waterproof glue and pre-drilled nails where it connects to the siding. Our gamble was this high quality good-wood will hold up just fine.
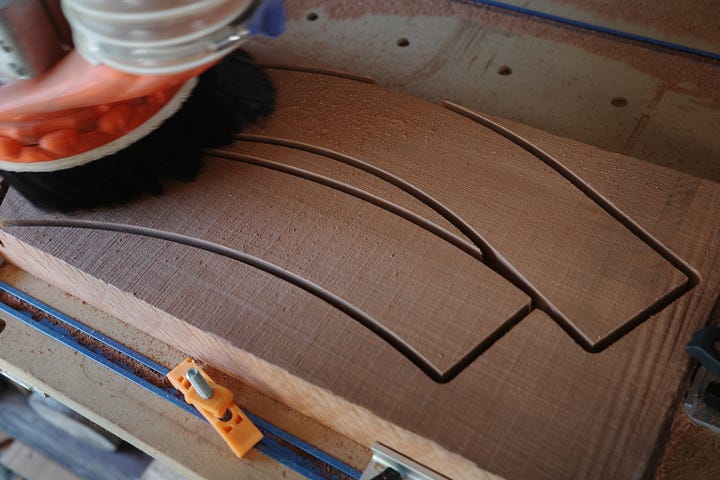
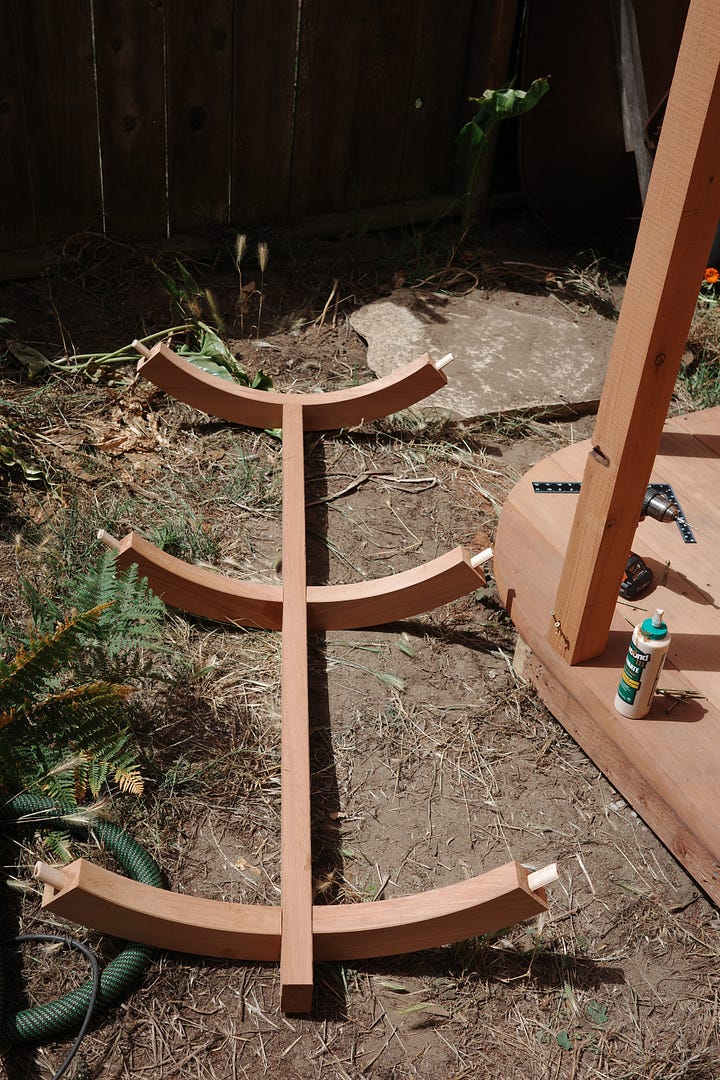
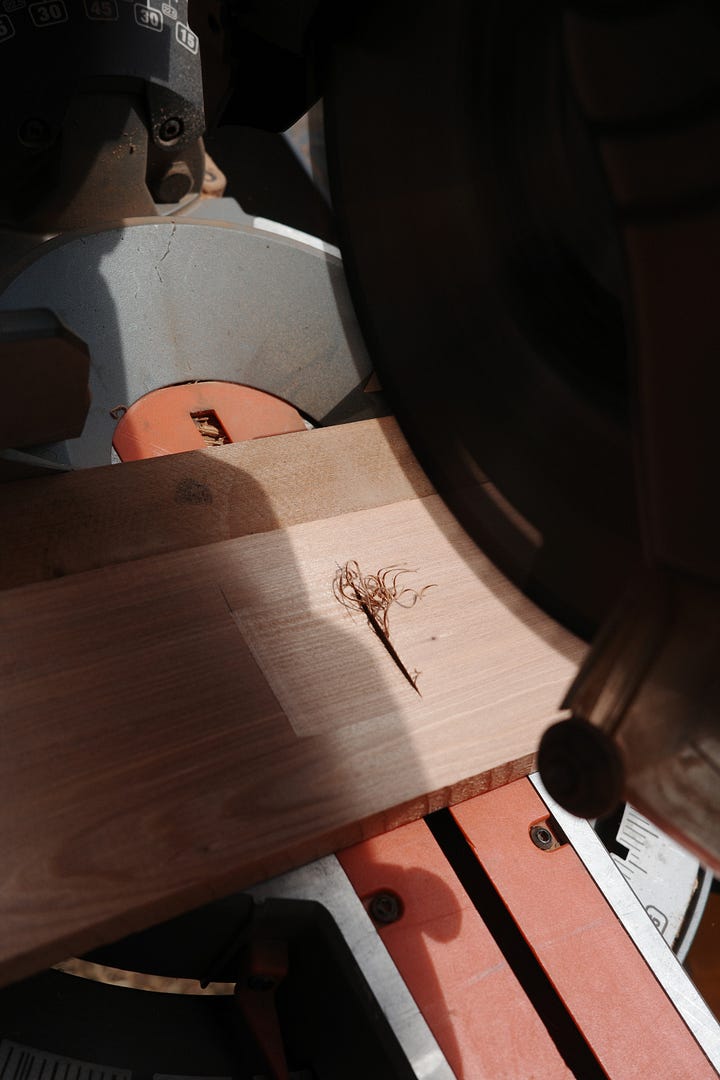
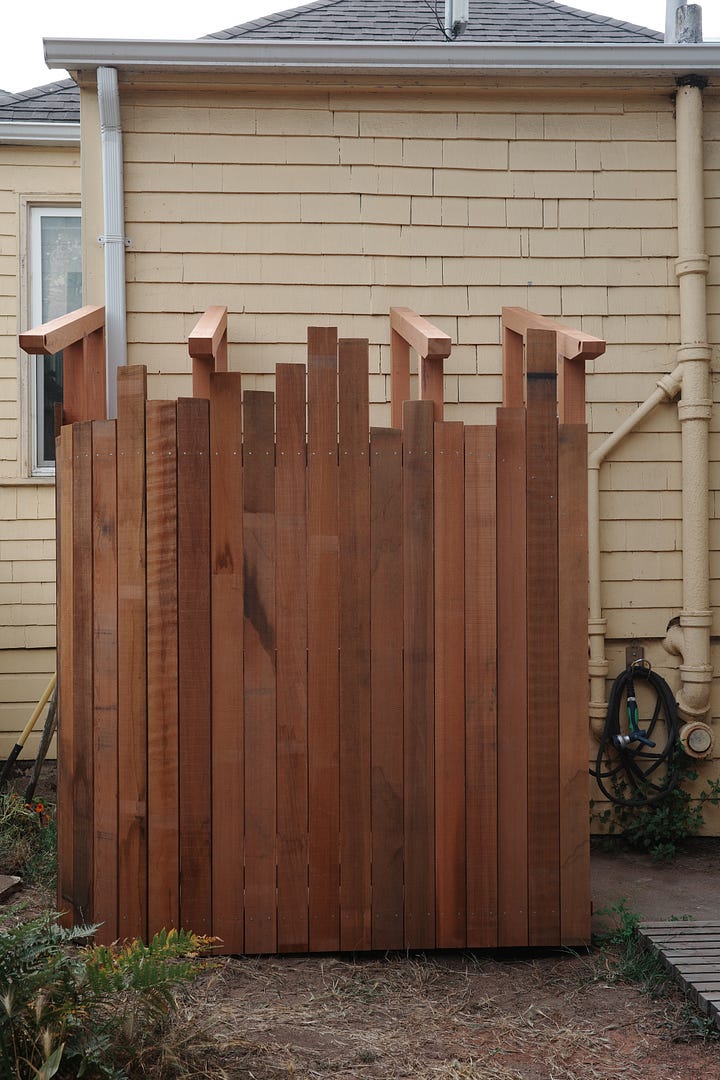
Horizontal framing got attached with dominos (and screws where they’d get hidden). The four-inch boards were all planed on one side for a rough-sawn exterior and smooth interior and were narrow enough wrap the curve fairly well, though I used the miter saw to scallop them a bit so they’d sit a hair flatter.
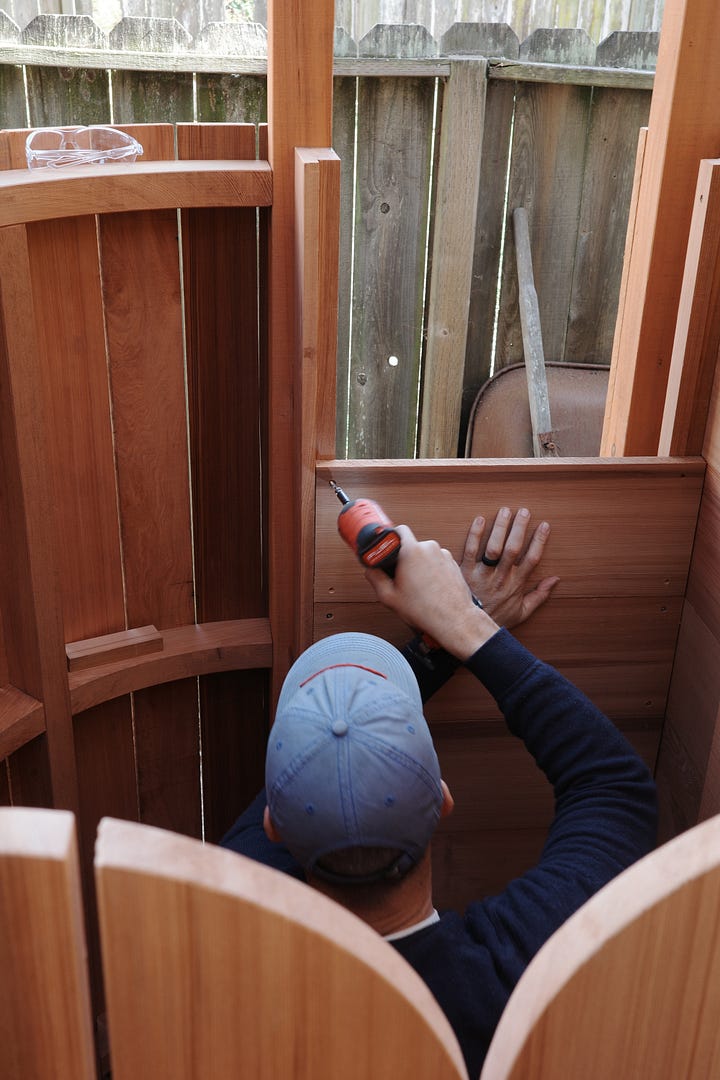
That front wall got hand-nailed. The rear wall was quite close to the house, so that was built ahead of time—the eight-inch boards attached to the posts via stainless screws and the posts attached to one floor board that I’d removed. Then we dropped the whole assembly back in place and screwed it down with four-inch stainless screws.
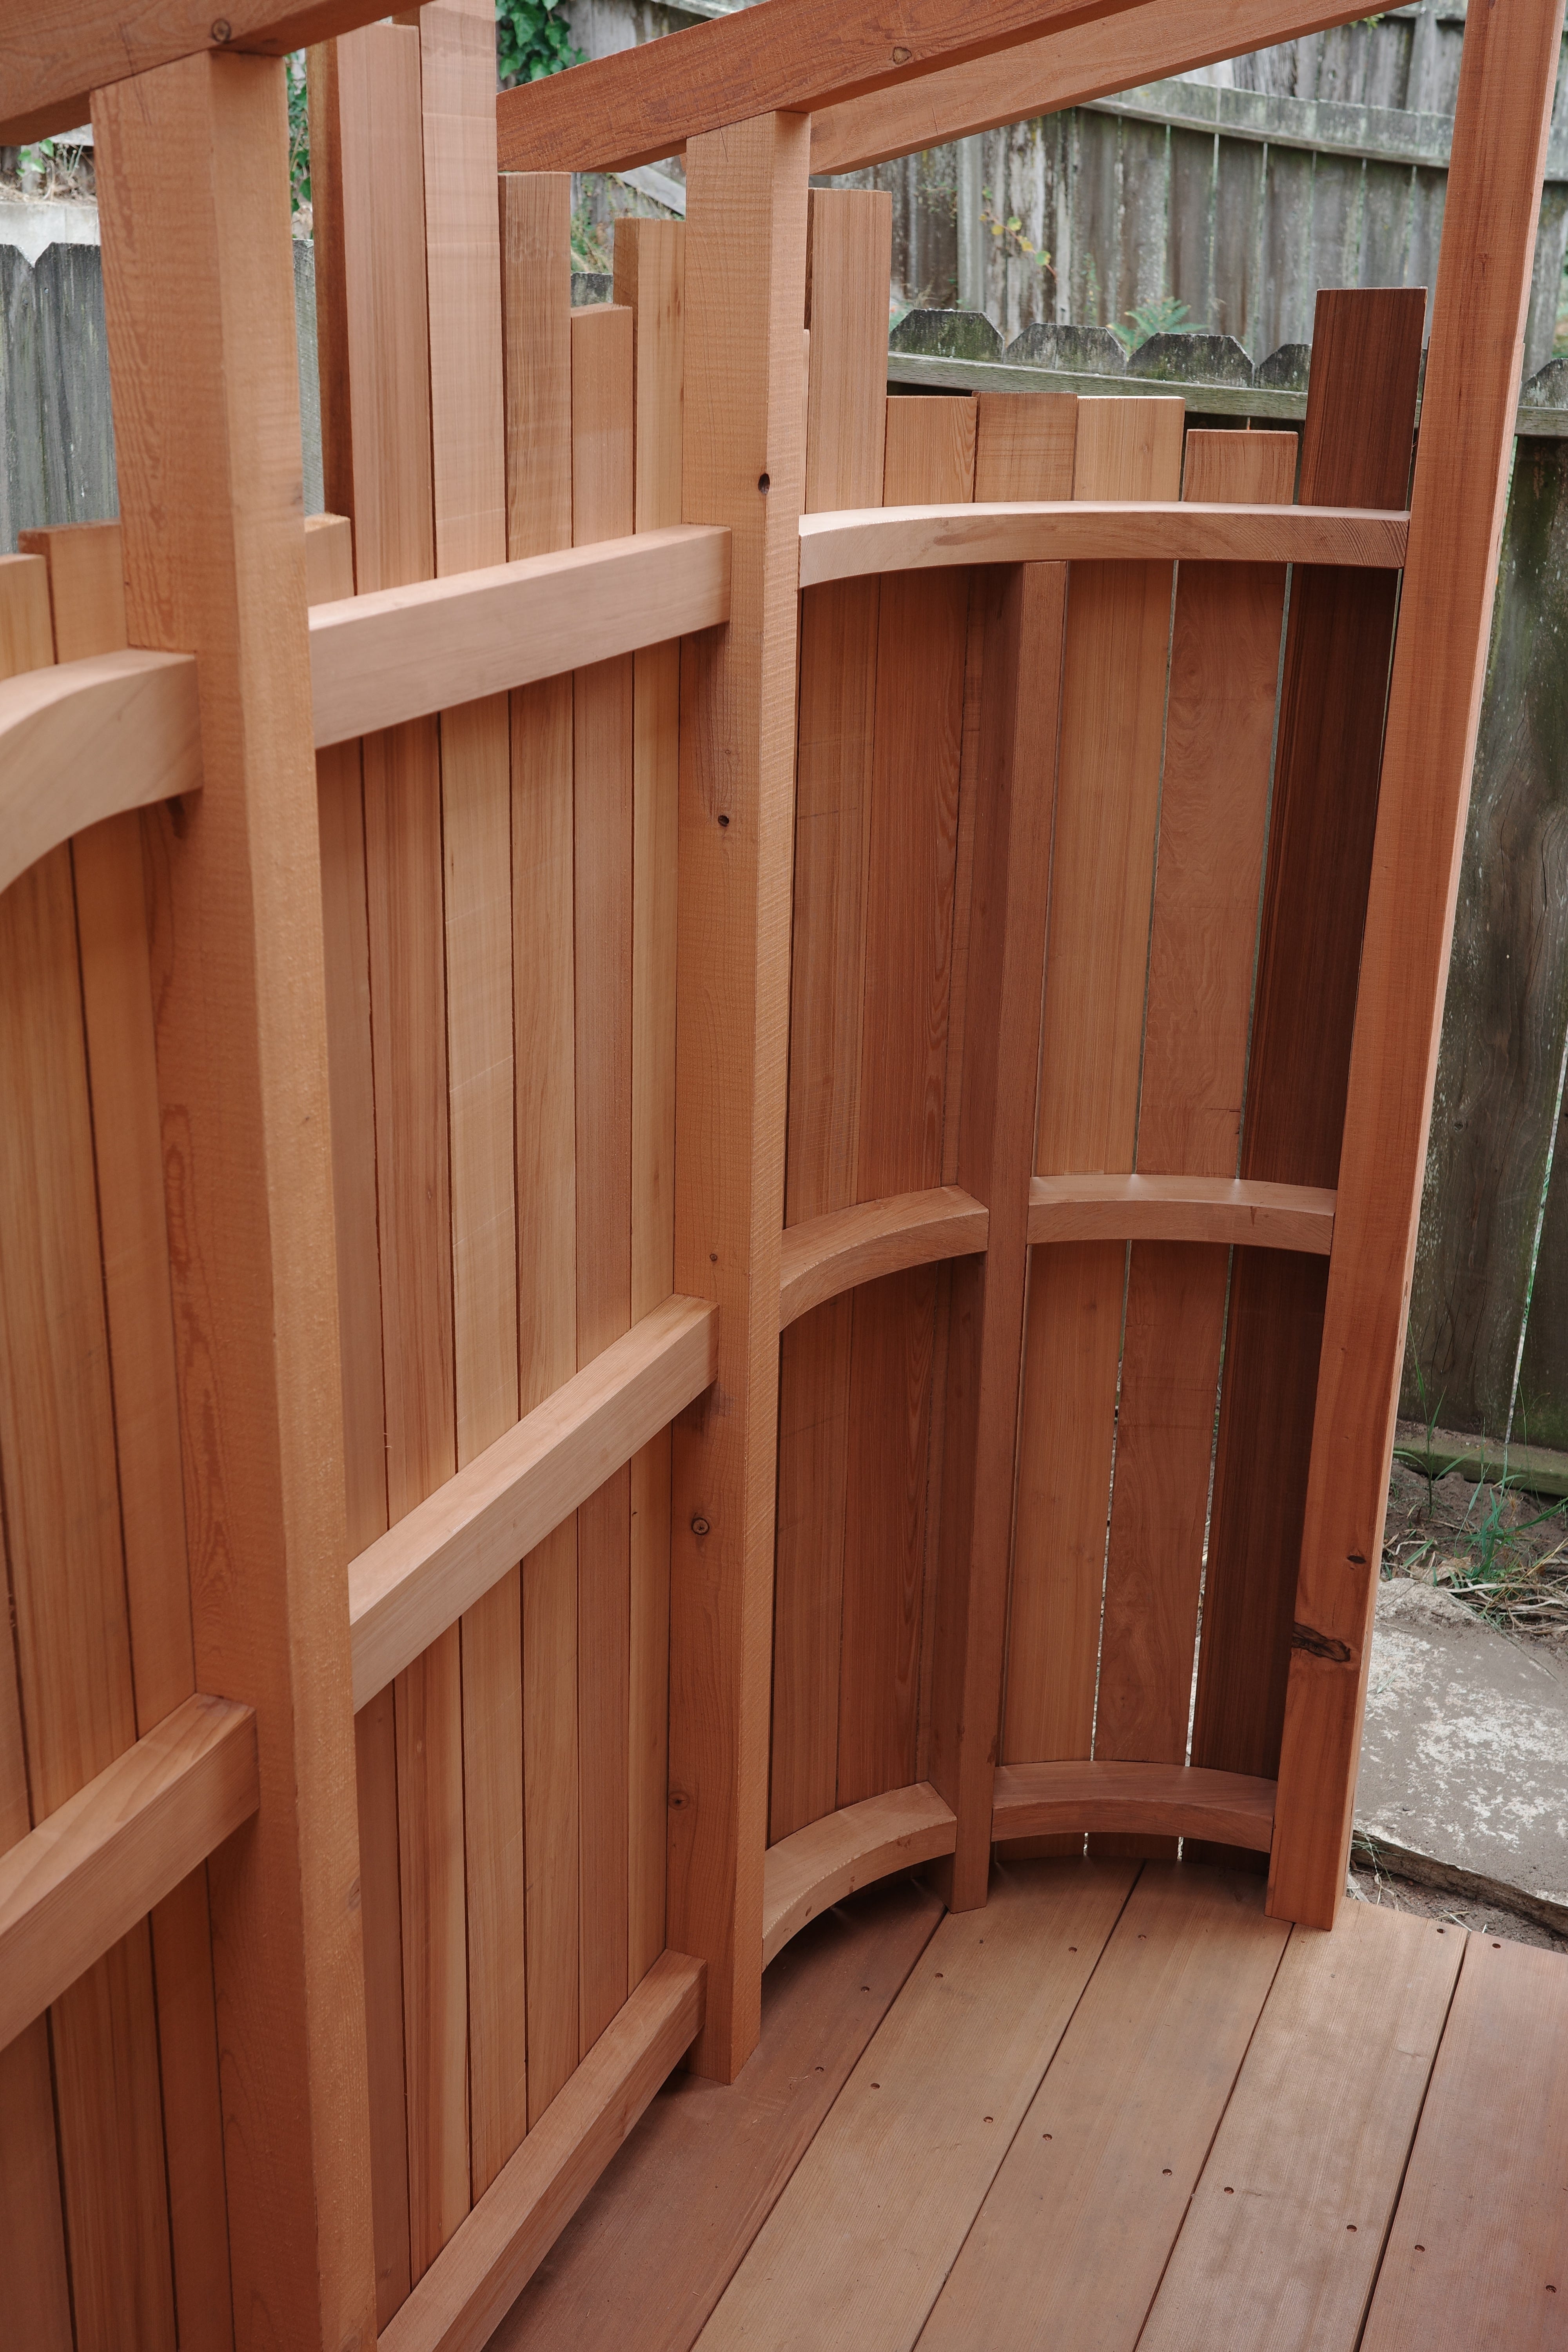
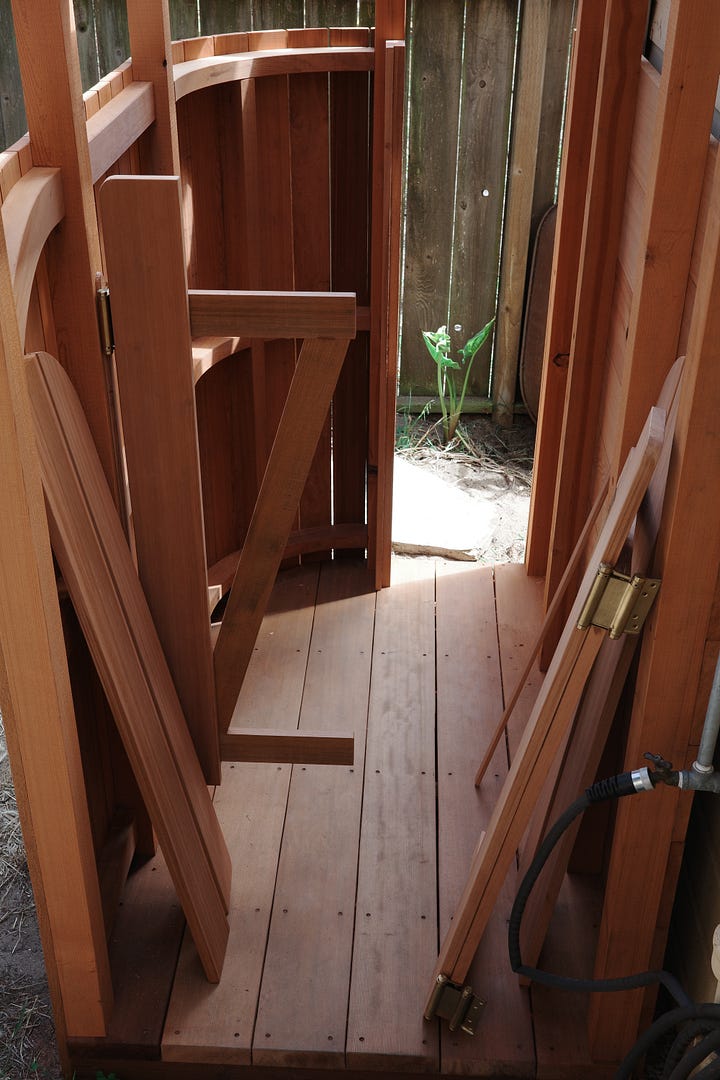
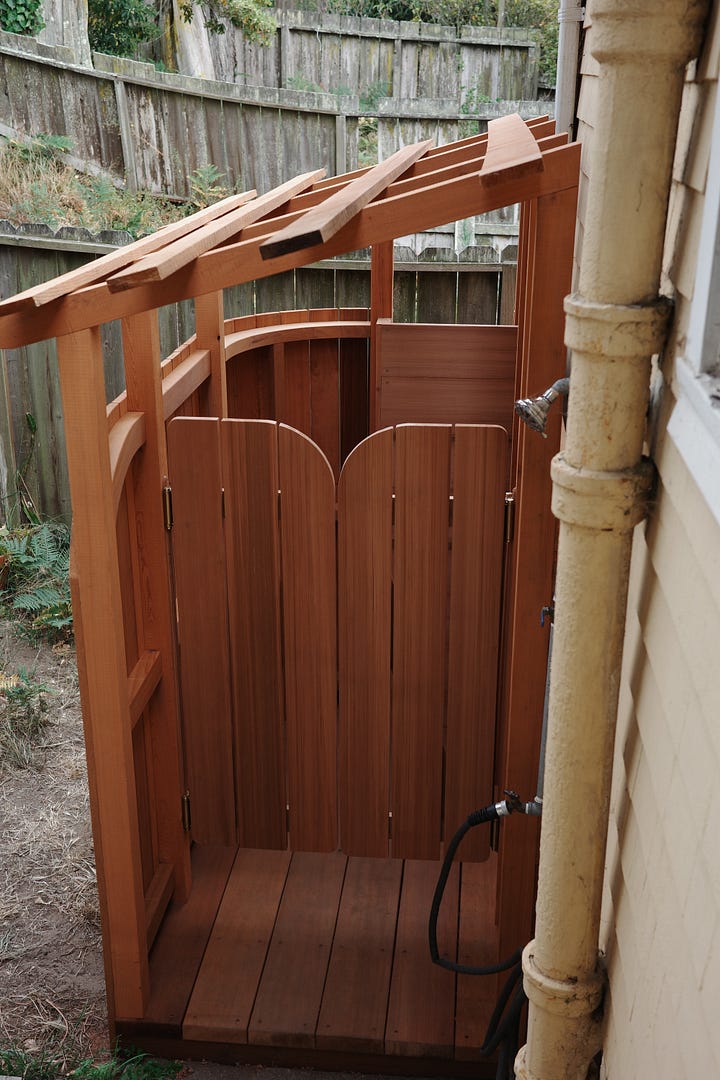
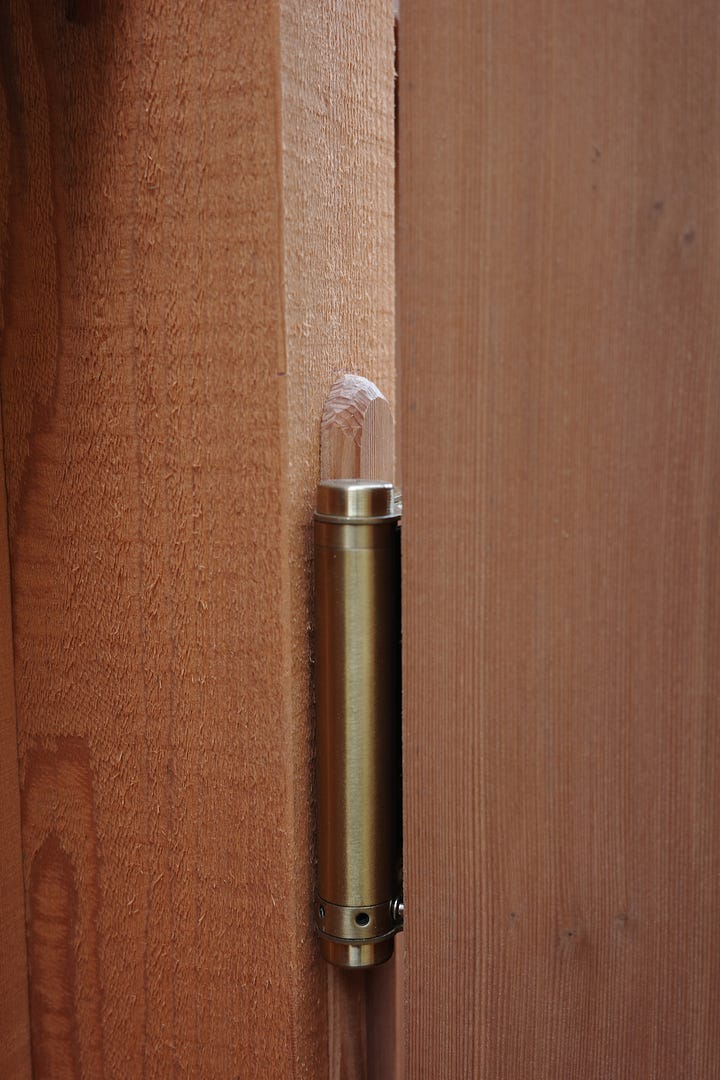
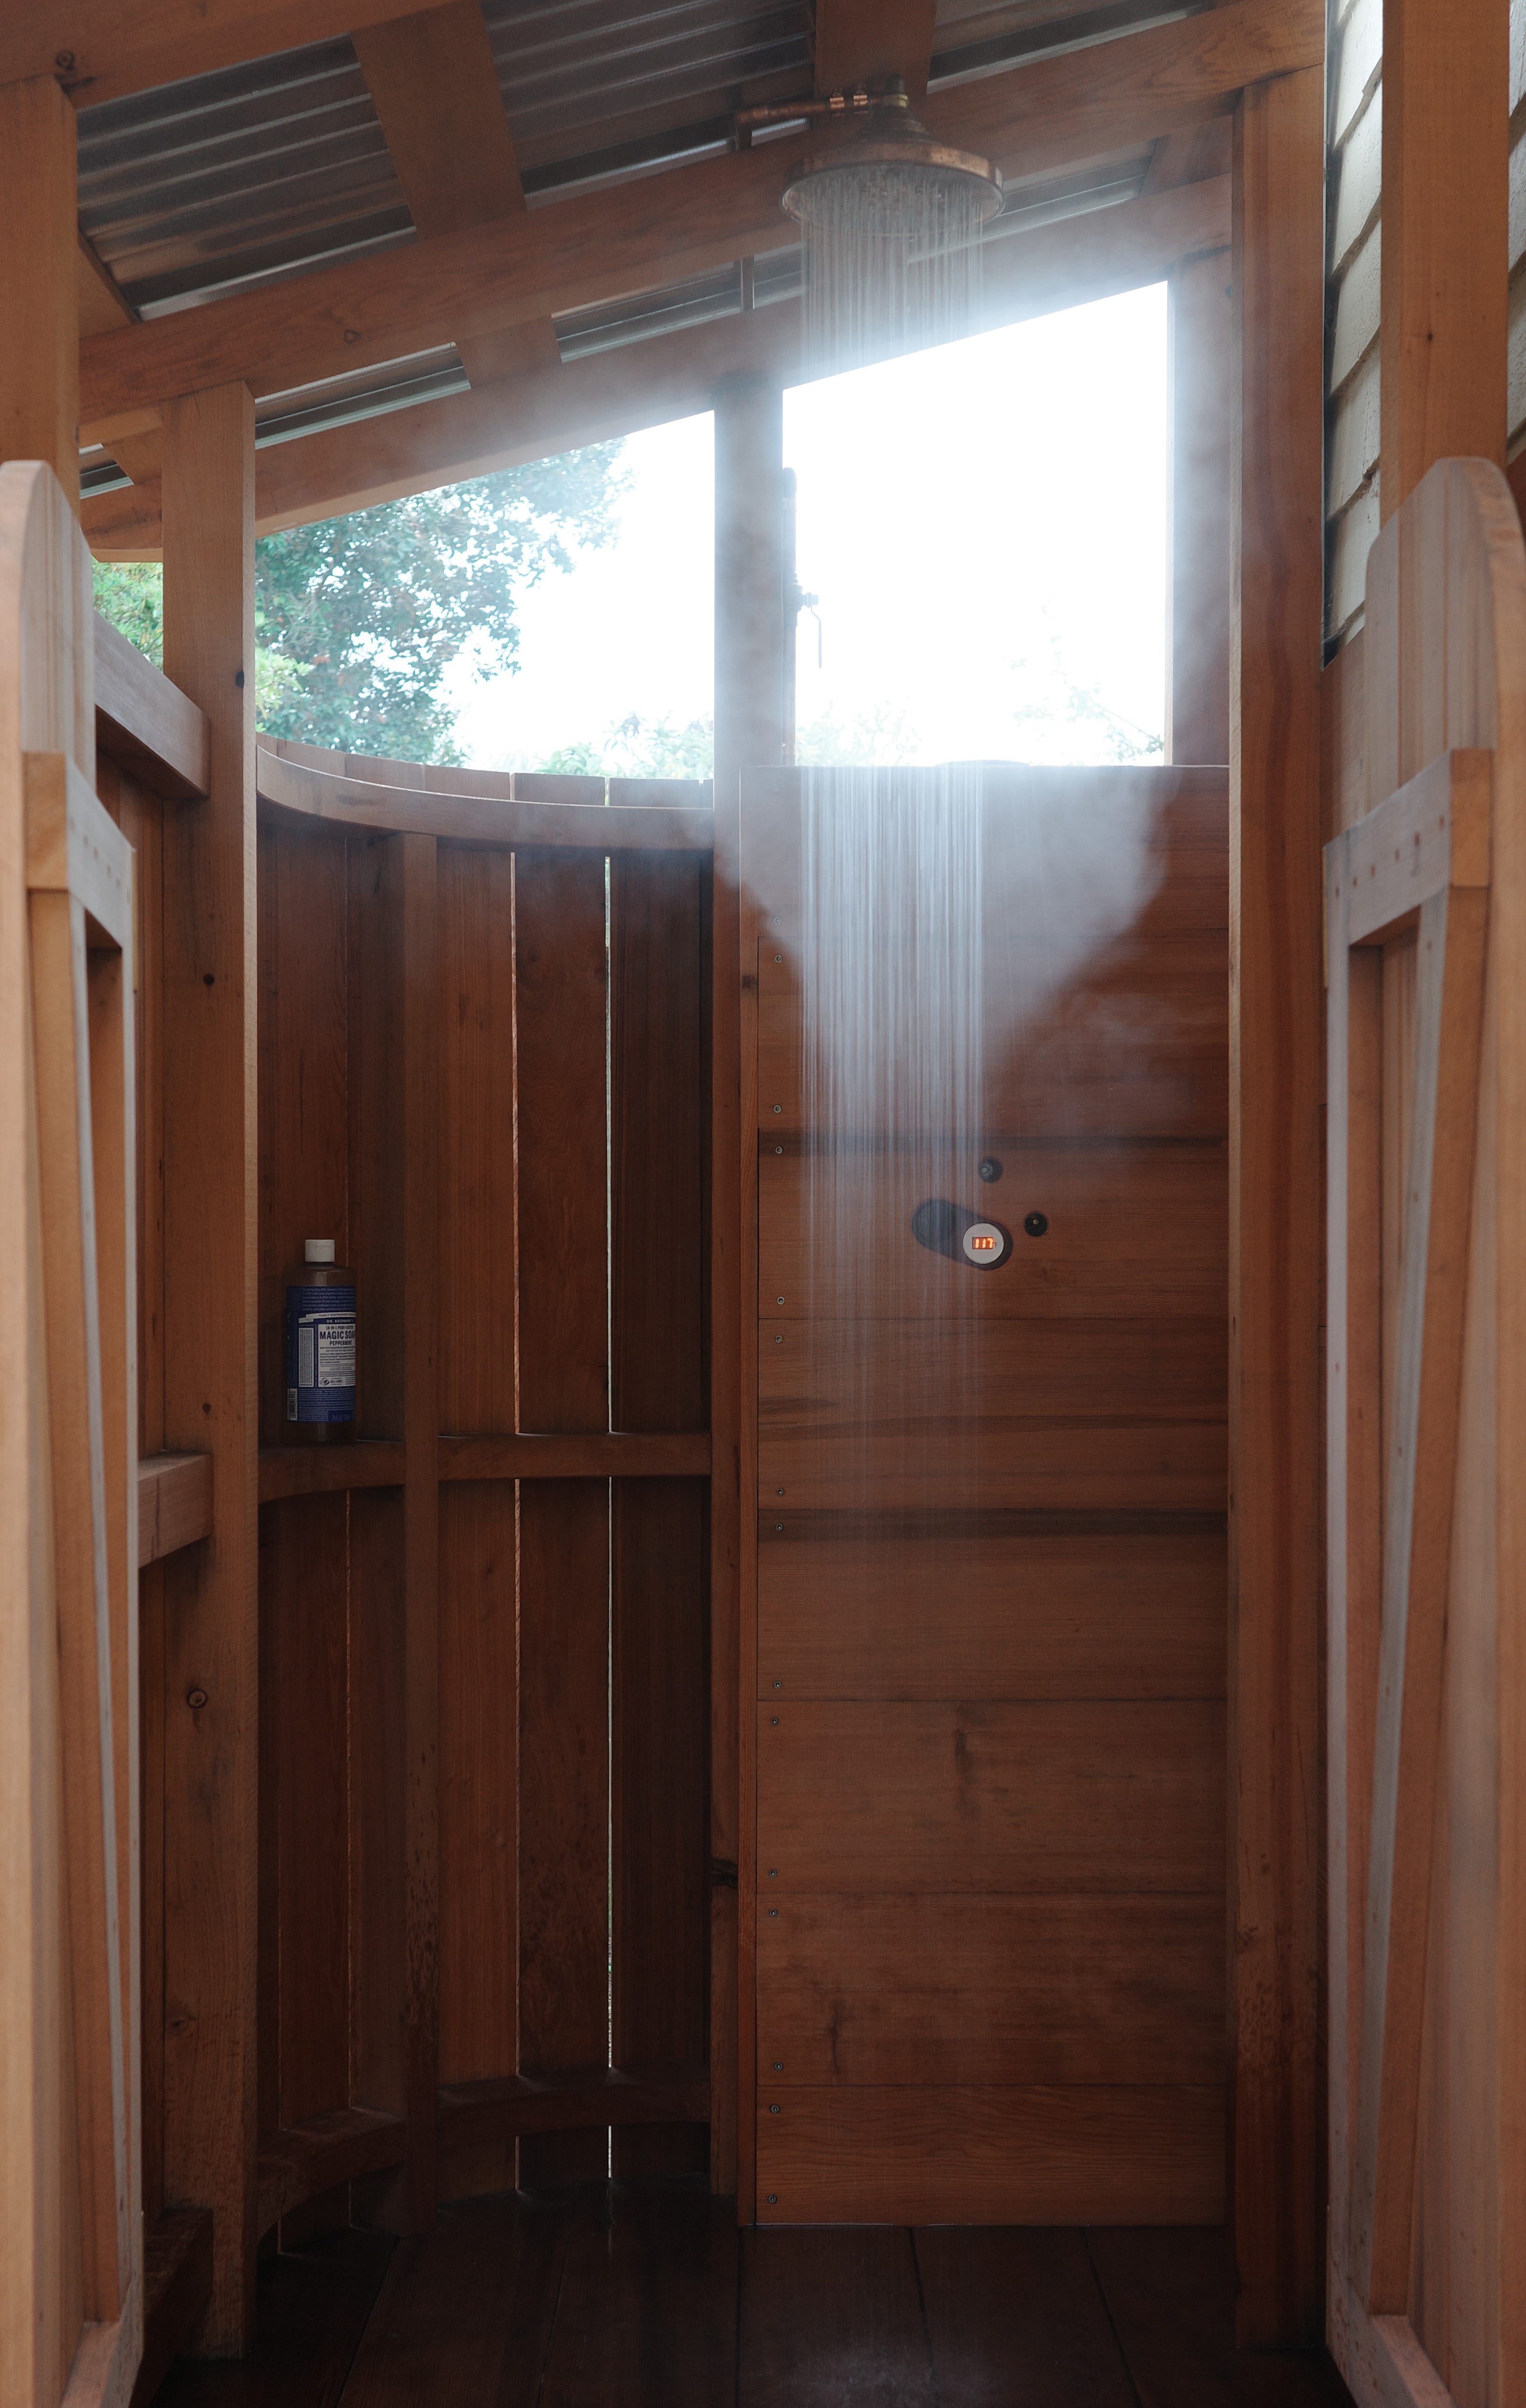
I wanted to give some feeling of privacy and to shield clothes from splashing water. So the original design called for a fixed partition that extended halfway across, leaving a narrow opening to walk around. But over the revisions the footprint got a little smaller and the opening even slimmer, so I ditched the tight squeeze in favor of a wide recessed door. That was the plan until Tom came into town and he suggested saloon doors over my large single panel.
The saloon hinges had to be stood off the posts with some strips of wood but otherwise the door framing was straightforward. And Tom was totally right—the smaller doors are more manageable and saloon doors are infinitely more fun. But we hadn’t realized until making the leap that all spring-loaded saloon-door hinges are fussy and kinda shitty. One broke on install and had to be replaced, so I’m really not sure how they’ll hold up over time in the wet environment.
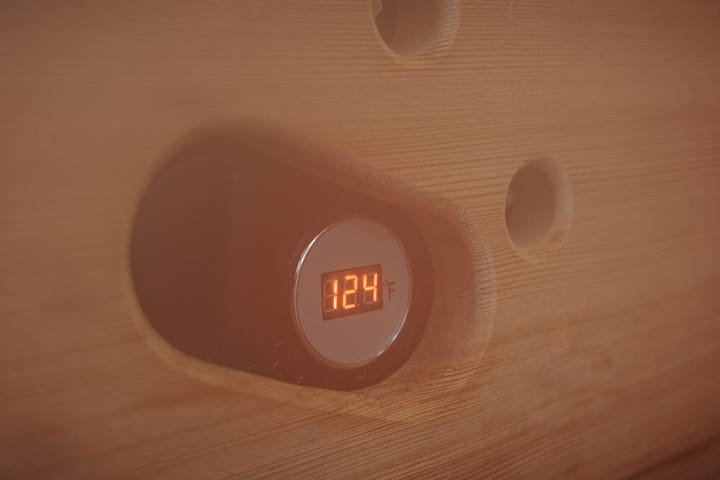
We didn’t pull hot water from the house for this build. Instead I used a $250 off-grid heater—the same type we’ve used on other projects. I’ve found that trying to plumb these like a normal heater by mixing hot and cold water downstream can cause issues, like the heater shutting off. So the plan here was to keep it simple and use the heater as designed—turn on the water and adjust the temperature on the heater knob. Borrowing from Joey’s outdoor shower build, I hid the heater behind a wall and cut out a hole for the temperature adjustment to keep things classy.
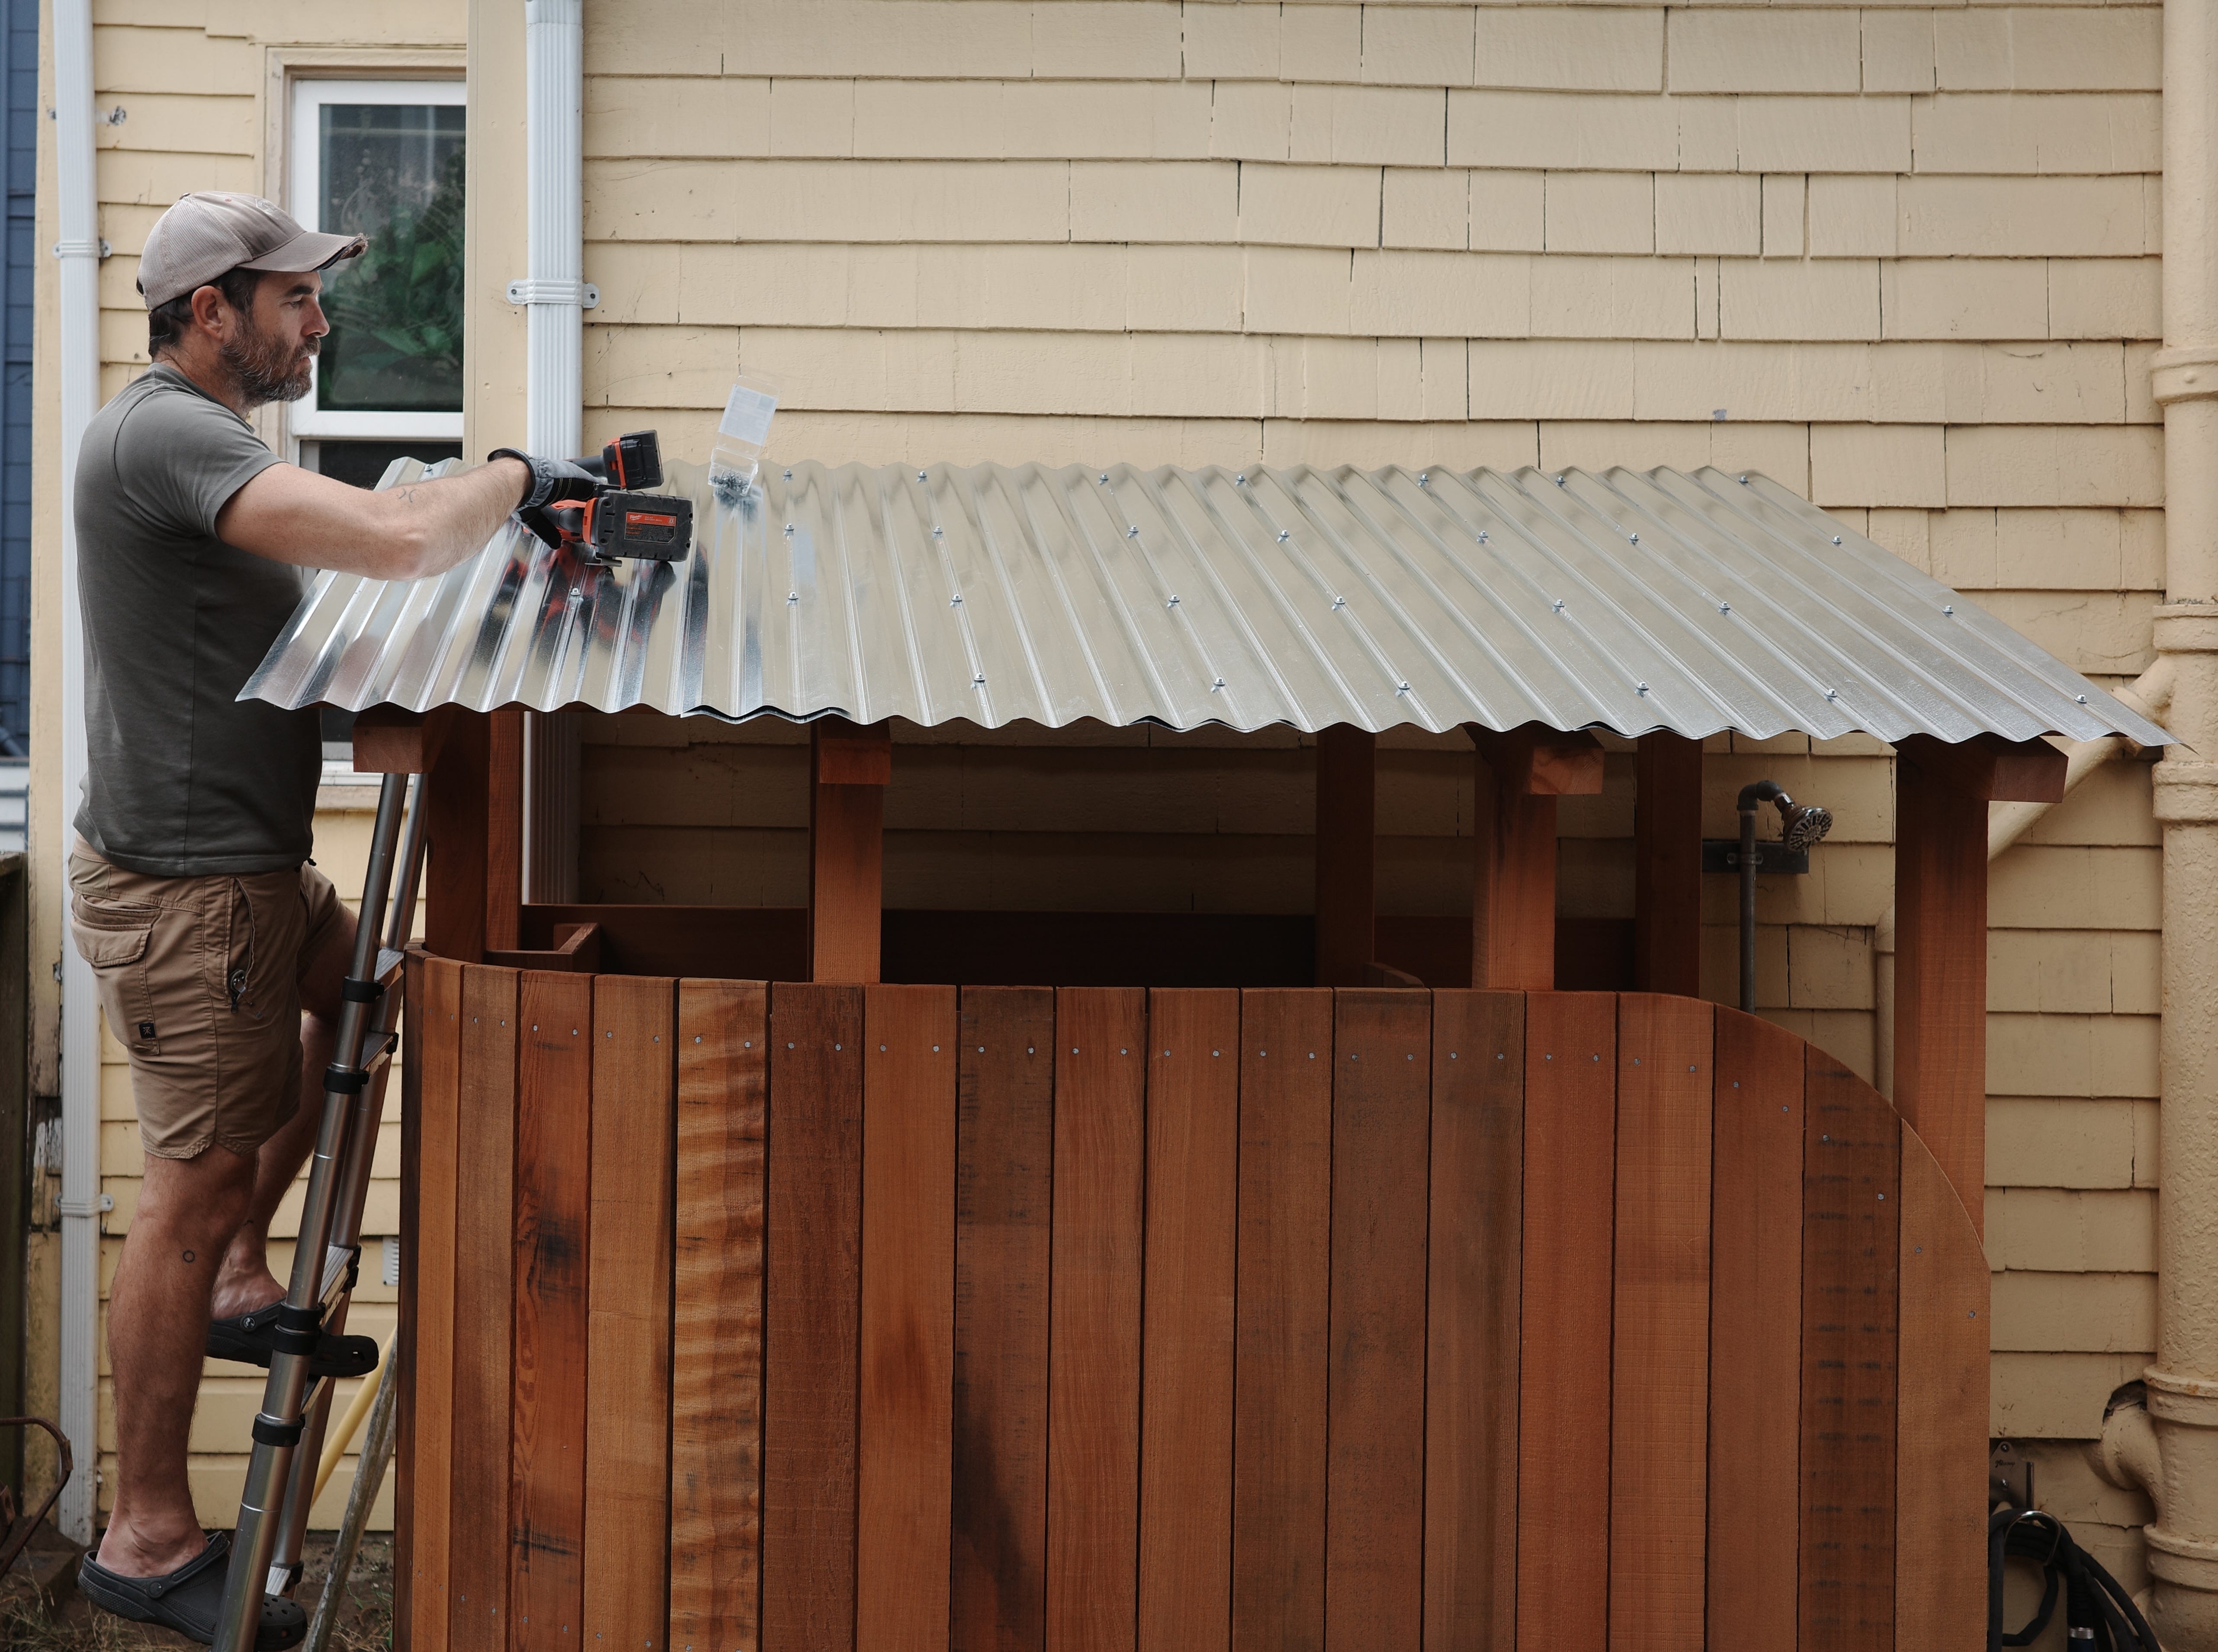
Our sauna has a corrugated galvanized roof so I figured I’d match that, at an angle that complimented both the sauna roof and our home’s back-door alcove.
The roof didn’t end up square (mine never do), so Tom and I trimmed the staggered roofing panels with an angle grinder. Those cuts produce iron shavings that eventually discolor the wood as they oxidize, so if you care about that sort of thing you’d want to cover your wood. Fortunately I don’t care about that sort of thing. Also, I forgot.
I’ve always lacked plumbing confidence. I pray to the leak-gods every time I fire up something I’ve plumbed, which I assume is not something the pros do. I’ve also never soldered copper pipes. (“Sweated copper” if you want to be cool about it.) Joey has been doing a lot of it lately so he came by with his kit to give some instruction. We soldered a couple practice pieces and then I went for it. Turns out it’s not that difficult. Like most trades, sweating is daunting from afar but once underway it’s fairly digestible. In fact, I’d say our pipe work came out pretty damn good. No leaks either, which is exactly what I’d prayed for as I pulled the lever.
The backside where the heater is mounted isn’t pretty. I’d considered walling it off but ultimately decided that no one would really see it and I wanted to keep things serviceable. The flexible stainless hose connects to the copper with a removable SharkBite fitting. The heater is held in place with a handful of screws. It’s fed via garden hose and a BBQ-size propane tank. Nothing that can’t be easily swapped.
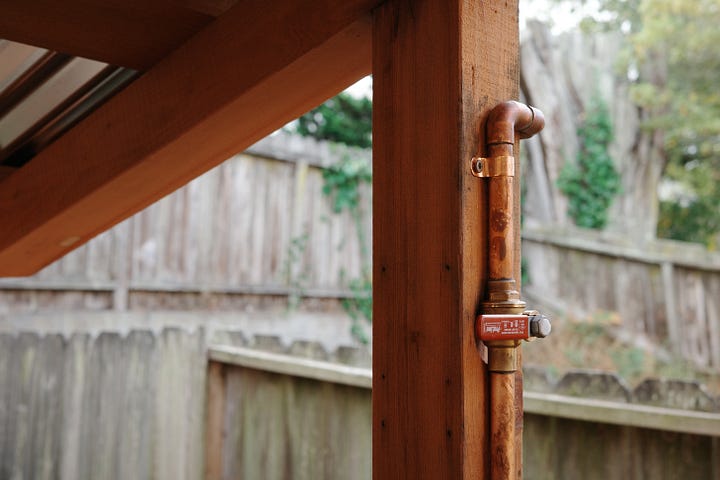

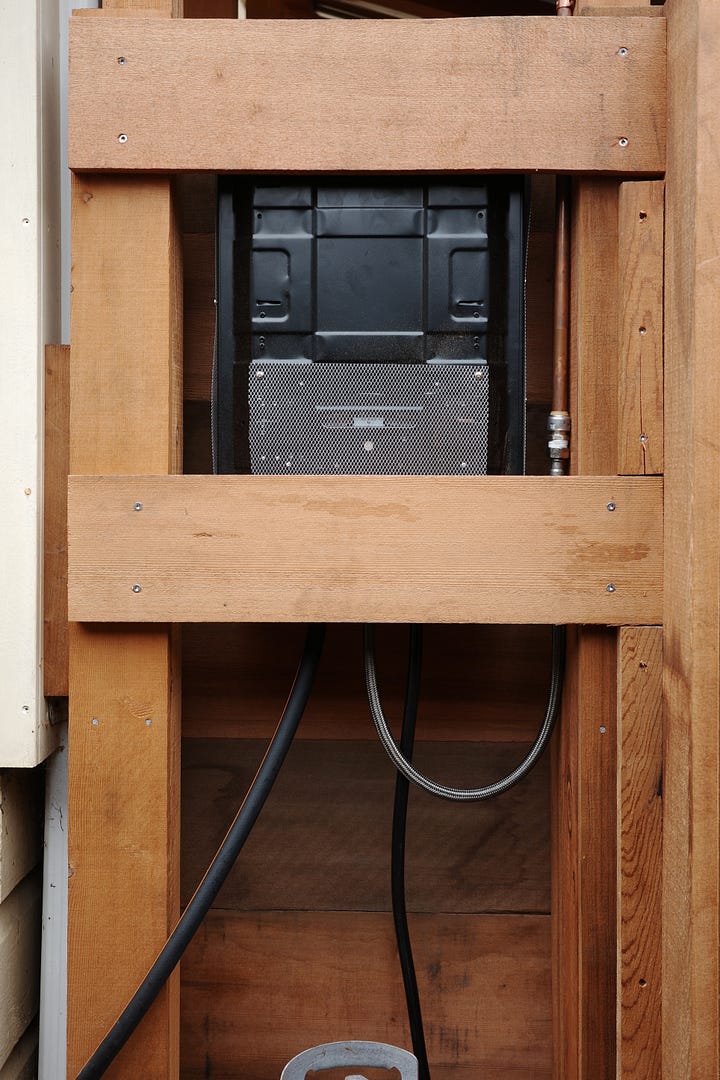
I added a small peg shelf for clothes and glasses. And some additional hidden pegs high up, inside the entry rafter. They’re not terribly helpful on a sauna night when most folks have only a single towel. But when dealing with a full wardrobe they’re essential. The propane tank was a semi-visible, so I added a board to obscure it. Oh, and before the heater was installed I attached stainless wire screen over any mouse-sized openings. We (and some mice) have learned that lesson the hard way.

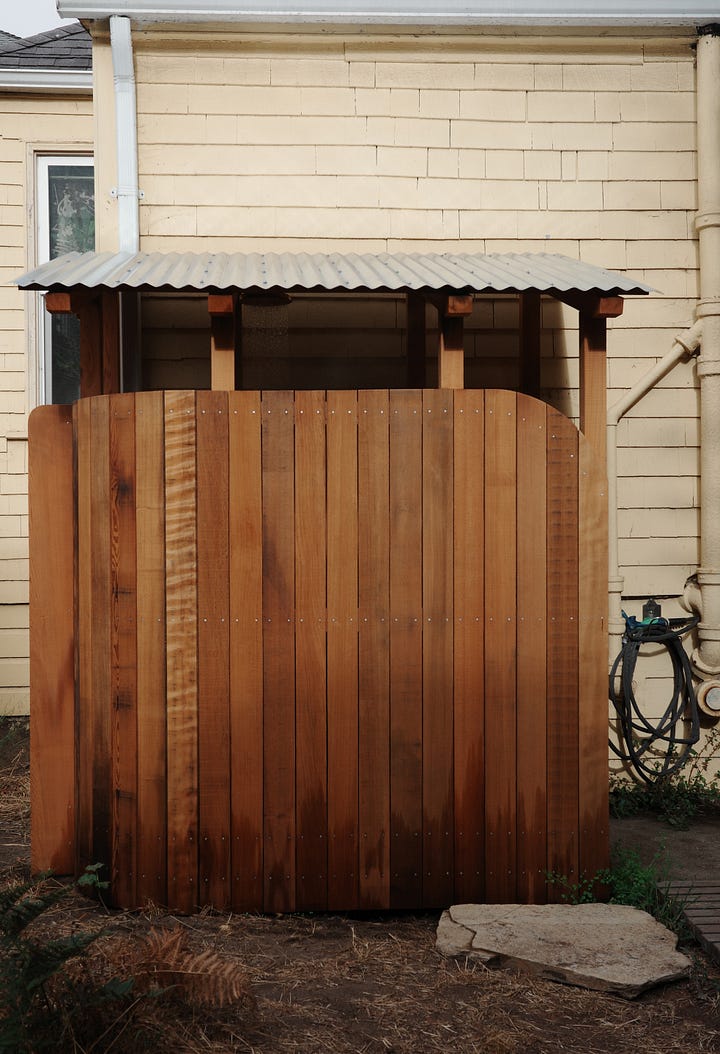
That’s the shower.
Start with these posts on Project Planning and Construction Basics.
Or these posts on Community Building.
Or browse. Posts wander from friendship, to workshops, to tools, to explosives. Because we contain multitudes.
No posts
Comments
Nothing yet. Say the first thing.
Sign in to join the conversation.