
I am making as if my life depends on it.
It probably does ❤️
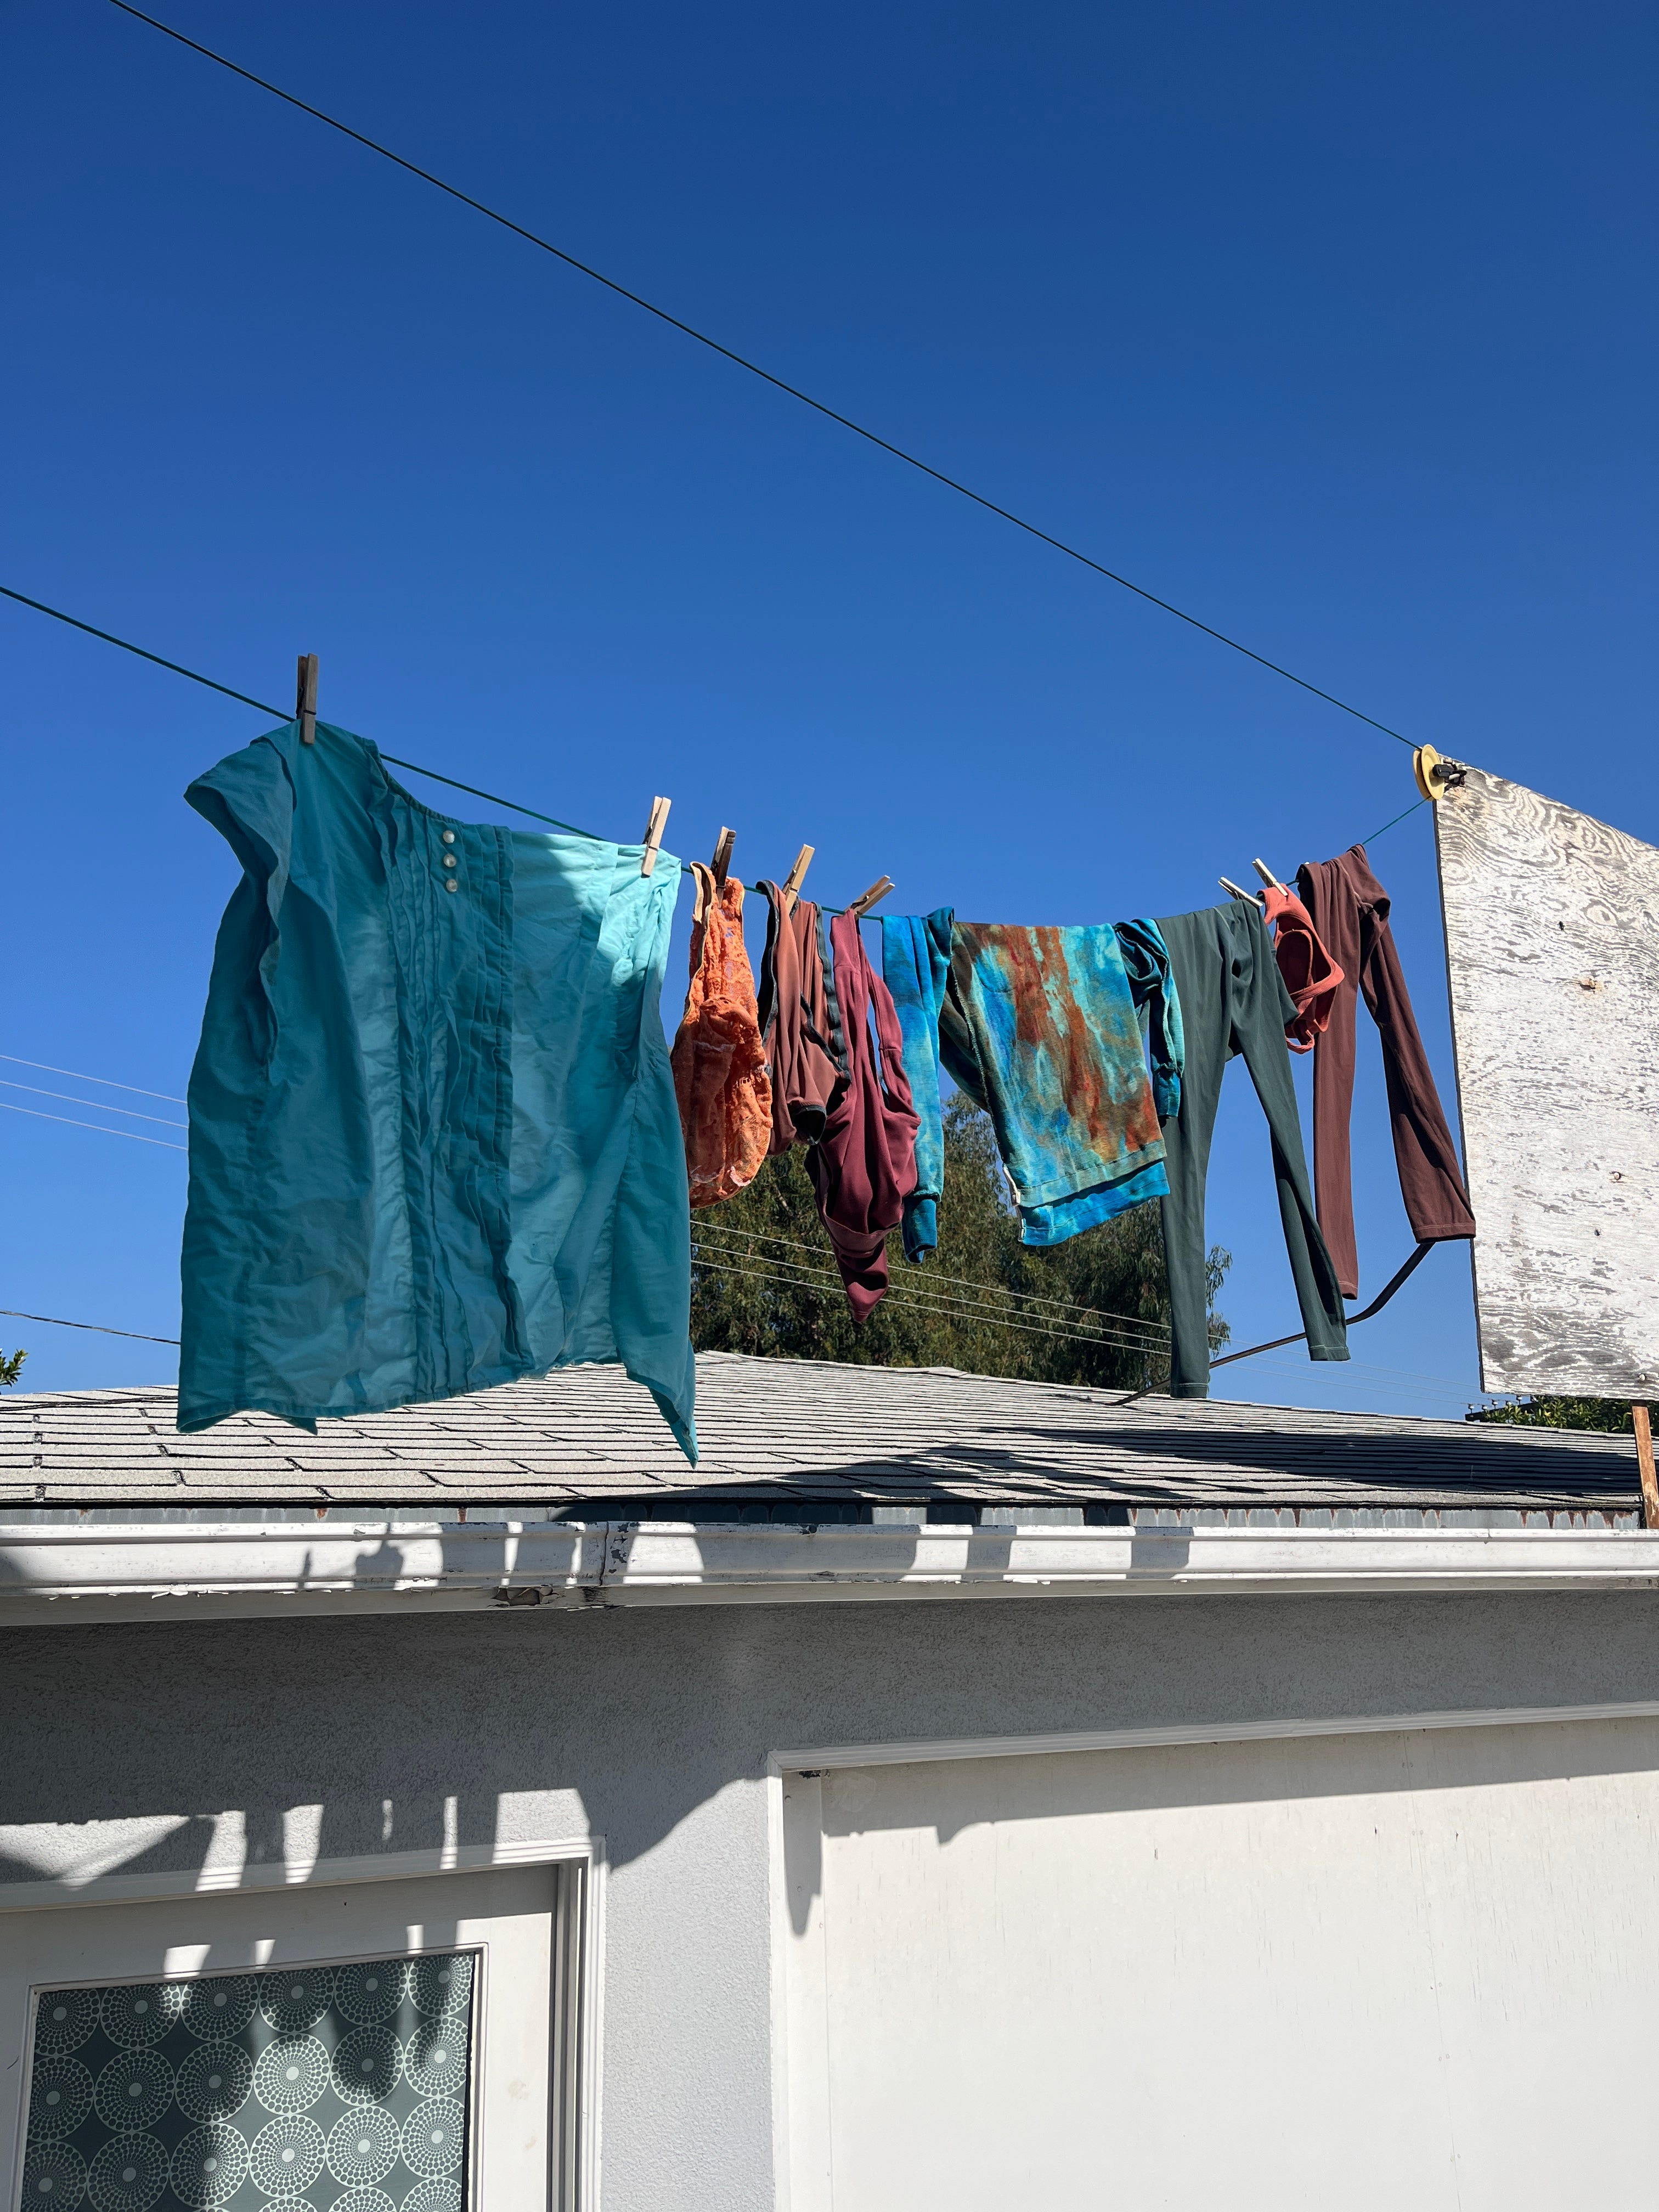
As the selling of my house looms ever closer, the depth of my attachment to this house is unraveling. The decision to sell (which was, let’s be real, not so much a decision I made as it is one that was forced upon me) feels less theoretical and more tangible each day. This loss will be profound, and although I’m trying to be brave while going through the process of selling this house, I still can’t believe it is happening. Part of me feels like I deserve it (my therapist will argue this point with me til our bodies turn to ash in the earthly realm of her sepia-toned office). I might not have chosen to sell my house but I have chosen to be at peace with whatever decision was best for me. I don’t want to suffer. Suffering is holding on to impossibilities, to things that can’t be changed, and trying to keep yourself afloat in the wreckage of a life that no longer looks the way you wanted it to. I refuse to do that. I absolutely understand how and why people struggle with this, but I won’t do it. Because I am an Aries woman, lol. I keep reminding myself that people lose things they love all the time, it is a universal truth that all humans will experience in some way or another. My experience is not new or unique or interesting. Loss is the universe operating properly, showing you her math- that forever doesn’t exist, that real love is not grasping with a closed fist but holding with an open palm. I know all of these things to be true, believe in my heart that when I surrender to what the universe has in store for me, I will be provided for, and yet I still sobbed on top of the scraps of denim dotting my craft room table last night, the magnitude of this big change making its way into every golden topstitch I sewed.
Speaking of, I’m making the Closet Core Frank Jeans right now, haha.
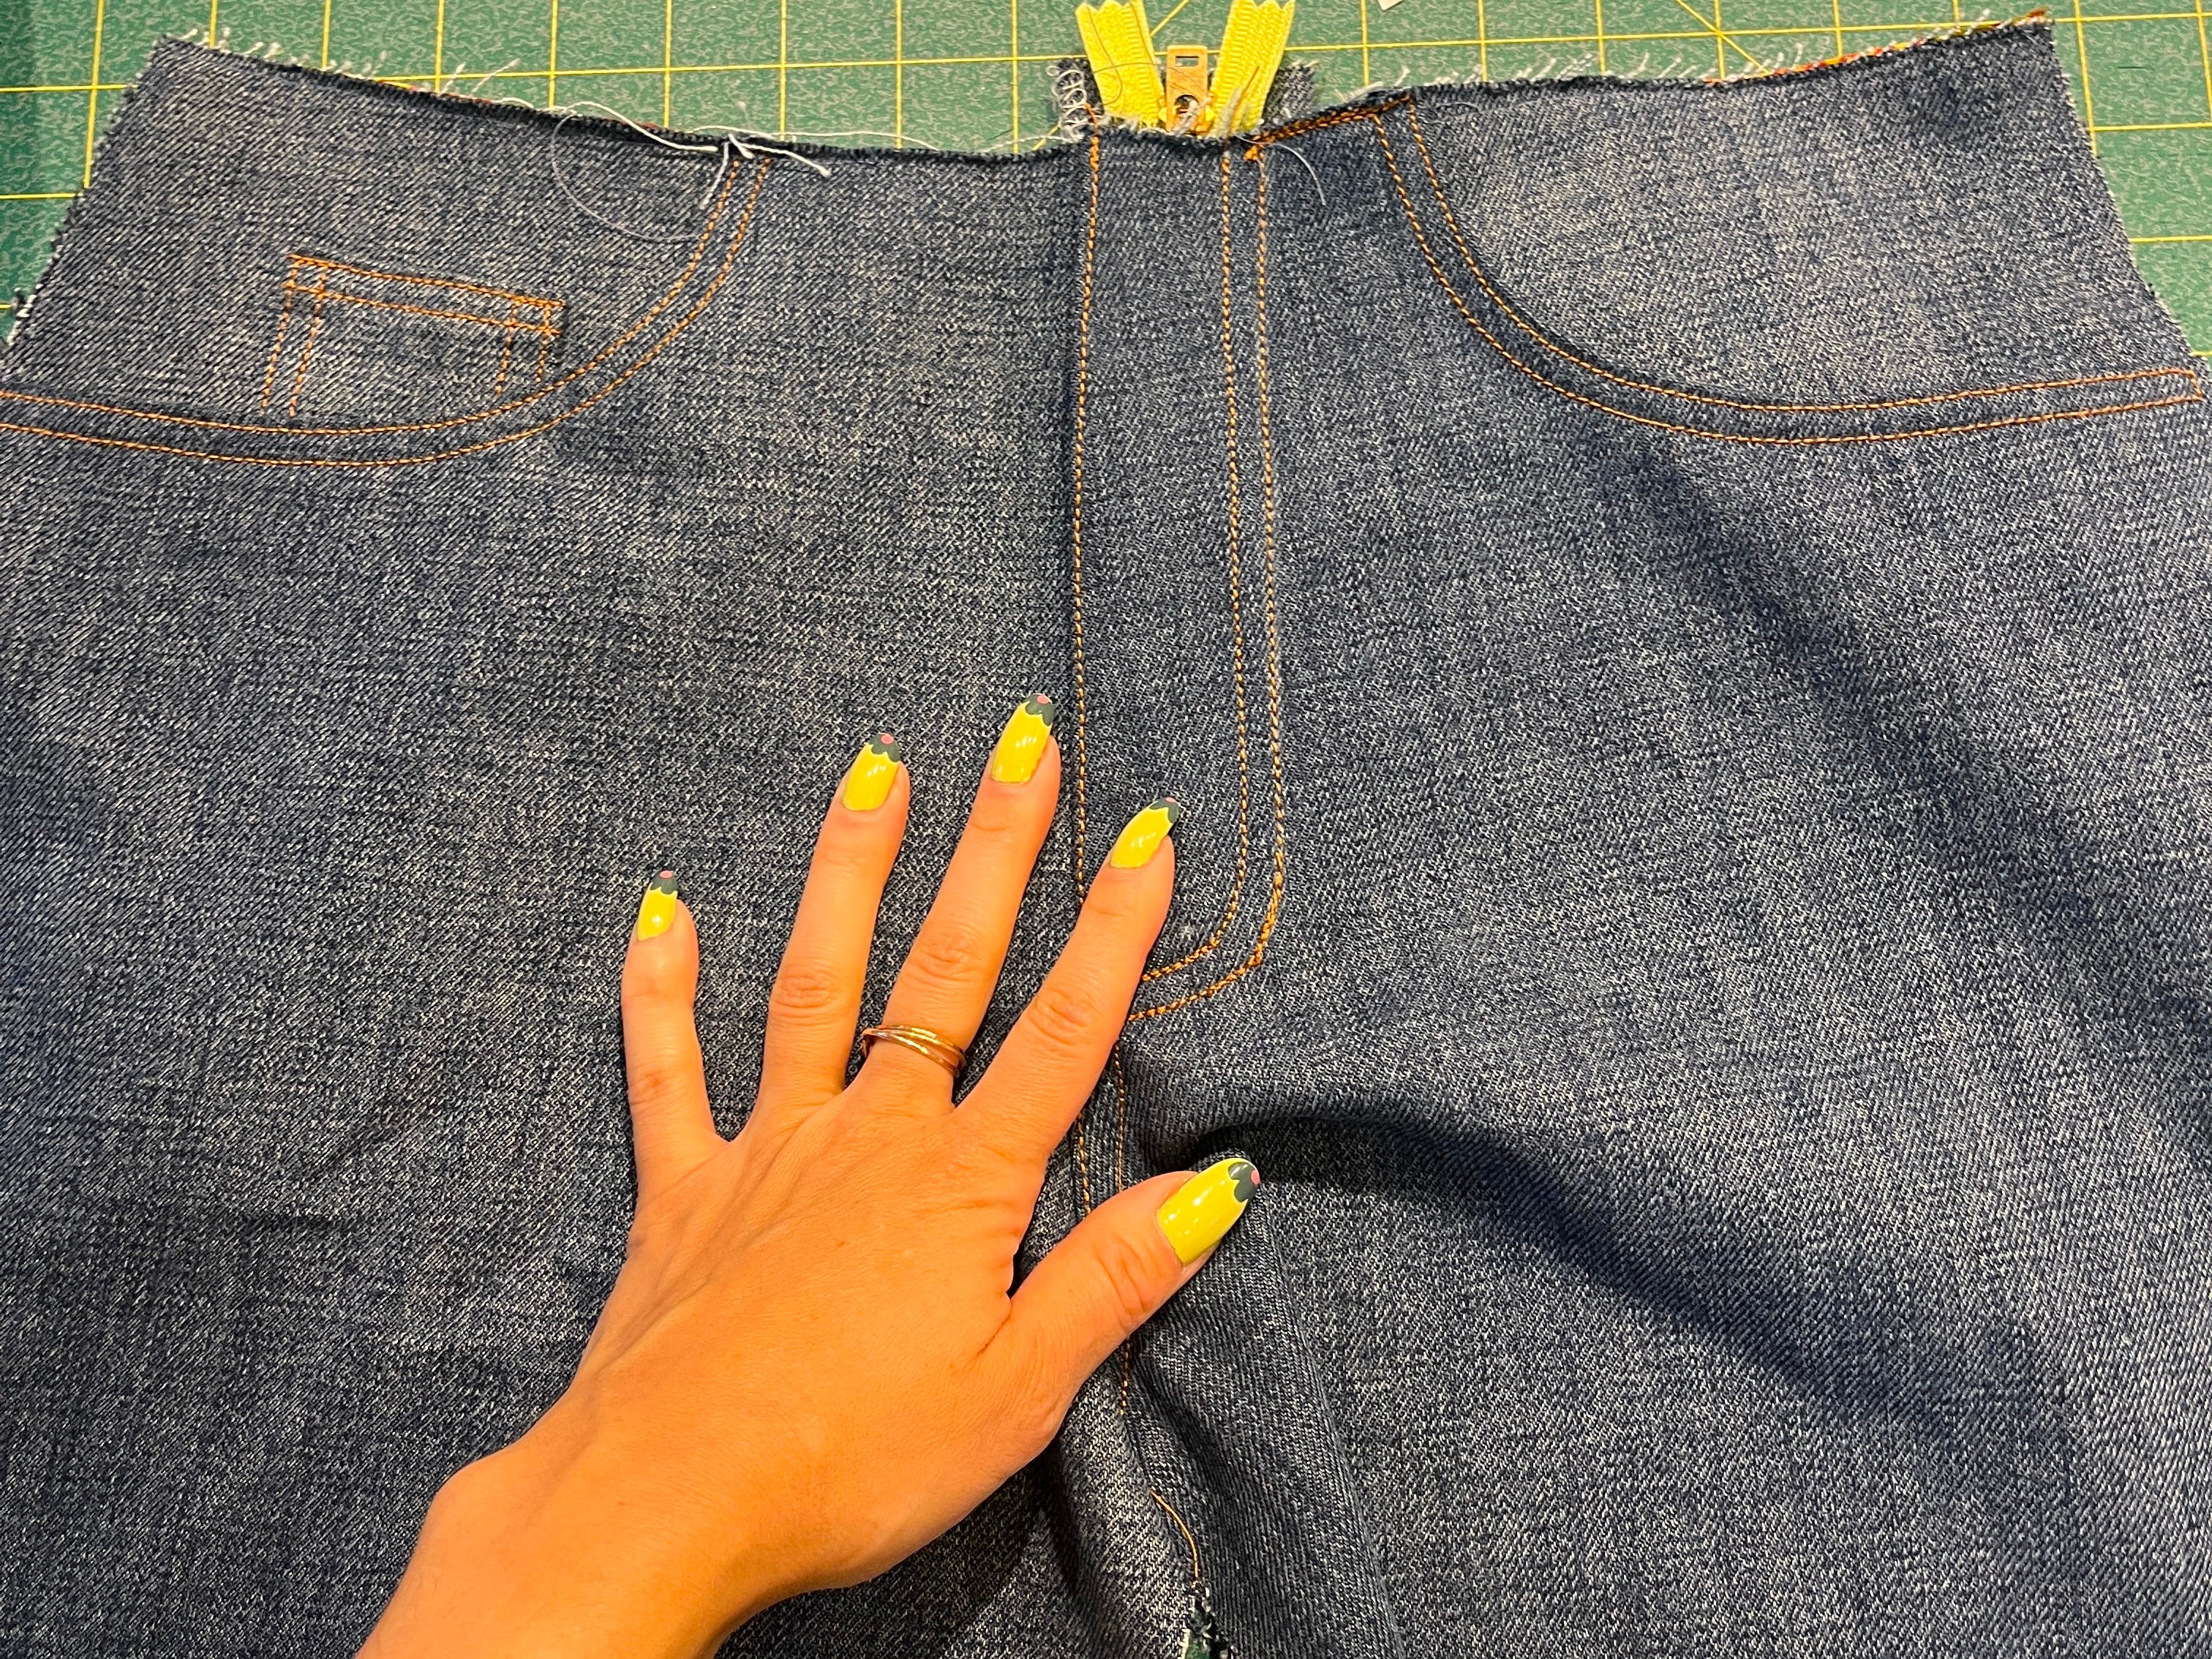
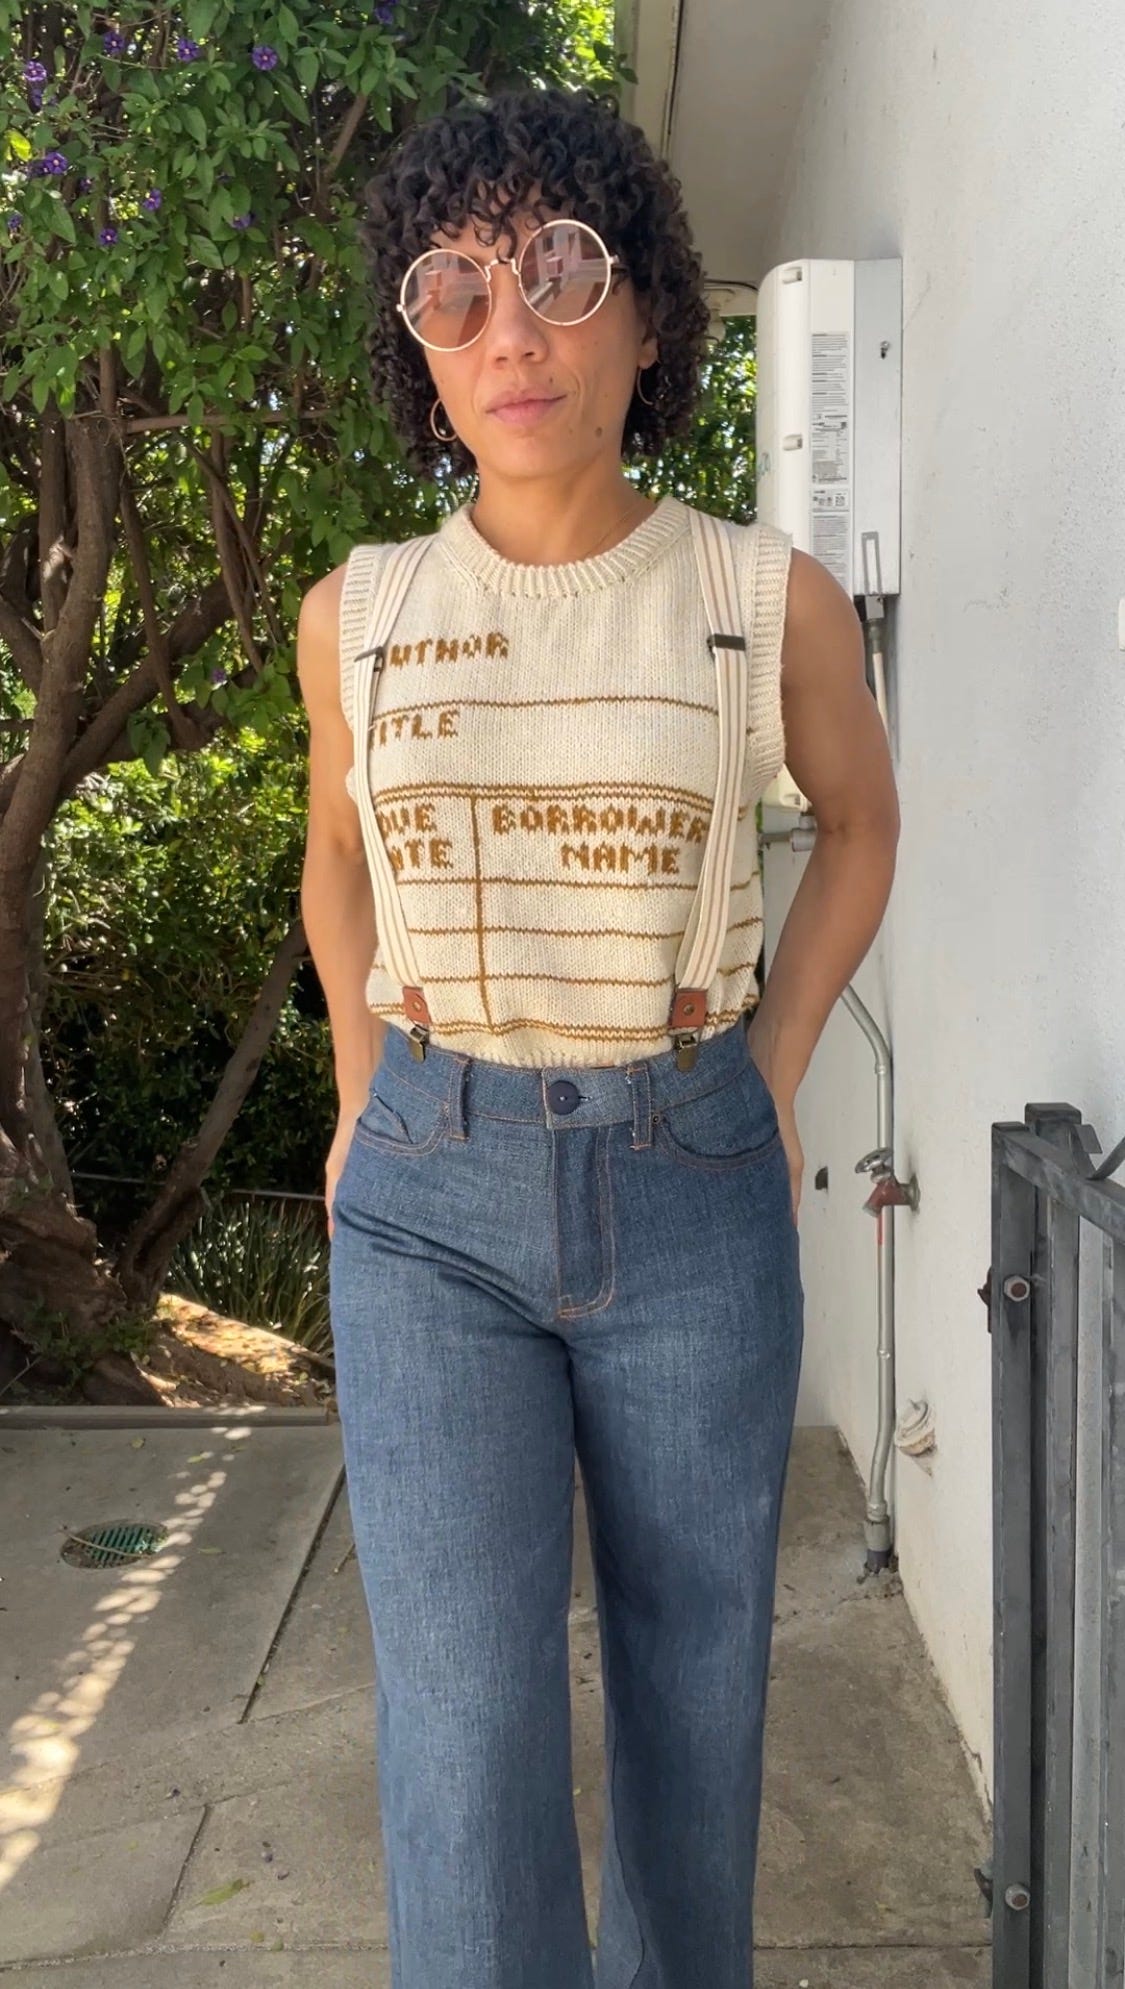
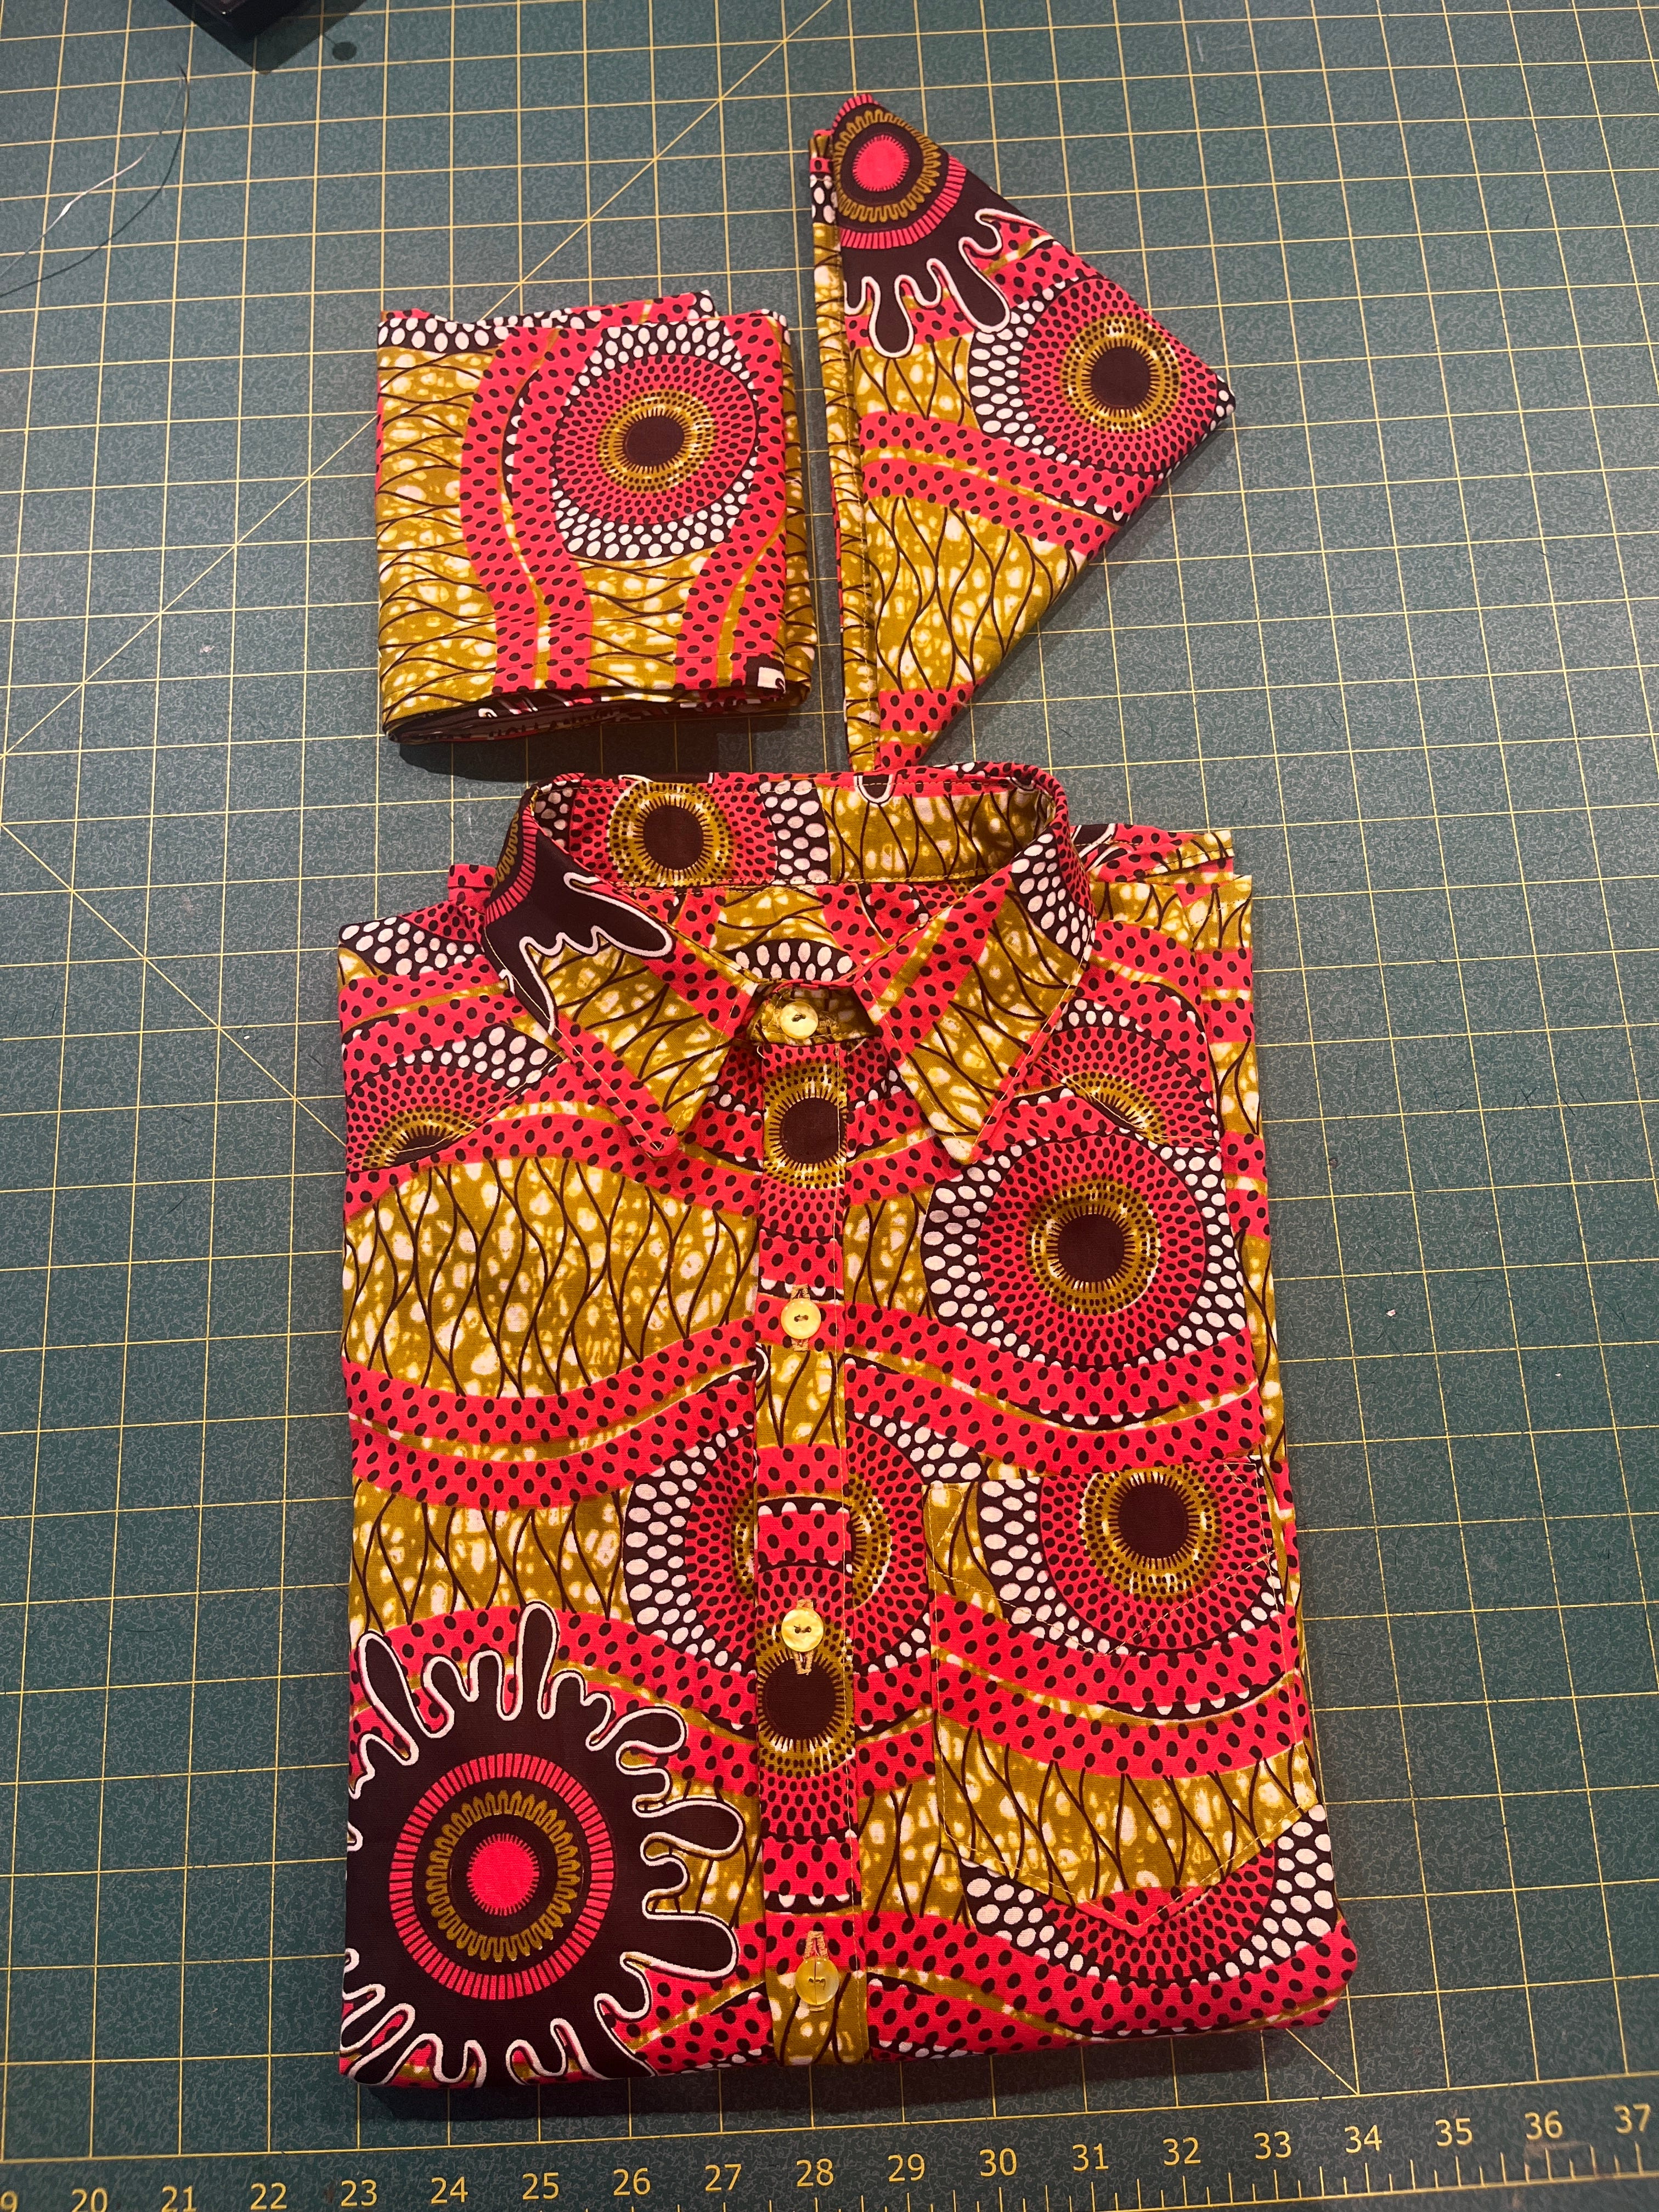
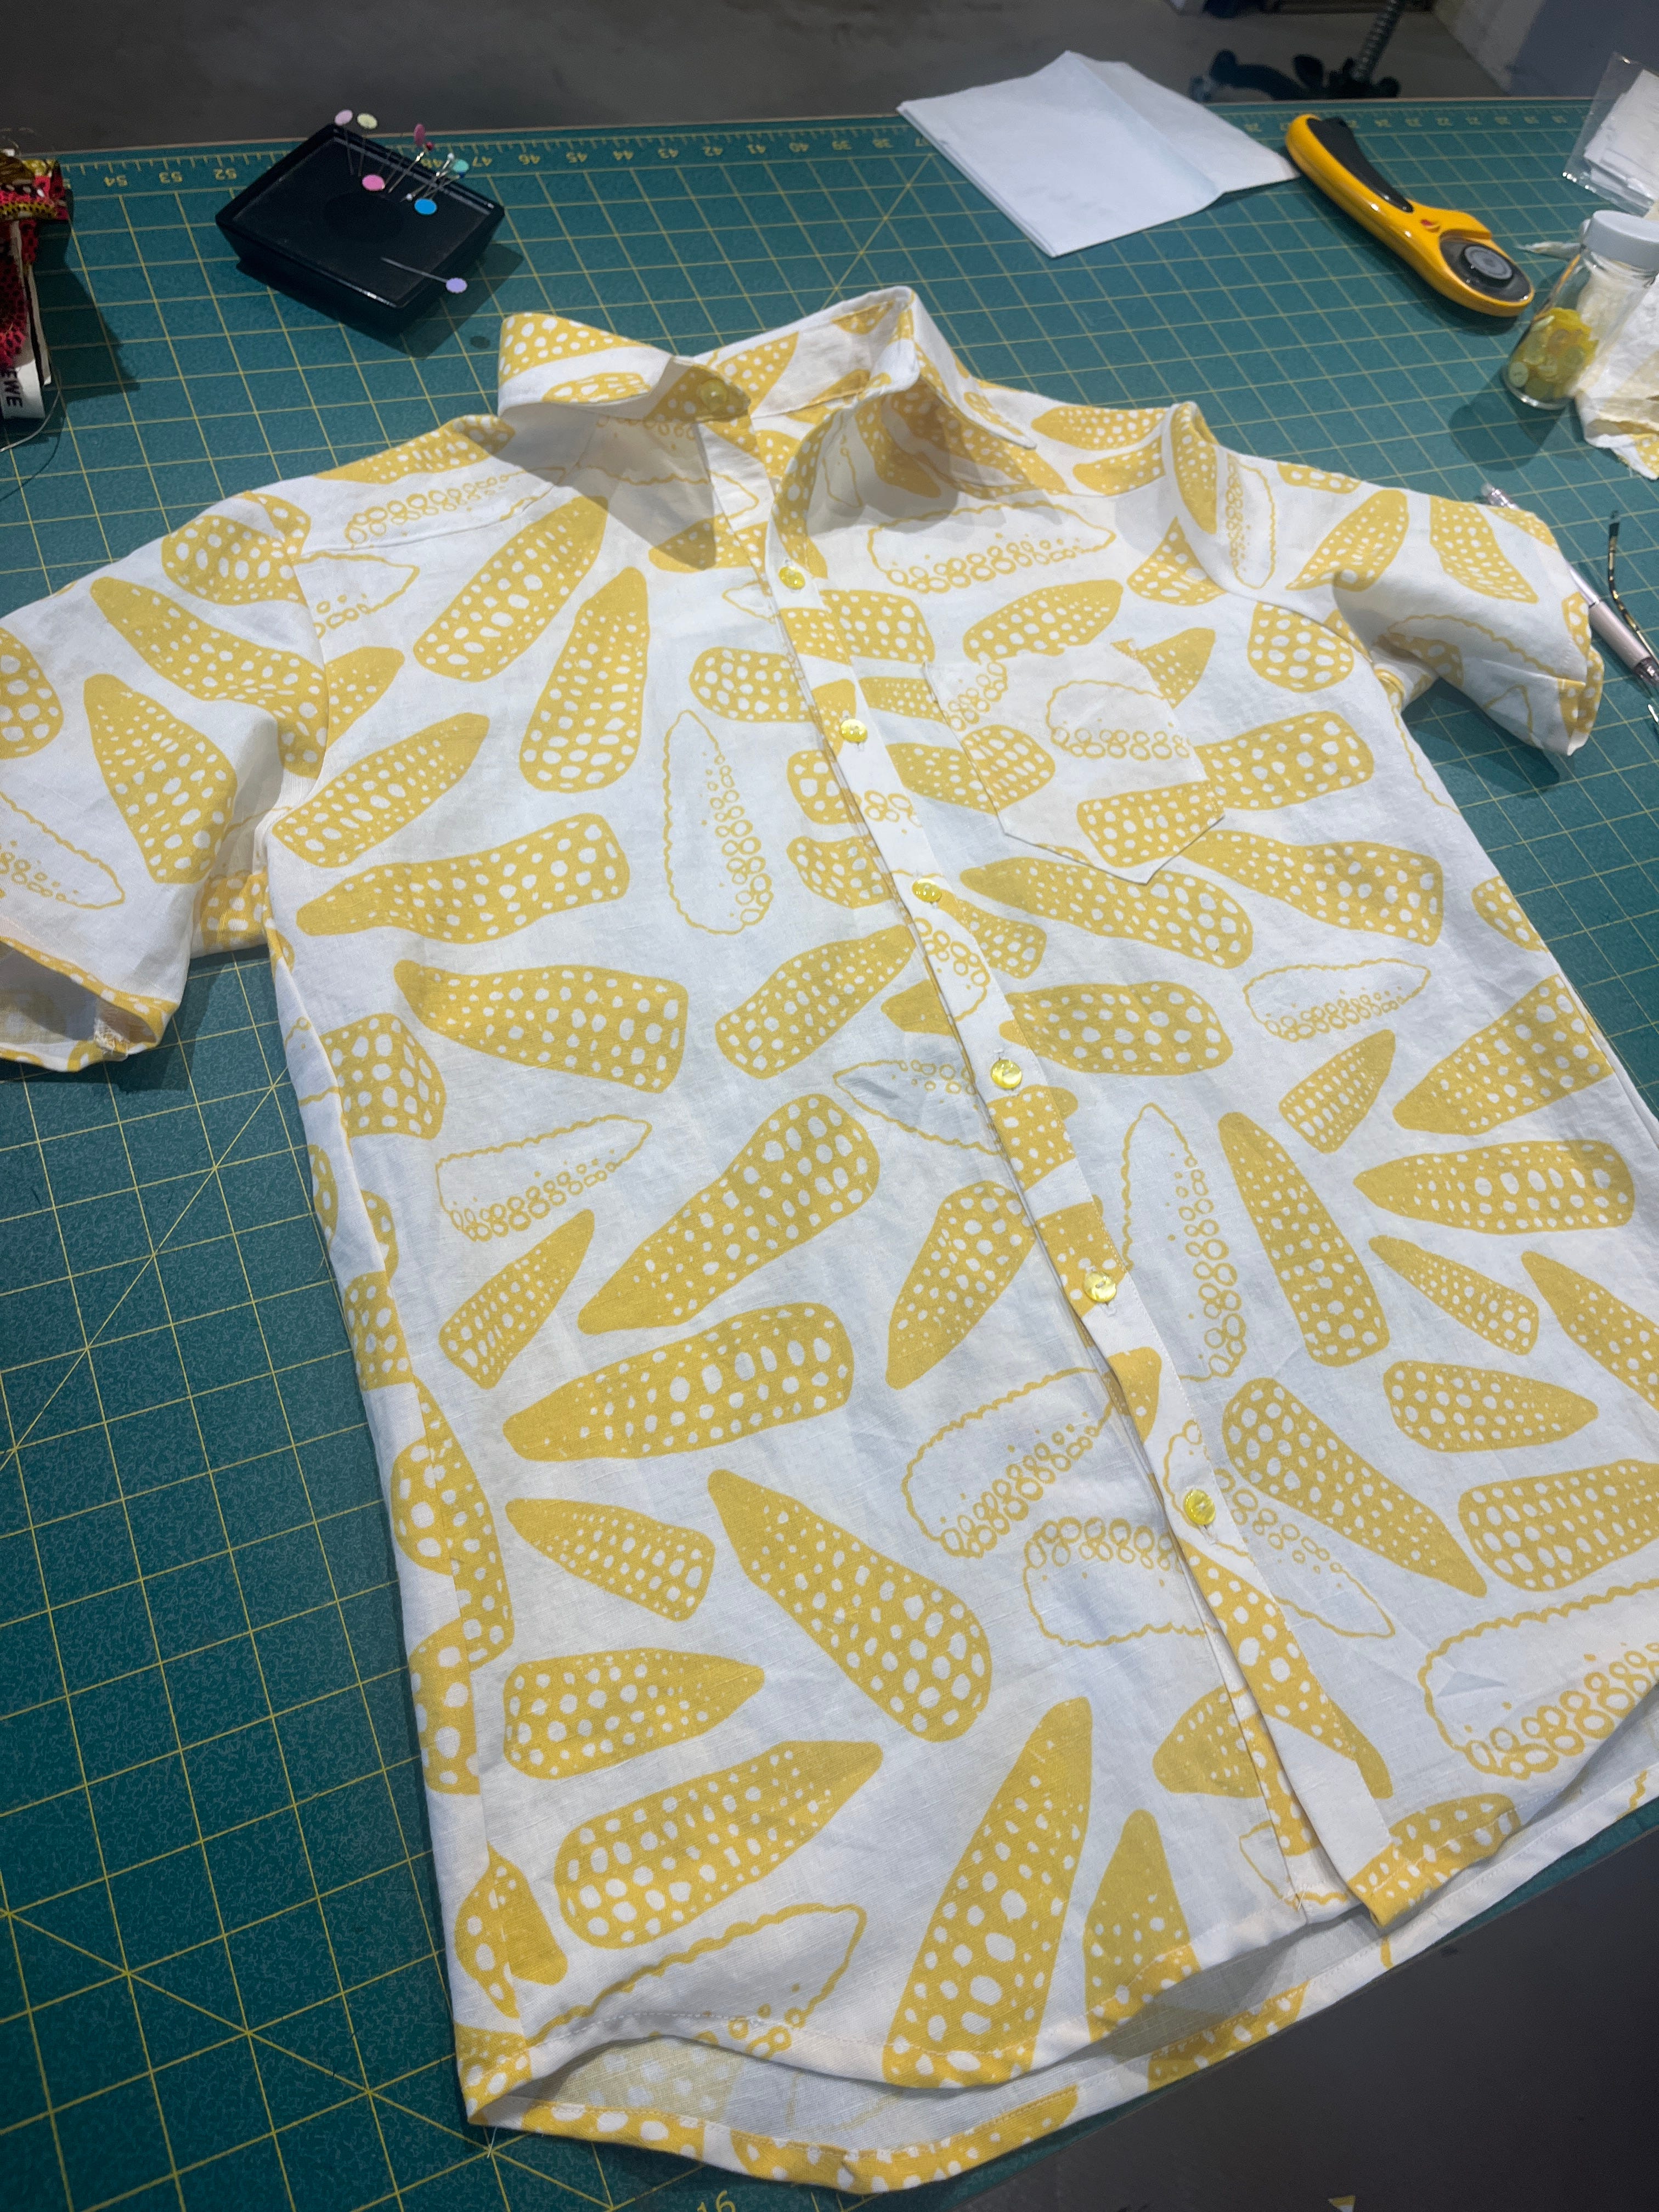
My sweet, thoughtful friend Heather sent me the pattern last week after reading about the Helene Jeans I made, which came out great but are more fitted than I actually wanted (I tend to keep sewing the equivalent of a Peg Bundy skin tight high rise non stretch jean when in actuality I want to wear something loose, classic and comfortable that still looks chic). Even though I literally just made the Helene’s, I didn’t hesitate to start sewing the Franks up right after, with only one quick batch sewing project in between (a couple Gosling shirts with matching accessories that I gifted to loves in my life).
I love making jeans. They take me about three days, start to finish. I have my fit adjustments pretty much nailed down (grade one to two sizes up between waist and hip, shorten leg length and curve waistband if necessary) and once the pattern pieces are cut out and the zip fly is finished, it’s mostly just meditative sewing til the end. Sew, serge, topstitch, sew, serge topstitch, sew serge topstitch…baste together, try on, make adjustments…sew, serge, topstitch.
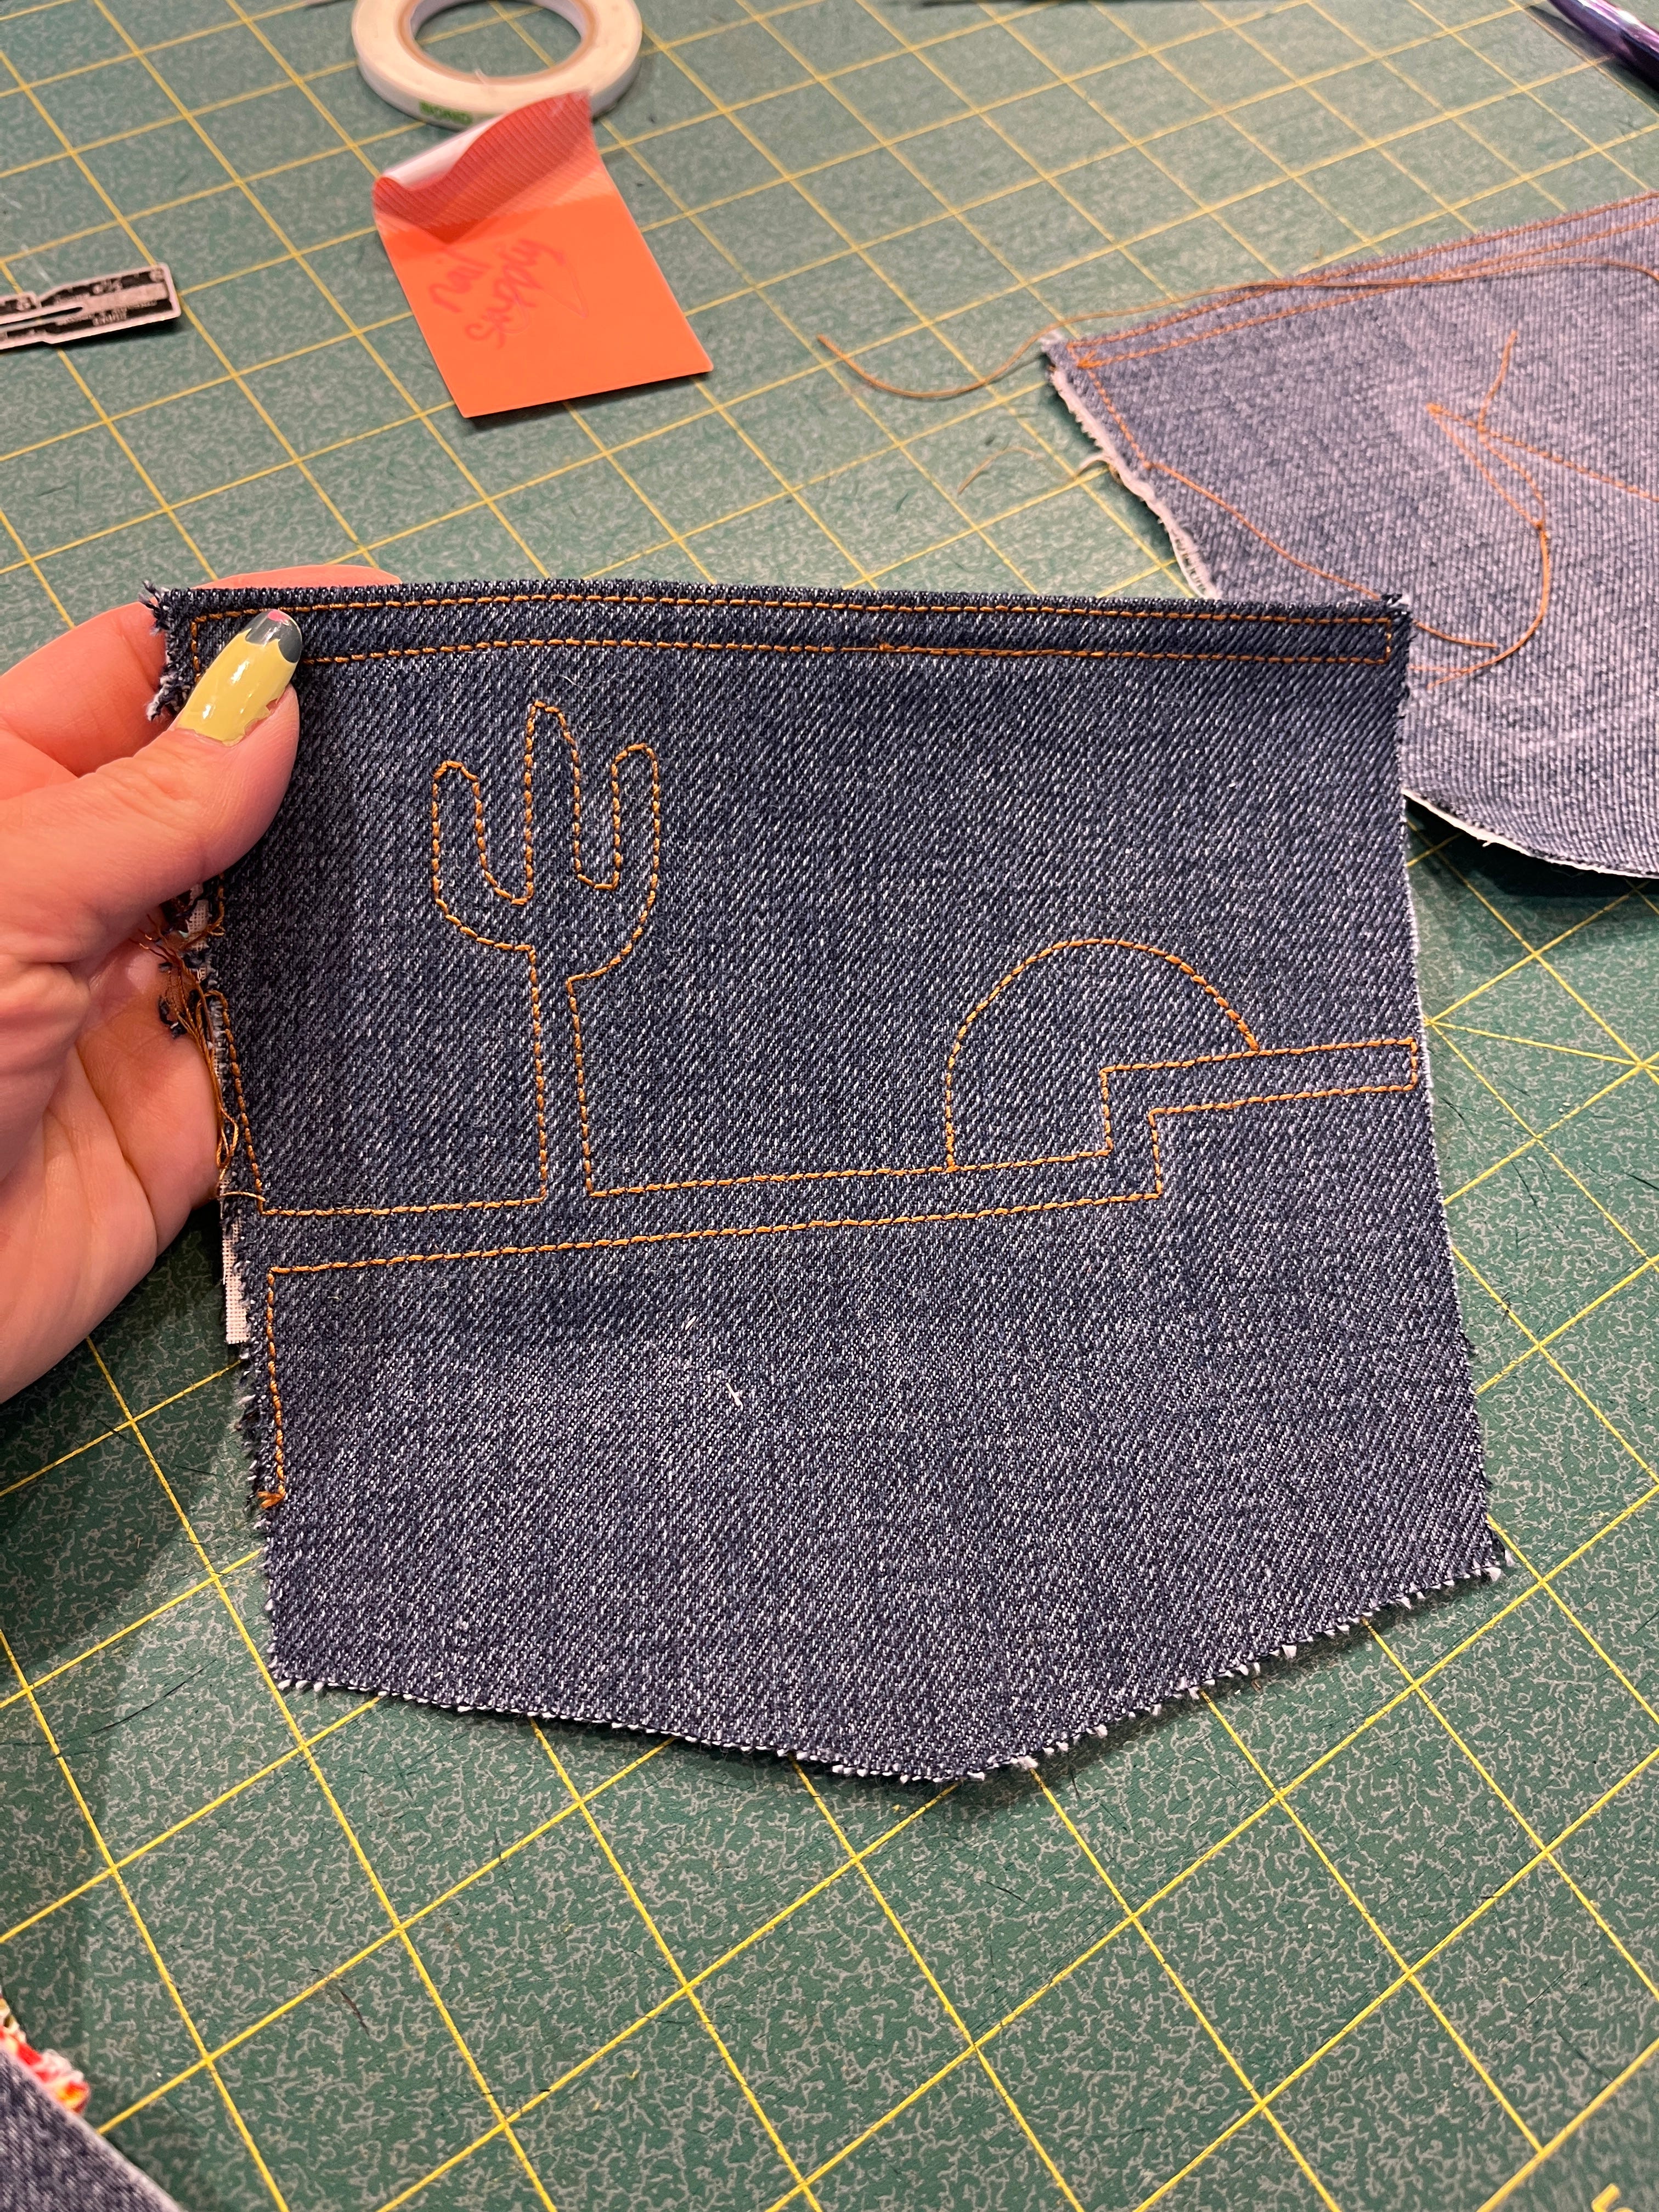
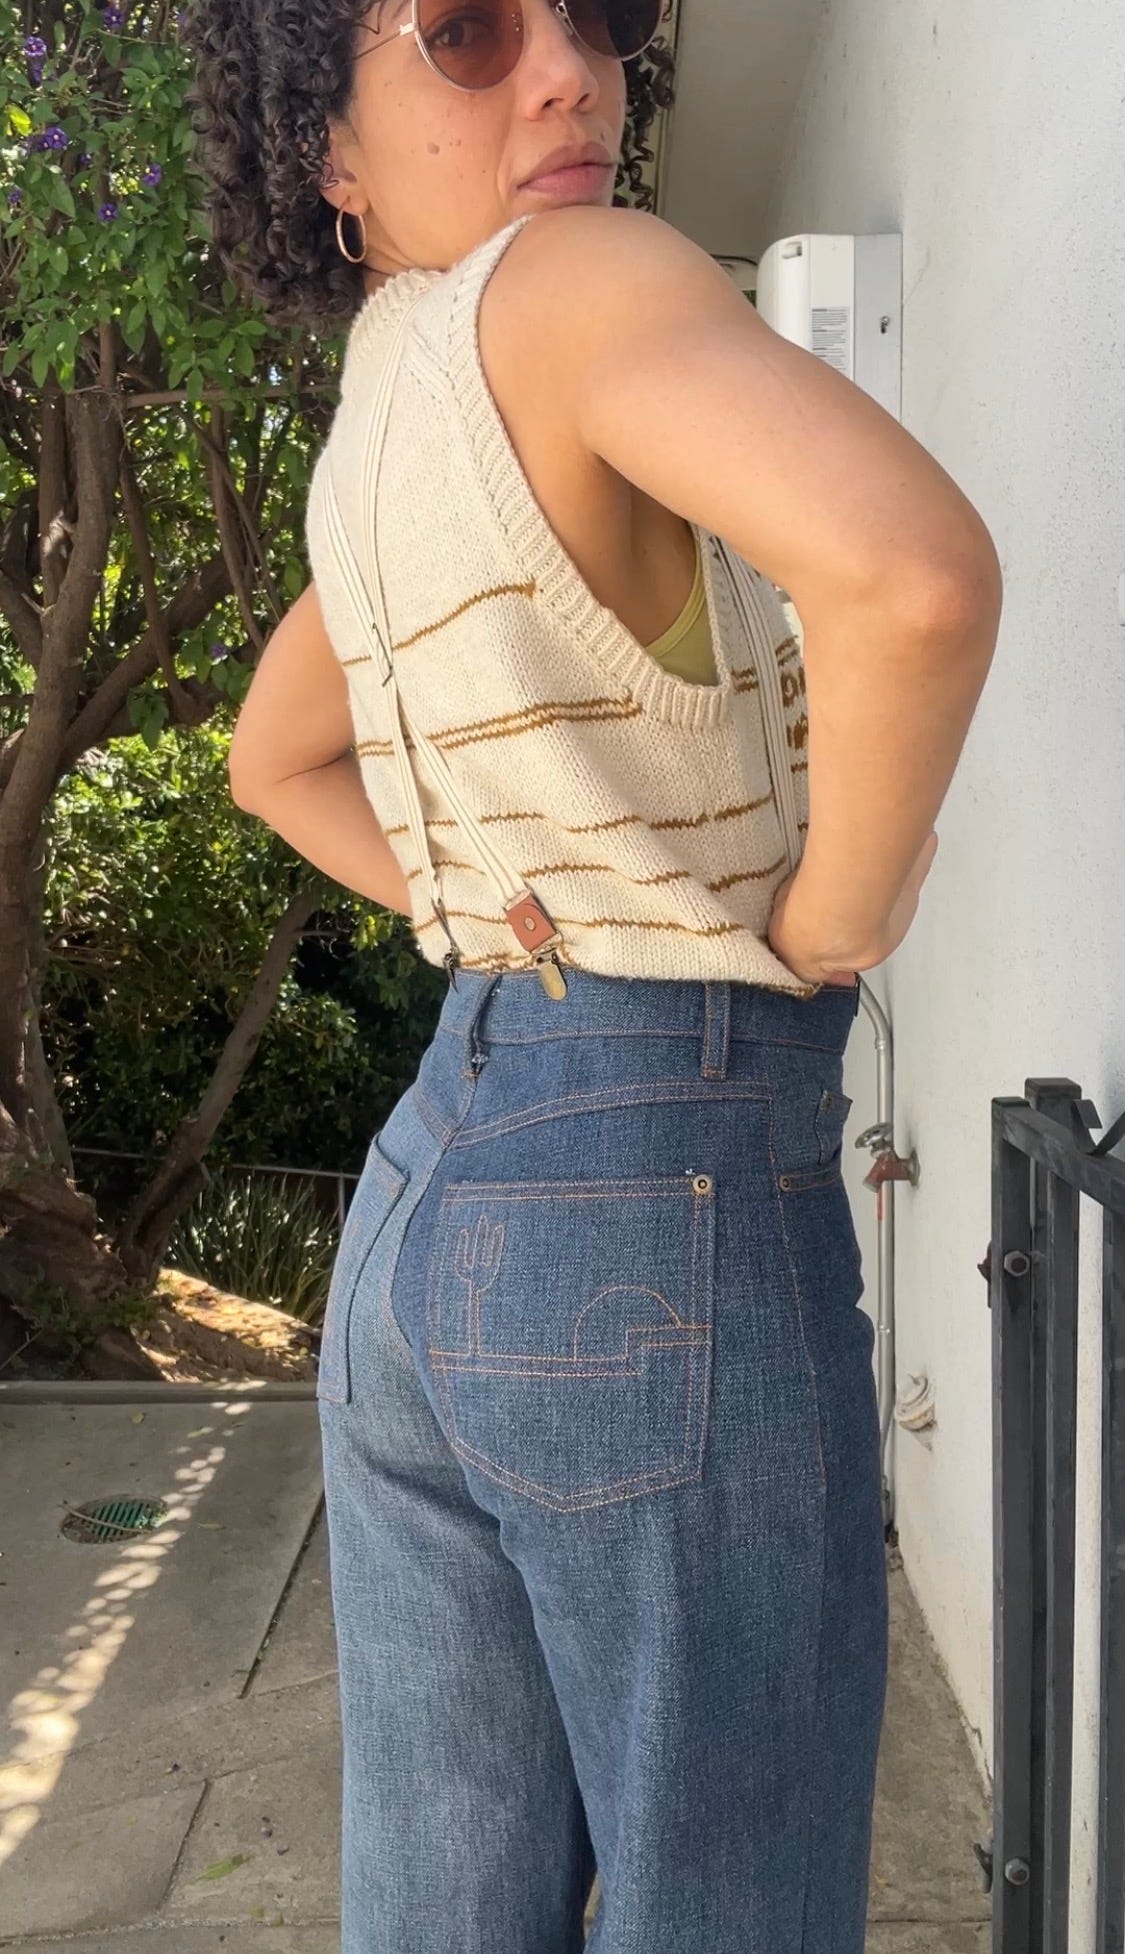
I decided to make some exciting back pockets on these, which I have done before, but not to this extent. Closet Core released a bunch of super cute back pocket templates many years ago that I have used several times, but on this pair I decided to freehand my designs. I saw the desert scene topstitched on a back pocket via a quick google search so I just copied that freehand, and then I drew the ‘JN’ symbol on the other pocket because it is the signature I put on all my pottery bottoms, and I love that I get to invite a facet of my adventures in ceramics into my sewing in some way. If I ever get clothing tags printed up again, I will definitely be using this JN design for them. Unfortunately I forgot to interface one of the back pockets before I topstitched the image onto the denim. I added interfacing only after I realized my misstep and am hoping that keeps all the topstitching intact, but if it doesn’t, worst case scenario is I gotta take the pocket off and redo it.
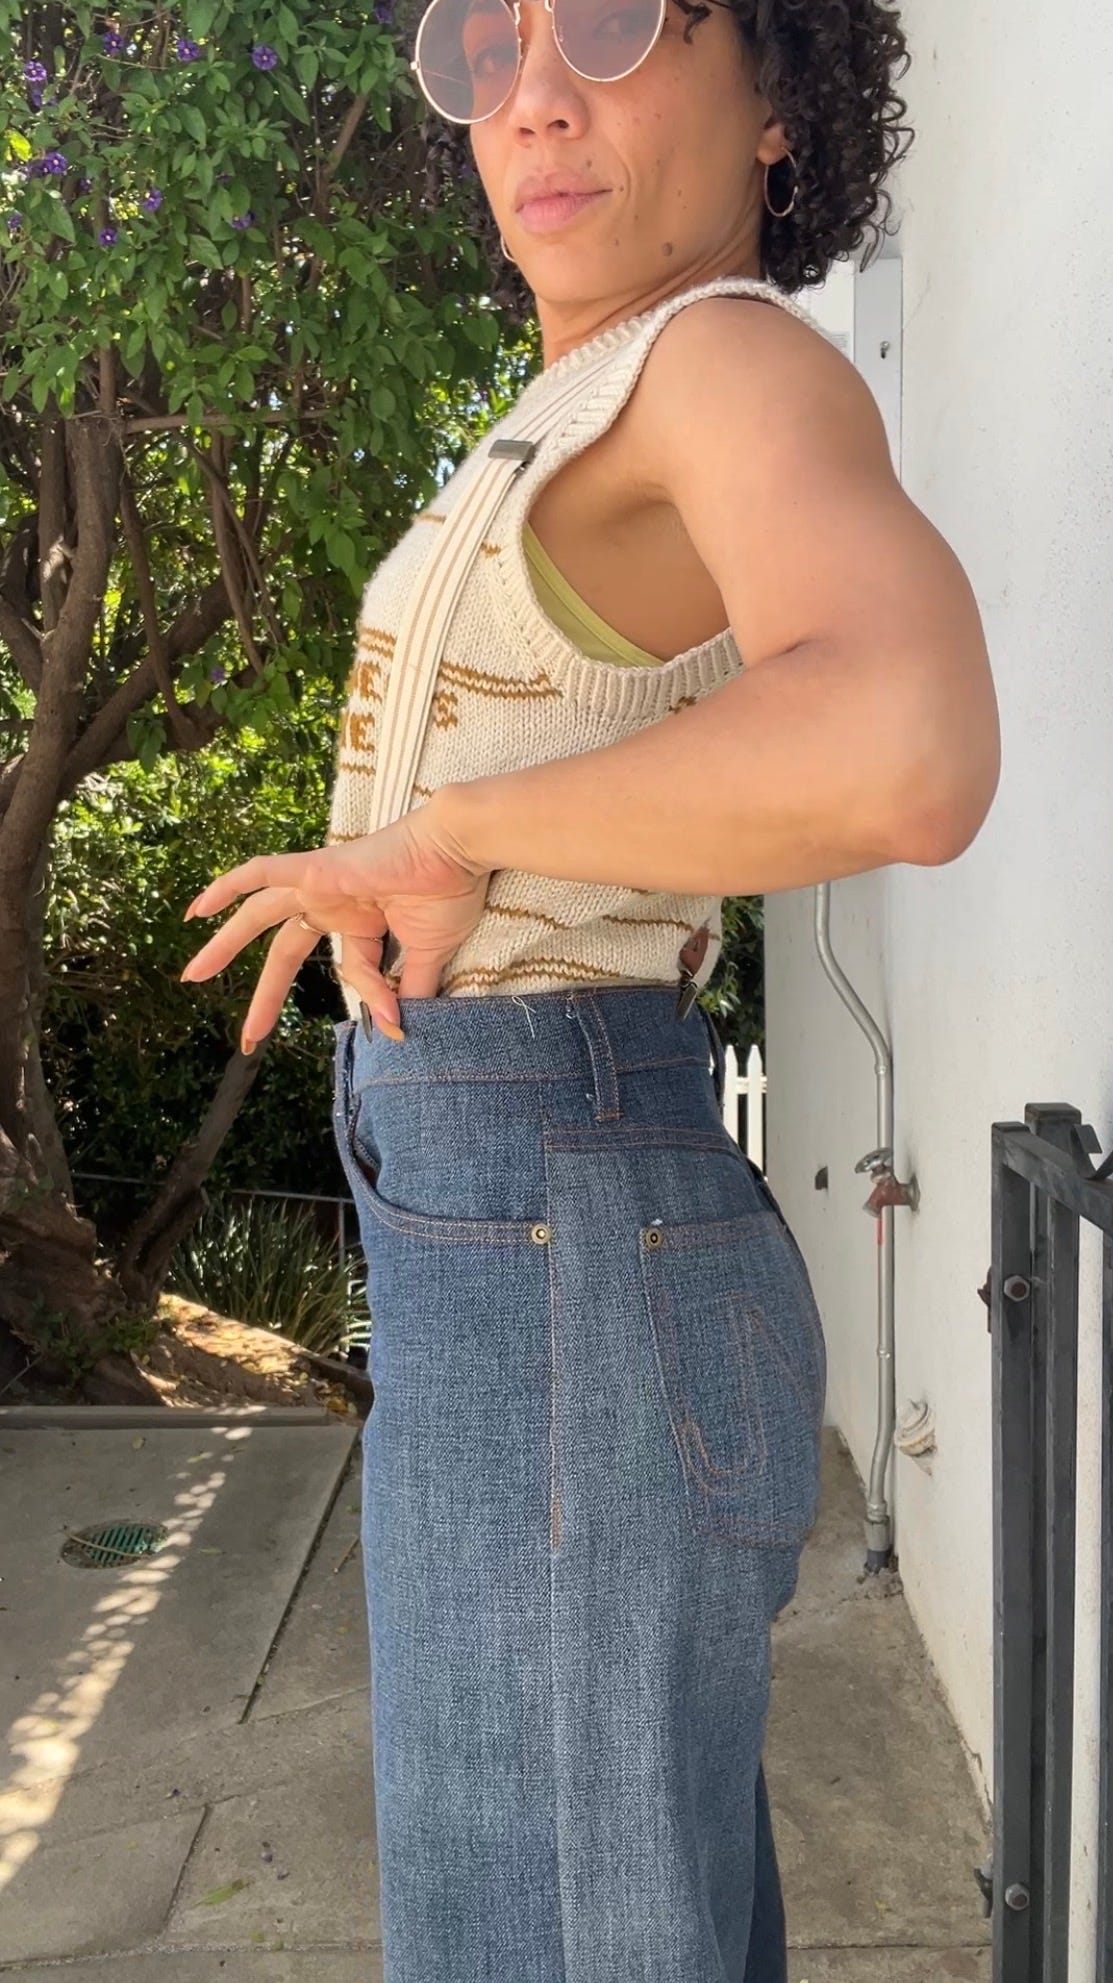
I only realized once I tried these jeans on for the baste fit that my denim is different colors! I bought the fabric from Mood, and it seemed like all one grade of blue when they cut my yardage out and I pre washed it and set it on my craft room table, but as you can see, there is marked variation between the leg pieces- one side of the denim is a darker blue and the other side is slightly faded and washed out. I did not intend for these jeans to look like patchwork denim (no shade to anyone out there who is into this but I kind of all the way hate patchwork denim garments)! That said, the color variation in these doesn’t bother me too much. I’m hoping that with a bunch of washes, the indigo will fade into something less stark and the two shades will blend together more. But even if not, the fit on these is too good- it would be insane to waste this fabric. ‘Slow sewing’ is also often ‘that’s not what I wanted to happen but I choose sustainability over perfection so I’m just gonna rock it’ sewing.
Surrender!
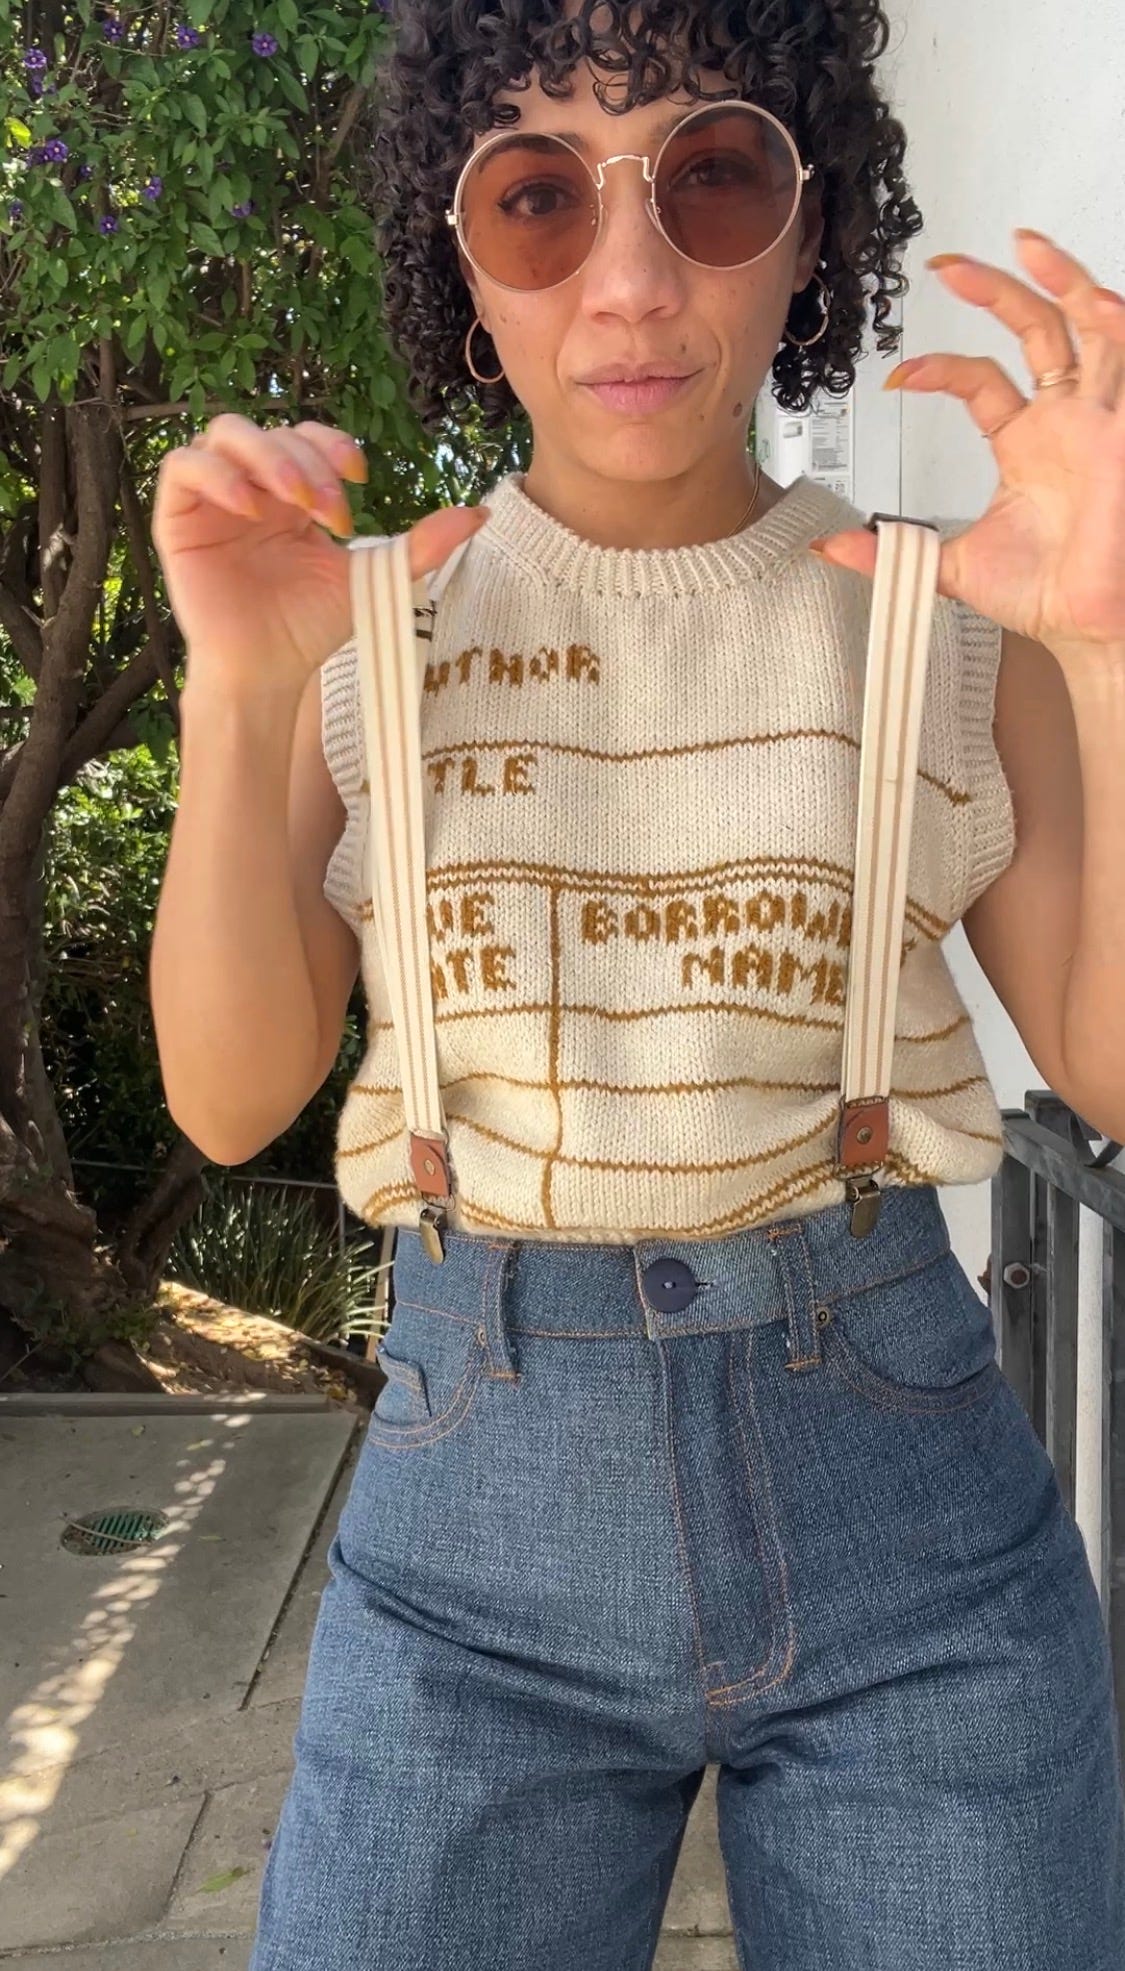
The other fun project I finished last week (and haven’t even worn yet cause it’s been delightfully chilly here in Los Angeles) is a new pair of Birks. I buy Birk beds from my leather and shoe repair supply shop, Saderma, for $38 a piece, put my own uppers and buckles on top, then finish them with a thick rubber sole on the bottom- Saderma sells actual Birkenstock soling too, but it’s more expensive than the lesser-known brand that looks exactly the same so I just get the cheaper kind.
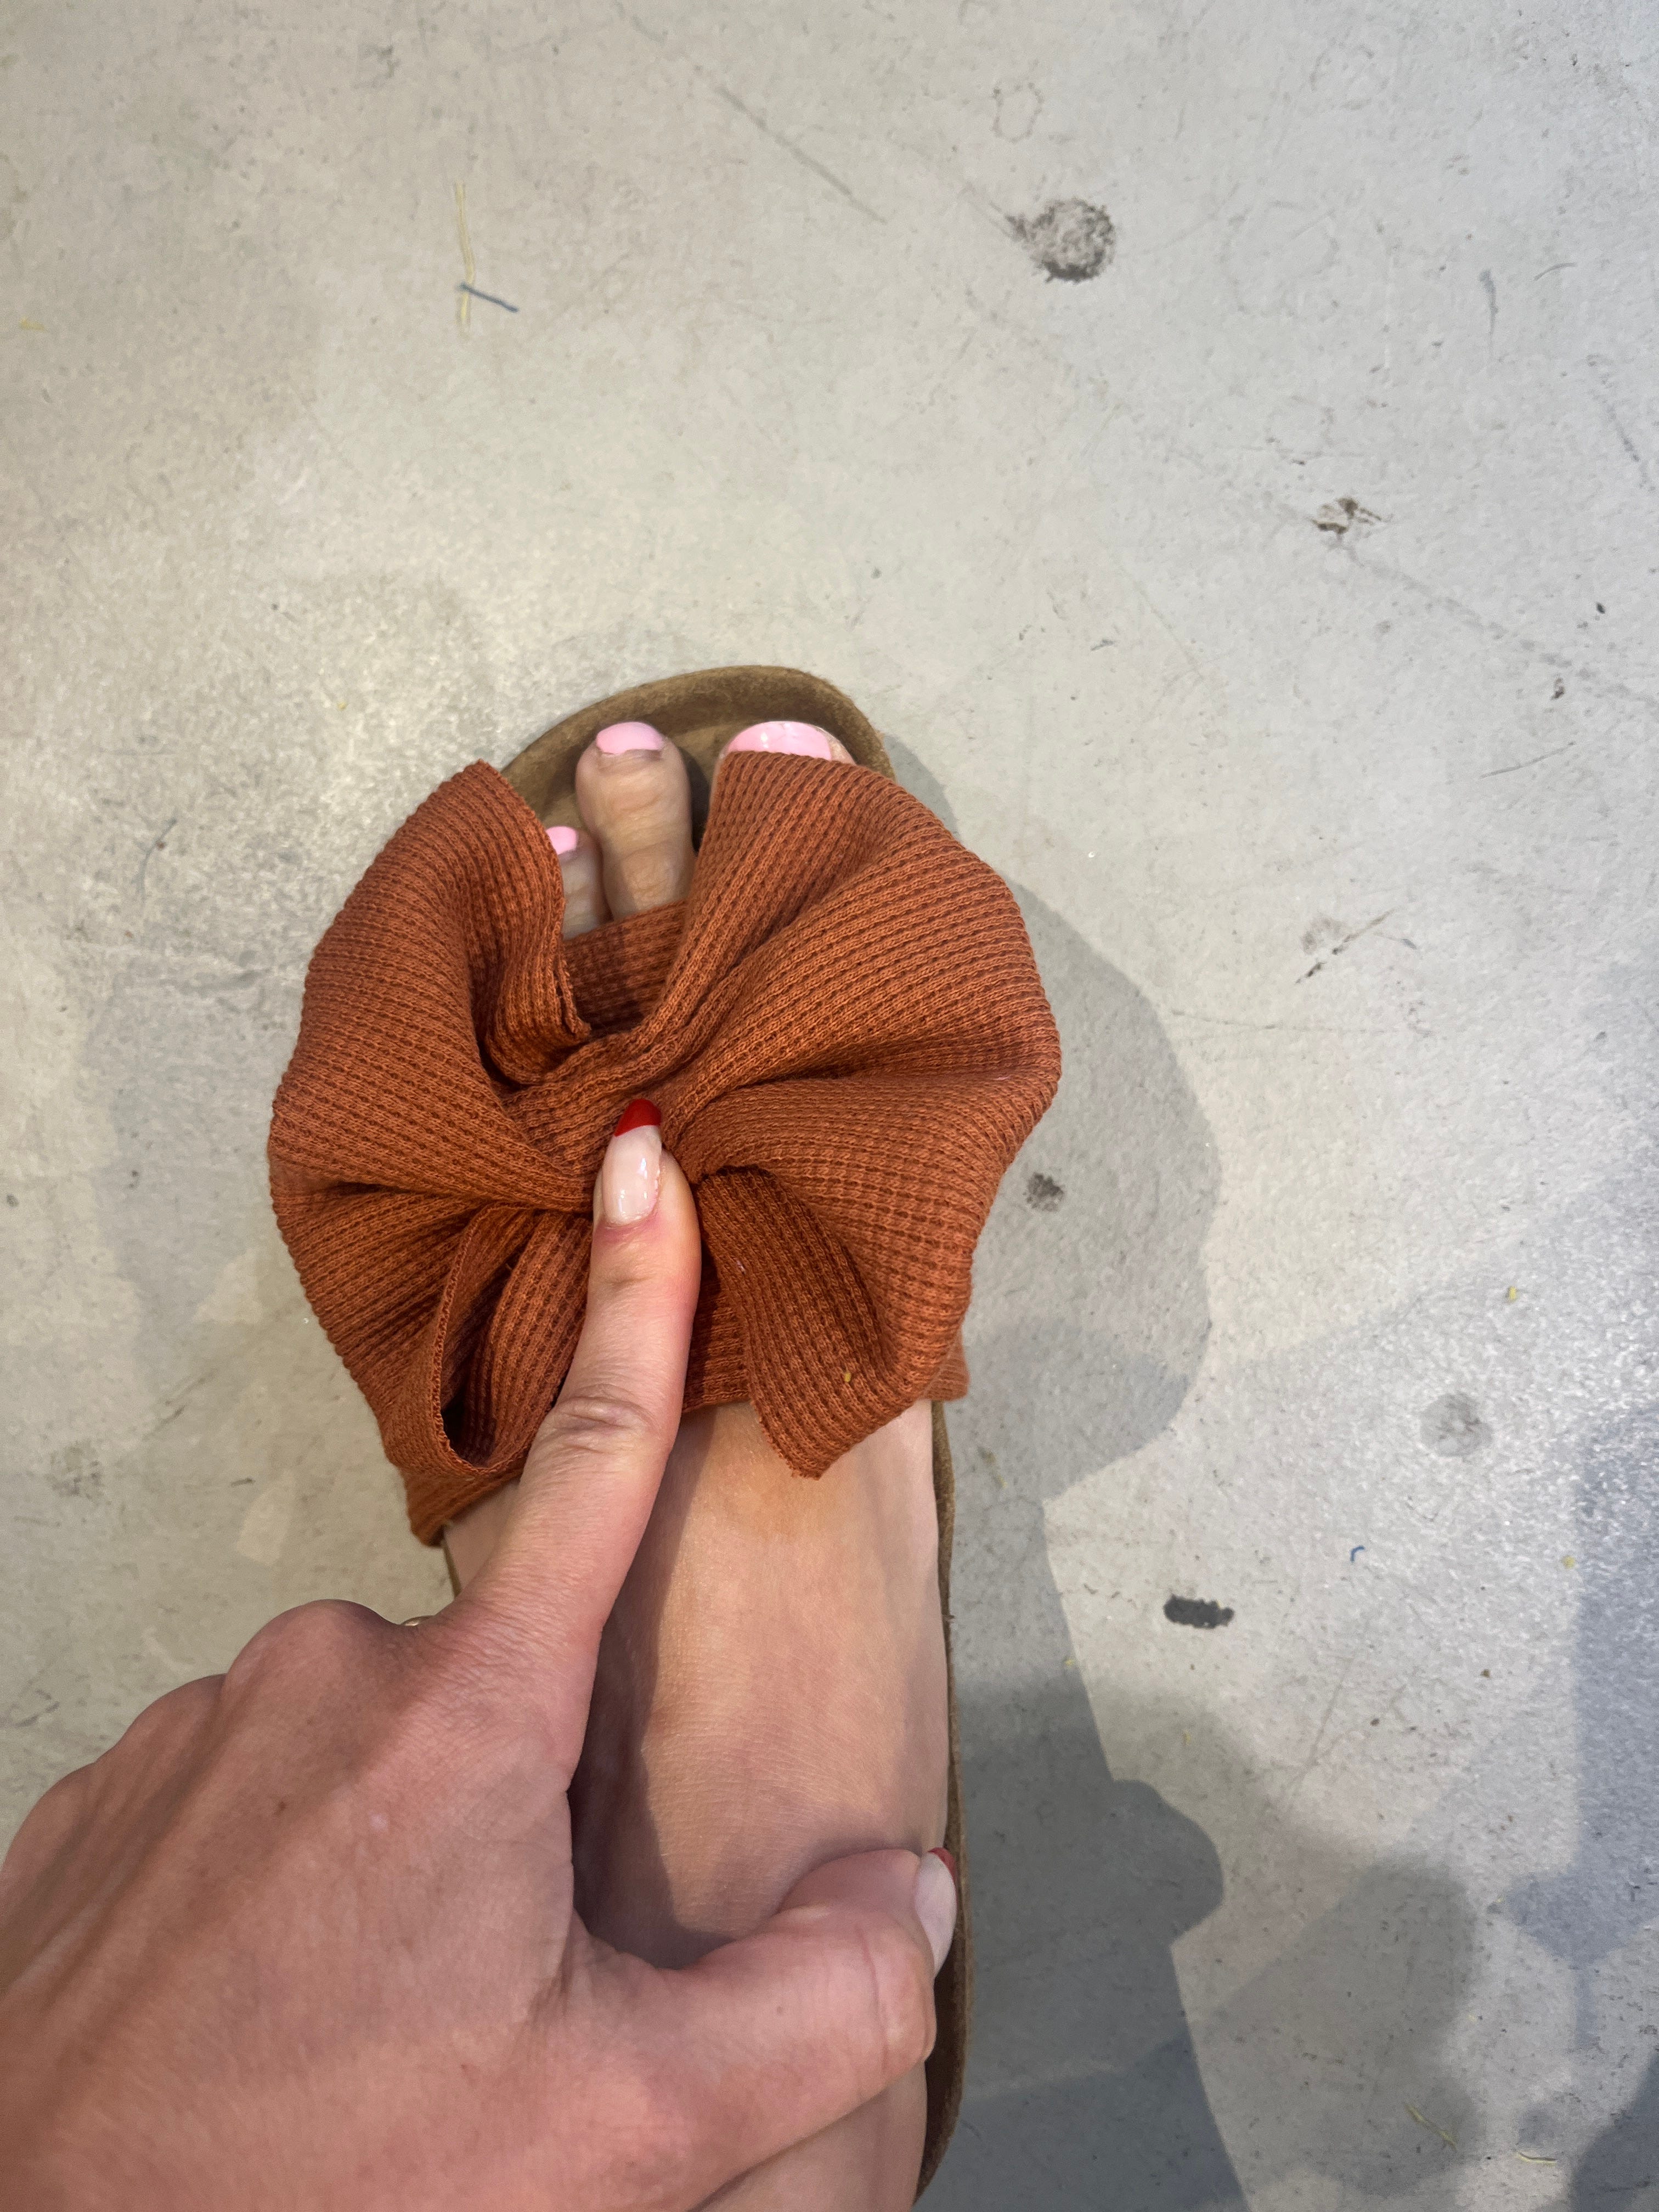
Many years ago when I bought my first Birkenstock footbeds, I made the most gorgeous pair of brown leather Birks with a big bow on the top. I wore them to Florida while visiting my family and my mom fell in love with them, so I ended up sending them to her so she could keep them. I have missed those shoes ever since! So I finally decided to recreate them for myself in a super soft green leather I found in the scrap bin (the bulk of my craft leather comes from scrap bins at my favorite leather shops).
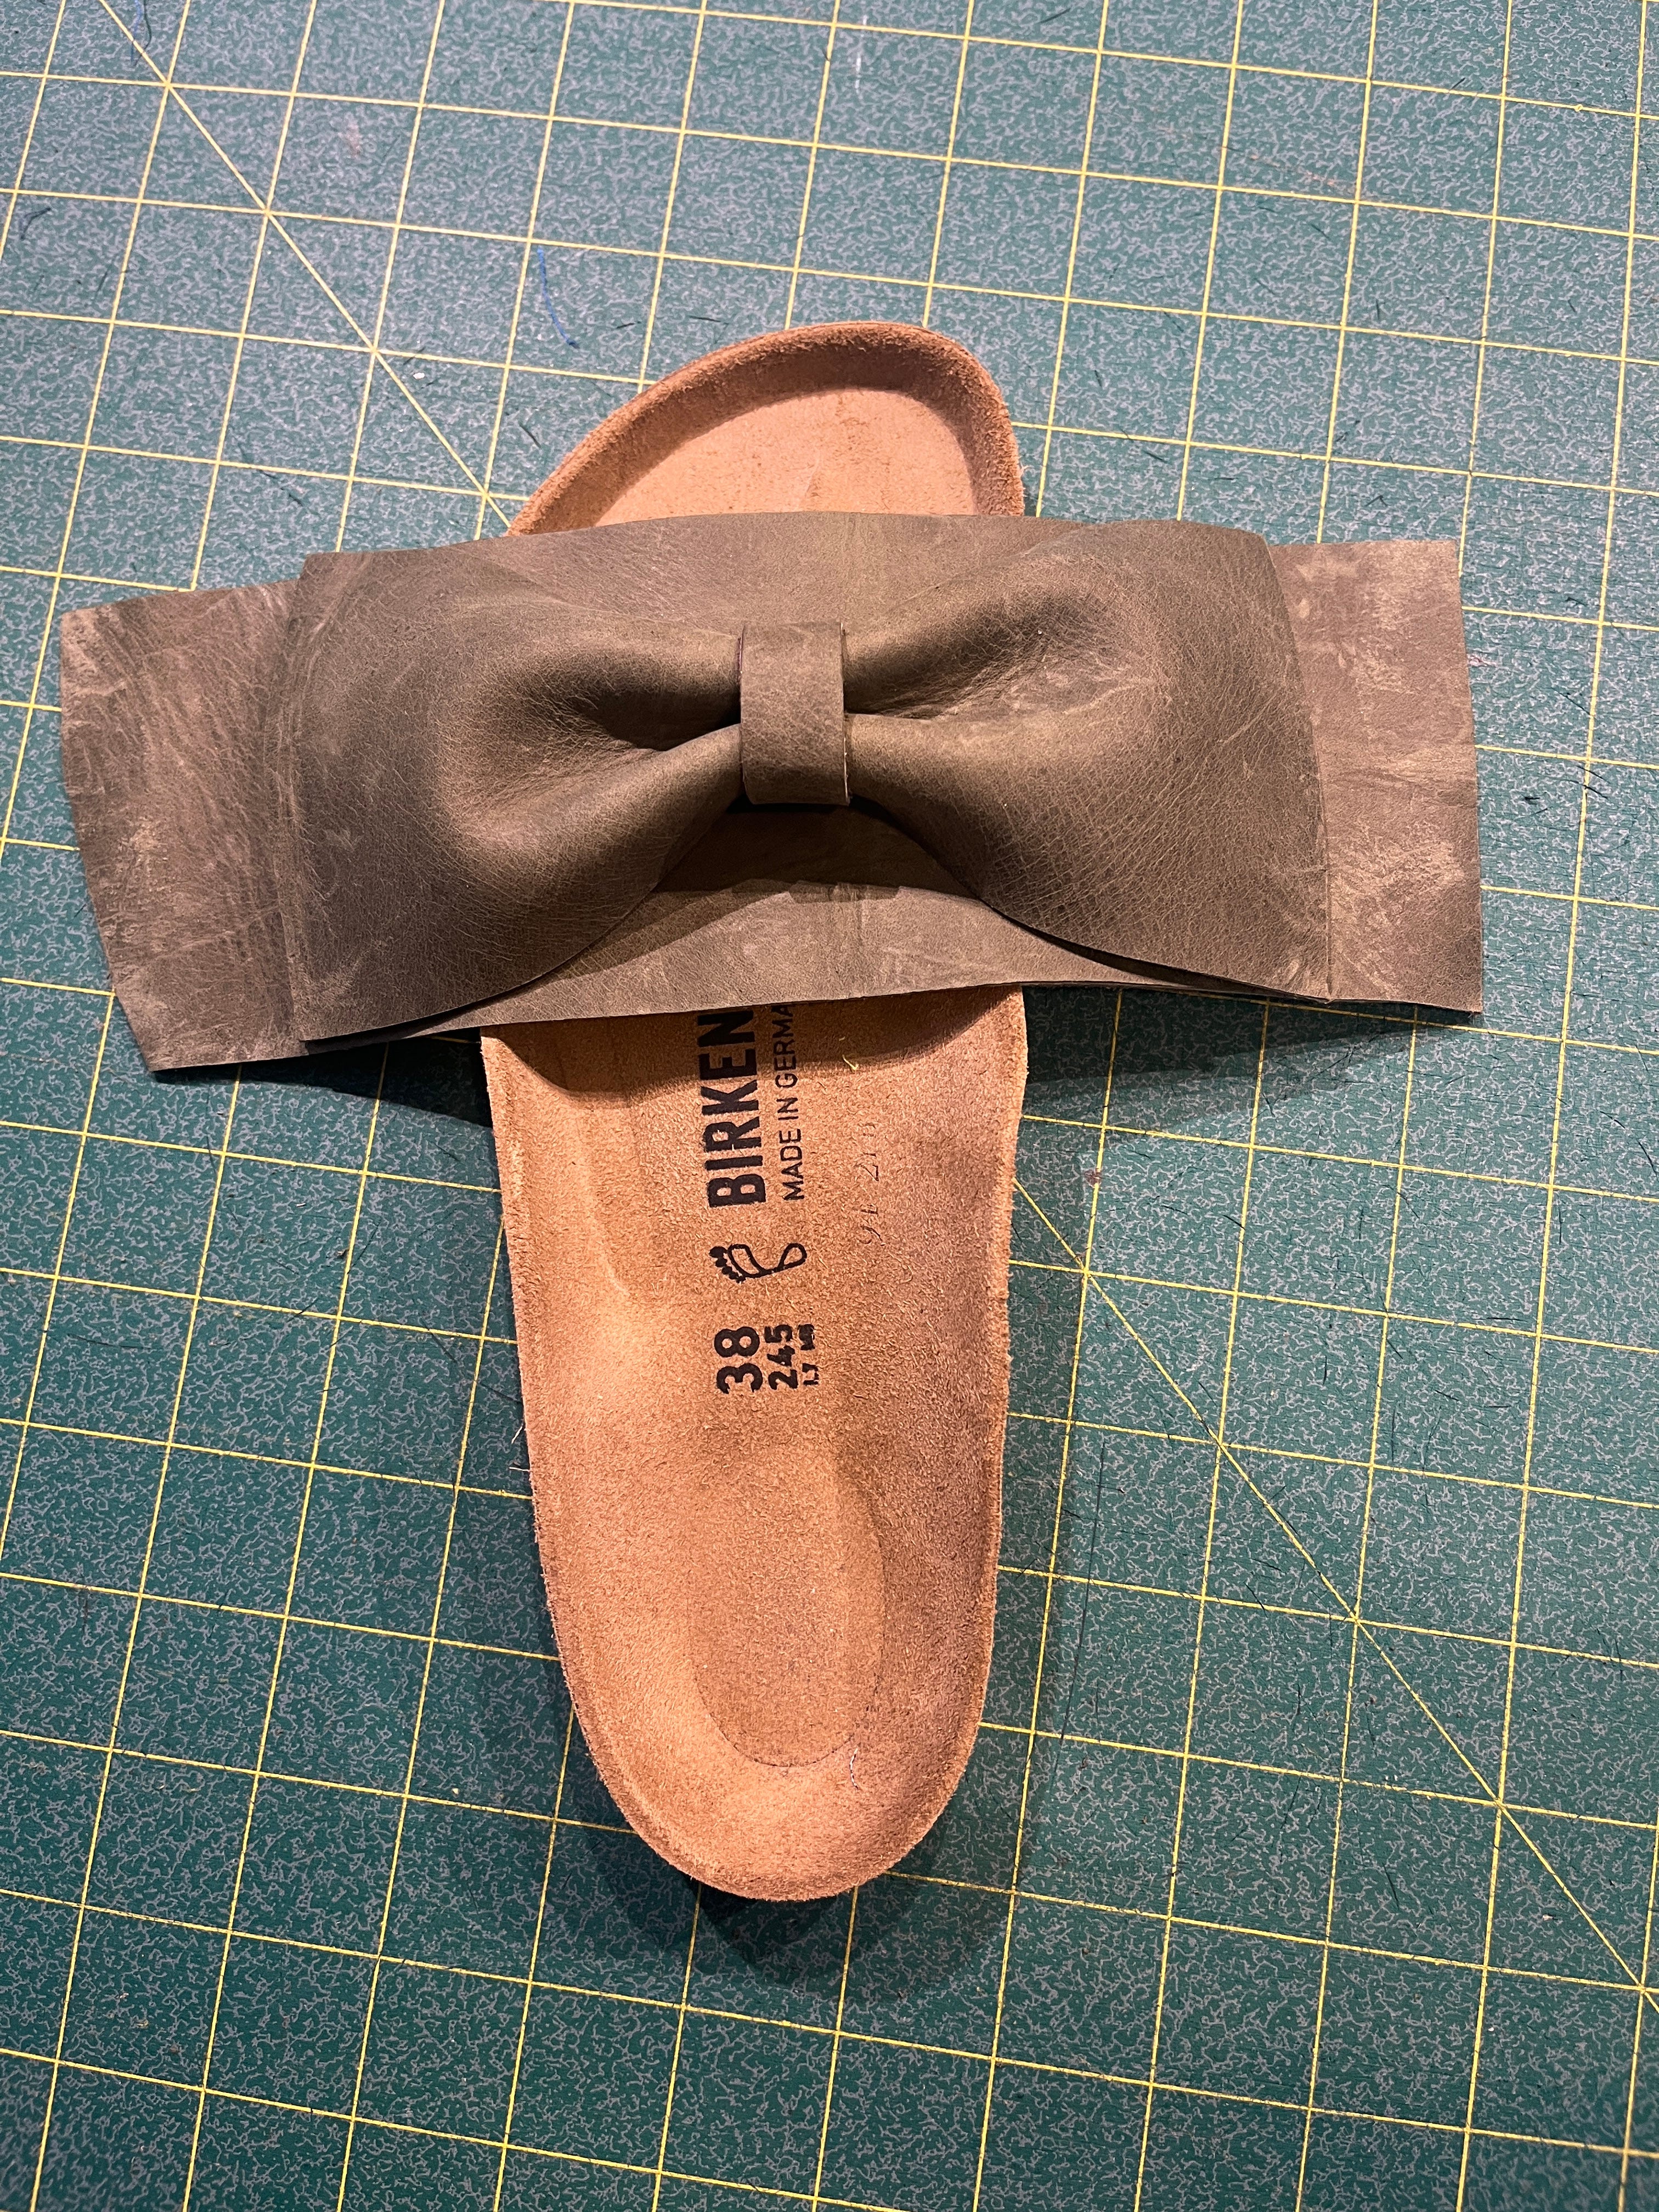
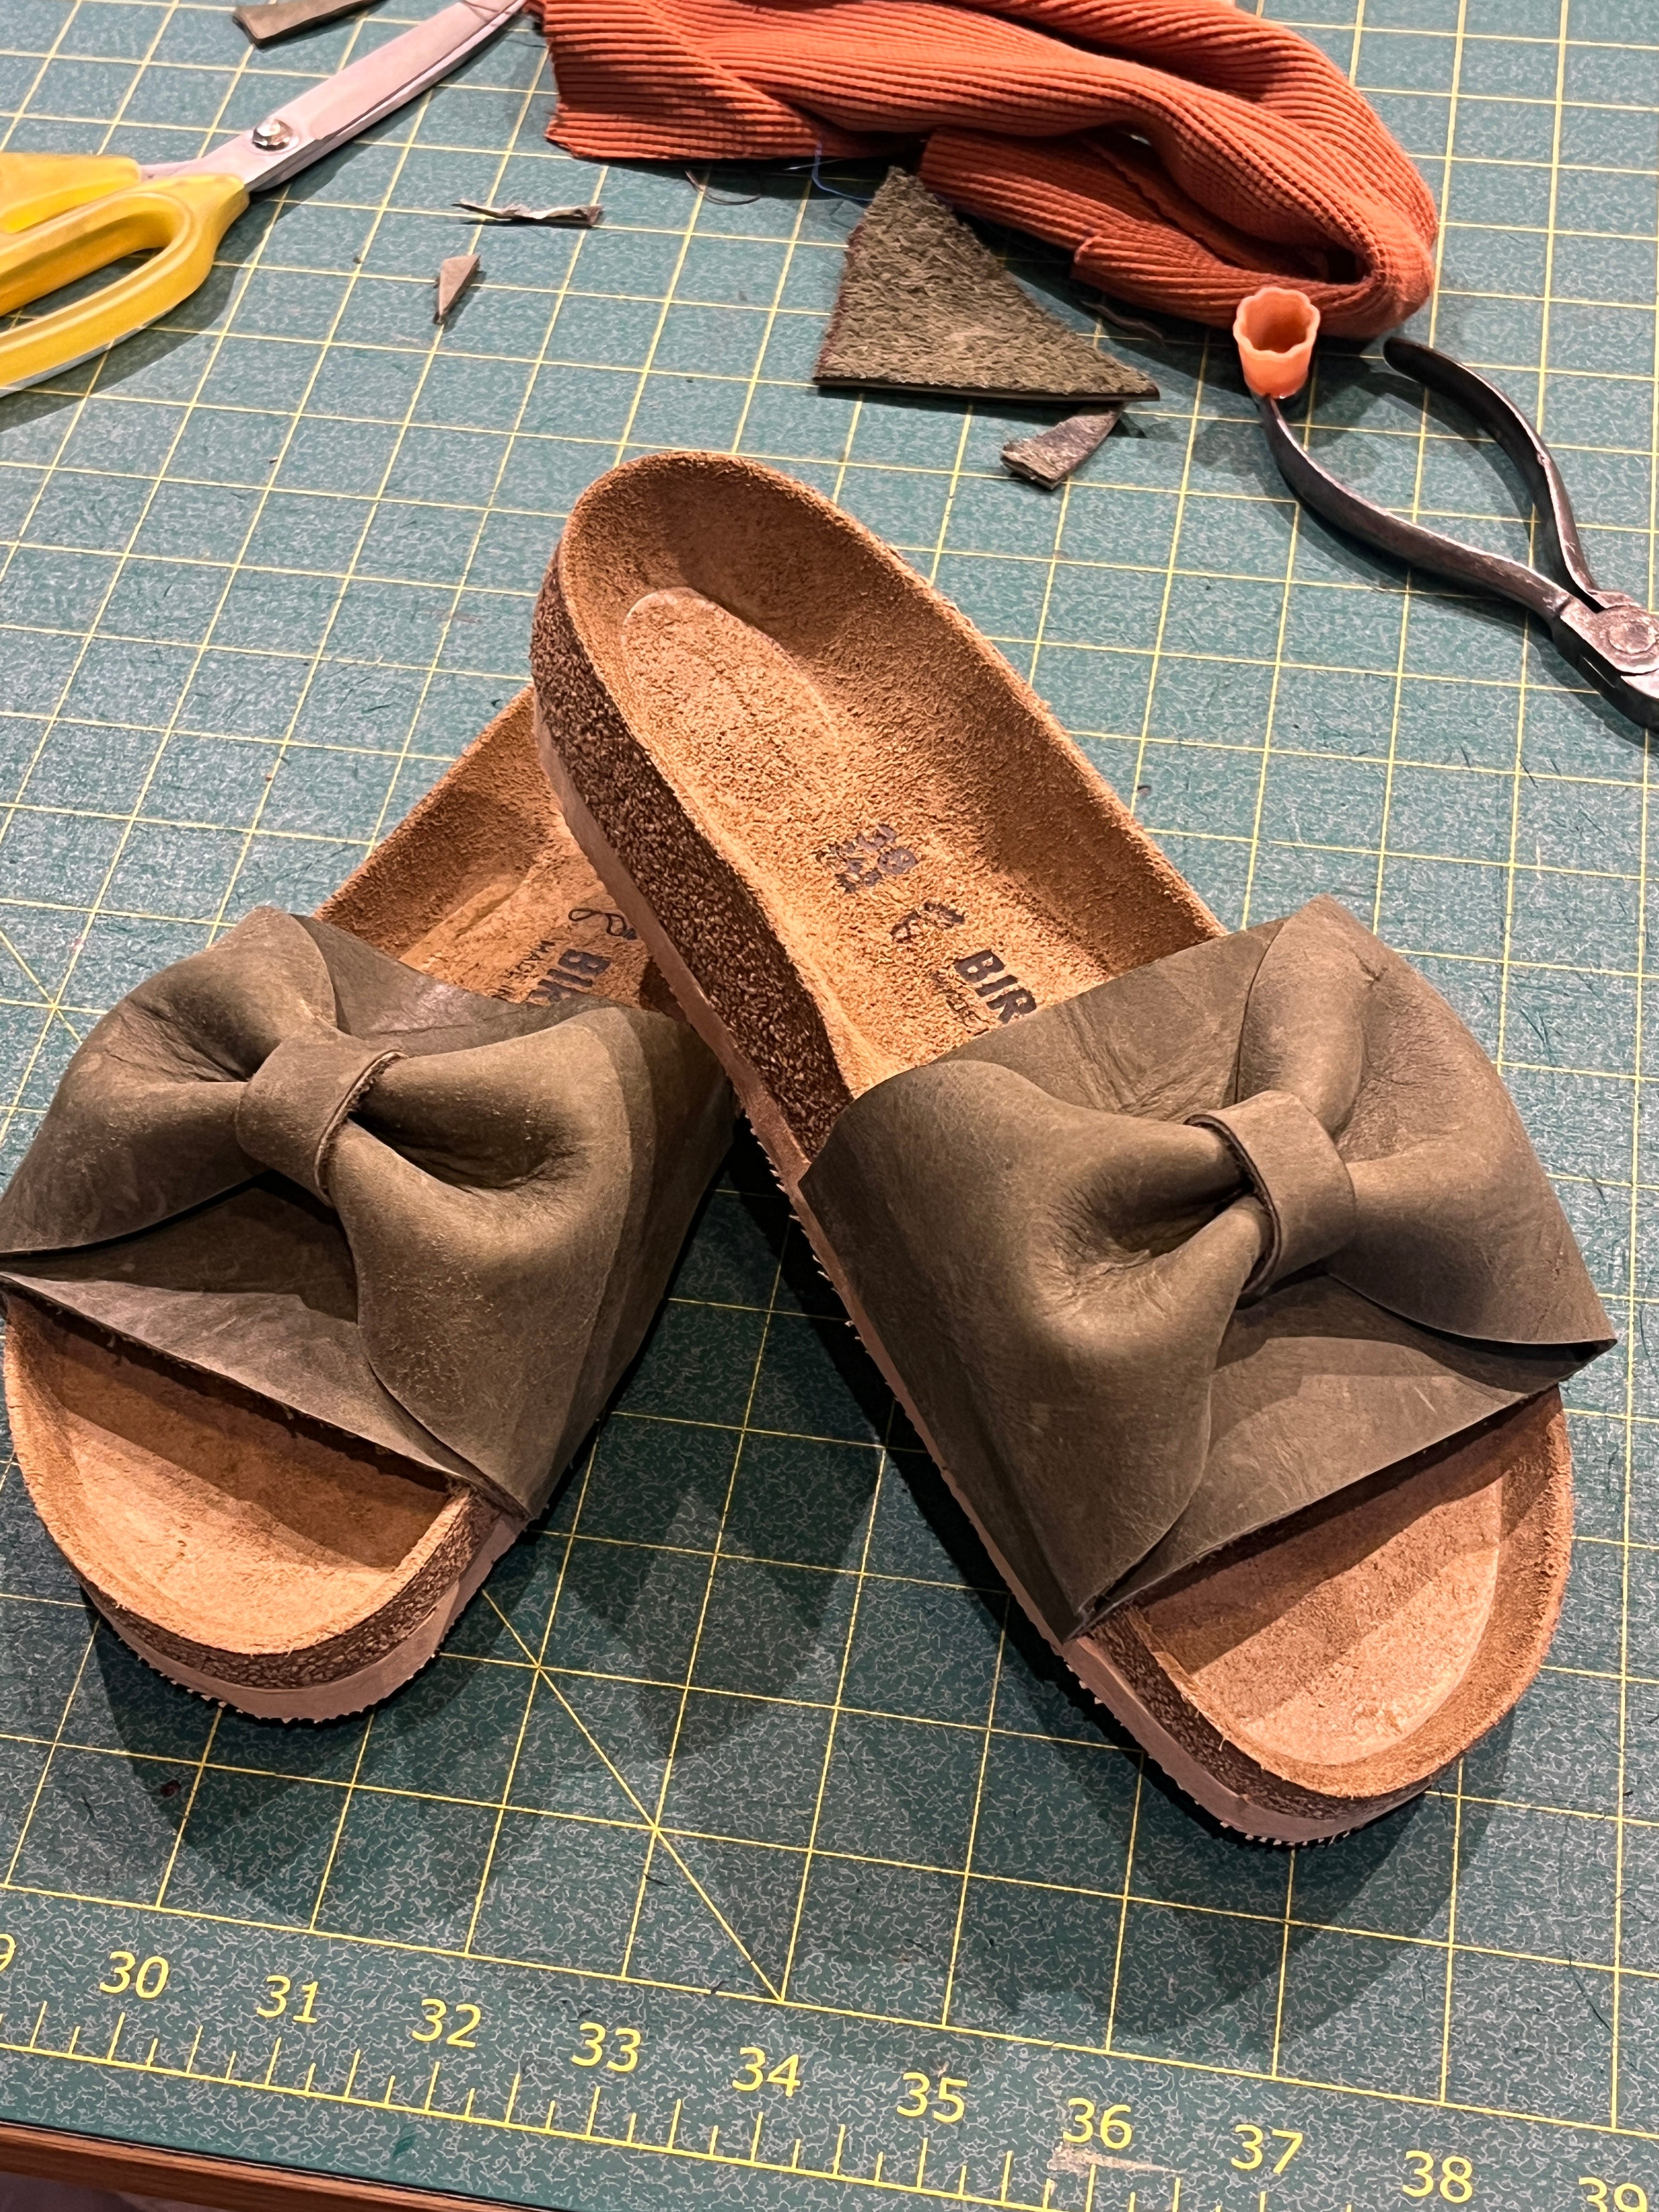
These Birks came out great and I put them on an extra thick piece of soling to give myself a little height. I can’t wait to wear them around this summer!
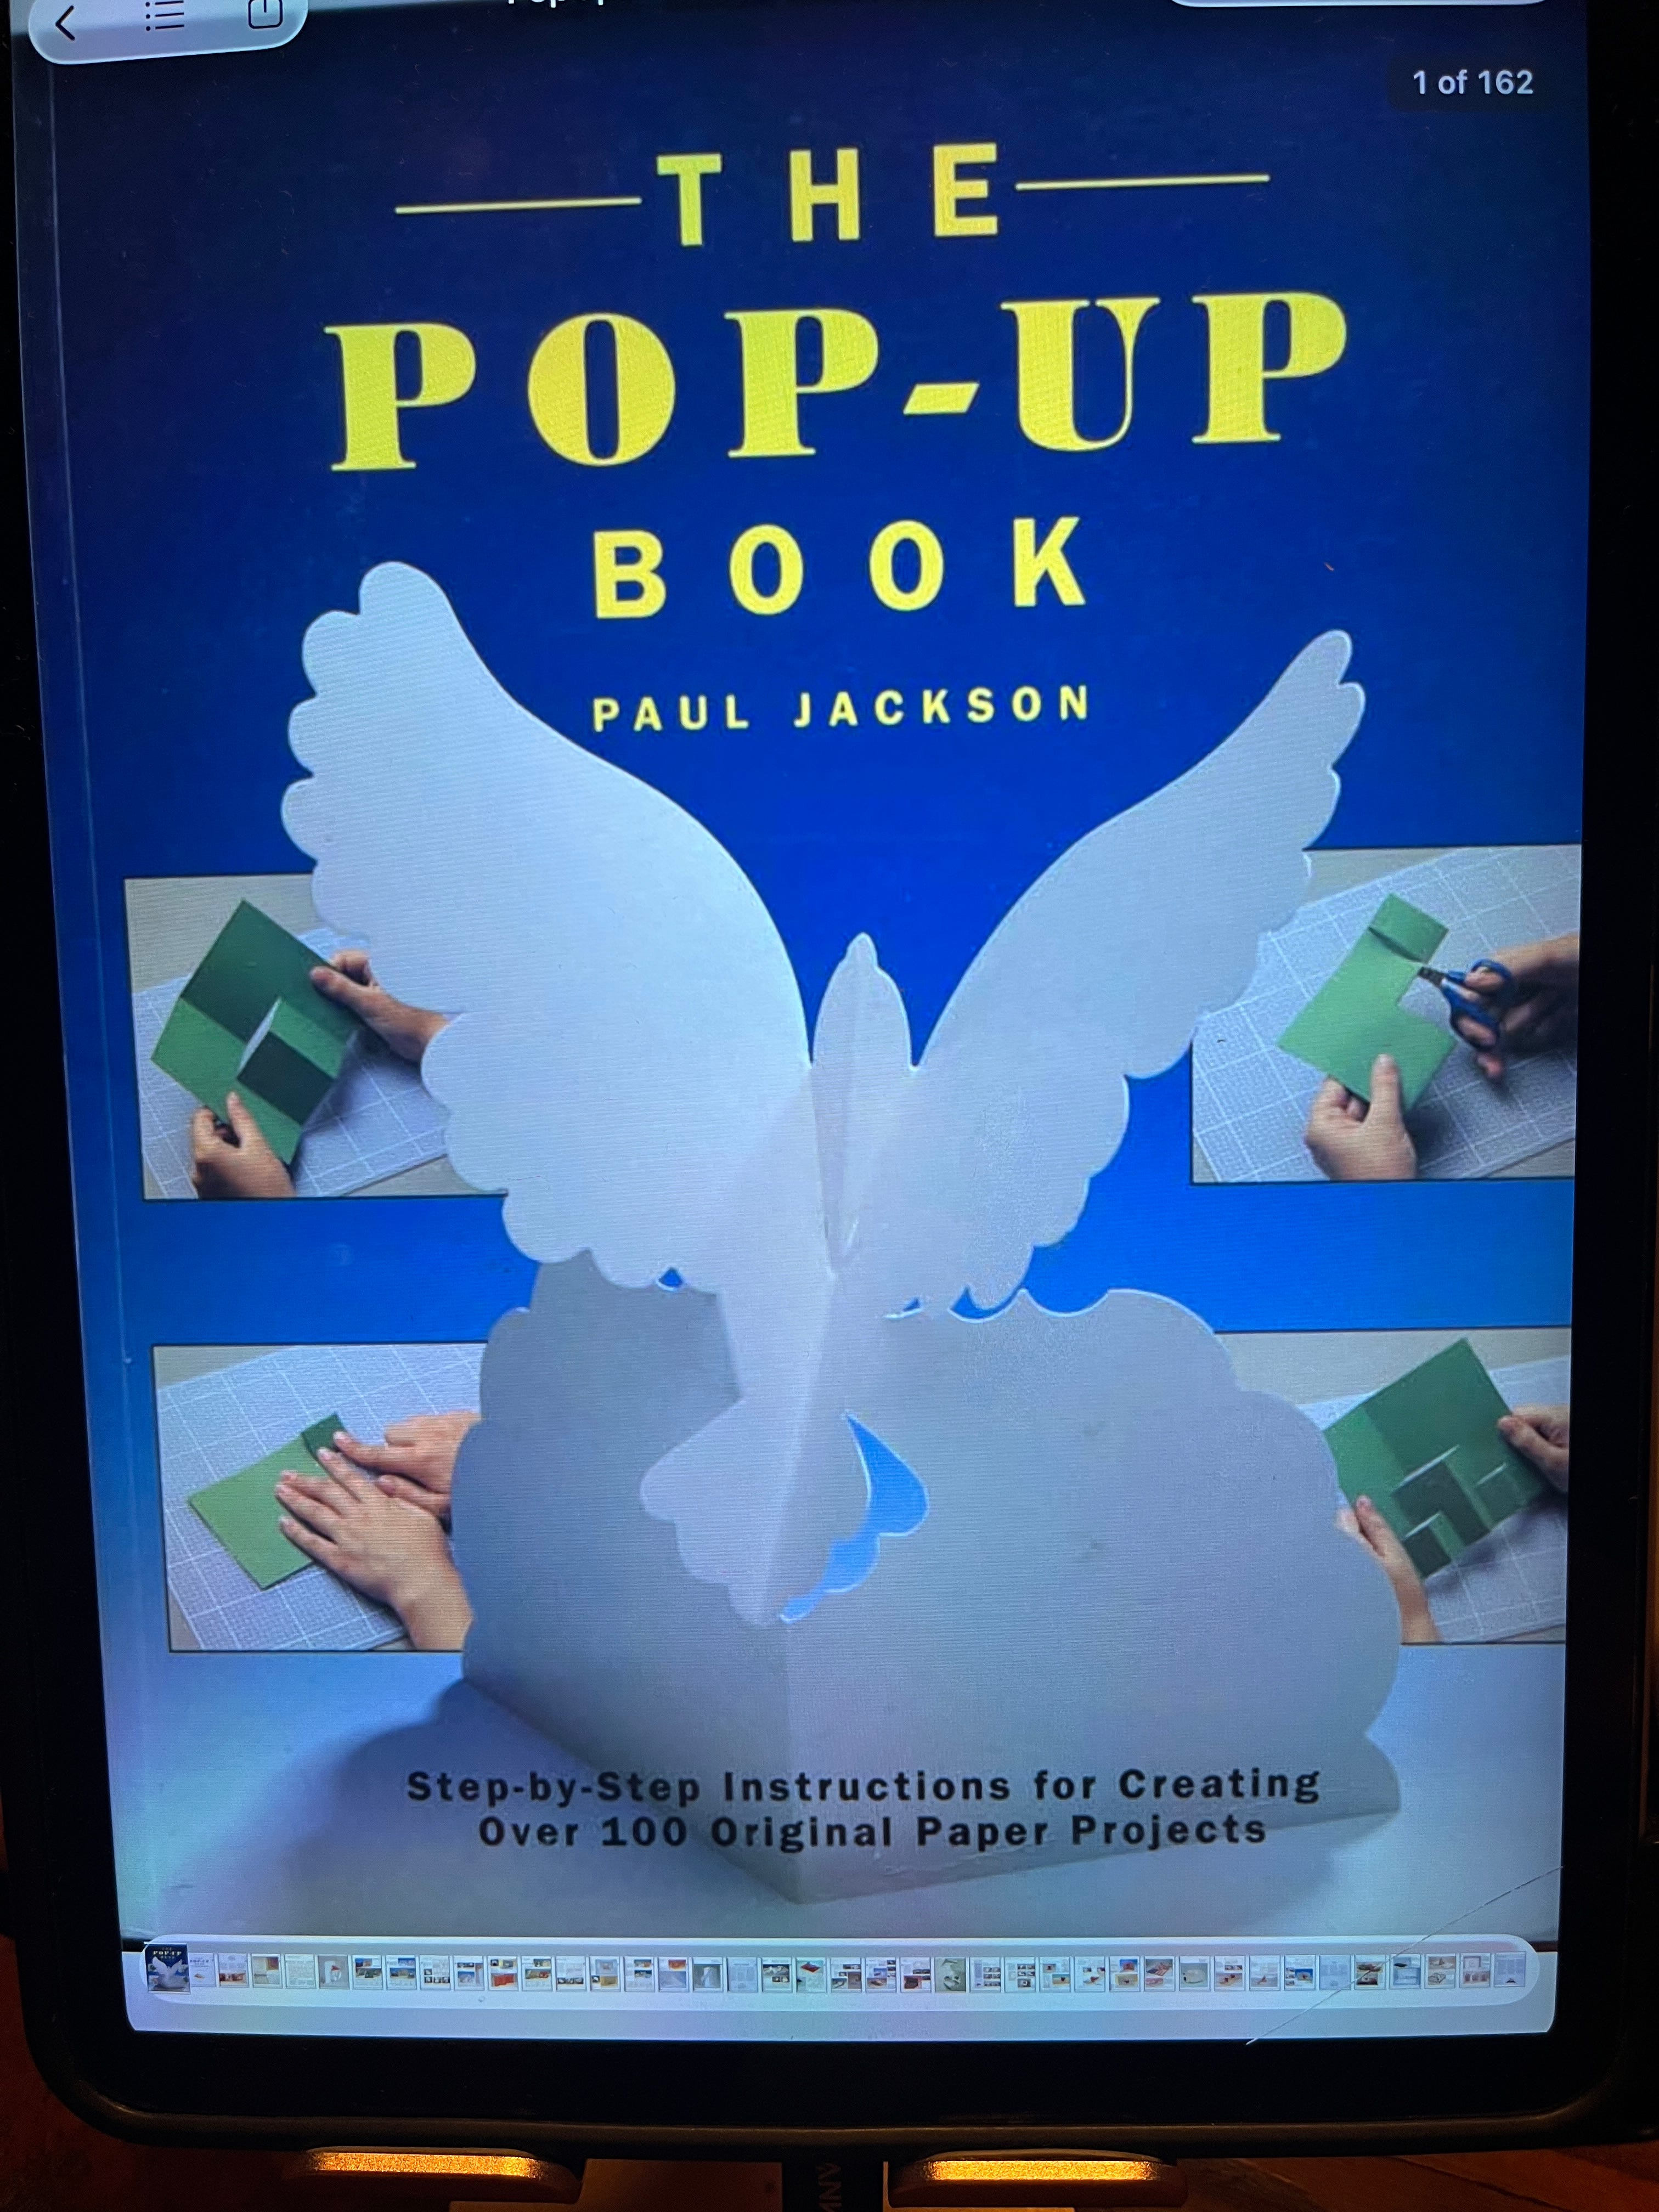
Finally, because I am trycurious, I was googling about paper craft recently and found this book available as a free PDF. I devoured it in a couple nights. I’m sure it’s not the very best book on the subject- it’s dated, the how-to’s were a little difficult to follow, and the information isn’t organized in the clearest way possible, but it was good enough for me to try my hand at some complicated of center pop up techniques and I am super thrilled with what I came up with!
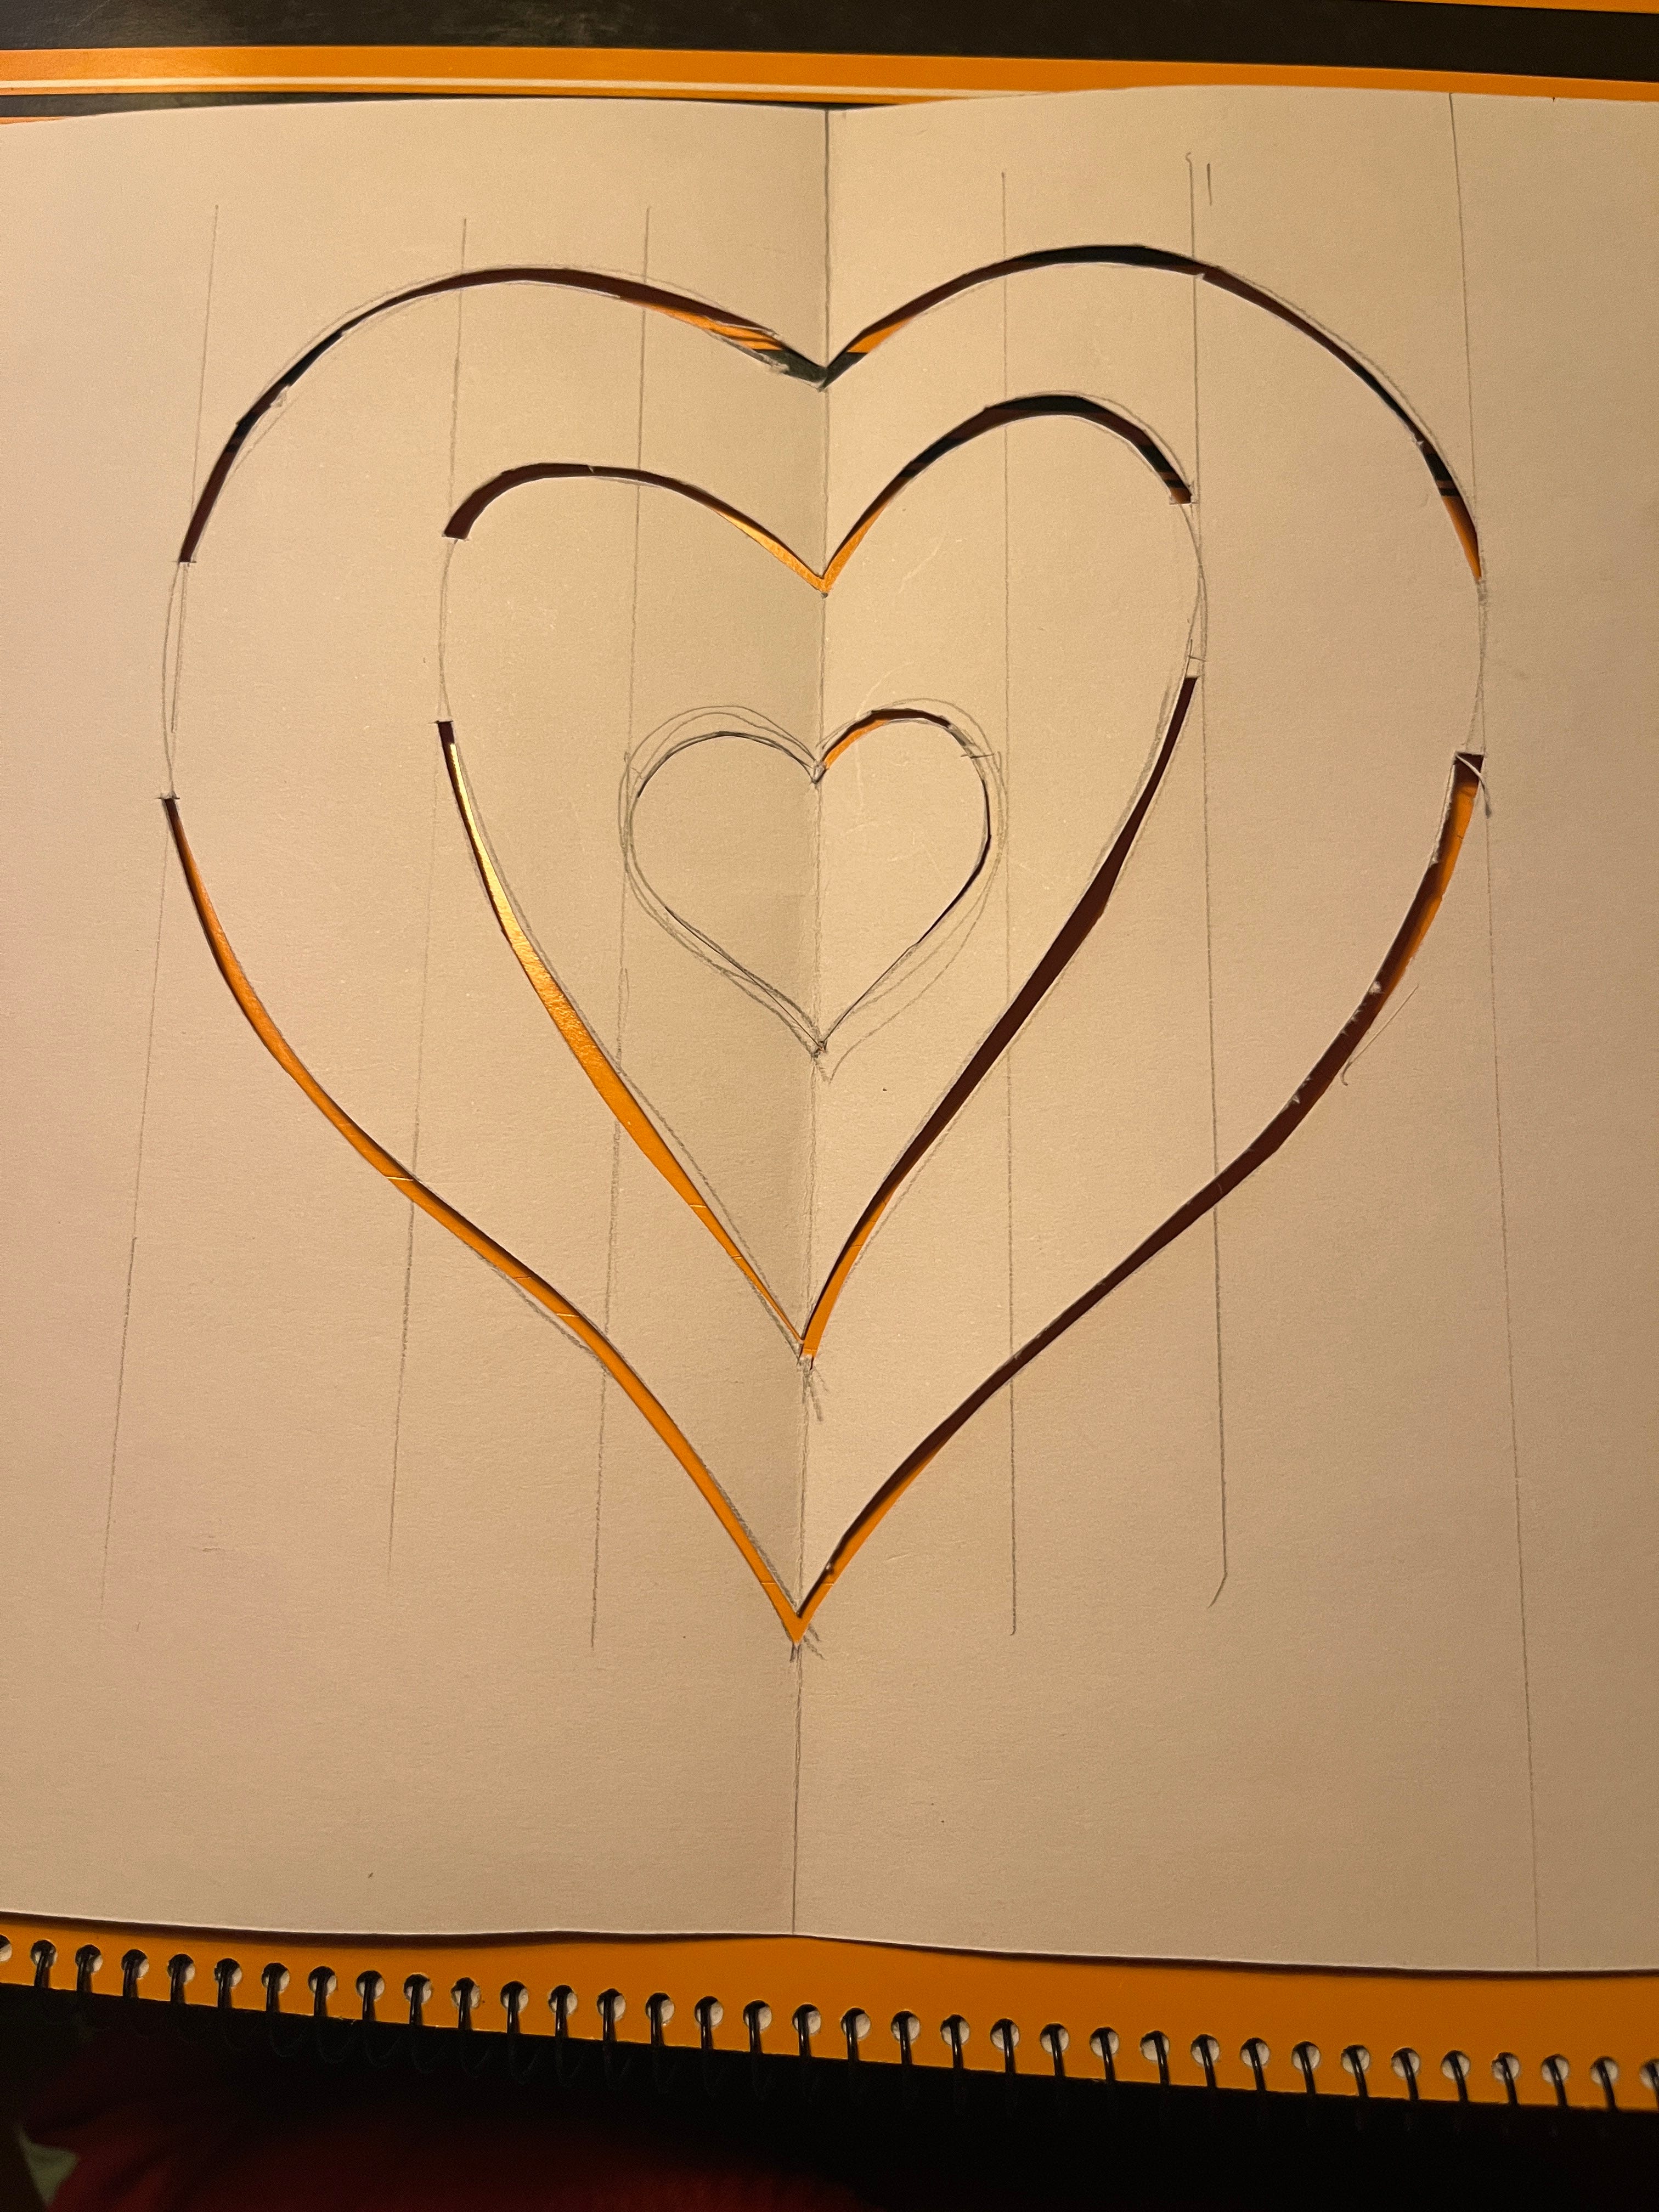
The one thing I did like about the book is that they take one image- a heart- and demonstrate dozens of techniques of pop up that you can do with it. It’s helpful to have a singular visual image to follow through the various methods because your brain can compute examples of same thing but different easier than different things different ways. I used a heart to follow the instructions for my first attempts which made it easier to follow. There is nothing all too difficult, techniques-wise, about following the prompts in the book, it’s just that you have to adhere to a bunch of tiny little rules along the way, and one misstep- say, cutting a quarter inch piece with your blade that you weren’t supposed to- can ruin the whole thing. So you gotta go slowly, and double check each spot of paper before you cut or fold it.
I learned that, as pretty as watercolor is, it weakens the folds of the paper, which can lead to tearing, so it’s best to use watercolor on the backing card (the part that shows through behind the pop up) and on the front of the card where the card is flat and there are no folds. Marker is much better to use because it doesn’t interfere with the integrity of the paper. After I got comfortable with my heart pop ups, I decided to work with the letter Q because my young bestie Quinn’s birthday was coming up. My plan was to recreate the heart, but with a Q instead, but about an hour and a half into making this elaborate card, I made one mistake and accidentally severed the smallest inside Q from the pop up. Such a bummer! I thought I was going to have to start all the way over, but instead I was able to use a different pop up technique to place the baby Q in the center and have it still be a part of the pop up. Whew!
Quinn loved her card and I loved making it for her! I’m excited to practice different techniques of pop up for future cards (I like making cards instead of buying them) and I have this fun idea to make a bunch of mini cards to practice each of the approaches in the book, but let’s be real, most of my summer is gonna be spent selling this house, packing it up, moving somewhere new, unpacking in a new space and investing my energy into getting comfortable there. As much as I hate to leave this house and not be a home-owner anymore (what a sense of pride I have taken in this title 😭) I actually don’t hate moving. The physical act of packing up and relocating sucks, but I actually love discovering the potential of a new space, finding new spots for old shit, DIYing things, hanging up pictures and shelves, realizing that the afternoon light in a certain room will stop you in your tracks. I’m a nester and moving to a new space is an opportunity to spend a lot of quality time with myself and my things and my environment. Saying goodbye to this house is one of the hardest things I’ve had to do (aside from separating from my ex) but even this has a silver lining, I suppose.
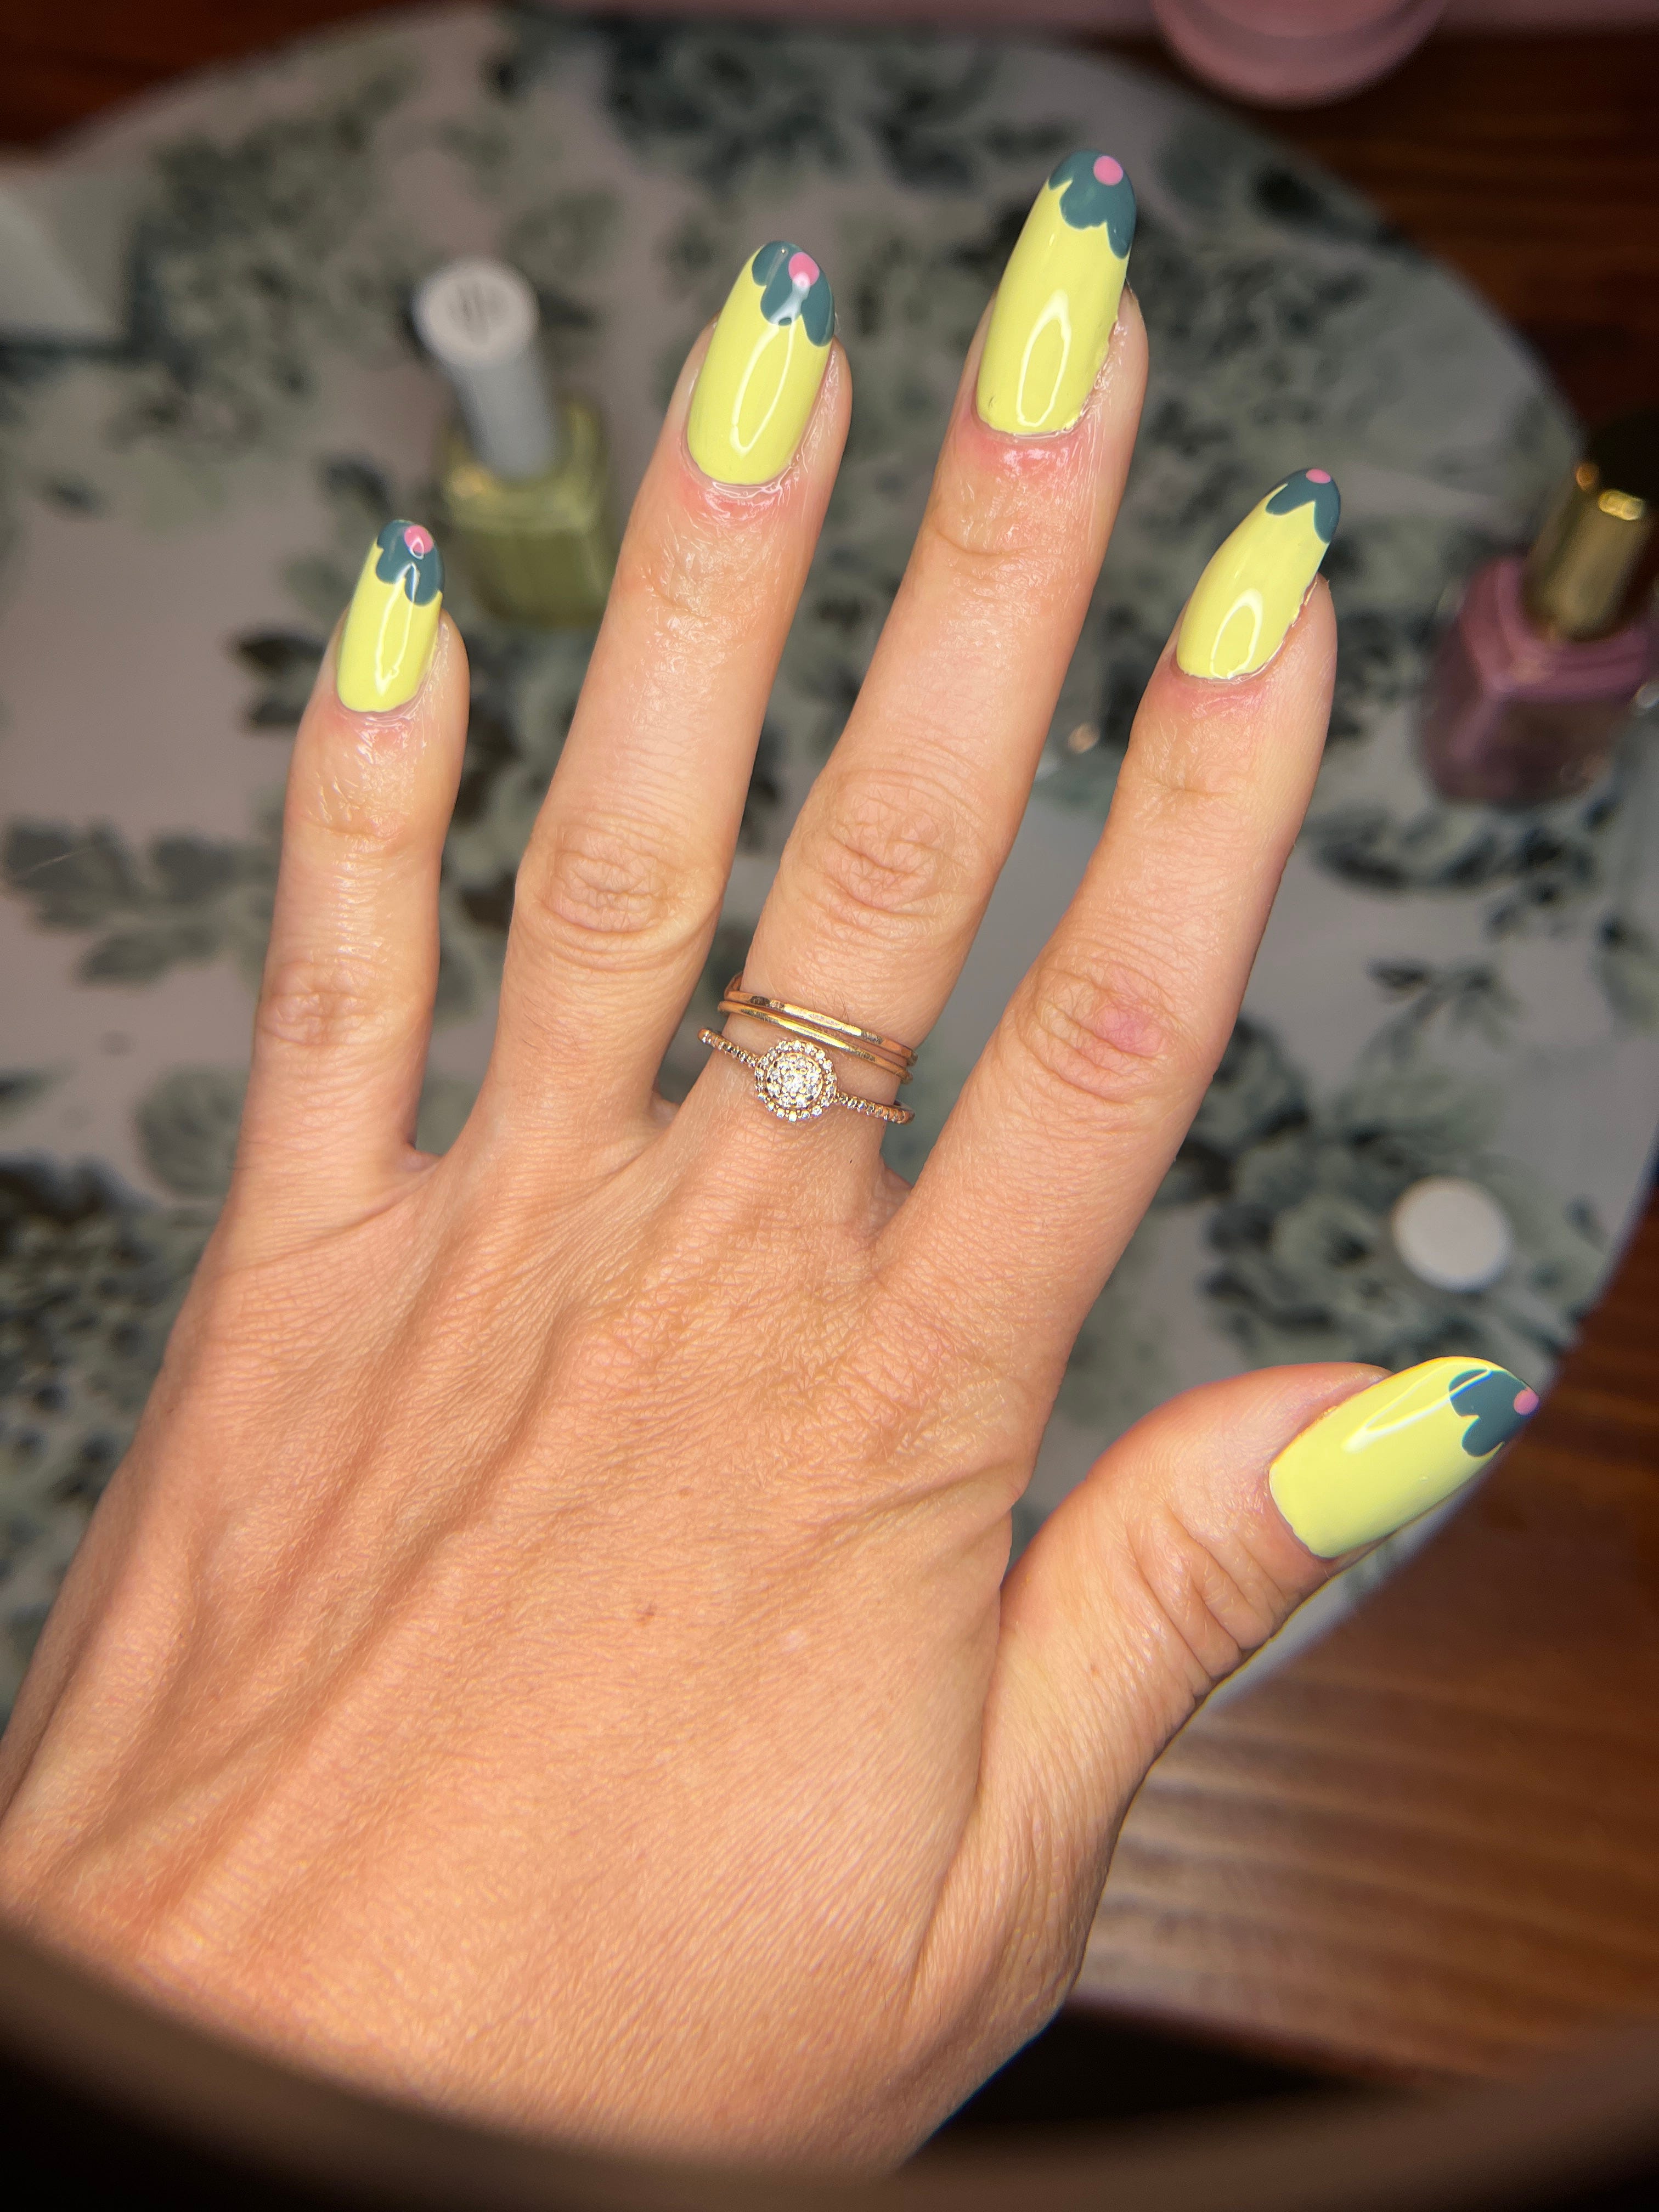
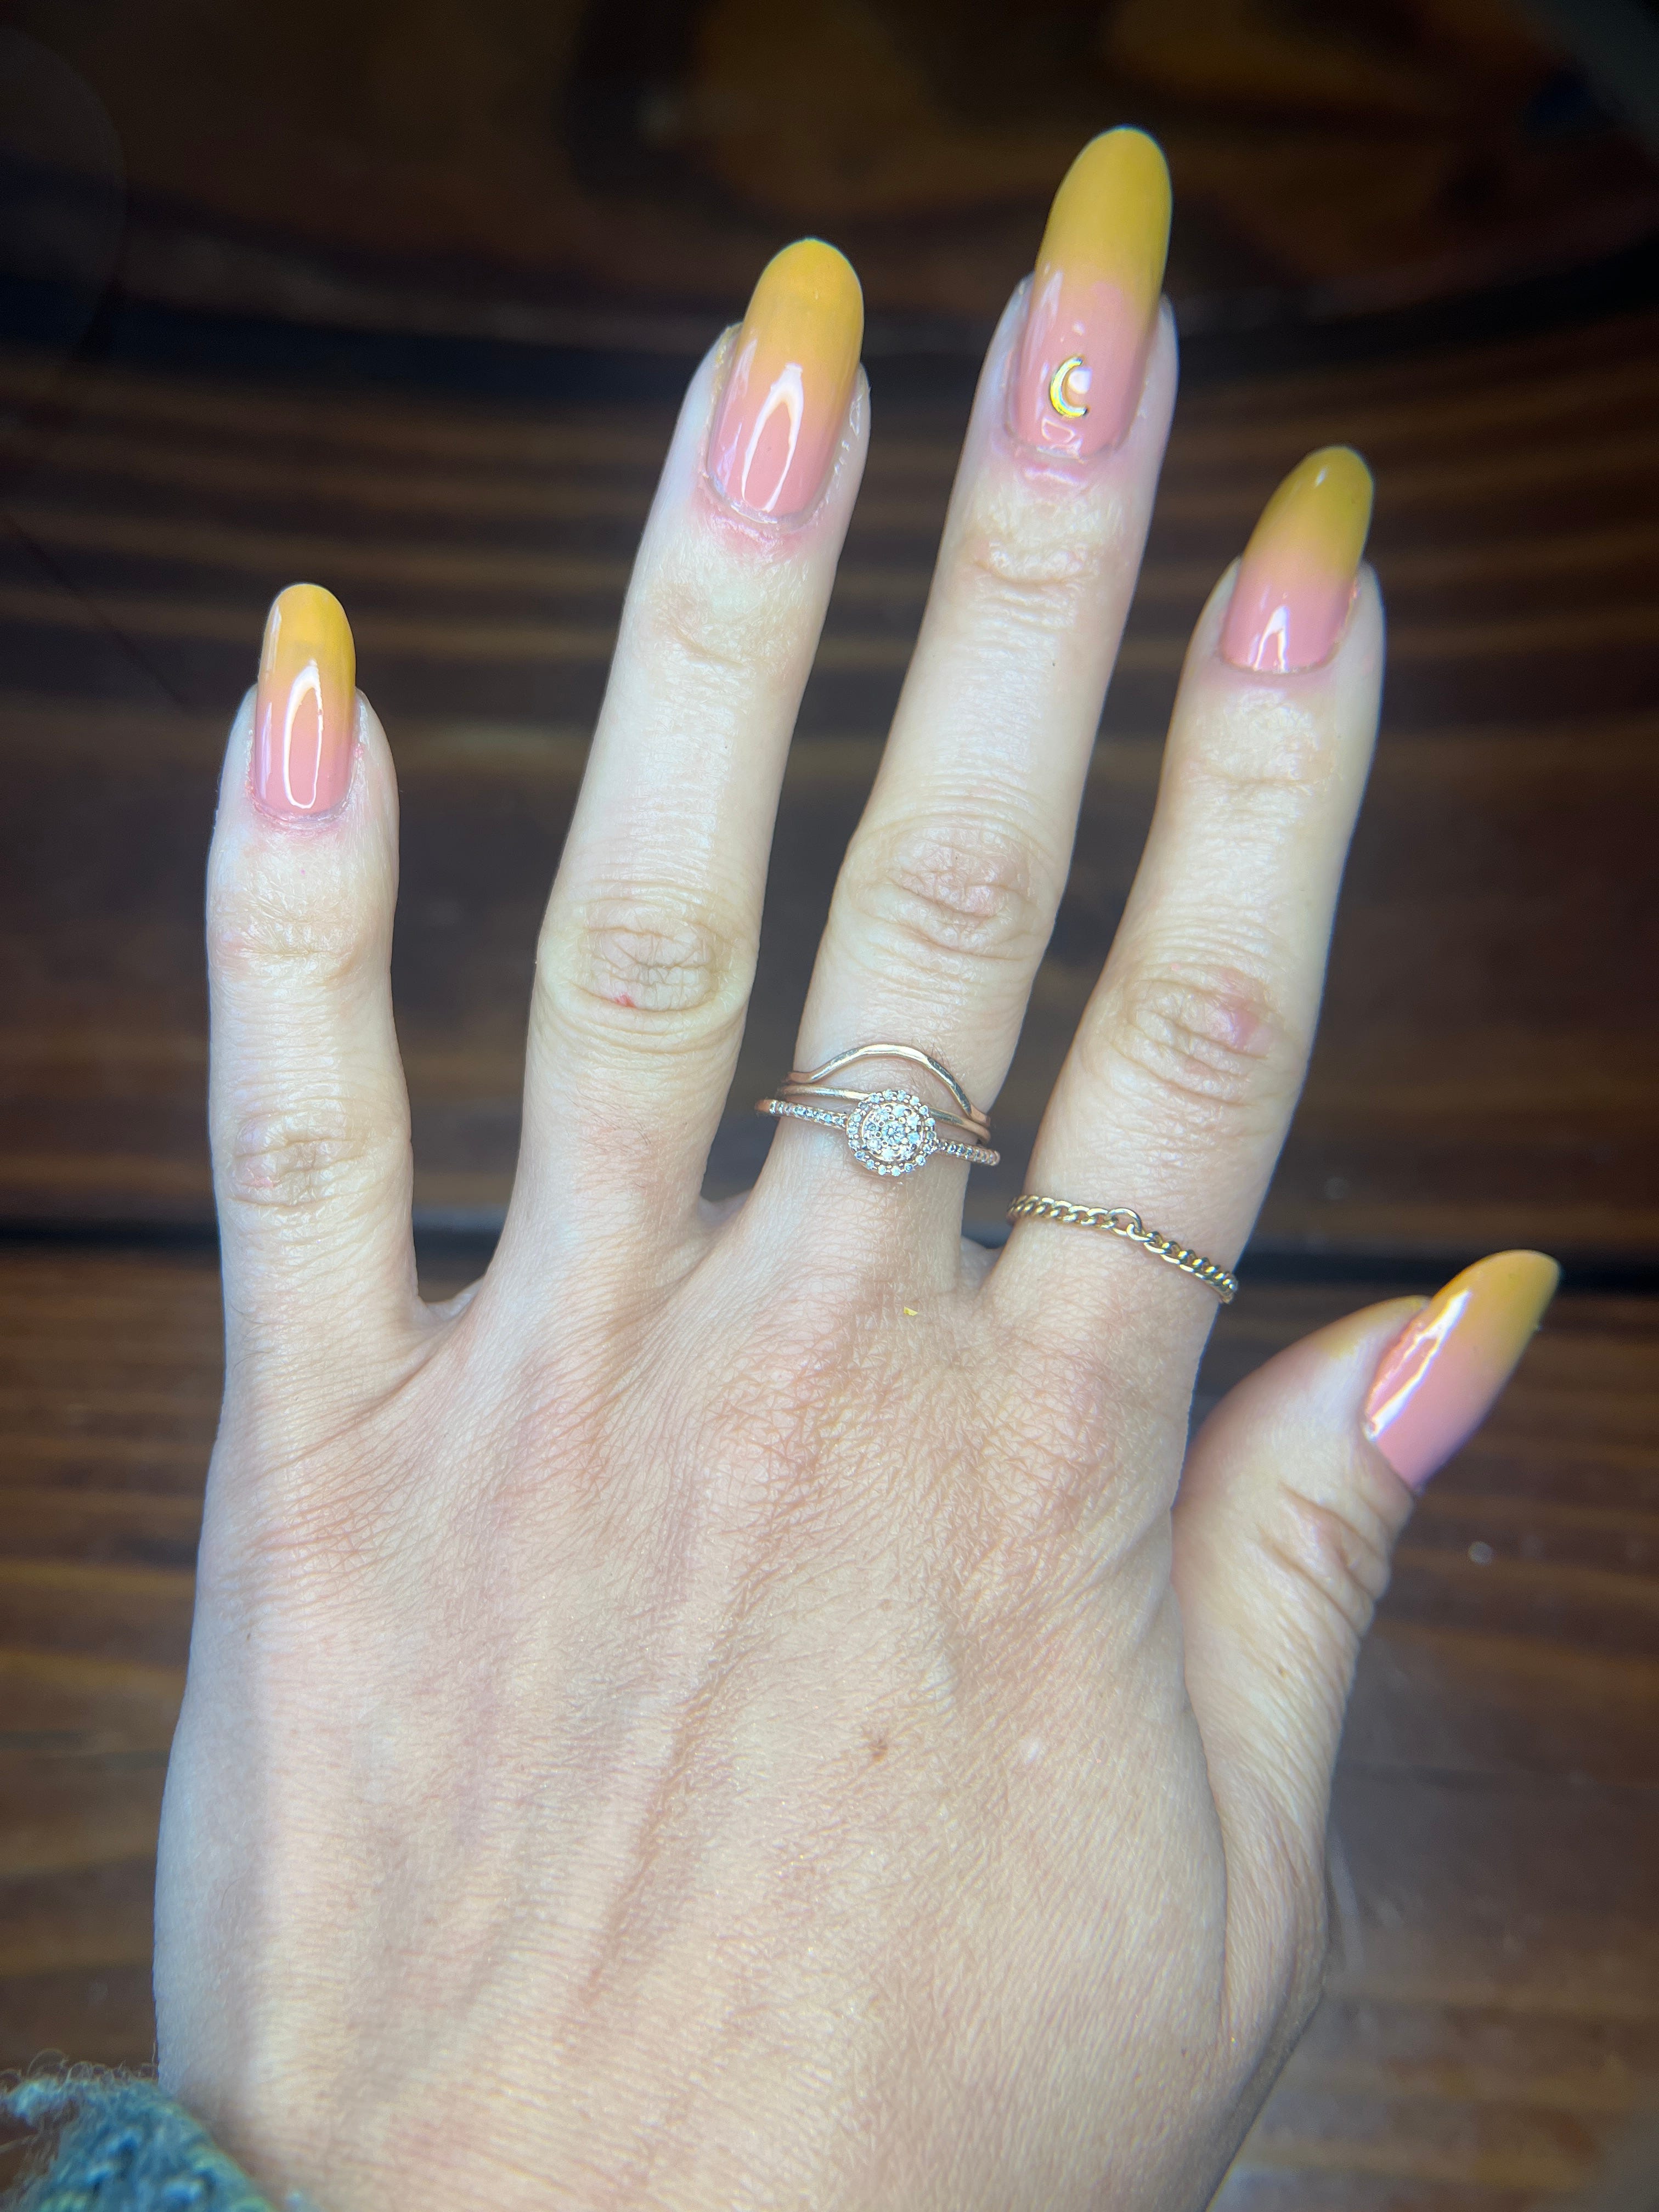
Okay, the final thing to check off my maker list: this week’s nails, plus last week’s nails since they didn’t make an appearance here yet.
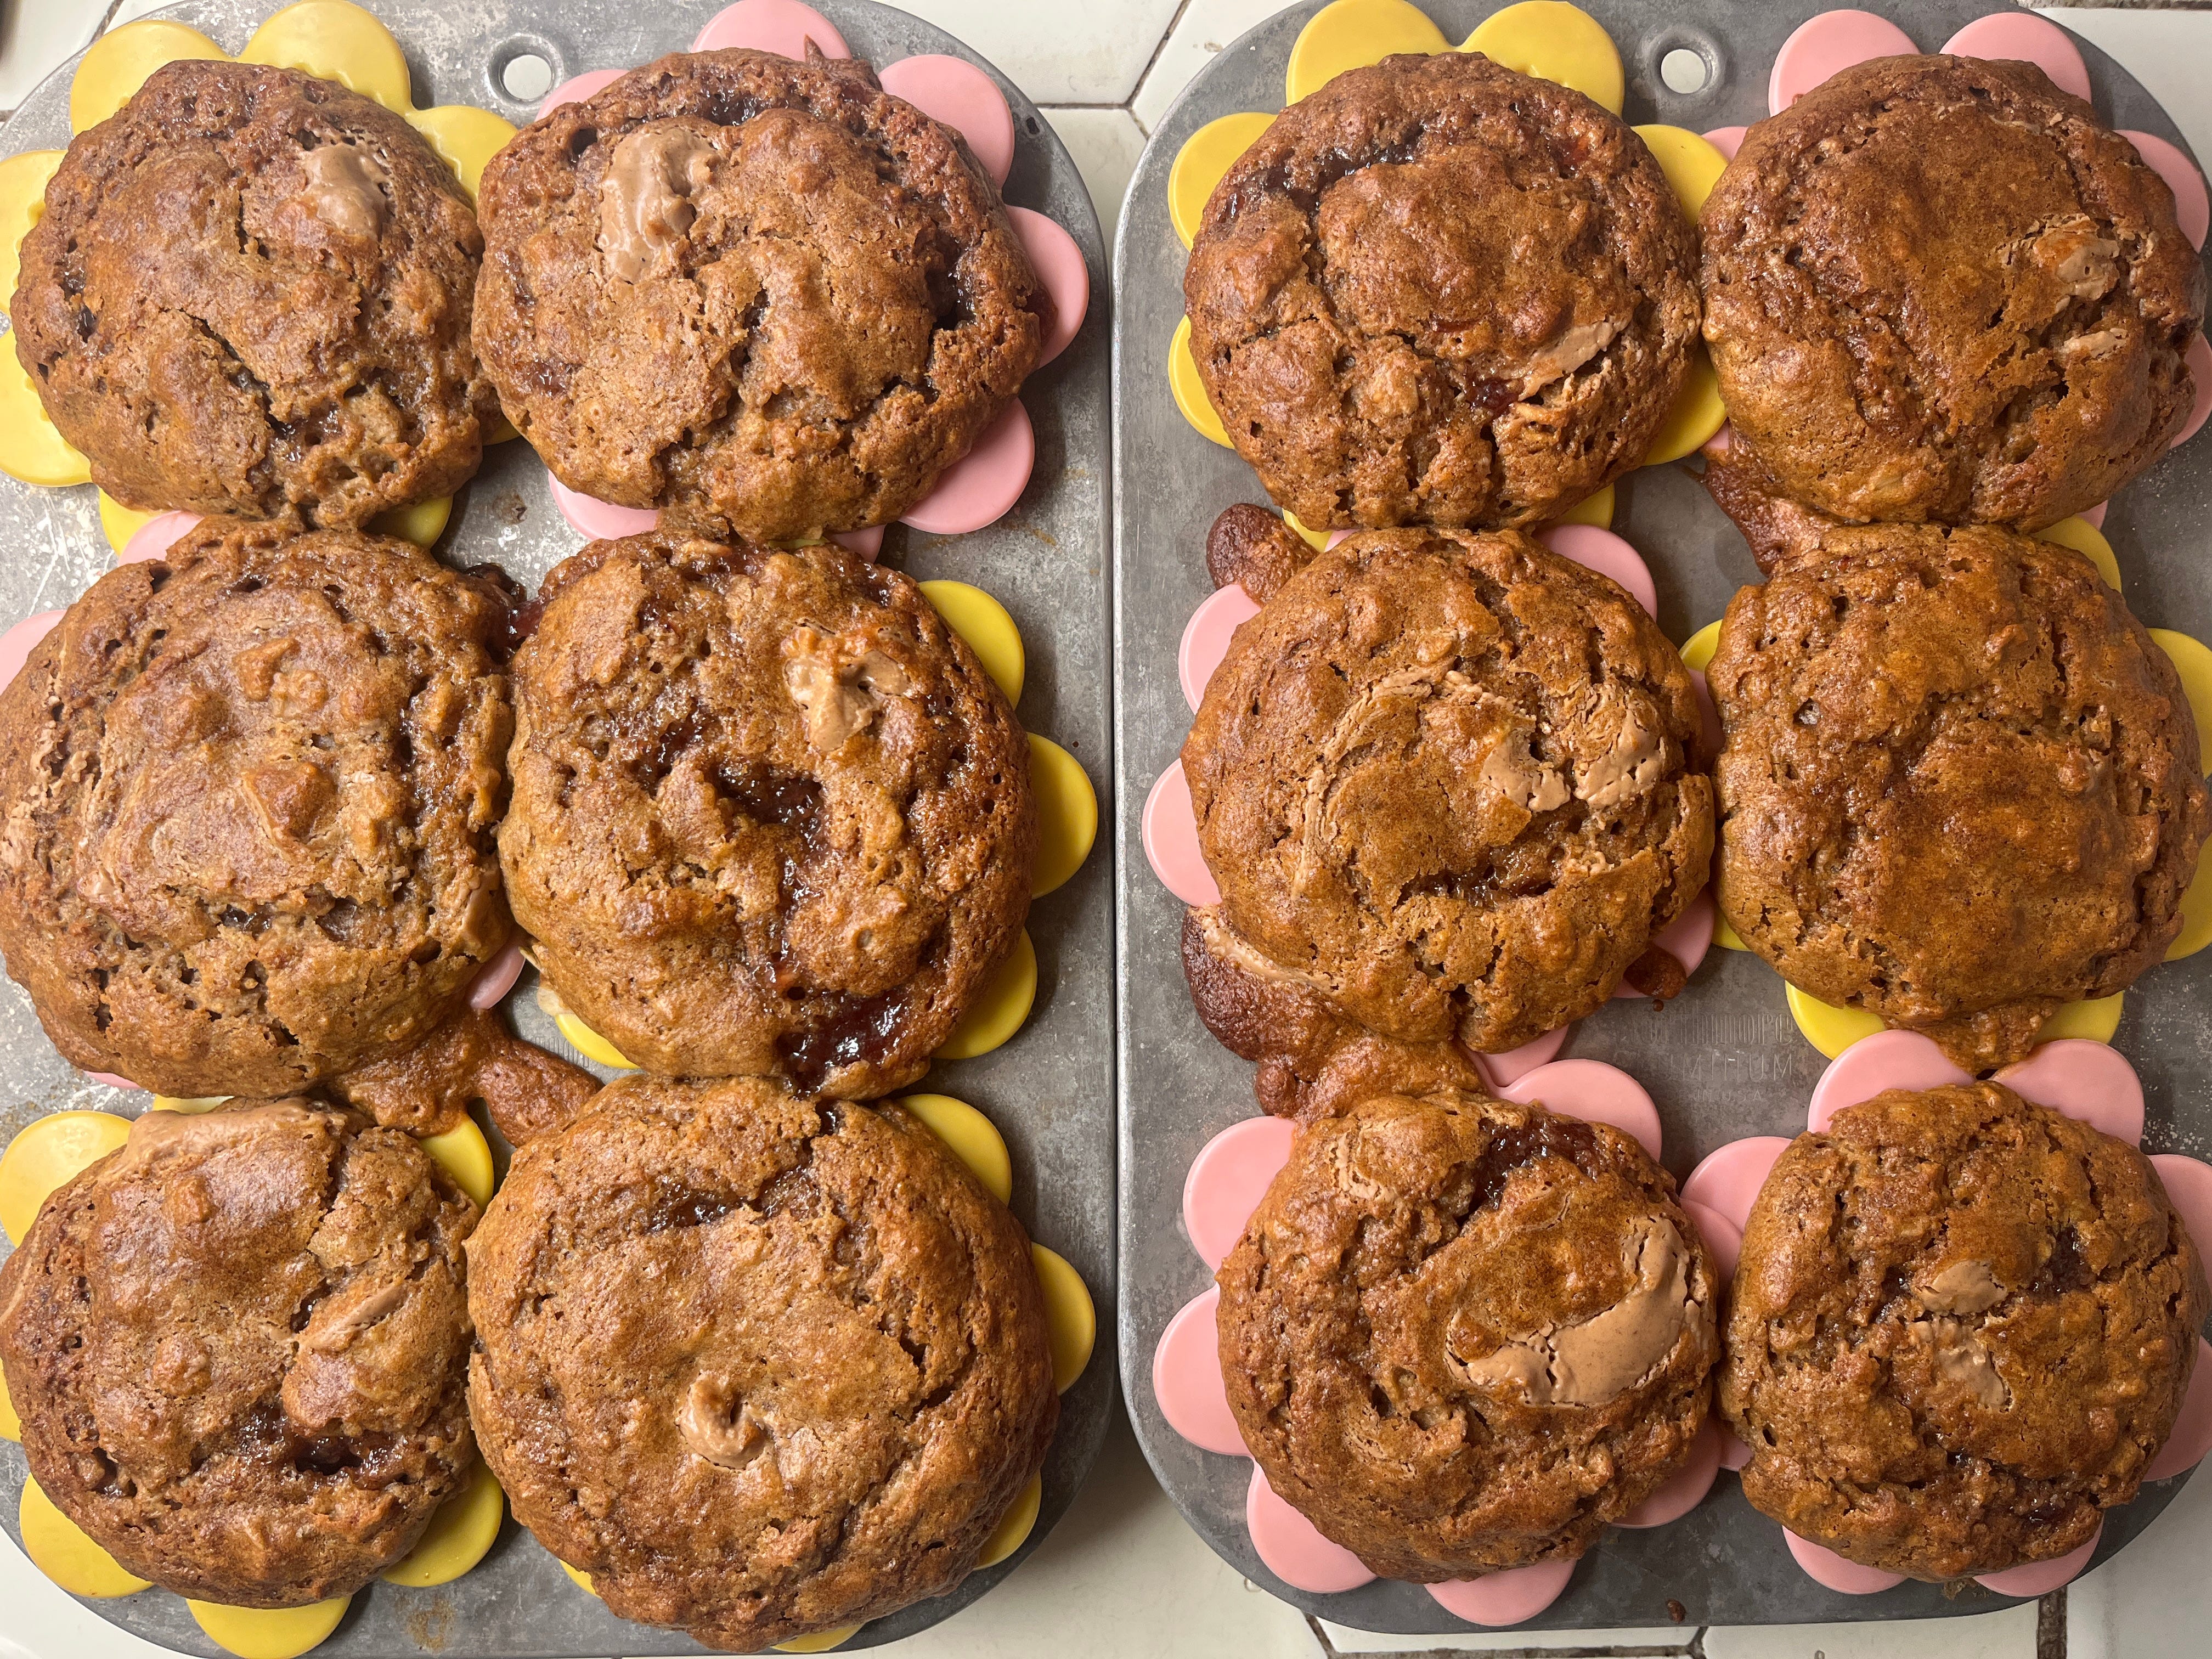
Also, these peanut butter jelly muffins by Minimalist Baker were slap yo mama good.
No posts
Comments
Nothing yet. Say the first thing.
Sign in to join the conversation.