
One of my favorite things growing up was back to school shopping. Something about having a list of supplies and being given the opportunity to curate the perfect collection of supplies. And don’t even get me started on the rush that a fresh box of crayons and newly sharpened pencils brings! While I don’t have an excuse for back to shopping these days, I recently found myself in the supply aisle and was thrilled to see so many low cost supplies that would work well for needlepoint supplies. Given many of these items are seasonal, it’s a great time to buy items that might not otherwise be easily available. I’m sharing some of my favorites supplies and how I use them in this post.
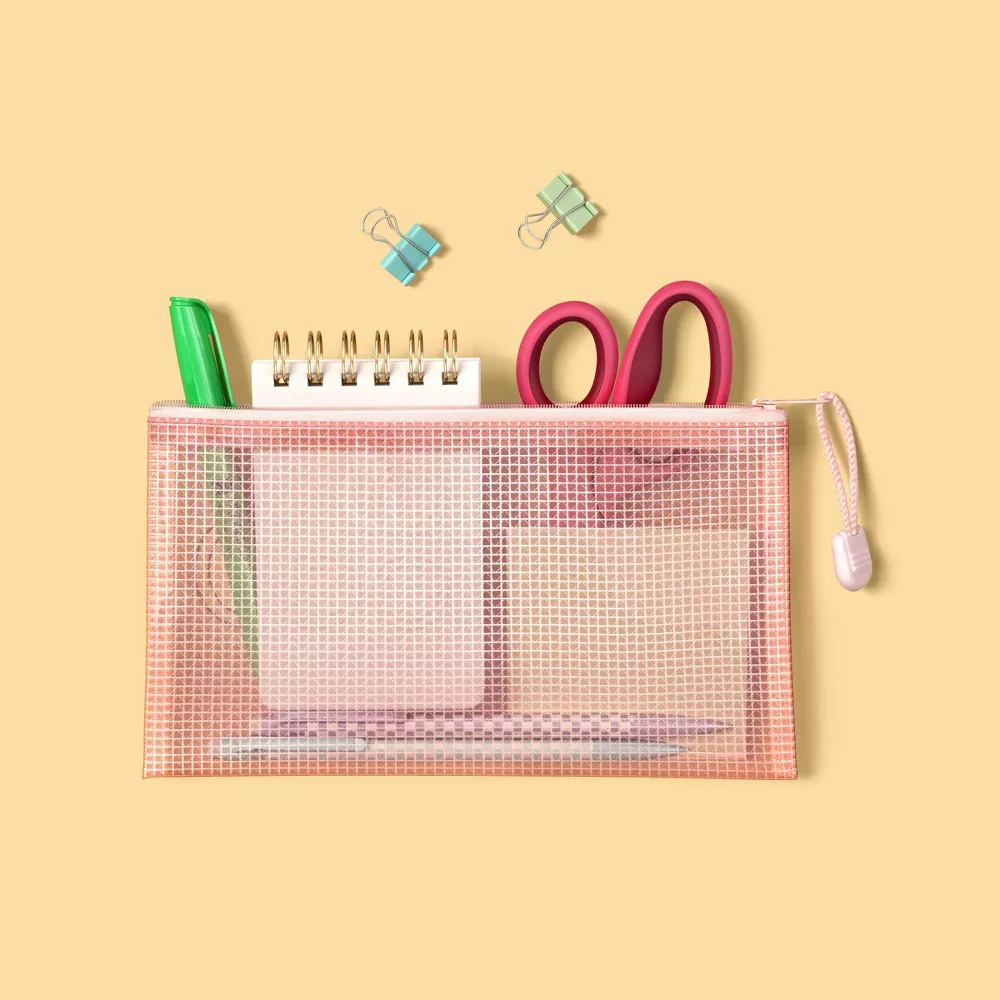
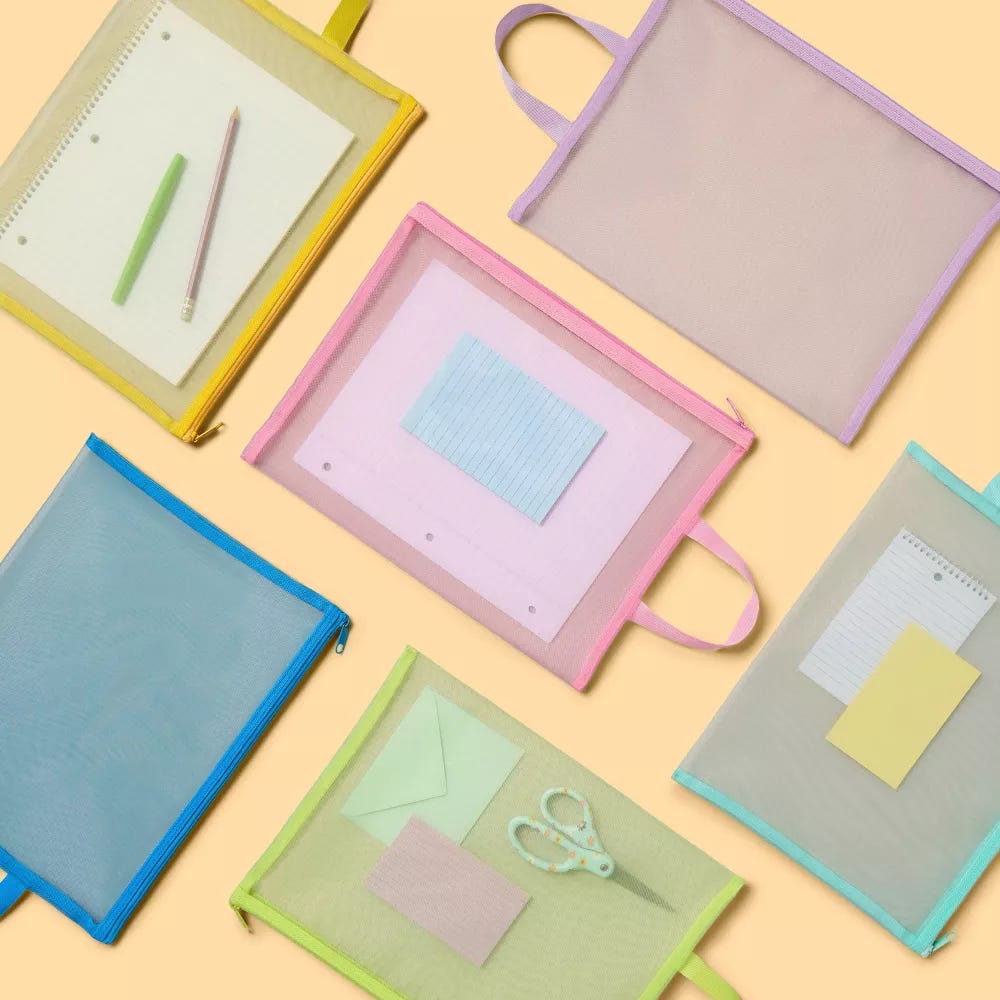
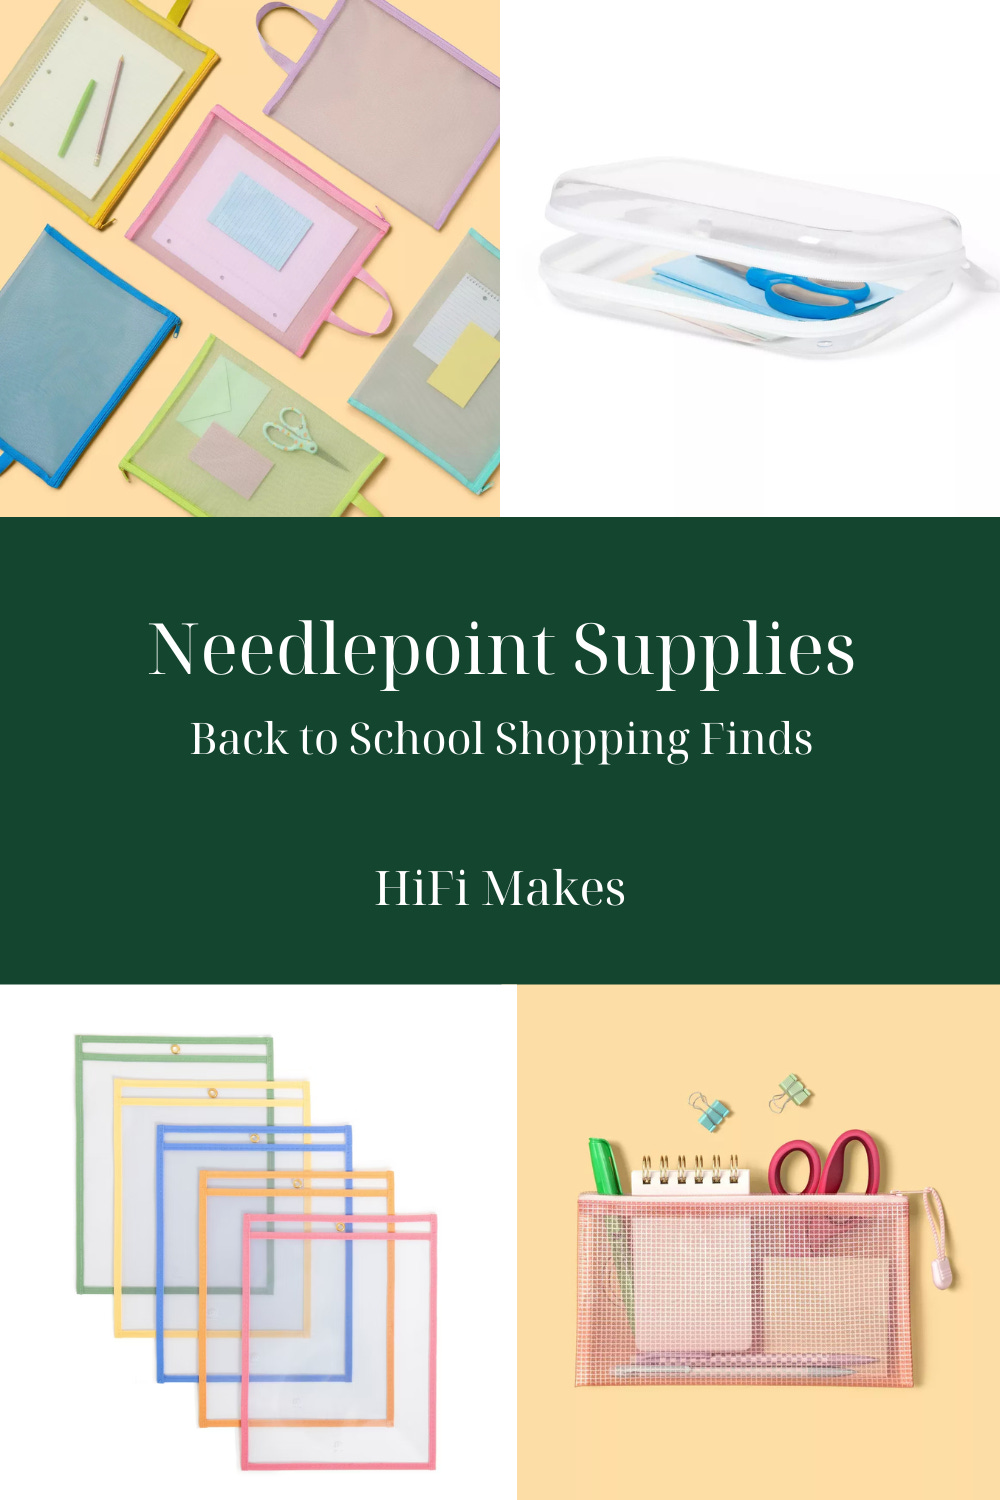
Pouch - While I have approximately one million pouches, I can never pass up a good, well priced bag. I was especially excited by two types that I saw while shopping:
Water Proof Pouch - My go to pouches for most organization (not just needlepoint) are vinyl as they’re inexpensive and keep projects clean and dry. This season Target has these pouches in a heavier vinyl which makes them even more durable. They’re available in a colorful set and in a few sizes. I prefer the pack of Letter size for projects, the pack of 7.5x10” for threads, and the single size for accessories and tools.

Mesh Pouch - These bags have more of an open weave, but what I love is that the end of the bag has a loop. While the loop makes them easy to carry, I would instead use it to hang the bags. Fill each bag with a canvas and the coordinating threads and use the loop to hang it over a hanger. If you have hanging space in your needlepoint storage, you’ll be able to hang up your next few projects so they’re easy to grab when you’re ready.

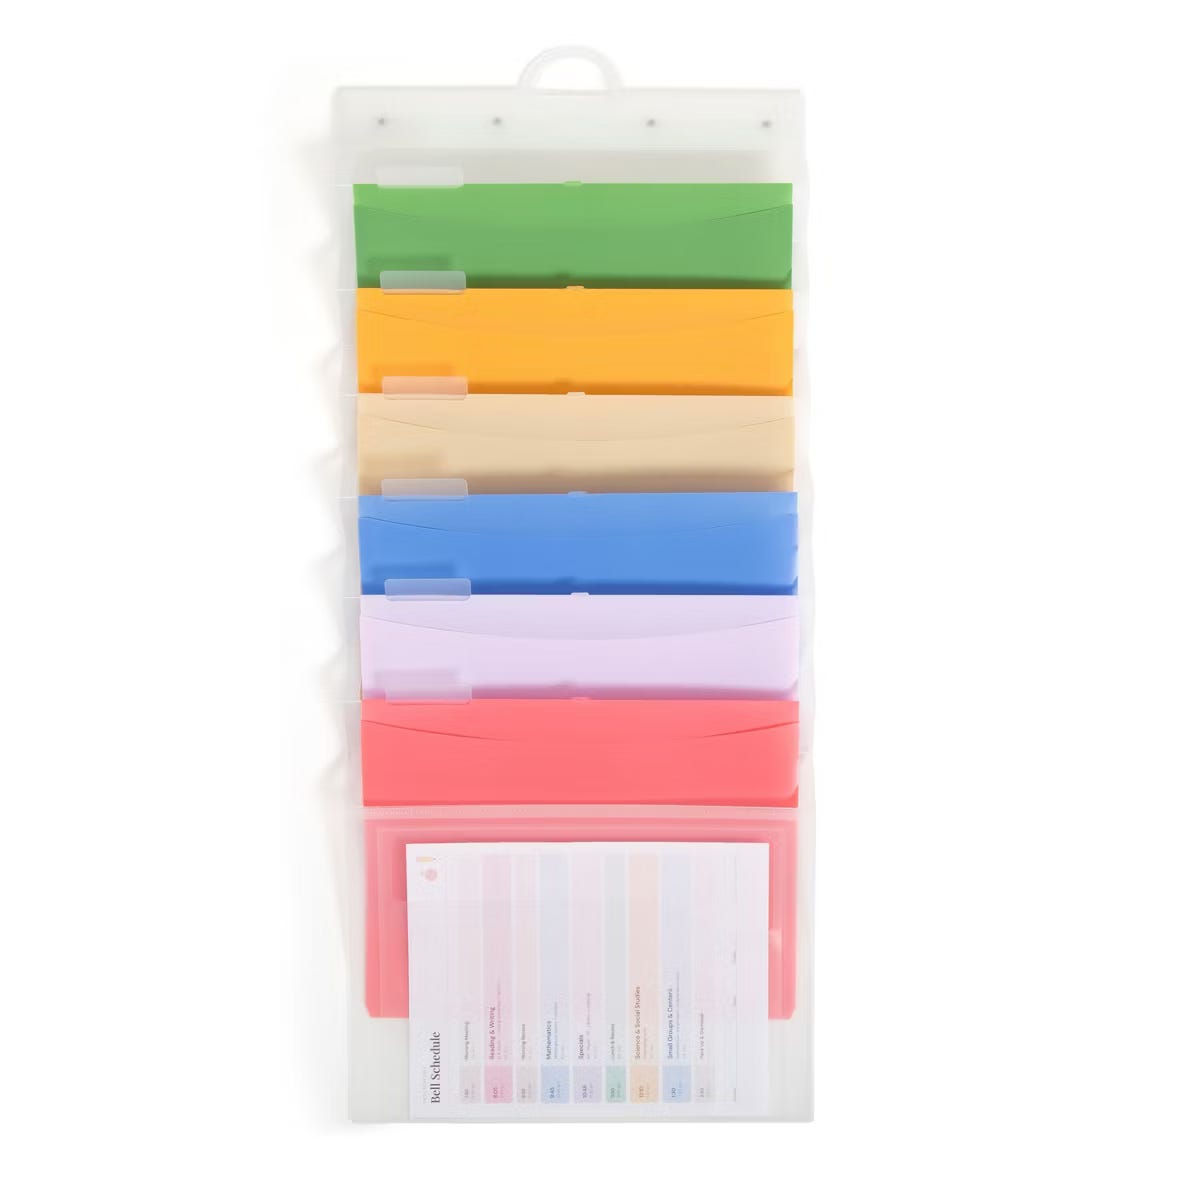
Wall Organizer - This inexpensive wall organizer (which could also be hung on the back of a door) would be an easy way to organize a small stash of canvases or to get ready for a year of stitching. Slide canvases into the pocket by season or organize a canvas with the corresponding stitch guide. So many options for organization at a great price point!
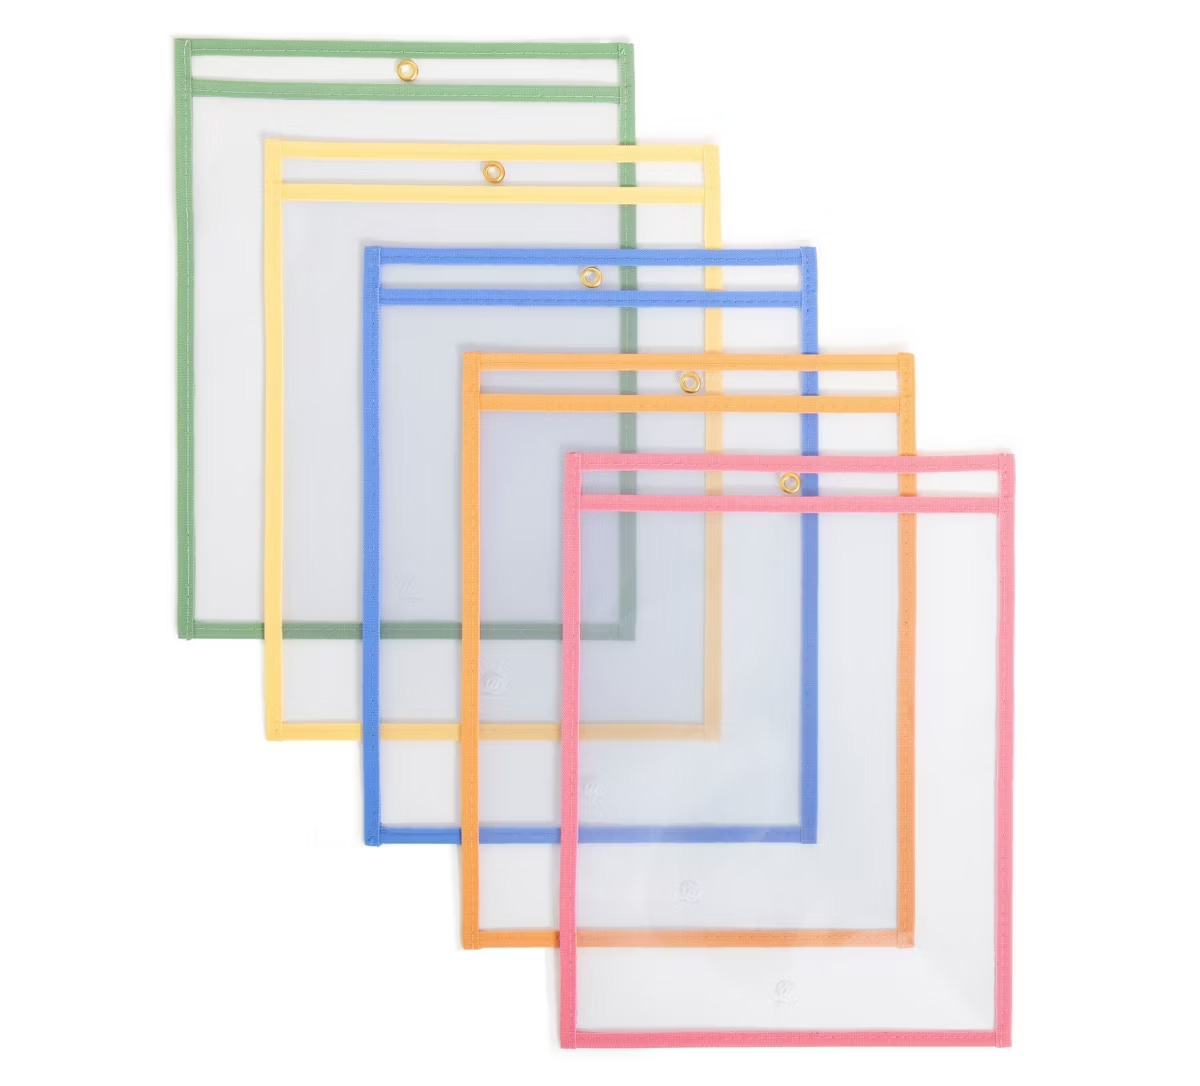
Dry Erase Pocket - I love these durable dry erase pouches for project planning. Slide your canvas inside the pouch and make notes about stitches to use or threads you need to purchase before you start your project. Or, slide a canvas inside and use a fine tip dry erase marker to track a stitch pattern across the design to ensure you compensate correctly. It’s a clear surface that is easily erasable, giving endless flexibility for needlepoint planning. You could achieve the same results using sheet protectors, but I like the durability of these pockets for repeated use. Make sure you grab a pack of dry erase markers.
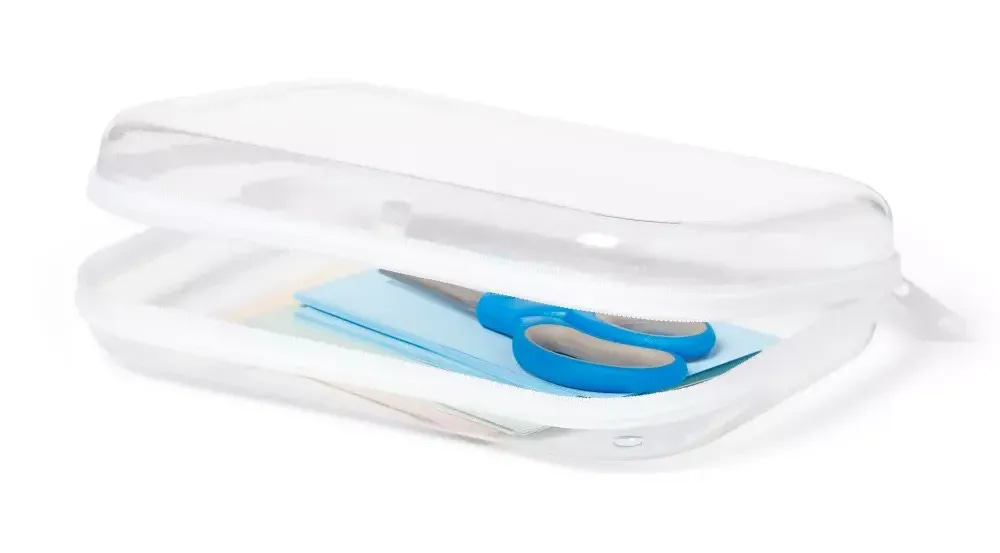
School Box - I use school boxes to organize needlepoint supplies and to hold threads for a specific projects while I am on the go. There are a lot of box options on the market and you can find them at all price points. I like the zippered cases (also available in clear) for projects as they have a hard exterior but can be unzipped to lay completely flat while you are working. Another great option are the plastic supply boxes (you may already have one of these laying around).
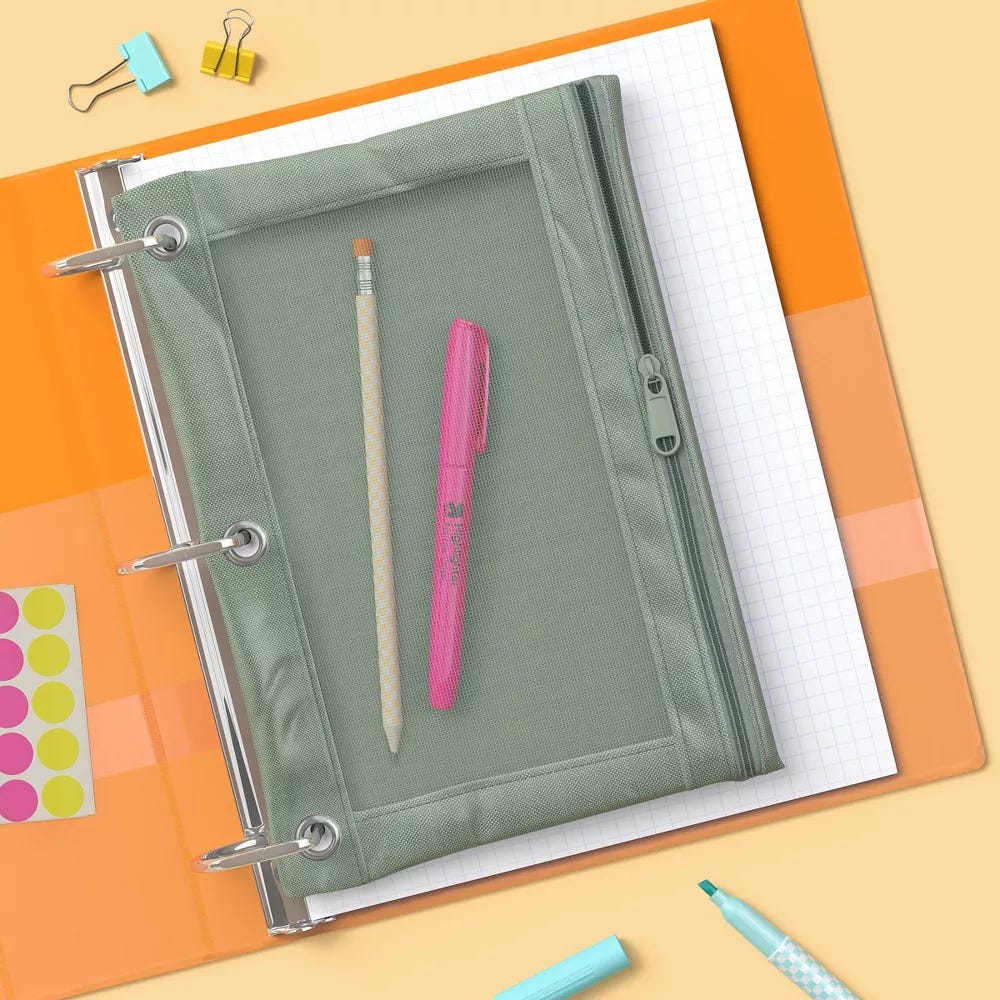
Binder - There are a ton of ways to use binders with needlepoint and it’s a great time to stock up while there are deals and limited edition designs available. A few ideas:
Print out charts and organize them in a binder. I’m notorious for forgetting I’ve purchased a chart, but by printing them out there’s a physical reminder of everything I have in my stash. Plus, I find it easier to paint the chart from a paper copy so I can cross off sections as they’re painted.
Catalog stitch guides using a binder. Even after I use a stitch guide, I hold onto them as their instructions and diagrams continue to be valuable. Keep them organized so you can easily find inspiration later.
I know several stitchers that use binders for organization of smaller canvases in their stash. Place one or two canvases in a sheet protector to keep canvases corralled by theme or series. You might need to size up to a 2 inch binder for this collection.
I know other stitchers that use a binder for thread organization. Use sheets for storing trading cards in a binder and fill the pouches with skeins of threads and cards. You might need to size up to a 2 inch binder for this collection.
Binder Pouch - If you use a binder for stash organization, this is a great add on. I have too large of a stash to organize in binders, but for a set of ornaments, I like the idea of using a binder to keep them together. I’d use a binder pouch at the front of the binder to store threads that would be used for the series.
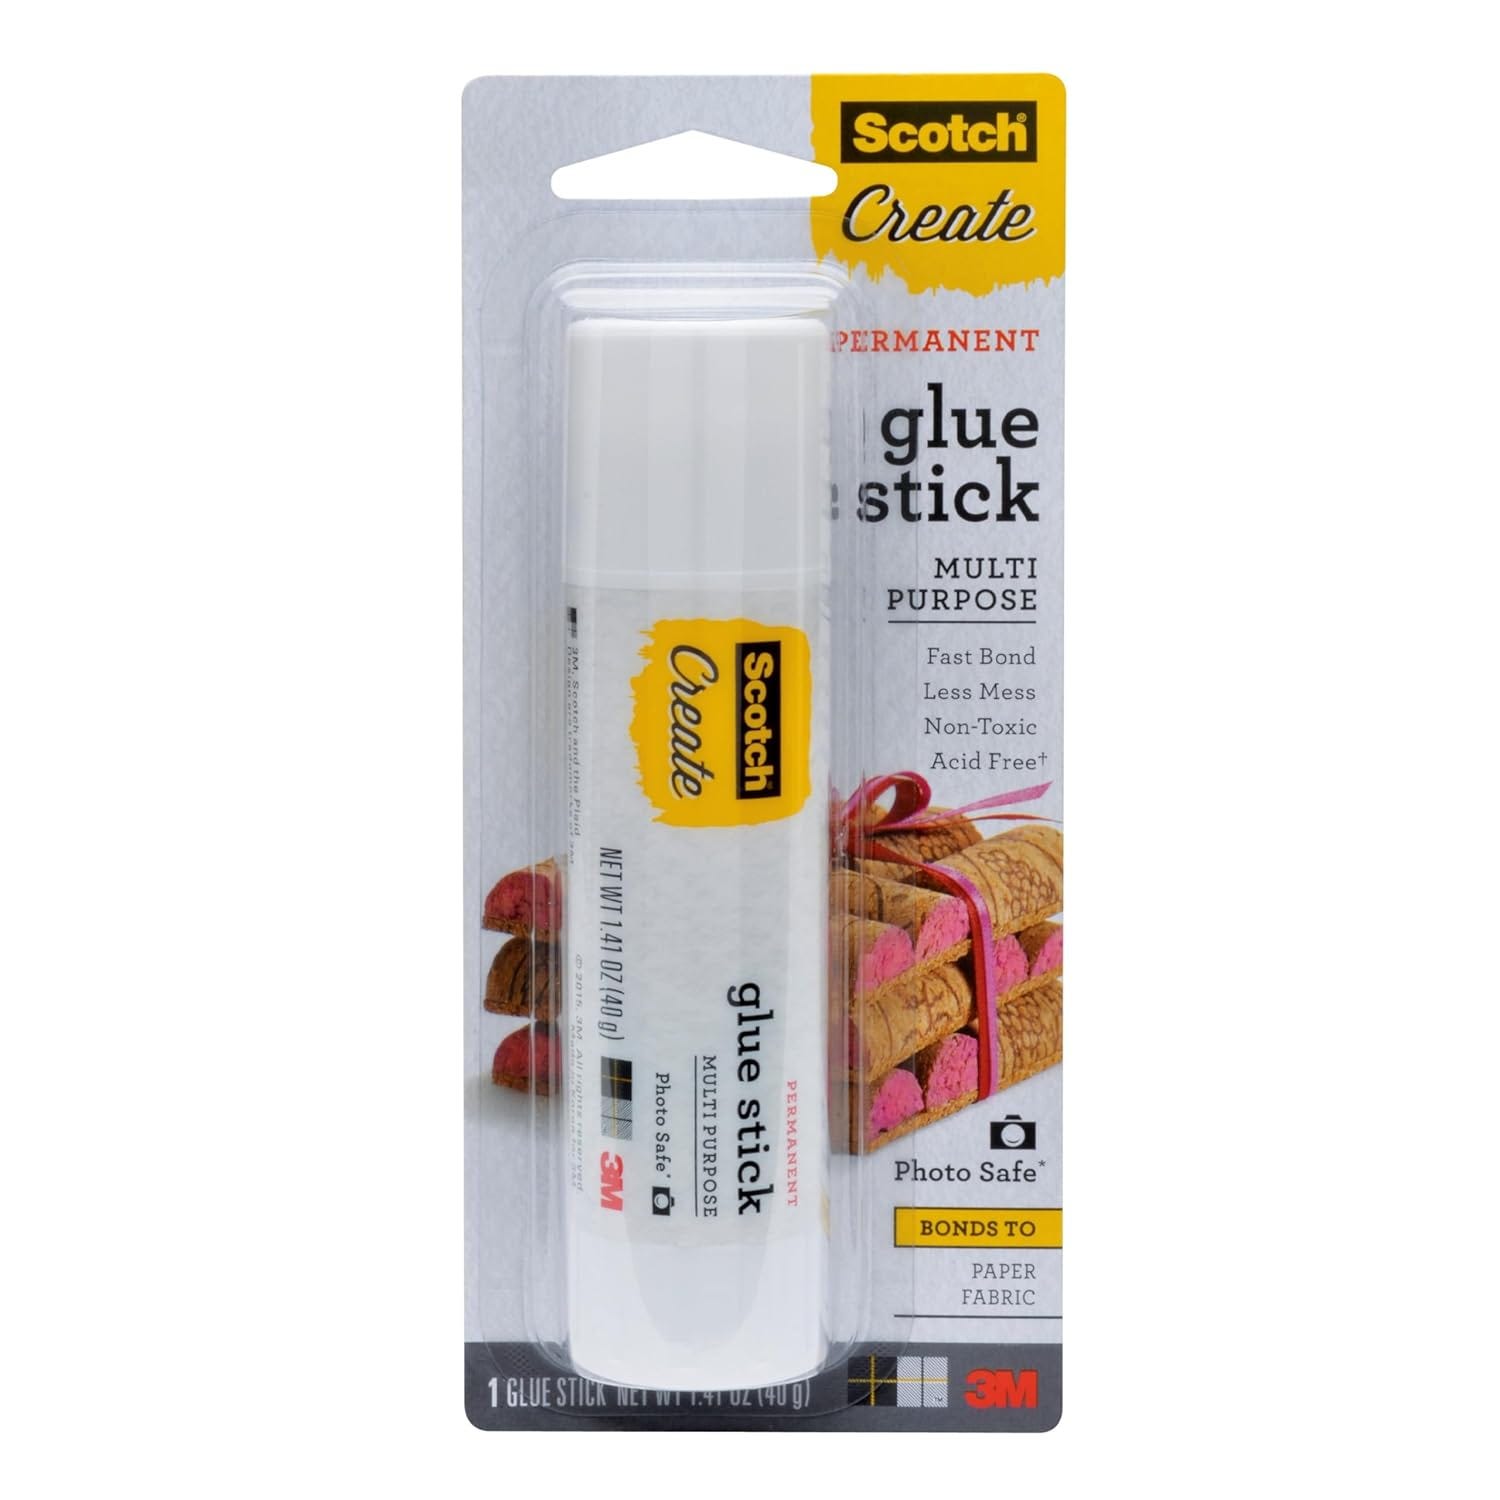
Glue Stick - You can use an acid free glue stick to tame the ends of threads that unravel easily like Radiance and Fyre Werks. Just place glue on the very end of a cut thread and let it dry before stitching with the thread.
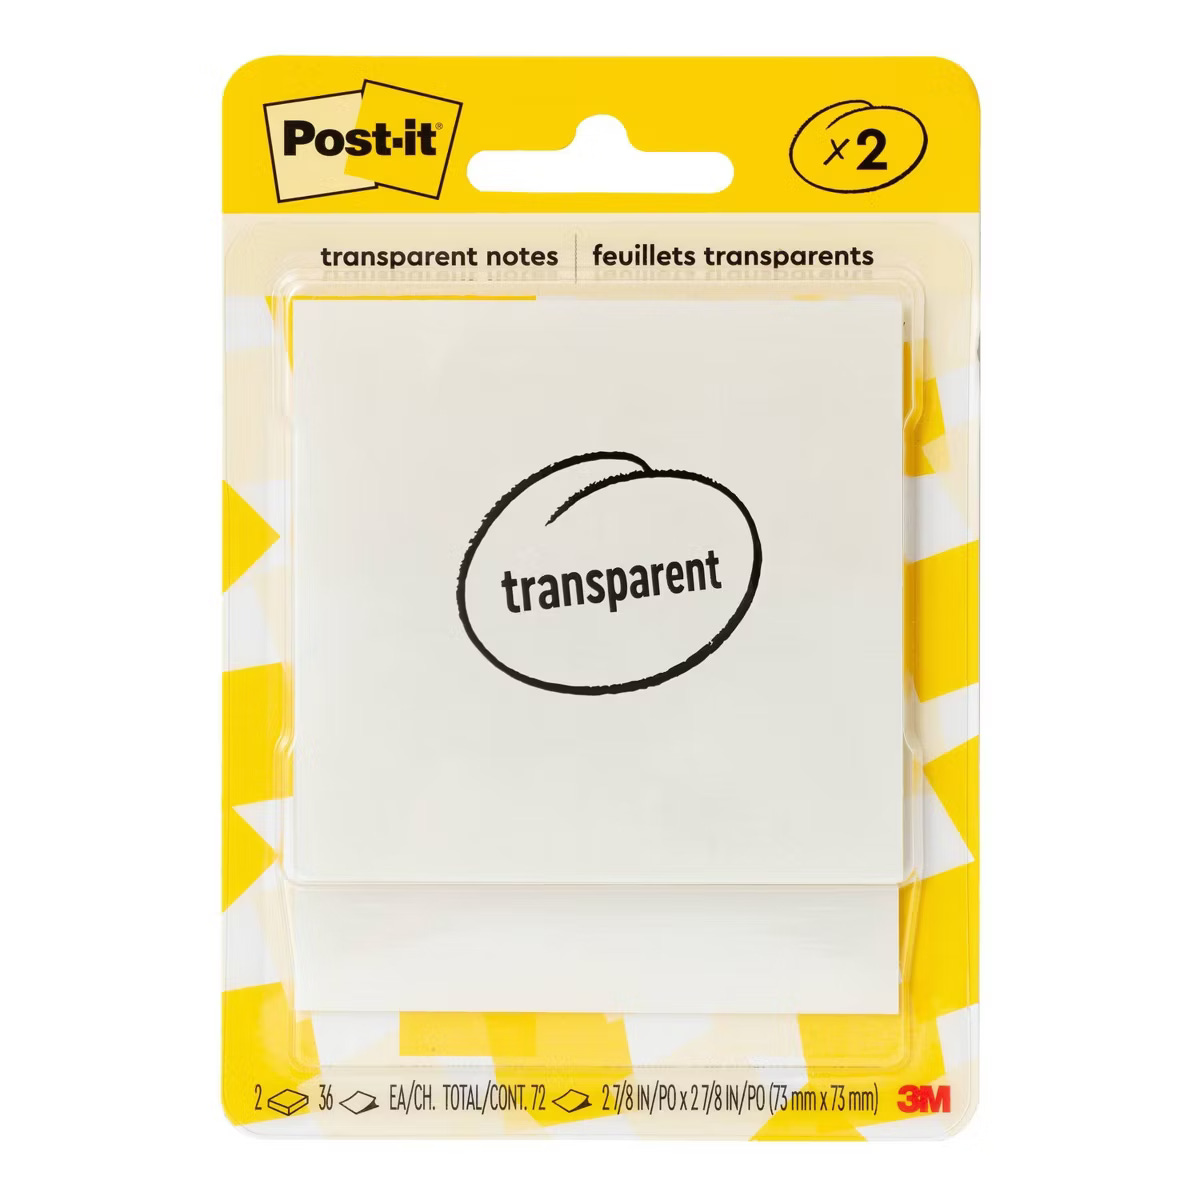
Transparent Post It Note - The transparent notes are a great tool to help with compensating decorative needlepoint stitches. Place the note on top of a stitch diagram and chart out what compensation might look like for your canvas design. Or, place the note on top of your canvas and chart out compensation across letters or other designs to ensure the stitch pattern lines up. The transparent nature of the note makes it easy to use for all sorts of stitch planning too! The note can be easily removed and thrown away when the project is done.
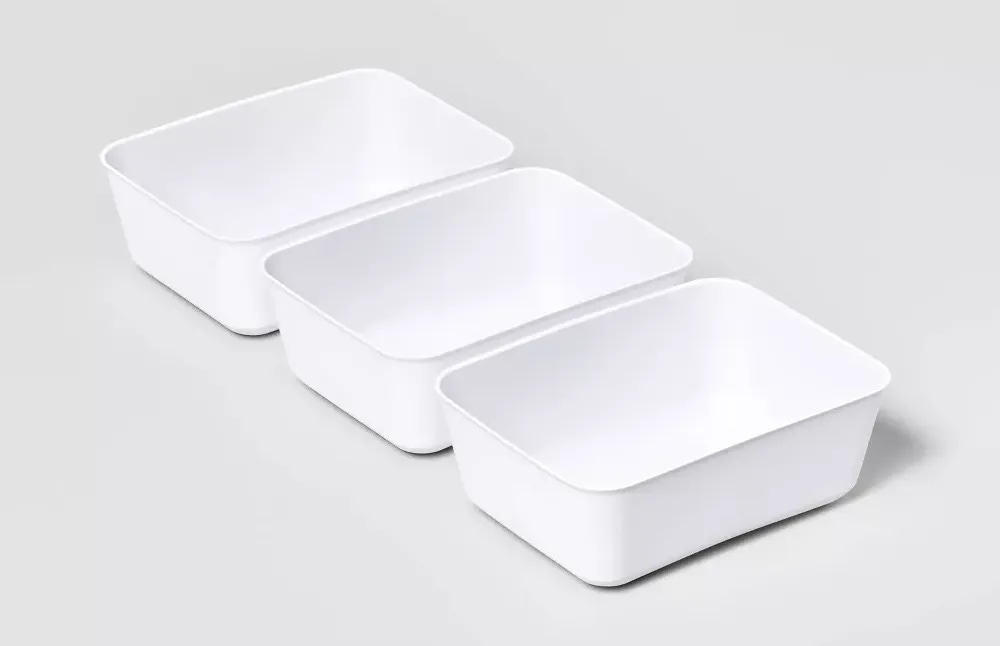
Small Bin - If I’m stitching a larger project that stays at home, like a pillow, I keep all of my project supplies in a bin and set next to me on a side table or sofa. Using a bin helps keeps things tidy and makes it easy to clean up if I need to do so quickly. I like these bins for projects as they easily hold different types of threads as well as accessories. They’re such a good price point so I’ve used them all over my house to organize drawers (bathrooms, craft room, kitchen, and more!).
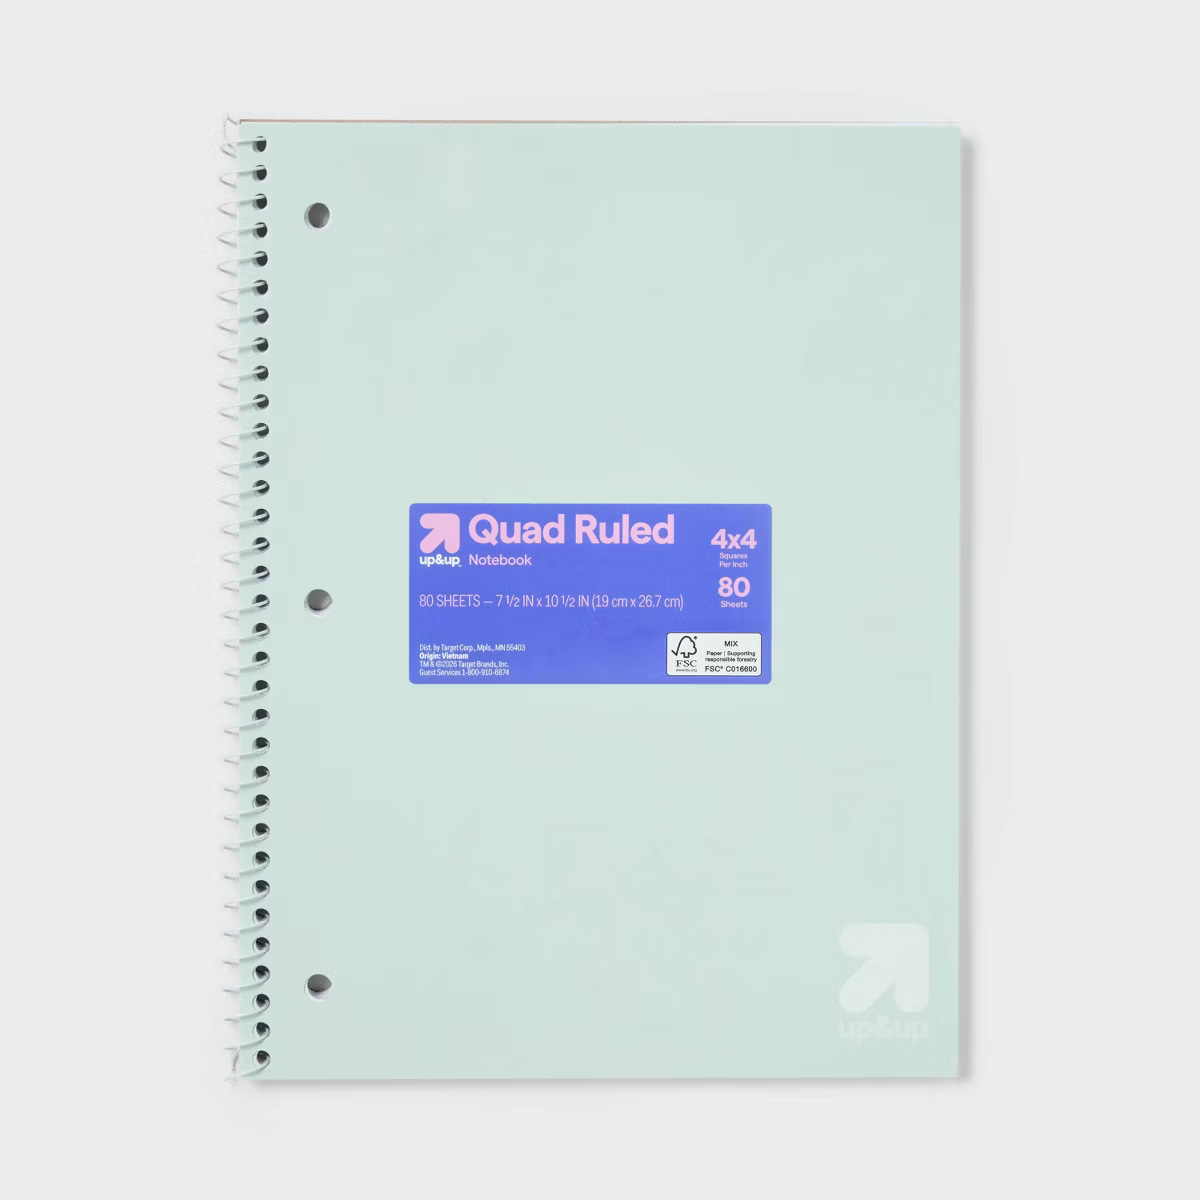
Graph Paper - Wanting to practice compensating a stitch, create your own chart, or draft out personalization? Graph paper is a cheap and easy tool to do this. Grab a gridded notebook while they are inexpensive, and keep handy for future projects. If you prefer to print you own, I shared a printable template in a past post.
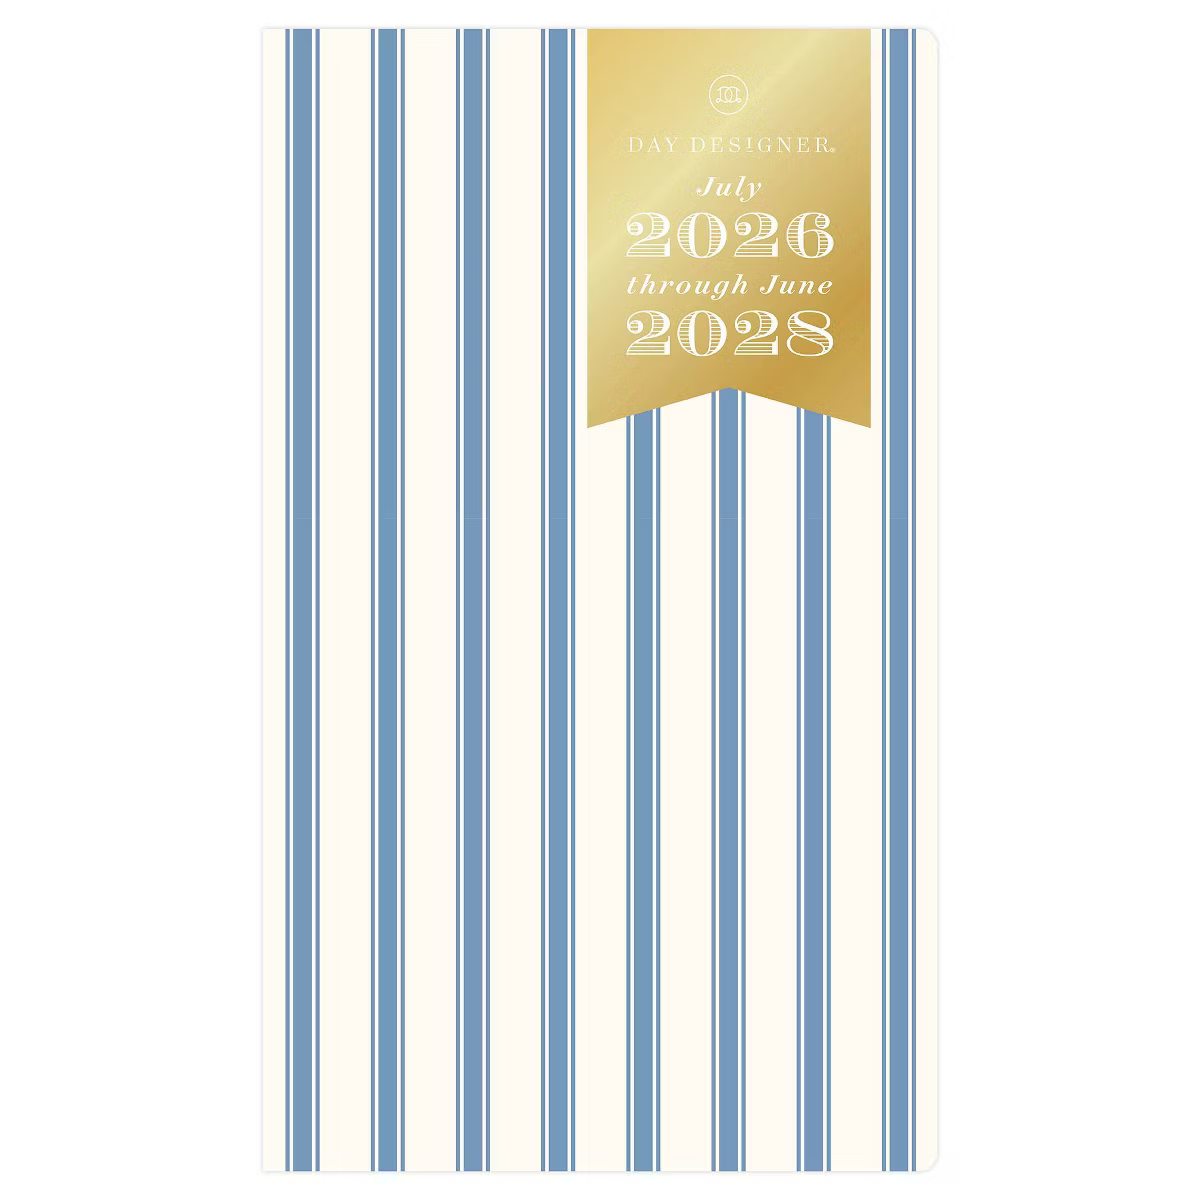
Planner - Do you have needlepoint goals you want to reach or do want to stay on top of when to expect finishing back? Grab an inexpensive planner to stay on top of all needlepoint-related dates. I also try to stitch so many days a week and I use a calendar to easily track this habit to keep myself accountable.
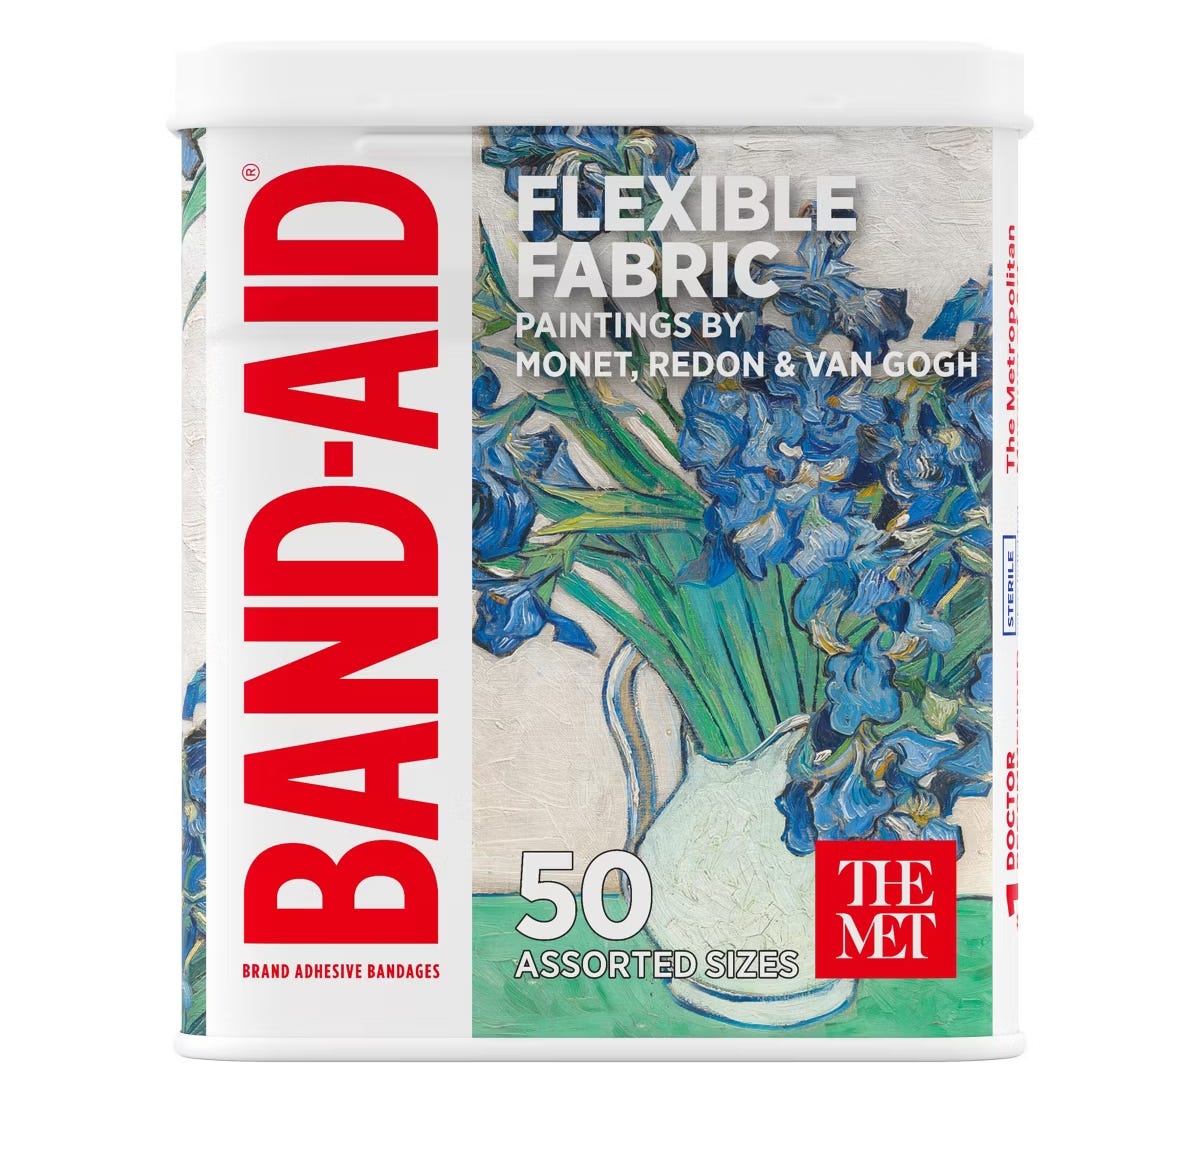
Band-Aid - Whether you injure yourself while stitching or want to ward off a callous while finishing, why not use one of these fun band aids?
Final Thought: While many things in needlepoint are specialized and expensive, not everything has to be! I love looking for items that can easily translate to needlepoint. What are you favorite finds for needlepoint?
Comments
Nothing yet. Say the first thing.
Sign in to join the conversation.