Jan 05, 2018 Linux VirtualBox
Kali Linux is a cool Linux distribution with a lot of security tools preinstalled. To run those security tools agains a local webserver for example it would be nice and handsome as VirtualBox. Offensive VirtualBox images are also available at offensive-security.com, but creating your own custom image is also pretty easy.
Download Kali Linux iso image
Let us download a Kali Linux image from the the offical Official Kali Linux Downloads page. I have choosen the version 2017.3 of the image Kali 64 bit.
wget http://archive-3.kali.org/kali-images/kali-2017.3/kali-linux-2017.3-amd64.isosha256sum verification
Please make sure to verify the downloaded image file with
sha256sum.
sha256sum kali-linux-2017.3-amd64.iso
395bc0af107806e5bf06edc6ac4af1f96caaf04f465831abf2f33ce51b73968d  kali-linux-2017.3-amd64.iso
The result of sha256sum should be the same as on the download
page.
Setup Kali VirtualBox
The following part is mostly the same as Create Debian 8 Jessie VirtualBox.
Start VirtualBox
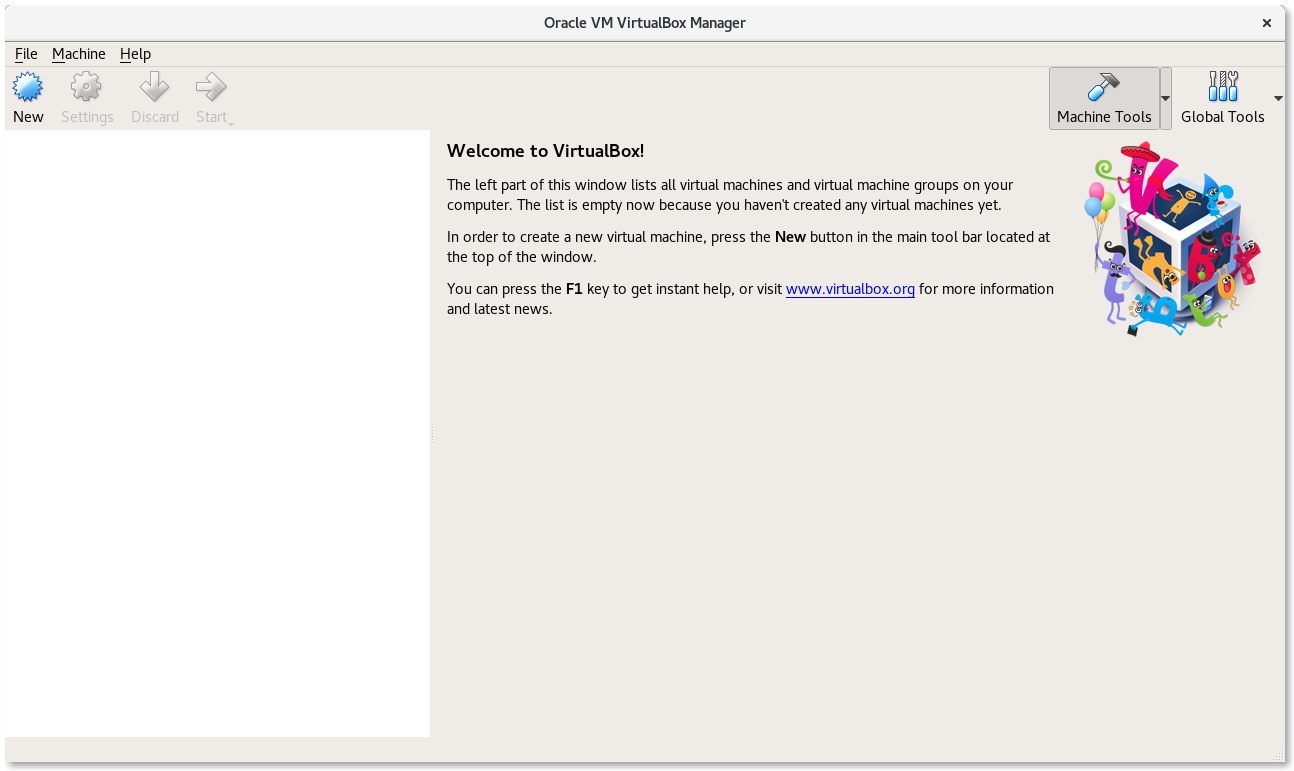
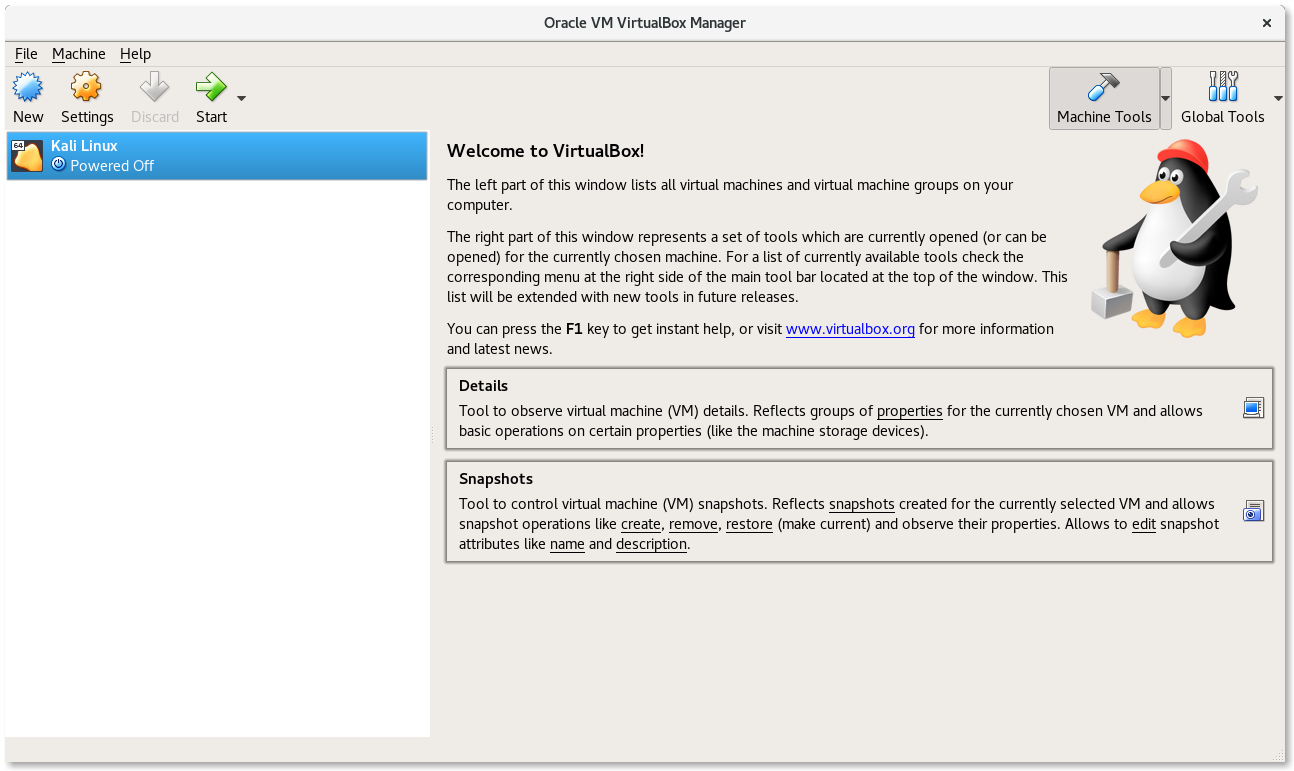
Start VirtualBox and click on the button New to create a new virtual machine.
Define name and the operating system
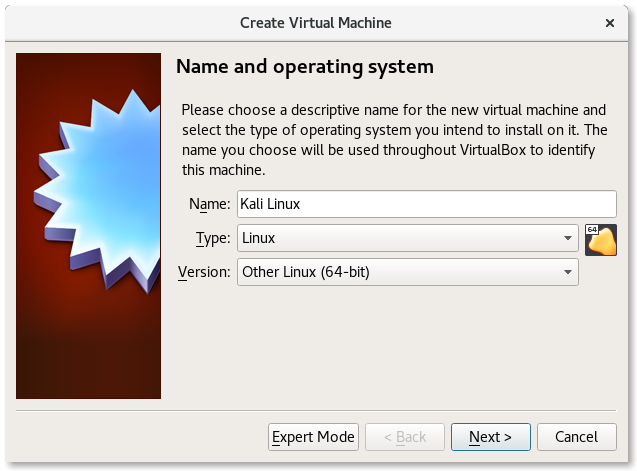
Define the name and the operating system of the VirtualBox. I have choosen the following things.
- Name: Kali Linux
- Type: Linux
- Version: Other Linux (64-bit)
Memory size
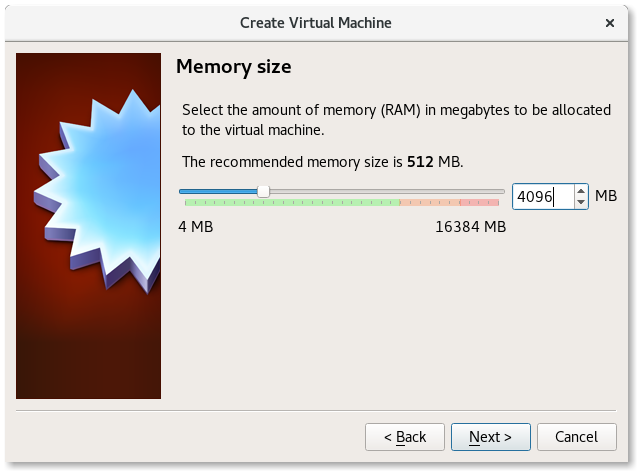
We want some power in our Kali Linux virtual machine. So you should choose at least 4096 MB.
Hard disk
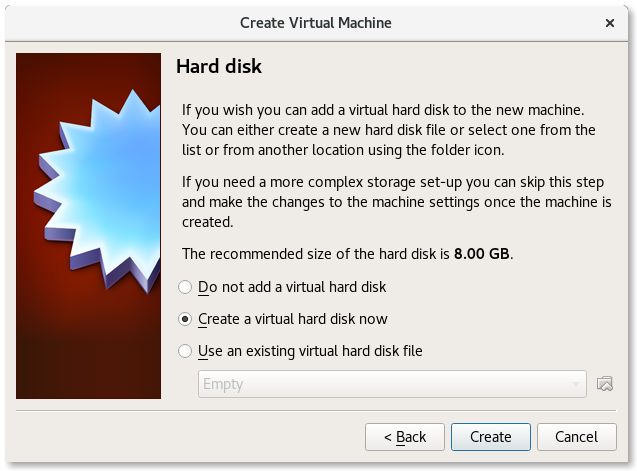
In this section I have choosen Create a virtual hard disk now.
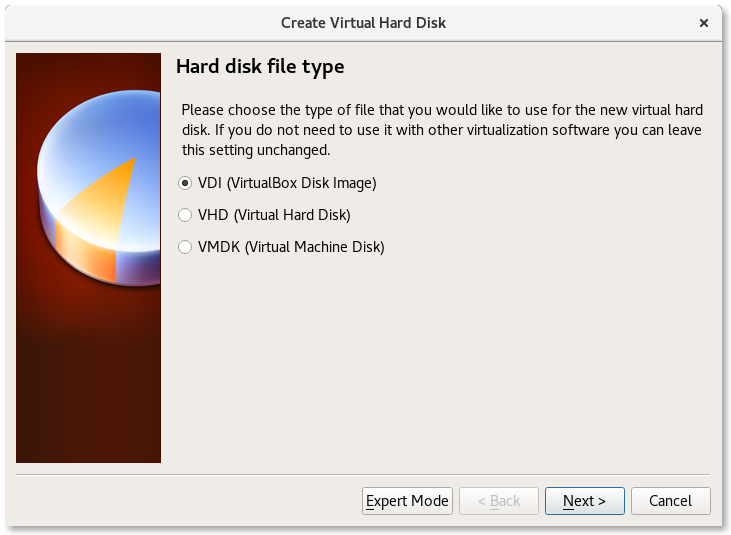
Hard disk file type
I have choosen for the the hard disk file type VDI (VirtualBox Disk Image).
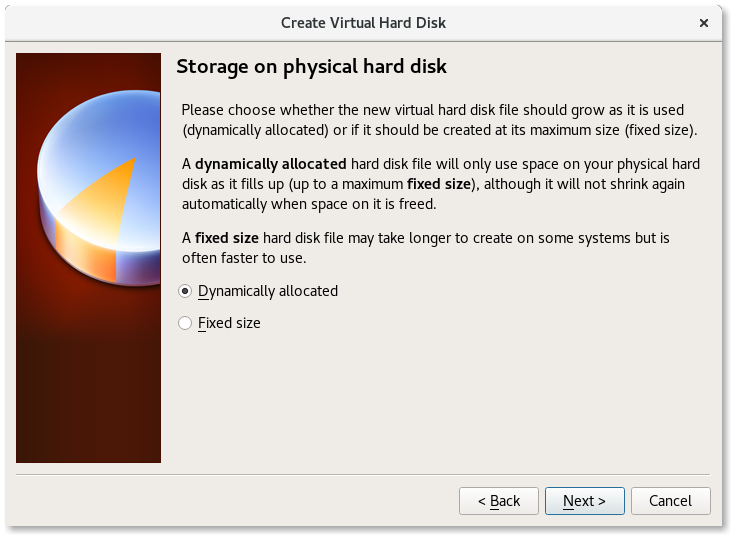
Storage on physical hard disk
My choice for the storage on physical hard disk was Dynamically allocated.
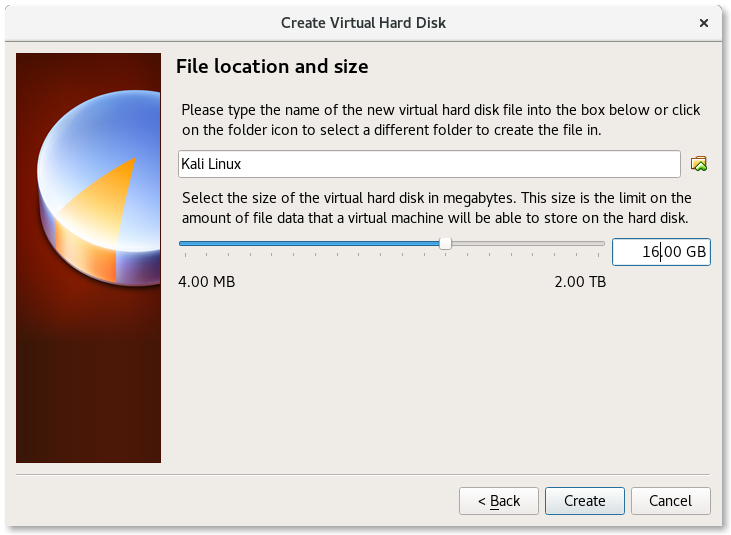
File location and size
Some of the tools in Kali Linux are creating a lot of data and the operating system itself needs some space. You should choose at least 16 GB for the size of the hard disk.
Kali Linux VirtualBox settings
Please open the settings of the Kali Linux VirtualBox by clicking the yellow Settings button while the machine is selected.
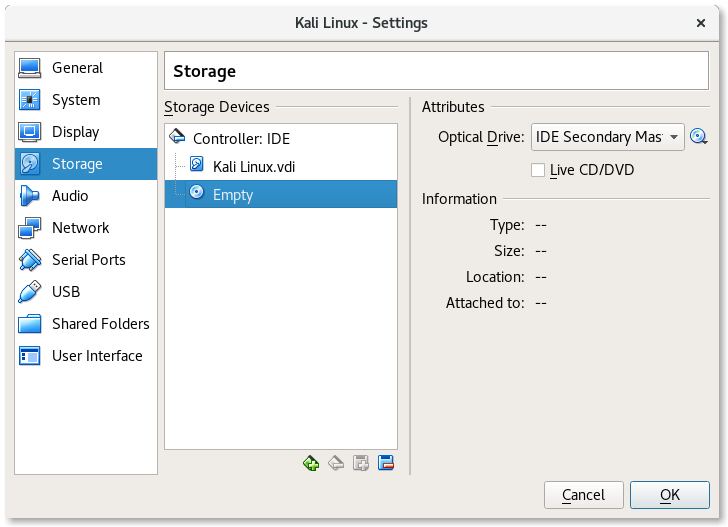
Storage - Optival Drive
Select in the left menu the point Storage and choose as
Storage Device the Empty one. Click on the disk icon on the
right side to select a Optical Drive. Point to the location of the
downloaded Kali Linux image. In my case
kali-linux-2017.3-amd64.iso.
The previous Empty storage device should now contain the downloaded Kali Linux image.
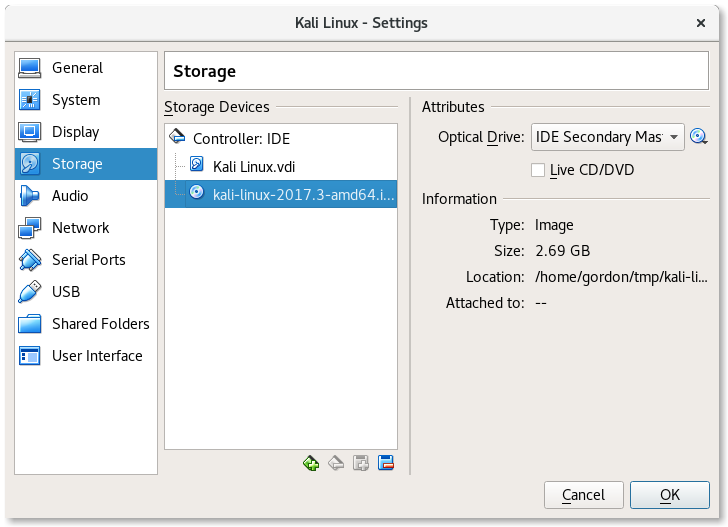
Afterwards close the Settings of the virtual machine and push the green Start button.
Install Kali Linux in the VirtualBox
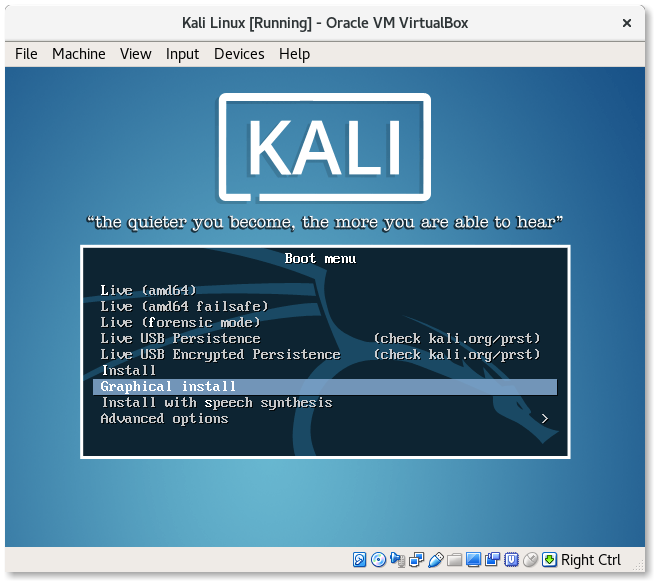
The following part is mostly the same as Install Debian 8 Jessie Virtual Machine. Please select the Graphical install after starting the virtual machine.
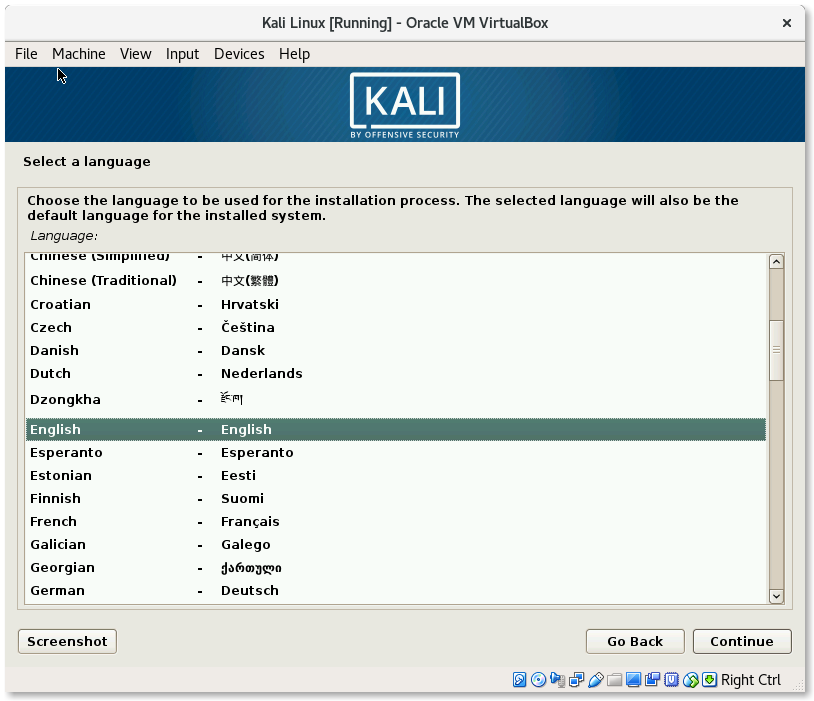
Select a language
Please select a language.
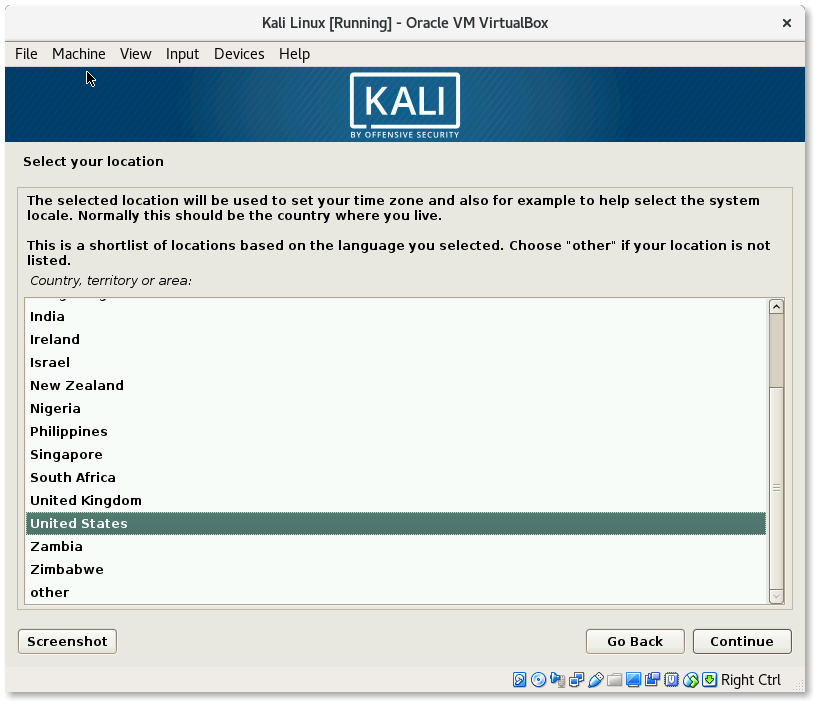
Select your location
Please select your location.
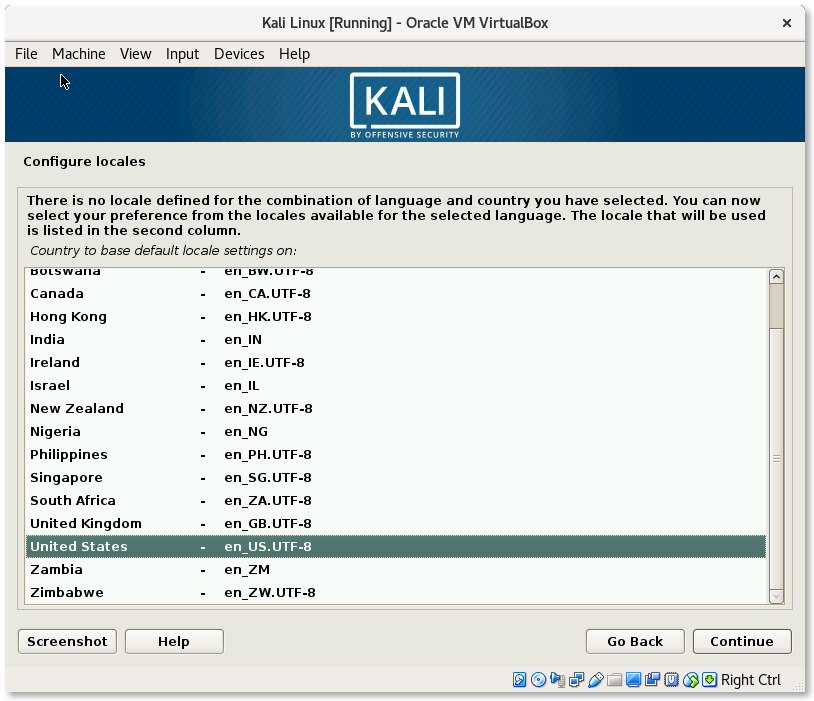
Configure locales
Please select your locale.
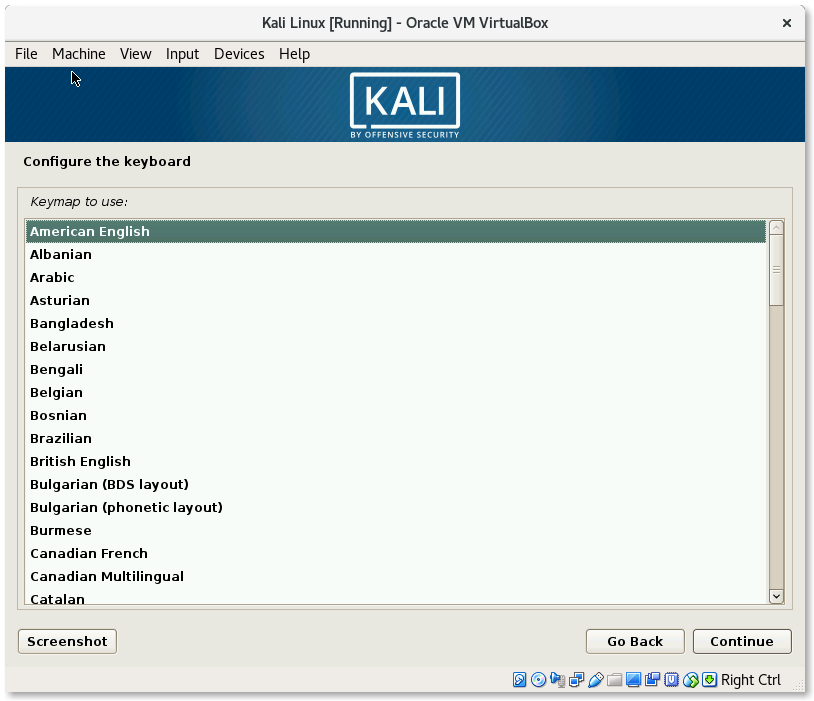
Configure the keyboard
Please select your keyboard layout.
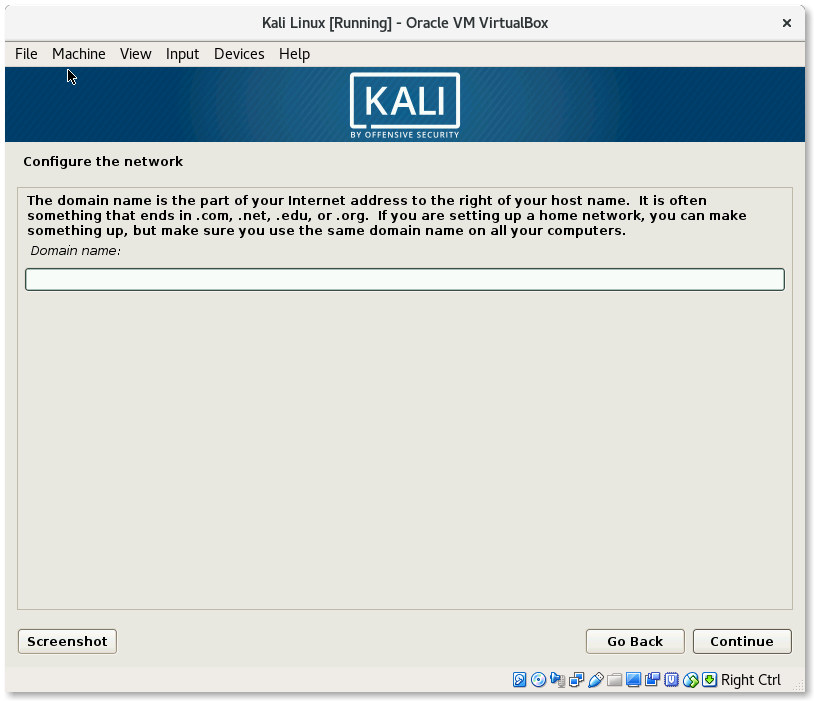
Configure the network
Please select a hostname
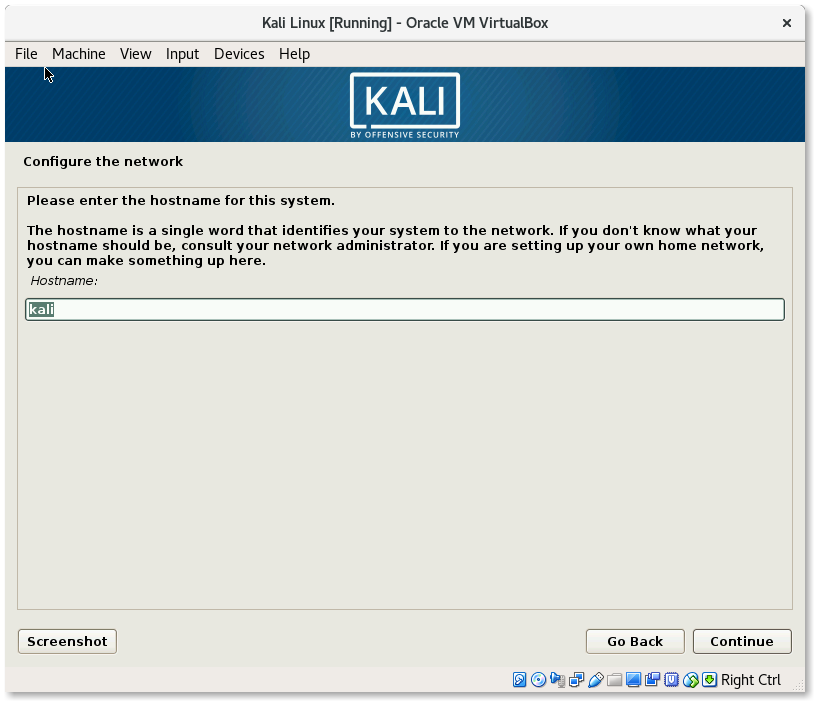
And enter a domain name if you want to.
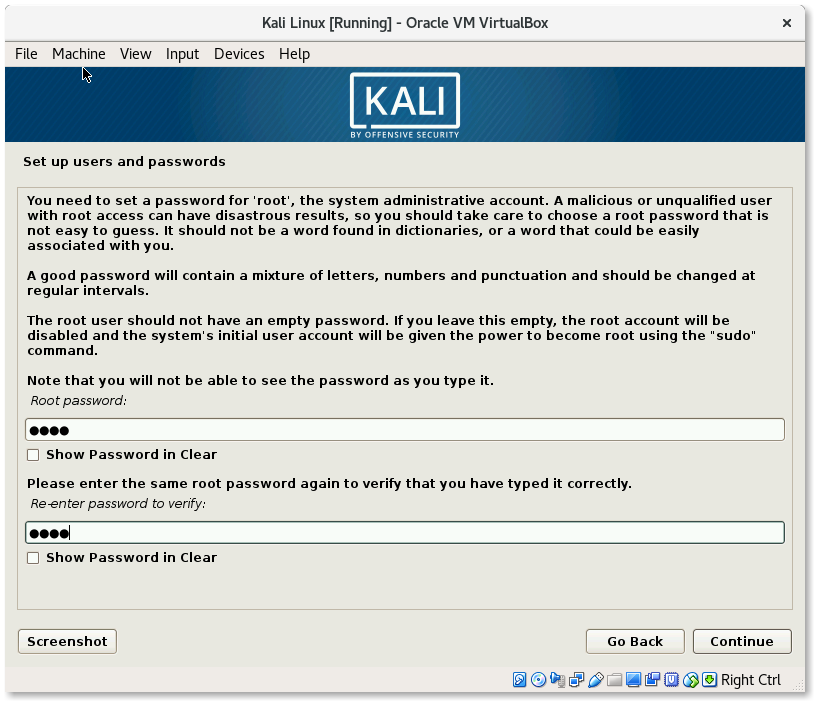
Setup users and passwords
Please enter twice the password for the root user.
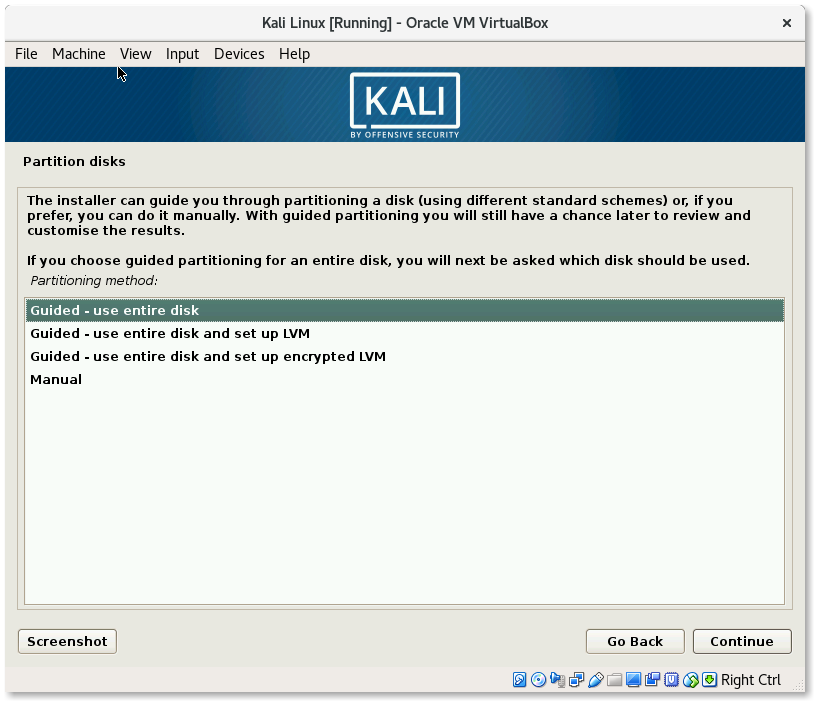
Partition disks
For the partition of the disks I have choosen Guided - use entire disk.
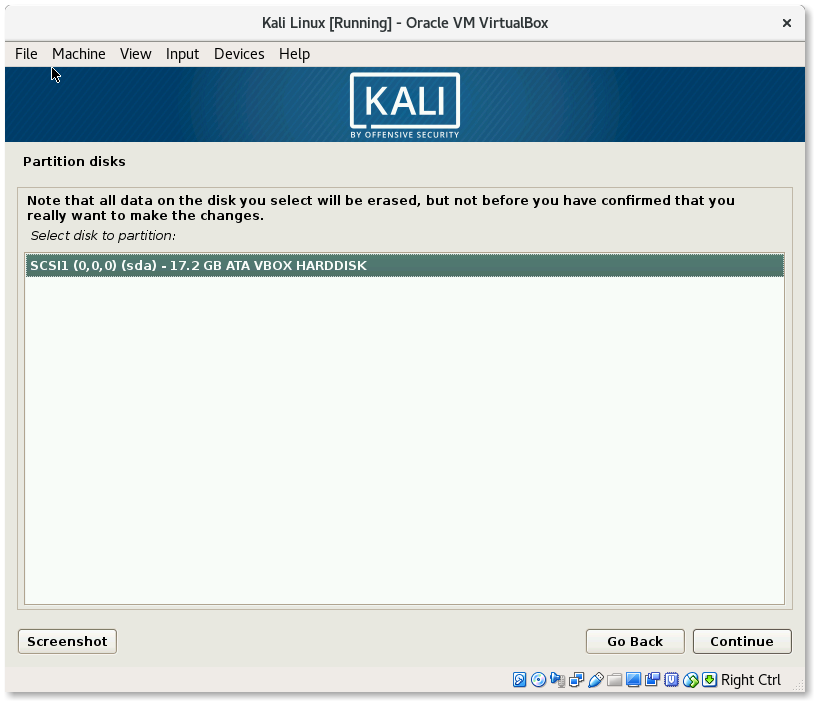
I have just choosen the only option for the disk at this point.
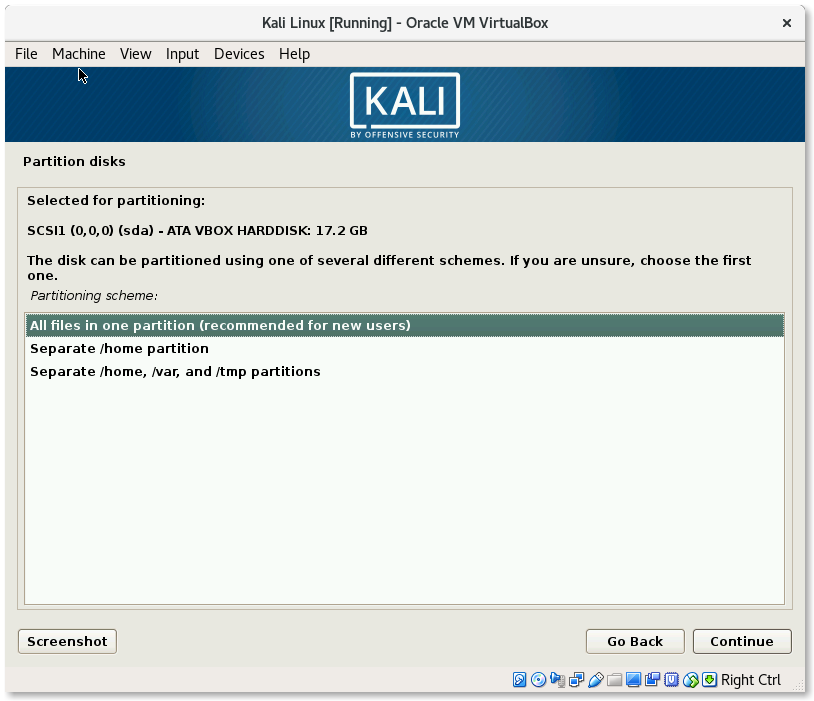
For the partition scheme I have choosen the easy option All files in one partition (recommended for new users).
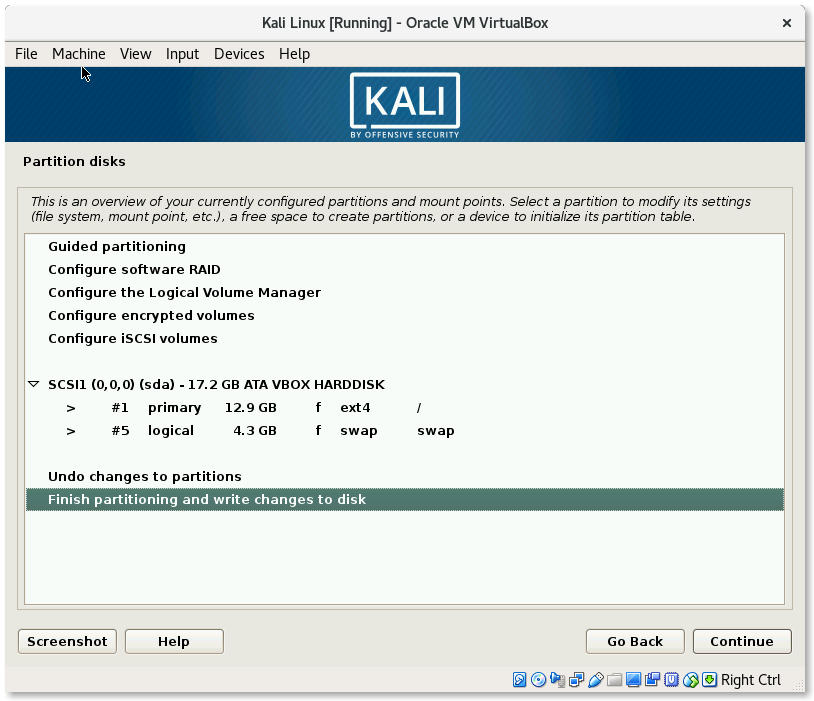
Just go on and Finish partitioning and write changes to disk.
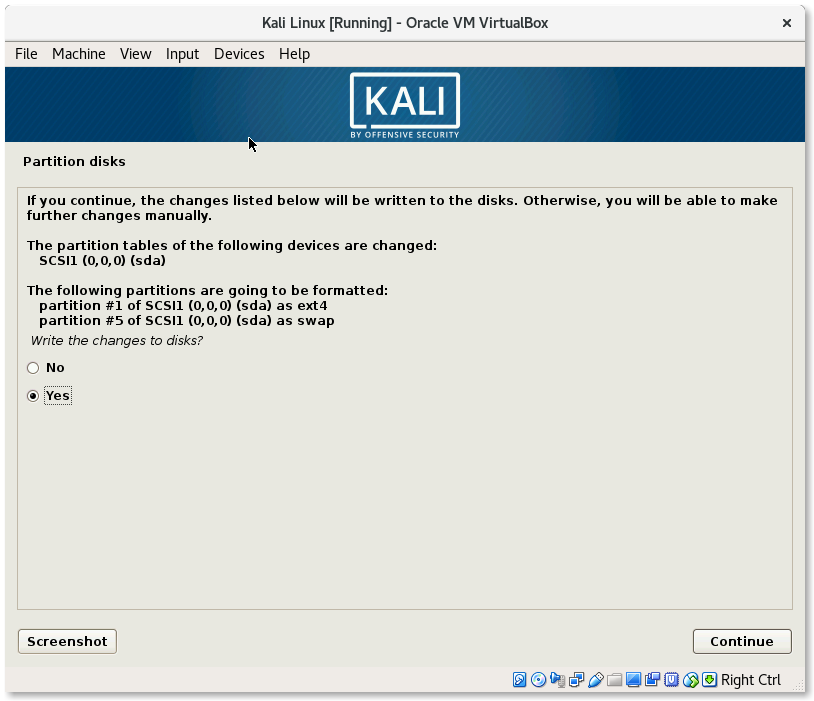
And confirm it again.
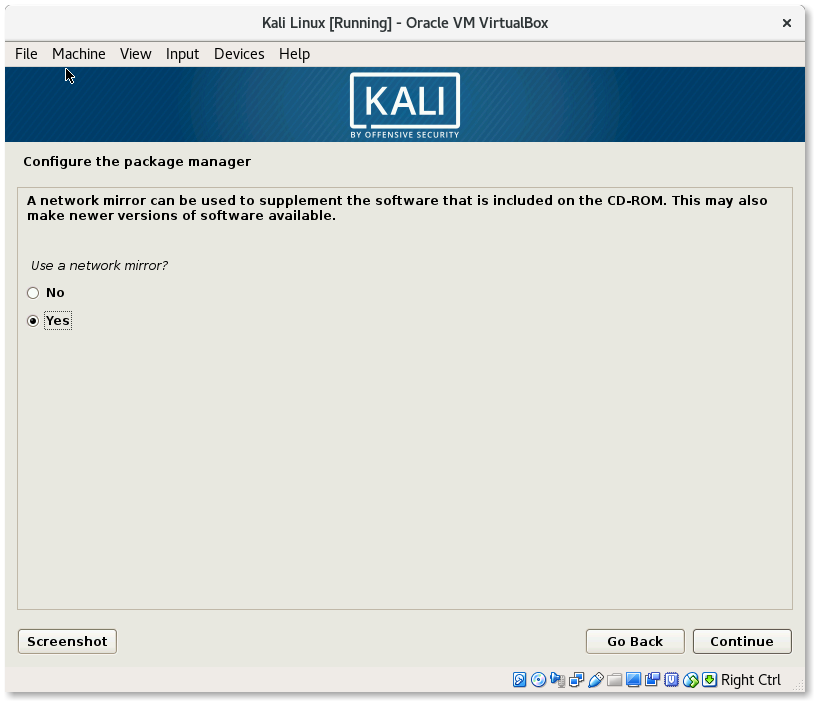
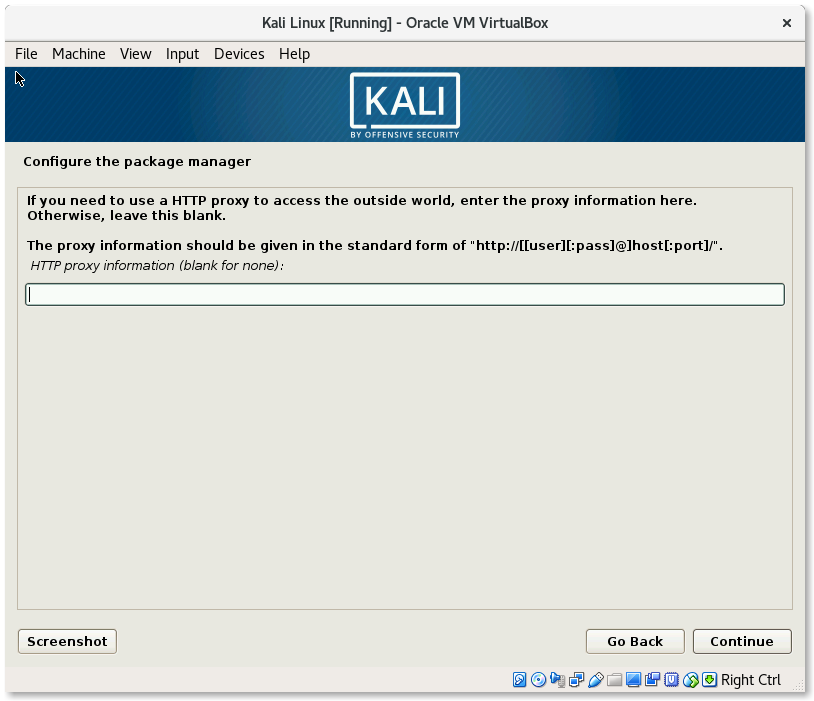
Configure the package manager
I have choosen to use a network mirror for the installation.
You can enter a HTTP proxy or just leave it blank.
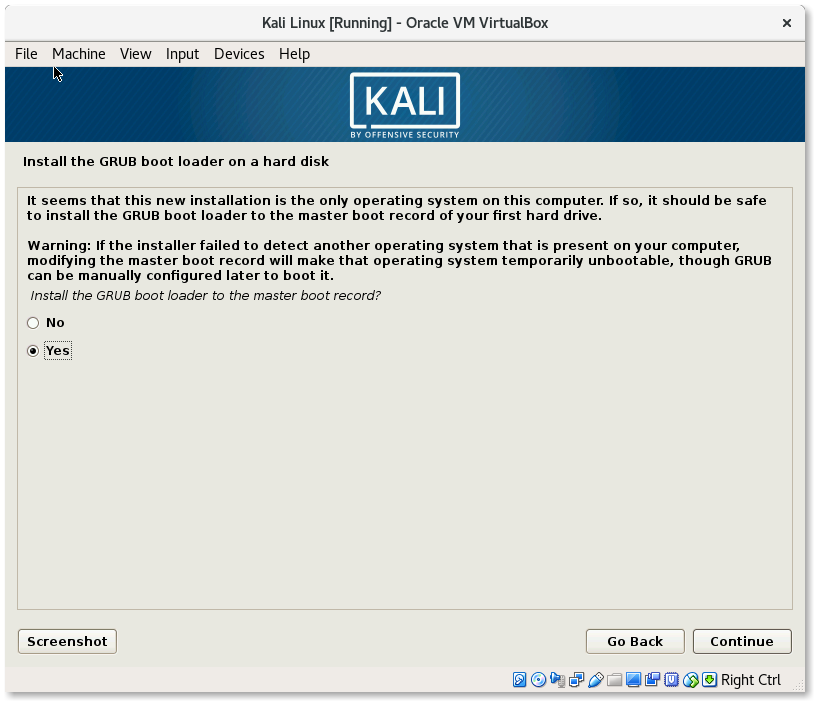
Install the GRUB boot loader on a hard disk
I have choosen to install the GRUB boot loader.
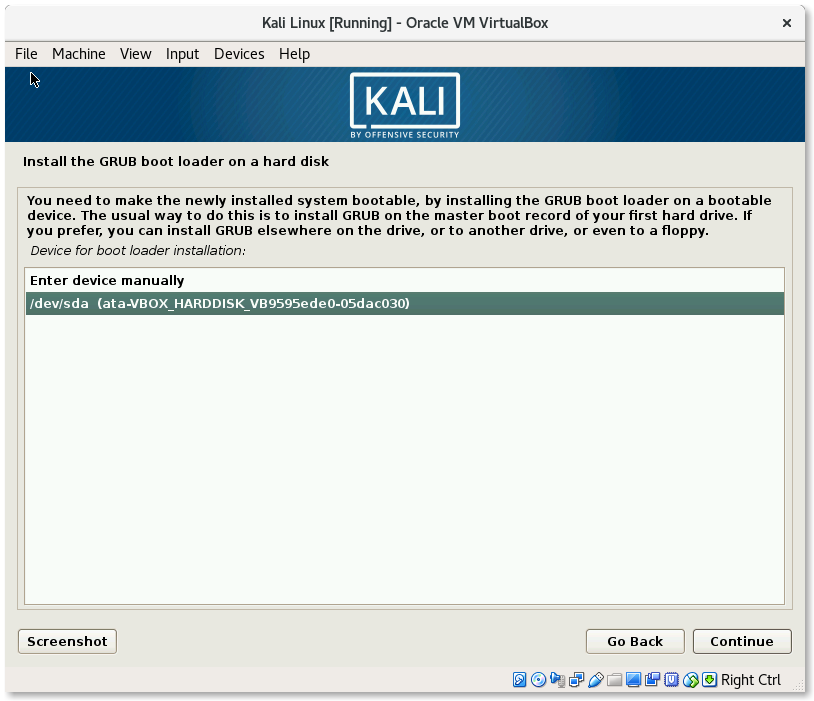
Just choose the VBOX device.
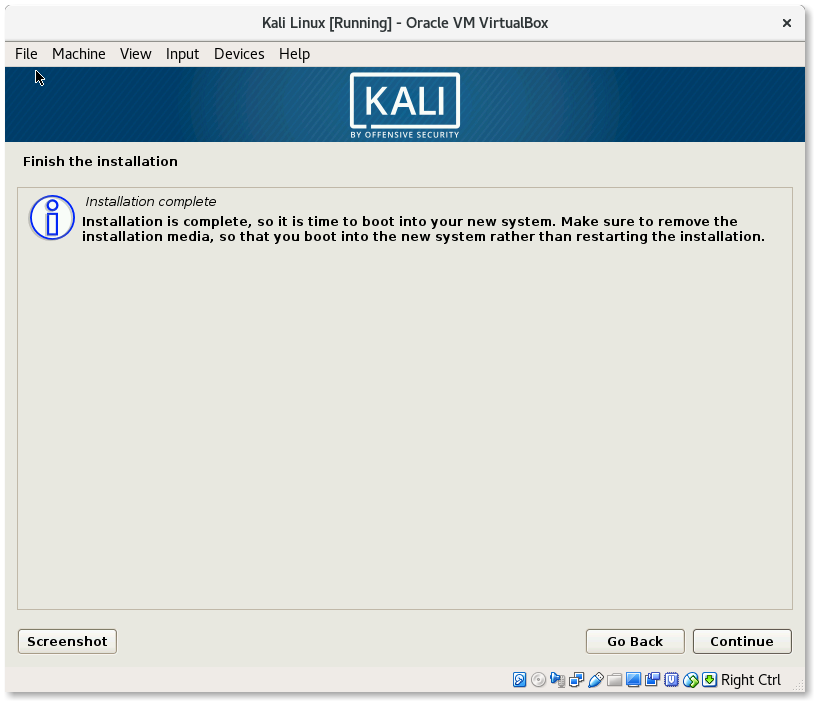
Finish the installation
The installation is finished and the virtual machine will restart after a few seconds.
Start Kali Linux VirtualBox
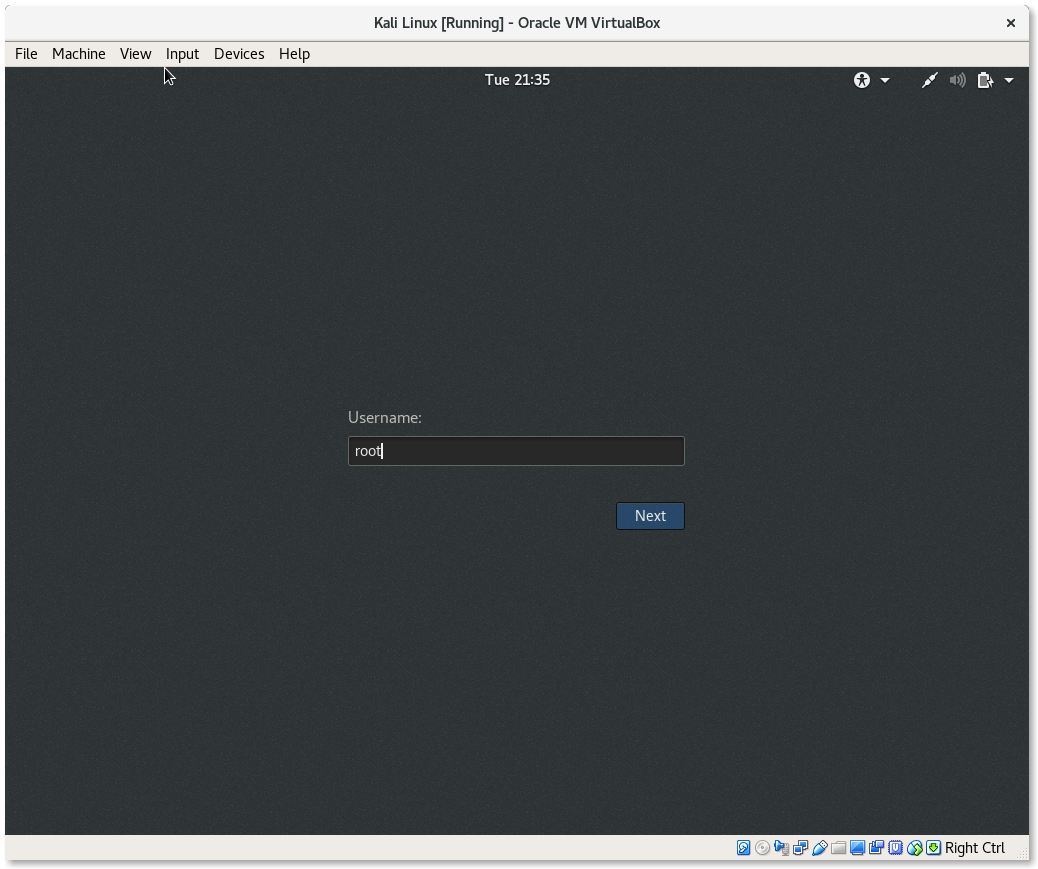
As mentioned the virtual machine should restart and we are requested to enter the username root.
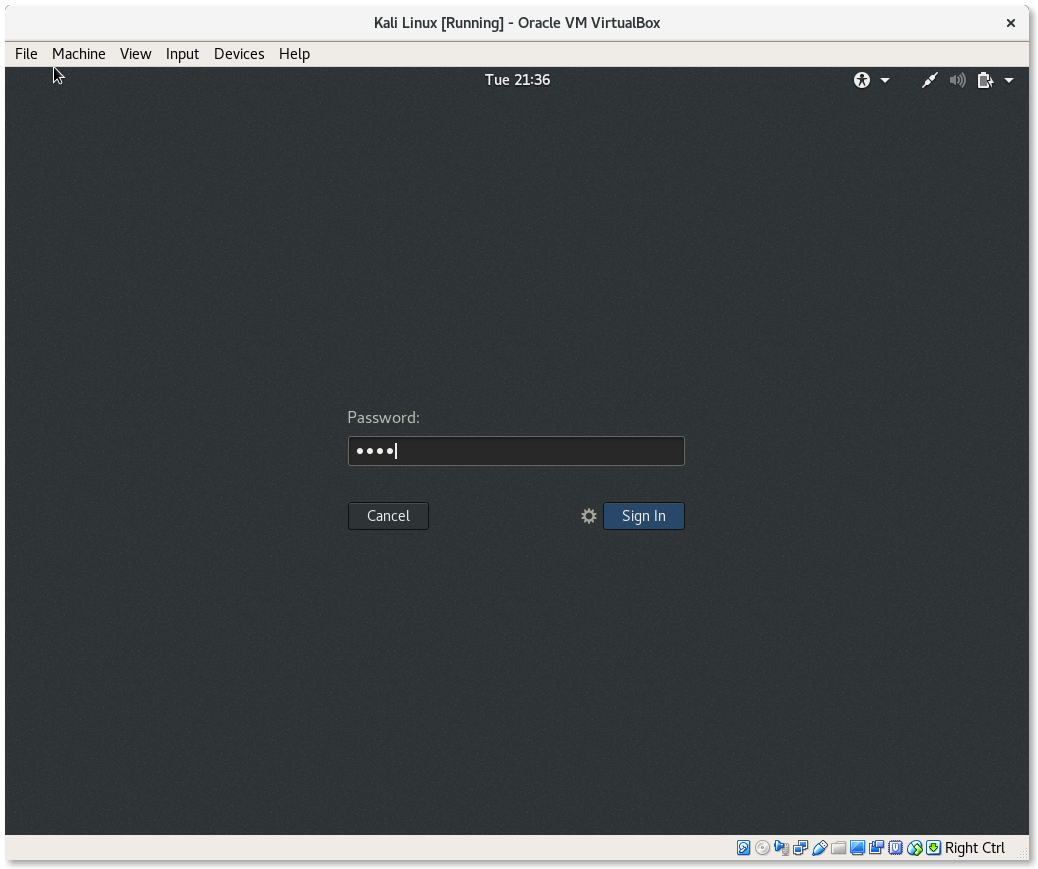
And the corresponding password. In my case just kali.
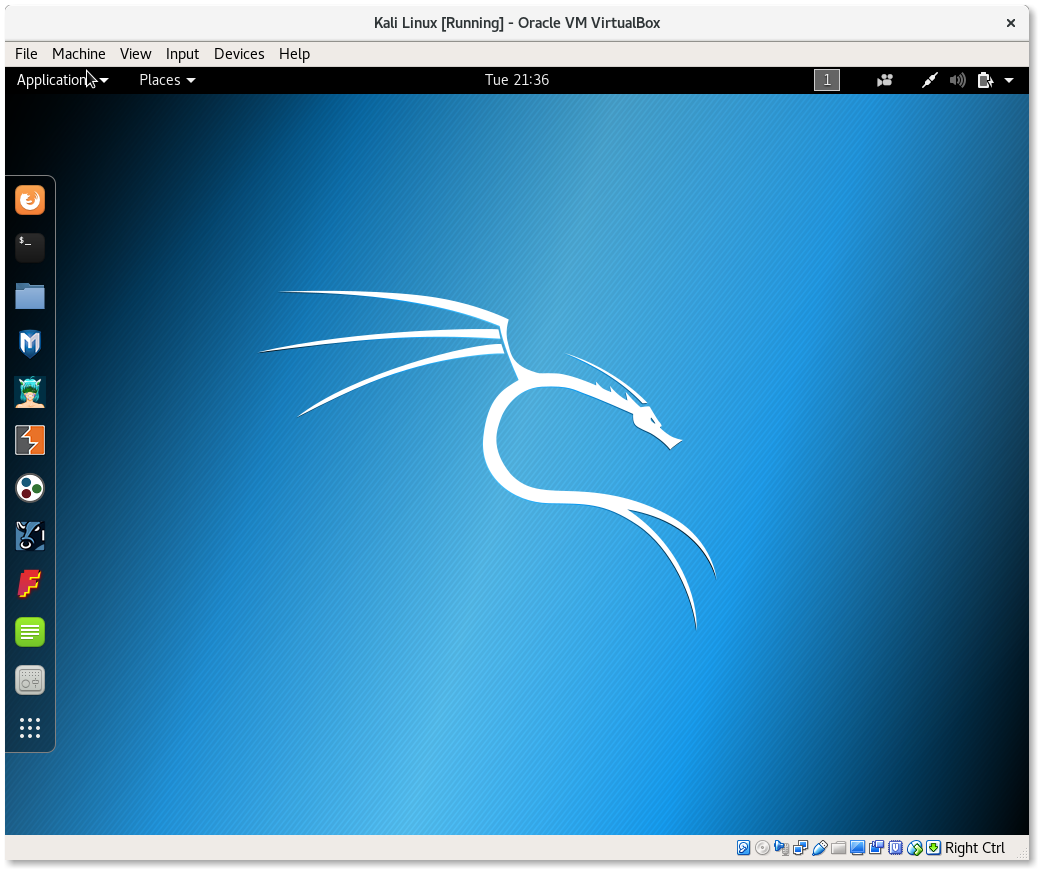
We are ready to use Kali Linux.
Comments
Nothing yet. Say the first thing.
Sign in to join the conversation.