
Composting is more than a green way to dispose of food and garden waste, it’s a way to make a valuable resource. Compost is indispensable as potting soil, mulch, garden amendment, and fertilizer. Divert nutrients from the landfill into the garden by using the methods explored here.
Compost is the end product of a managed decomposition process called composting. Fundamentally, composting takes advantage of the fact that everything decomposes. As long as microbes, air, and water are present, a biological material will rot and become humus. In fact, non-biological materials like rocks are eventually transformed into soil through similar mechanisms. This means that any pile of kitchen and garden waste will turn into compost. However, there are strategies that can speed up the process, reduce odor, take up less space, and improve the end product.
As a general rule, anything that was once alive can be composted. Food scraps from the kitchen, leaves from the yard, manure from animals, natural fabrics, and paper are all examples of things that can be composted.
All compostable material falls into one of two categories: green or brown. These categories are sometimes called nitrogen or carbon because the color of the material is not what matters, it’s what the material contains. Fresh green plant material, manure, and food scraps are all examples of green or nitrogen rich ingredients. Dry straw, wood chips, and paper are examples of browns, or carbon rich material.
A pile with too much green material will become slimy and smelly. A pile with too much brown material won’t have much nutrition for the microbes breaking things down. In general, two parts brown to one part green is a good ratio for any compost pile.
Many recommendations against composting certain foods, like onions, are only applicable to certain composting methods like worm farms. Otherwise, it is often recommended to keep things that decompose slowly, like orange peels, out of the compost pile. As long as anything that hasn’t broken down is sifted out of the compost before use, this isn’t enough of an issue to avoid these ingredients all together.
Other problematic ingredients invite unwanted visitors. Cooked food, dairy, and meat are very attractive to animals like raccoons and rats. While protecting the pile and balancing these ingredients with copious brown material can go a long way to discouraging these animals, specialized pre-rotting techniques may be necessary to eliminate the appeal.
Things that should never join the compost pile are things that could harm the garden regardless of the techniques applied. Be cautious with materials that may contain pesticides, like plant material from a garden that uses them. Many herbicides used on animal feed survive not only digestion, but also the composting process. To avoid poisoning the soil, only manure from trusted sources should be used. Potentially harmful Forever Chemicals in water resistant paper and cardboard packaging never break down. Fabrics may have been treated with unsavory chemicals as well. Caution is always advised, especially with materials that make up a large portion of a compost pile.
Making compost outside can be as simple as piling compostable material in a sheltered area of the garden. It’s a good idea to protect the compost pile in some way. Common options are to build a barrier around the pile, put the pile in compost bins, or use a compost tumbler. Excavated pits or trenches are another good place to make compost.
Tumblers have the added benefit of aerating the compost as it breaks down. Hay forks, pitchforks, and shovels work well with free standing piles. For compost bins, manual aeration tools are a good option, though air holes can suffice. Extremely large compost operations often use pvc pipes with holes drilled in them to deliver air to the center of piles.
Composting outdoors often means moving lots of material around. This is made easier with a wheelbarrow. The two wheeled models make heavy cargo surprisingly easy to maneuver. Wheelbarrows can be expensive, and require maintenance and replacement parts throughout their lifetime. Though they require more muscle to implement, 5 gallon buckets are cheap, easy to replace, and remain useful as they fall apart. Pairing these tools with a garden sieve or a piece of ¼ inch hardware cloth makes processing large volumes of compost a simple task.
Composting indoors is entirely possible, though it requires more consideration. Often, there is a lot less space, and a lot more concern about smells and pests. Instead of composting in piles, use a bucket or a large storage bin. Add air holes and cover them with paper tape to allow the compost to breathe without allowing pests to enter. A well maintained compost system should smell vaguely earthy and has no offensive odors. A method suited for indoor composting, like vermicomposting, or a location that doesn’t get a lot of traffic, like the basement, mitigates smells.
Composting indoors usually means working with smaller quantities. For mixing and moving compost indoors, small hand tools are entirely adequate. If getting hands dirty isn’t an issue, they can be used to move composts from bucket to bucket. A small compost sieve or piece of hardware cloth works the same way a garden sieve does, simply on a smaller scale.
Though a cold compost pile takes a long time to mature, it requires very little attention. This method can be as simple as adding greens and browns when available, and letting them decompose. Aerating the pile from time to time will speed things along to some degree, and knock out most smells by introducing oxygen. It’s the anaerobic microbes that tend to produce odors.
Other than its pace, the main potential downside to cold compost is that low temperatures won’t kill pathogens or weed seeds. Avoid adding diseased plant material or flowering weeds to a cold compost pile for this reason. For safety, compost can be sanitized before use by pouring boiling water over it, or baking it at a low temperature.
Because cold compost is a long term project, it’s best to have at least three piles going at once: once to add fresh material to, one that’s maturing, and one that is fully broken down and ready to use. This approach ensures there is always finished compost available when needed.
Cold compost is best conducted outside because it relies on mold and bacteria to mature. If this method must be used indoors, put the compost somewhere people don’t spend a lot of time.
Hot compost requires much more precision and technique, but it breaks down much more quickly while killing most pathogens and seeds. In fact, it is a good option for composting risky materials like diseased plants and tricky foods.
The key to hot compost is balancing the ratio of browns, greens, water, and oxygen. Doing so creates the perfect conditions for thermogenic and thermophilic bacteria, which heat up and break down the pile.
To make a hot compost pile, add twice as much brown material as green. This pile should be at least 3 square feet in size so it has enough insulation to stay hot. The pile should start to heat up after a few days. To kill pathogens, the pile needs to stay hot to the touch for 10 consecutive days.
Keep the pile damp, but not dripping. It should feel like a wrung out sponge. If it needs more water, hose the pile down. If it’s too wet, add more brown material and aerate the pile.
Oxygen levels are maintained by turning it regularly as it matures. Extremely large piles maintain temperatures more easily, but may require built in aeration systems, like pushing PVC pipes with holes drilled in them through the pile to passively deliver oxygen to the center.
The pile should be turned anytime temperatures start to dip. It should always feel hot to touch. A compost thermometer can help track the temperature more exactly. Piles can reach 160F (71C).
A well maintained hot compost pile of easily digested material can mature in as little as 30 days, but the nice thing about compost is that it doesn’t have to be all or nothing. A pile that is too small to say hot, that dries out, or isn’t turned on schedule, will still decompose.
In other words, it’s possible to reap some of the benefits of hot composting with some of the ease of cold composting. Mix available ingredients, prioritizing browns when possible. Keep them moist, but not dripping. Aerate when possible. Temperature will fluctuate, but the heat that does occur will help break things down quickly, at least compared to cold compost. If the pile includes diseased material or weed seeds, it must stay hot for 10 consecutive days to kill them.
This compromise is far more flexible than either method when it comes to location and size. Work in piles, containers, even buckets. Warm compost might work indoors on a small scale, though keeping it outside is still ideal.
Composting with worms is the one method best suited for indoors. A properly maintained hive is smell and mold free. Worms don’t require much space either, so it’s easy to tuck them somewhere convenient.
Vermicompost is different from other methods because it’s more like raising livestock than monitoring decomposition. Provide the proper conditions for the worms, and harvest their nutrient rich droppings.
Like most livestock, worms need four things: housing, bedding, water, and food. Pretty much any ventilated container with a lid works as housing. Popular bedding options are shredded paper, coffee grounds, and straw. Bedding should be as damp as a wrung out sponge. This is plenty of water for worms to thrive.
Worms are more particular about food. Avoid feeding them cooked or salty food. They also dislike citrus and onion. Feed them other fruit and vegetable scraps, as well as egg shells. Always feed in small quantities, and never more than half the weight of the worms in the container. Over feeding could cause odors and attract pests like mites, fruitflies, and maggots.
Inoculating a compost pile or worm farm with mushrooms both improves the final product, and potentially provides an additional harvest.
Adding spent substrate from mushroom cultivation is the most straightforward method. Blending mushrooms into a slurry and pouring it over the pile can work but it is more hit or miss. Button, cremini, wine cap, and oyster mushrooms are all popular options. Keep in mind that these mushrooms could be invasive. Research and proceed with caution.
Ideally, the mushroom mycelium will colonize and digest the compost material, help break it down, and release additional nutrients. There’s always the chance the mushrooms will fruit too.
Compost can be spread directly on to garden beds as a top dressing or mulch. Sprinkle compost around to boost nutrition and microbial life of the soil. A thick layer of compost mulch will also suppress weeds and increase water retention.
As a soil amendment, compost is unmatched. Mixing the compost into the soil improves its texture. Very sandy soils benefit from the water and nutrient retentive properties of compost, and clay heavy soils benefit from the structure and drainage it can provide.
The most accessible and sustainable soil alternative is likely compost. Use it to top up raised beds, or to fill pots and containers.
The nutrients in compost can be made more immediately accessible to plants by turning compost into liquid fertilizer. Simple infusions deliver nutrition. Aerated teas carry oxygen and beneficial microbes.
A more direct method of making liquid fertilizer is to immerse compostable material in water and let it rot. This is a perfect way to dispose of invasive weeds. Food scraps, animal carcases, logs, anything that will eventually decompose, can be added as well. The only thing worth excluding is diseased plant material.
The resulting liquid is as effective as it is odorous. Dilute it by adding a ladle or two to a watering can to give plants an immediate boost. Because of its smell, this fertilizer is best used outdoors. A thorough shower is recommended as soon as possible.
The rotted material that is left behind can go right to the compost pile, along with some brown material.
A good method for composting things that typically aren’t composted, like cooked food, meat, and dairy, is an anaerobic process developed in Japan. It requires bran inoculated with specialized bacteria that digest these materials with minimal odor.
Choose an airtight container and layer it with the material to be composted. Between each layer, liberally sprinkle the Bokashi bran. When the container is full, seal it, and let the Bokashi work its magic for 2-4 weeks. Then add the fermented material to the compost pile.
Bokashi bran is typically something that has to be purchased, but there are ways to make it, or something that works the same way, at home. The easiest option is to add yogurt and water to a spray bottle, and spritz this mixture between the layers of composting material. Though the lactobacillus bacteria found in yogurt, and many other things, isn’t the only microbe in the Bokashi blend, it is among the primary ingredients, and usually does a sufficient job on its own.
Worms are far from the only animals worth partnering with for their manure. In fact, any livestock should count the ability to digest and disperse nutrients among their benefits to a garden or farm.
Though most manures need to mature before they can be used in the garden, some are low enough in nutrients that the decomposition process doesn’t disturb plants, and can be applied directly. Animals that produce this cold manure include: rabbits, llamas, alpacas, goats, and sheep. Generally, animals that produce pelleted manures are included in this category. Cold manures are excellent fertilizers.
Chickens are not among the producers of cold manure, but their droppings are only one way they help with the composting process. Set a flock loose on a compost pile and they will kick and turn it while they hunt for bugs and treats. This trick is also a great way to reduce feed costs.
Even when the composting process is stripped to its basics, moving large volumes of compost to the garden is still a hassle. All the steps of sorting, turning, sifting, and lifting, can be avoided by burying compostable material in garden beds. Building garden beds around a compost pit is another option. Just make sure to dig deep enough to hide everything from animals, and nature will take care of the rest.
There are many ways to make compost, but the most important thing is to get started. Experiment with the methods outlined here, or find a gardening friend to manage your compostable waste. Most gardeners would be thrilled to receive such valuable fertilizer for their gardens. The creation and maintenance of high quality garden soil is an investment that can pay off for generations.
Questions? Suggestions? Concerns?
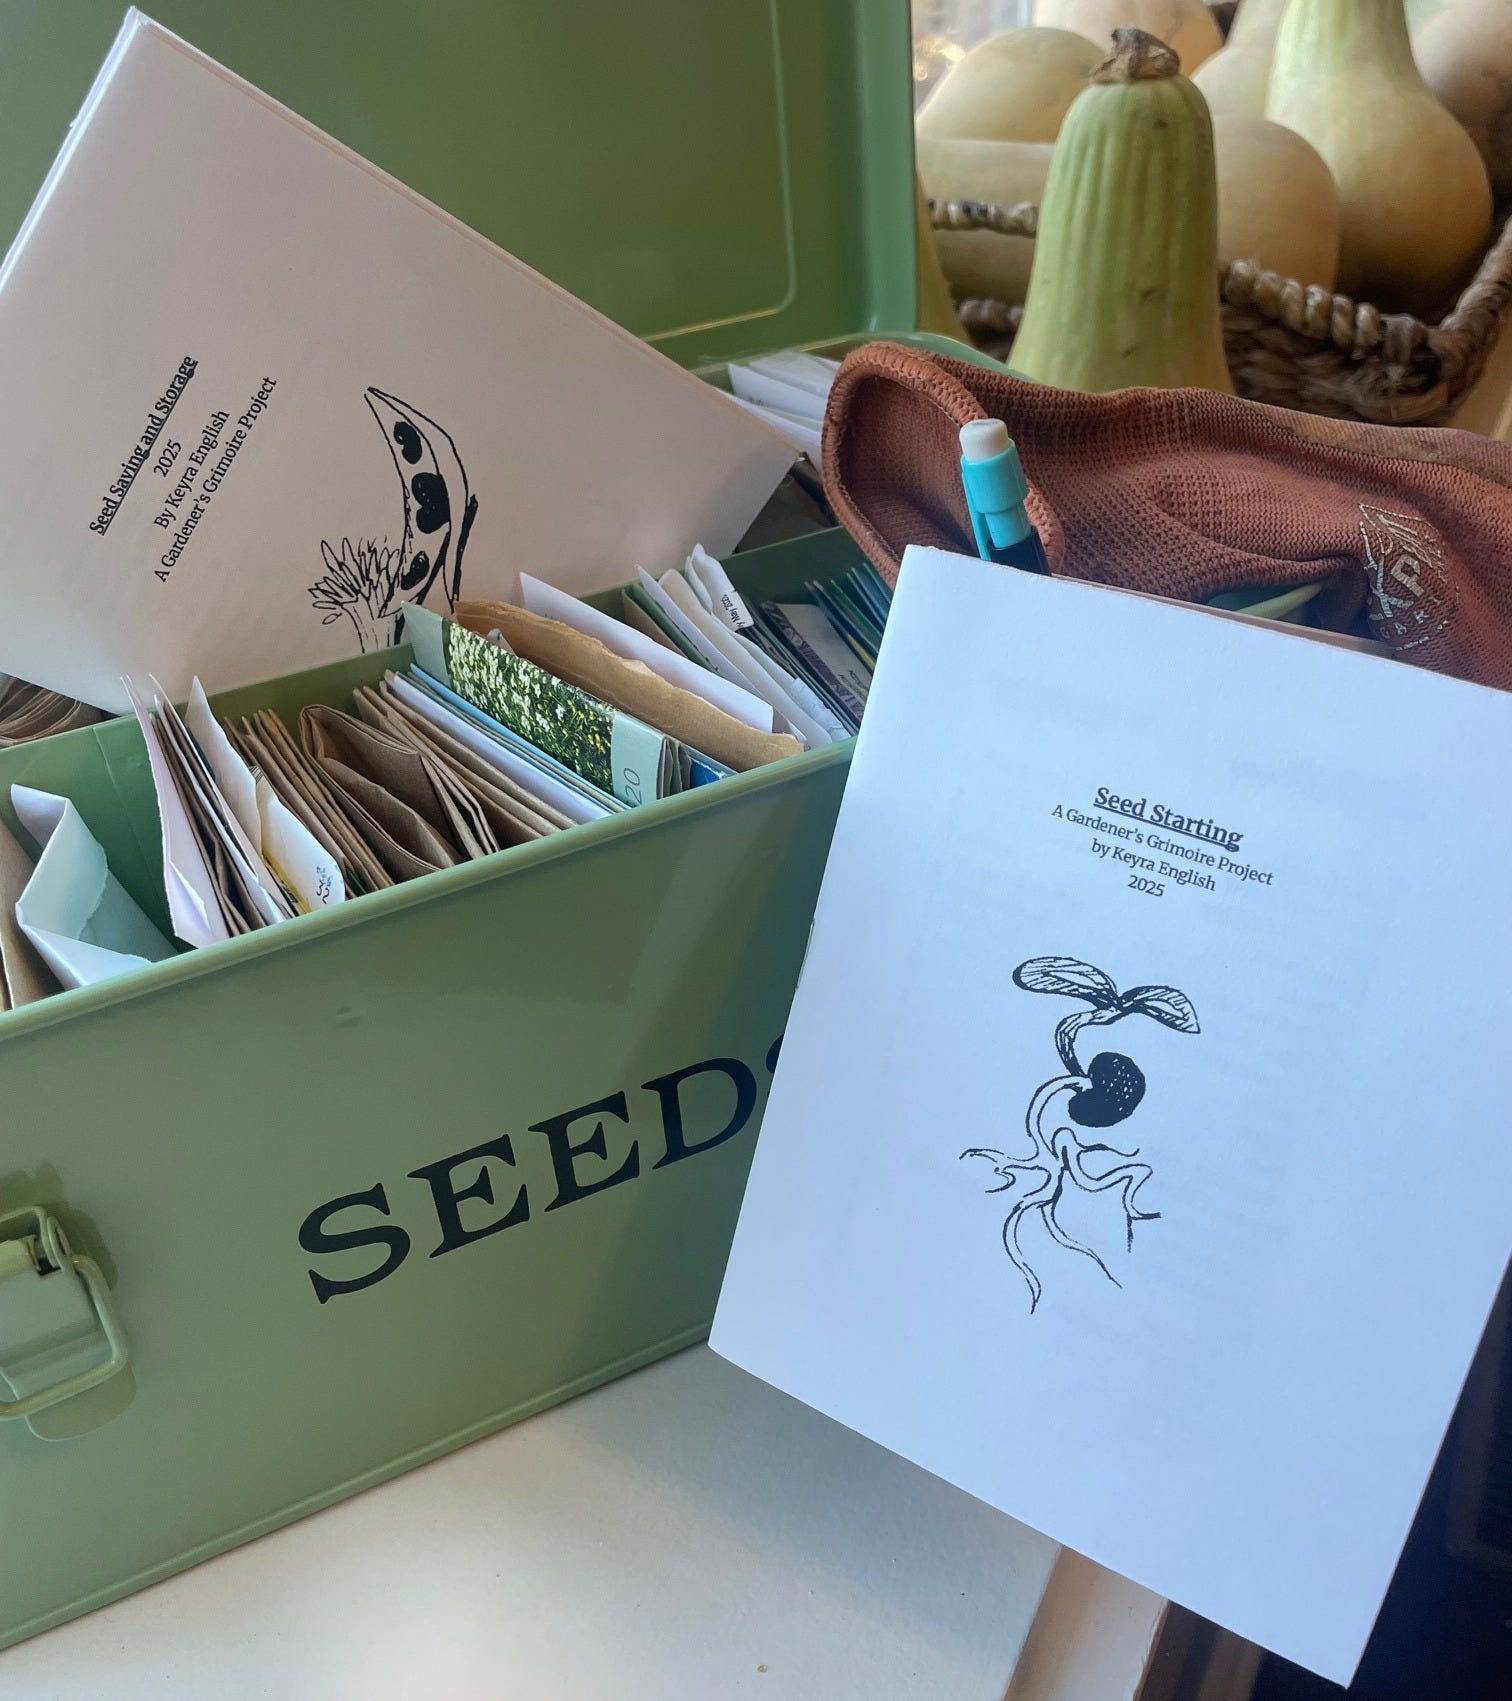
The field book zines from the Gardener’s Grimoire are easy to reference, easy to annotate, and easy share.
No posts
Comments
Nothing yet. Say the first thing.
Sign in to join the conversation.