Triumph Rocket 3 has long been equipped with LED direction indicators, but for those seeking a sleeker, more modern aesthetic, Triumph offers scrolling direction indicators as aftermarket styling enhancements. These not only add a touch of sophistication but also enhance the bike’s visual appeal.
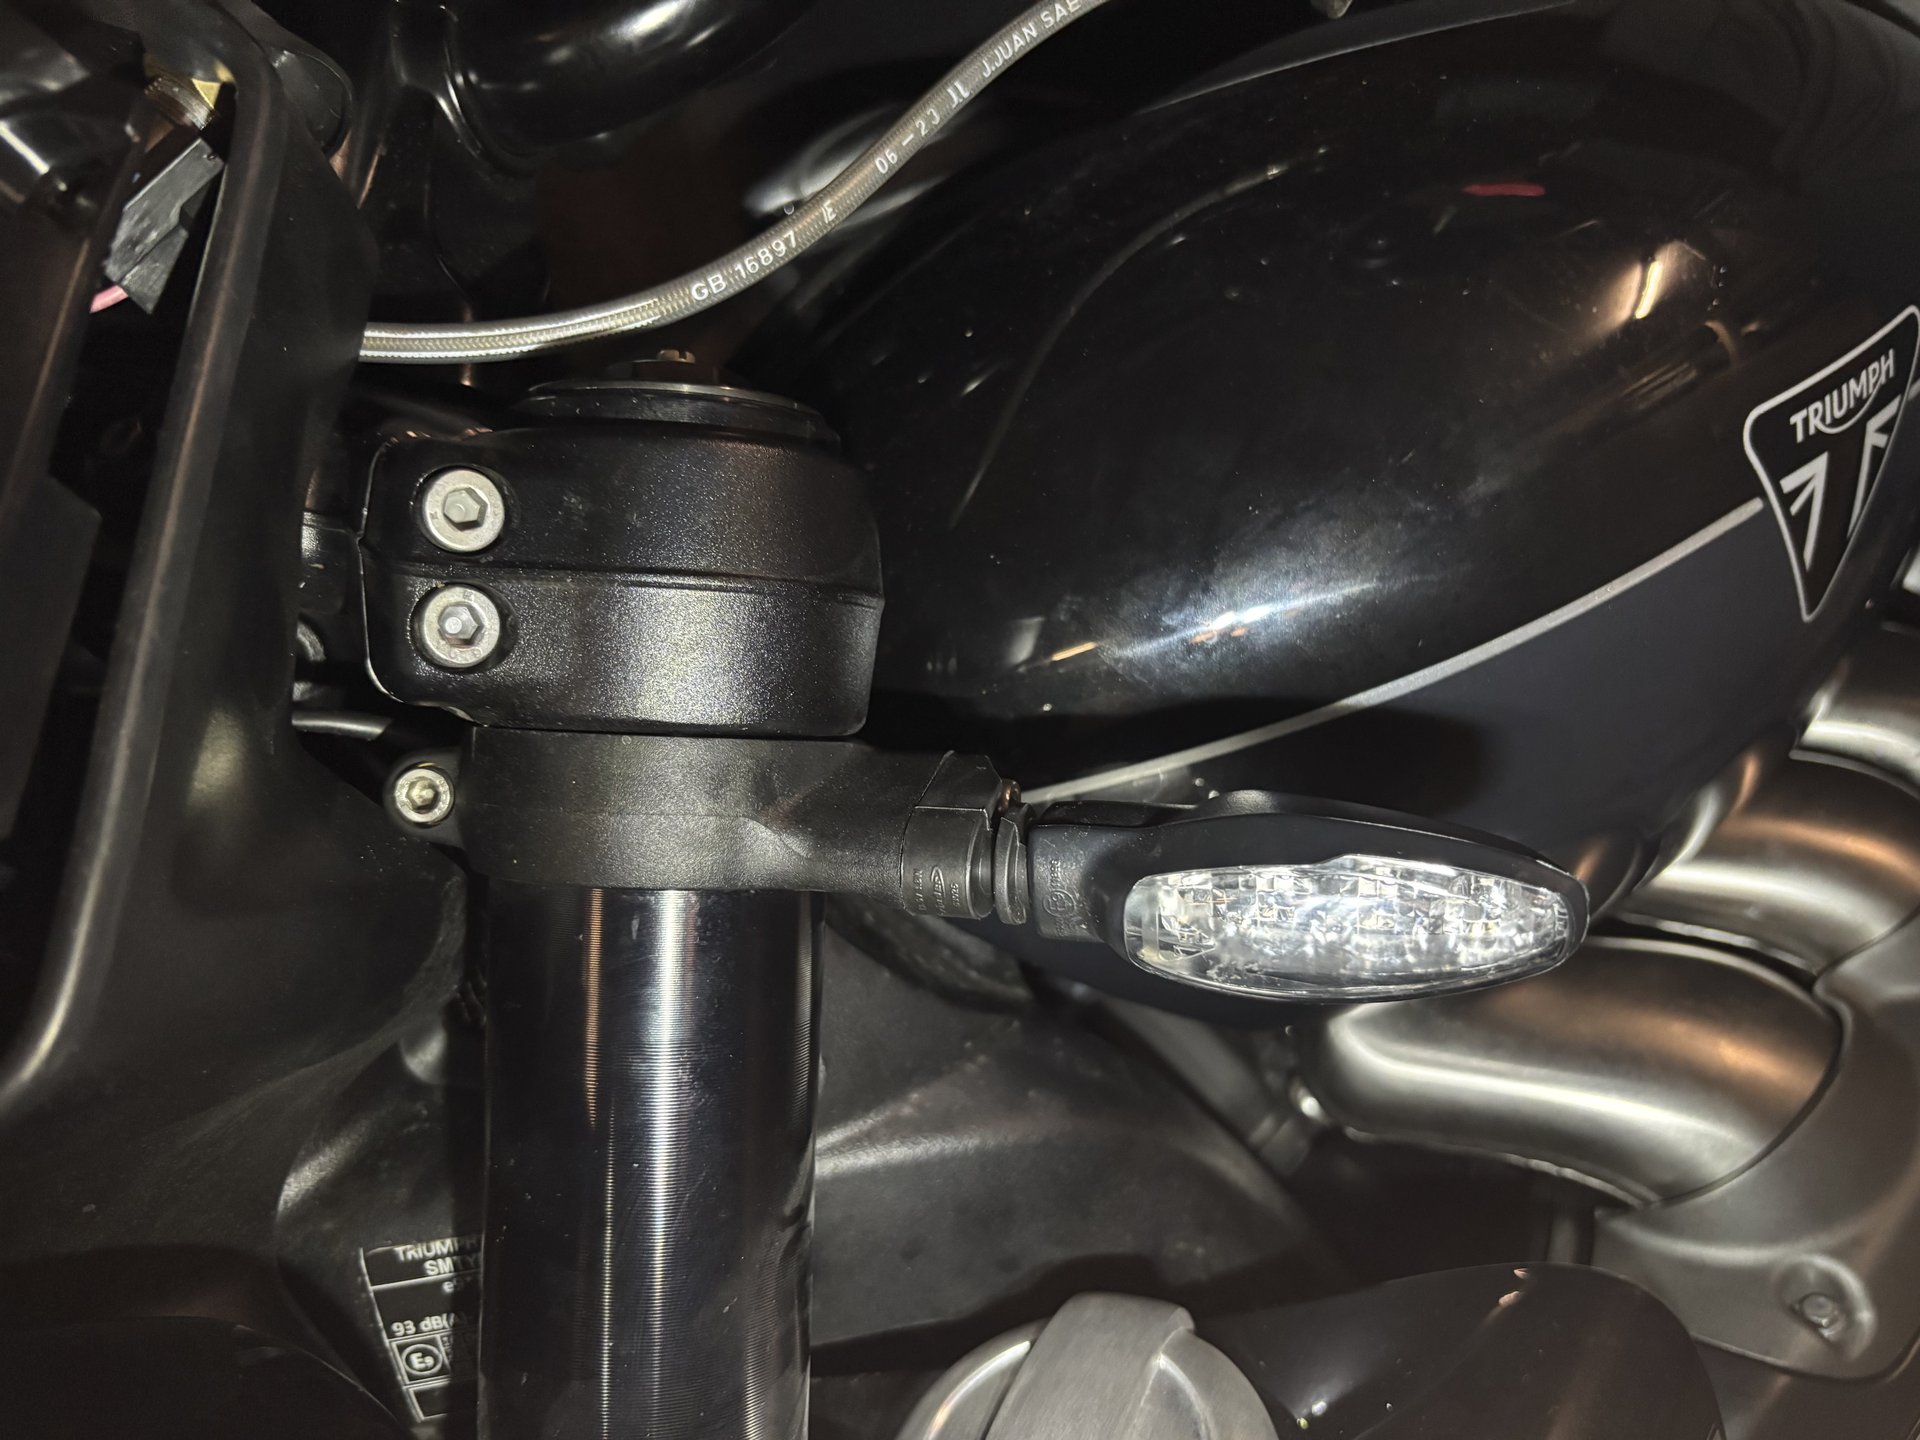
The part numbers for these stylish upgrades are A9838177 for the front and A9838197 for the rear, with the latter featuring a shorter cable for easy installation. To replace the front indicators, begin by removing the flyscreen to access the connectors. Carefully detach the indicators from their casing, disconnect them, and gently pull out the cables.
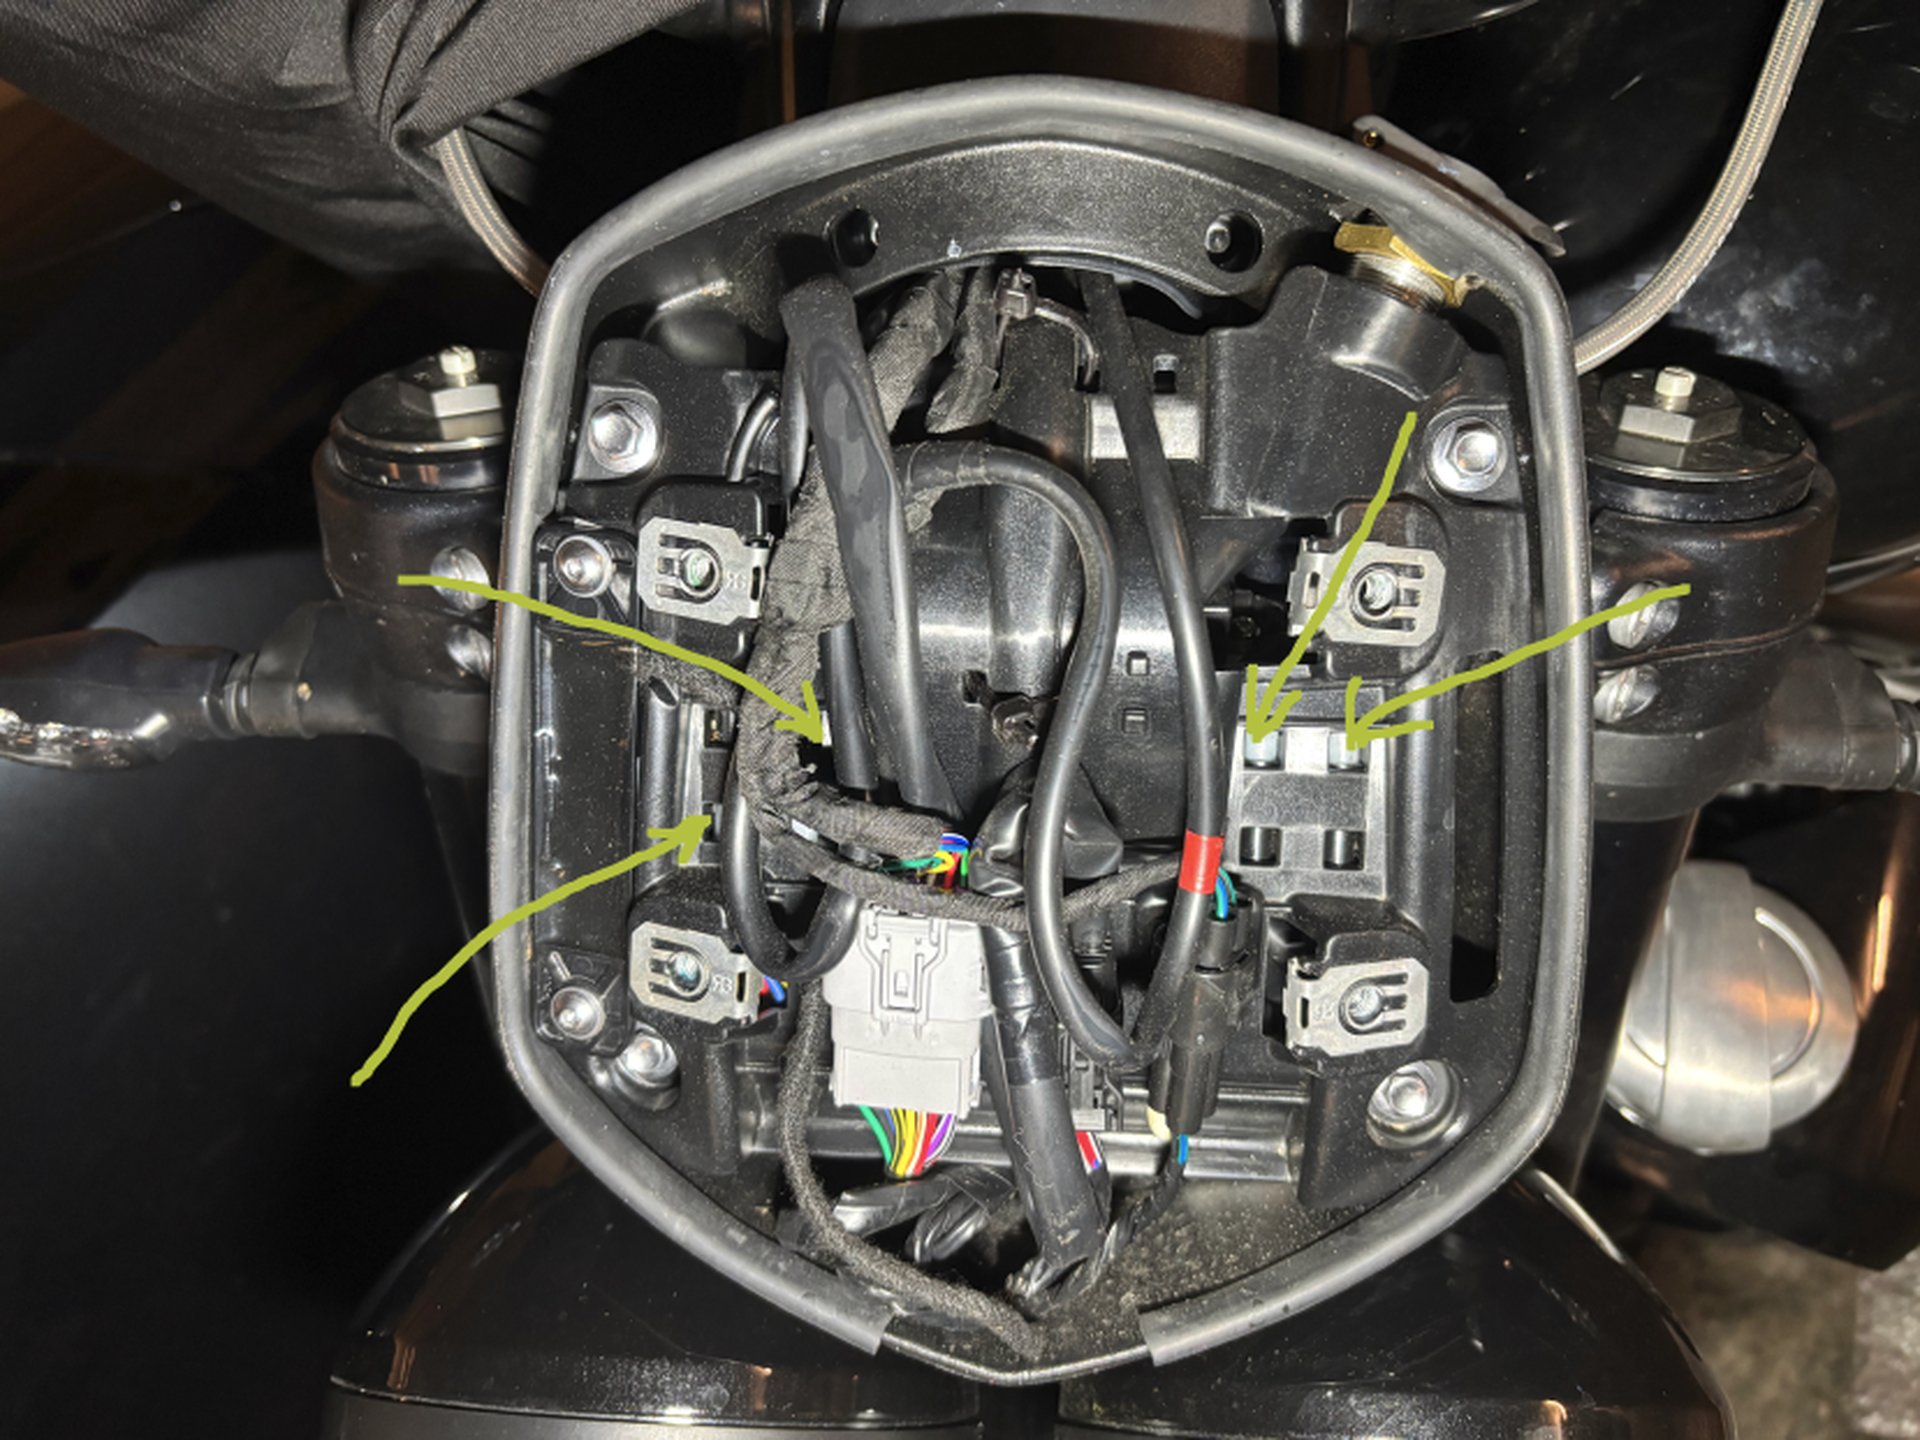
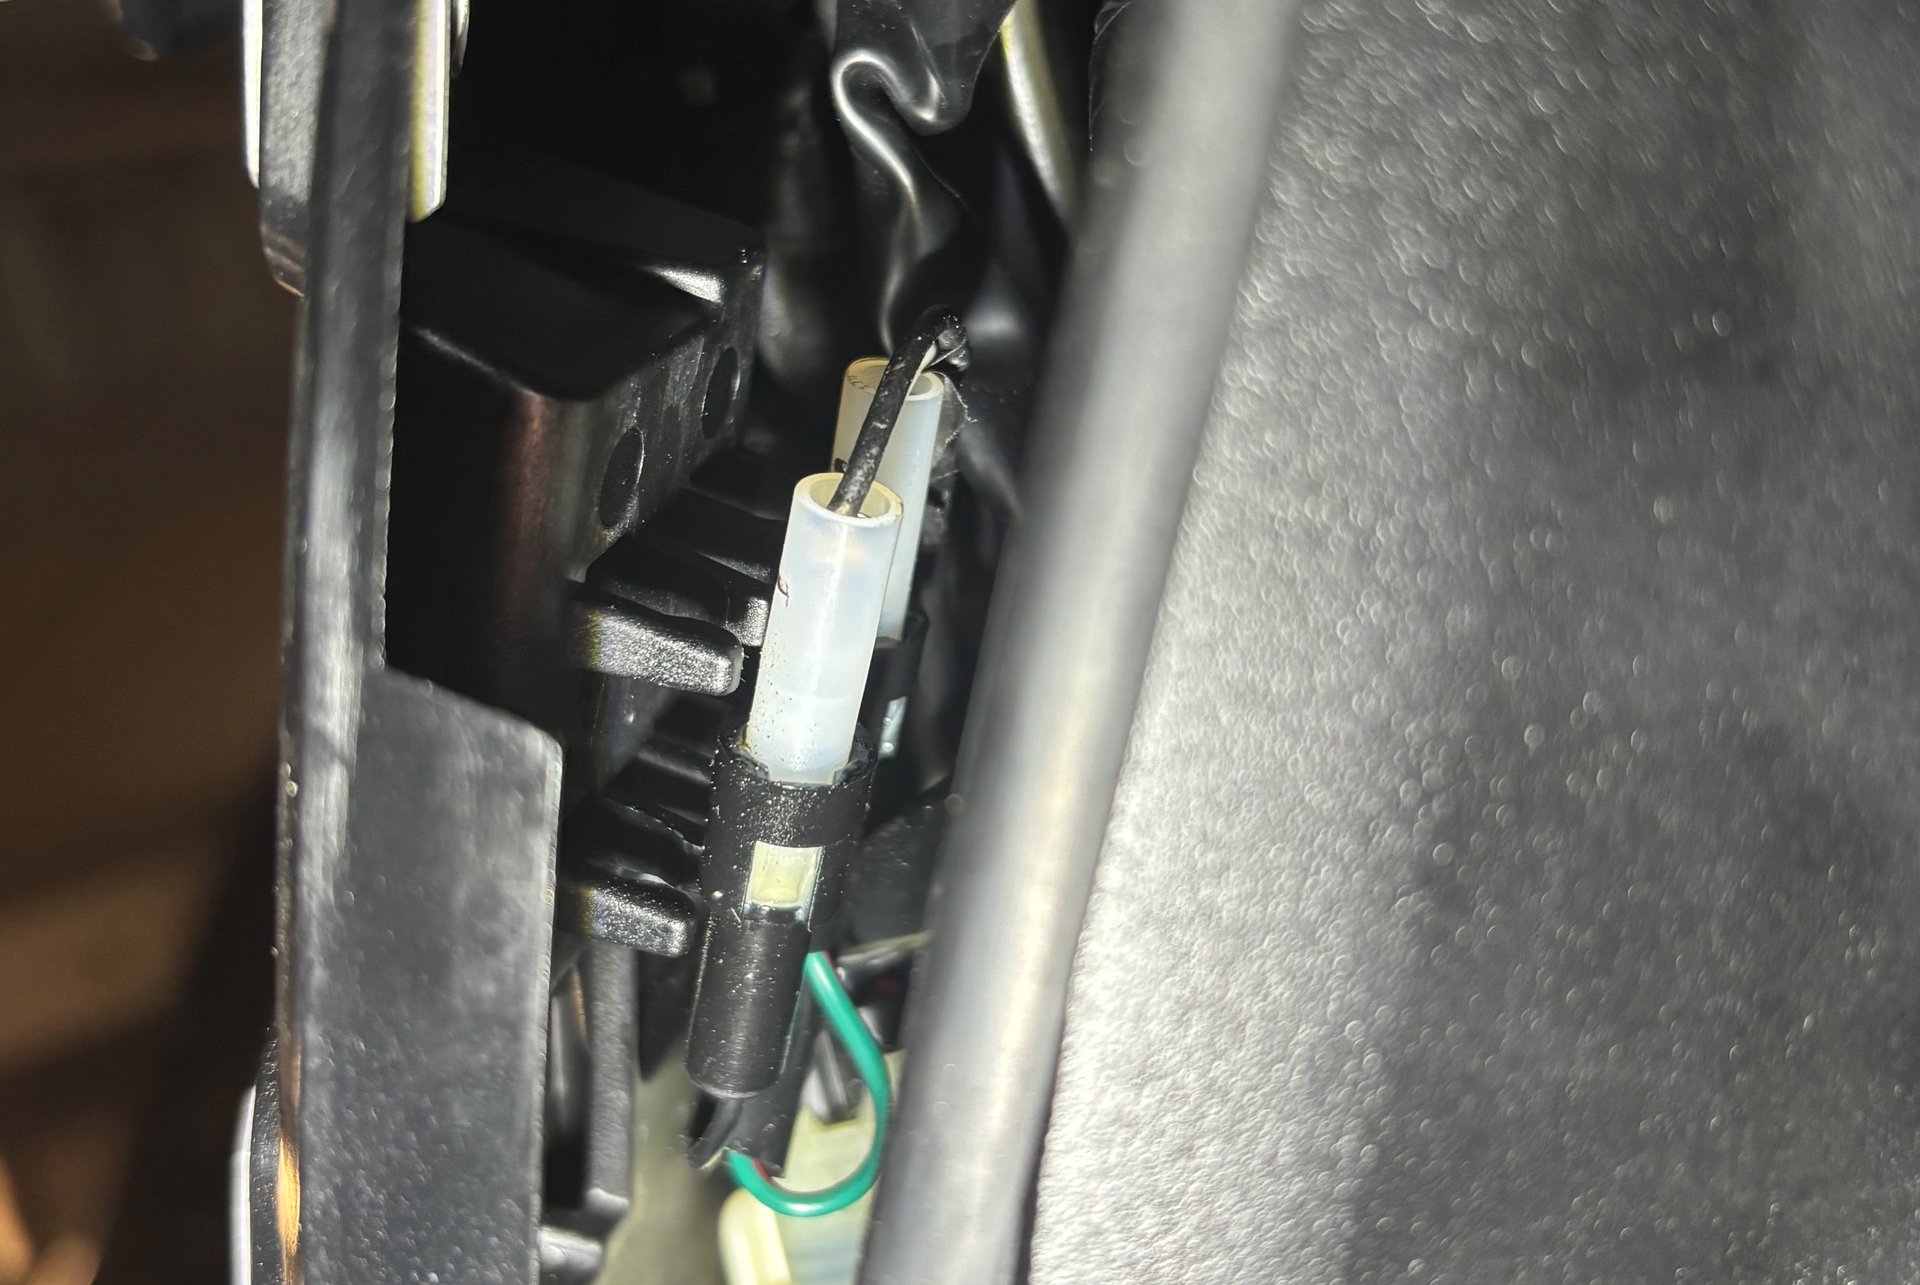
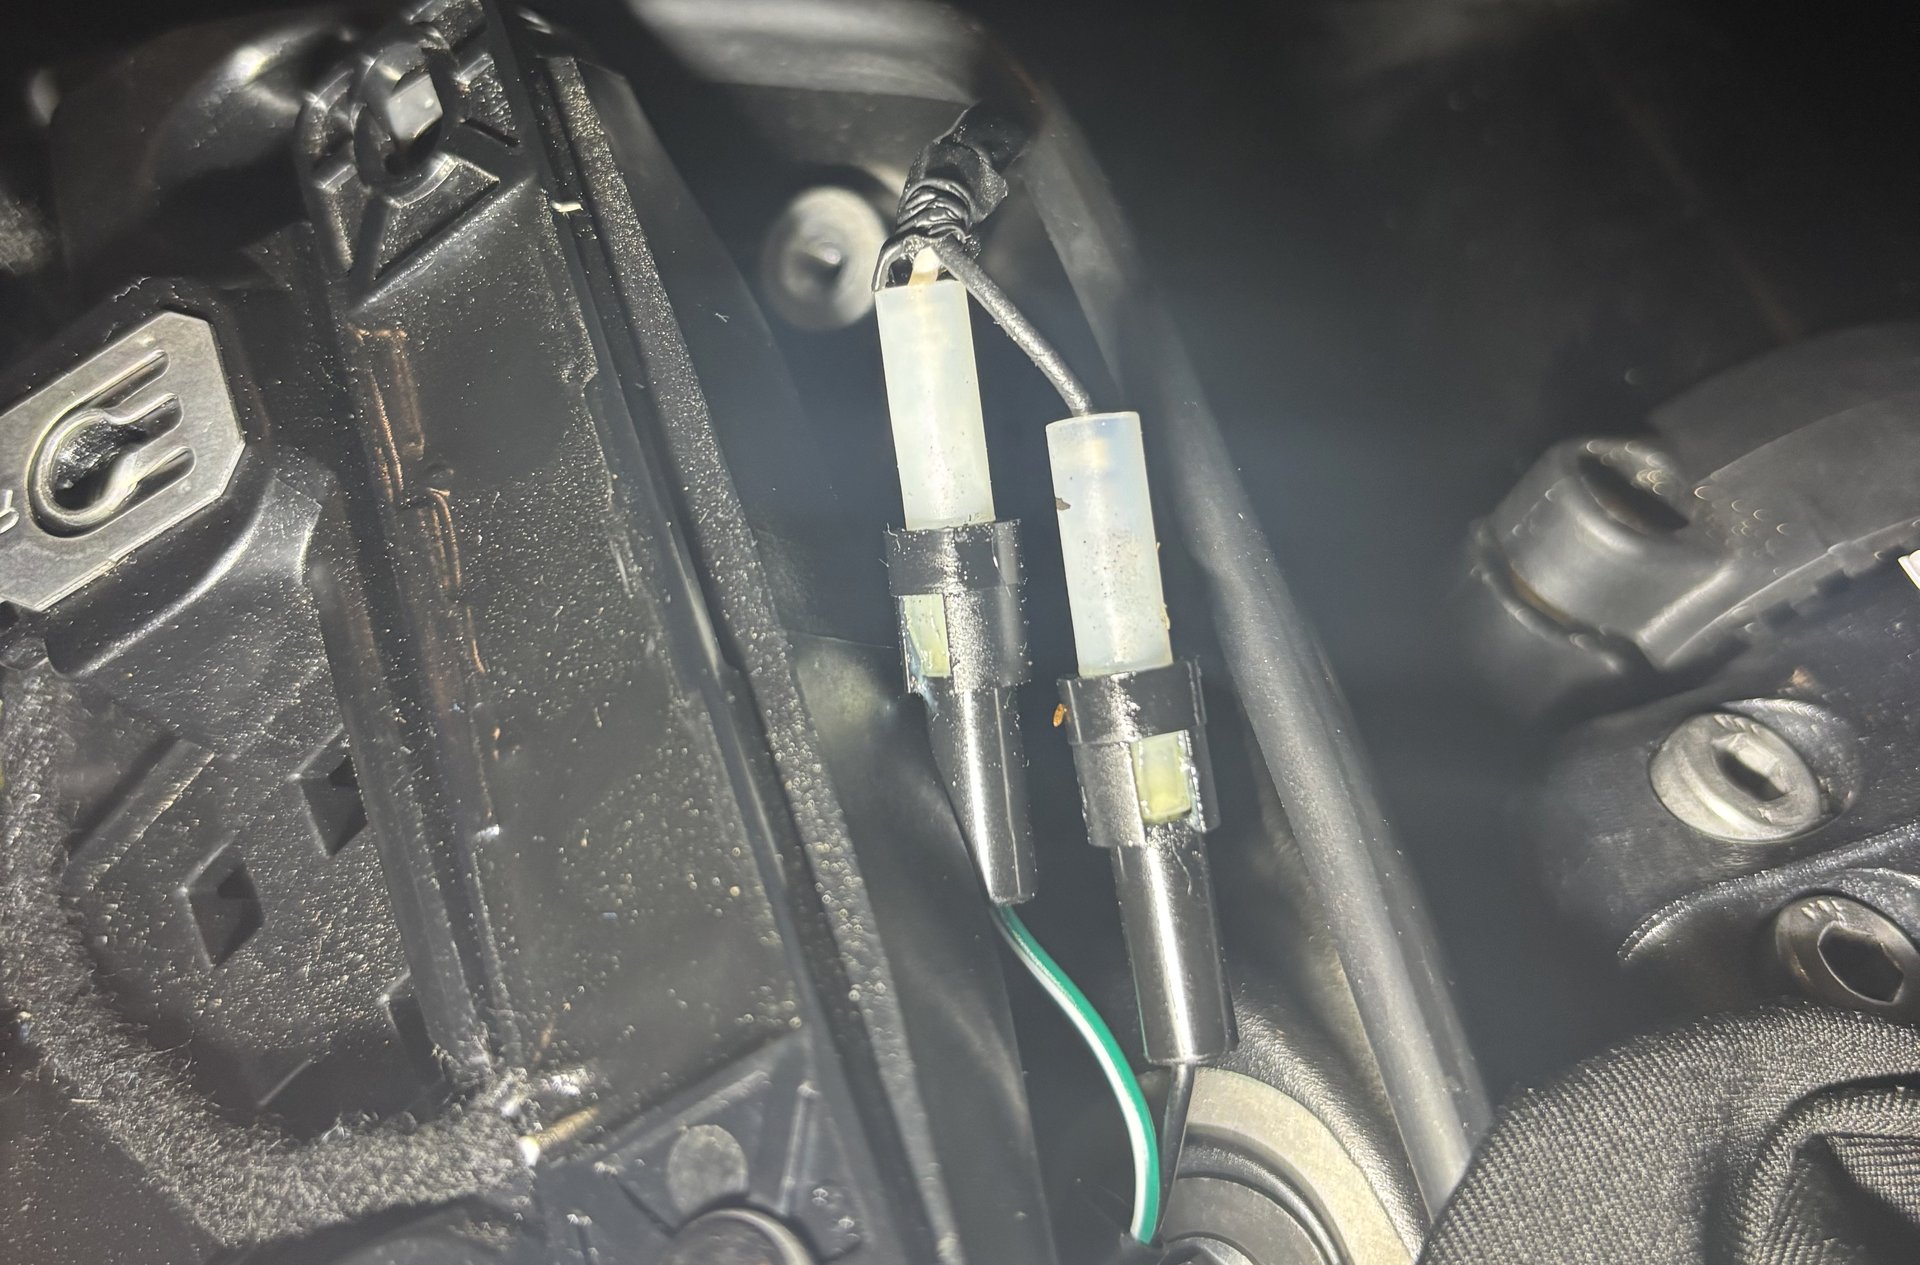
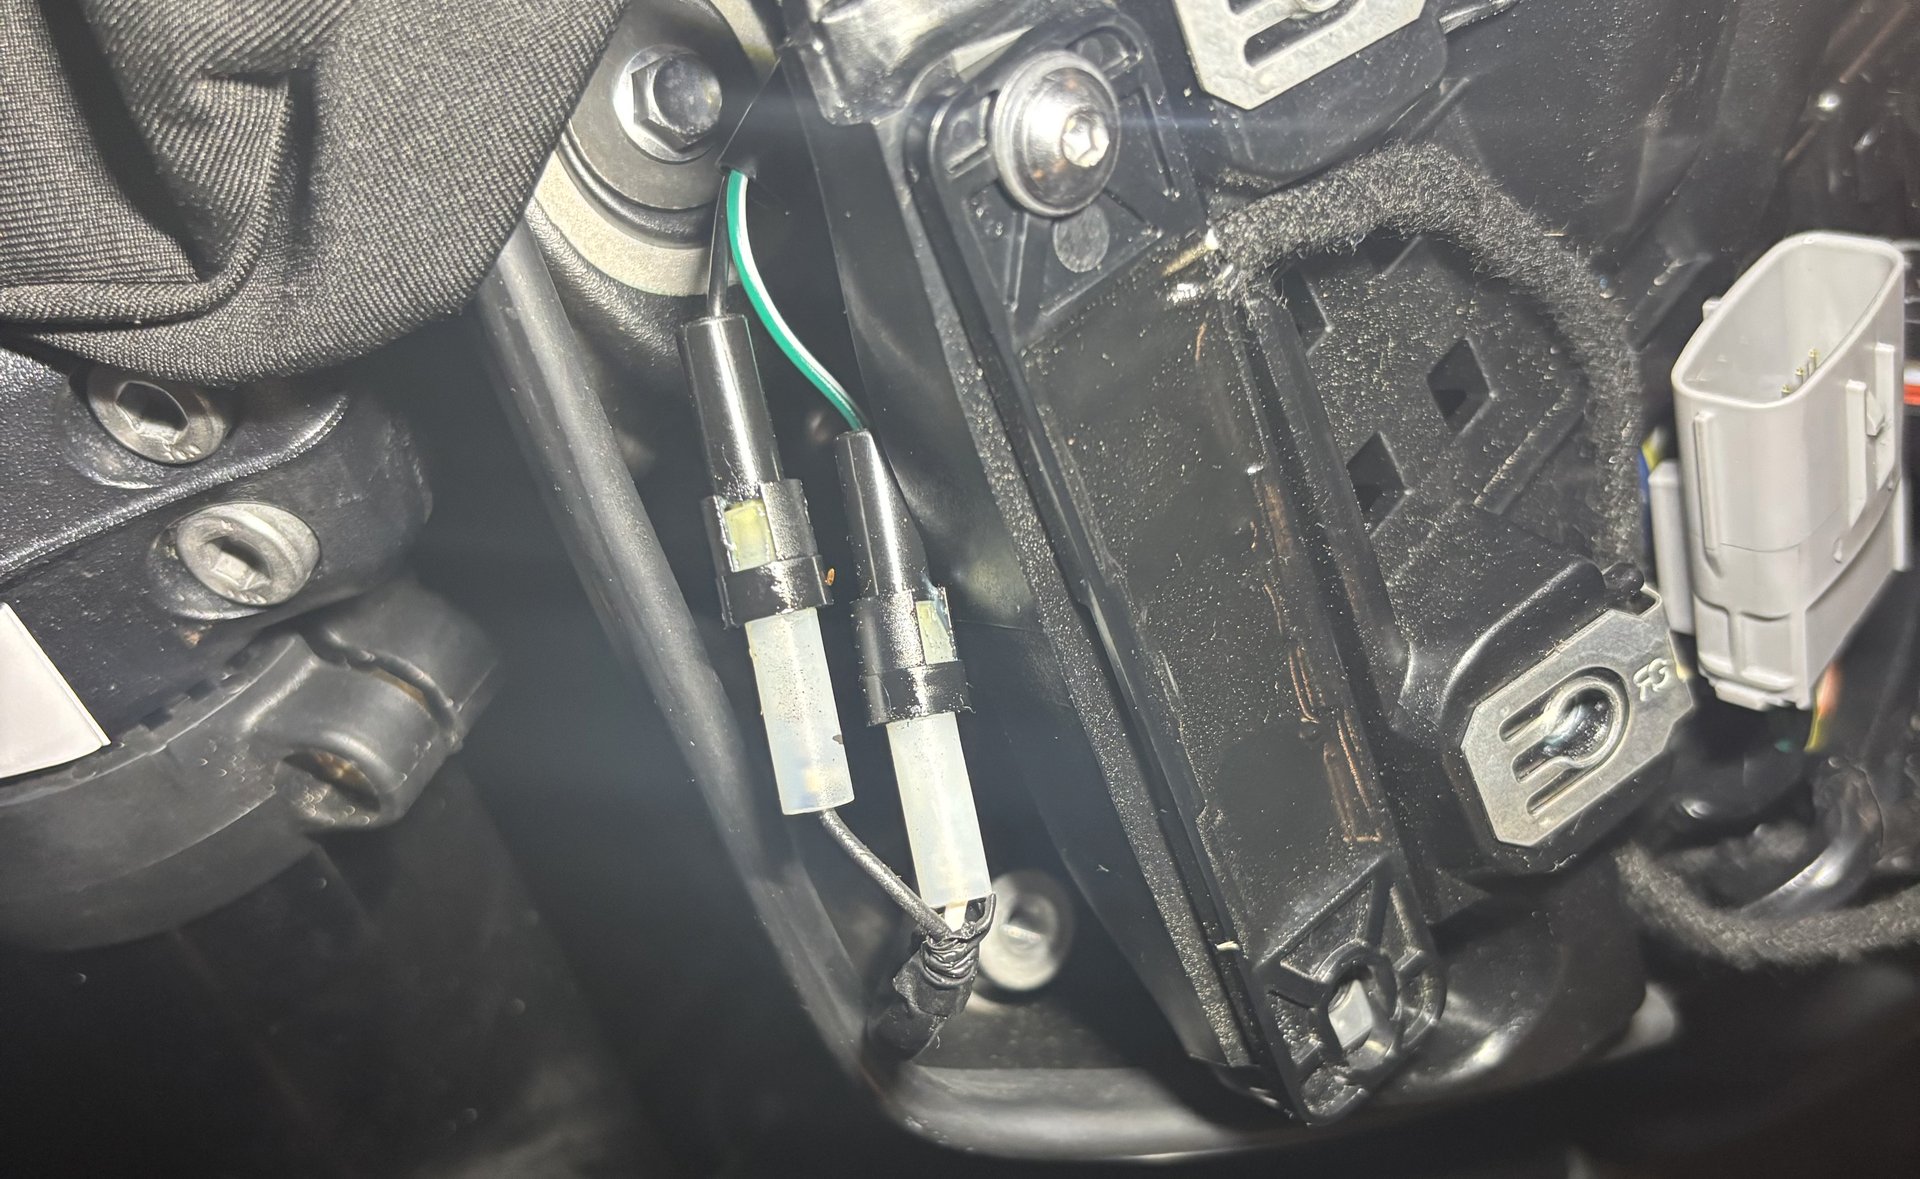
Once the connectors are free, release the brackets to swap out the indicators. A word of caution: the nuts inside the brackets may not stay in place while you unfasten the bolts, so it’s advisable to hold them steady with pliers cushioned by a soft cloth to avoid any damage.
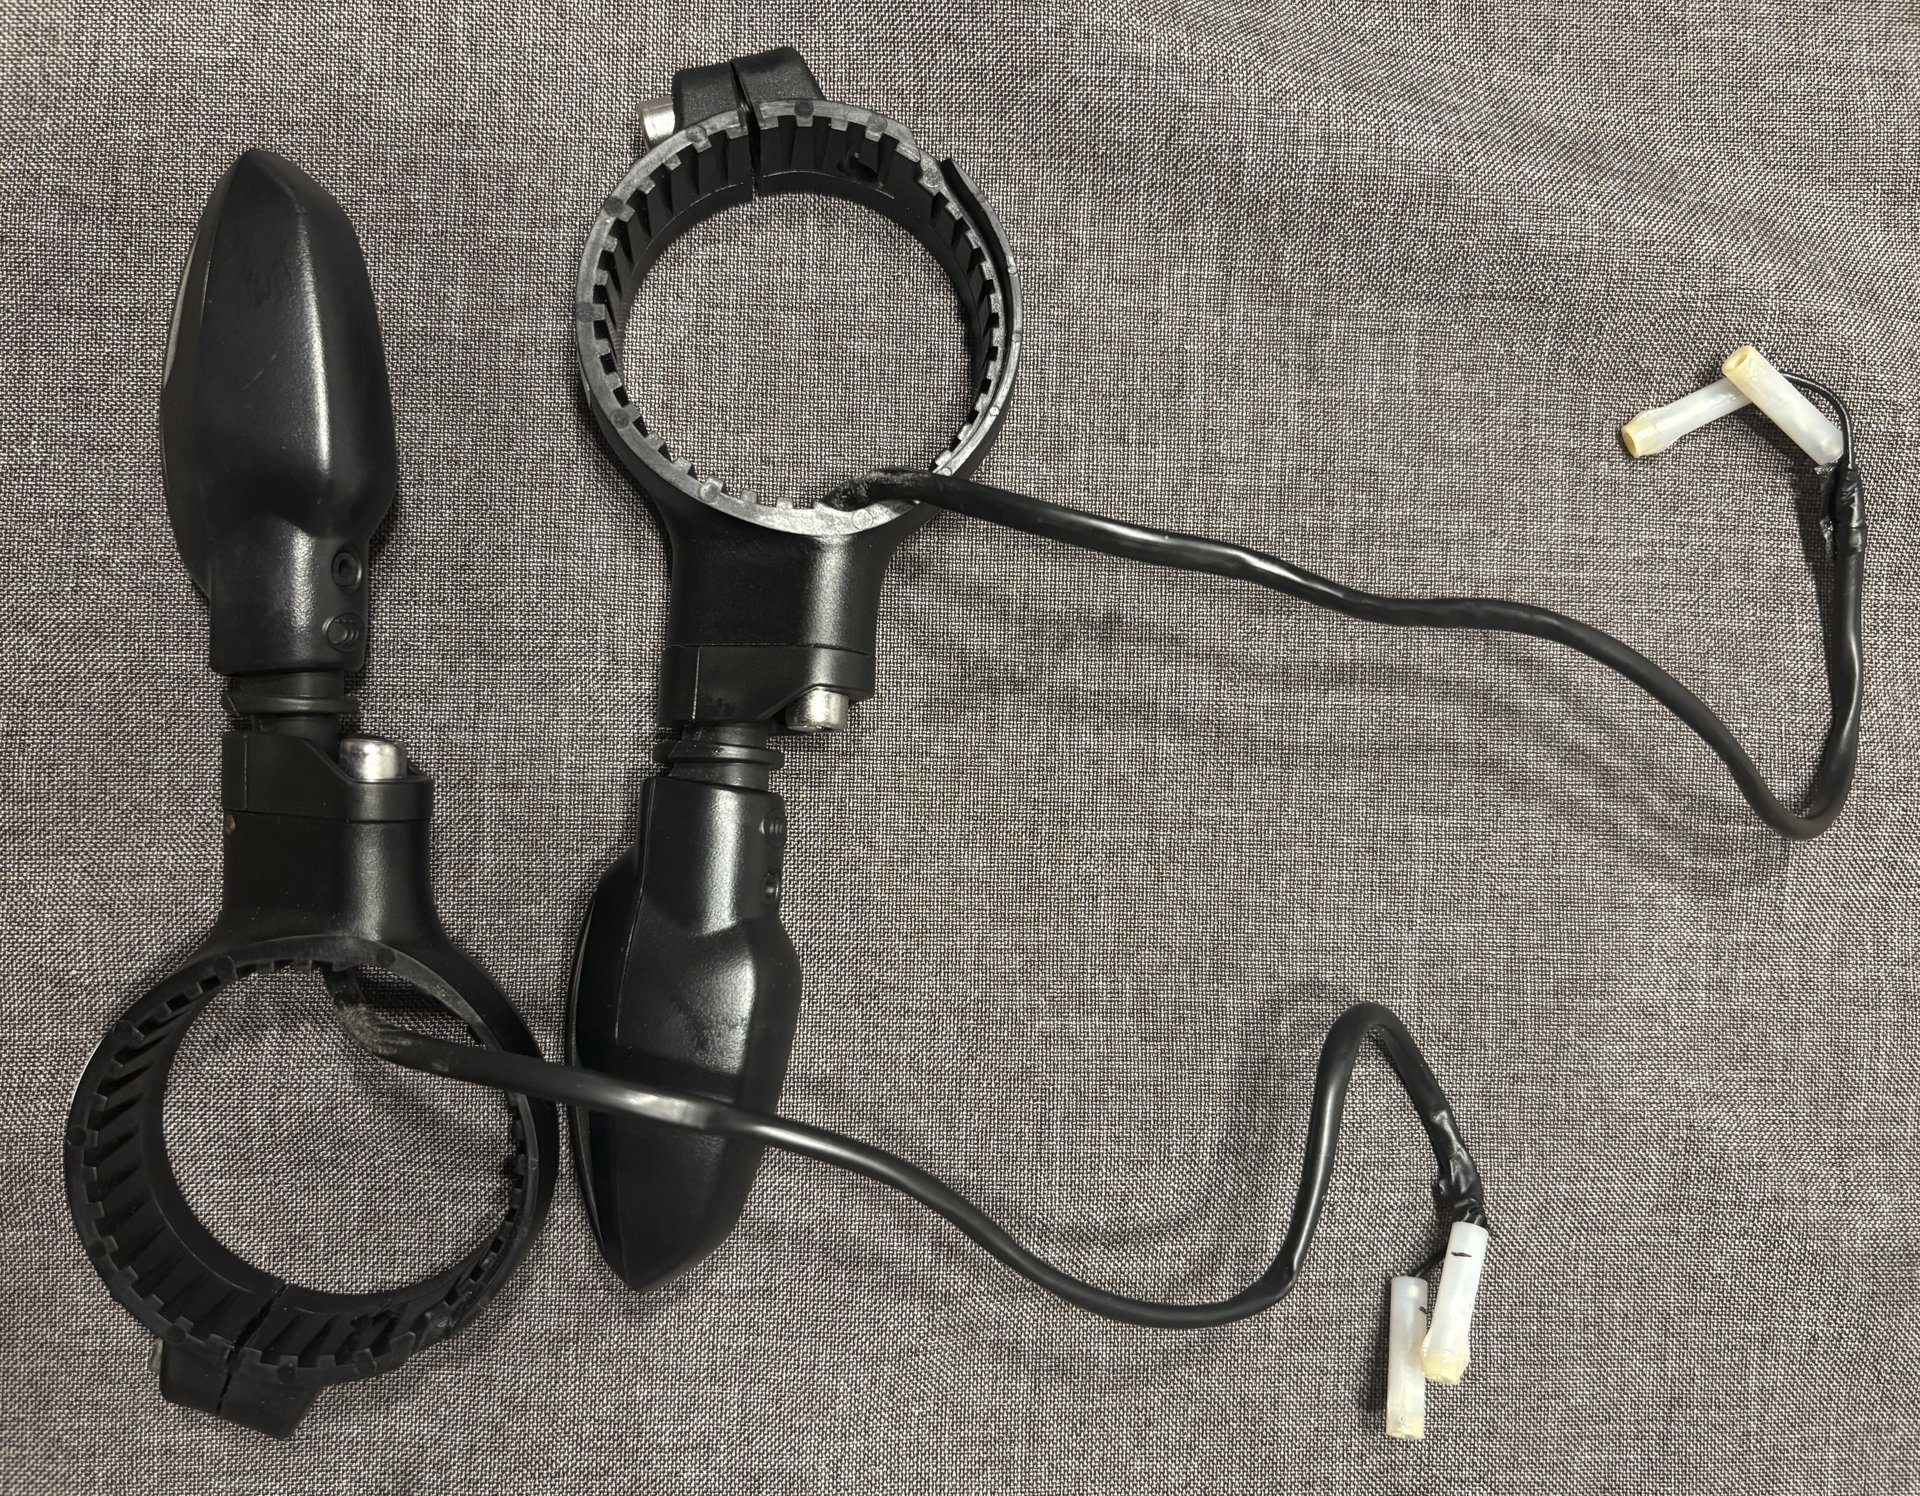
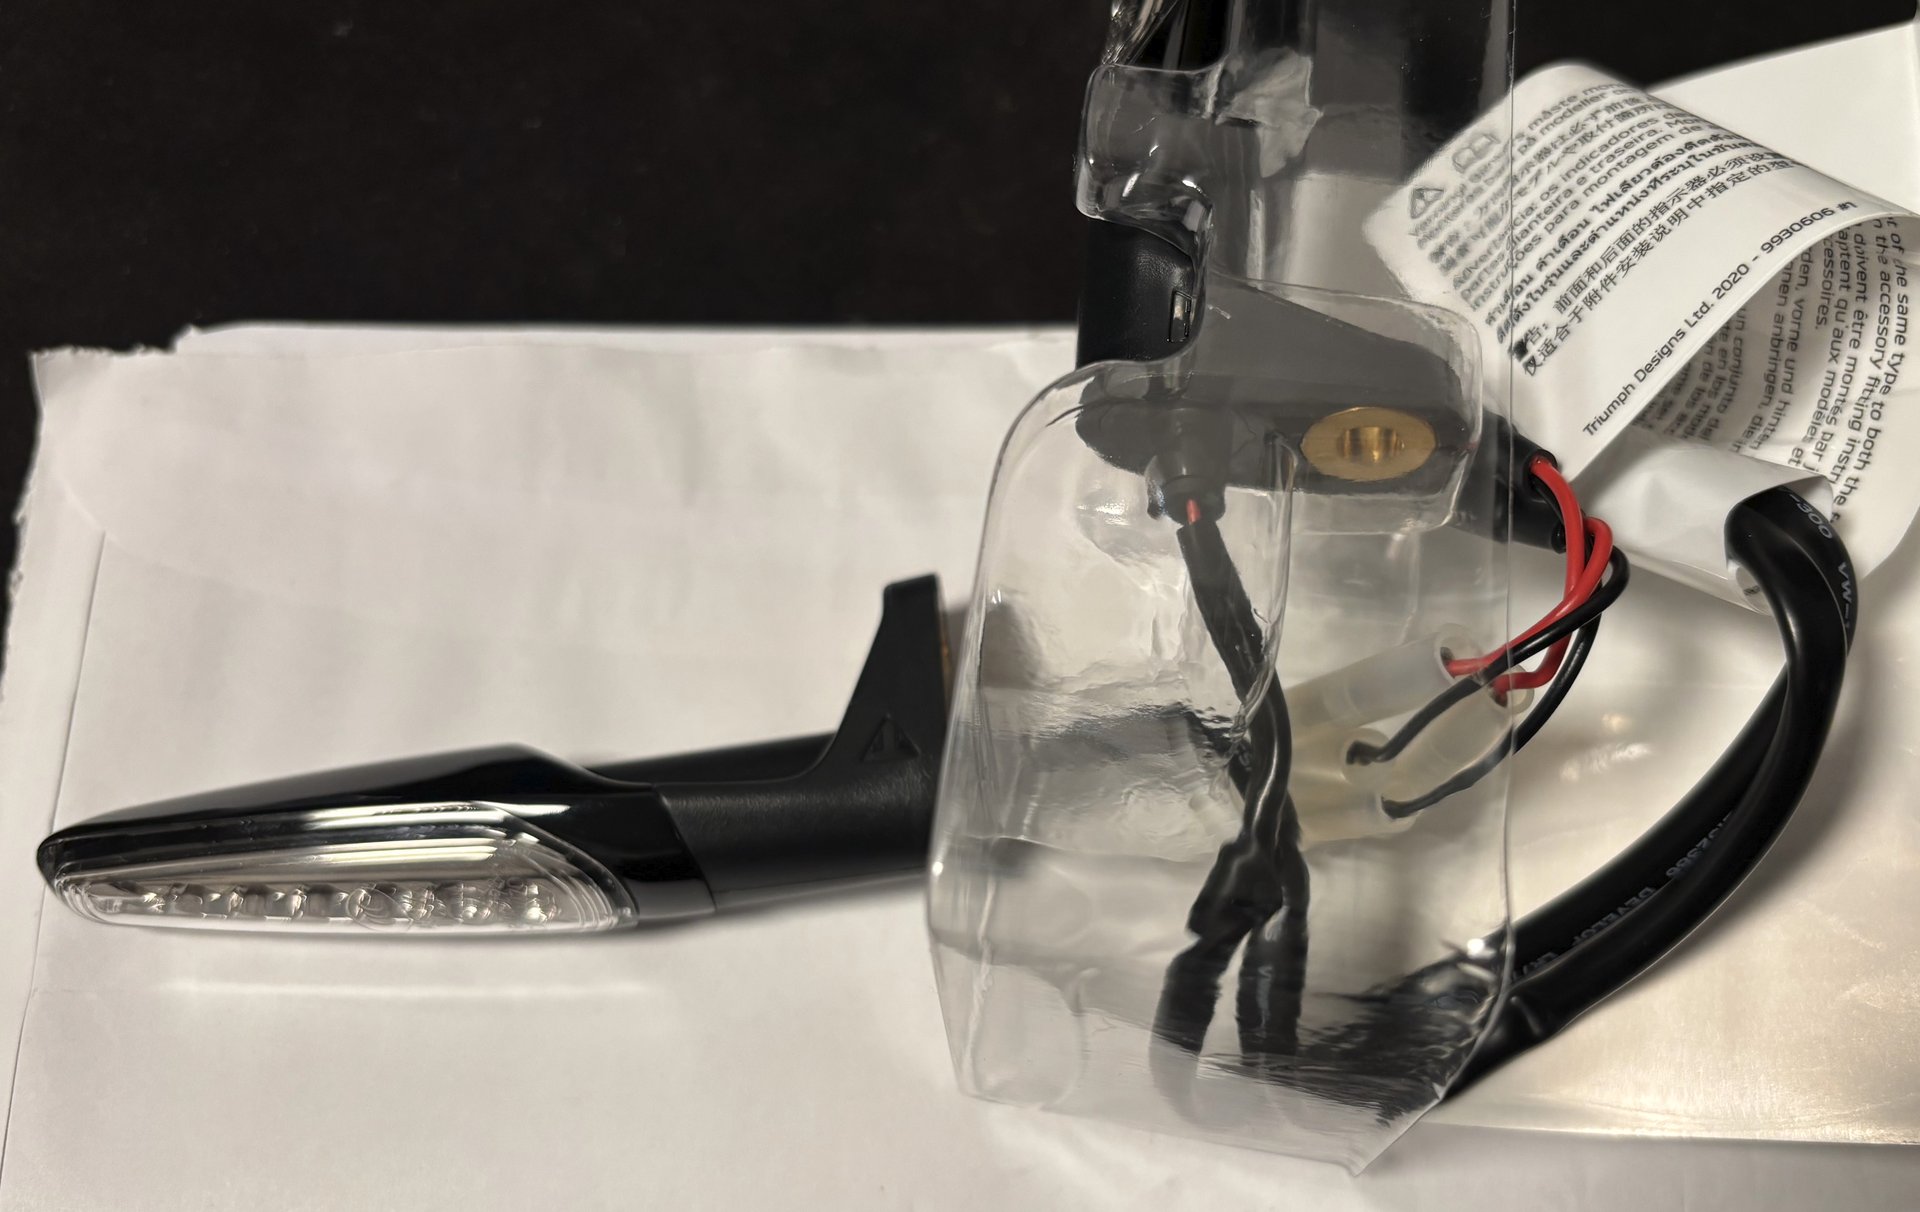
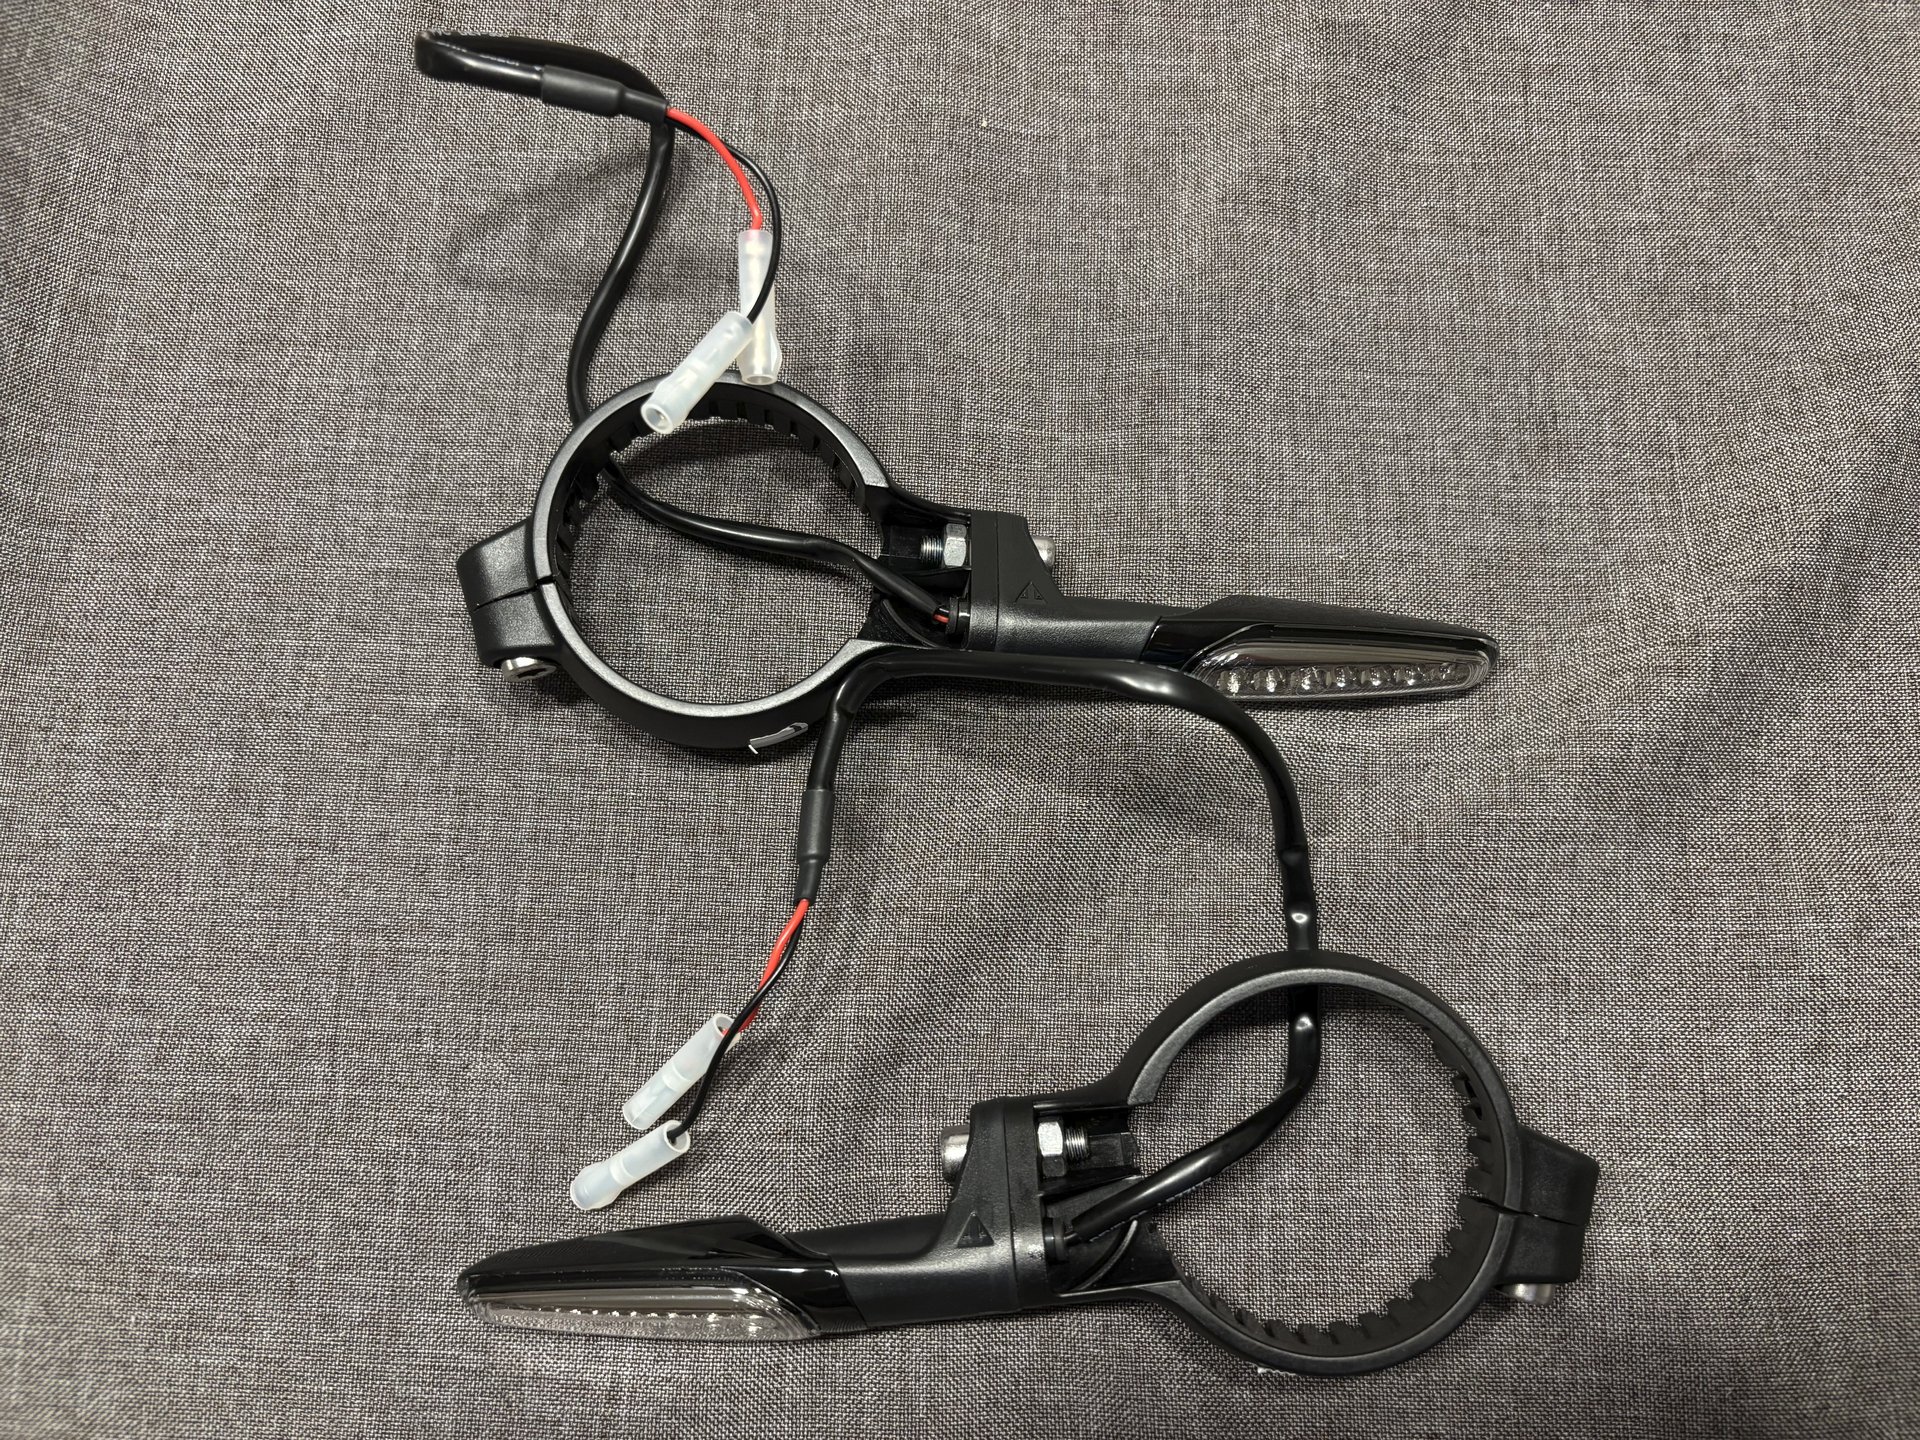

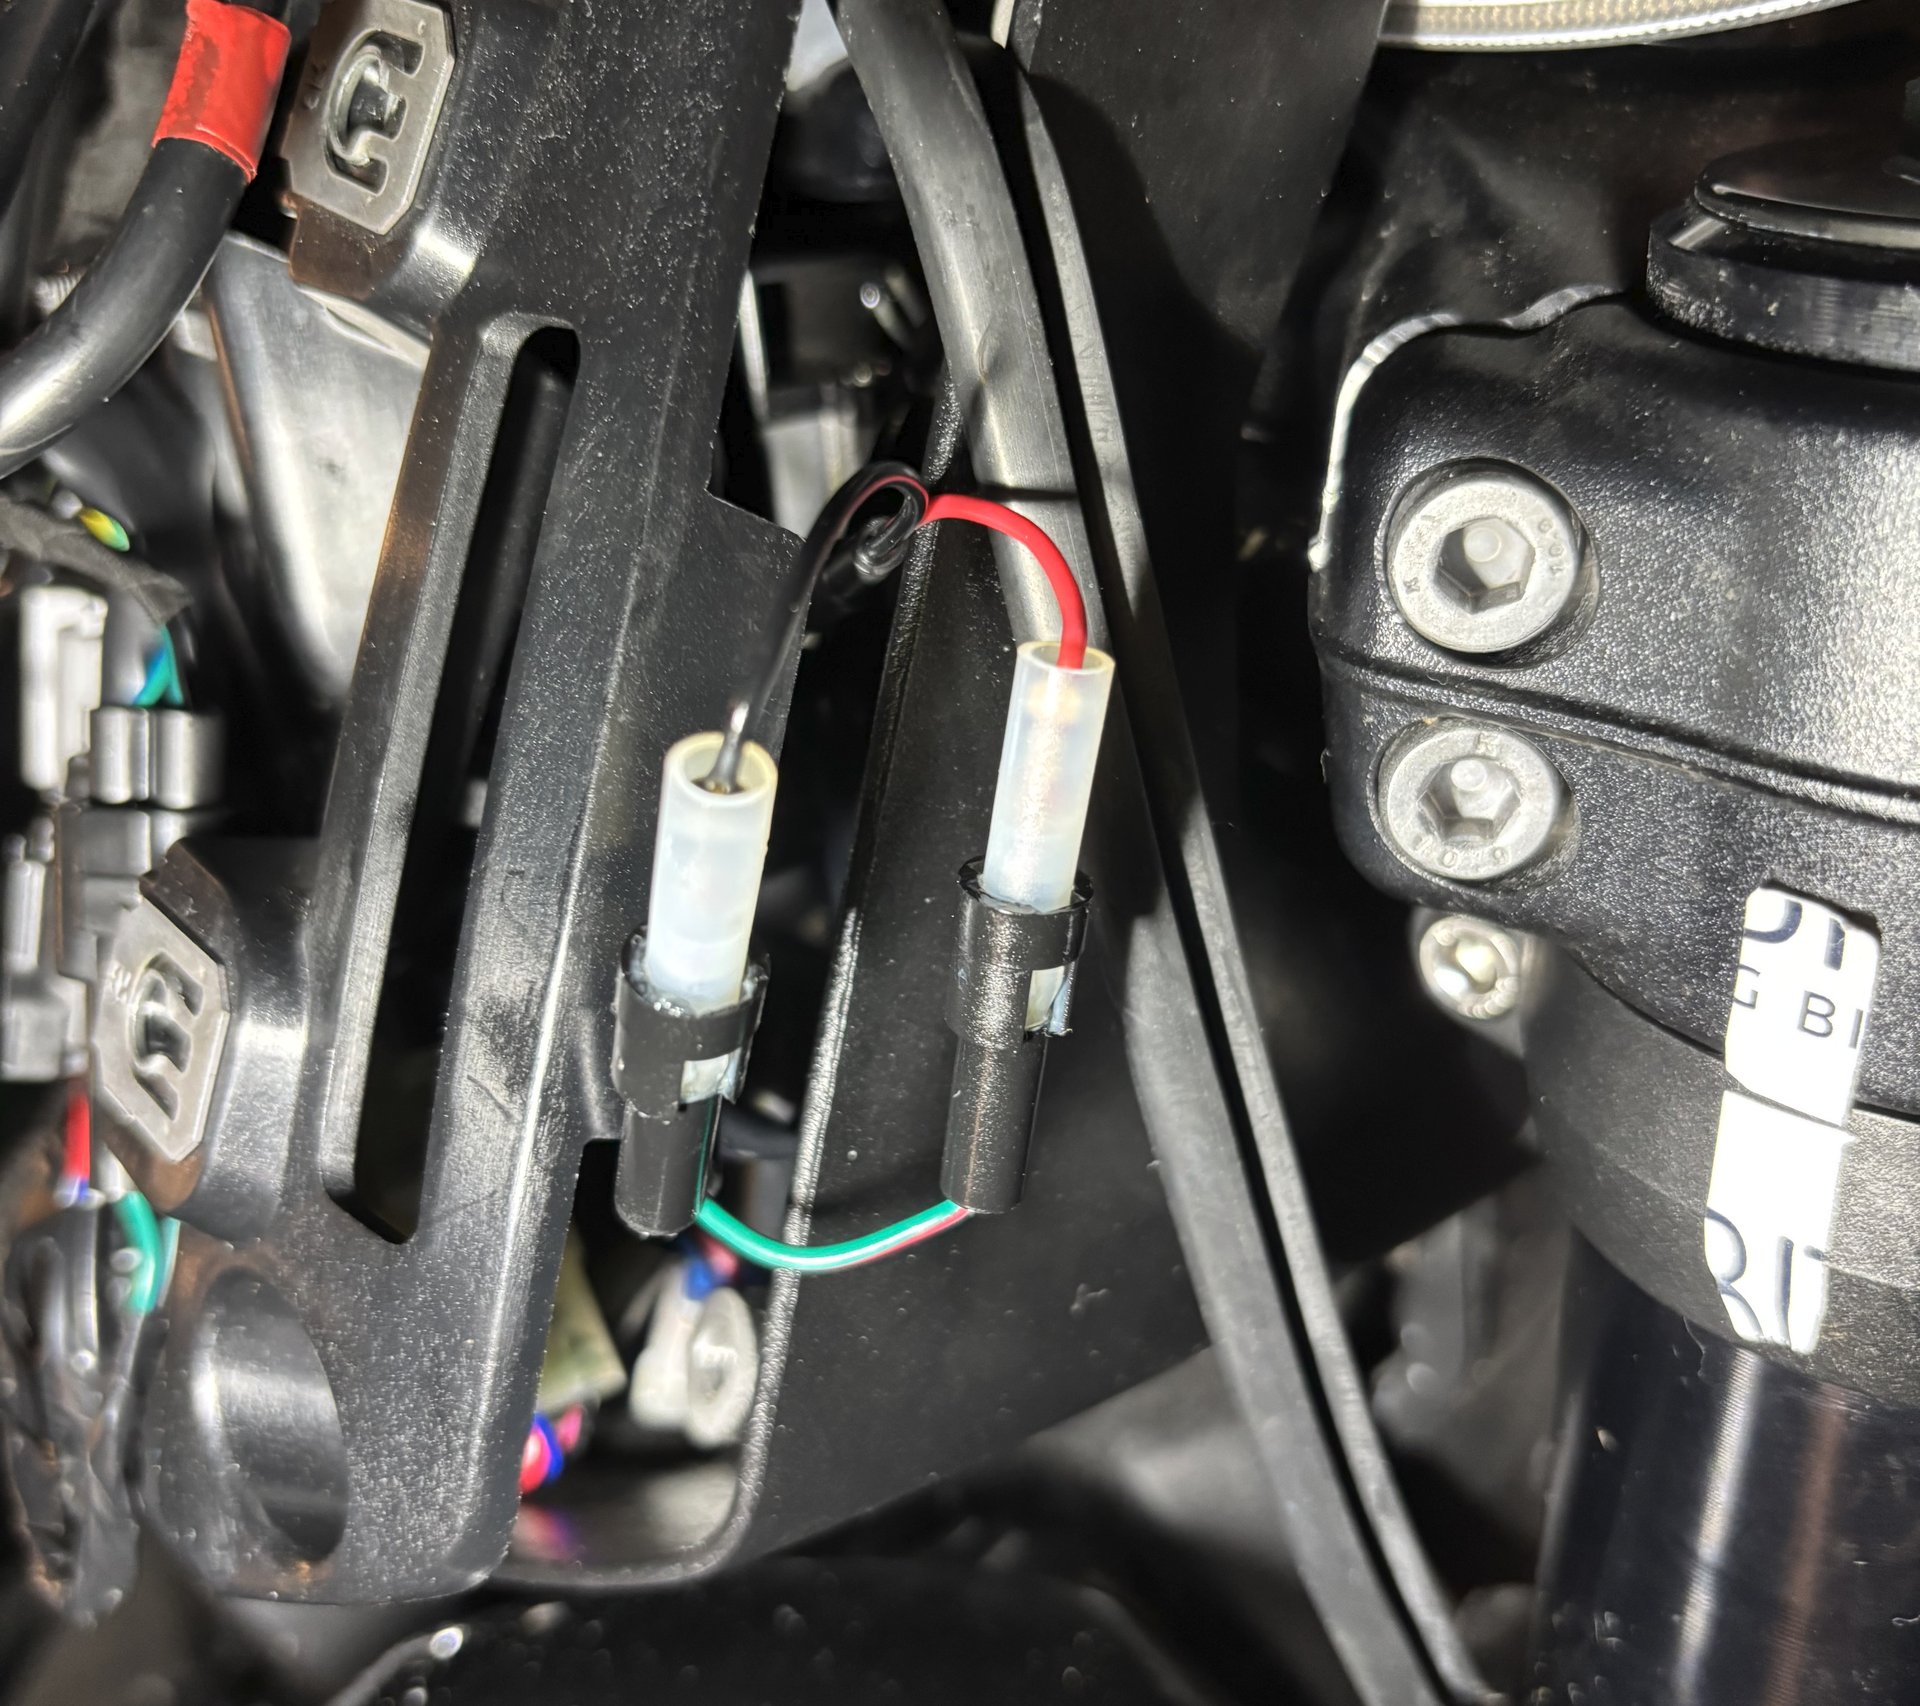
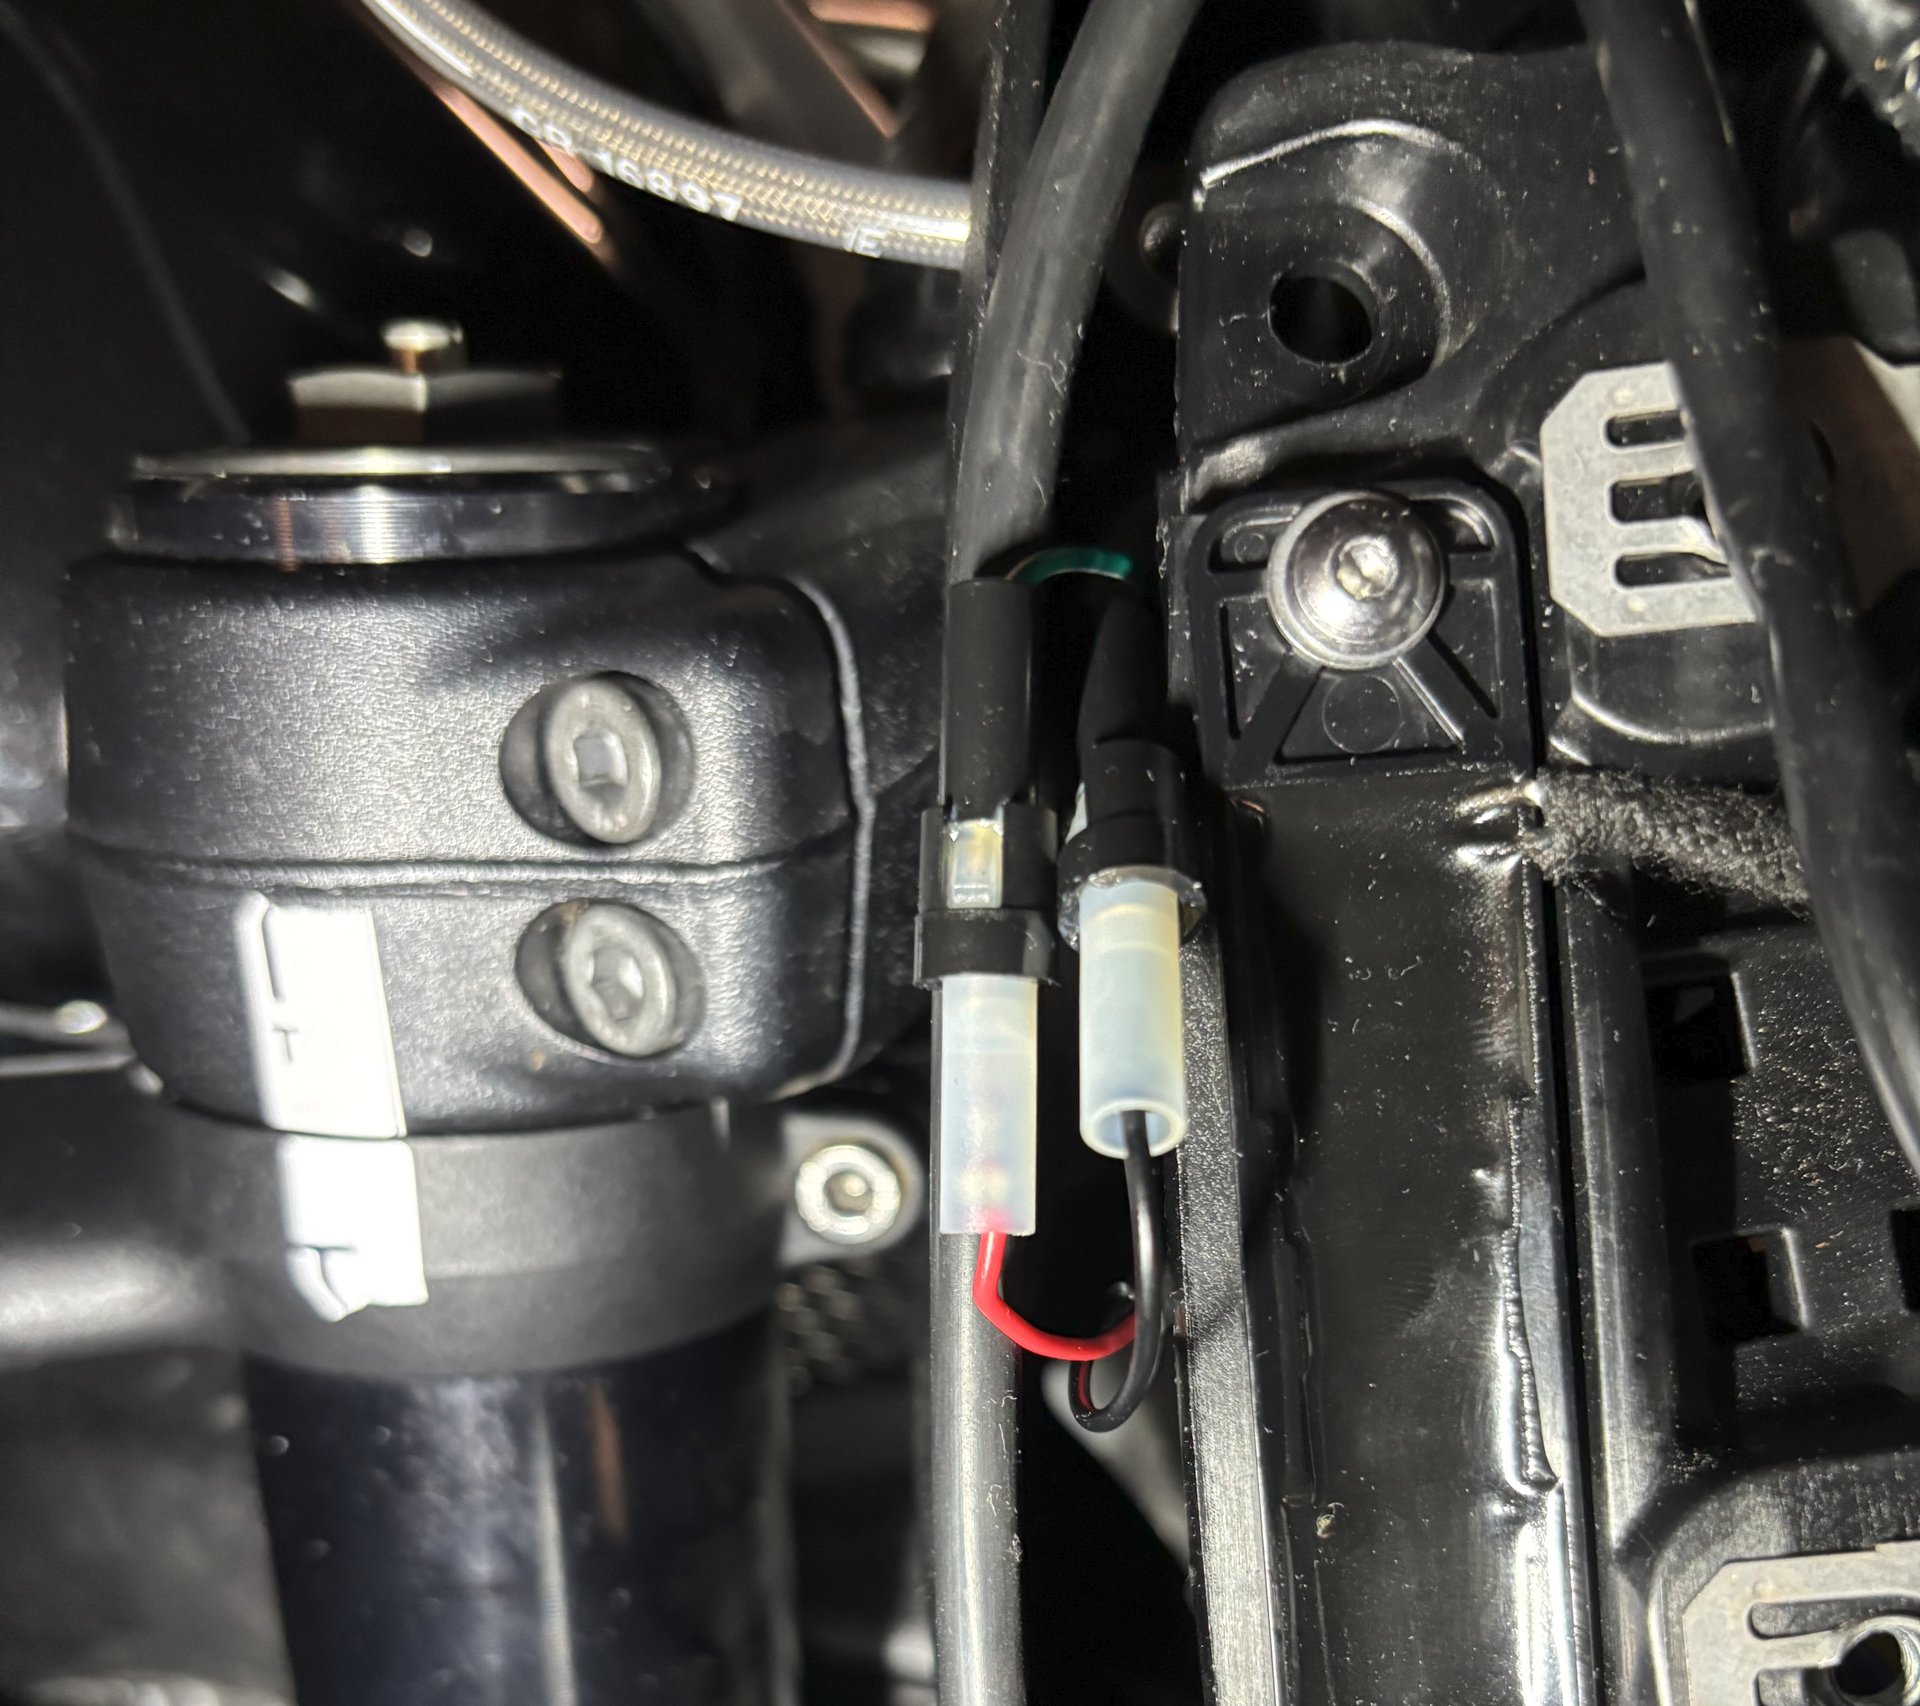
After securing the new indicators, apply a dab of contact grease to the connectors to ensure a reliable connection, and reassemble everything in reverse order. Although I haven’t documented the rear indicator replacement, rest assured, the process is straightforward and intuitive.
The transformation these indicators bring to the Rocket 3 is nothing short of remarkable, adding a dynamic flair to this powerhouse of a motorcycle. Thank you for joining me on this journey to enhance your ride’s style and functionality.
Comments
Nothing yet. Say the first thing.
Sign in to join the conversation.