
Chat interfaces are by far the most popular way of interacting with LLMs today. And they're fairly simple to build: all you need is a page with a single input to accept user messages and a place to render the LLM's response. Once this is done, the next bit of complexity you usually want to introduce is streaming responses and rendering Markdown. And then you basically have a ChatGPT clone with just a thin wrapper around the API.
But let's take a closer look at ChatGPT. It does a little more than simple Markdown. Take this product carousel, for example:
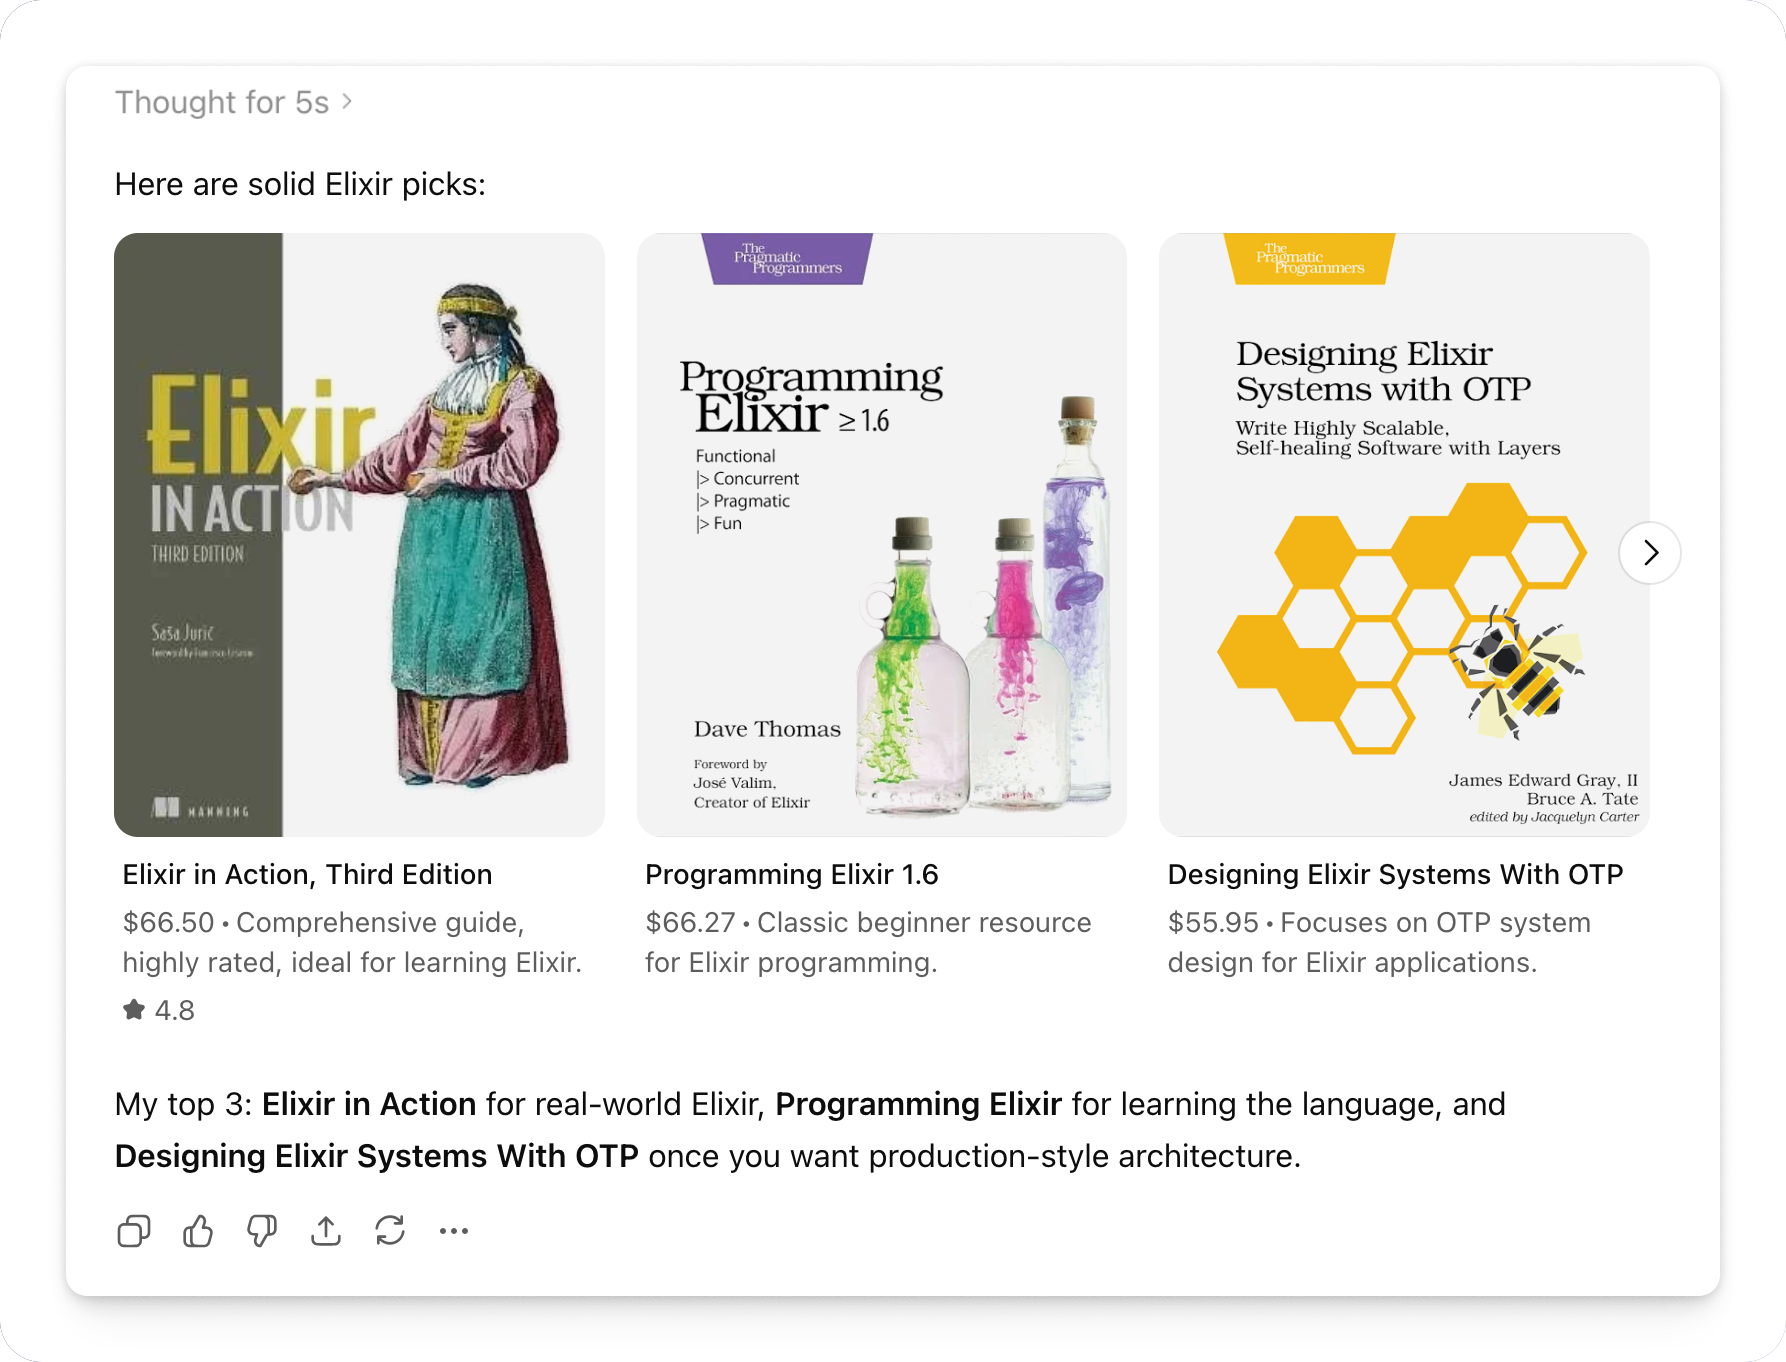
This is no simple Markdown! How is this done and, most importantly, how can we build something similar? Let's dig in!
Reverse Engineering
Naturally, the first place to look to understand what's going on under the hood is the browser developer tools. In this case, the ChatGPT frontend receives responses from the server as a stream of Server-Sent Events. If we stitch them together, this is what a complete message looks like:
Here are solid Elixir picks:
products{
"selections":[
["turn774721product1,turn774721product4","Programming Elixir 1.6"],
["turn774721product5","Elixir in Action, Third Edition"],
["turn774721product0,turn774721product6","Programming Phoenix LiveView"],
["turn774721product2","Learning Elixir"],
["turn774721product3","Introducing Elixir"]
],
"tags":[
"Best starter",
"Deep practical",
"Phoenix/LiveView",
"Beginner ebook",
"Cheap intro"
]
}
I’d start with **Programming Elixir 1.6**, then **Elixir in Action**. For web
apps, grab **Programming Phoenix LiveView** after you know the basics.
We can see some normal-looking markdown text, but that’s not all. Under the
hood, the carousel is JSON delimited by the U+E200, U+E202, and U+E201
symbols. These are special Unicode characters with no defined meaning, and
they’re being assigned custom meaning. In this case, as we can see, they serve
as delimiters for custom UI element syntax.
But all of this only tells us how the carousel is sent over the wire, not necessarily how LLMs emit it internally. Still, I think it's fairly close. The core idea here is that we're not limited to pure Markdown, and we can embed custom UI elements directly into the model's response.
Let's see if we can build something similar, using Phoenix LiveView, of course.
Establishing baseline
Quick, build a ChatGPT clone! Even though we're primarily interested in adding fancy UI elements, we need some baseline functionality to build on. For this, let's quickly put together a LiveView chat page that lets us talk to an LLM. I will only show the LiveView module here, as that's where all the interesting things are. You can check the whole app on github.
Let's start with the mount callback. We begin by creating a form for our
chat input and an empty messages stream:
defmodule BigTalkWeb.ChatLive do
use BigTalkWeb, :live_view
@impl true
def mount(_params, _session, socket) do
{:ok,
socket
|> assign(:form, to_form(%{"message" => ""}, as: :chat))
|> assign(:previous_response_id, nil)
|> stream(:messages, [])}
end
end
When a user submits a message, it kicks off a send_message event callback,
which adds the user message and an empty assistant response message to
messages. We put a copy of this empty response into the inflight_response
assign. Finally, we spawn an async task that sends a request to the OpenAI API
and sends each streaming response delta back to the LiveView process. This is
done through a combination of excellent Req and
ServerSentEvents
packages.
@impl true
def handle_event("send_message", %{"chat" => chat_params}, socket) do
message =
chat_params
|> Map.get("message", "")
|> String.trim()
if message == "" do
{:noreply, assign(socket, :form, to_form(chat_params, as: :chat))}
else
id = System.unique_integer([:positive])
user_message = %{
id: "user-#{id}",
role: :user,
name: "You",
body: message
}
assistant_message = %{
id: "assistant-#{id}",
role: :assistant,
name: "Big Talk",
body: ""
}
previous_response_id = socket.assigns.previous_response_id
view_pid = self()
{:noreply,
socket
|> stream_insert(:messages, user_message)
|> stream_insert(:messages, assistant_message)
|> assign(:inflight_response, assistant_message)
|> start_async(:generate_response, fn ->
%{
status: 200,
body: body
} =
%{
input: message,
model: "gpt-5.4-nano",
reasoning: %{effort: "none"},
stream: true,
previous_response_id: previous_response_id
}
|> Openai.responses(fn delta ->
send(view_pid, {:delta, delta})
end)
|> Req.request!()
body
end)
|> assign(:form, to_form(%{"message" => ""}, as: :chat))}
end
end
On each received delta, we append it directly to the inflight_response message
and put it into messages. Thanks to the LiveView streaming magic, the message
will be updated in place!
@impl true
def handle_info({:delta, delta}, socket) do
inflight_response = socket.assigns.inflight_response
updated = %{inflight_response | body: inflight_response.body <> delta}
socket =
socket
|> assign(:inflight_response, updated)
|> stream_insert(:messages, updated)
{:noreply, socket}
end
Finally, when the async task completes, we mark the response as complete and set
inflight_response to nil:
@impl true
def handle_async(
:generate_response,
{:ok, %{
"id" => response_id,
"output" => [%{"content" => [%{"text" => output}]}]
}},
socket
) do
final_message = Map.put(socket.assigns.inflight_response, :body, output)
socket =
socket
|> assign(:previous_response_id, response_id)
|> assign(:inflight_response, nil)
|> stream_insert(:messages, final_message)
{:noreply, socket}
end
You might be wondering about previous_response_id. This is what allows us to avoid
sending the whole message history to the API on each turn and instead piggyback on
OpenAI's Responses
API
functionality.
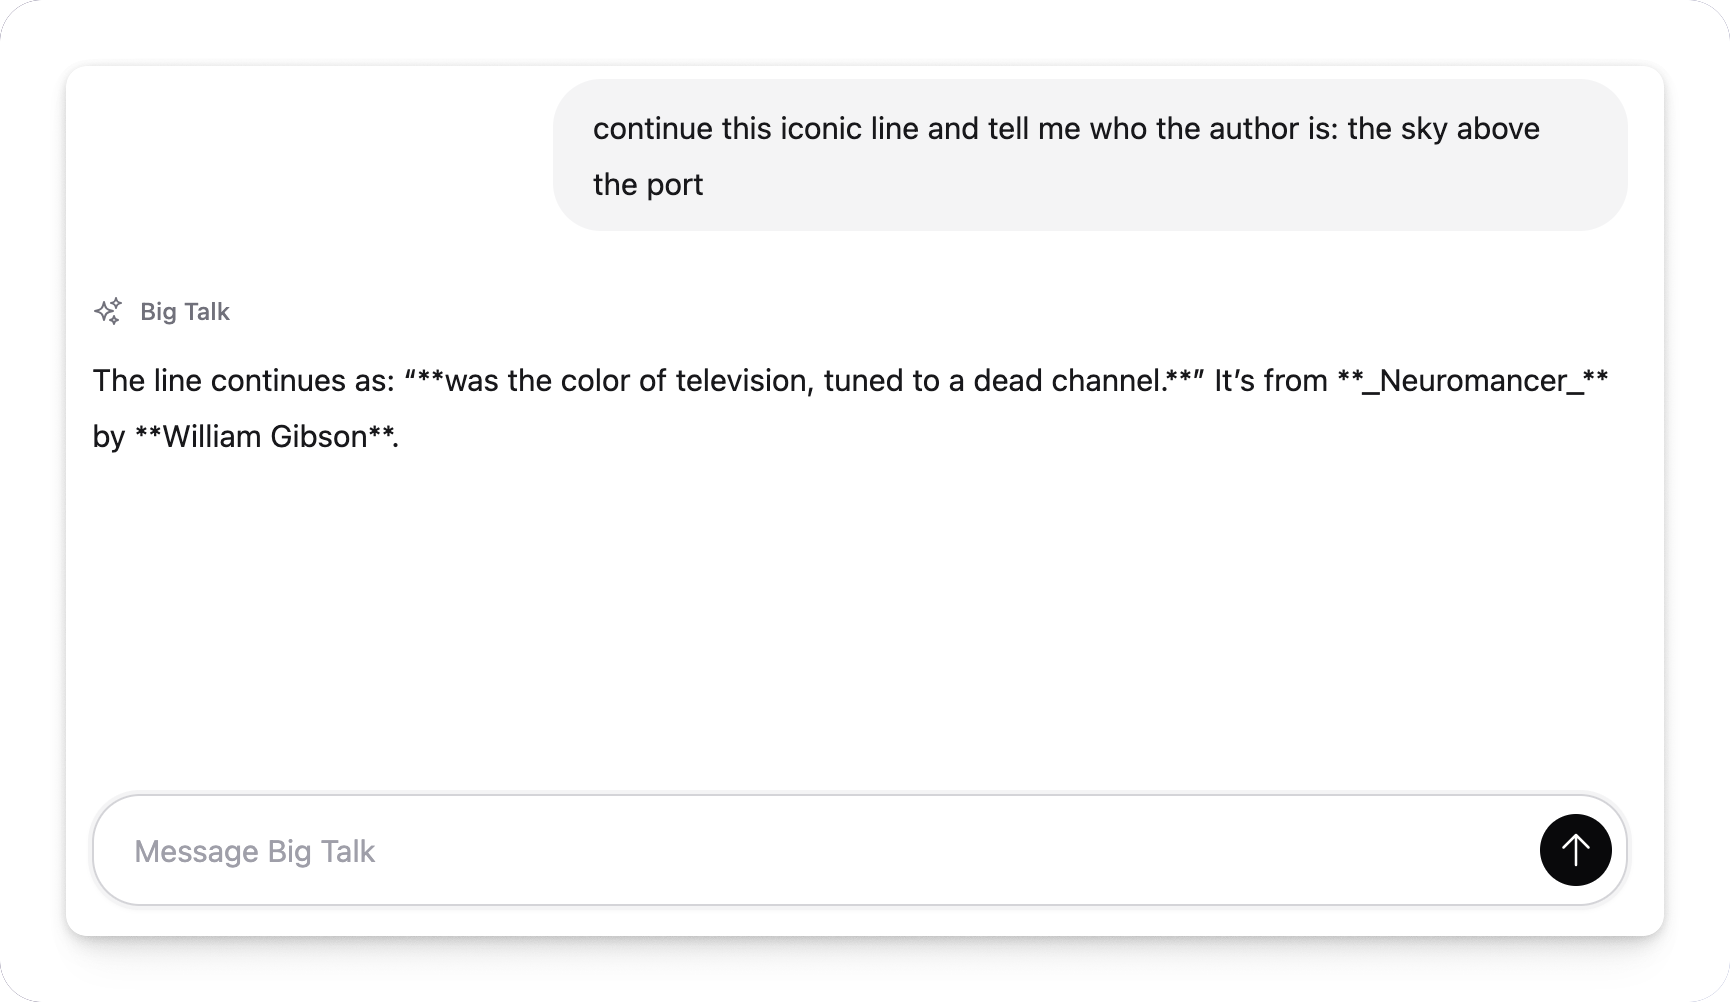
We have a functioning chat now!
Handling Markdown
Our chat only handles plain text for now. We'll need to teach it to render
Markdown. Even more excitingly, we'll need to make it stream! Luckily, the
MDEx library supports streaming.
First of all, we'll swap body to a MDEx document struct:
  assistant_message = %{
      id: "assistant-#{id}",
      role: :assistant,
      name: "Big Talk",
-        body: ""
+        body: MDEx.new(streaming: true)
}
On each delta, we append it to the struct:
@impl true
def handle_info({:delta, delta}, socket) do
  inflight_response = socket.assigns.inflight_response
-    updated = %{inflight_response | body: inflight_response.body <> delta}
+    updated = %{inflight_response | body: MDEx.Document.put_markdown(inflight_response.body, delta)}
And then let MDEx convert partially parsed Markdown to raw HTML:
<.icon name="hero-sparkles" class="size-4" />
<span>{message.name}</span>
</div>
-          <p>{message.body}</p>
+          <article>
+            {MDEx.to_html!(message.body) |> raw()}
+          </article>
</article>
</div>
</div>
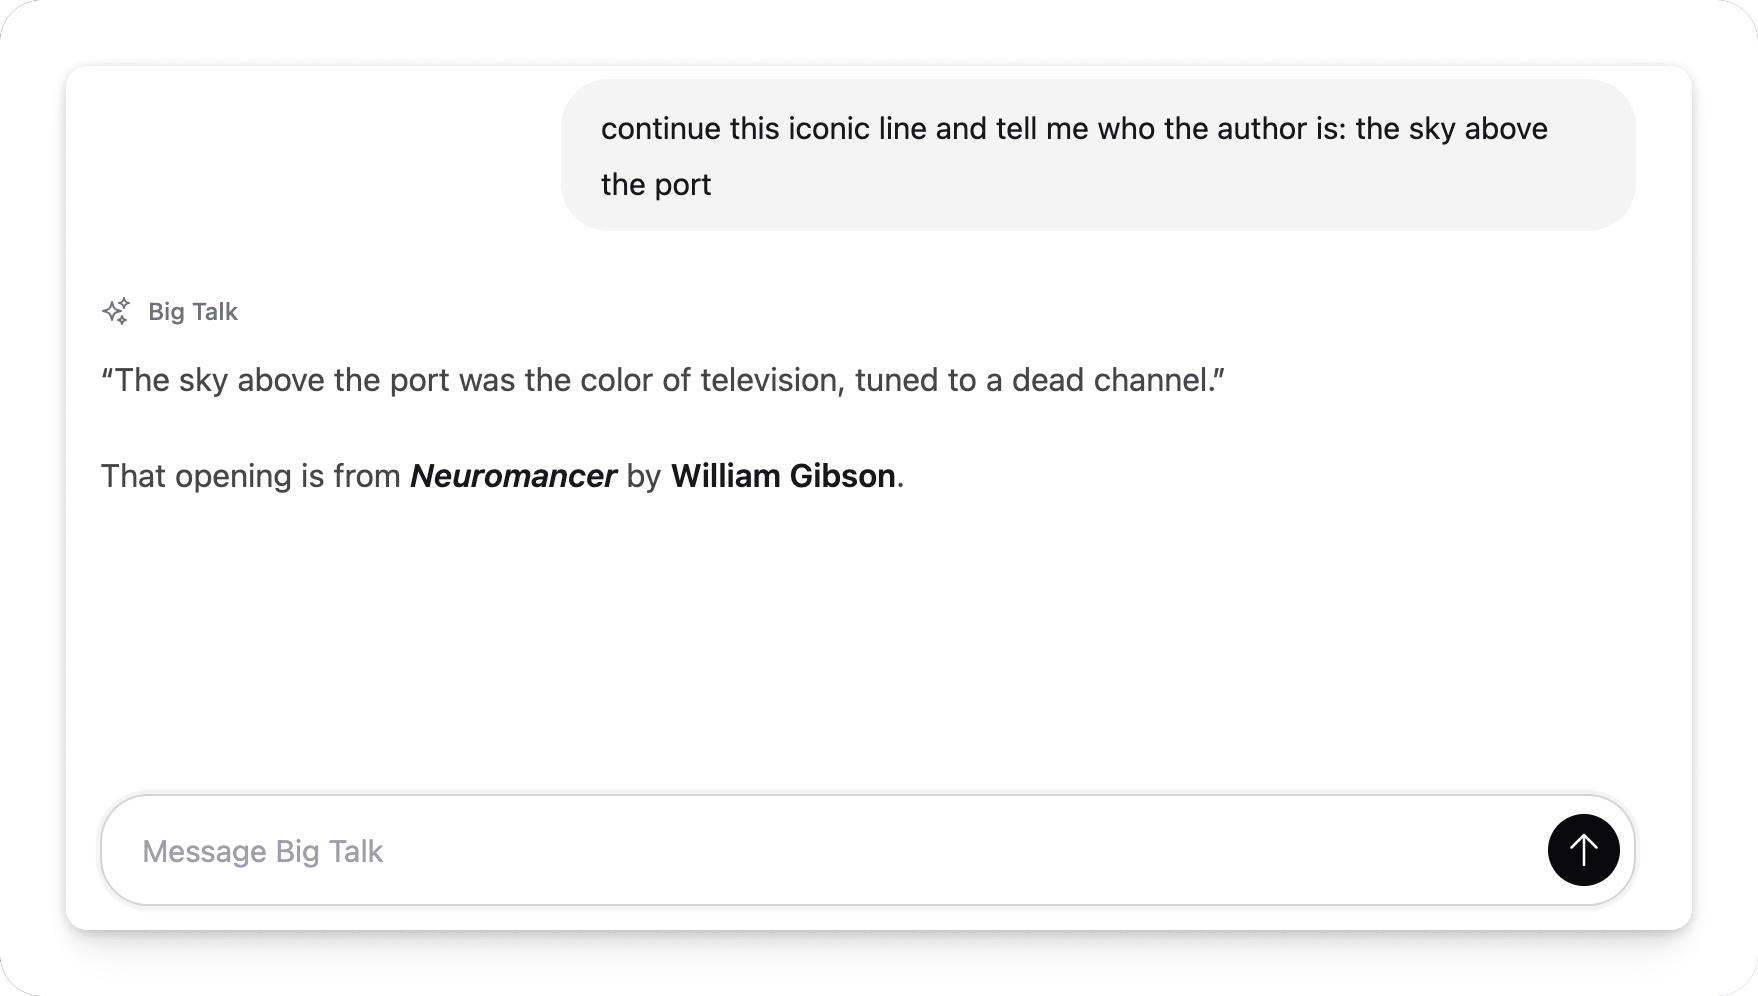
Markdown streaming ready!
Rich UI
Now it's time to make our chat more exciting. It all started with a product carousel, but for this exercise, I want to build something simpler. How about quick replies? Something like this:
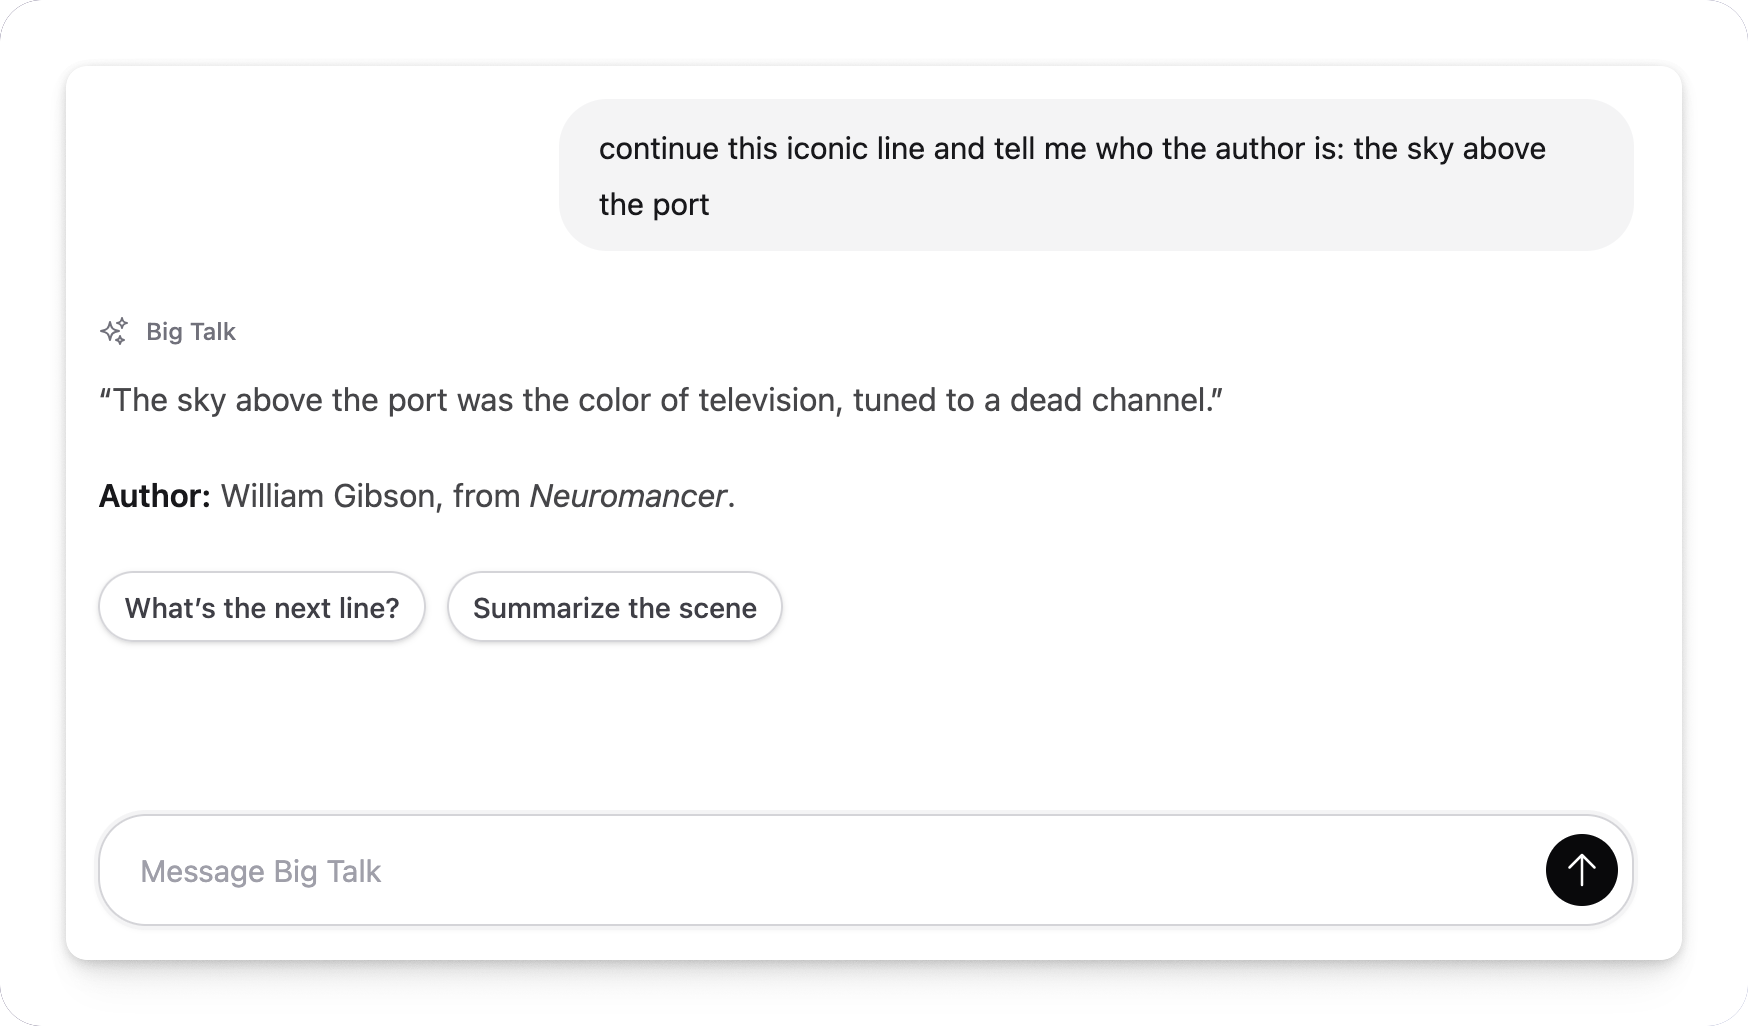
How do we do this? One way to extend Markdown syntax is to mix HTML into it.
HTML, in turn, can be extended to support custom
elements.
So here's the plan: we're going to define a <quick-reply>Text</quick-reply>
custom element for our app and then tell the model that it can use it.
We'll start by updating the prompt in the generate_response async task:
|> start_async(:generate_response, fn ->
%{
status: 200,
body: body
} =
%{
input: message,
model: "gpt-5.4-nano",
reasoning: %{effort: "none"},
stream: true,
previous_response_id: previous_response_id,
instructions: """
      You have access to the following custom syntax. ALWAYS use
      it to the fullest advantage to provide delightful
      rich UI to the user.
      # Quick Reply
      Use this custom tag to suggest a concise reply
      the user can send next. Use multiple quick replies
      and keep each one short: 2-4 words.
      ## Example
<quick-reply>Tell me more</quick-reply>
"""
}
|> Openai.responses(fn delta -> send(view_pid, {:delta, delta}) end)
|> Req.request!()
body
end)
Then, we need to make sure MDEx is friendly towards our custom tag. This is
important because, by default, MDEx is rightfully cautious and you need to
explicitly allow certain tags to pass through. We're going to replace a simple
MDEx.new(streaming: true) with a more sophisticated setup:
defmodule BigTalk.Markdown do
def parser() do
MDEx.new(
streaming: true,
render: [unsafe: true],
sanitize: sanitize_options()
)
end
def sanitize_options() do
MDEx.Document.default_sanitize_options()
|> Keyword.merge(add_tags: ["quick-reply"])
end
end
There's not much happening here: we allow MDEx to render HTML and add
quick-reply to the list of allowed tags.
Okay, now we can reasonably expect the quick-reply tag to make it all the way
to the browser. Now we just need to define a custom element in our app.js so
that the browser knows how to render it.
class QuickReply extends HTMLElement {
constructor() {
super()
this.handleClick = this.handleClick.bind(this)
}
connectedCallback() {
this.addEventListener("click", this.handleClick)
}
disconnectedCallback() {
this.removeEventListener("click", this.handleClick)
}
handleClick(event) {
event.preventDefault()
this.submitReply()
}
submitReply() {
const message = this.textContent.trim()
const form = document.getElementById("chat-composer-form")
const input = form?.querySelector("[name='chat[message]']")
if (!message || !form || !input) {
return
}
input.value = message
input.dispatchEvent(new Event("input", {bubbles: true}))
input.dispatchEvent(new Event("change", {bubbles: true}))
if (form.requestSubmit) {
form.requestSubmit()
} else {
form.dispatchEvent(new SubmitEvent("submit",
{bubbles: true, cancelable: true}
))
}
}
}
if (!customElements.get("quick-reply")) {
customElements.define("quick-reply", QuickReply)
}
And add some styling:
quick-reply {
@apply my-1 mr-1.5 inline-flex max-w-full cursor-pointer select-none
  items-center whitespace-nowrap rounded-full border border-zinc-300
  bg-white px-3 py-2 align-baseline text-sm leading-tight font-medium
  text-zinc-700 no-underline shadow-sm transition;
}
quick-reply:hover {
@apply -translate-y-px border-zinc-400
  bg-zinc-50 text-zinc-950 shadow-md;
}
quick-reply:active {
@apply translate-y-0 shadow-sm;
}
Let's test it:
It works! But I know what you're thinking: is the model smart enough to consistently use these custom elements, especially more complex ones? I haven't done comprehensive research, but after playing with it for a while, my gut feeling is that yes, models are pretty competent at that, especially bigger ones. So if you're building an AI chat and want to give the model the freedom to use more expressive UI elements, consider equipping it with a menu of custom HTML elements.
Conclusion
We started by examining ChatGPT’s fancy UI and made some guesses about how it might be working under the hood. We implemented our own Markdown extension using a custom HTML element and made it available for the model to use. We now have a neat little trick in our arsenal that we can build upon further.
The full code for this demo is available on GitHub.
Comments
Nothing yet. Say the first thing.
Sign in to join the conversation.