
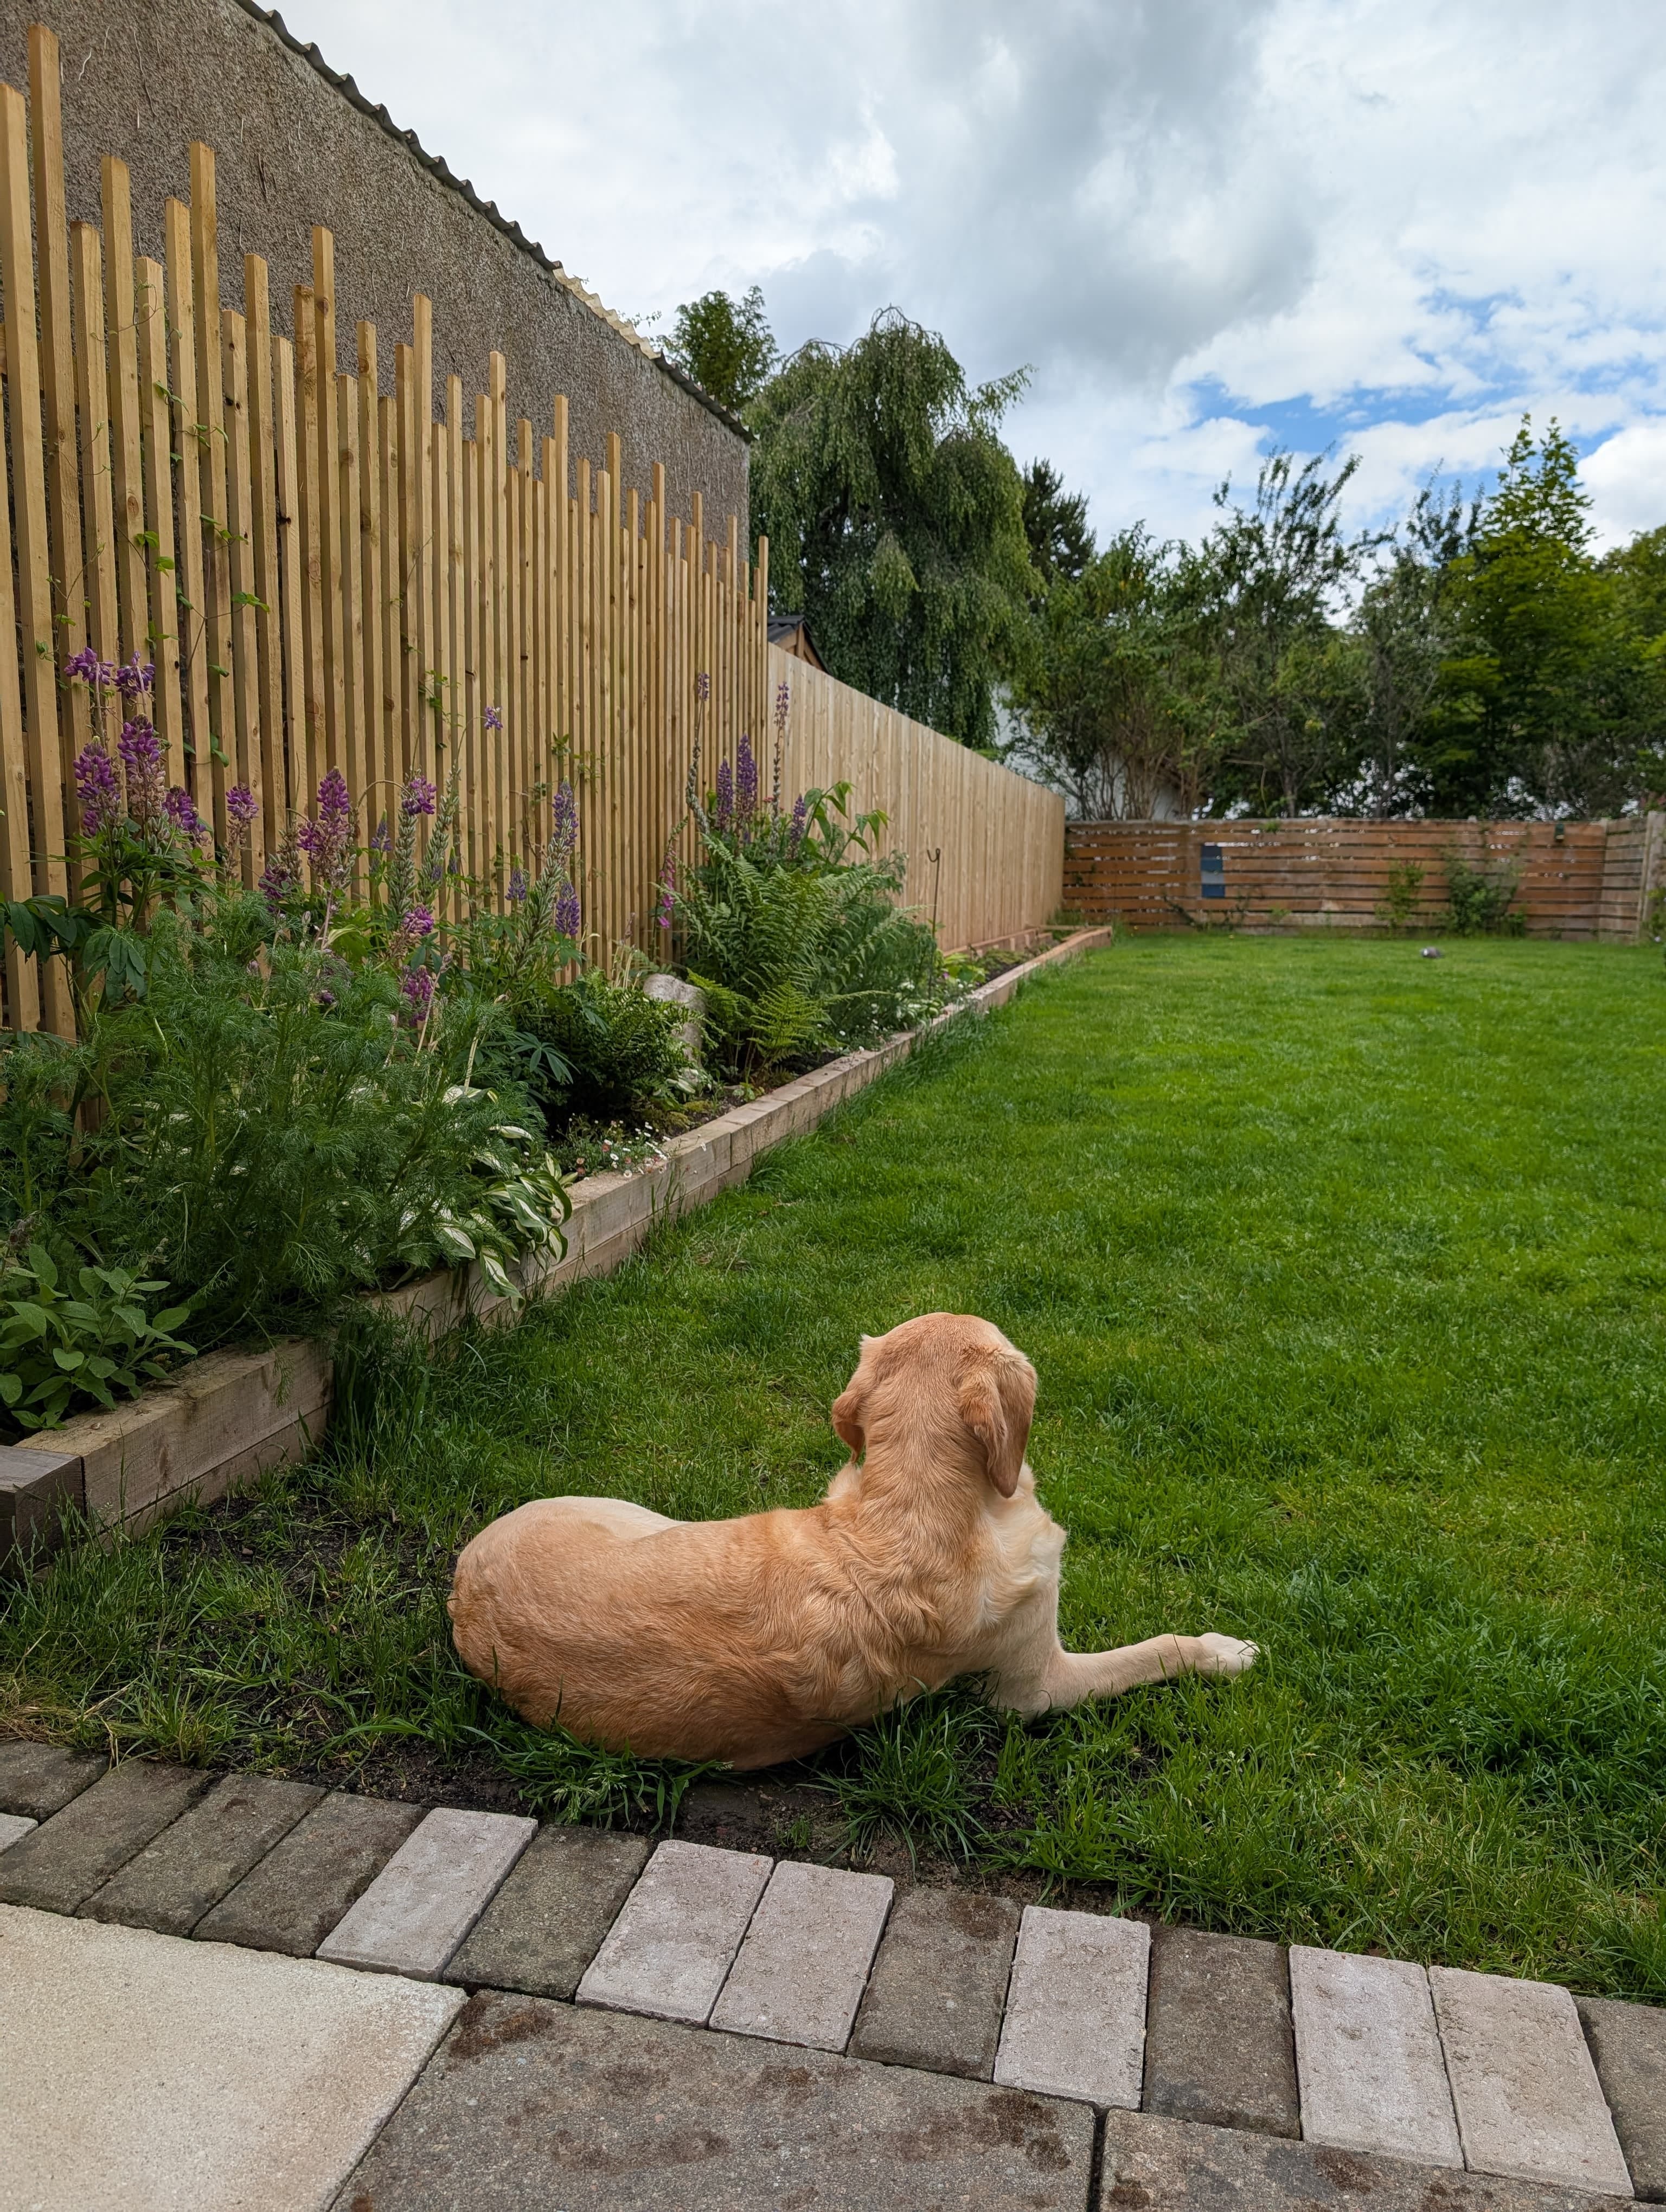
Thanks so much for all your lovely supportive comments on my last post. It seems like that feeling of overwhelm is pretty common, and I’m glad my writing resonated with so many of you. I appreciate everyone who takes time to leave a comment, even if sometimes I don’t respond. I read and value them all!
I recently finished a mammoth project, 6 months in the making (albeit with some long gaps whilst I gathered myself for the next stage!). In the spirit of celebrating successes, rather than moving immediately on to the next thing, here is the riveting content you’re all here for; building a patio from scratch (mostly) by myself.
I went back in my photos to try to find a picture of what this bed looked like when we moved in. It was a deep flower bed, almost the full width of the back of the house. I couldn’t find any photos of it in its original form, but here it is in winter 2025. The variegated green-and-yellow plant growing up the wall was original to the previous owners, as were the rather sad looking elephant’s ears (Bergenia). I planted some annuals (borage, nasturtiums) plus some shrubs (hebe mainly) in spring 2025, without a long-term clear plan for this bed. The annuals then promptly exploded, swamping everything, and drowning some grasses I had grown from seed, plus a rhubarb I had transplanted. When the annuals died back, they covered everything in stringy, black, dead vines. Strong Stranger Things vibes. Overwhelmed by the various renovation projects we had on the go at the time, I ignored the problem, until 2026 rolled around and Andrew expressed concern about damp. I attempted to mitigate this with the corrugated steel edging along the back of the bed, between the soil and the house, and experimented with corten steel edging at the front. Overall though, it was a soggy, sad mess.
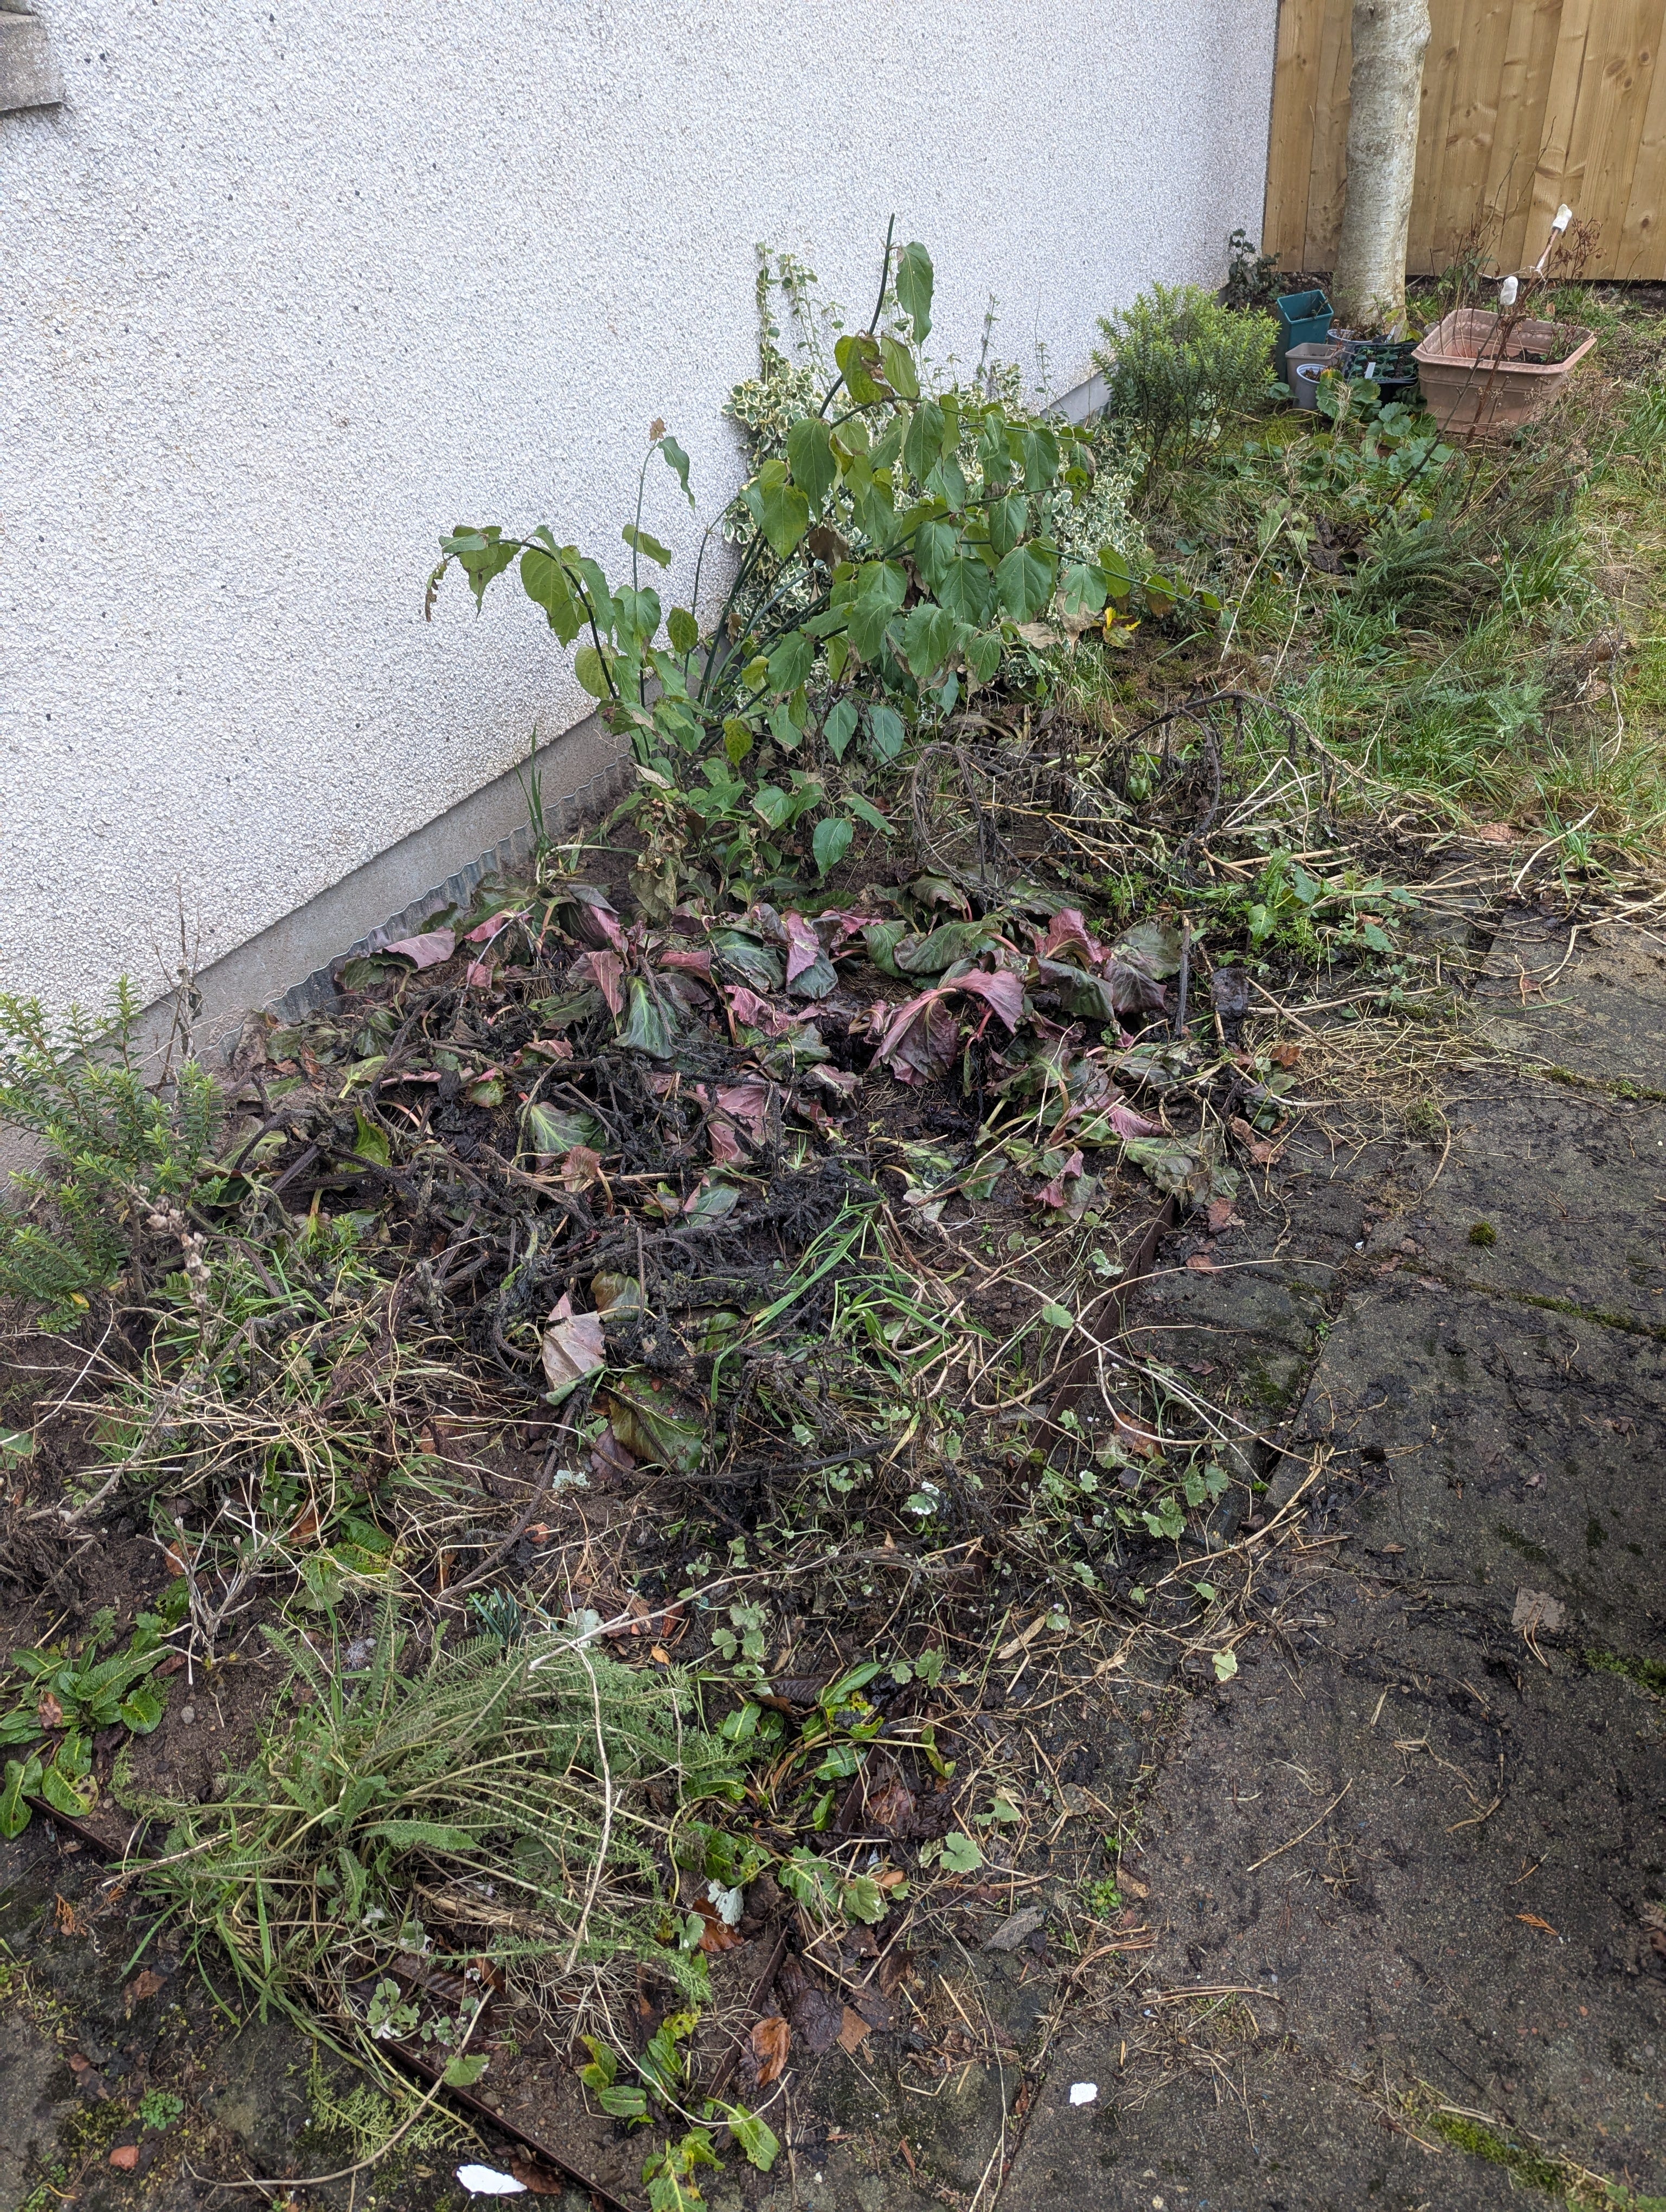
We don’t have damp in the kitchen or dining room, the parts of the house this bed contacted through the outer wall, but Andrew was worried that having a large volume of wet soil in direct contact with the house, might not be ideal. Once he’d expressed this concern, I couldn’t get it out of my head. Everywhere I went, I looked at people’s houses, to see whether flower beds went right up to the wall or not. From what I could see in my walks to and from work or into town, this wasn’t a common feature. I do understand that if soil and plants are below the level of the damp-proof course then damp shouldn’t be an issue, but after going down a Google/Reddit rabbit-hole I decided it was better to be safe than sorry. Operation Drainage Ditch commenced.
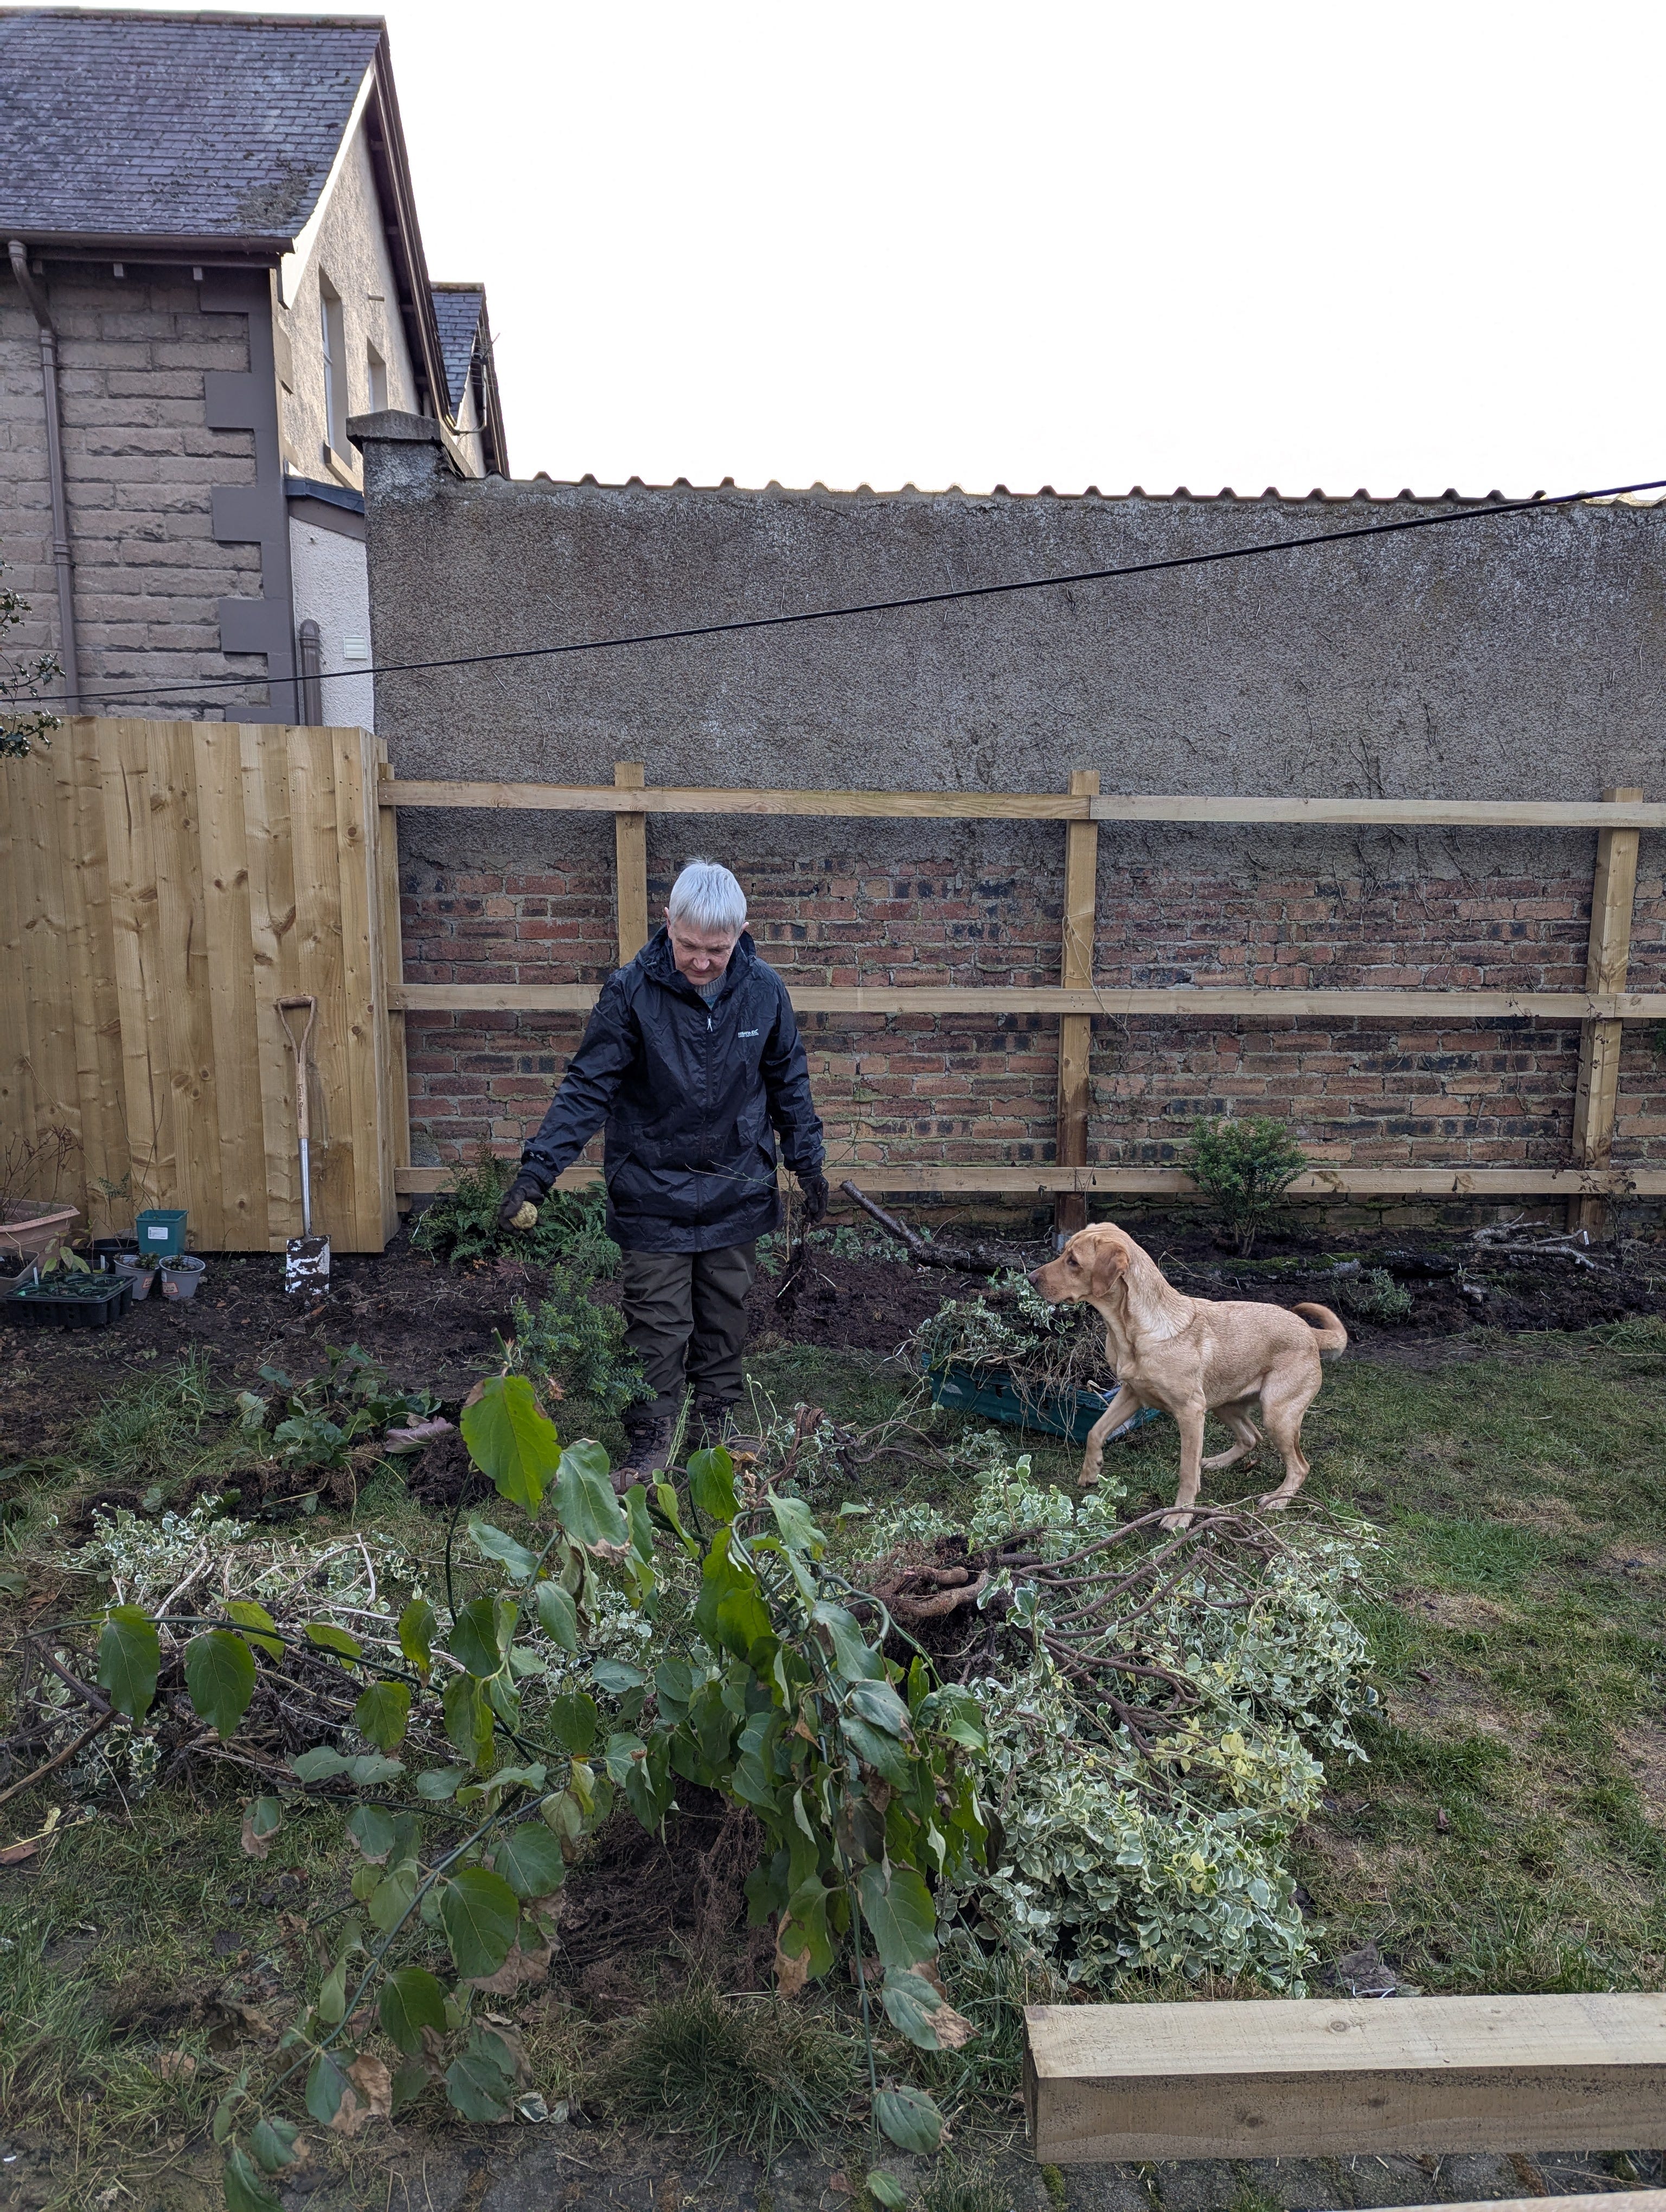
My mum came to visit in February 2026, and I promptly put her to work digging out any plants that could be salvaged and removing everything else. Meanwhile, I started excavating a 30cm wide, 50cm deep trench along the length of the bed, to act as a drainage ditch. The idea is you line this with permeable weed membrane, then fill it with stones and gravel. This allows water to seep away quickly, rather than being held by soil in direct contact with the house. This appeared to be the best option, removing the soil from the house whilst still leaving a flower bed behind. The more I thought about it though, the stranger this bed seemed. It would be somewhat marooned between a gravel strip and the grass lawn. I sketched it out but couldn’t picture how it would work with the rest of the garden. Around this time, Andrew expressed a desire to sit under the dining room window and throw the ball for the dogs down the length of the garden. A lightbulb went off and I realised the whole bed needed to come out, to be replaced by a patio.
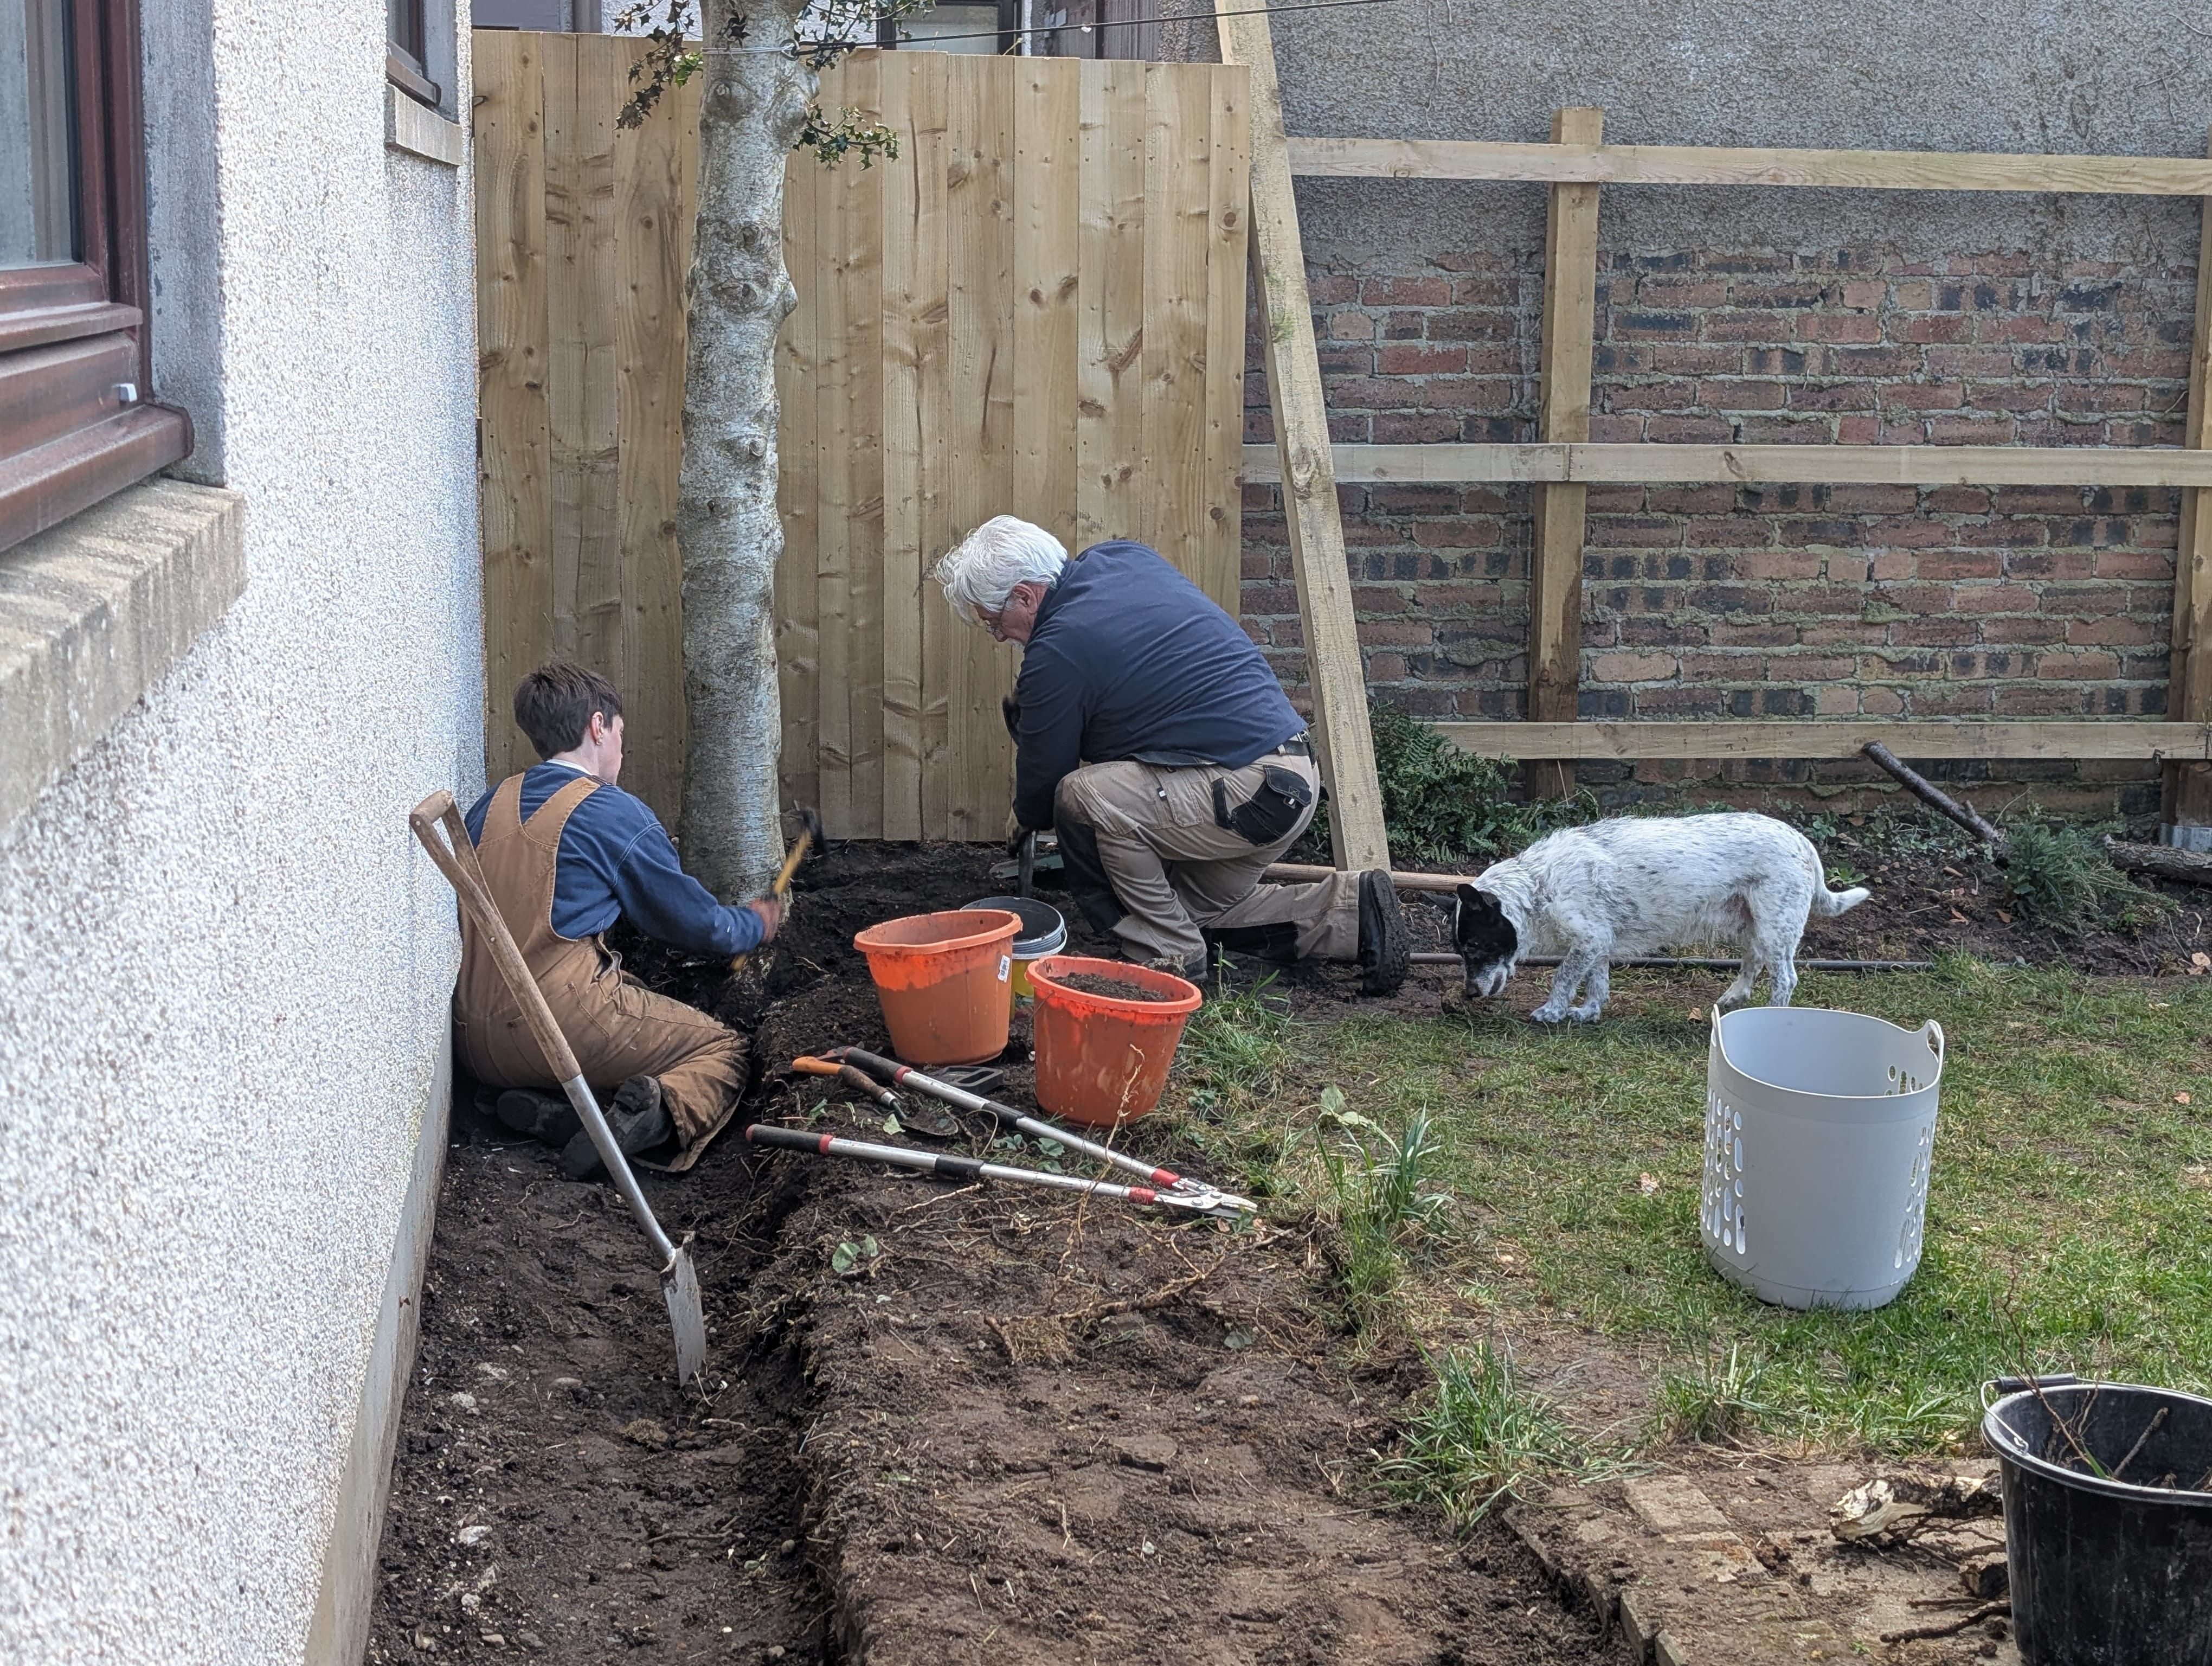
We had a holly tree growing too close to the house, which we pollarded the previous year, with an intent to take the whole tree down as soon as possible. Once I had dug my drainage ditch, plus excavated a base for the patio, I enlisted my father-in-law to help remove the remains of the holly tree. Over two sessions, we unearthed all the roots, cut them with axes and saws, then levered the whole tree out.
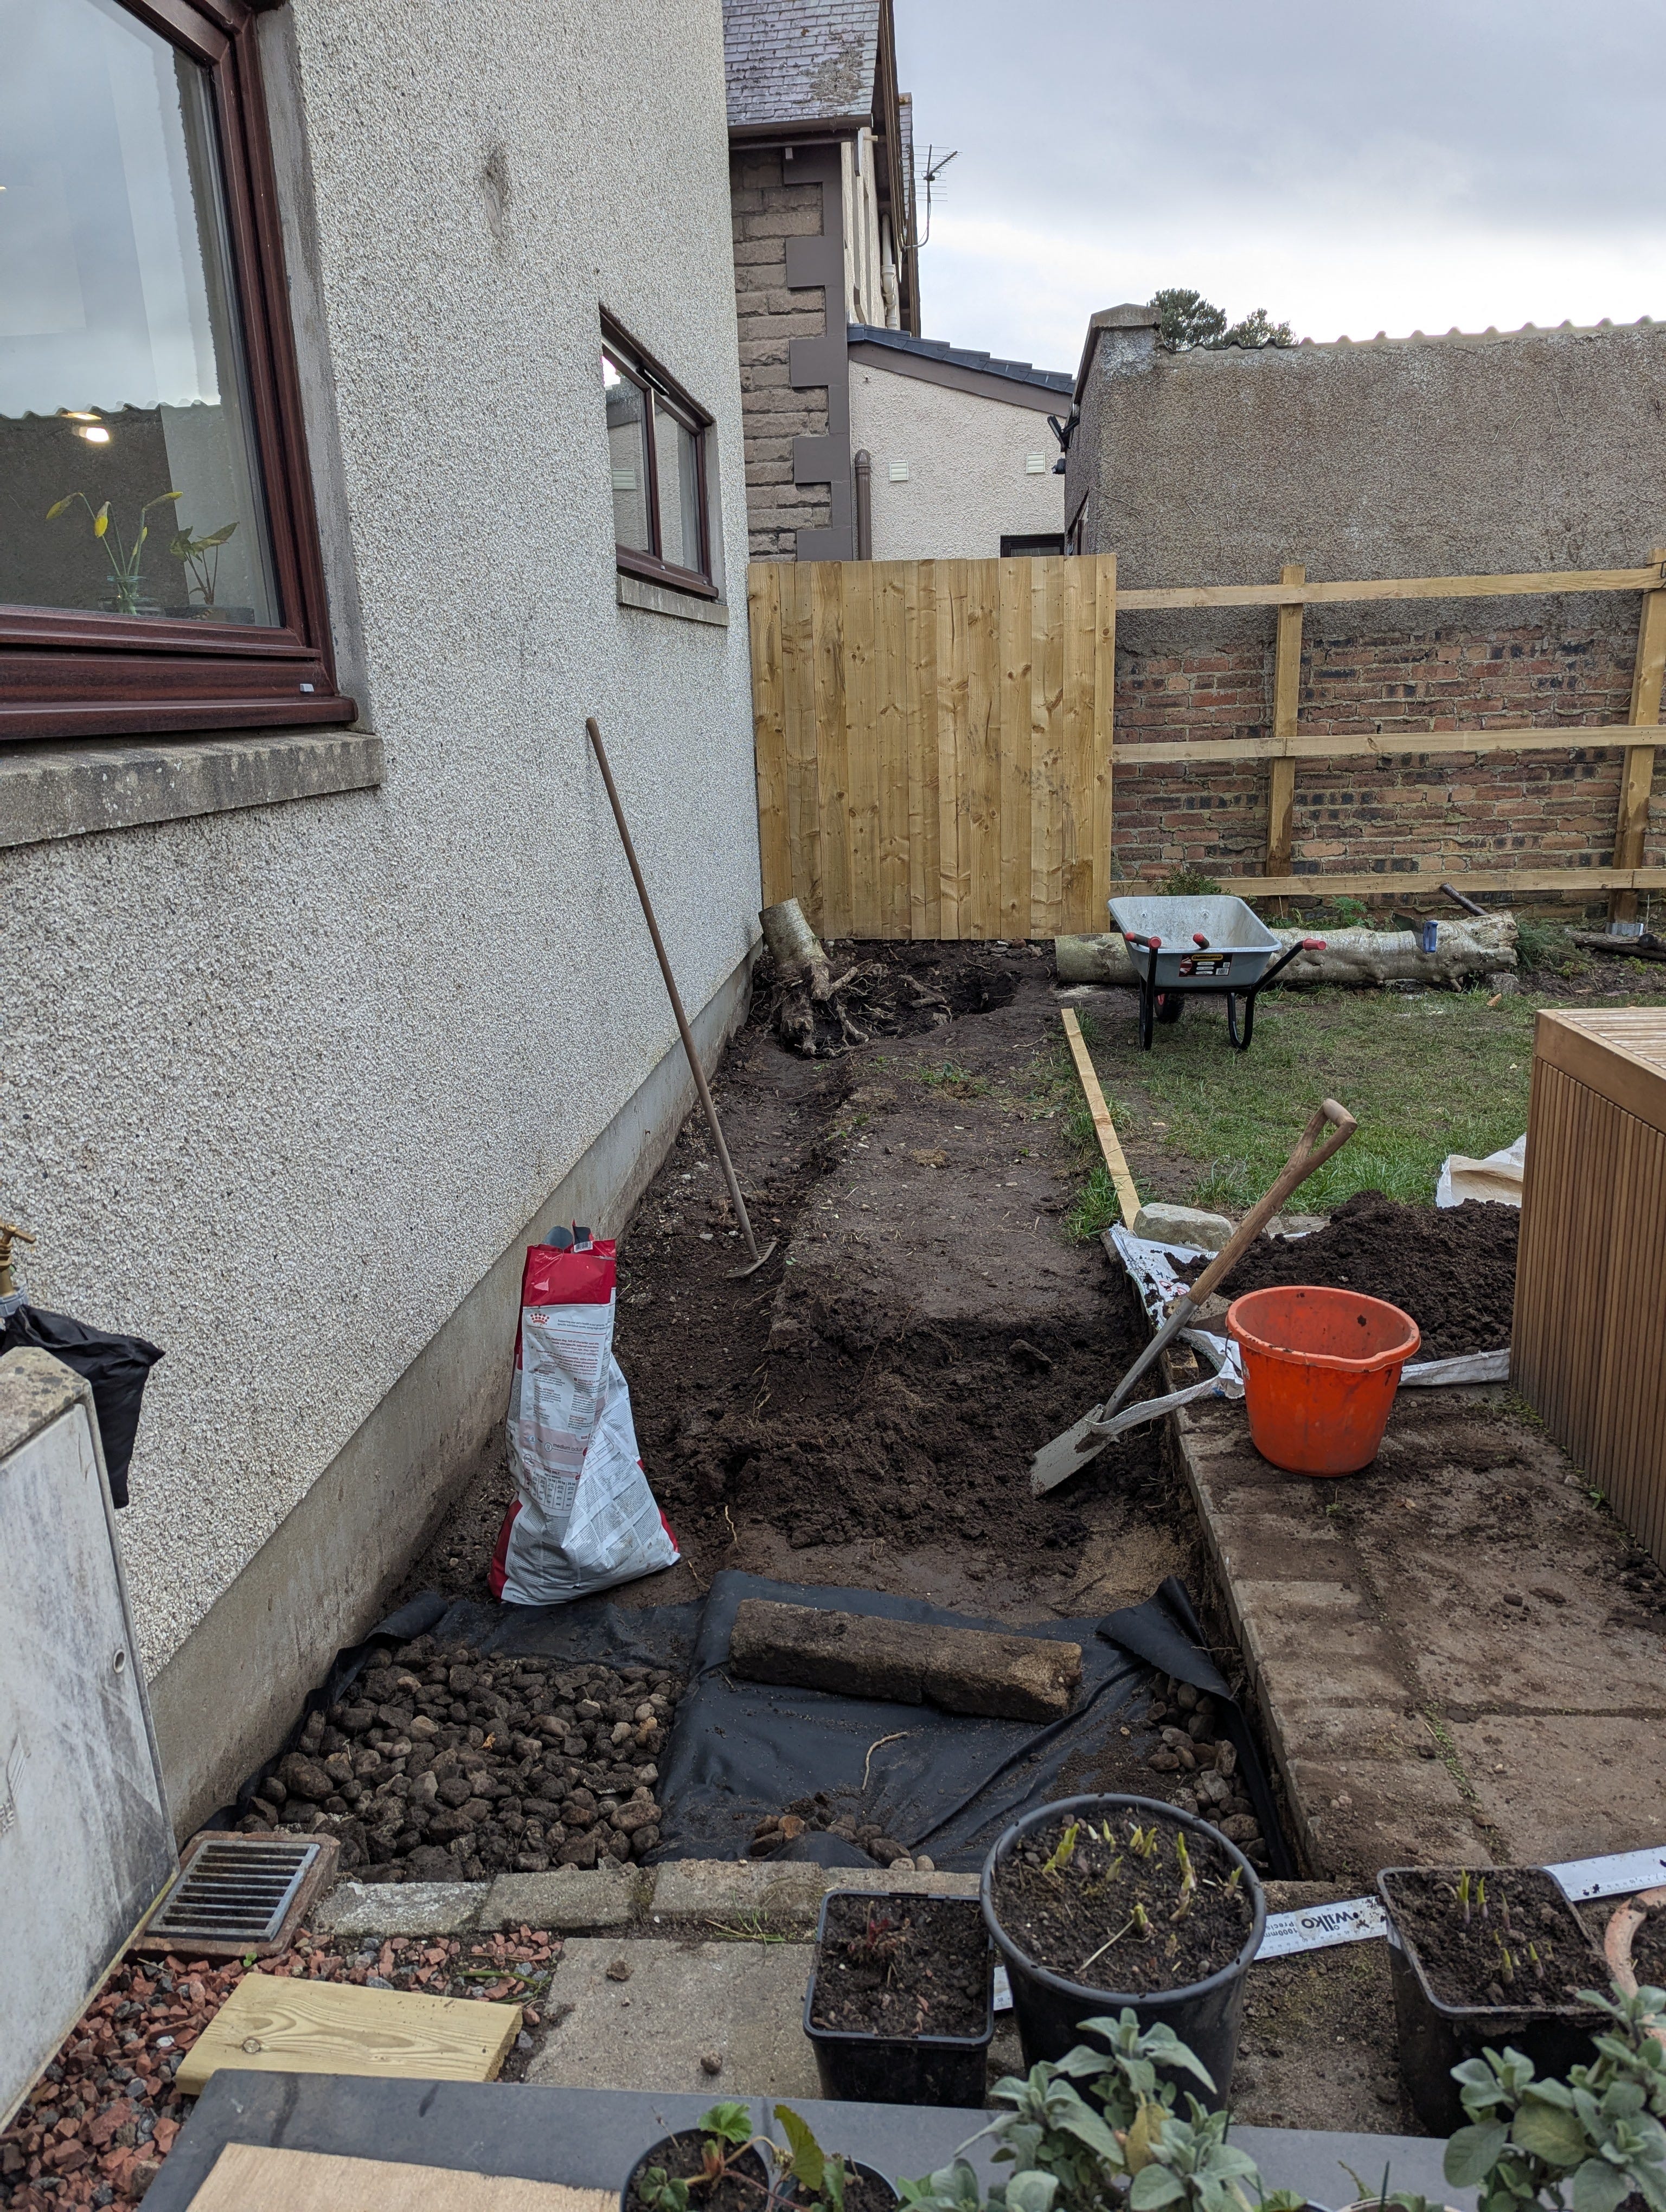
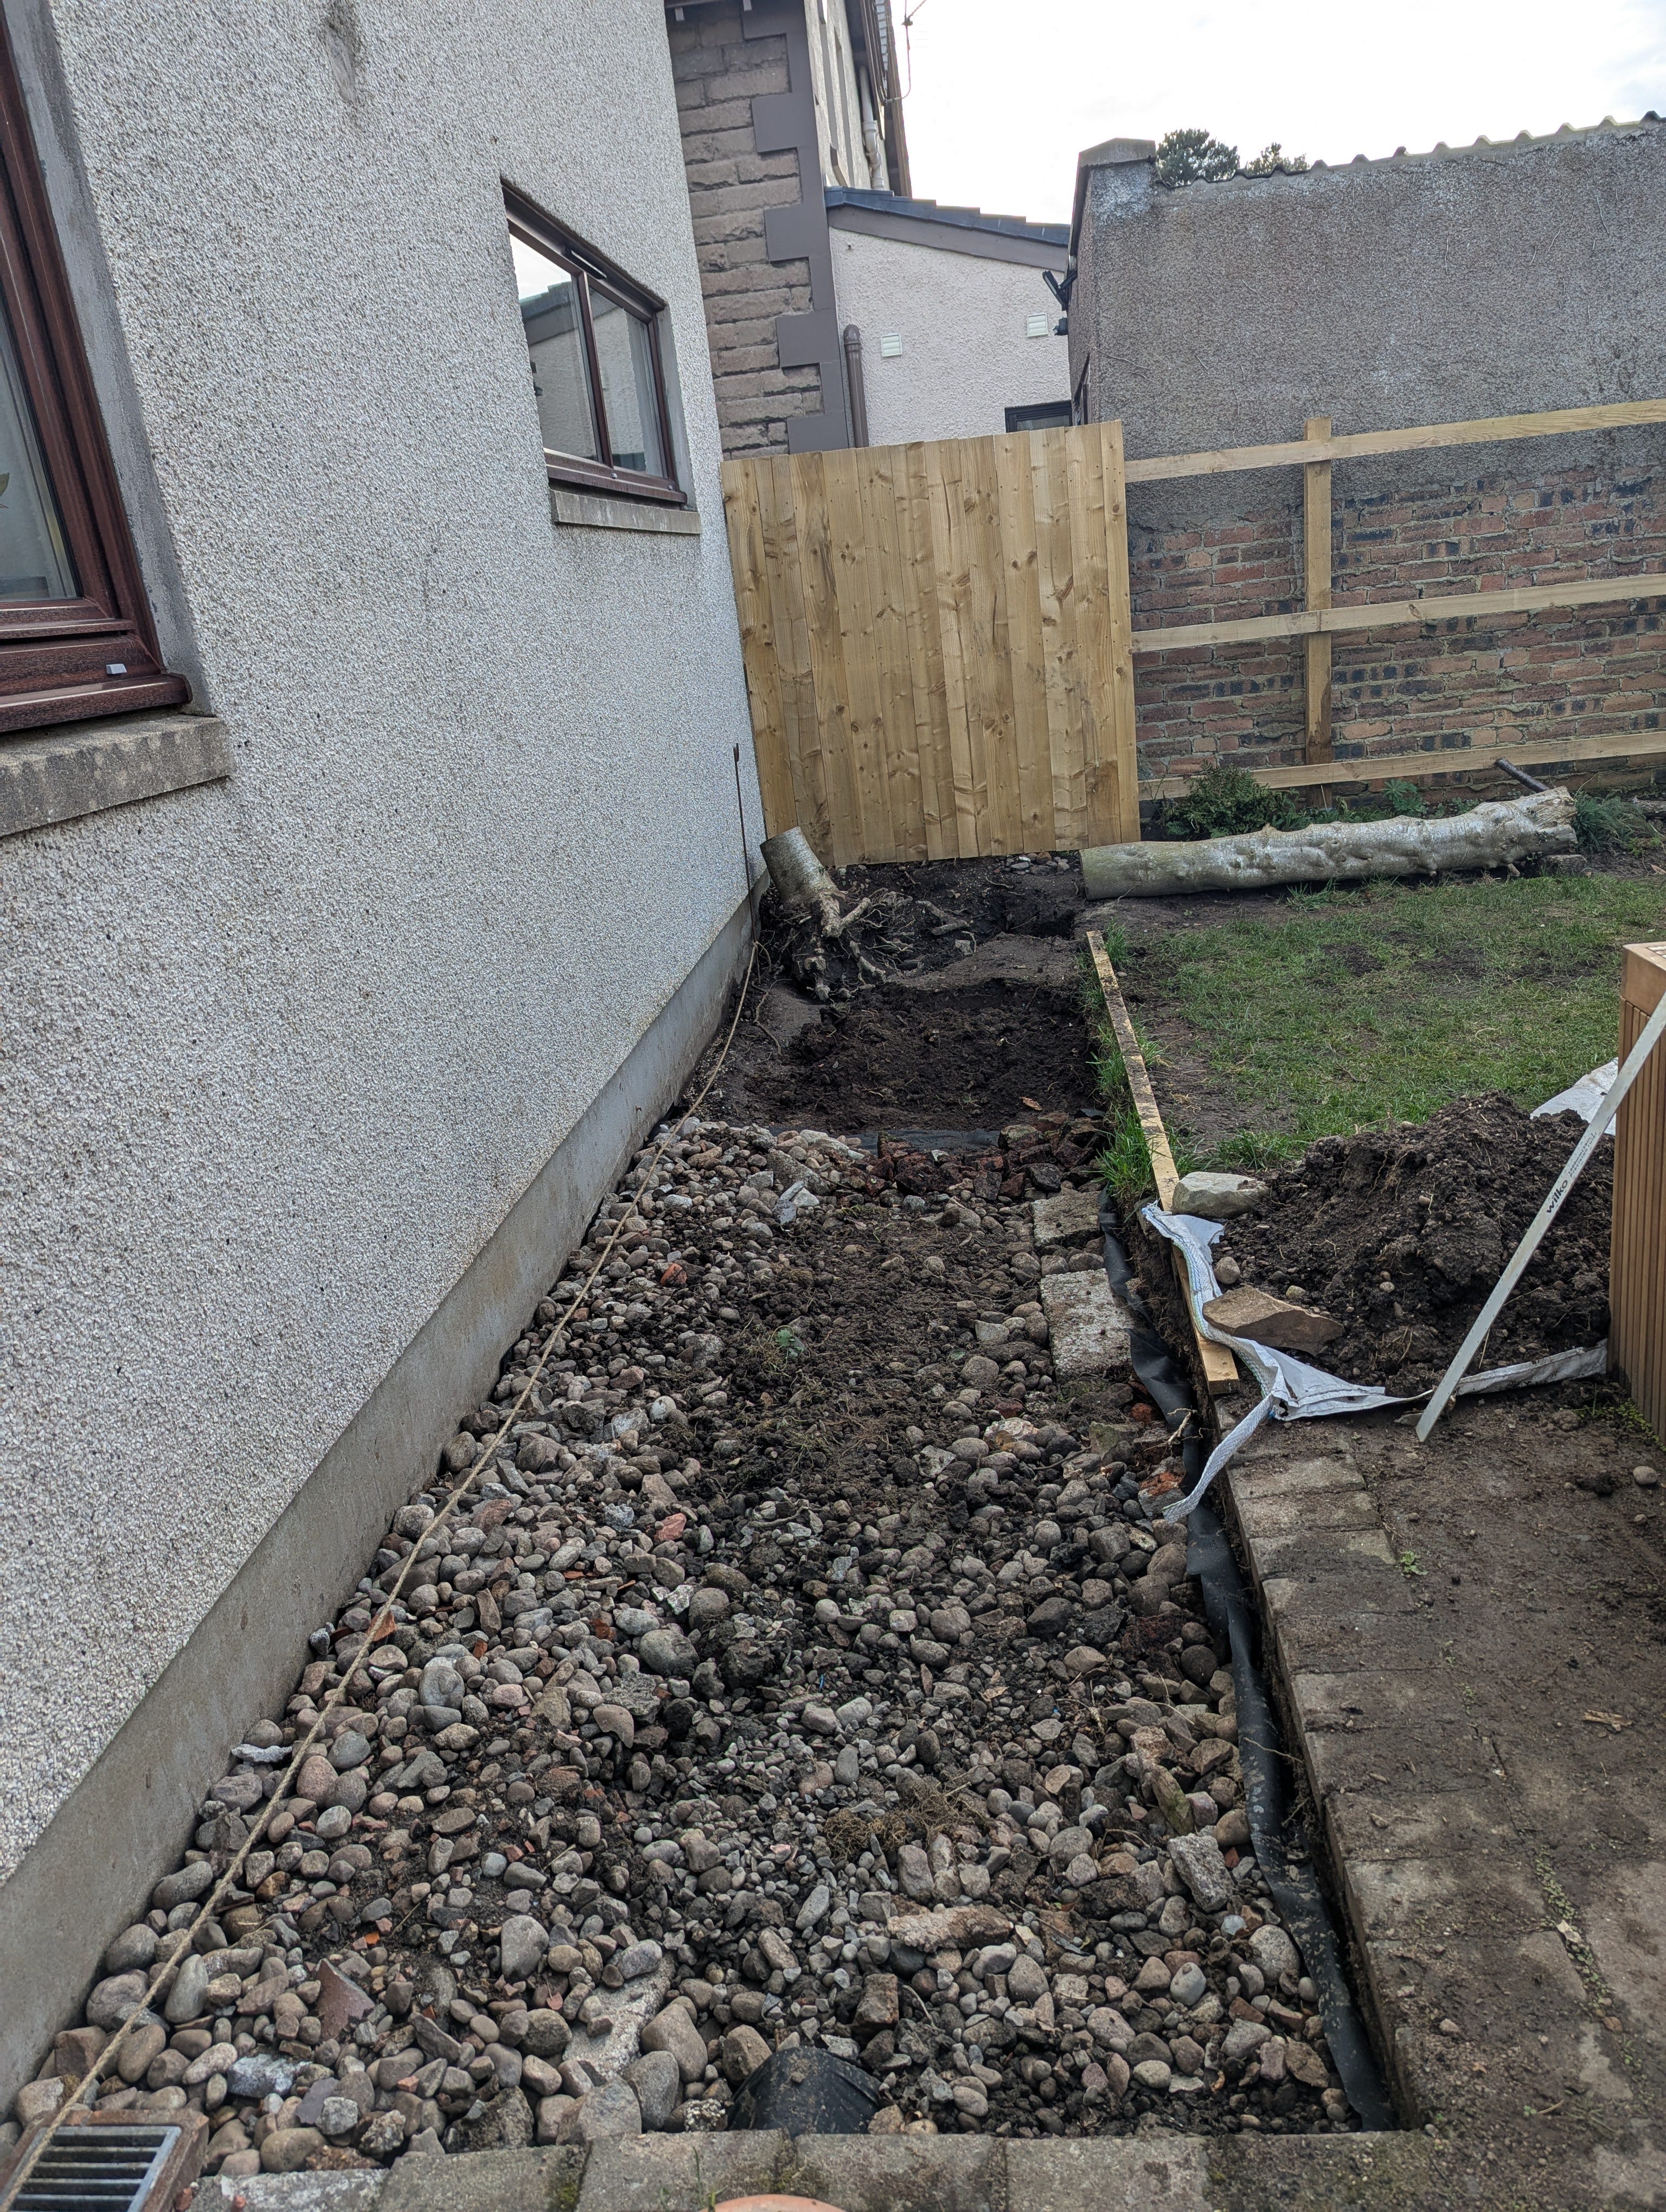
Alongside this, I was back-filling the hole with stones and gravel, after lining the ditch with permeable weed membrane. This was back-breaking work, but very satisfying. We have a lot of bags of gravel and old stone in the garage, from previous garden projects, so it was nice to put that to use and clear some space.
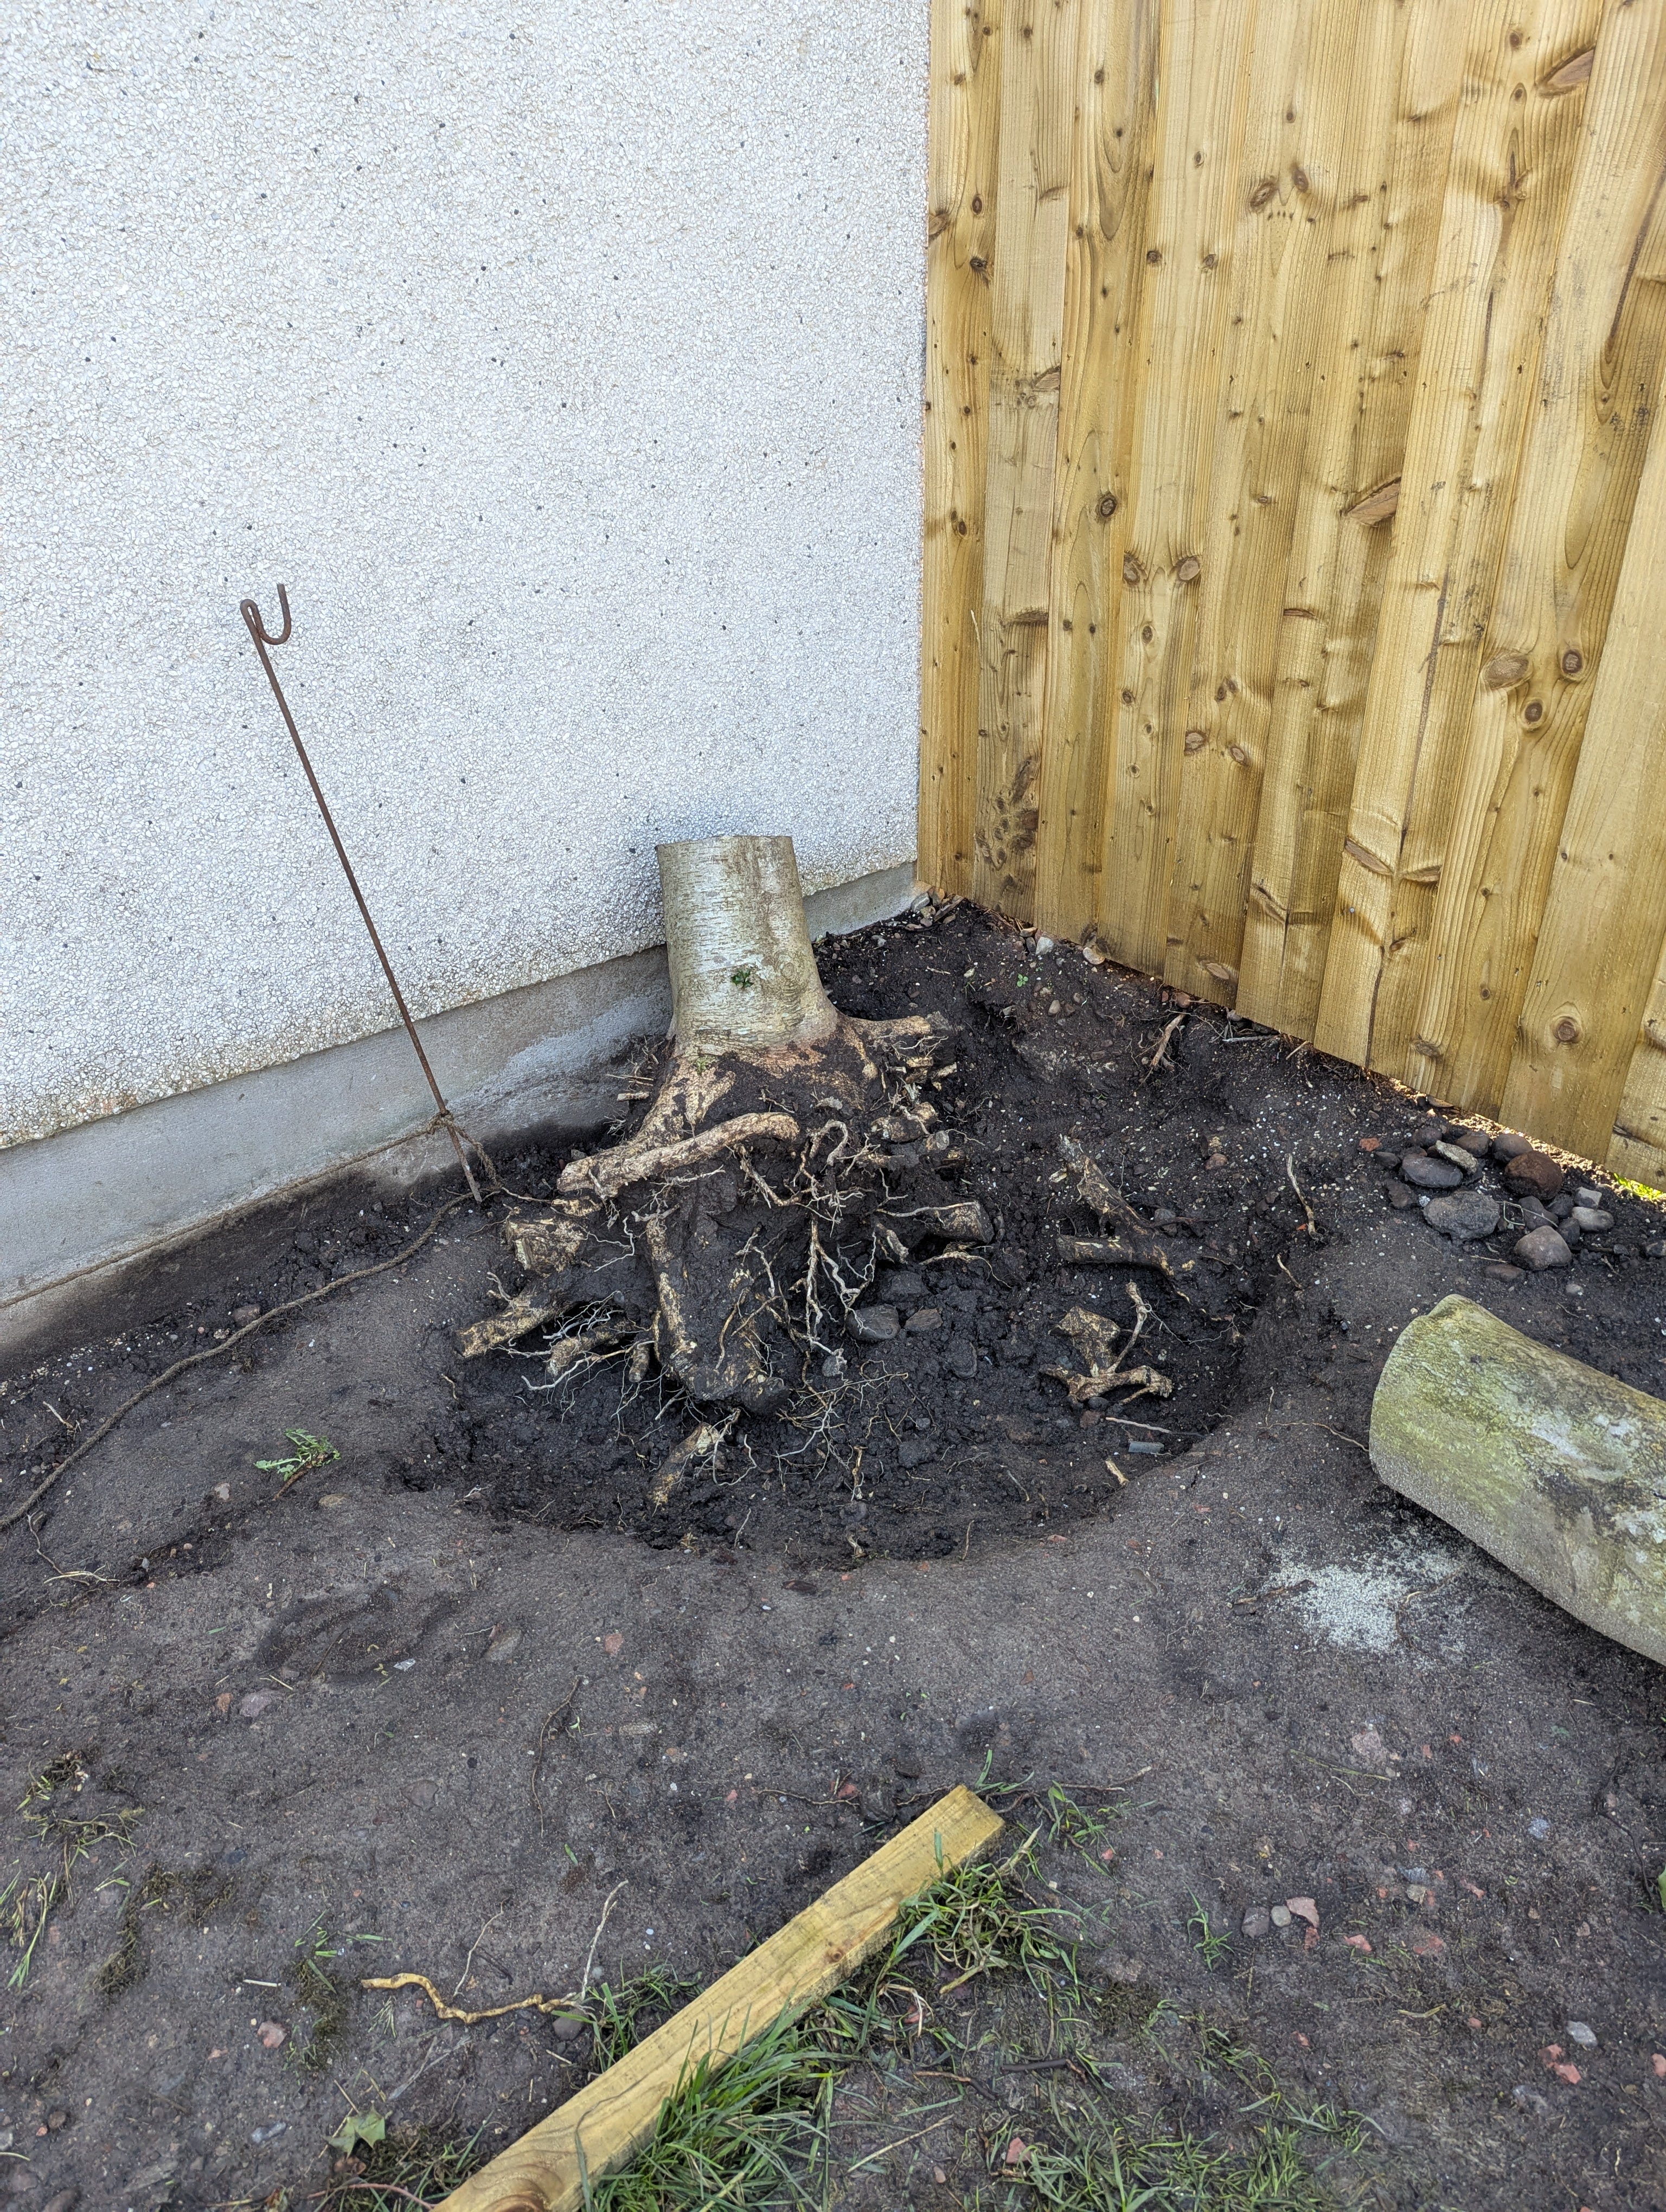
The holly tree stump was an epic beast, far heavier than I could manage by myself. Rod came back for his second session, to help me excavate and move the stump, and split the trunk. All the pieces of the holly tree have been buried in my woodland border, so they live on for the fungi and ferns.
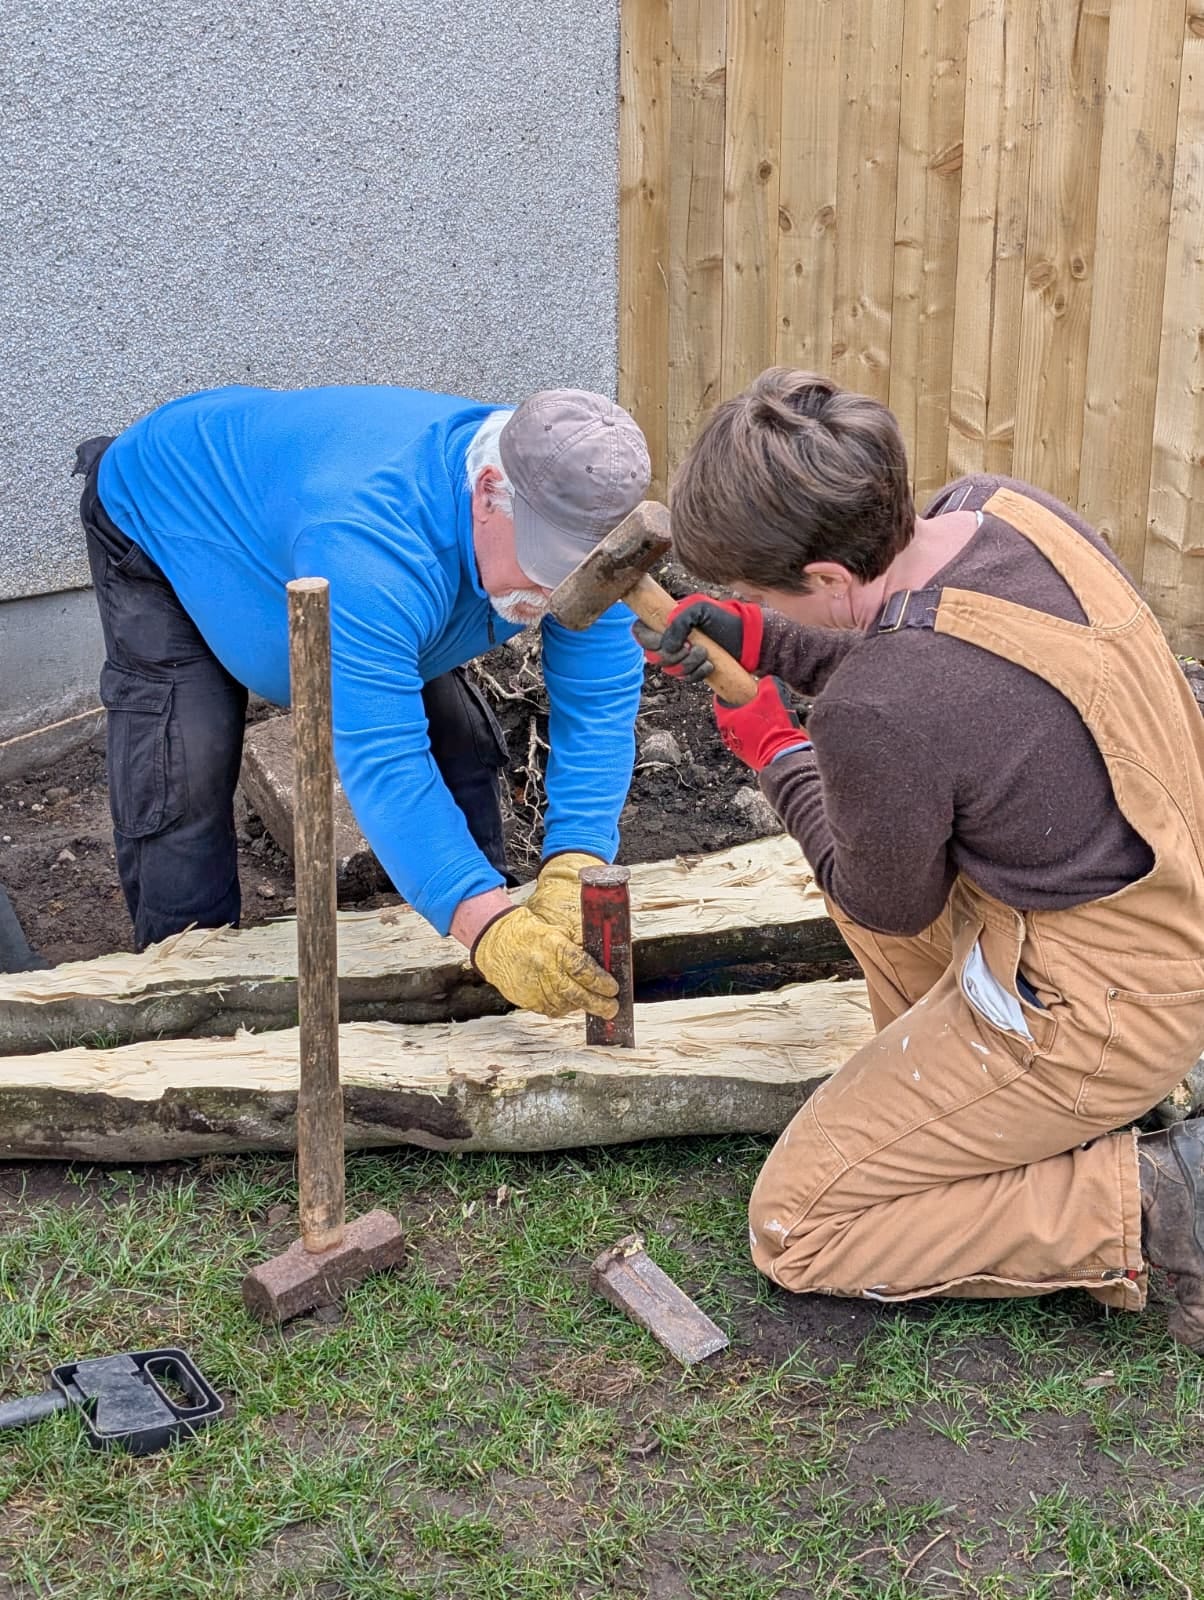
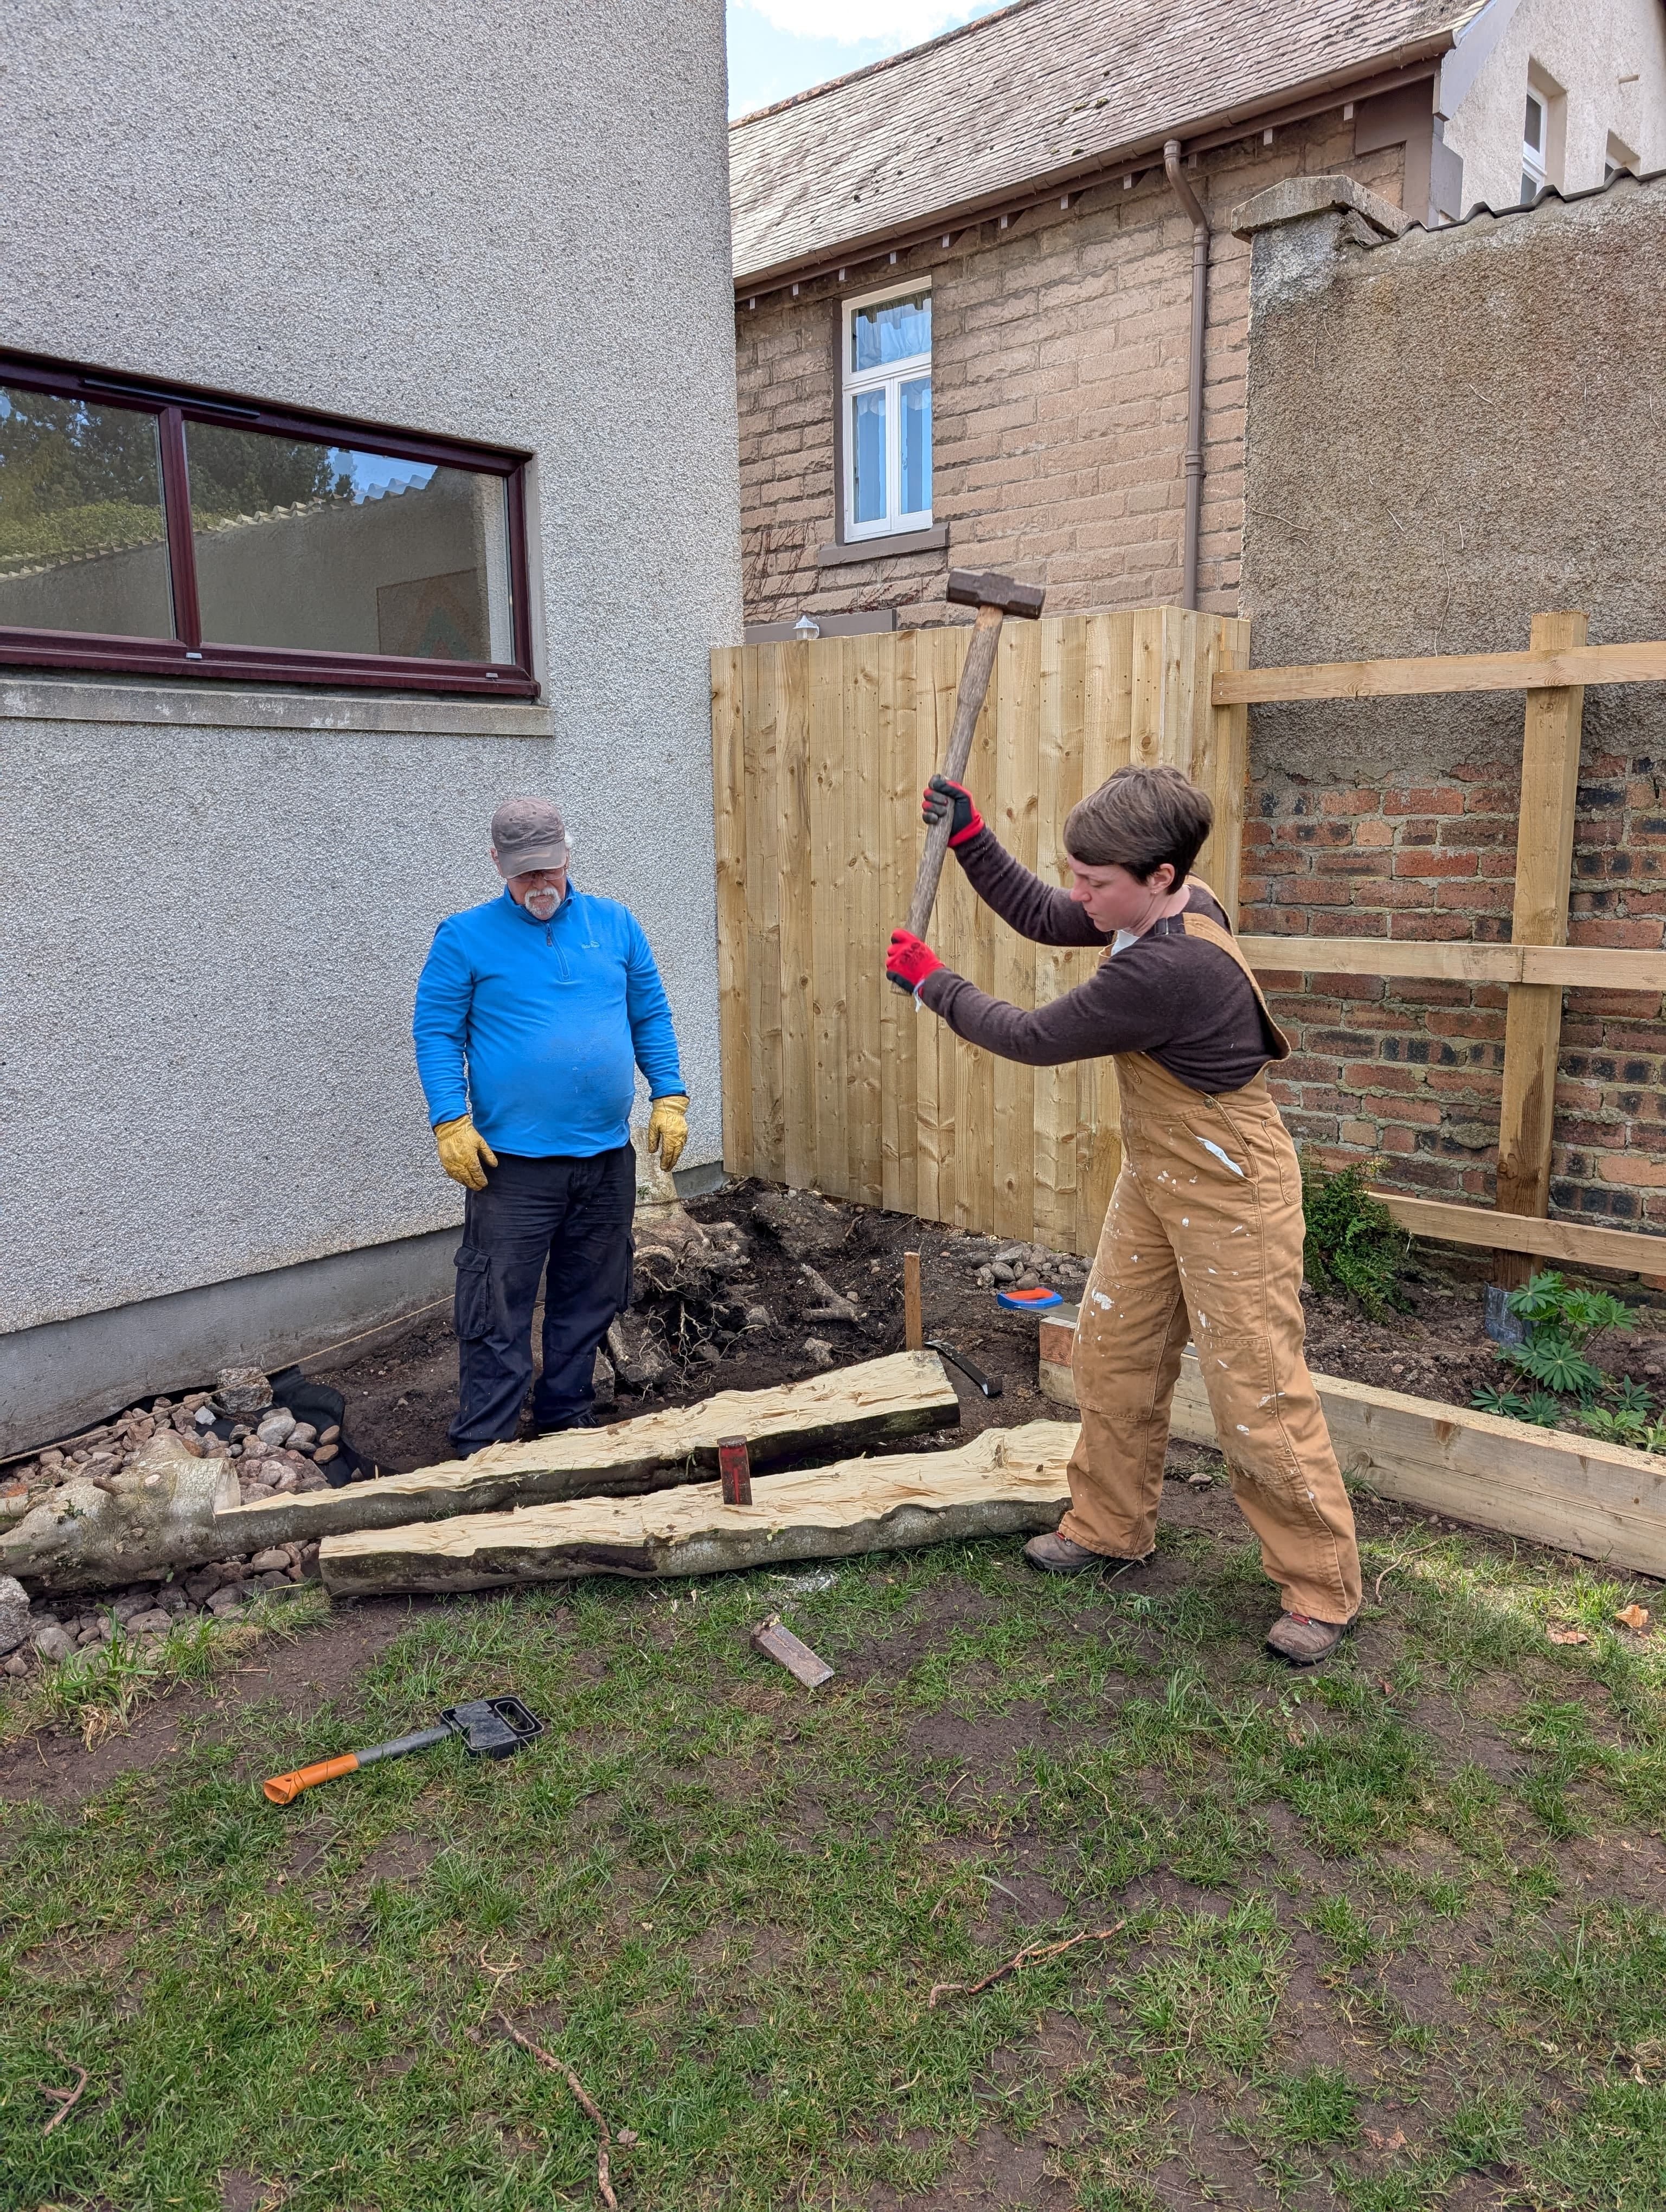
Rod teaching me how to split the trunk of the holly tree, using a metal wedge and sledgehammer. Very satisfying.
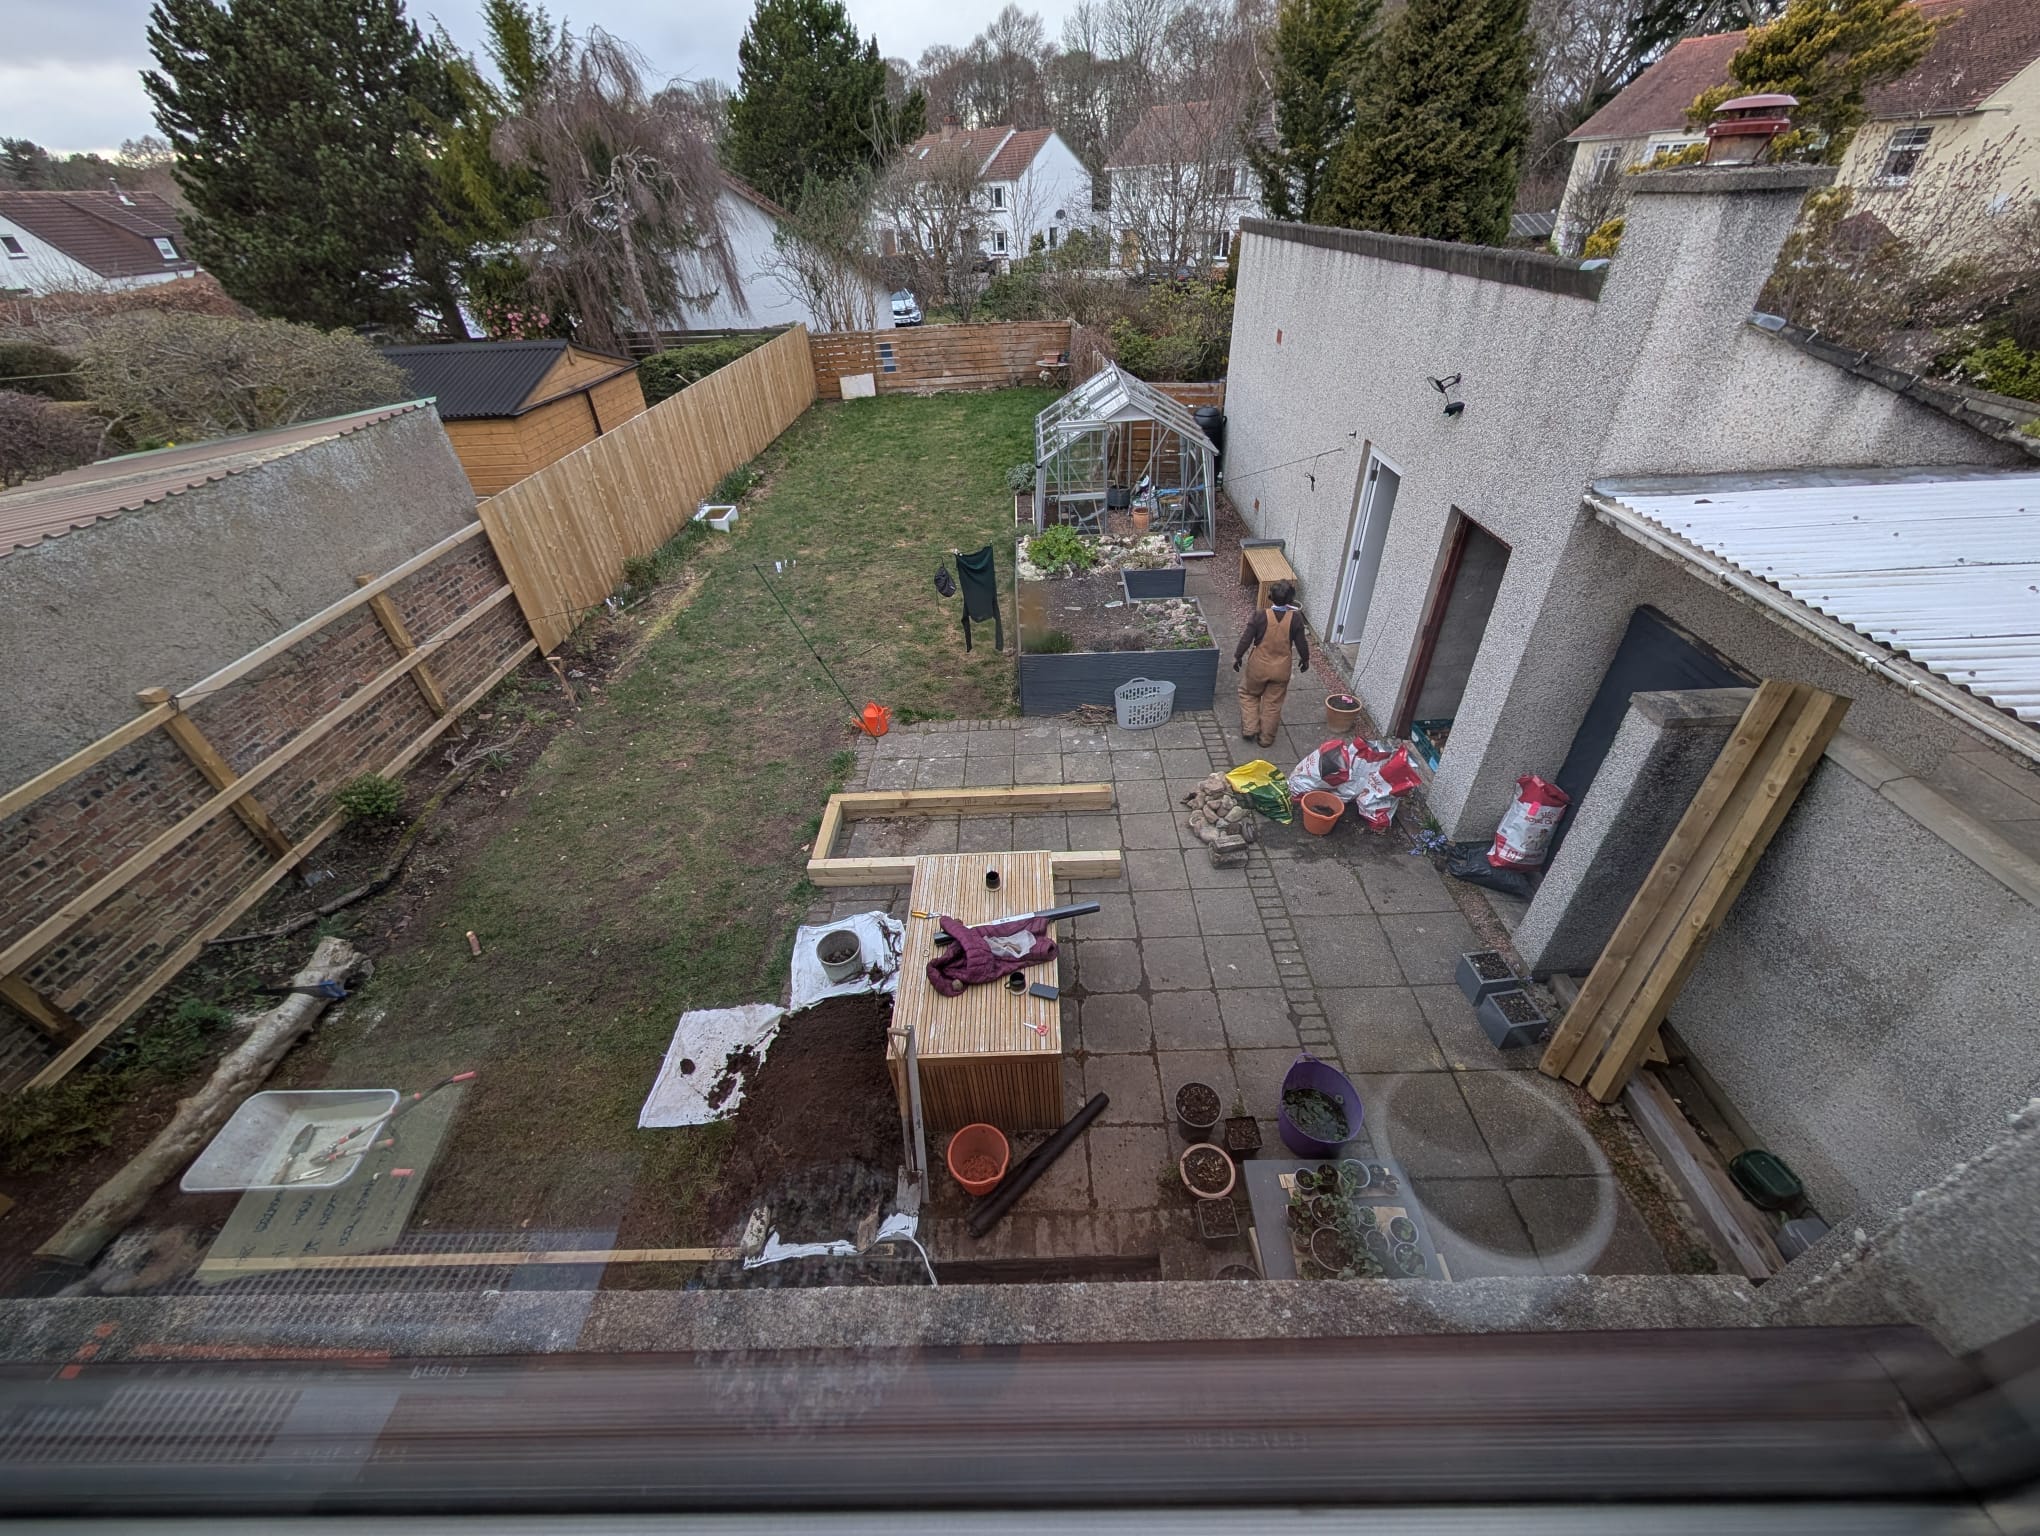
At this point, the garden was looking quite a mess. We hadn’t yet done the trellis (I’ve mentioned this in Notes from the Week but not yet written it up properly), so you can see our neighbour’s garage on the left hand side there. I took a little interlude from the patio to build the trellis and the raised bed underneath. This is the bed I call the ‘woodland border’; it’s shaded by the garage for most of the day so I’ve planted it with shade tolerant plants - hostas, ferns, grasses, plus two types of clematis and a Himalayan honeysuckle. This is the final resting place for the holly remains.
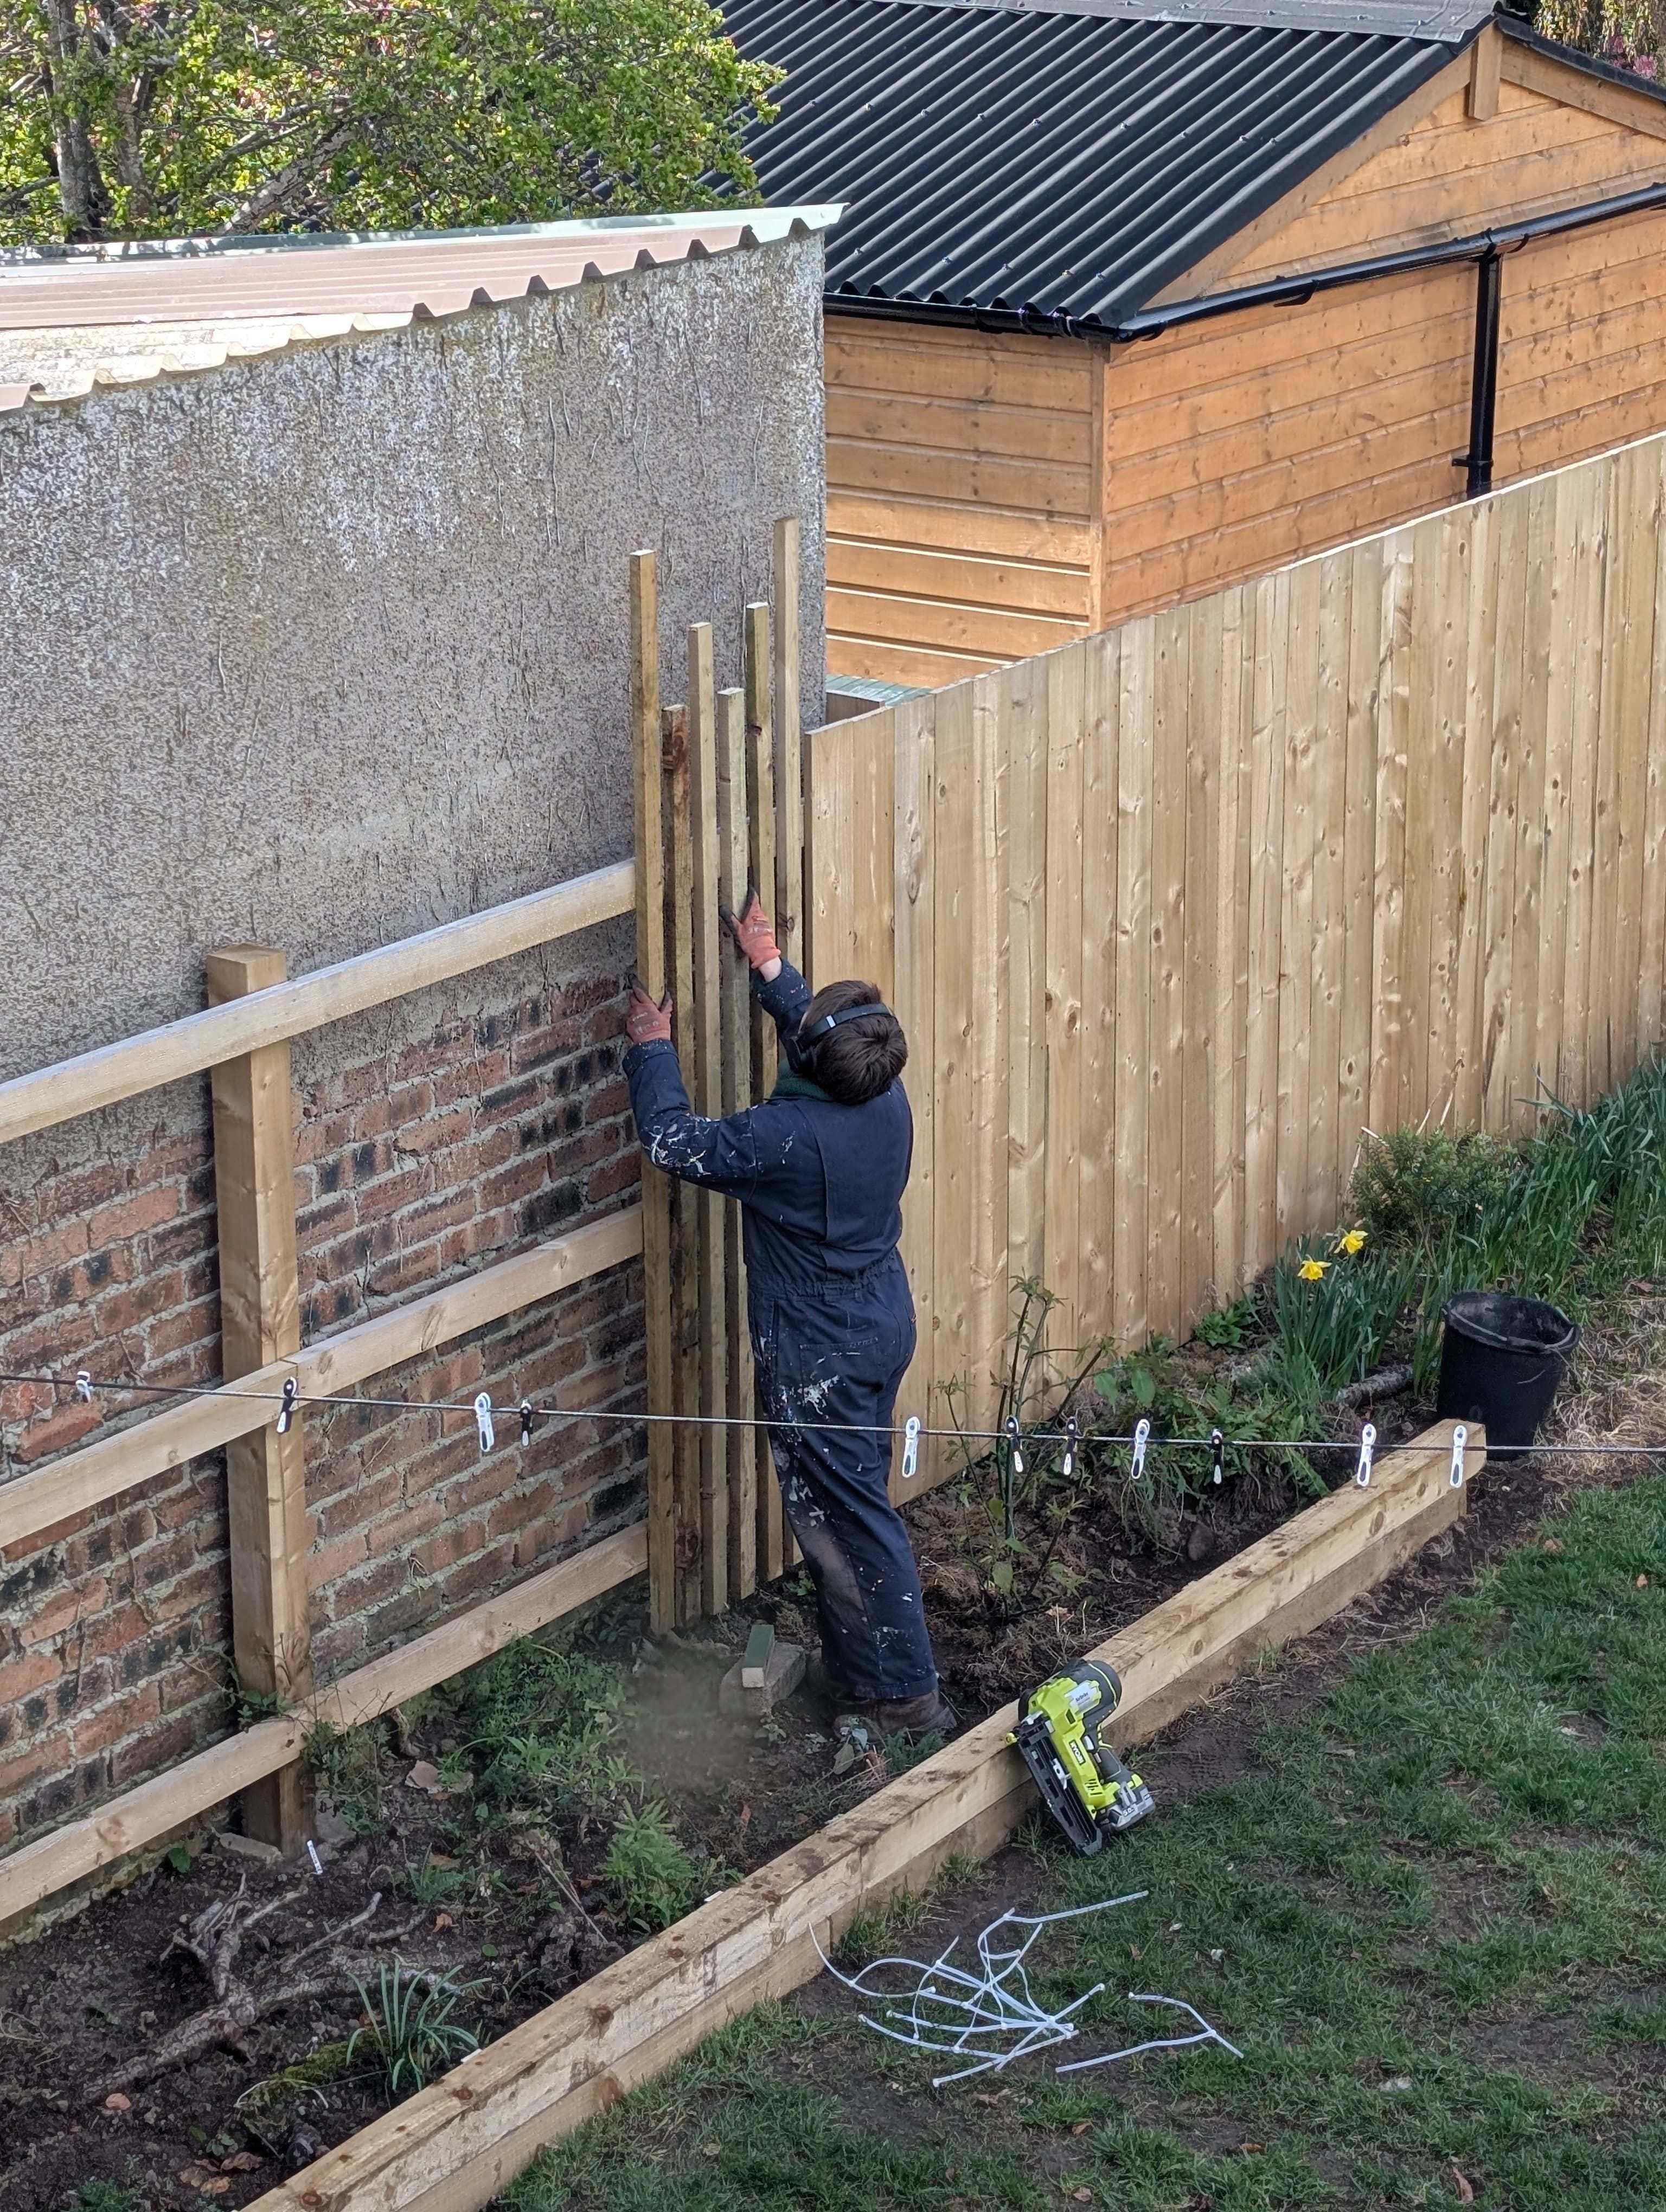
Building a trellis.
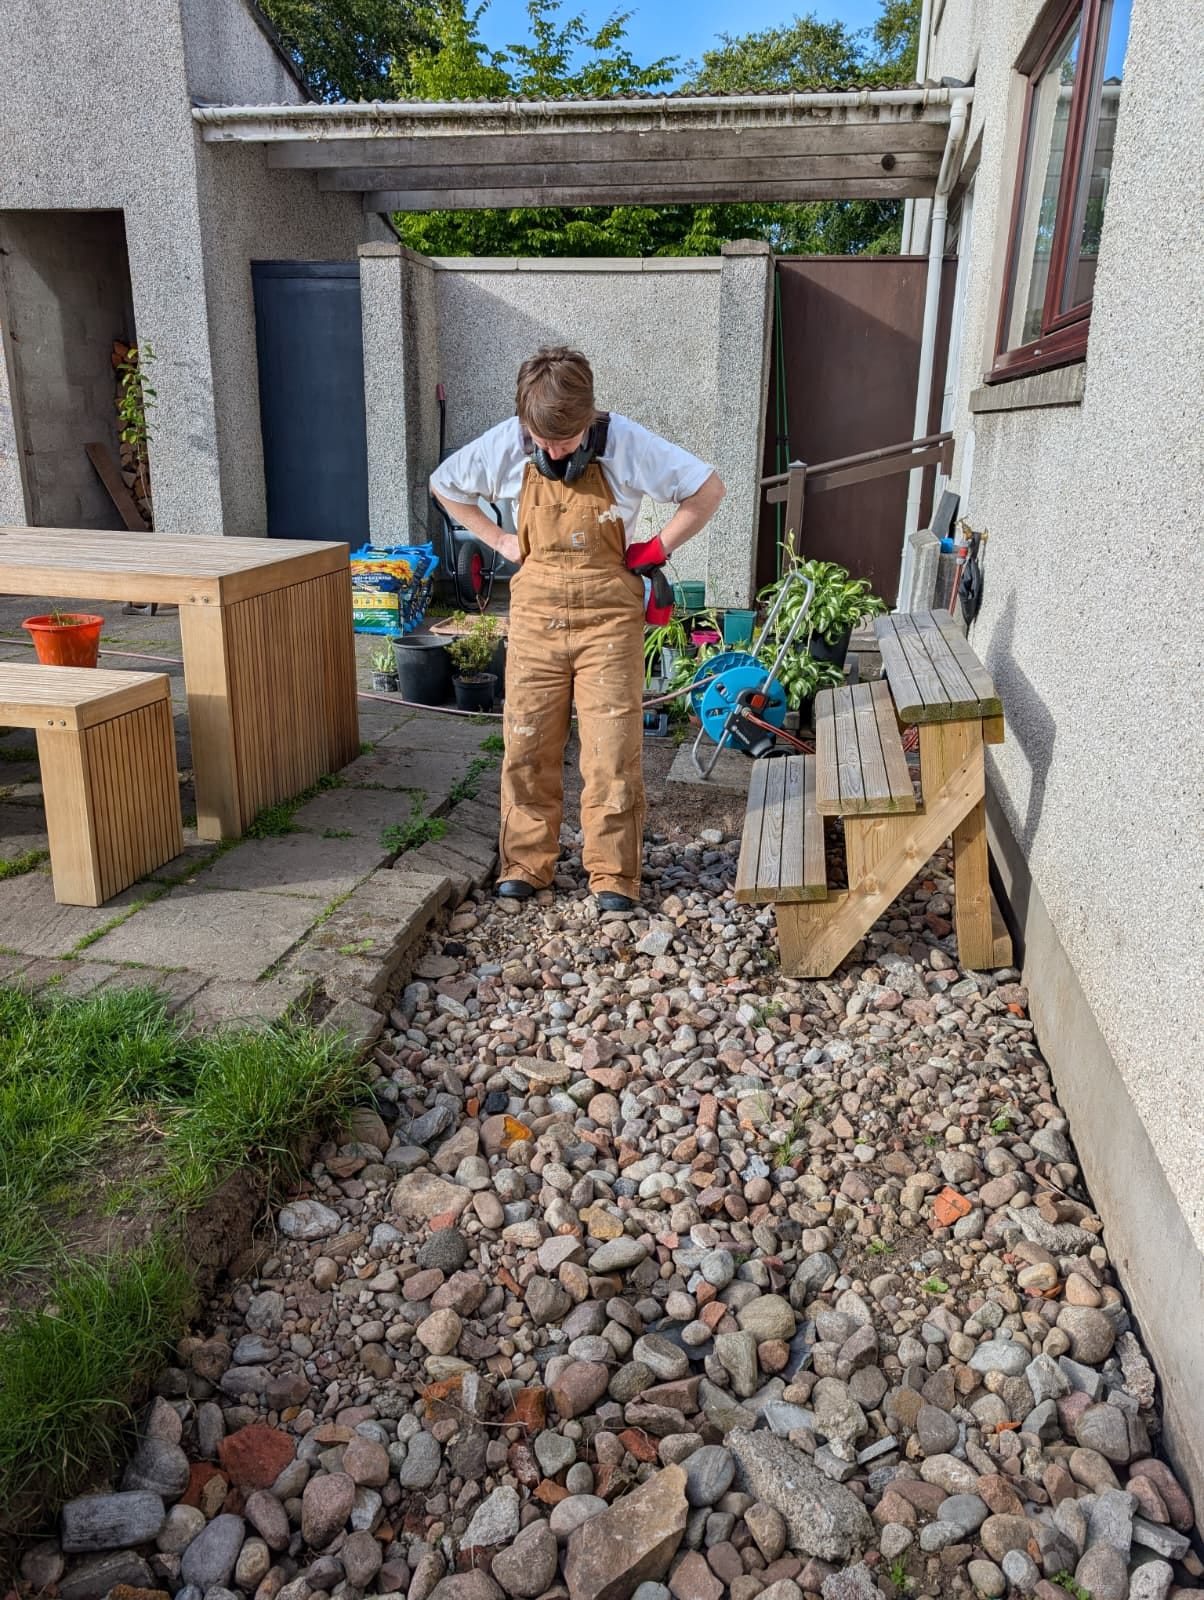
Admiring my stone-filled hole.
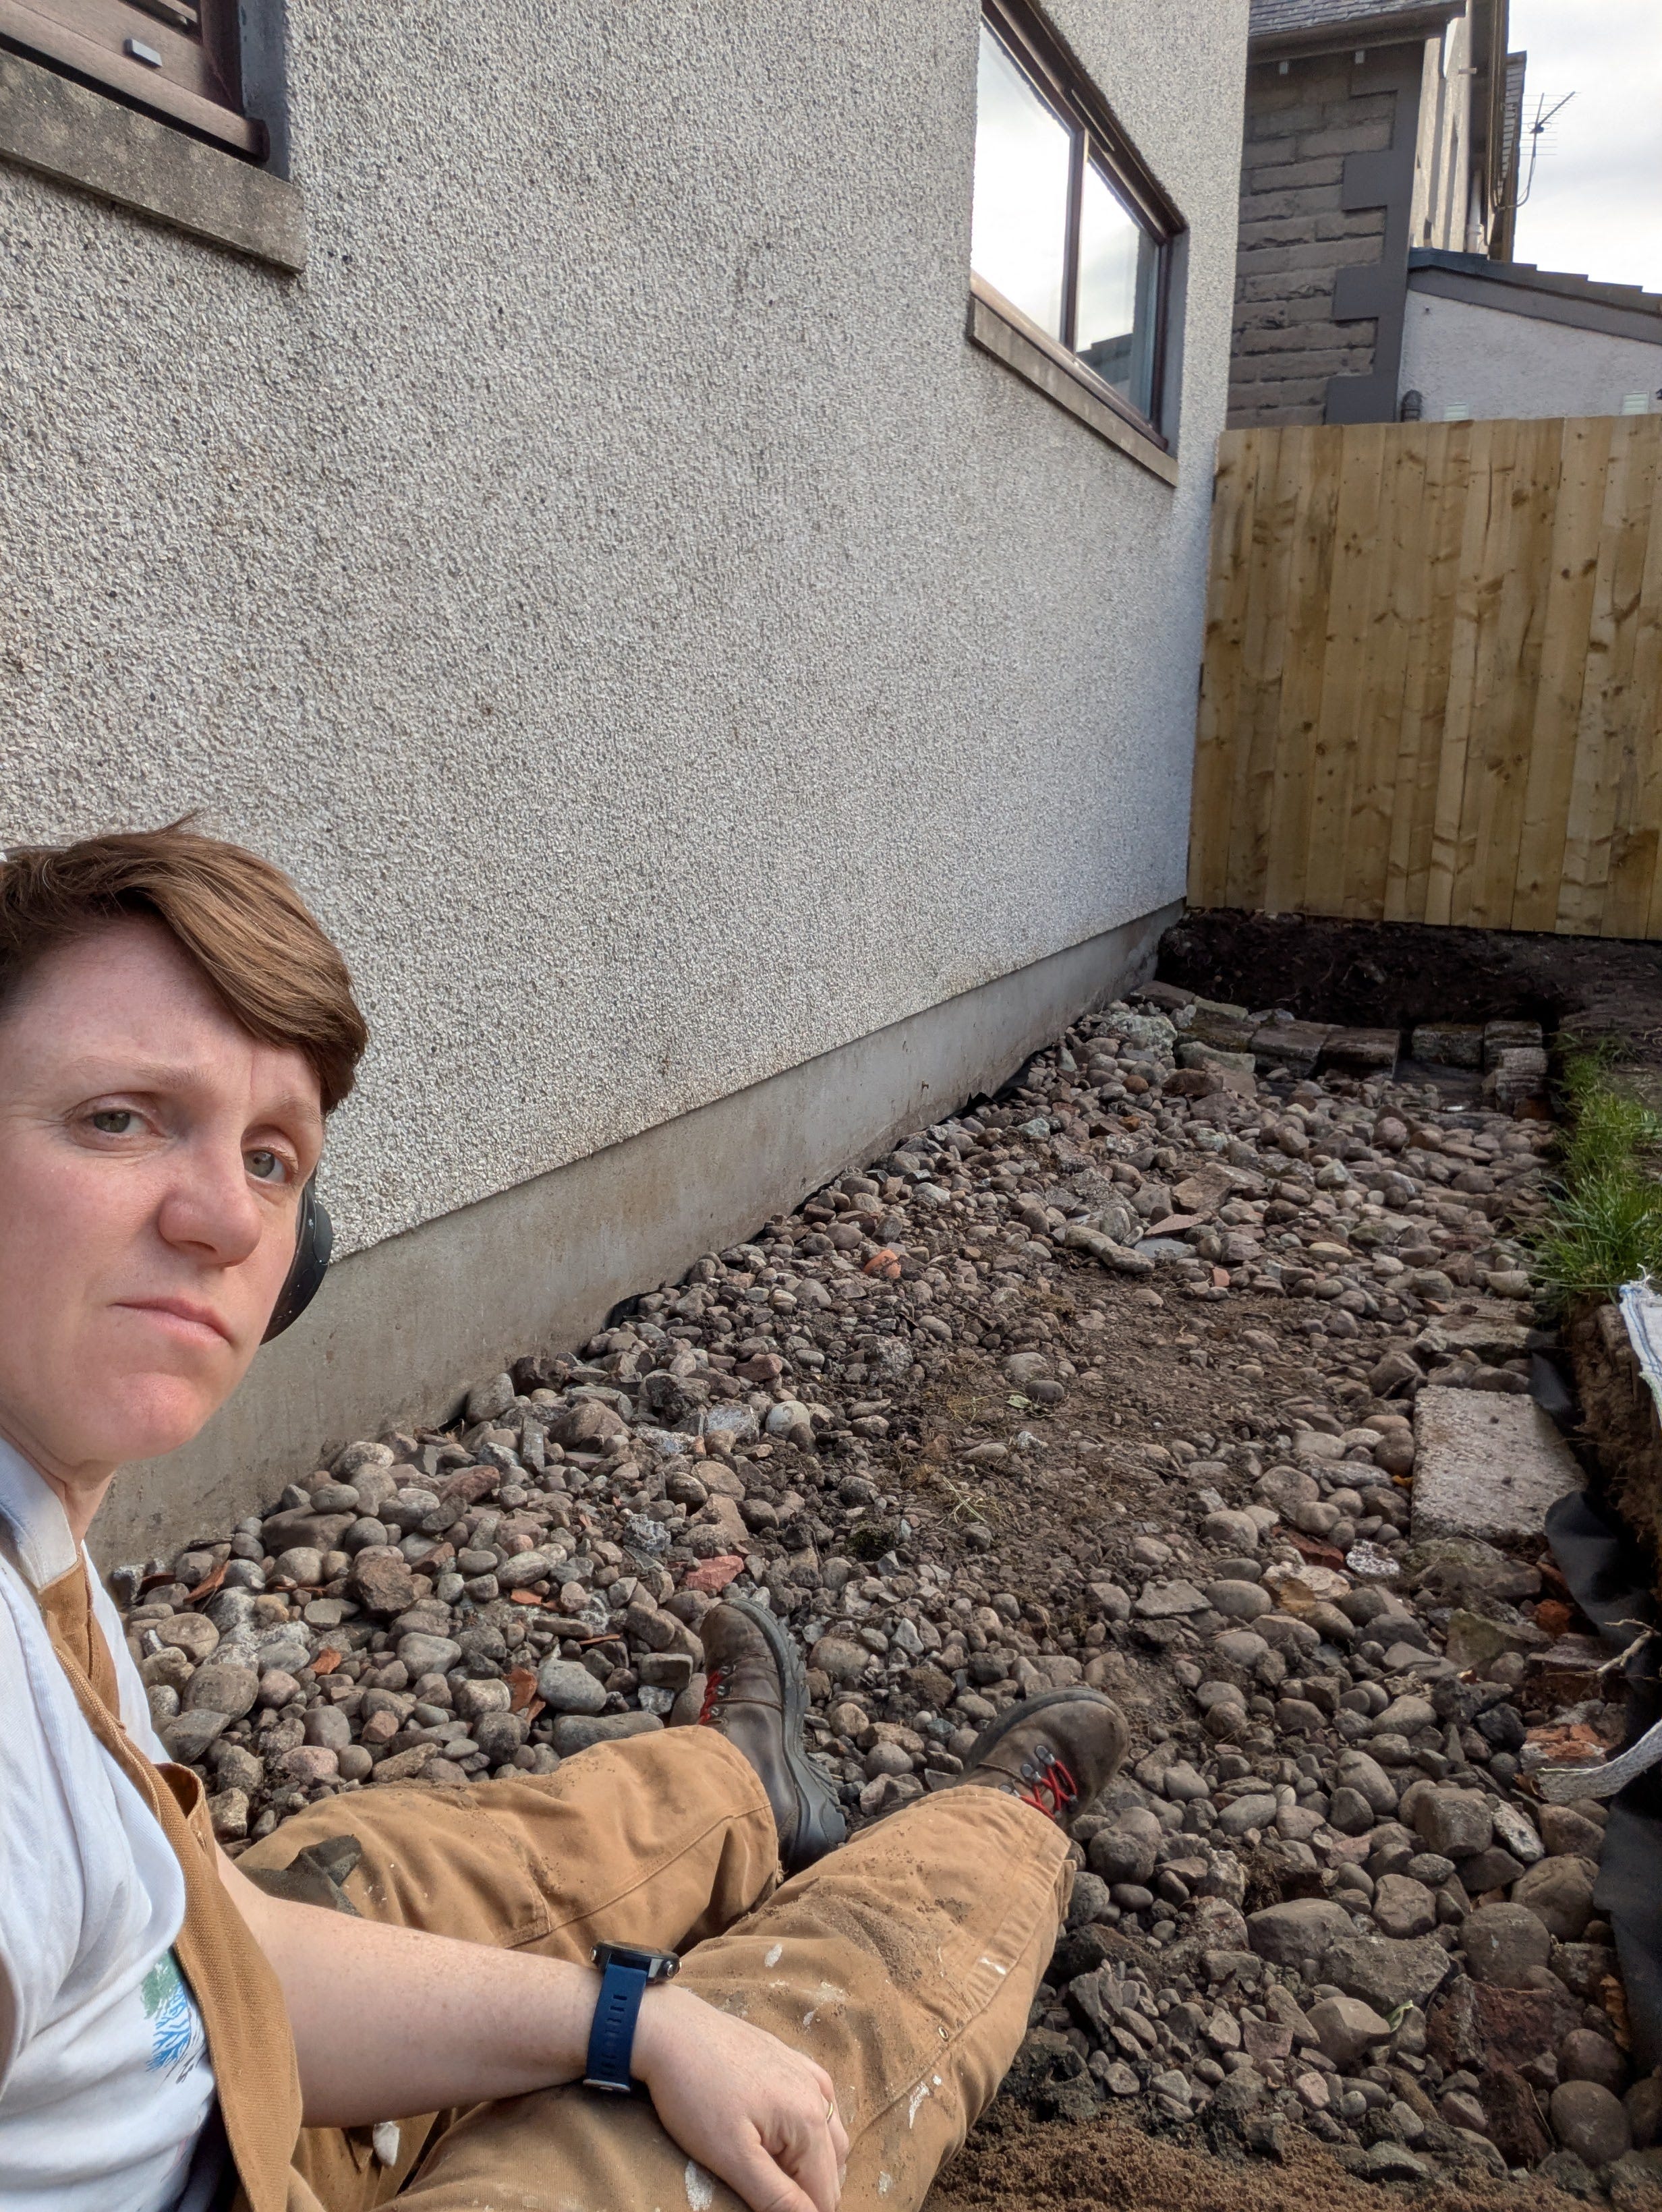
Around this time I bought 4 bags of aggregate and 6 bags of sand from B&Q, to experiment with laying some slabs. I was trying to work out whether I needed a builders bag (tonne bag) of both construction materials, or whether I could buy individual bags. I ended up using all 4 bags of aggregate, plus 2 and a half bags of sand, to lay one slab. You can see in my face above, it’s dawned on me how much more work I still have to go. I priced up aggregate and sand from various different merchants, but ended up going with Jewsons. It took around 6 weeks for me to organise this though, so the hole-filled-with-stones sat untouched for a while. I needed to gather my mental strength for the next step.
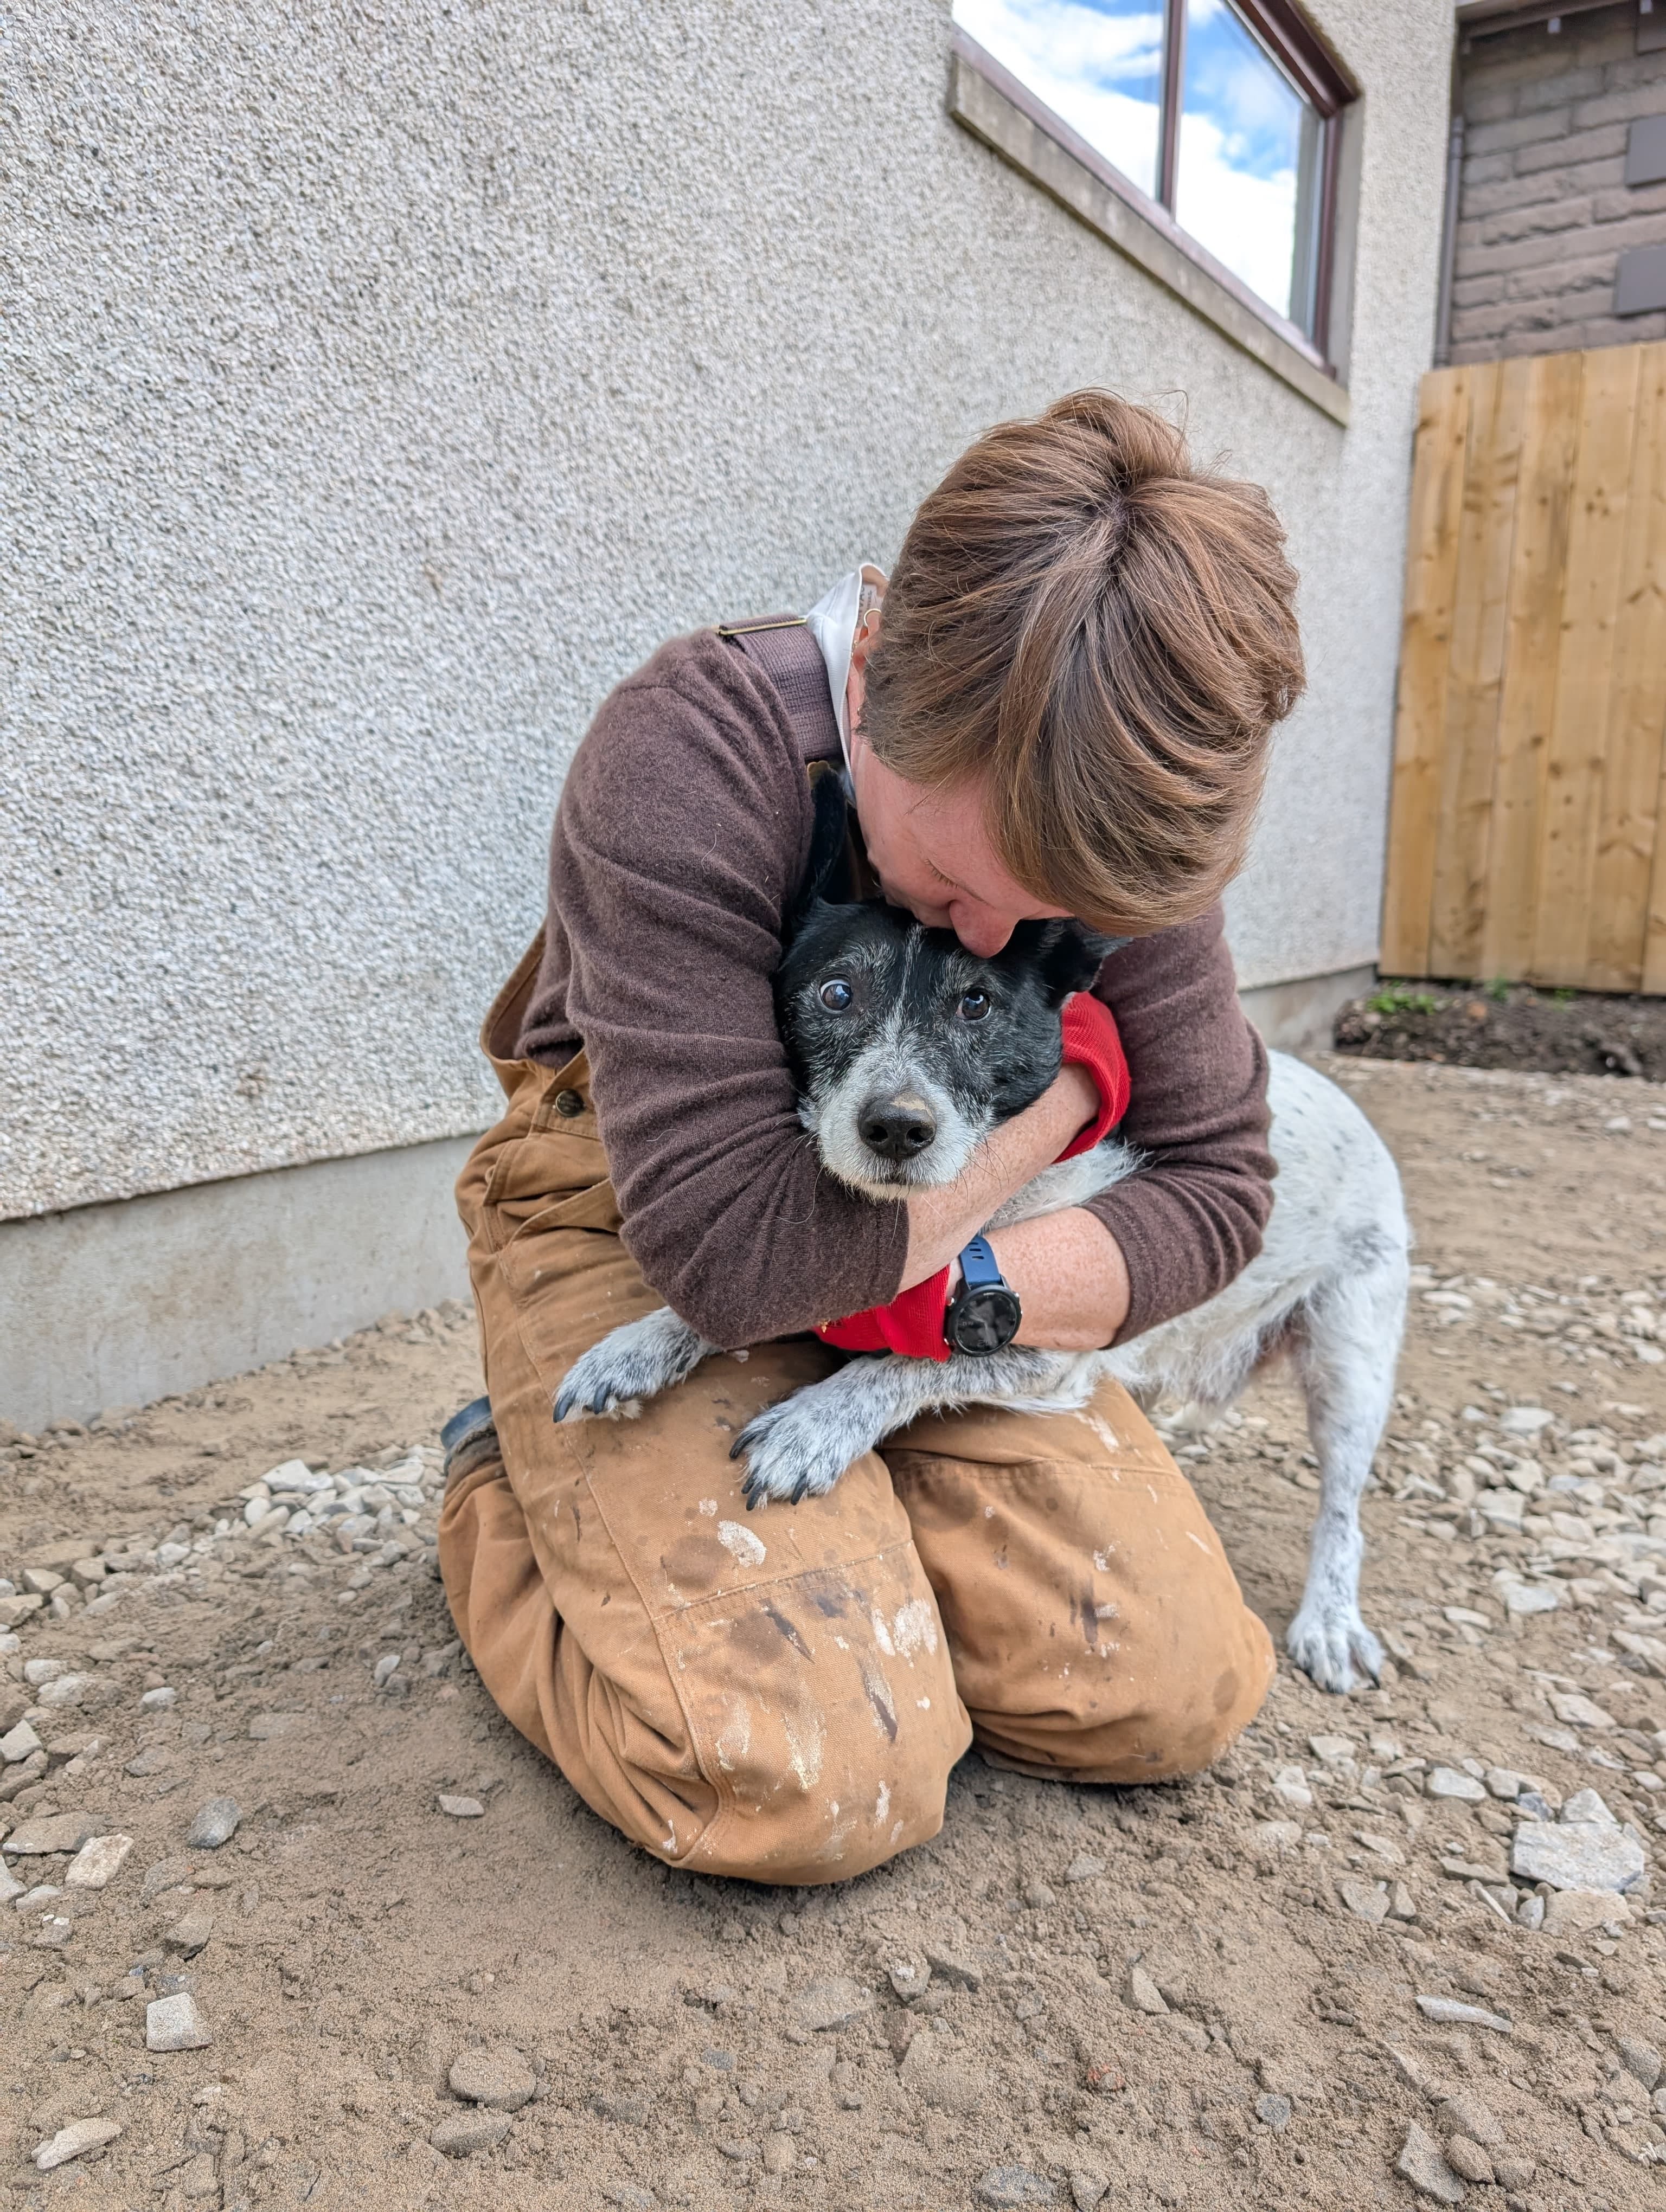
Once the aggregate and sand arrived, the next step came together over an afternoon. Rod returned to help barrow aggregate from the driveway to the hole, and Andrew lent a hand at this point. Between the three of us, we moved nearly 2 tonnes of aggregate in around 3 hours, plus compacted it by hand. I was amazed, I had expected this stage to take far longer.
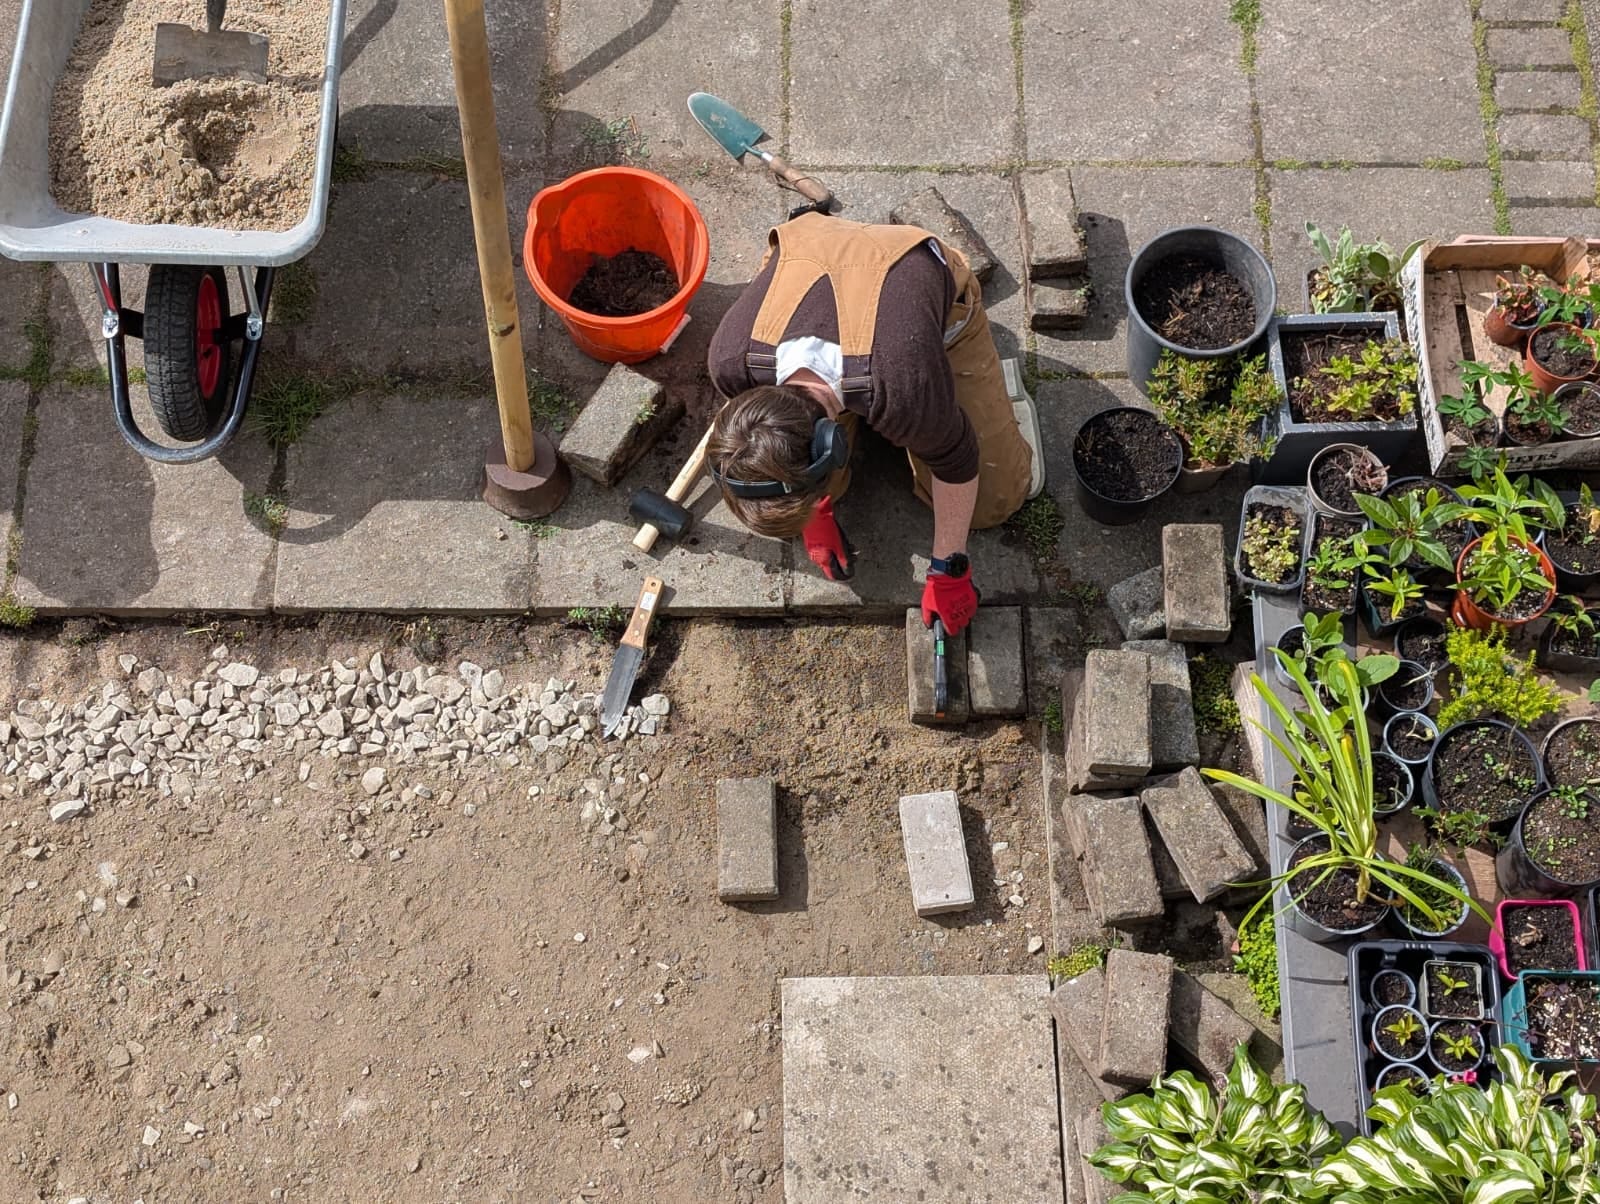
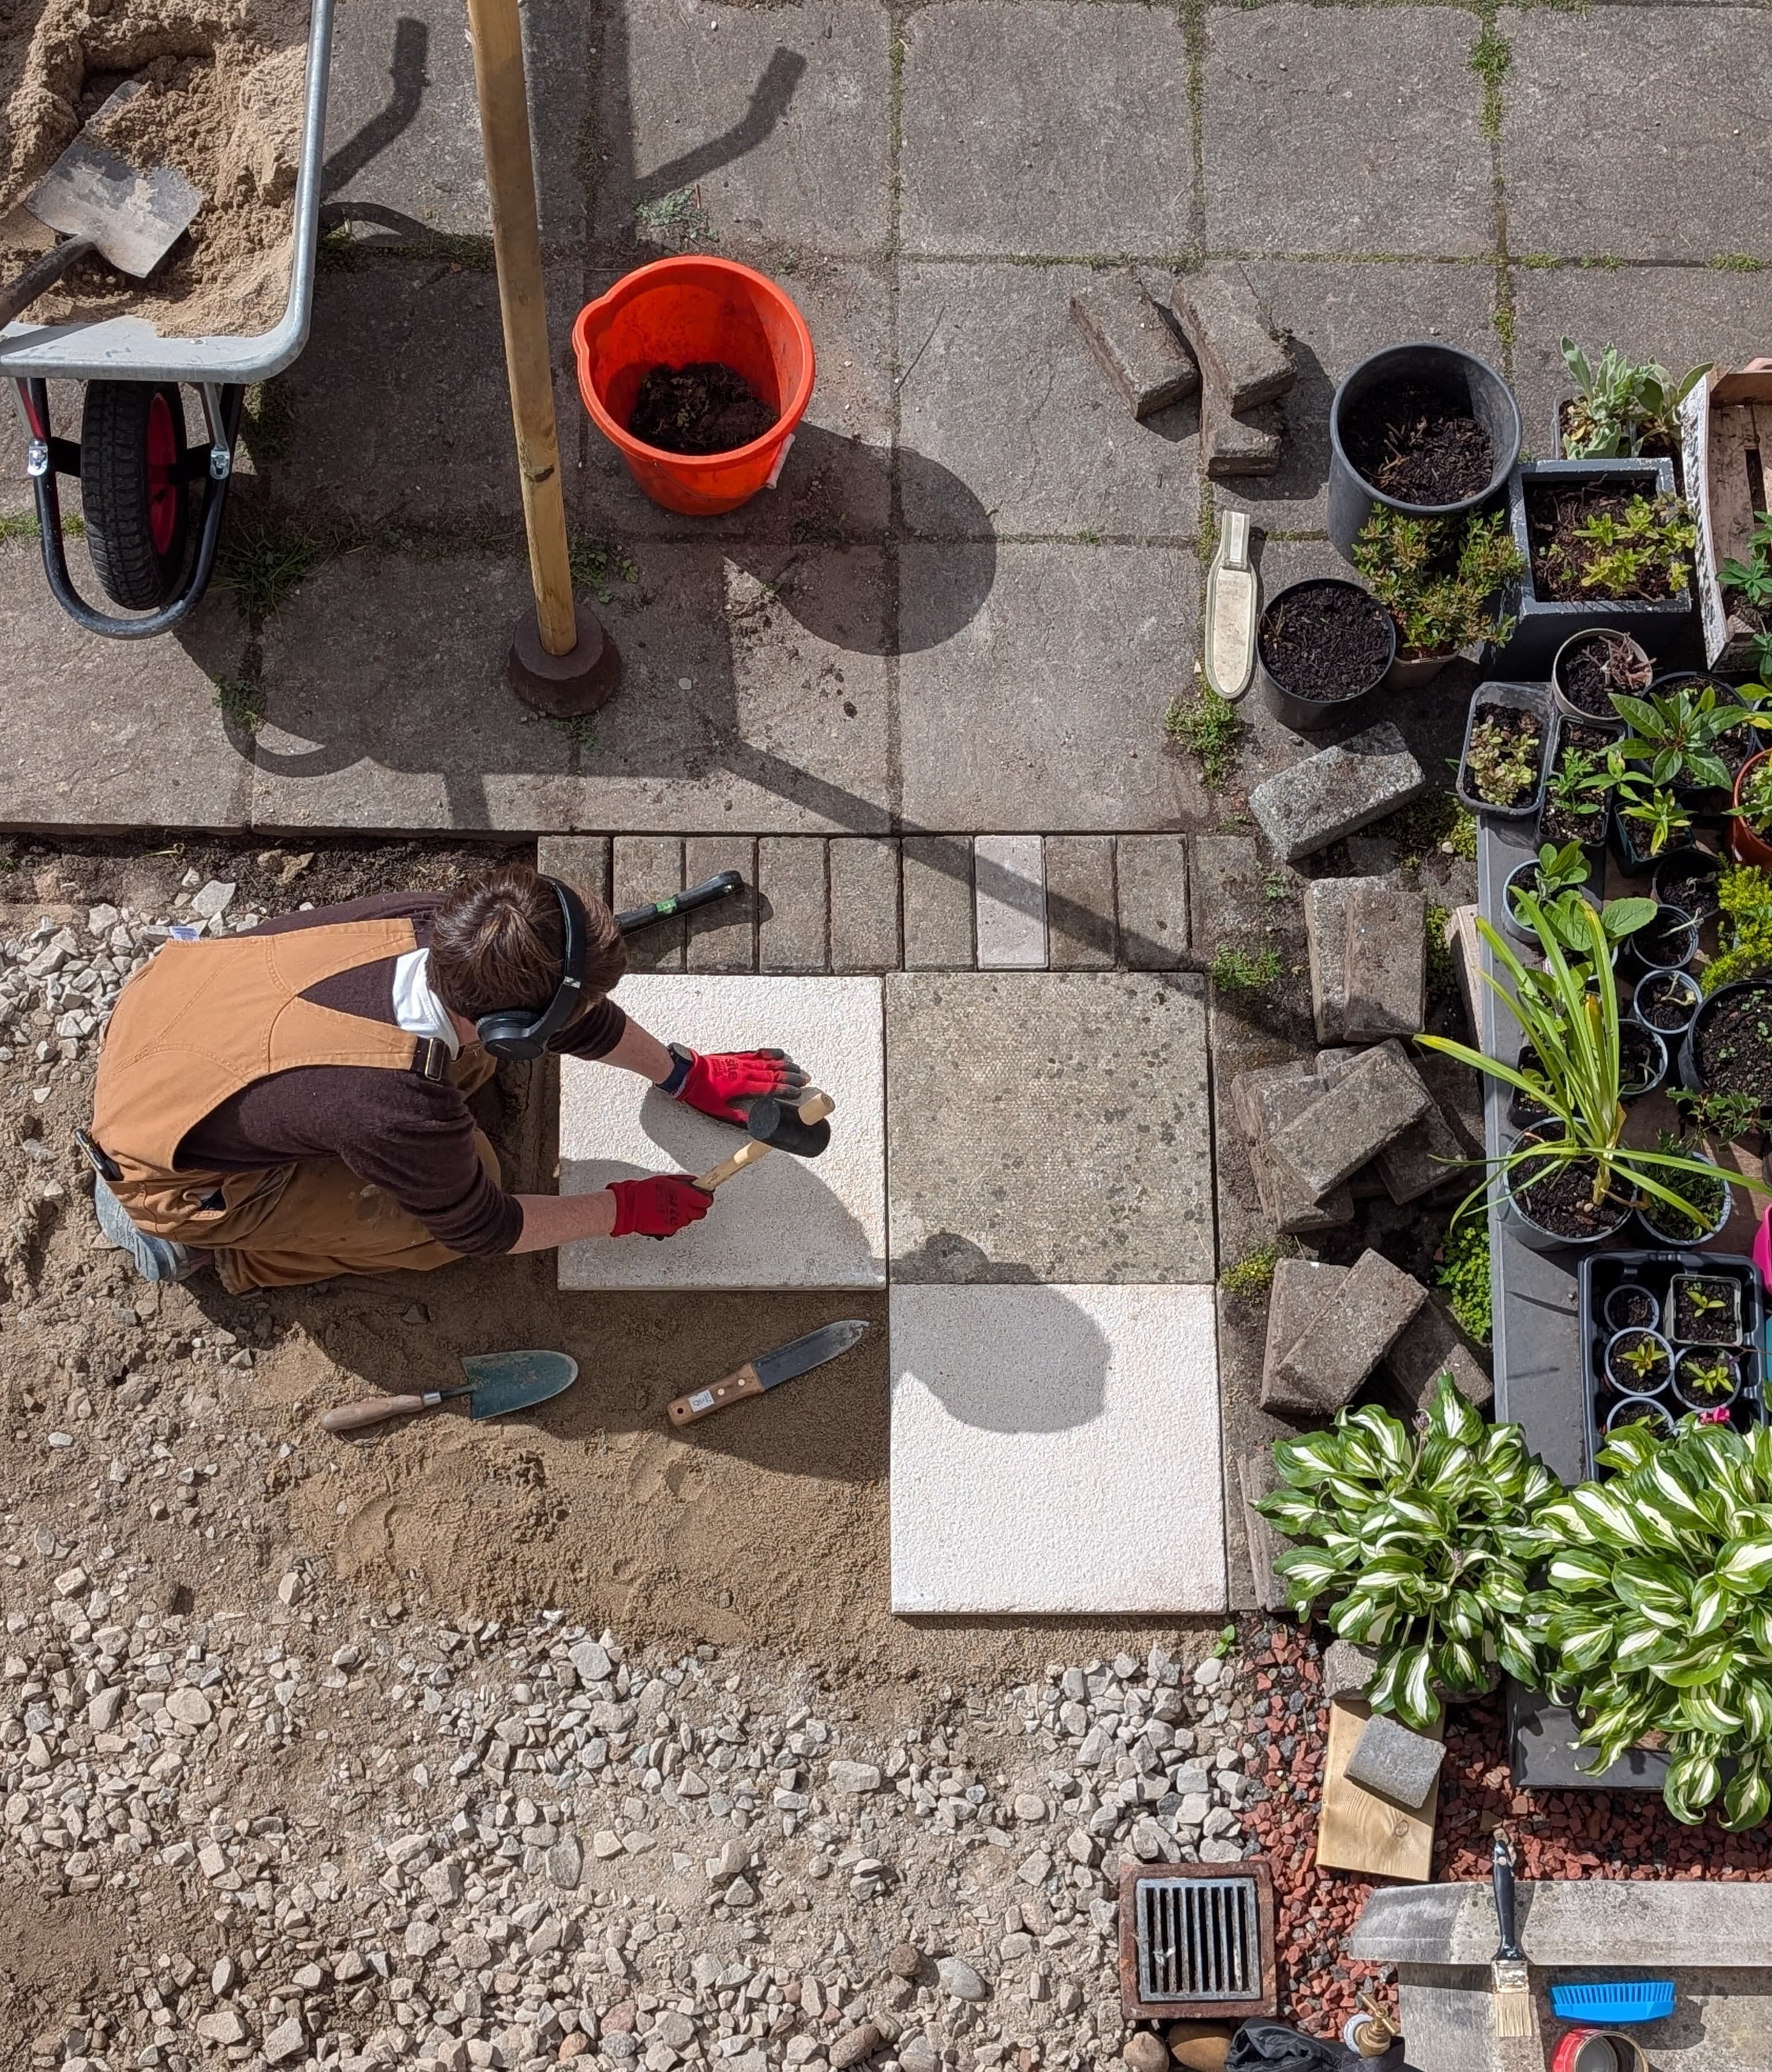
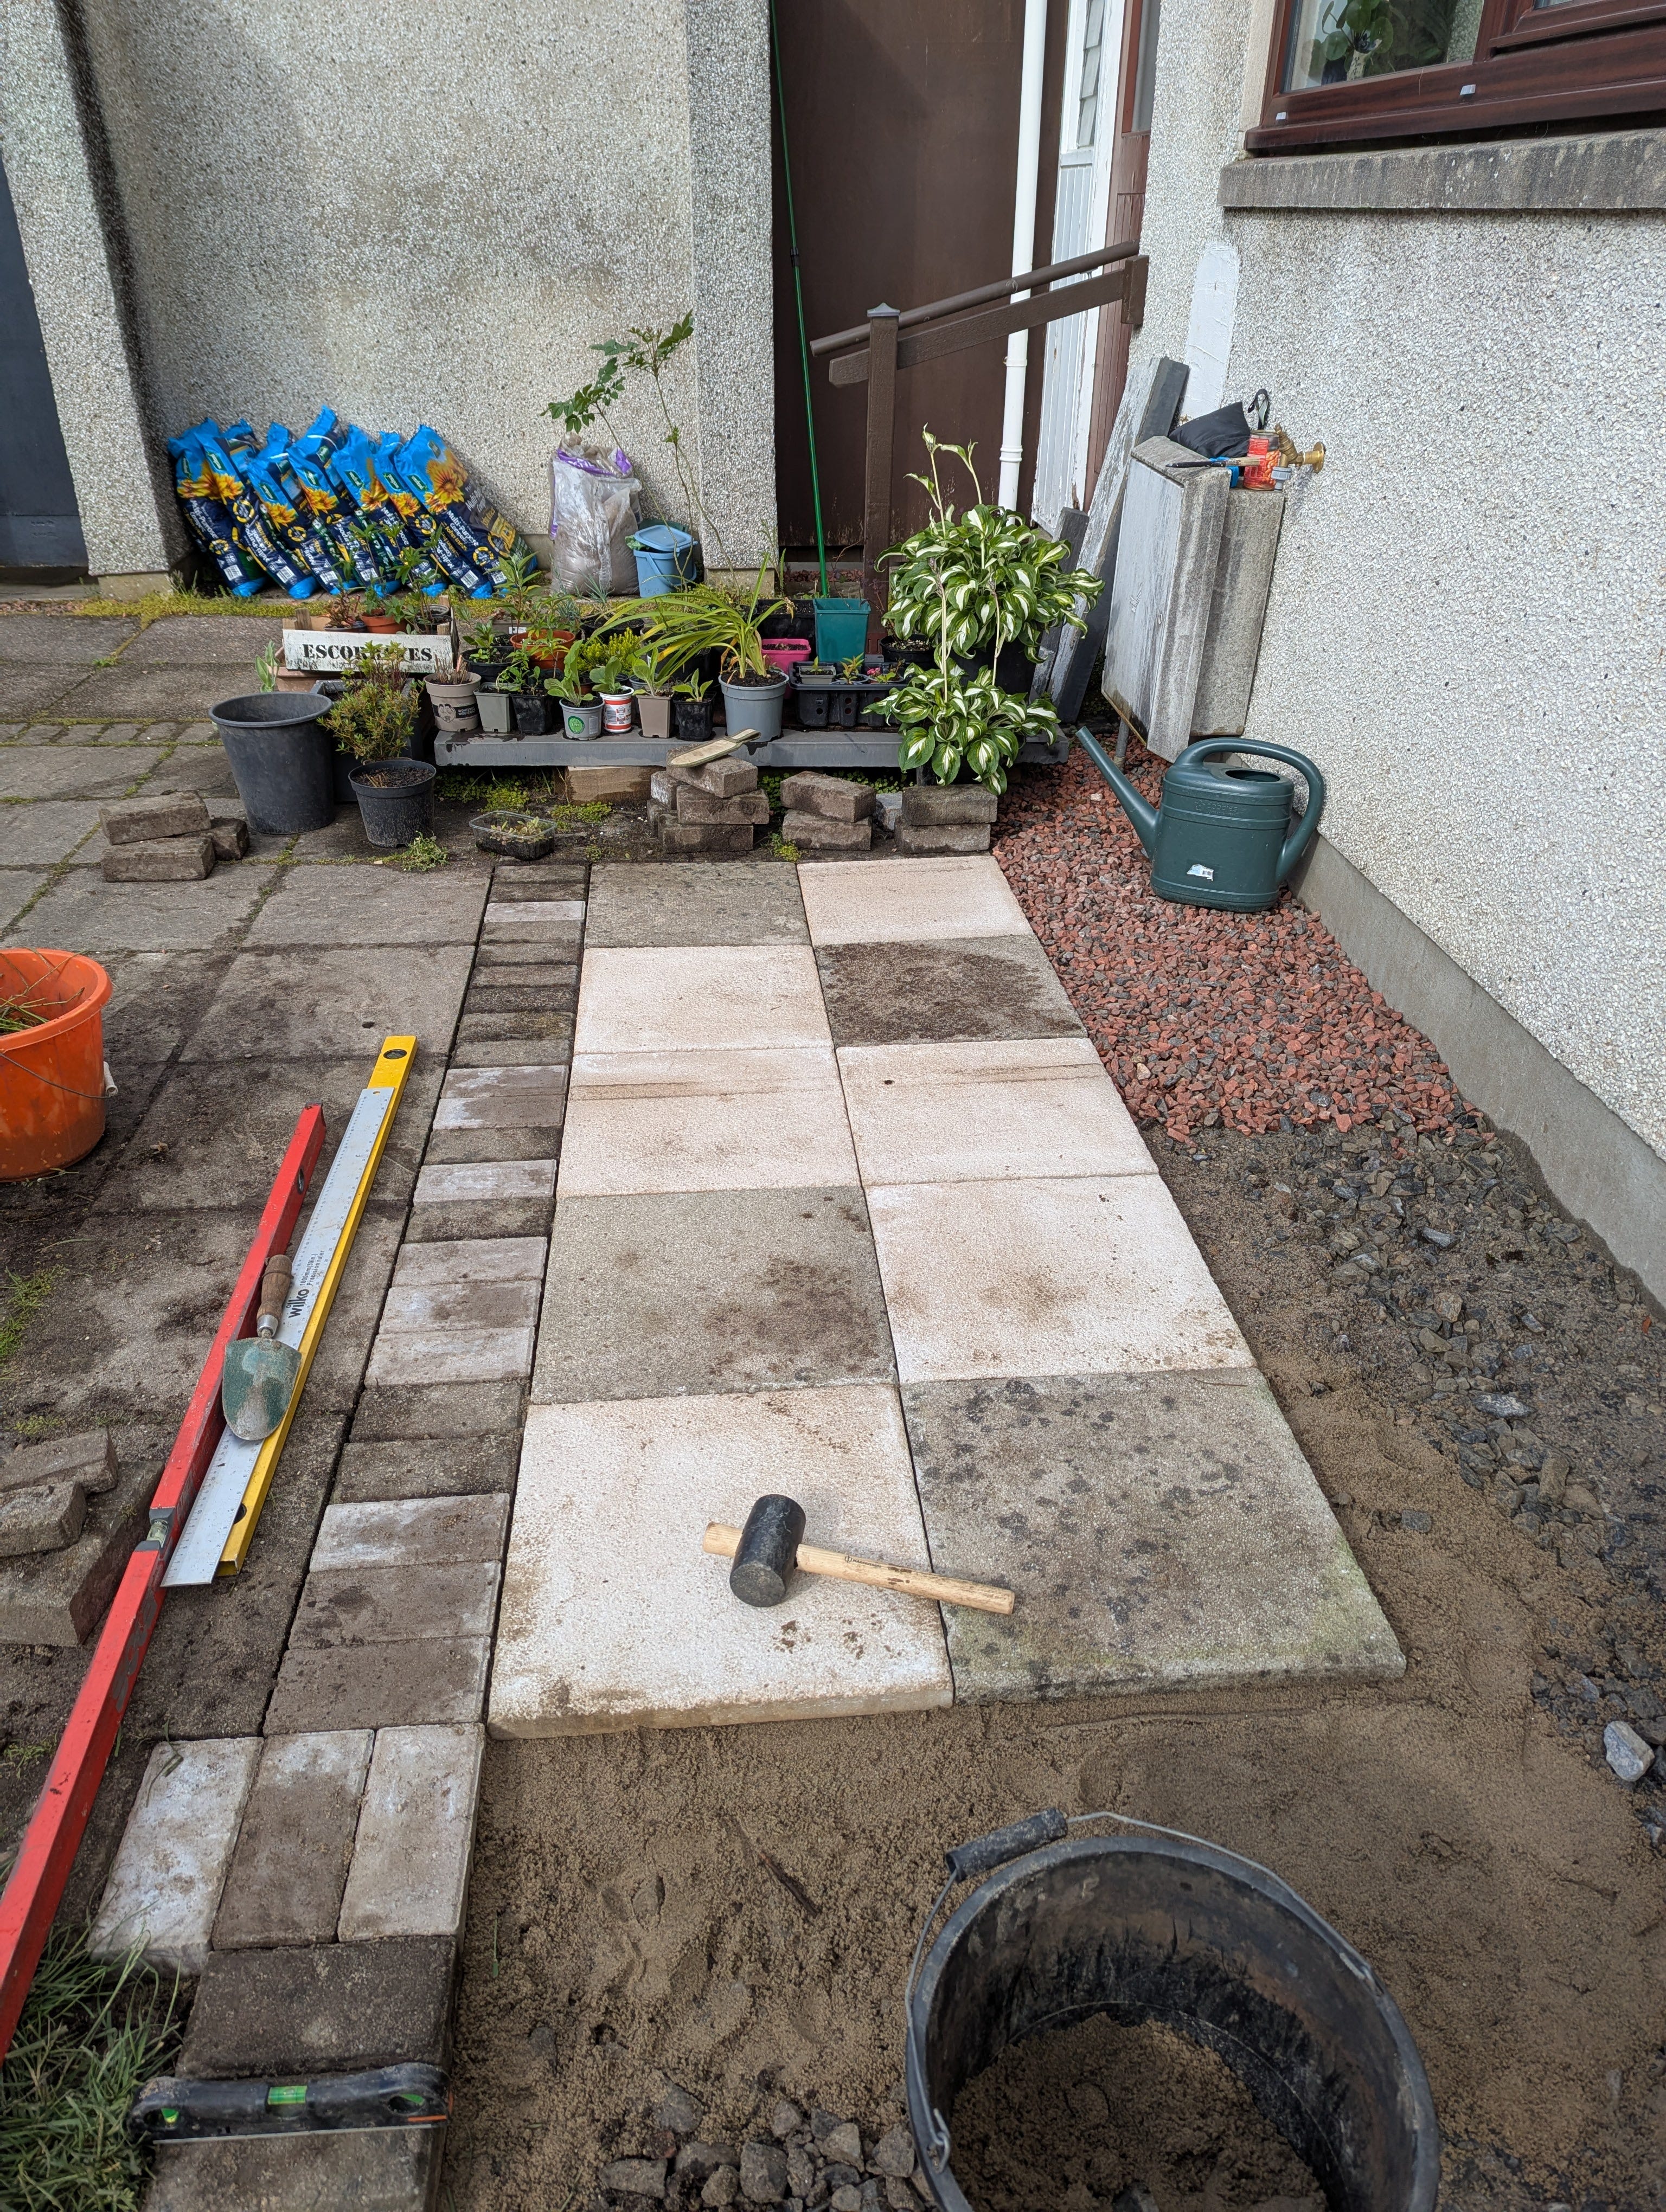
Between the construction materials arriving, and the patio being completed, only a week passed. I was keen to get this finished before my bestie came to visit, so made the most of a run of good weather to lay the slabs and bricks. I tried to mix the old and new slabs in together, to avoid the transition from one to the other being too abrupt. The back 50cm width was filled with gravel, to match the gravel strip already present beside the back door, and make the new patio look intentional and integrated with the original.
I debated about how to lay these - using cement, grout or just sand. The original patio appears not to have any cement or grout, and I like how little plants can grow between the slabs. I opted for this method in the end, we’ll see how things settle or shift over time. Worst case scenario, I can always realign any that move and seal them in place with grout if needed. I like the idea of growing creeping thyme or forget-me-nots in the cracks, so I want to try that first.
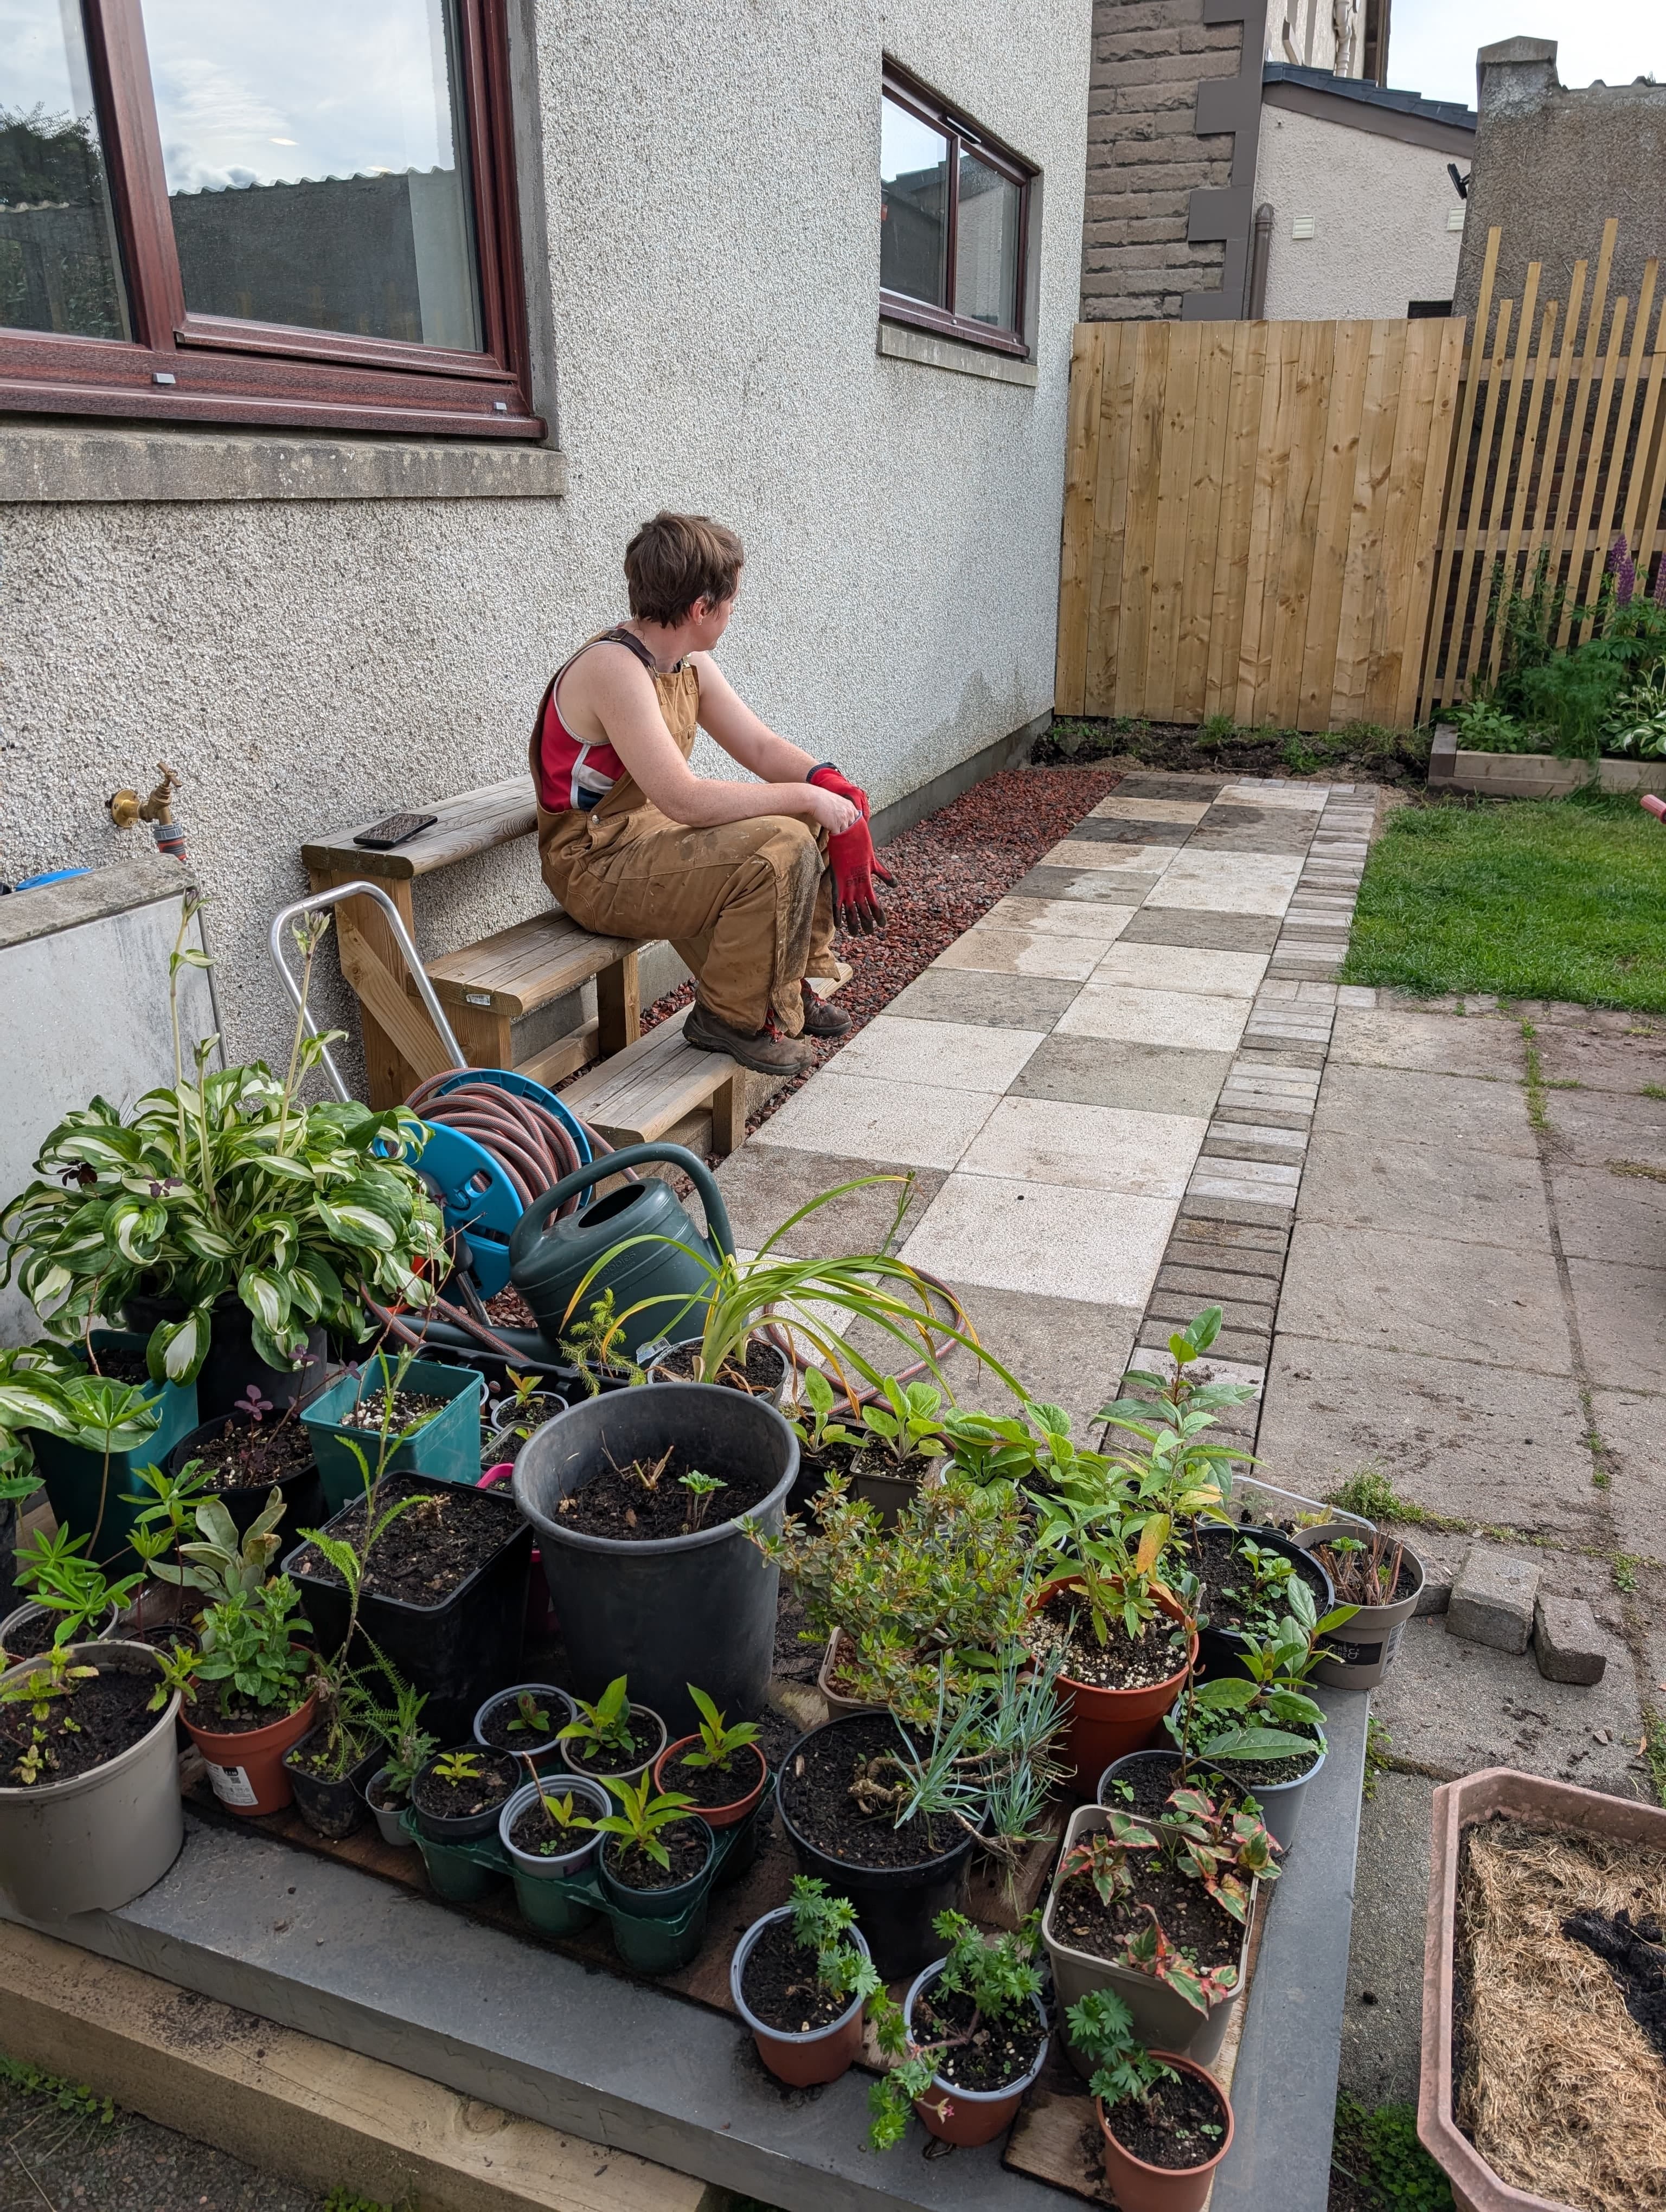
The little plant nursery in the foreground is not permanent, they’re all plants salvaged from round the garden, or grown from cuttings or seeds. Most have now been planted in their final place. But here I’m sitting on a makeshift bench, admiring my handiwork. The patio is finished!
A wee reminder of the ‘before’.
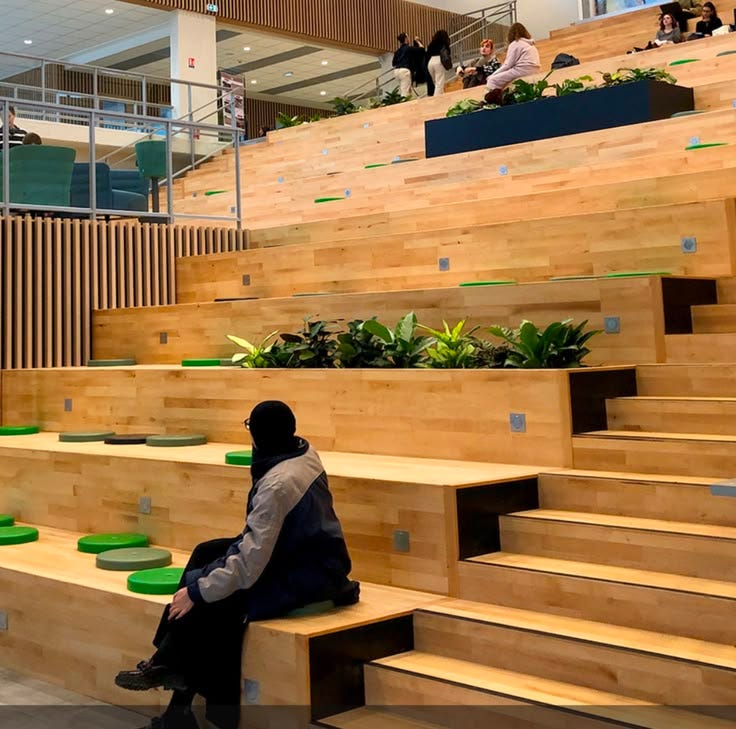
Andrew found this inspiration picture via Instagram, designed by Creature Architects.
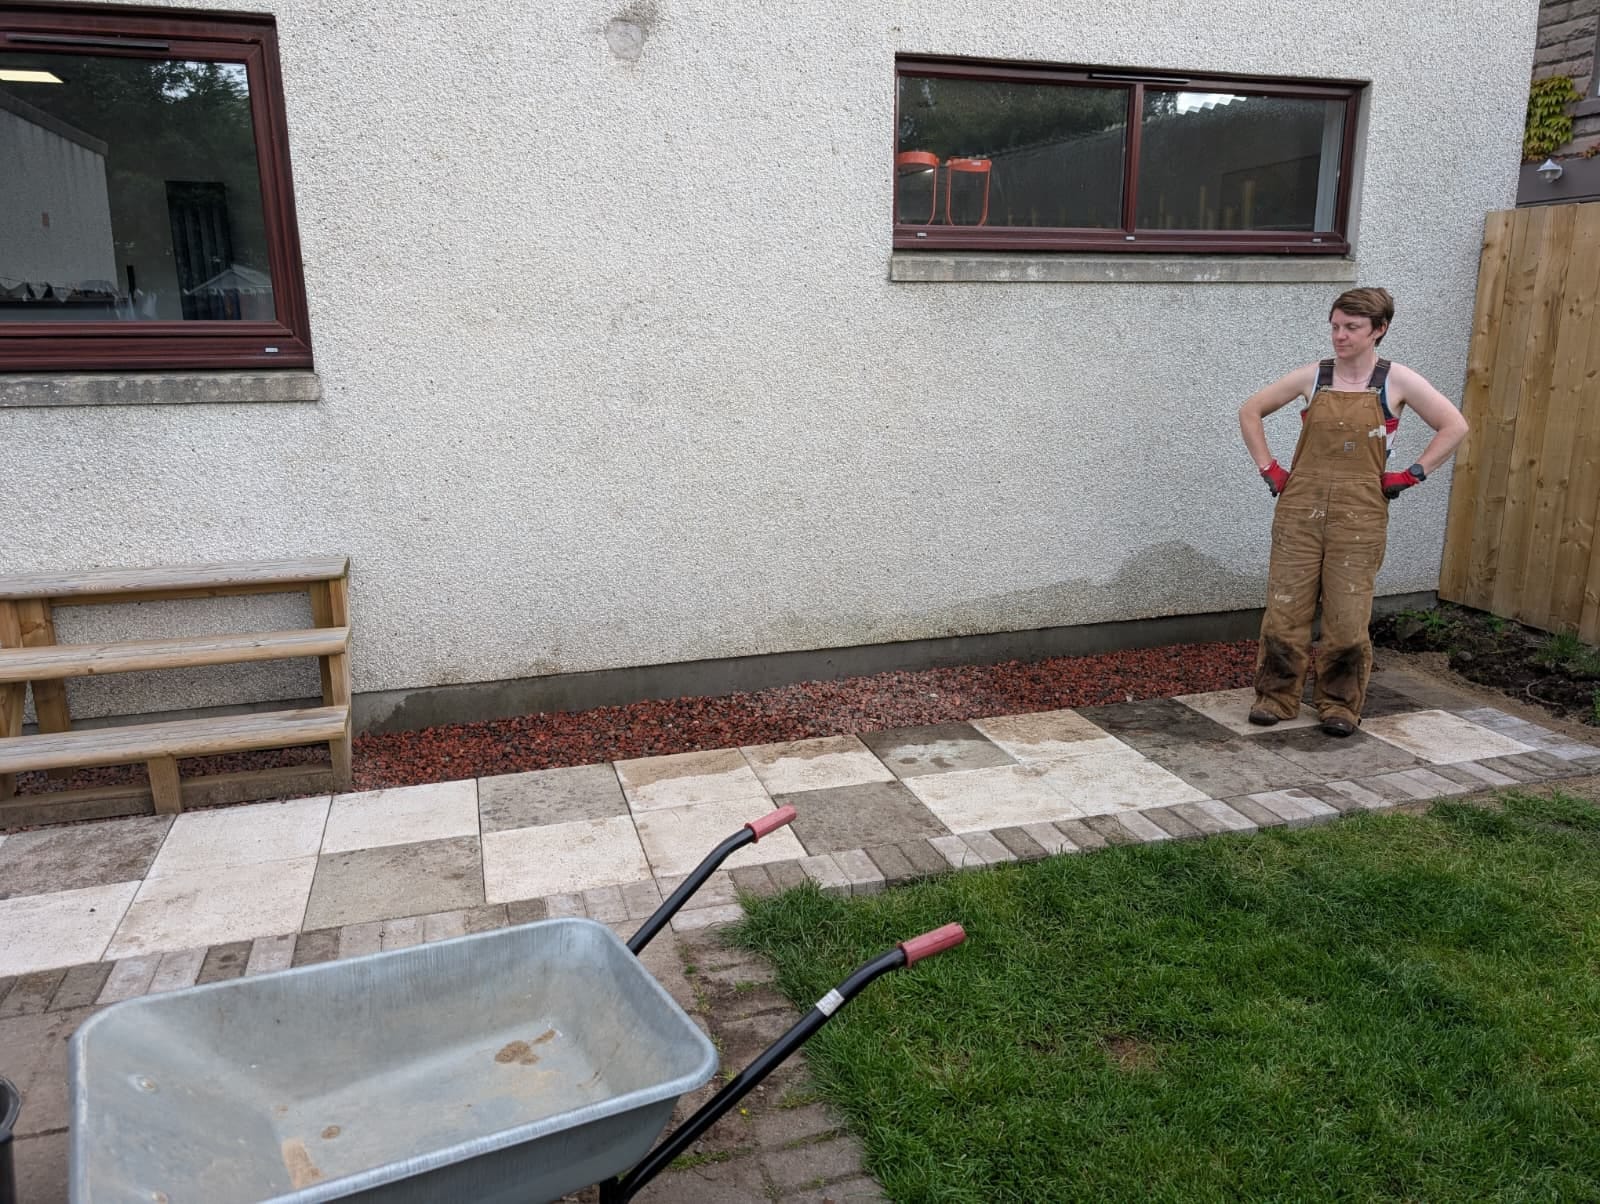
The plan is to build bleachers-style seating across the back of the house here. Under the kitchen window you’ll be able to step up to the window, to take drinks or snacks outside. Under the dining room window, you can sit and look down the length of the garden. It’s the perfect place to throw the ball for the dogs of an eve. On the right there, behind where I’m standing, I plan to build a raised bed, to keep the soil from touching the bottom of the fence. I want to grow a honeysuckle, or jasmine up that fence. Something that will smell nice when you’re sitting on the patio with a glass of wine.
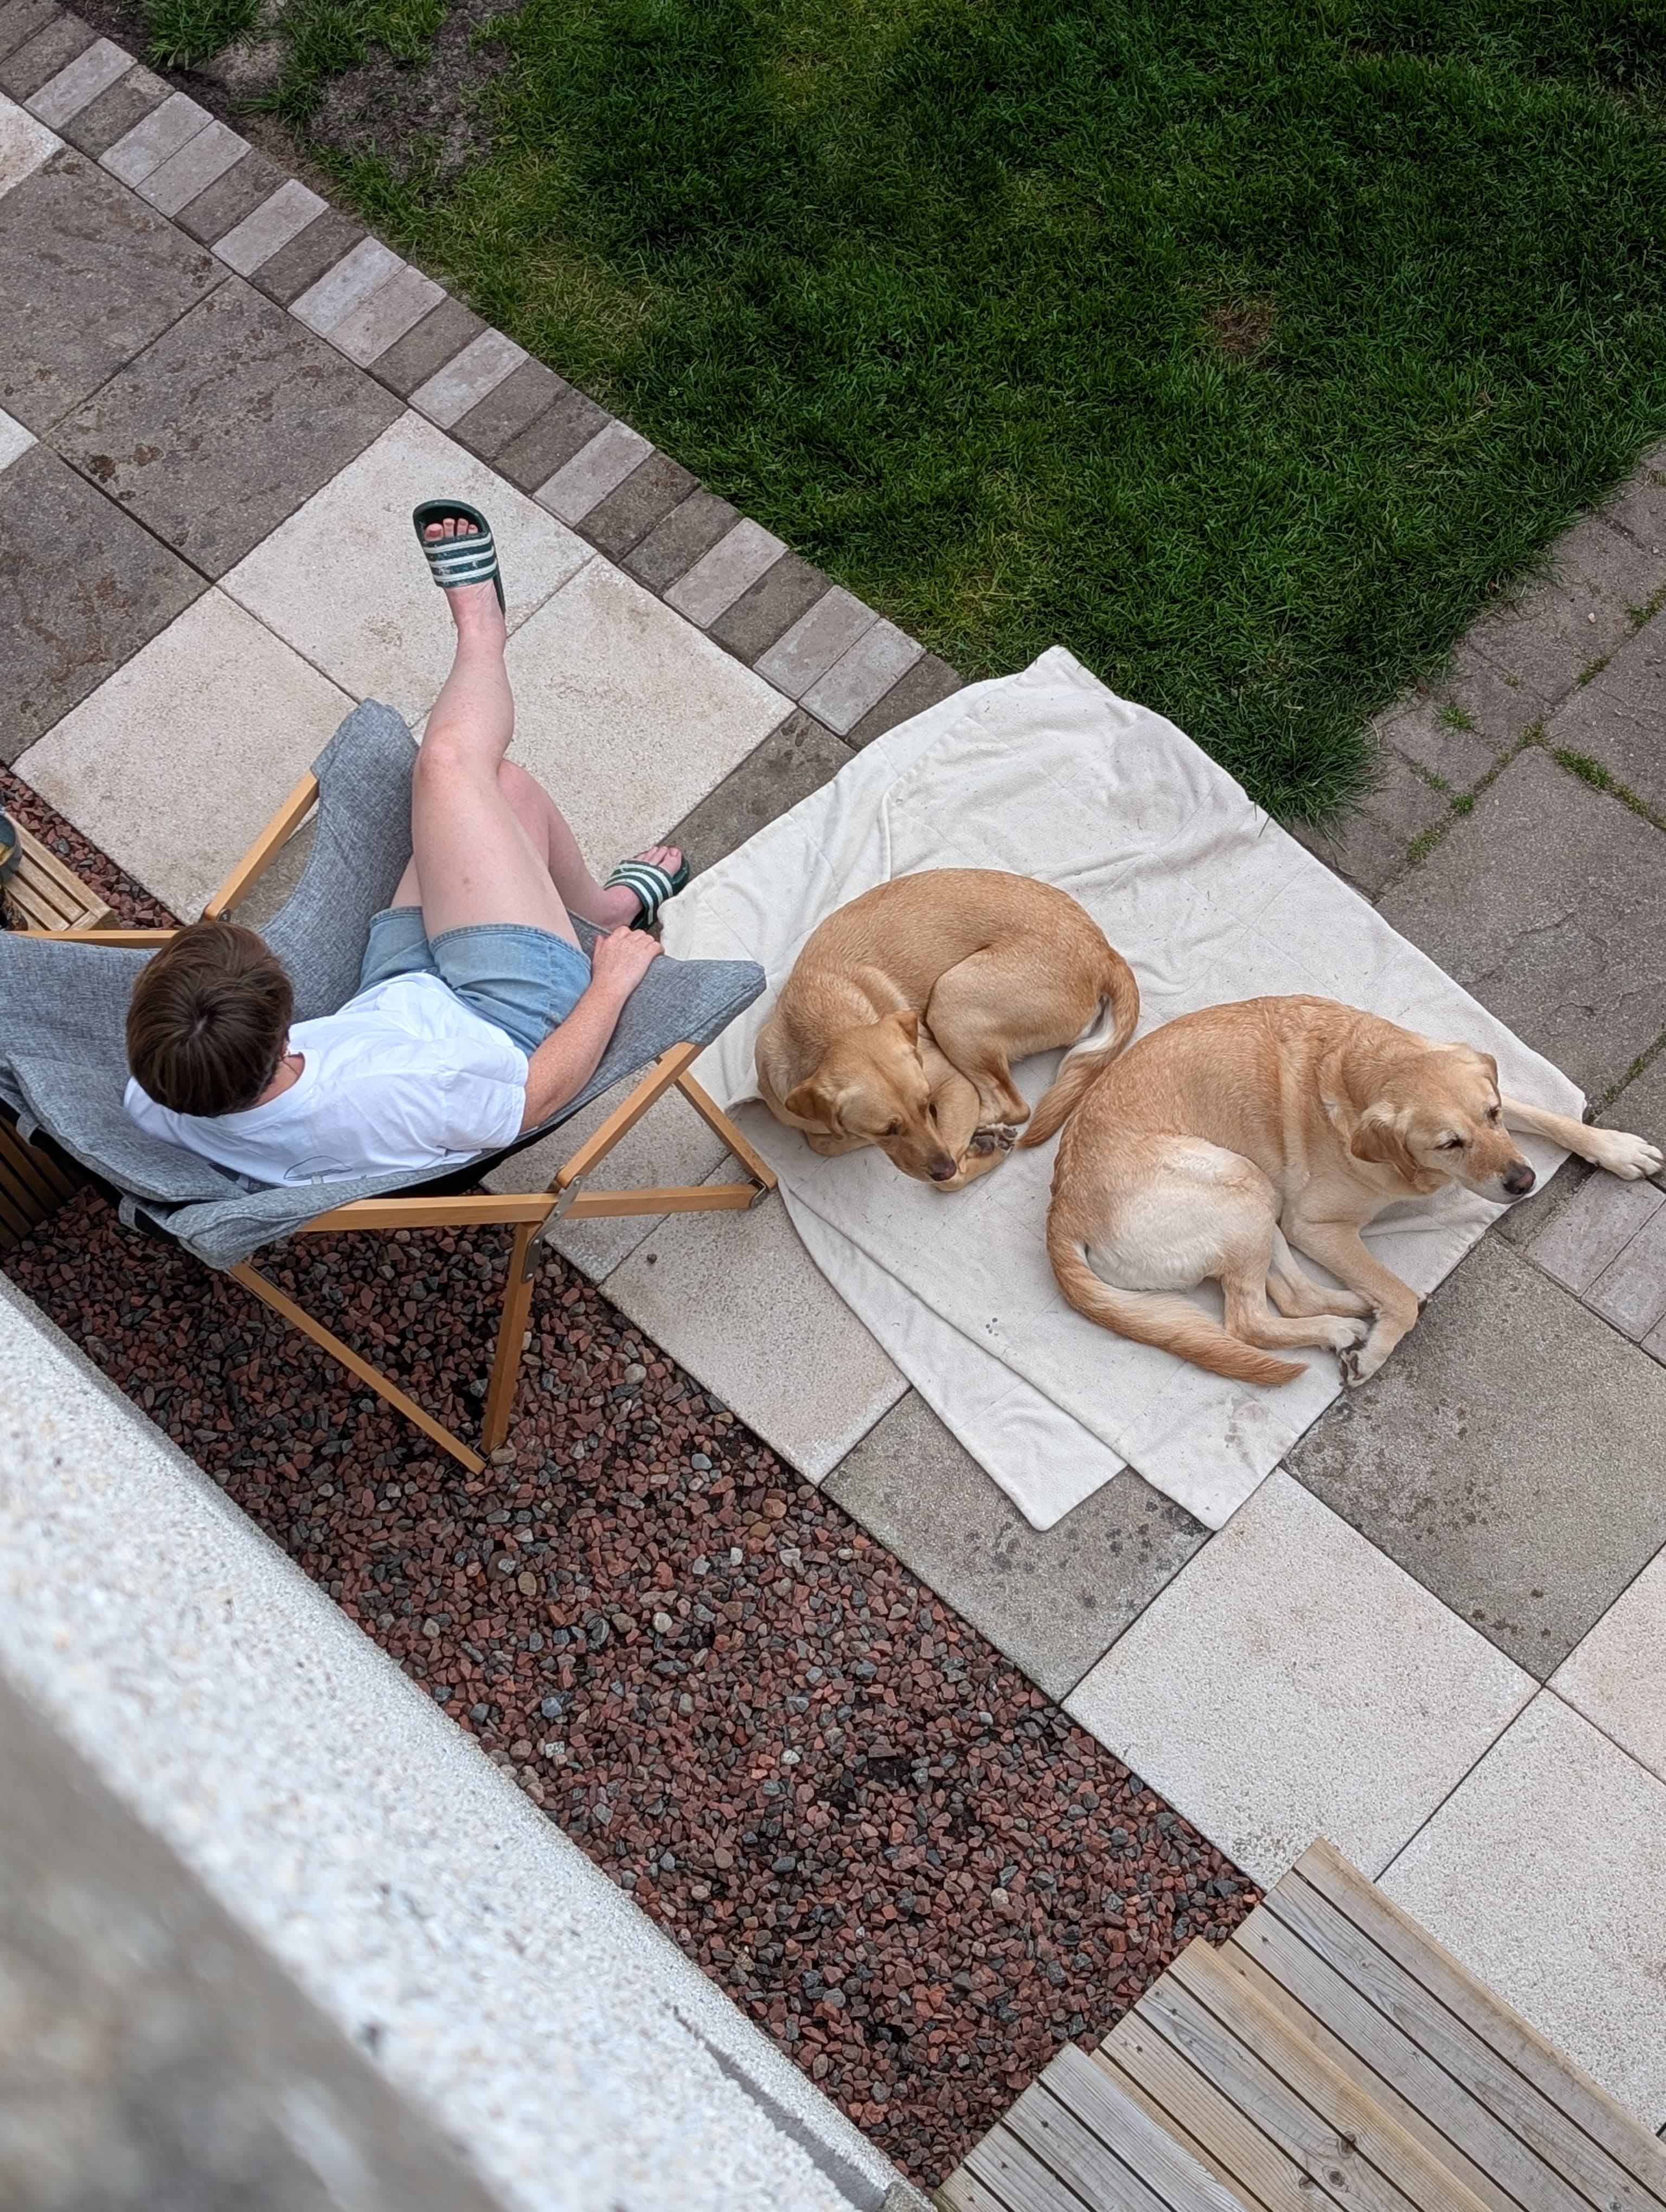
In the meantime though, a folding chair and a dog blanket will suffice. I’m amazed by how much we’ve used this patio since it’s been finished. We’re out there most nights (when it’s not raining), watching the swifts or throwing the ball. It’s made the garden feel significantly bigger, now we’ve reclaimed over a metre of useable space. The lost growing space I’ll be reclaiming in other parts of the garden, as we replace rotten fences and I build raised bed borders. I’ve got more than enough growing space for this season in life.
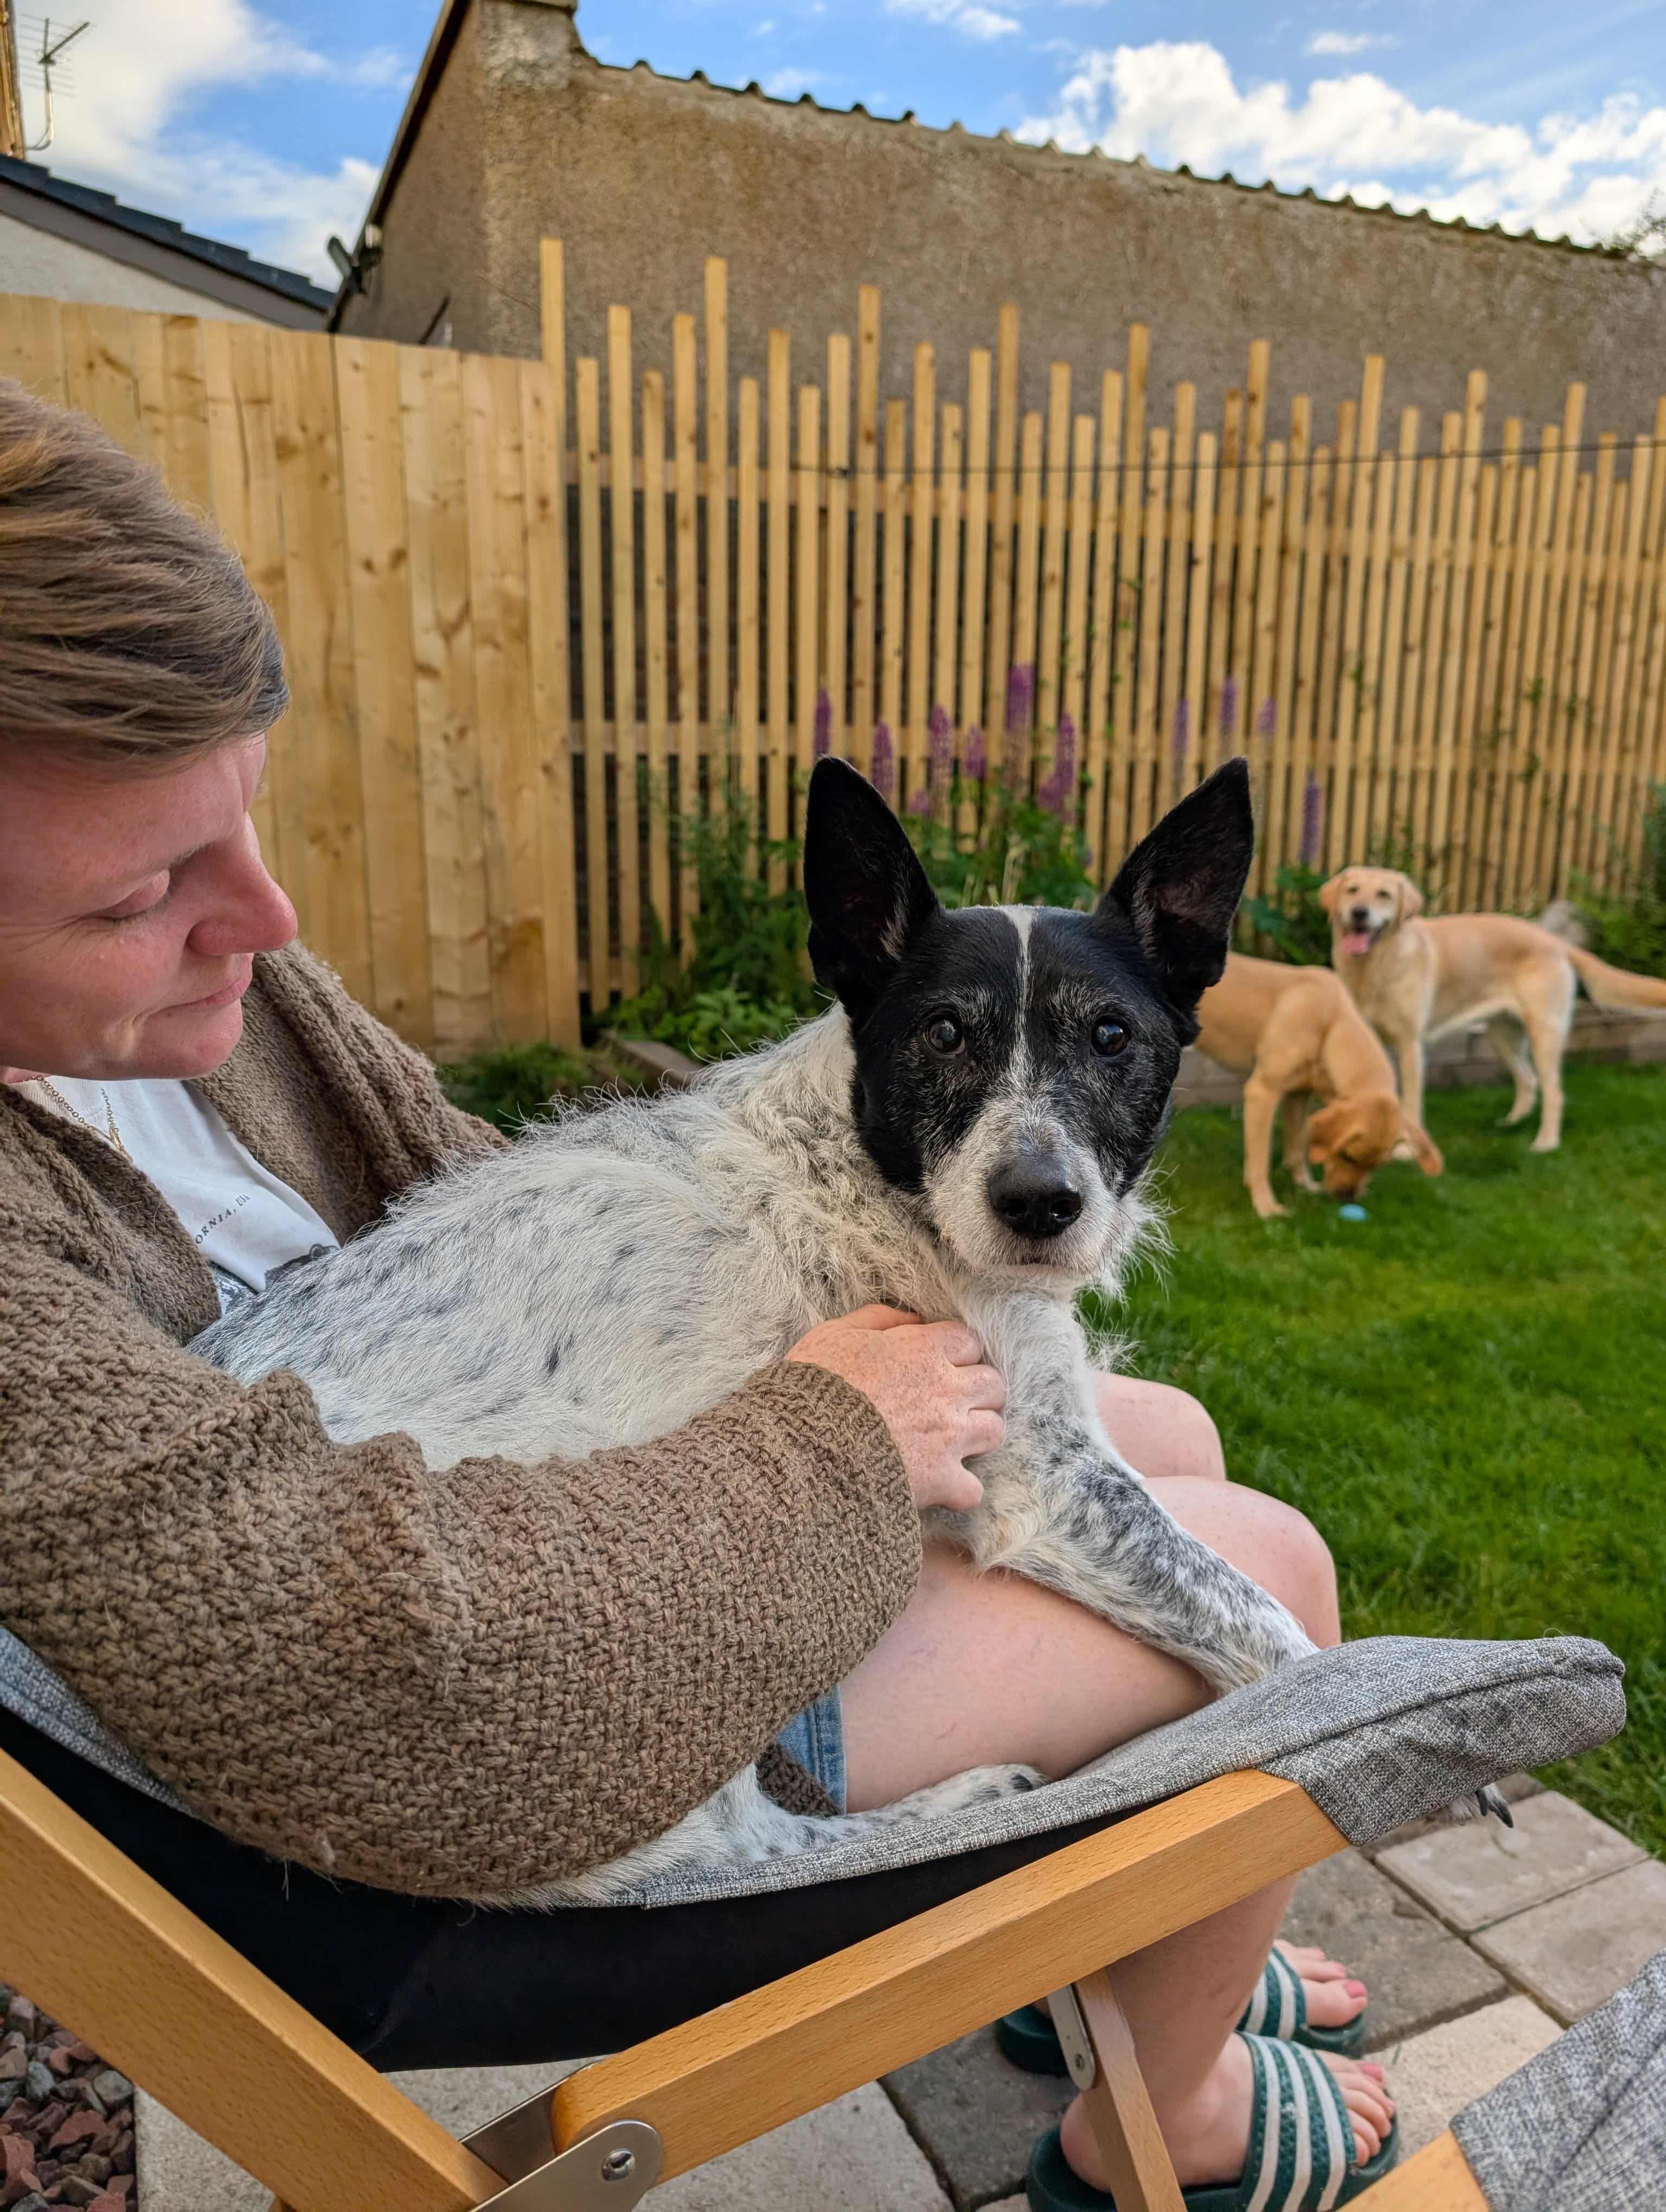
If you made it this far, thank you for reading! I’m so proud of this project, it’s not something I ever imagined I would be able to do (mostly) unaided. It’s brought real joy and functionality to our outdoor space, making the garden feel like an extra room of the house. I love being outdoors in my garden, especially with my dogs, friends and family, so this feels like a dream come true.
Comments
Nothing yet. Say the first thing.
Sign in to join the conversation.